Joe's 914 Project
The Porsche 912 through Early 911 and 914 series cars had VDO gauges that included a bouncy tachometer when you lift off the throttle. You let go of the throttle pedal to shift and the tachometer gauge bounces around as if a "bobble-head" of the tachometer world. A super common problem.
The solution is to add a capacitor that holds a tad of juice to let the tachometer needle unwind slowly. Capacitors are like a battery buffer for the signal with a brief decay. I read about it on-line and saw images of the process, but the details were lacking. My big questions were: "What capacity should it be and how do I know what the negative side is?" I found an electrical engineer that answered my questions and the process was as follows:
•The needle from the tachometer was removed with a kitchen fork as follows: Holding the part of the gauge mechanism that rotates in the electronics section (back of the gauge), I then gently rotated the center of the needle at the mount to "crack it loose" and then the fork was used to lift it off with a straight-up pull while twisting the needle. Take a picture before you remove it so that you see the depth of the needle on the post at the gauge-face.
•Remove the face with the two screws on the face side and a clean, undamaged screwdriver bit.
•The capacitor should be about 2 X the voltage, so given that we have 12V cars with 14V charging, the answer was 24-28V for the capacitor. I went with 24V.
•What post is the negative side of the capacitor? The answer was so simple that it was a bit of a "Duhhhh" moment to learn it... There is a stripe on the side of a capacitor, that's the negative (I know... Duhhhhhh").
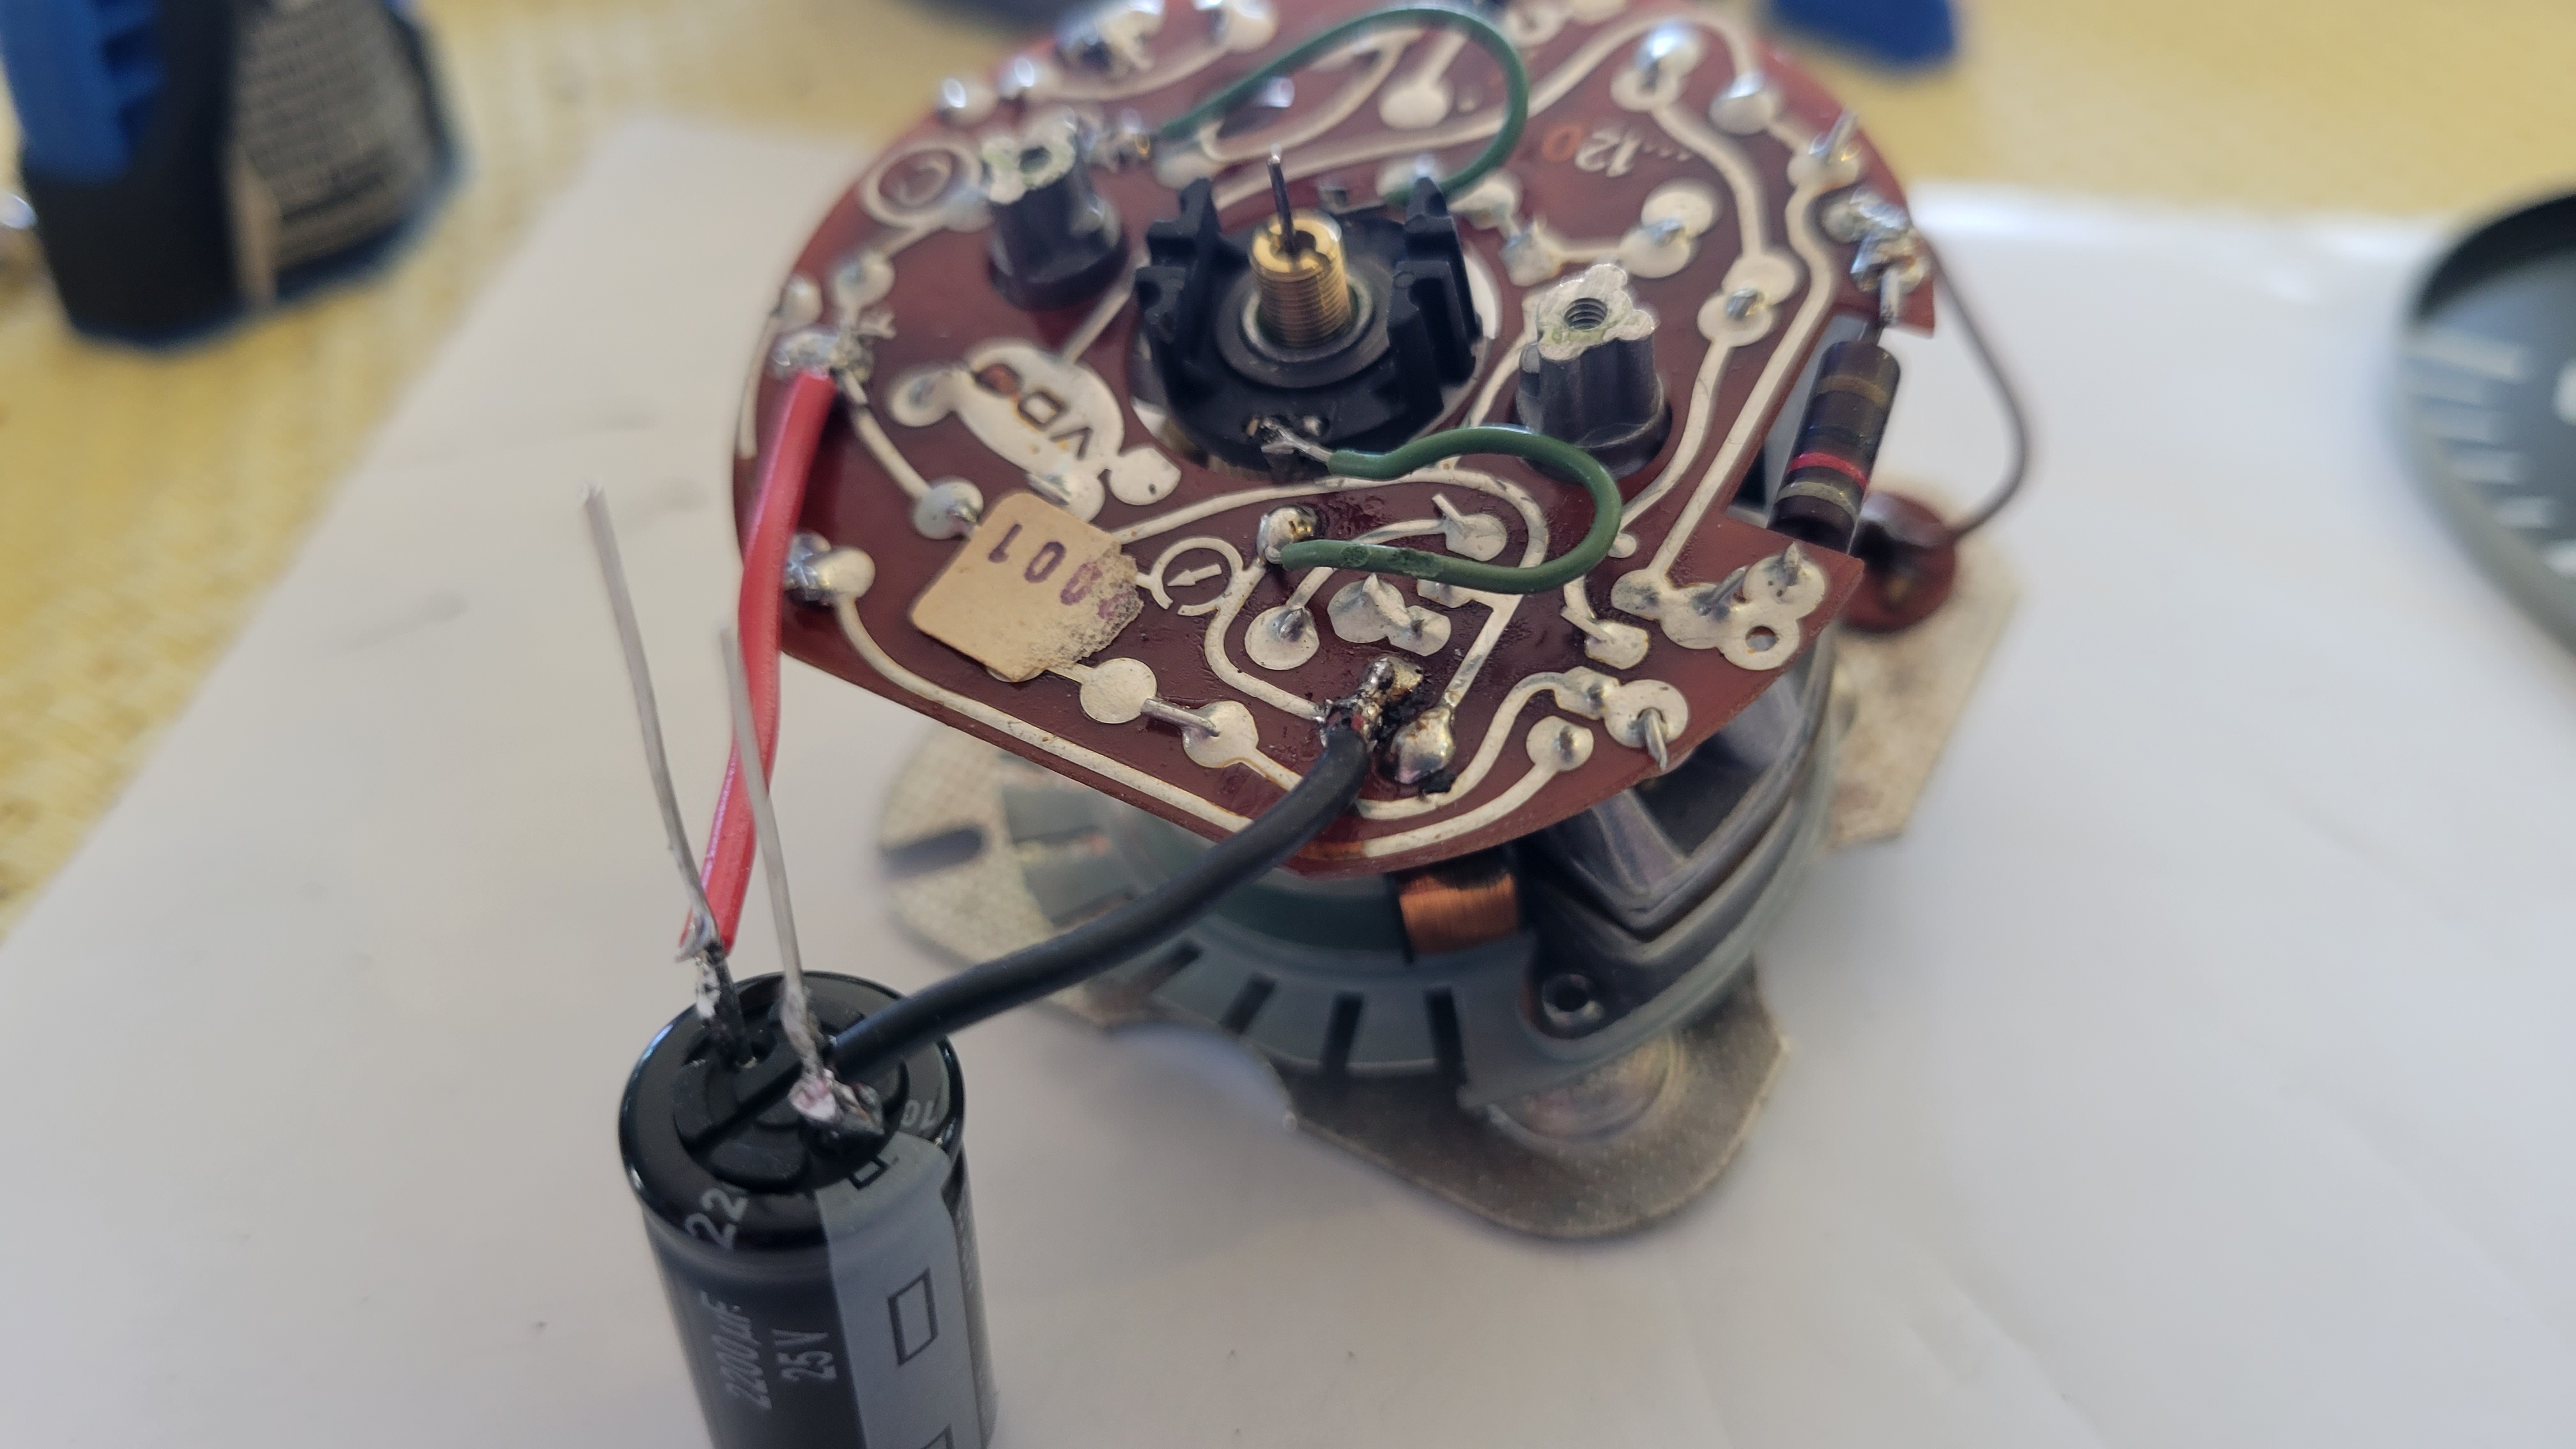
Notice in the images below that the back of the tachometer board has + and - symbols. Super easy to understand that! I used a hot pen soldering iron to solder the short jumper leads noted below. The capacitor was glued to the underside of the bucket with silicone caulk and wedged in place until the caulk dried overnight..
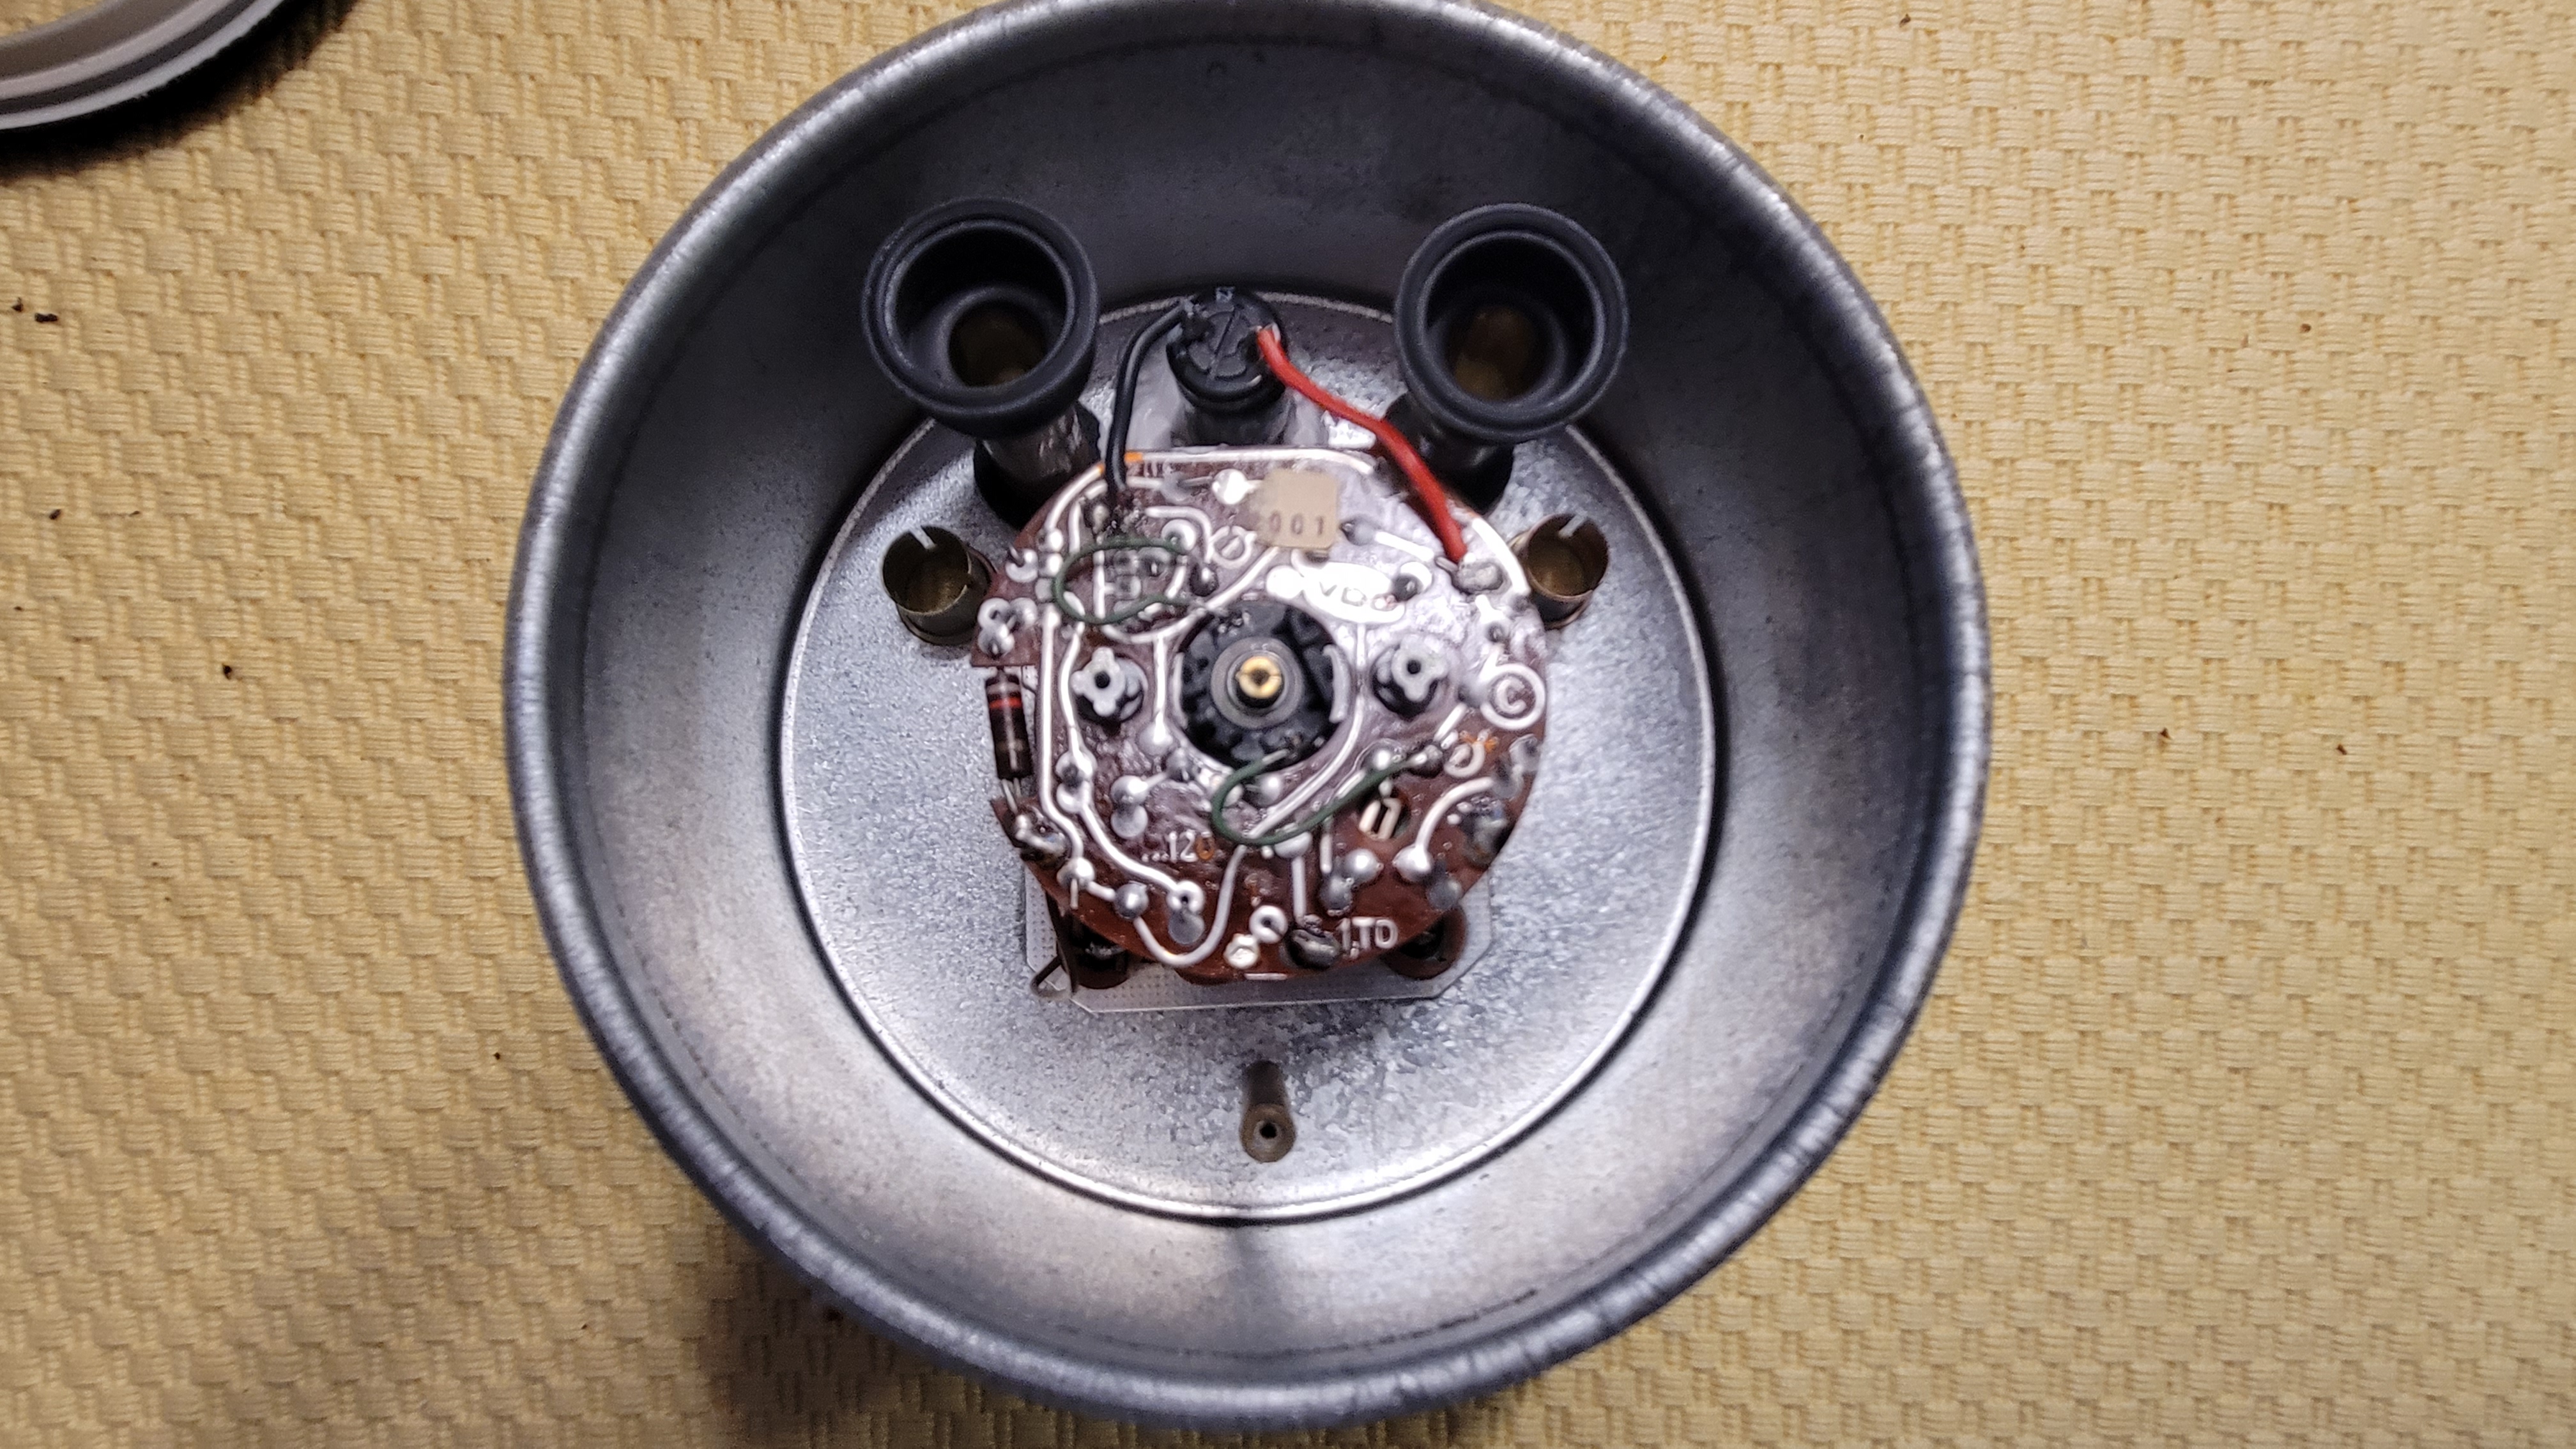
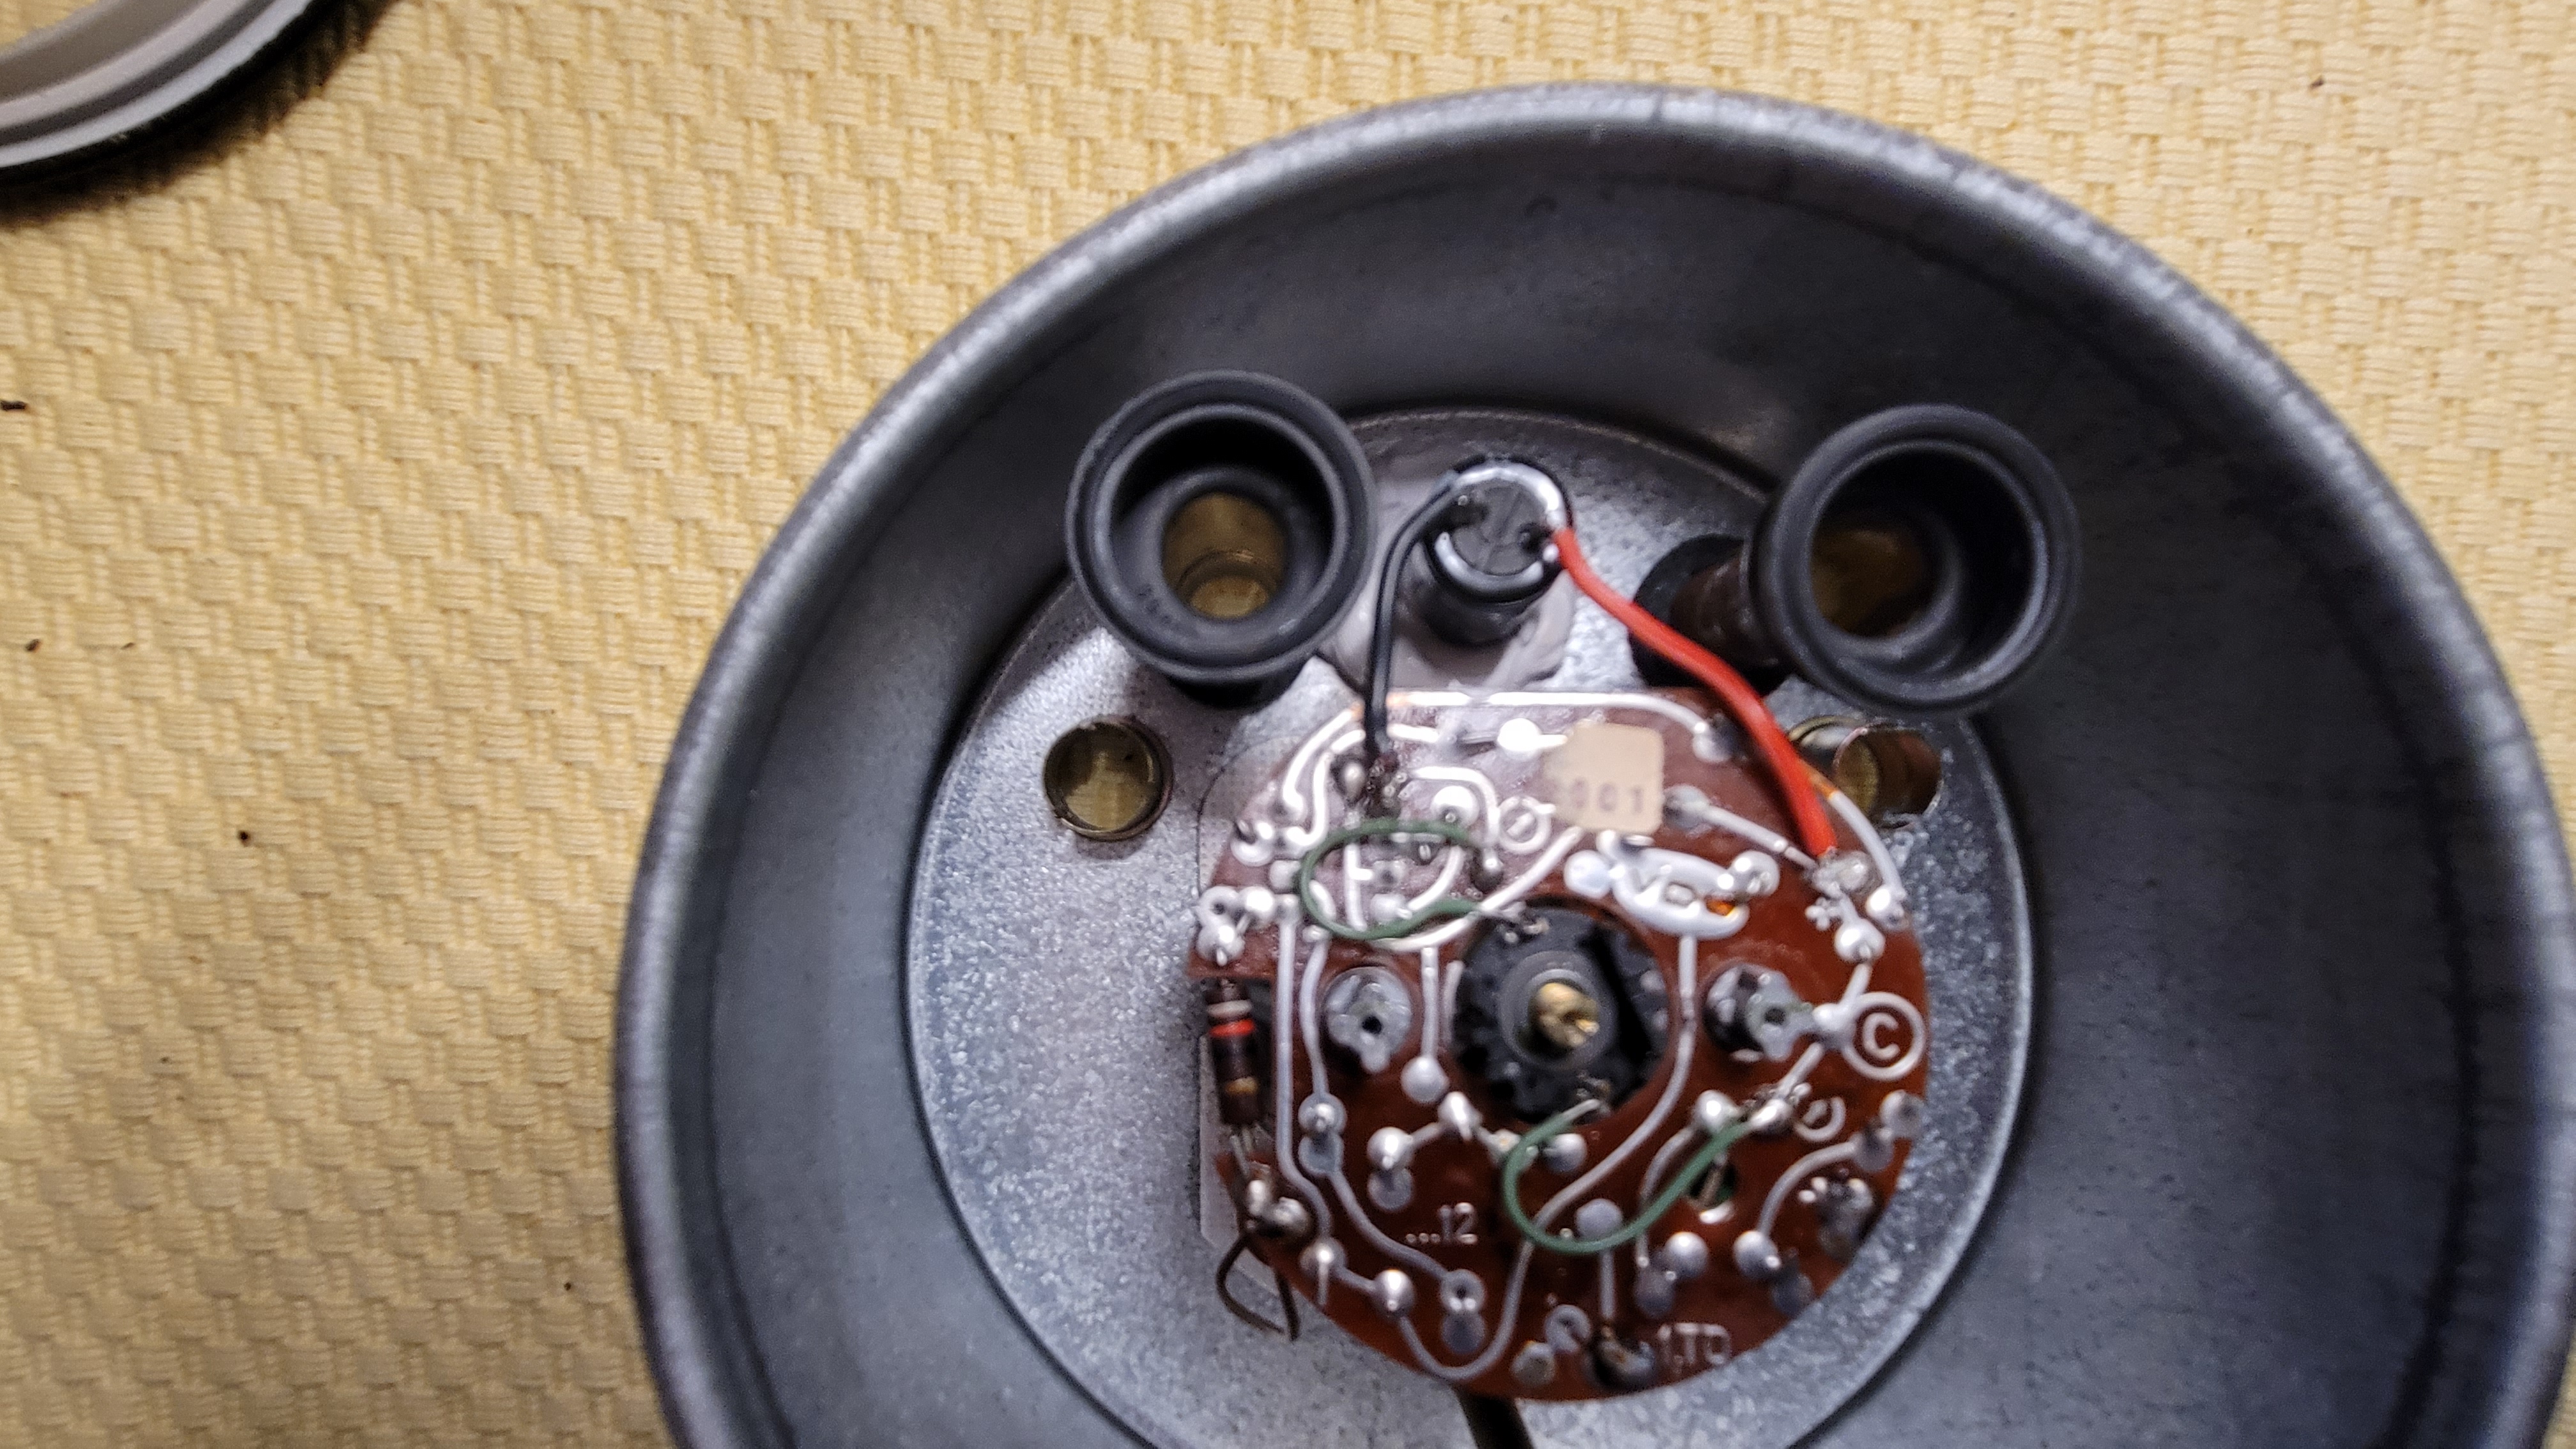
Notice the gray stripe, that's the negative side with little dash-boxes. The red wire at the board shows the + symbol
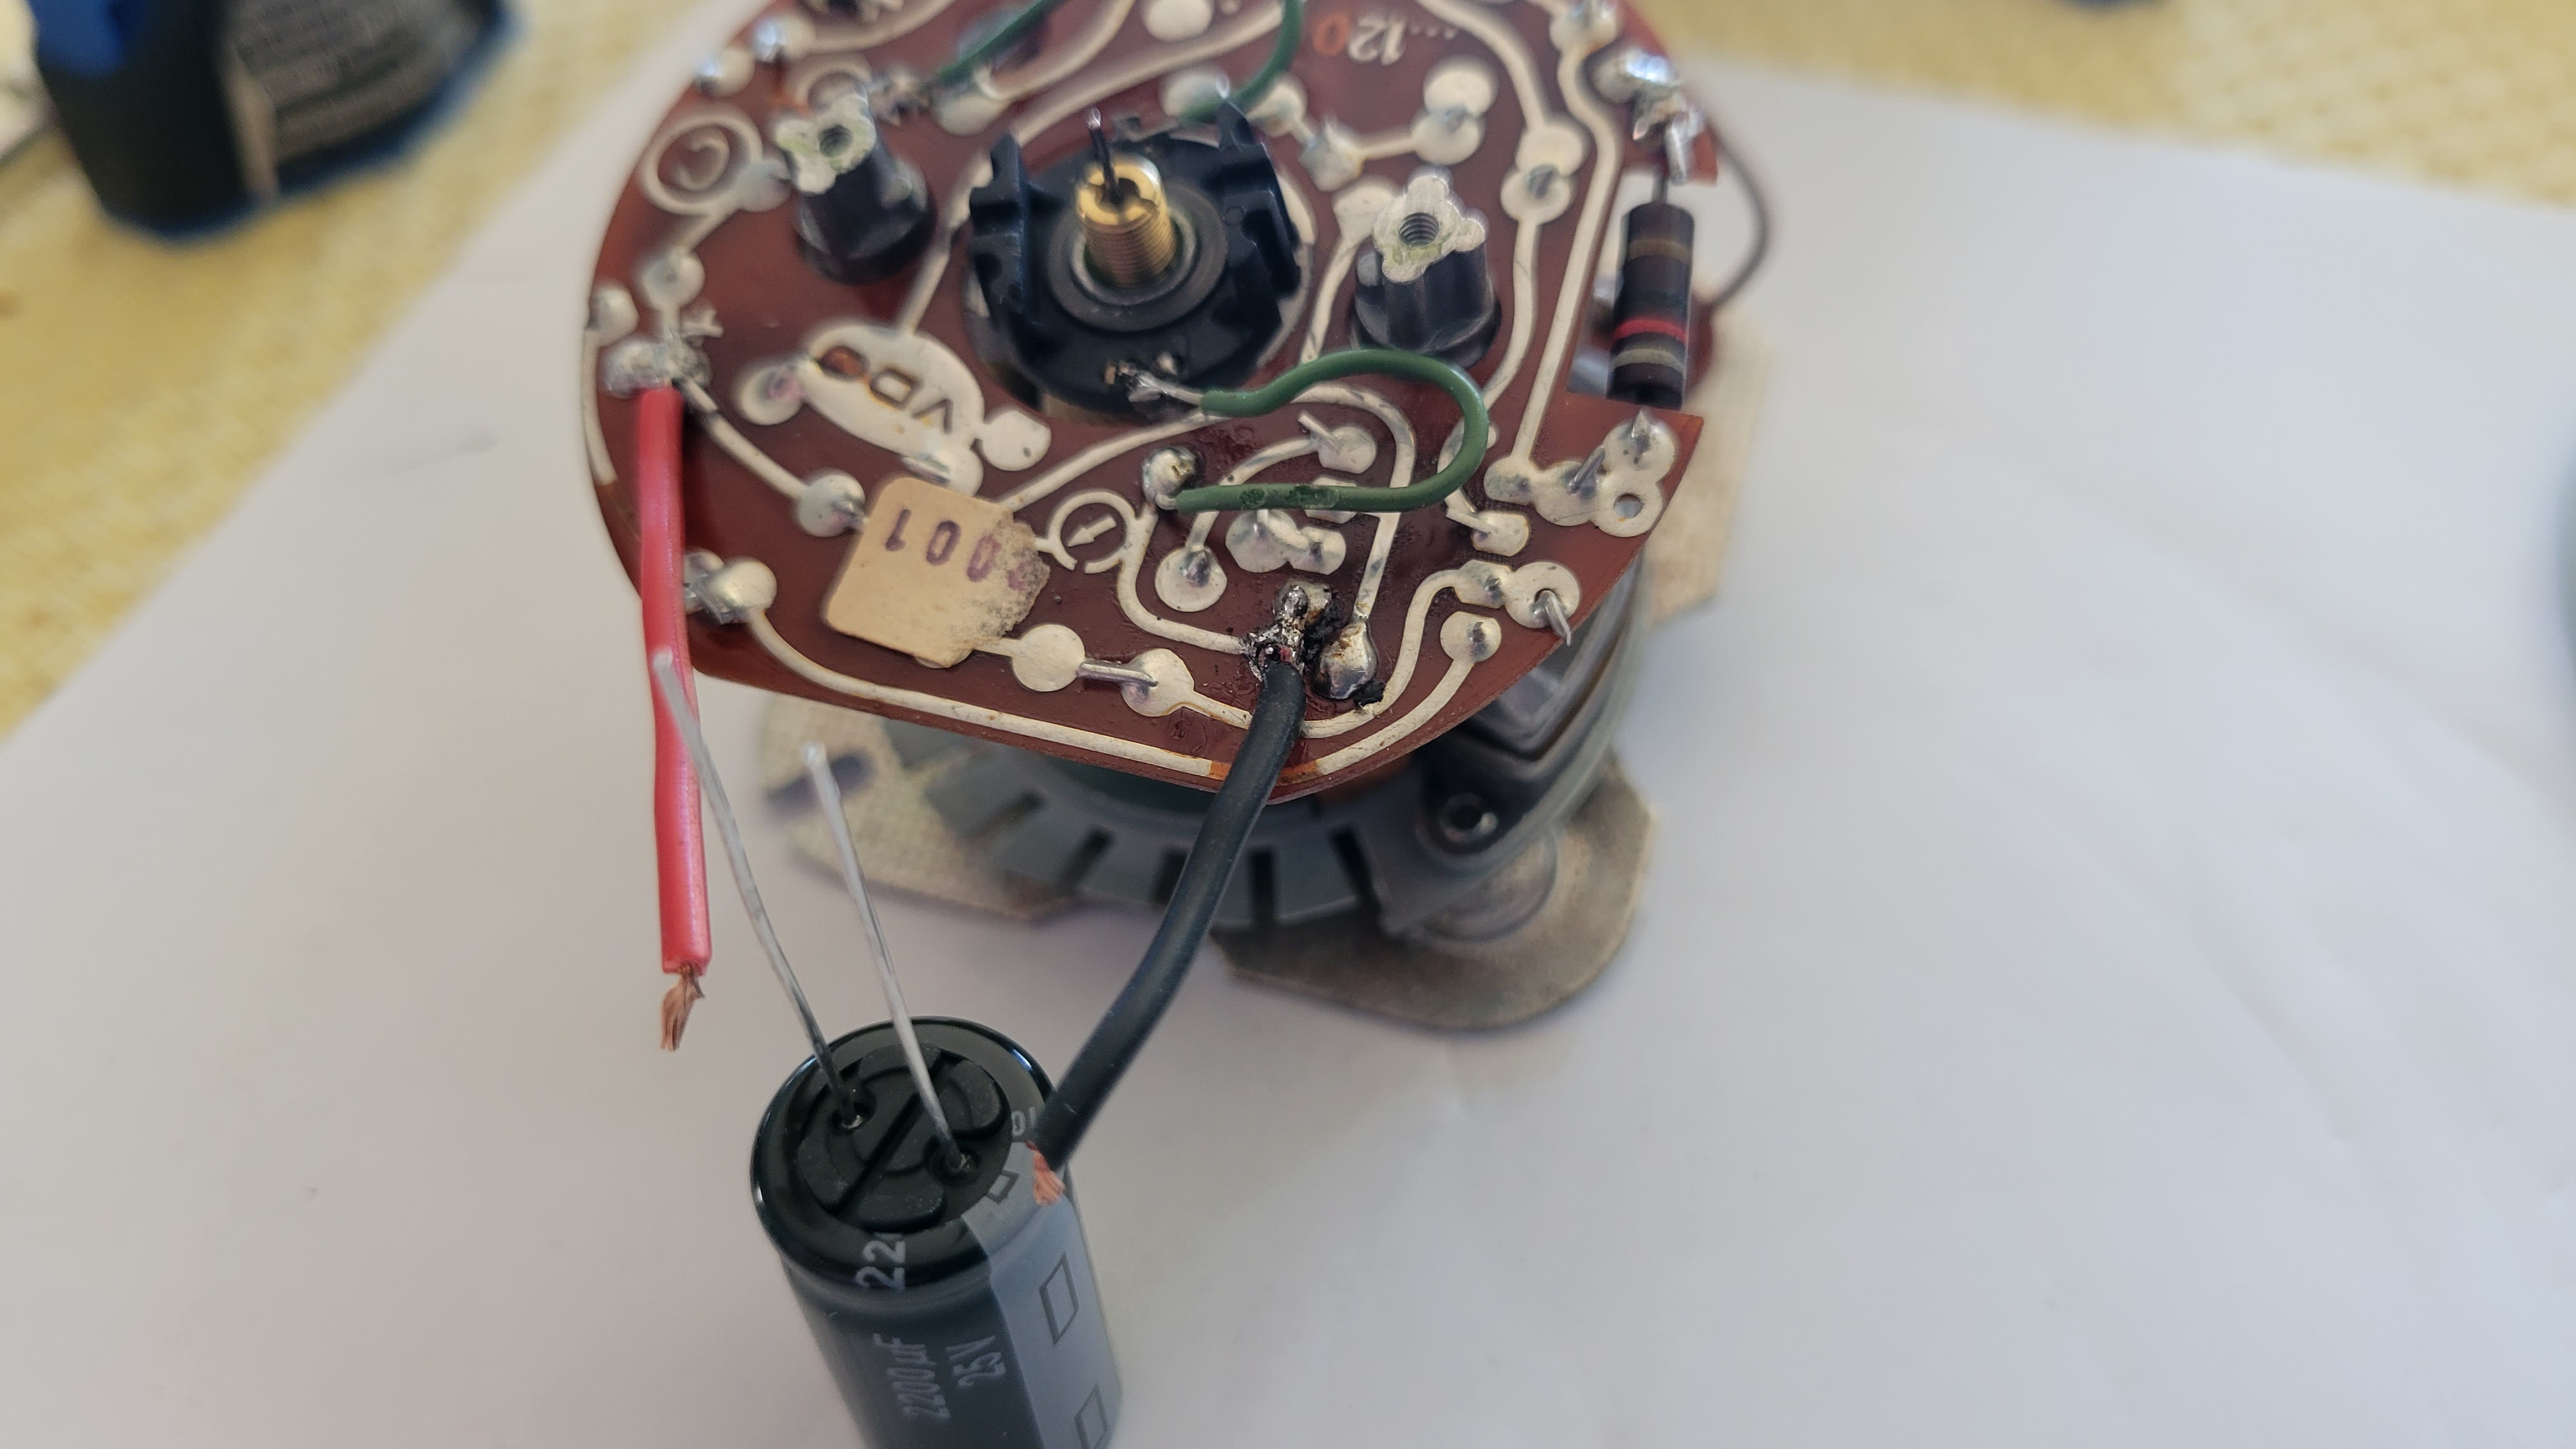
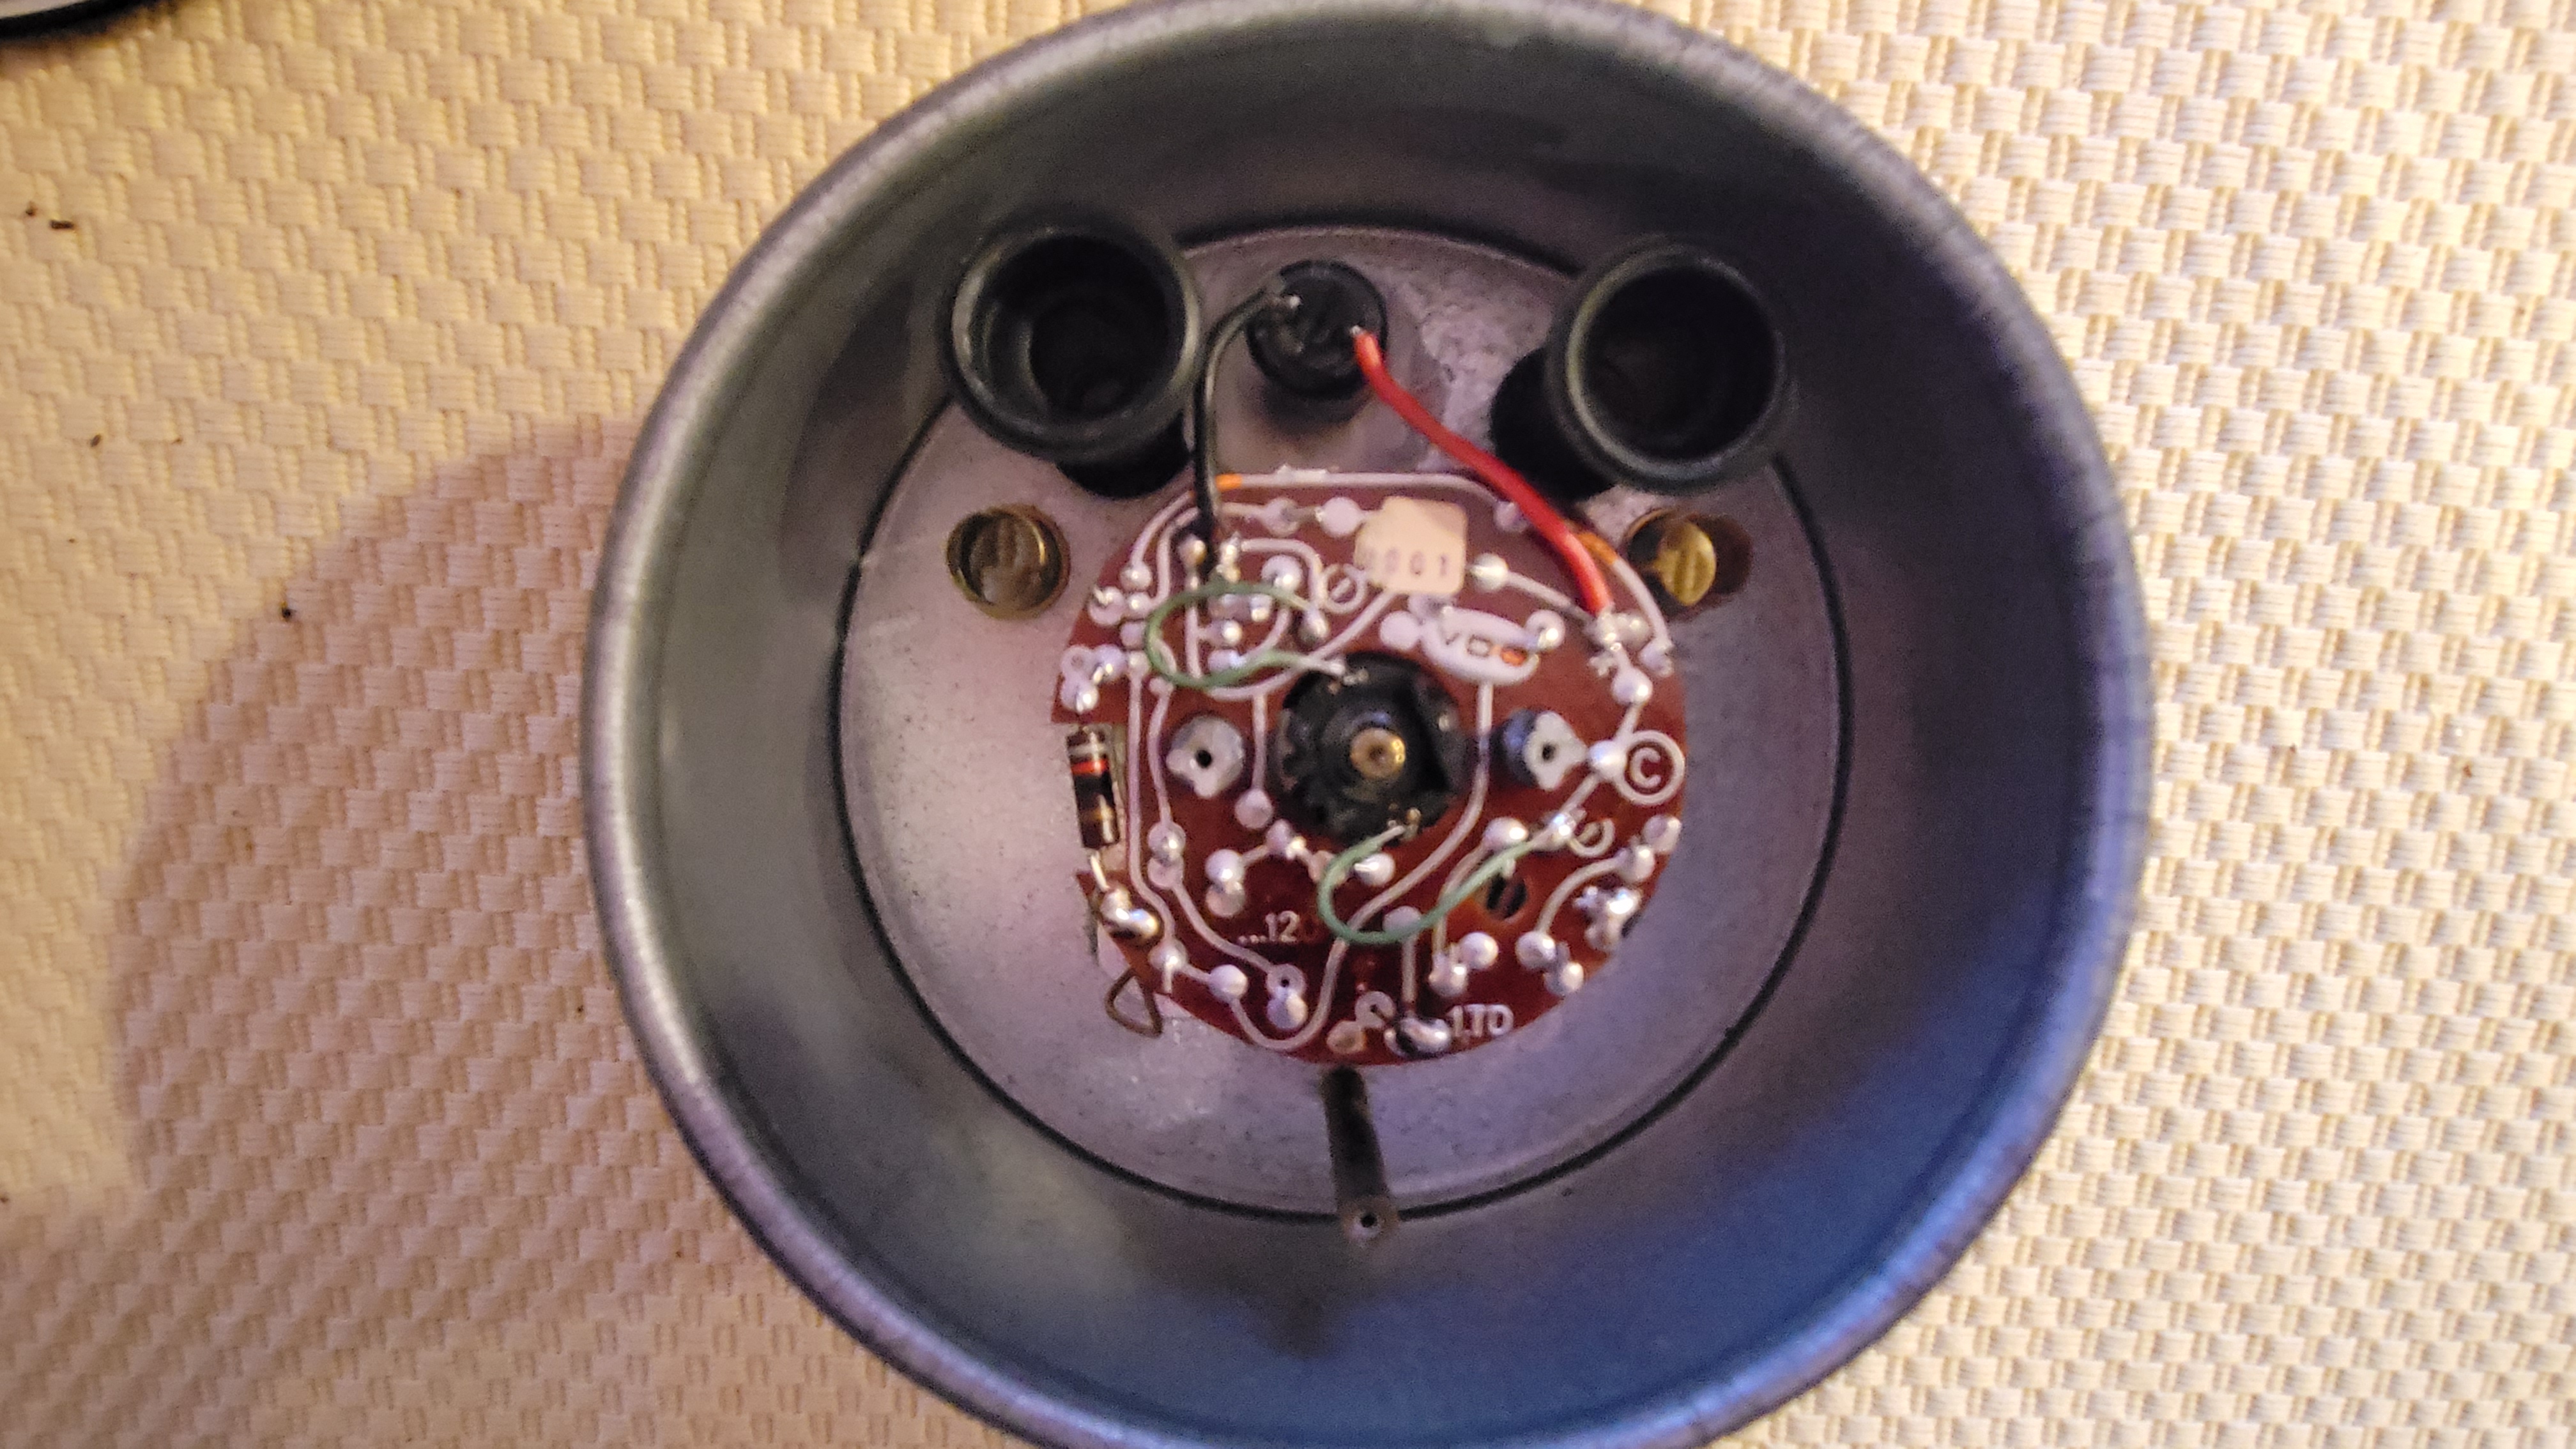
Clip the ends after you solder them. You can add shrink-wrap to the wires before soldering if you worry about that sort of thing. It will sit in the can like this (image below, image above):
Glued-down with some silicone caulk.
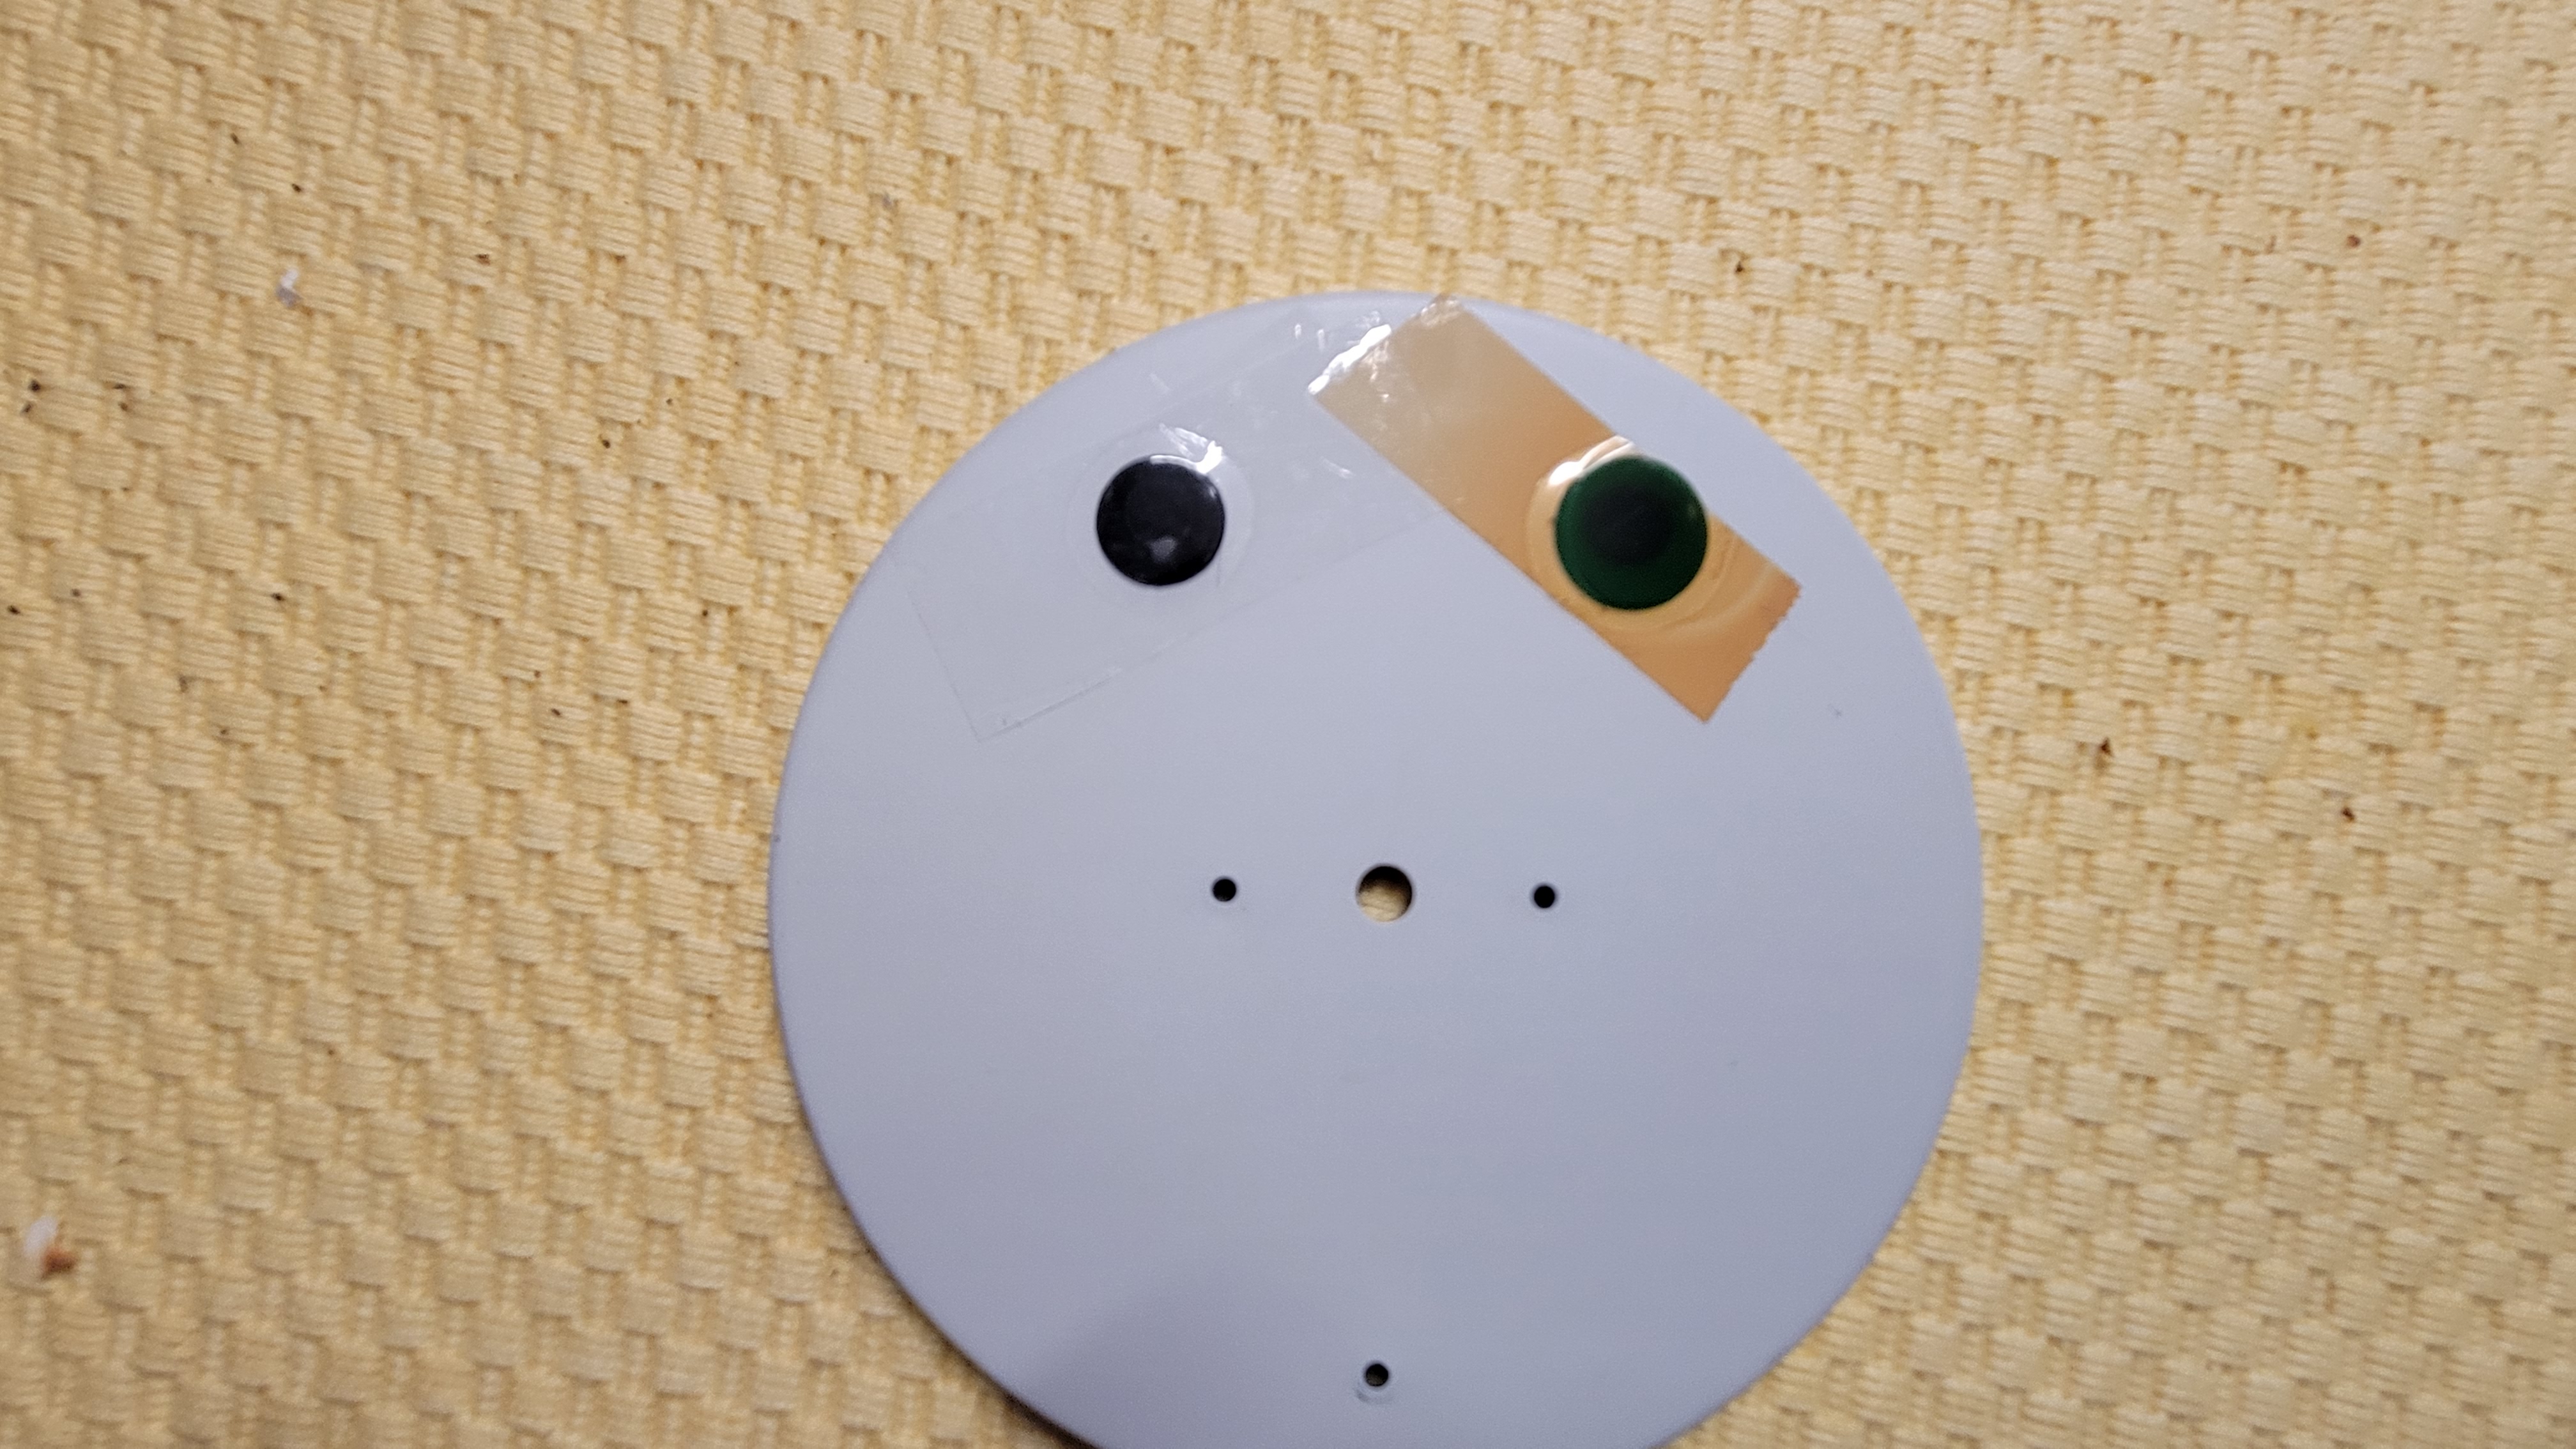
This is the back of the tachometer. Notice the packing tape that hold the lenses. These often melt from sun-heat and you can use a razor-blade and some alcohol to clean this up and then re-tape the lenses with a quality (3M) packing tape.