Joe's 914 Project
Yes, with a lot of work you can have two more gauges and your coffee too. Since I NEED my coffee, it was totally worth it!
I wanted a voltmeter and oil pressure gauge, but not at the price of a custom Quad gauge in the instrument cluster. The Appearance Package center console option was also not on my list because removing the center console every time I need to do tunnel work was not appealing to me at this time, that might change once I sort the car out, but for now...
I like the rubber mounted VDO gauges that have been posted on-line at 914World, but if only i was so easy to also add the cup holder...
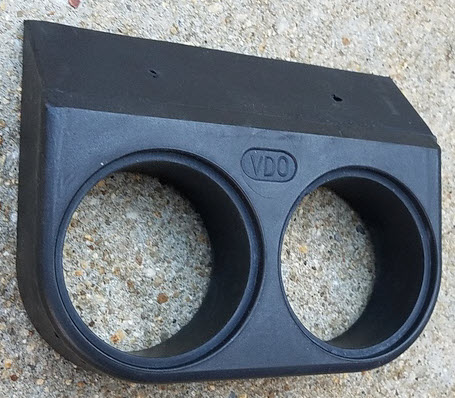
The VDO 240-803 two gauge mount is no longer available (NLA), but I found one on-line at 914World bulletin board. Hard to find on eBay or in the universe. The VDO Single gauge version of this is available, but it is pricey to buy one and insane to buy two (but you need this right?).
A metal 2 gauge mount can be found for as little as $6.00 and I could have done that too with this mod by making a 1.25-1.50" spacer out of hardwood (paint it black) that is as thick as the rubber. You could make this out of wood too.
You MUST move it out if you want the cup holder or coin tray. The easy way is to delete the ashtray, but then I would not be typing this up. You don't want easy do you? Of course not, you chose rust and trouble-shooting over that new car smell!
Upsides of this modification:
1.You could go back to stock by disconnecting the gauges and just sliding in another ashtray, this is a non-invasive mod.
2.You add critical gauges that can save your engine and help you to know your alternator is malfunctioning. I wire mine to the fuel pump (at the pump connection) so that it also serves to let me know that the fuel pump is not getting juice... "The lights are on, fuel pump is not home.").
3.You have gauges in a good place
4.You have a place for that critical beverage need!
The downsides of this modification:
1.The VDO mount is NLA,
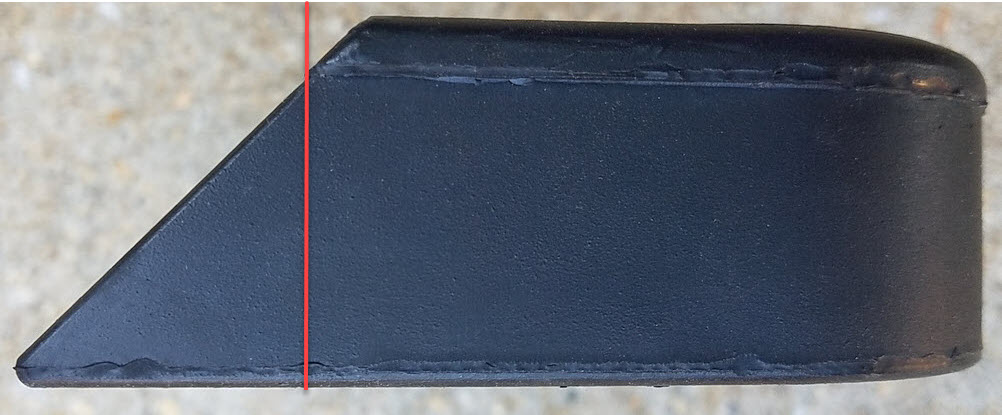
2.The VDO rubber mount has mounting holes that are recessed underneath and you'll see in the pictures that these holes show up when I cut this angled gauge mount. I Might back-fill with black silicone, but for now, those larger countersunk holes are hidden until you pull it out to use the cup holder.
3.I needed to fabricate and weld a solution for the ashtray.
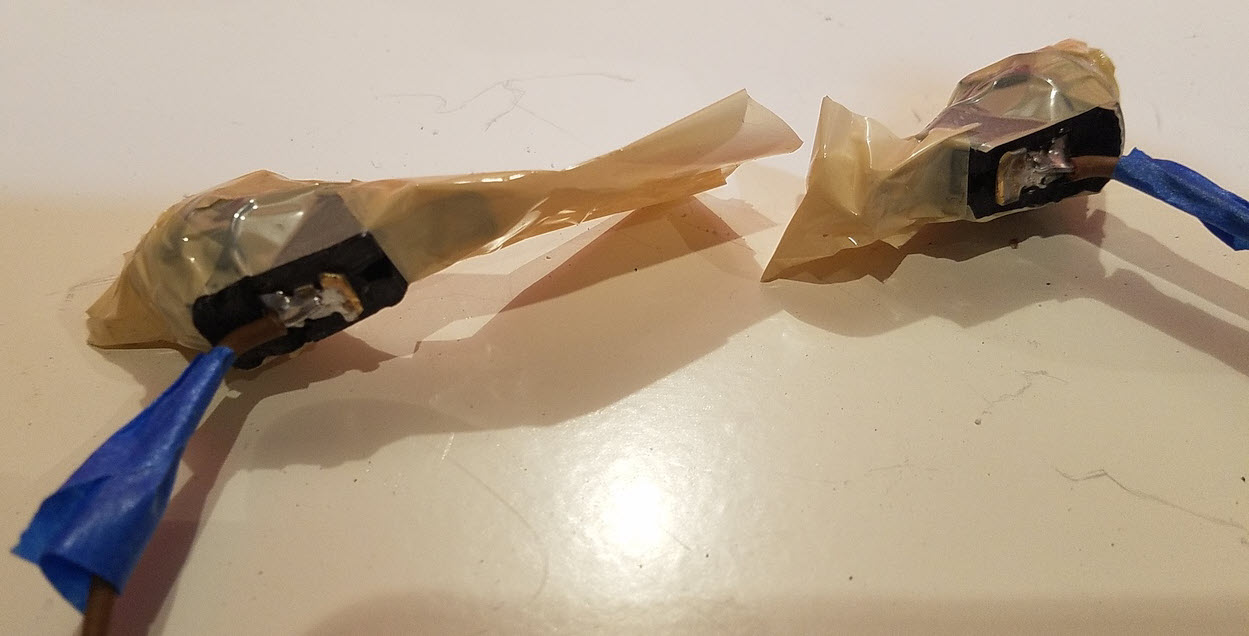
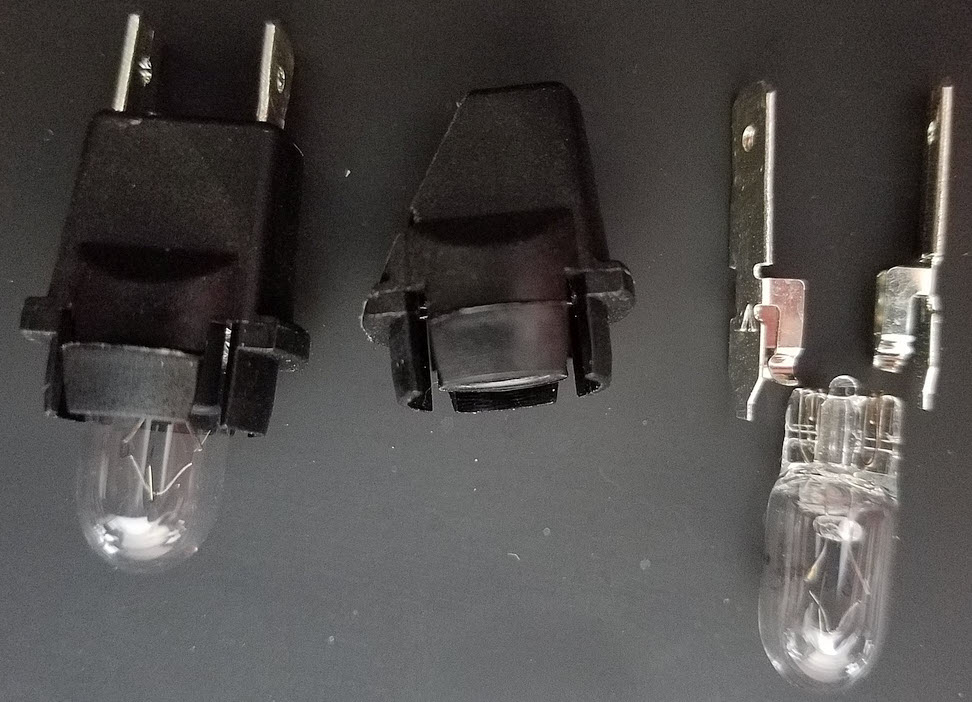
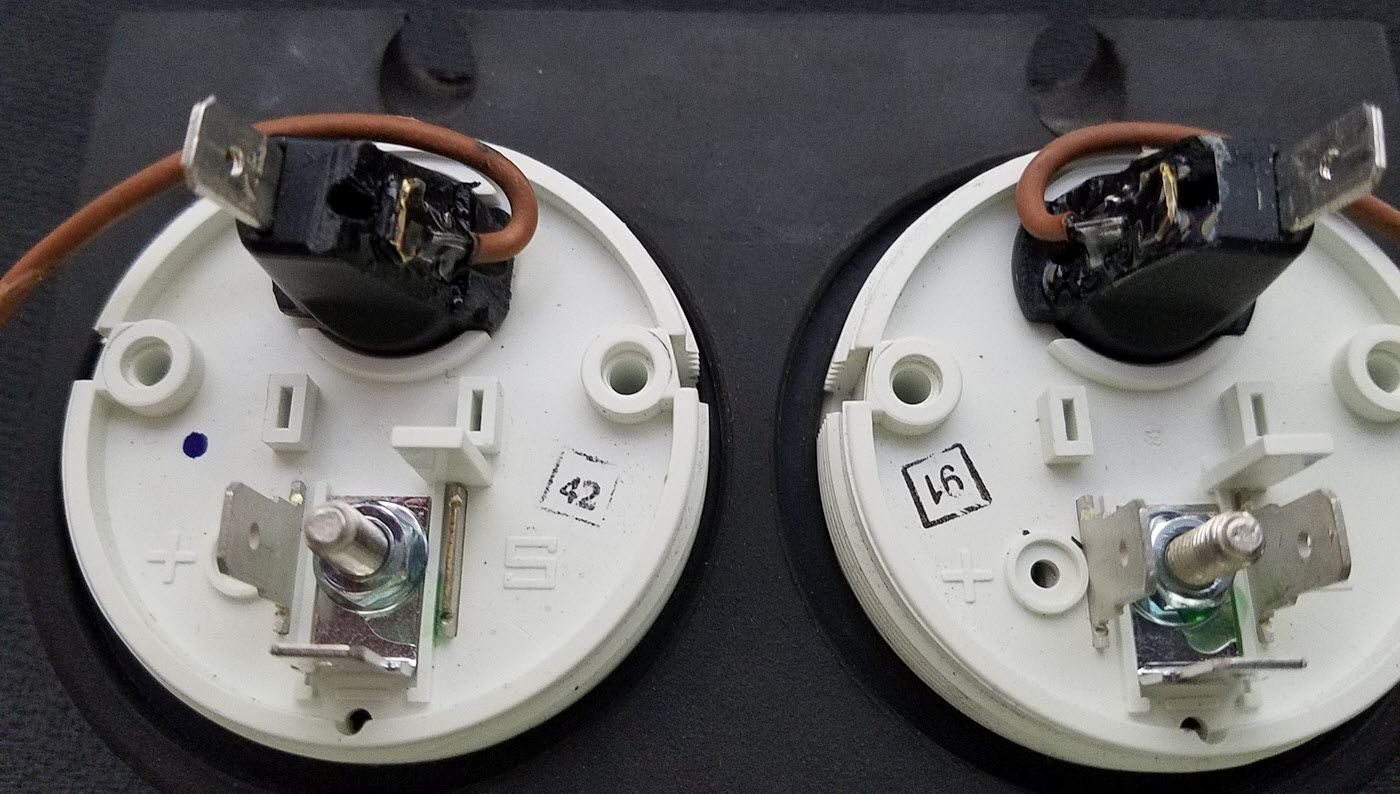
4.I needed to modify the VDO gauge bulb mounts. I could have soldered a surface mounted LED to some wire and used a rubber cork or just the very base of the existing bulb holder too.
5.Time, it takes time to gather the materials, cut, shape, weld, glue, grind, paint, etc.
6.WTF was I thinking?
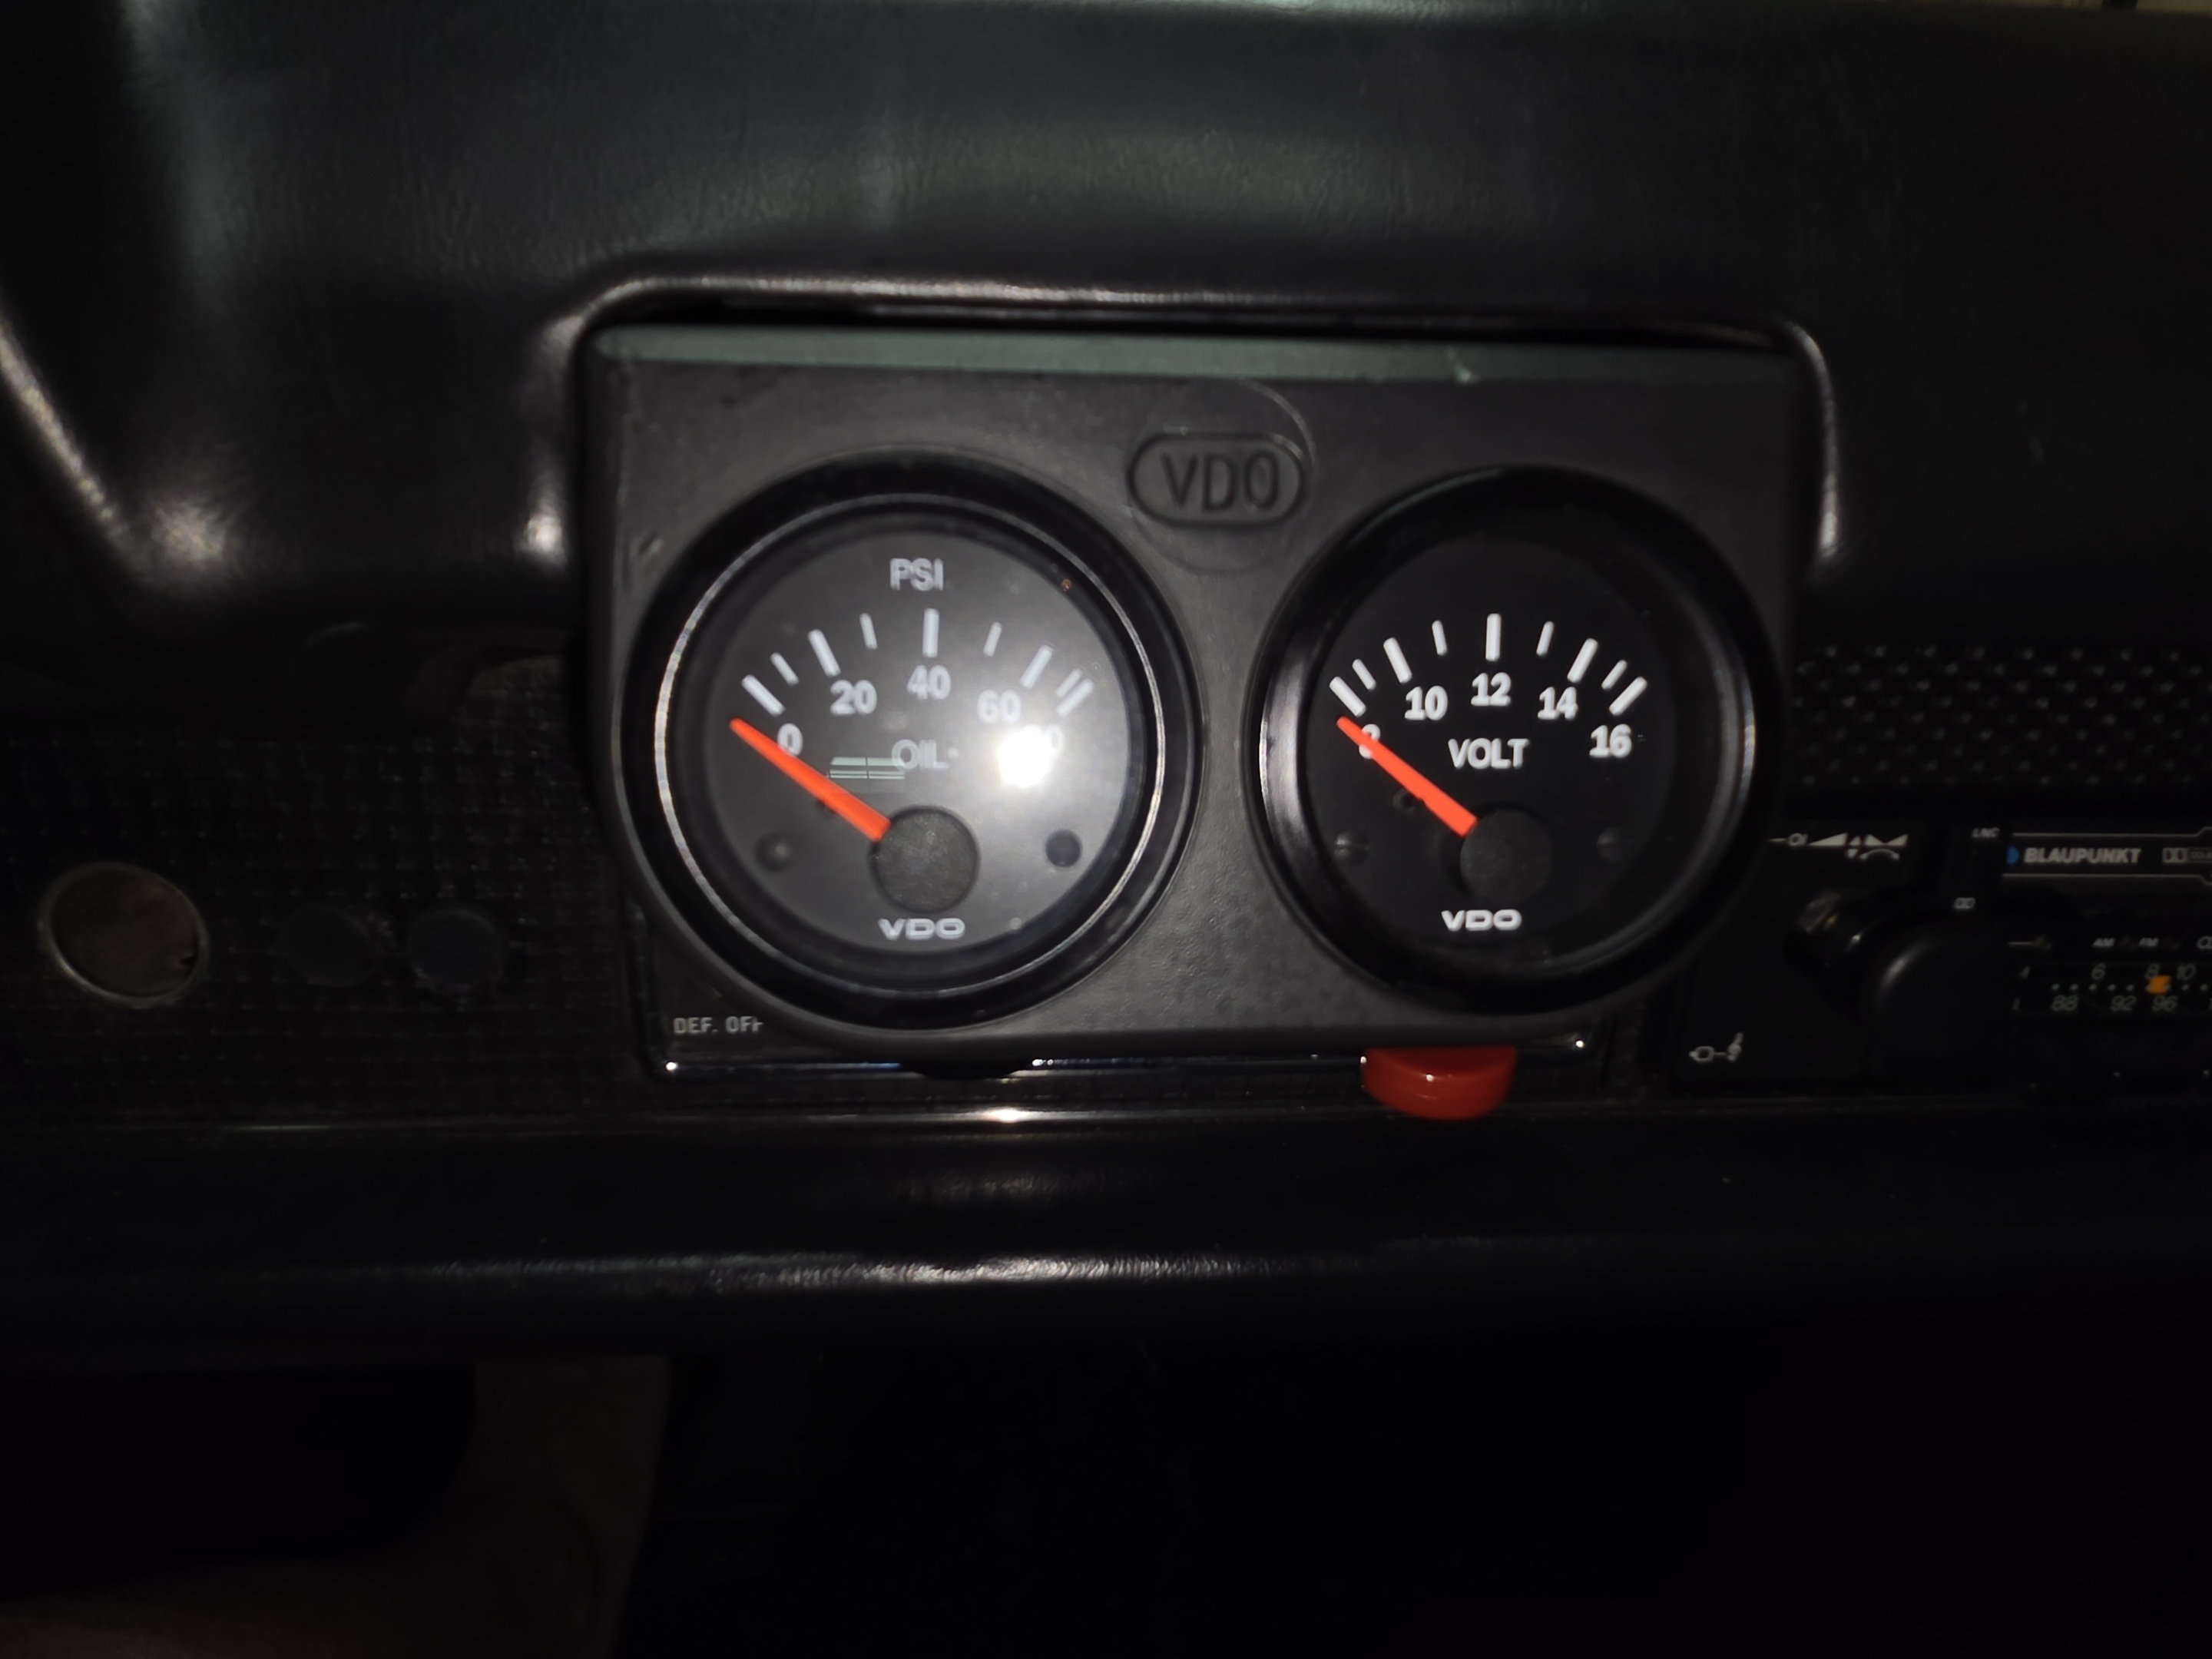
The VDO 2-Gauge Rubber Pod:
Custom gauge pod in Ashtray location with cup-holder:
Cup Holder behind the gauges. The rubber mount holes are the original VDO rubber mount holes and adding a spacer of say 1/4" would not have helped much to avoid this. Going with a thicker spacer to avoid this would have looked odd and pushed the countersunk holes from the rubber mount into the open. :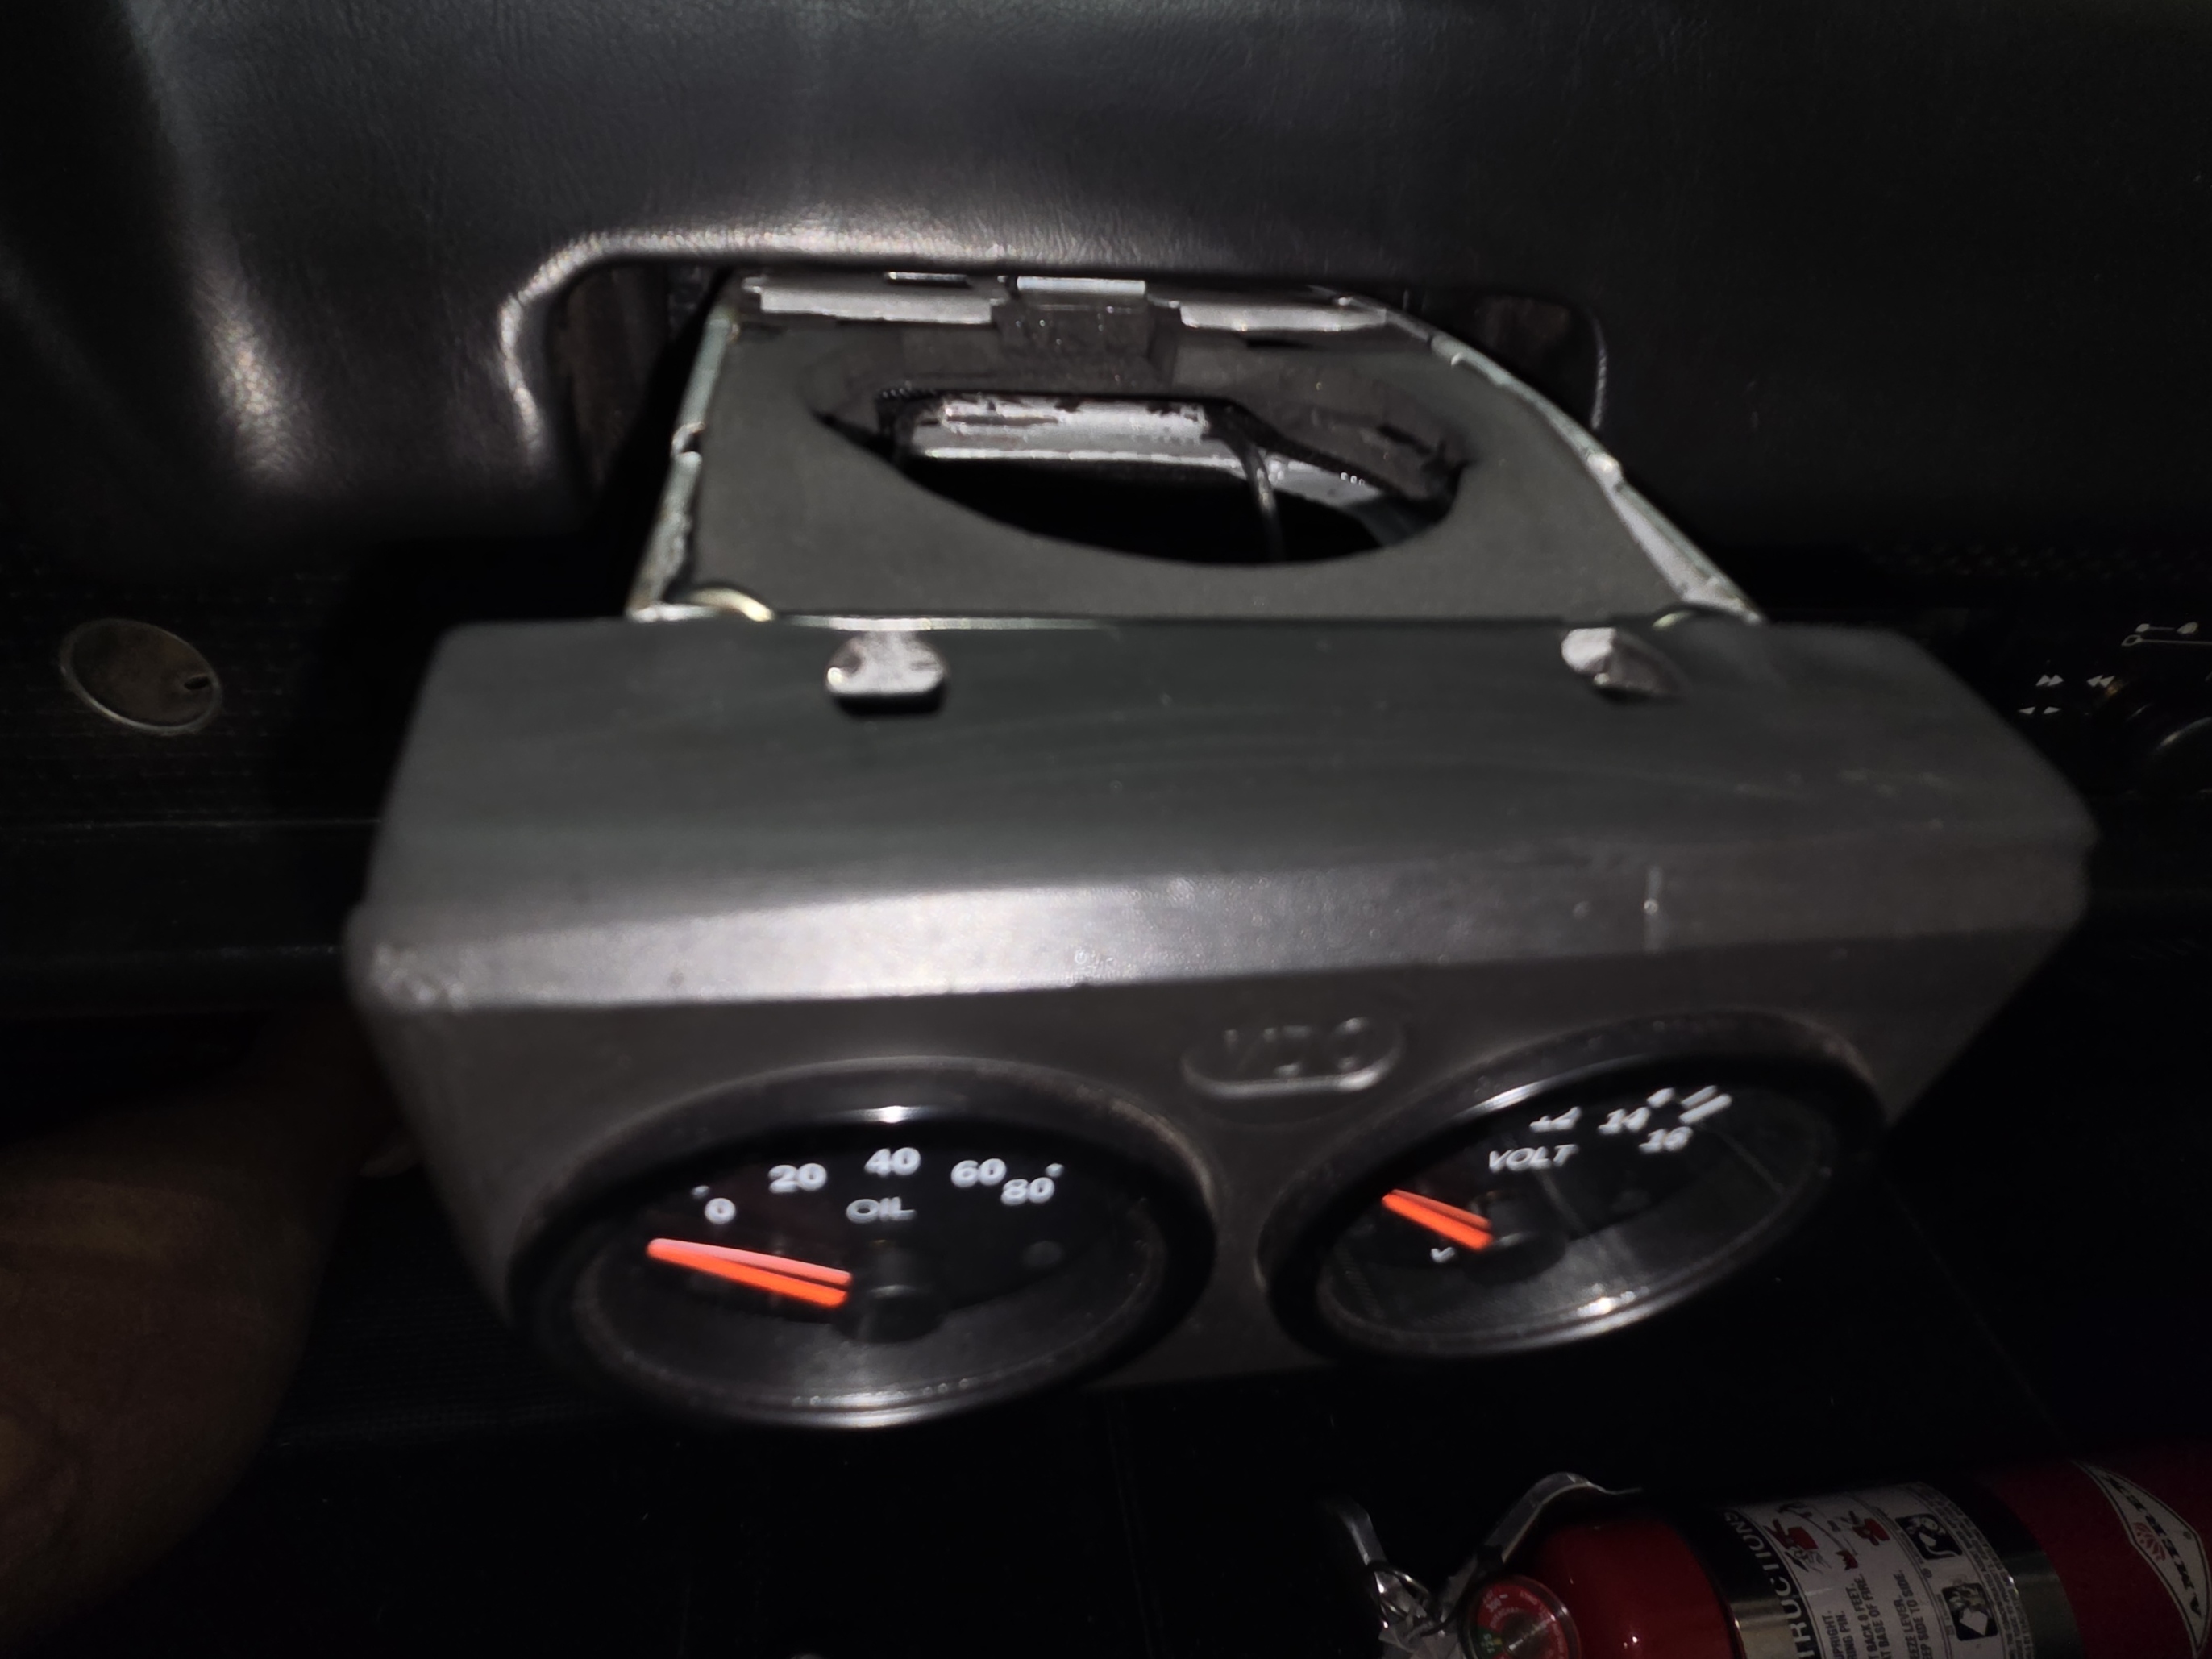
Side view:
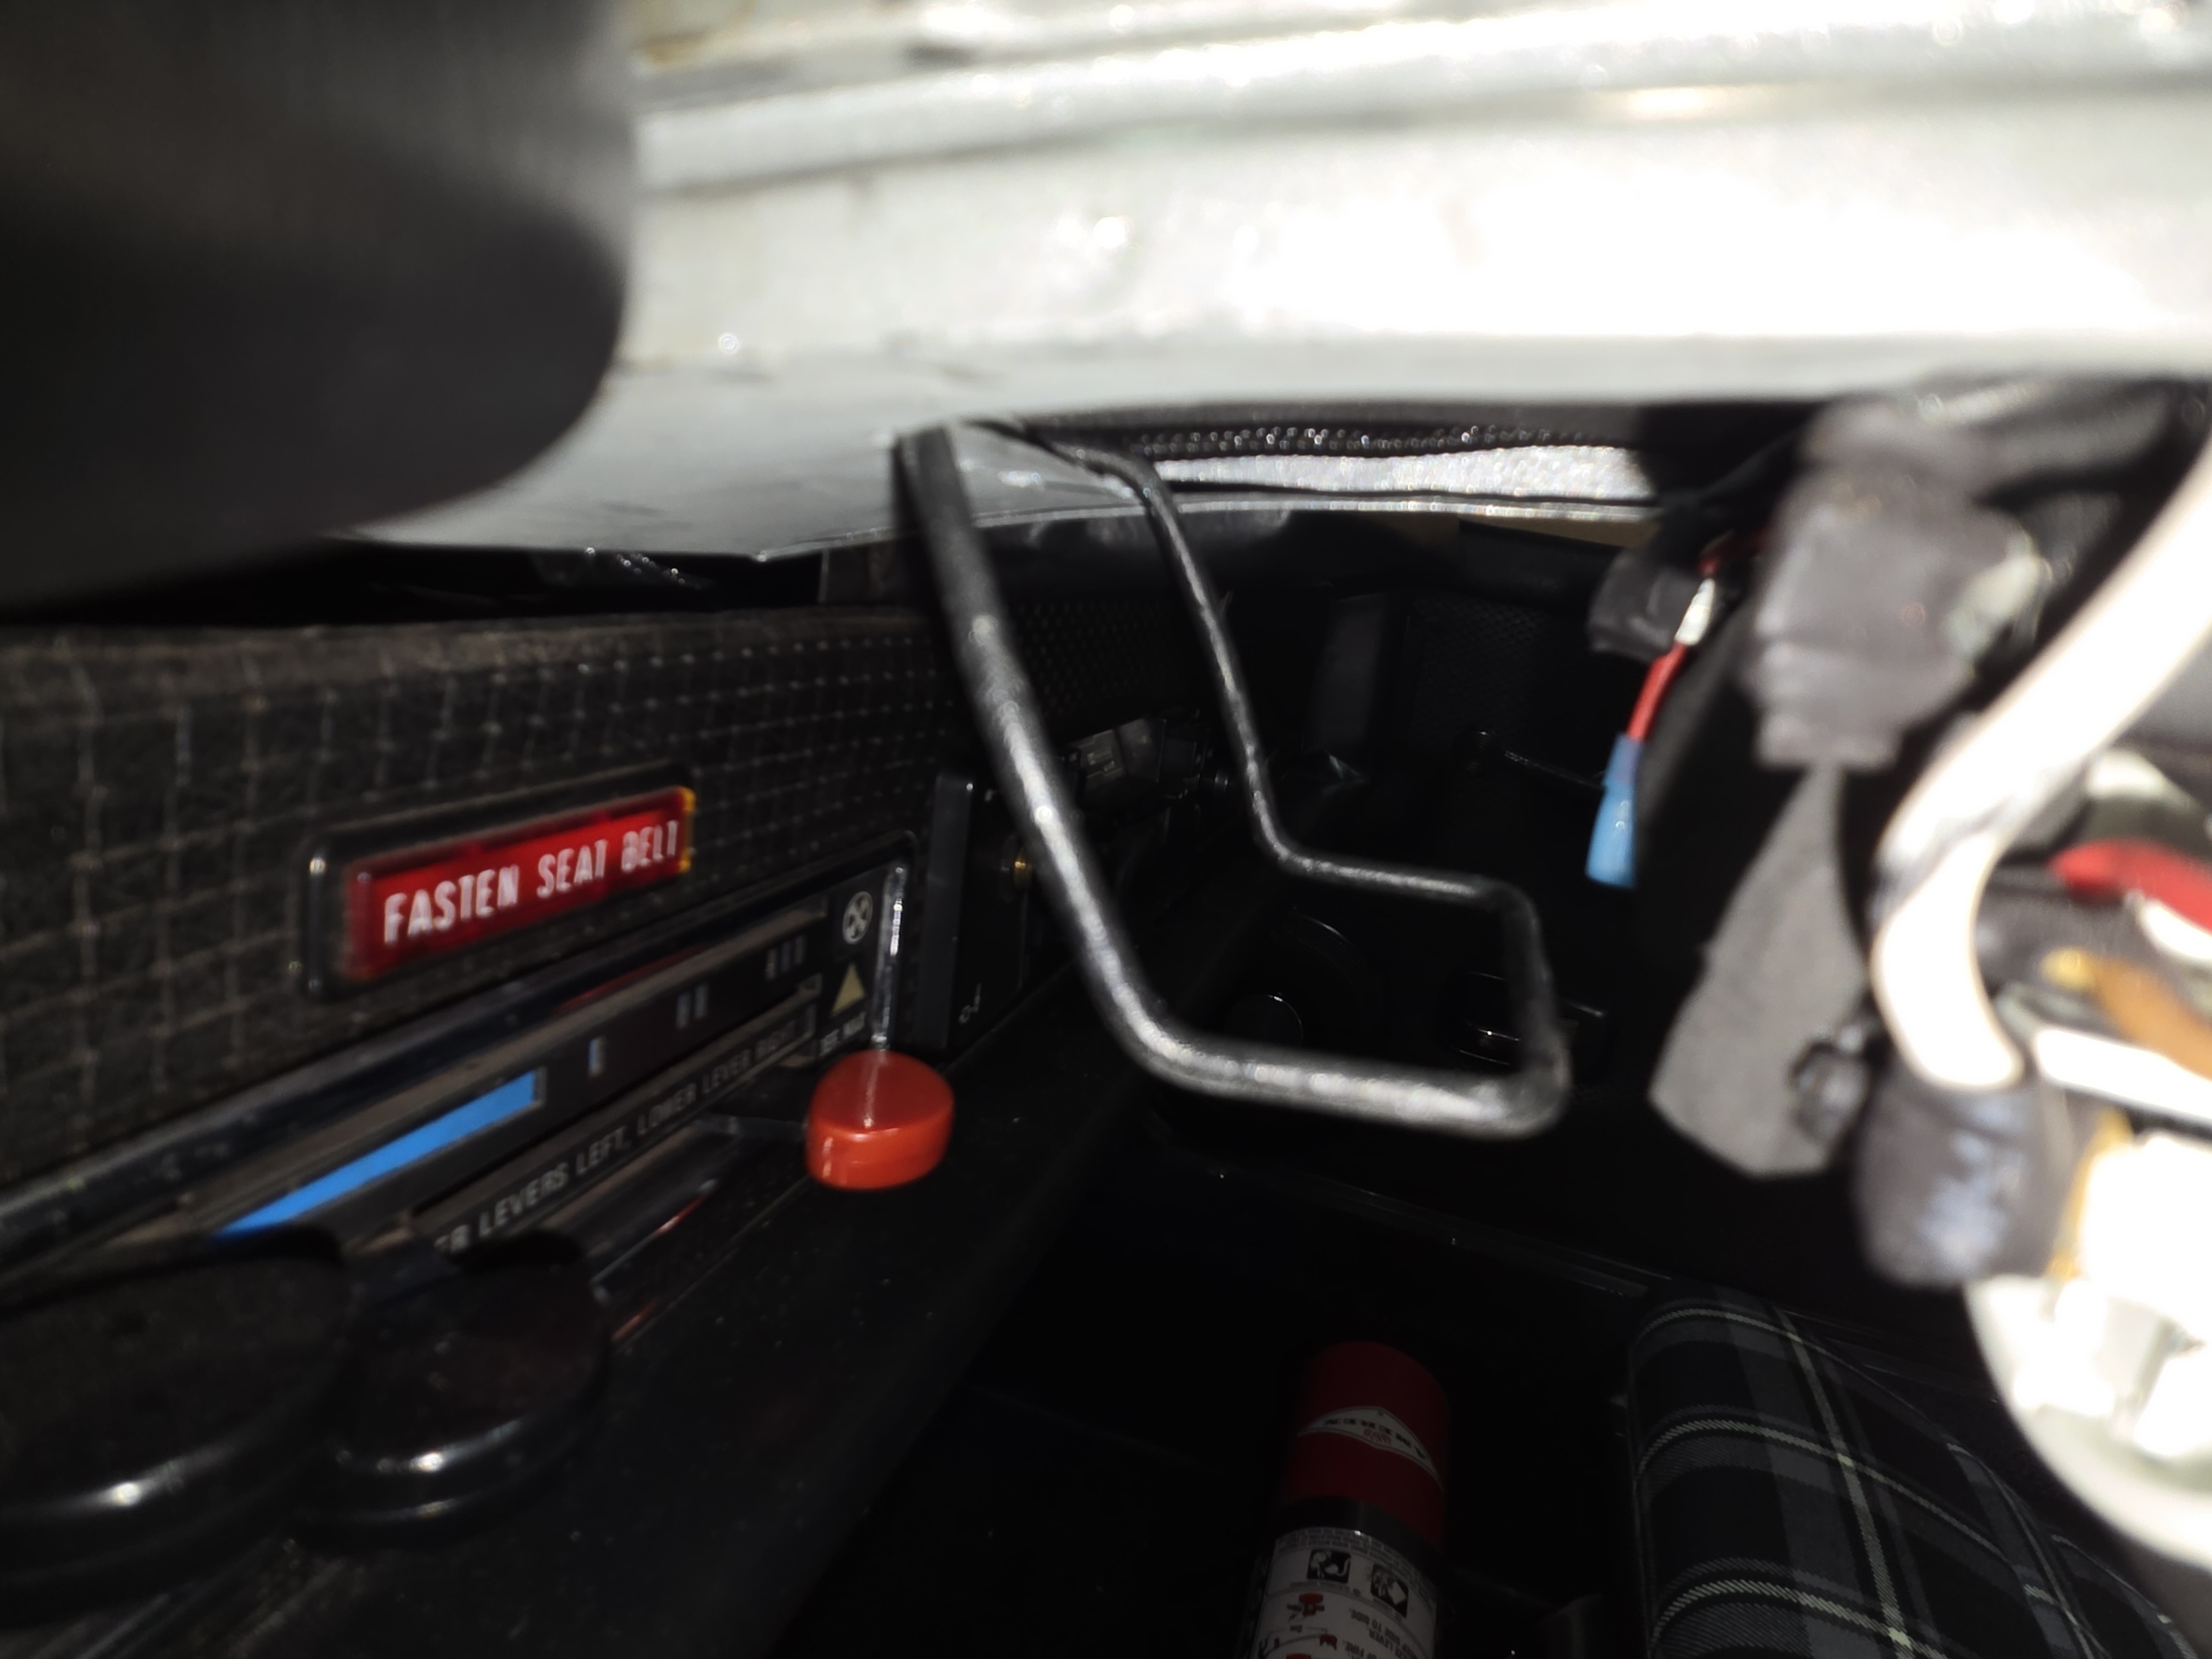
I drilled holes to mount the rubber gauge pod as shown. The ashtrays can be different by year, I went with the 1974 that had the tabs to use for the screws:
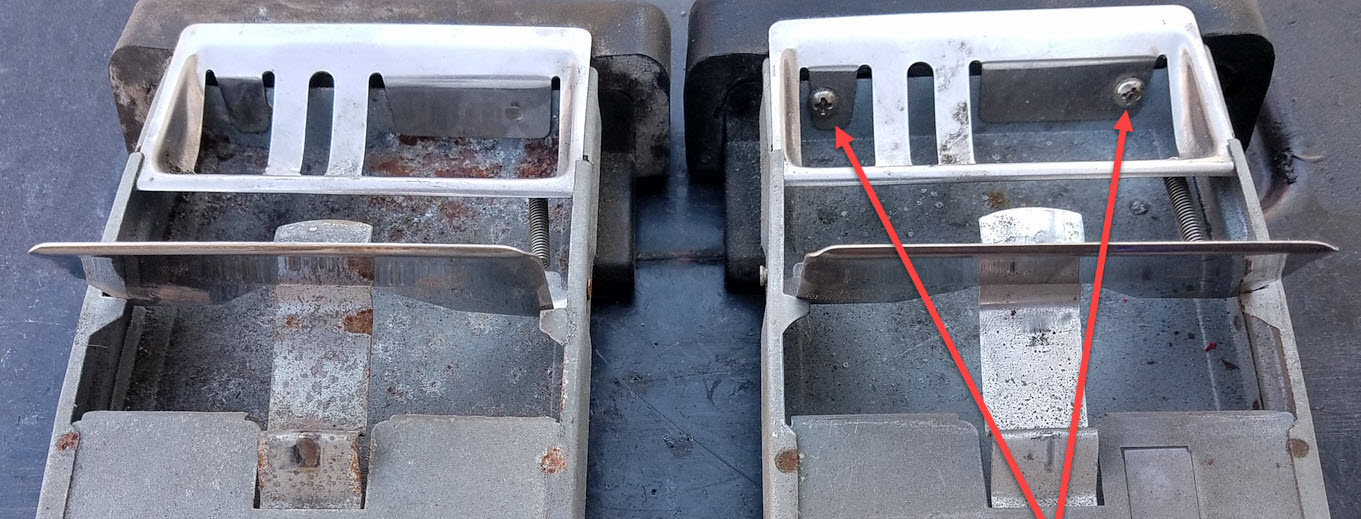
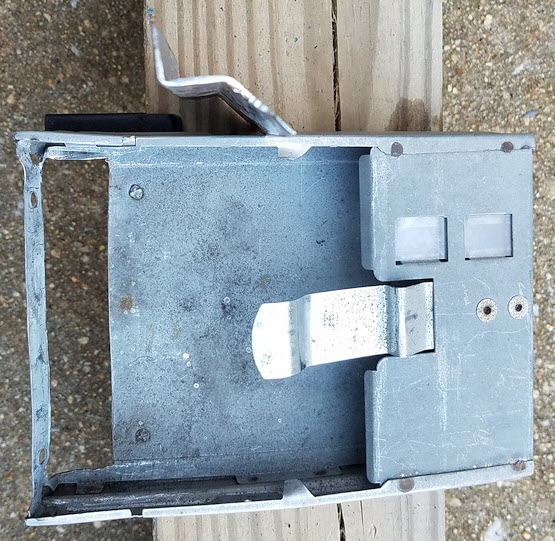
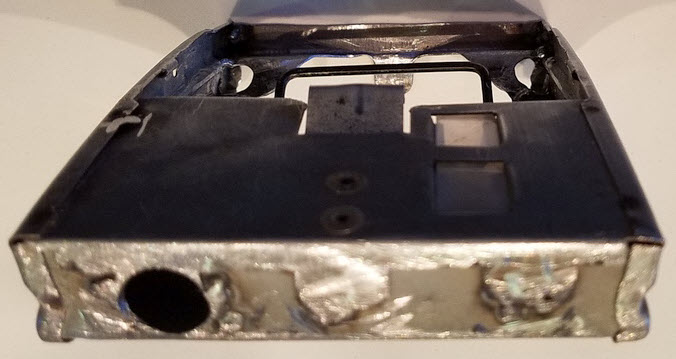
The front of the ashtray needed to be beefed up and a front face was crafted from 18ga. Note the holes used for the welds.
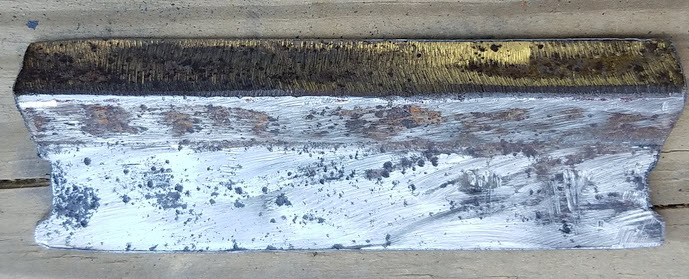
The front face reinforcing bracket. Notice the left and right curved notches hat will allow the wiring to fit.
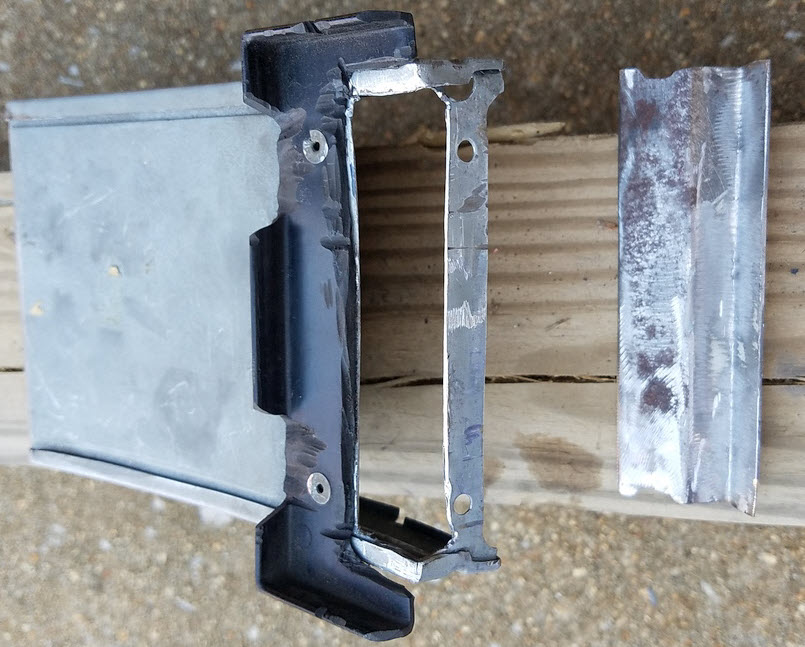
Some plastic destruction and it is removed completely..
The stop-tab on the ashtray was bent a bit more to make it less likely to pull-out. Note the hollow tube for the cup-holder wire. Two ZAP-IT welds and it was good to go.
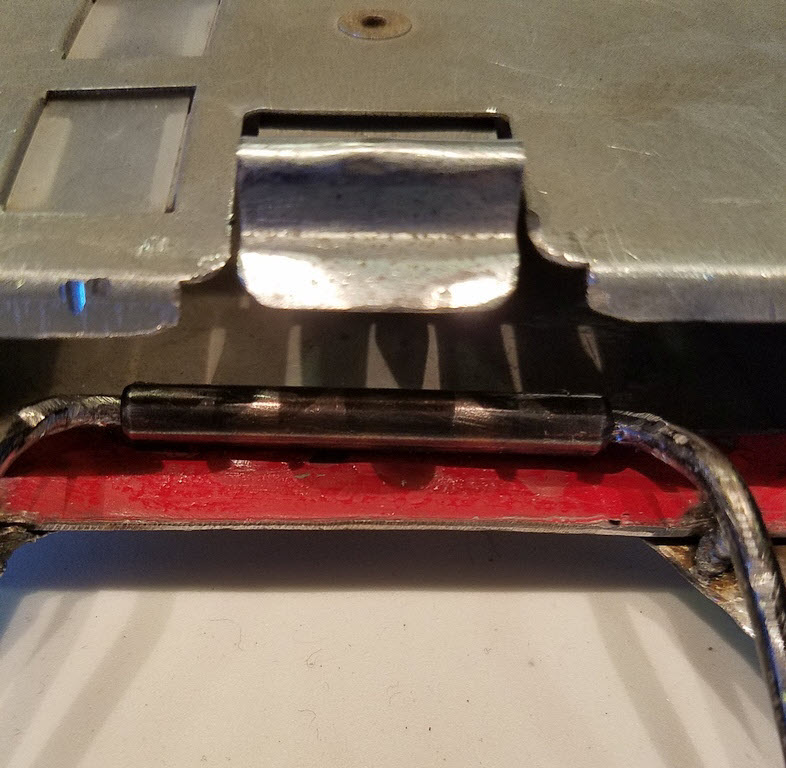
Cutout for the cup holder. Notice the reinforcing plate and weld. The black cup holder wire is a thick coat hanger covered in black undercoat paint. The holes on the left and right allow wires to pass through and under the top.
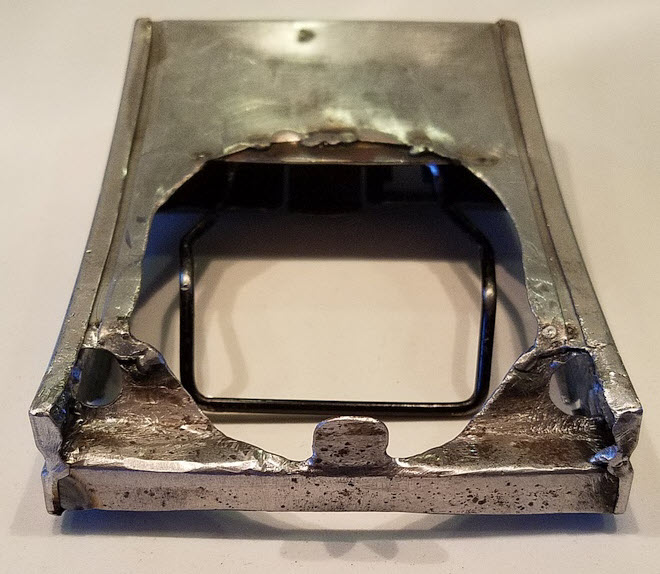
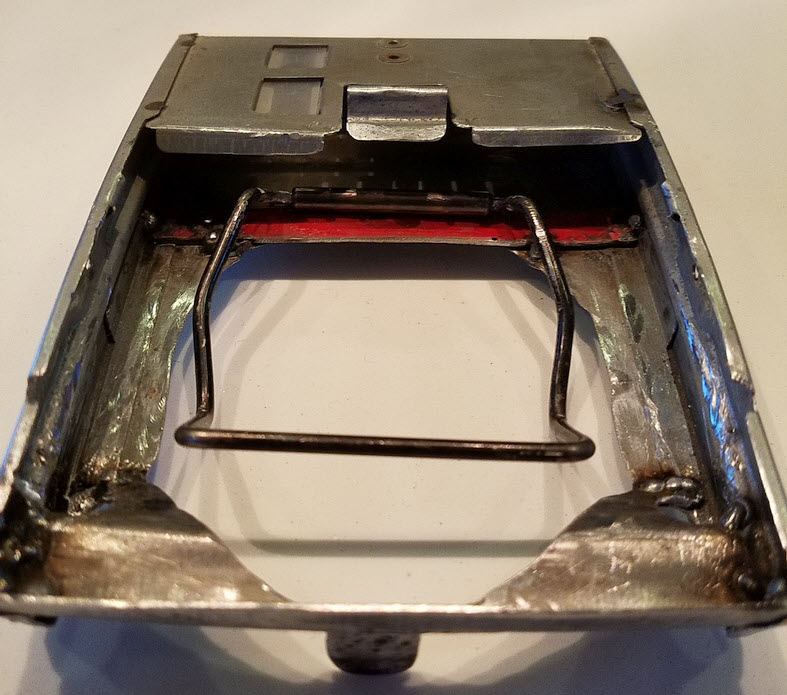
The design idea was simple and the reinforcement late at the picot acts as the stop. It took some gentle bending with an adjustable wrench and pliers to square-up the final shape and have it tuck in when closed.
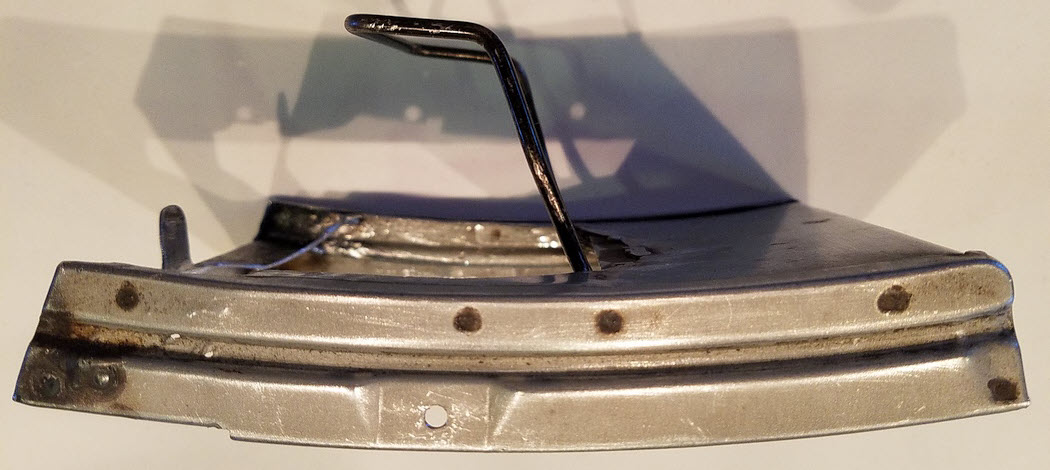
The outlet hole for the wiring will have a grommet and the wires are covered with nylon housing and a grommet for the hole.
This VDO mount is NLA, but I found one on eBay. It needs to be cut.
The red line shows where I cut this off. I made a jig with a few board for my table saw and did the rip. The rubber mold left and edge and I sanded that down at some point.
Just some clearance issues. The bulb holders needed to me modded to get out of the way of the cup/can area.
I took the bulb holders apart with a tiny screwdriver to press the tab seen in the picture and then slid them out into the bulb-side:Black epoxy ties it all together tight.
Shrink-wrap, strong wire spades and tight crimps. Wires are also housed in the nylon protection housing loom.
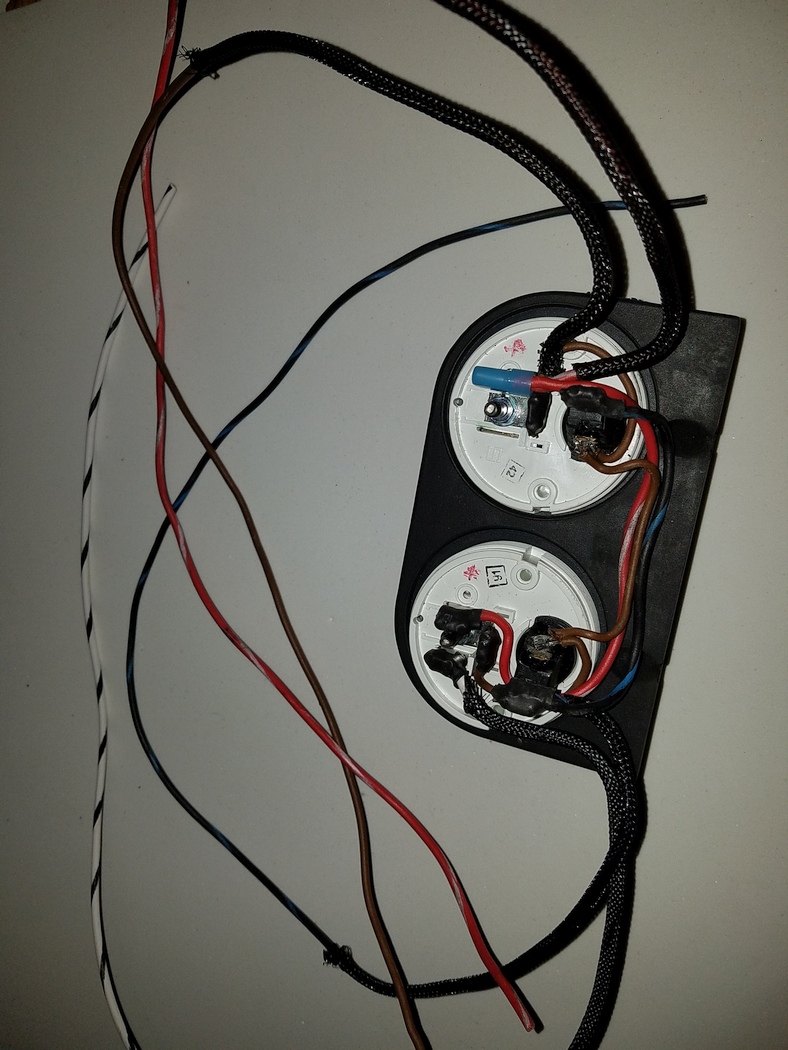
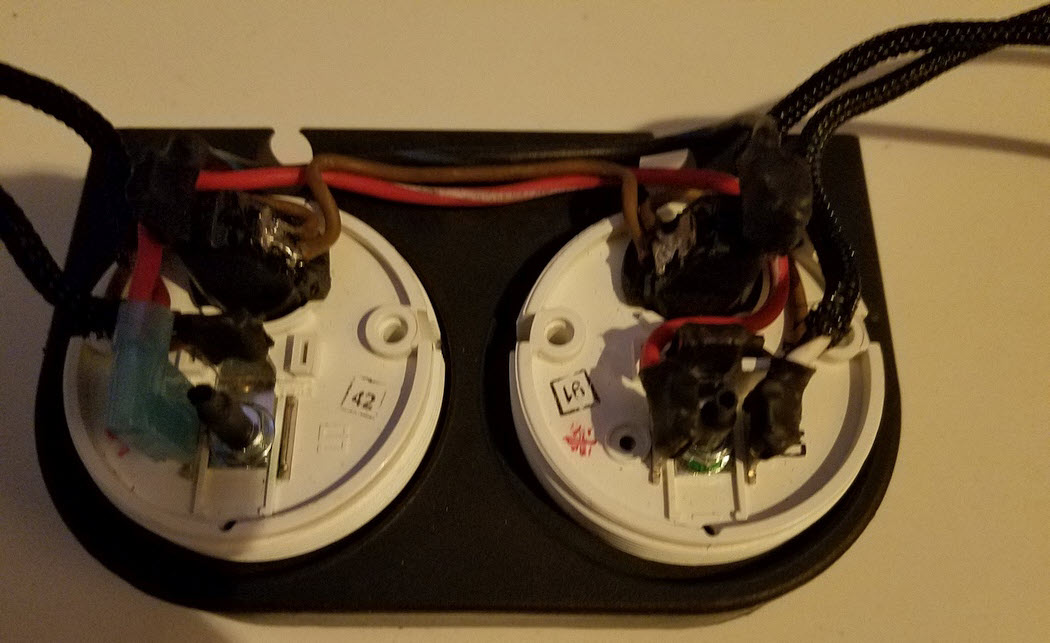
Note the shrink-wrap tubing over the posts.
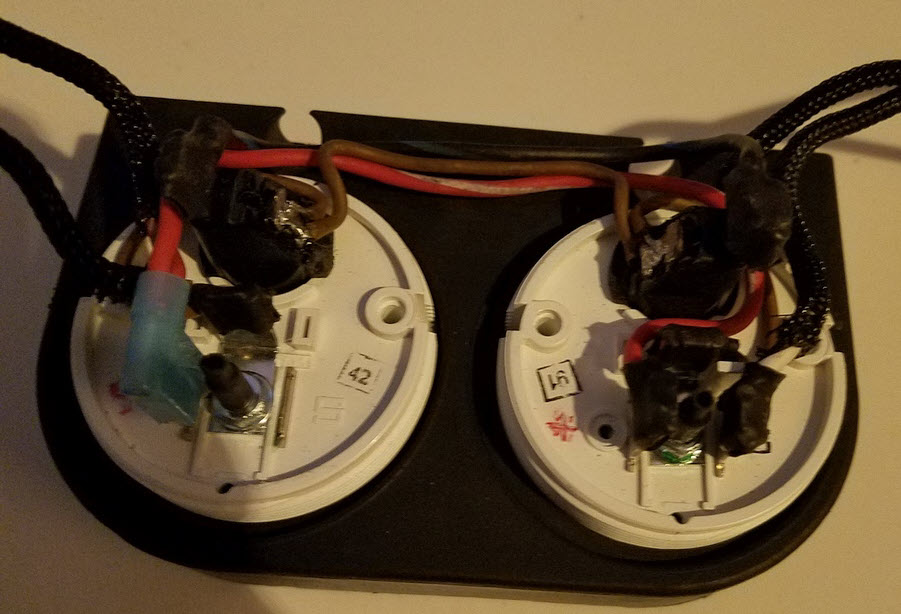
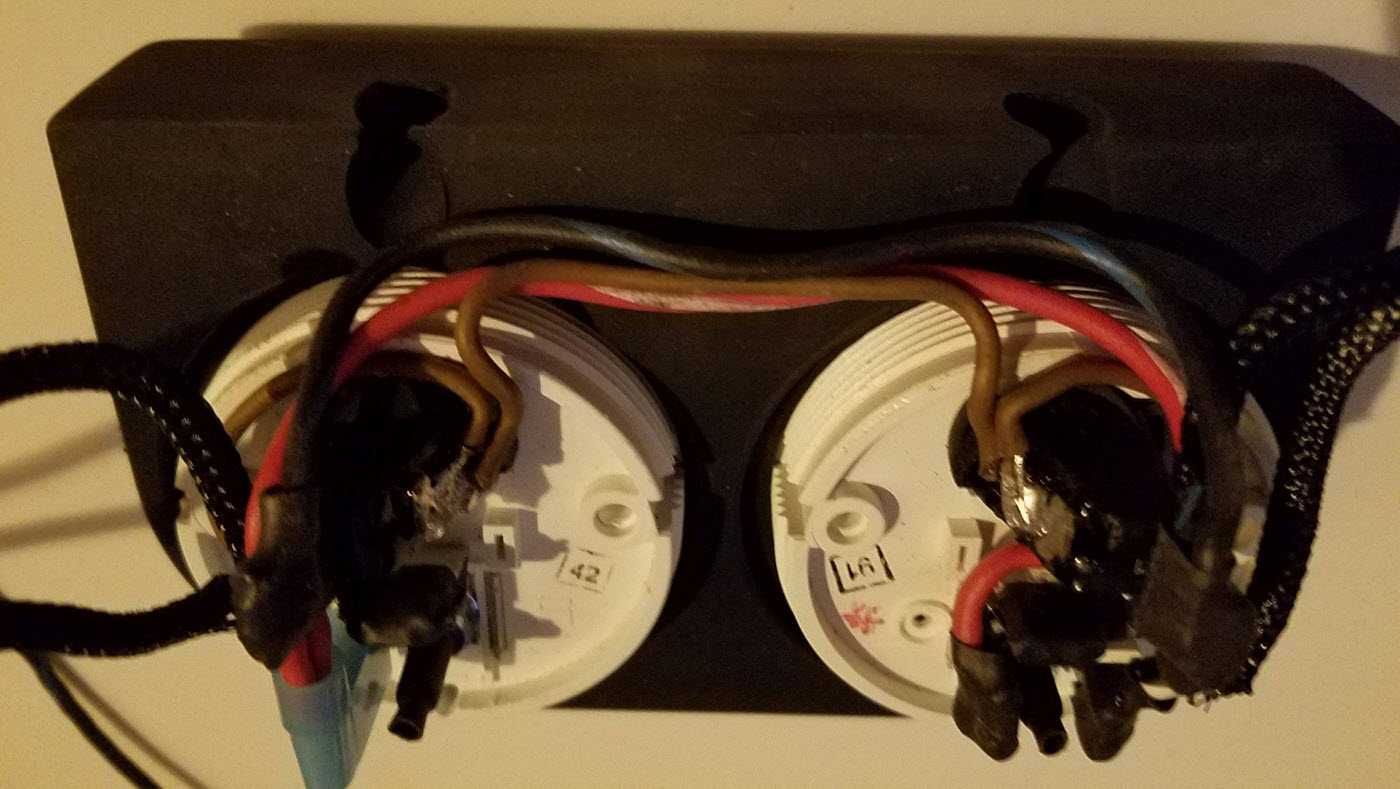
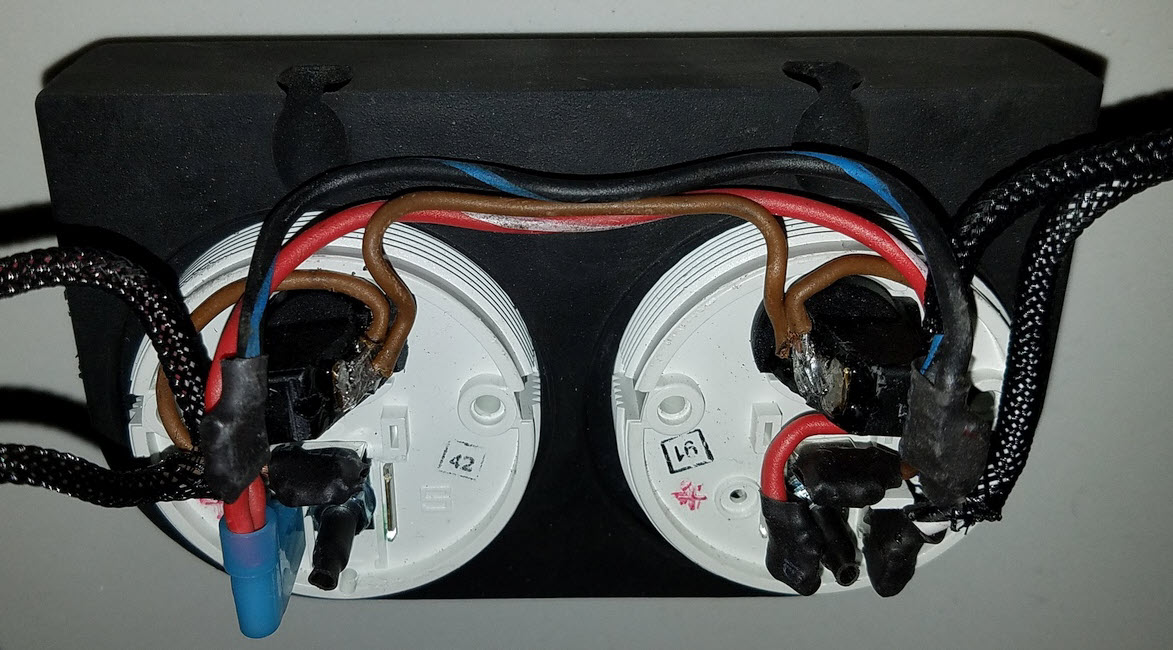
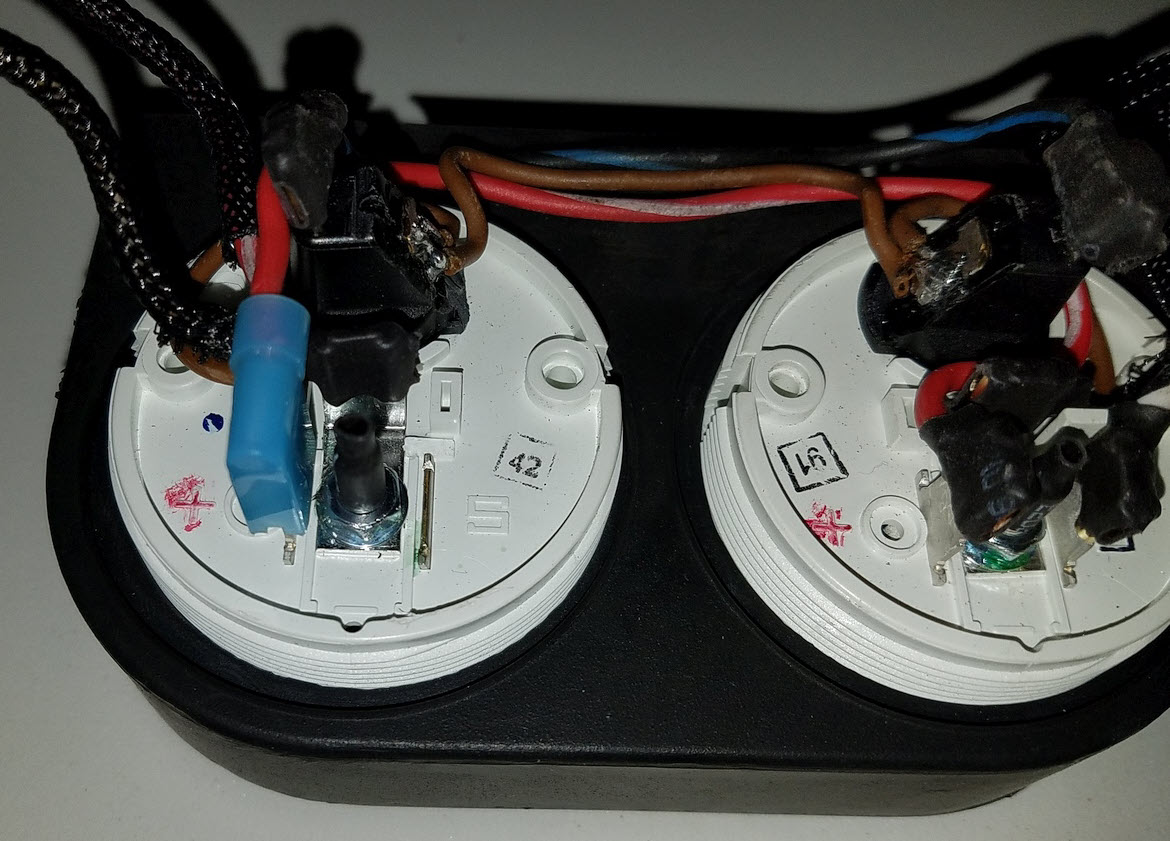
Note the common ground jumper (brown wire). Note the dimmable gauge lighting wire (blue with black stripe). Red with white stripe is non-dimmable power coming from the front-trunk mounted fuel pump as the supply line. Gauges pull almost no amps and this signal is strong and steady with zero issues noted after 6000 miles to date. The gauge "sender" signals were wired into the harness when I re-wrapped the entire harness.
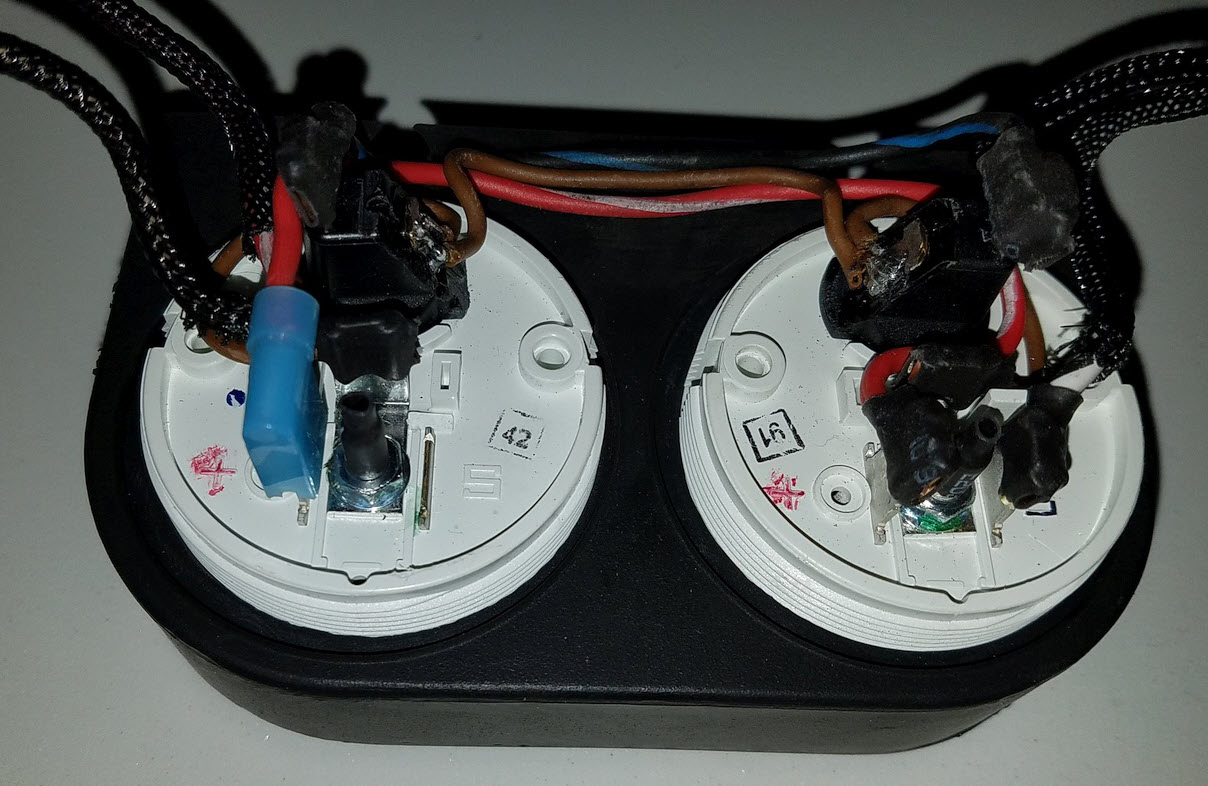
Note the welds holding the reinforced plate for the VDO rubber gauge mount. This is a test setup before the wiring noted above. 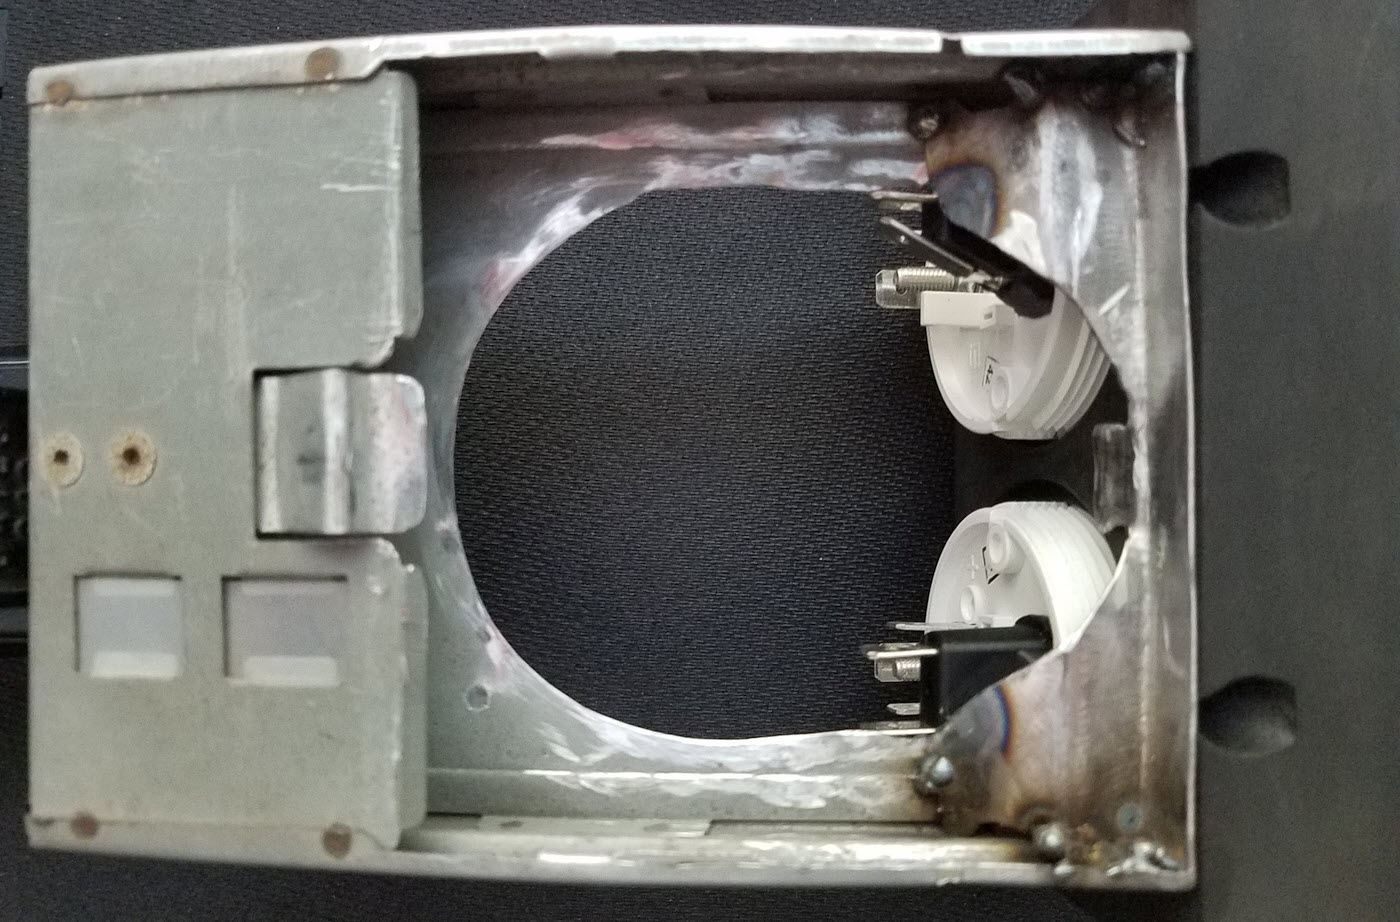
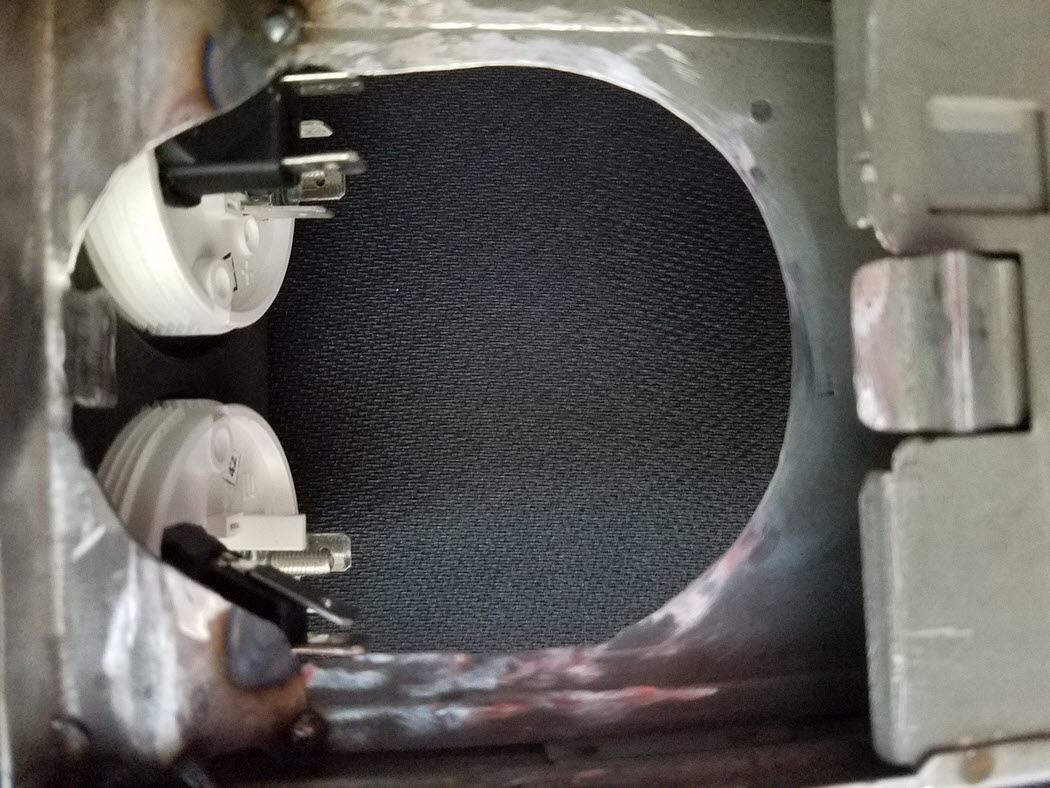
Some craft-store foam was glued down. The back of the gauges are protected by a small sheet of Kydex plastic.
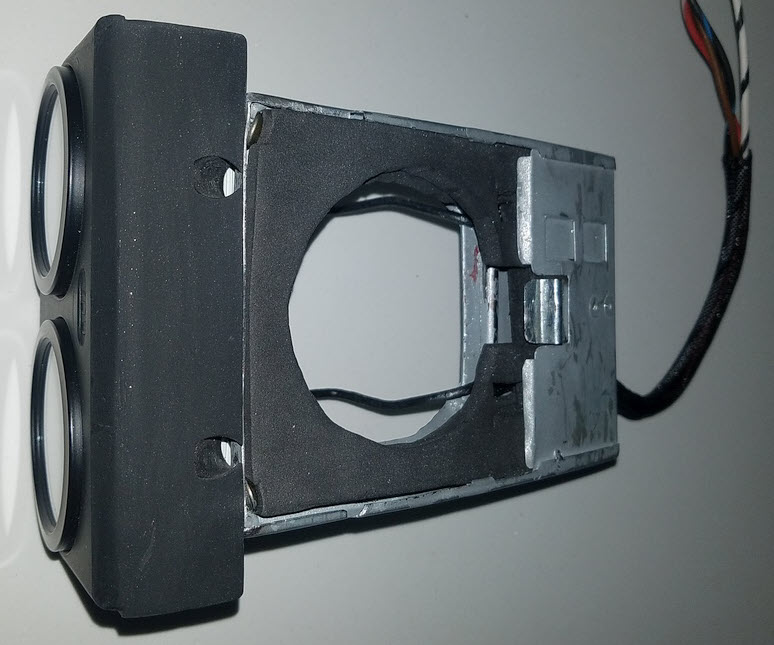
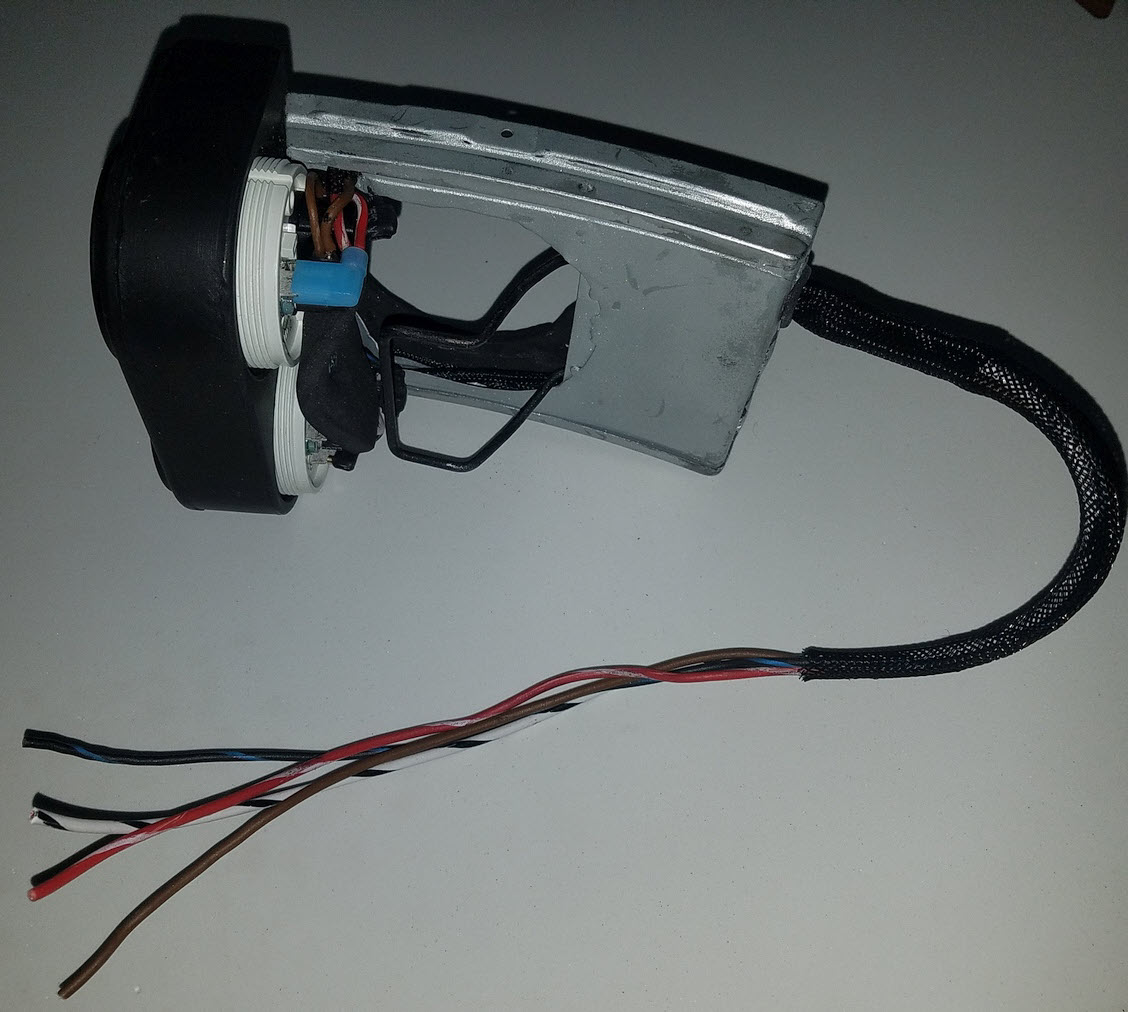
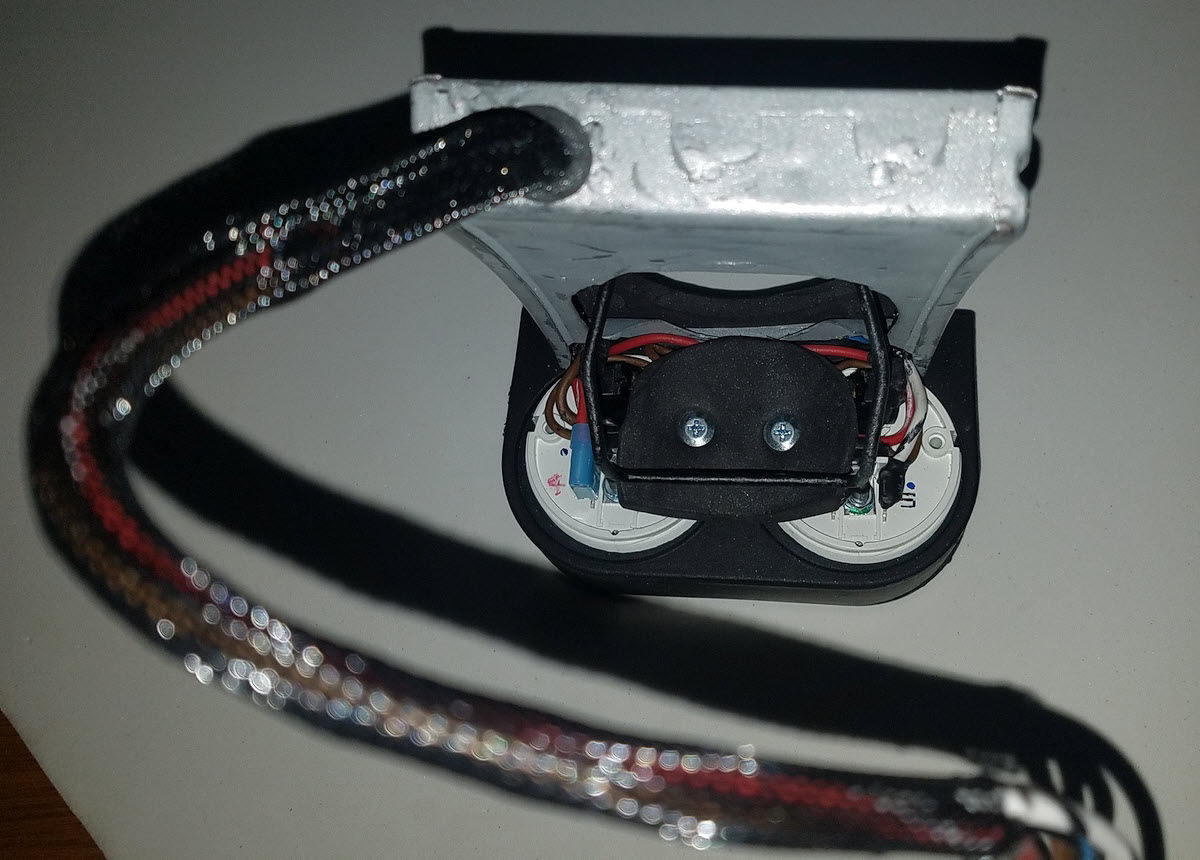
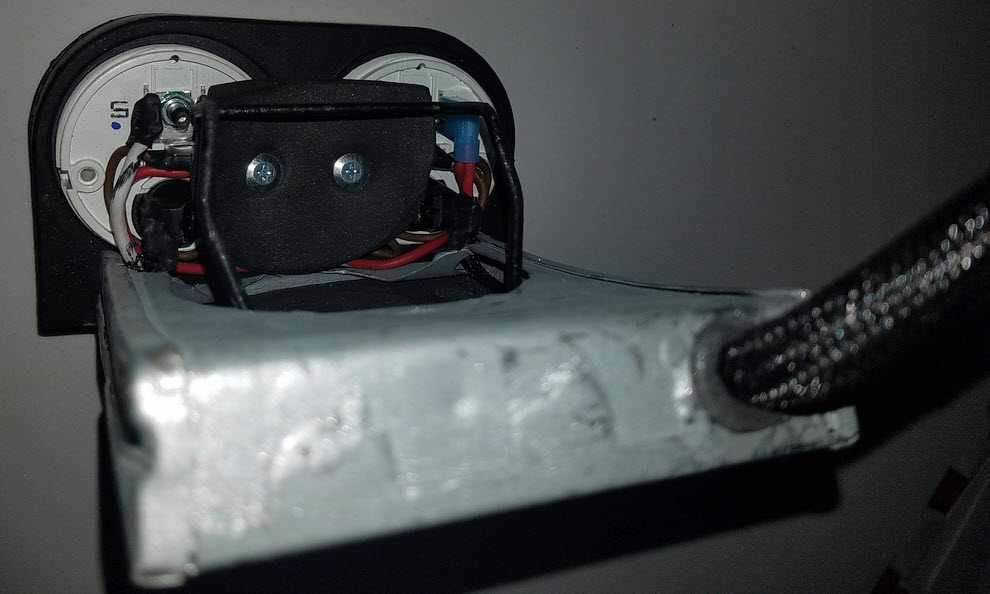
You can see the head of the yellow Zinc screw on the left side of this image that holds the ashtray bracket to the VDO rubber mount. The two screws noted below go into the mounting screw holes gauges.
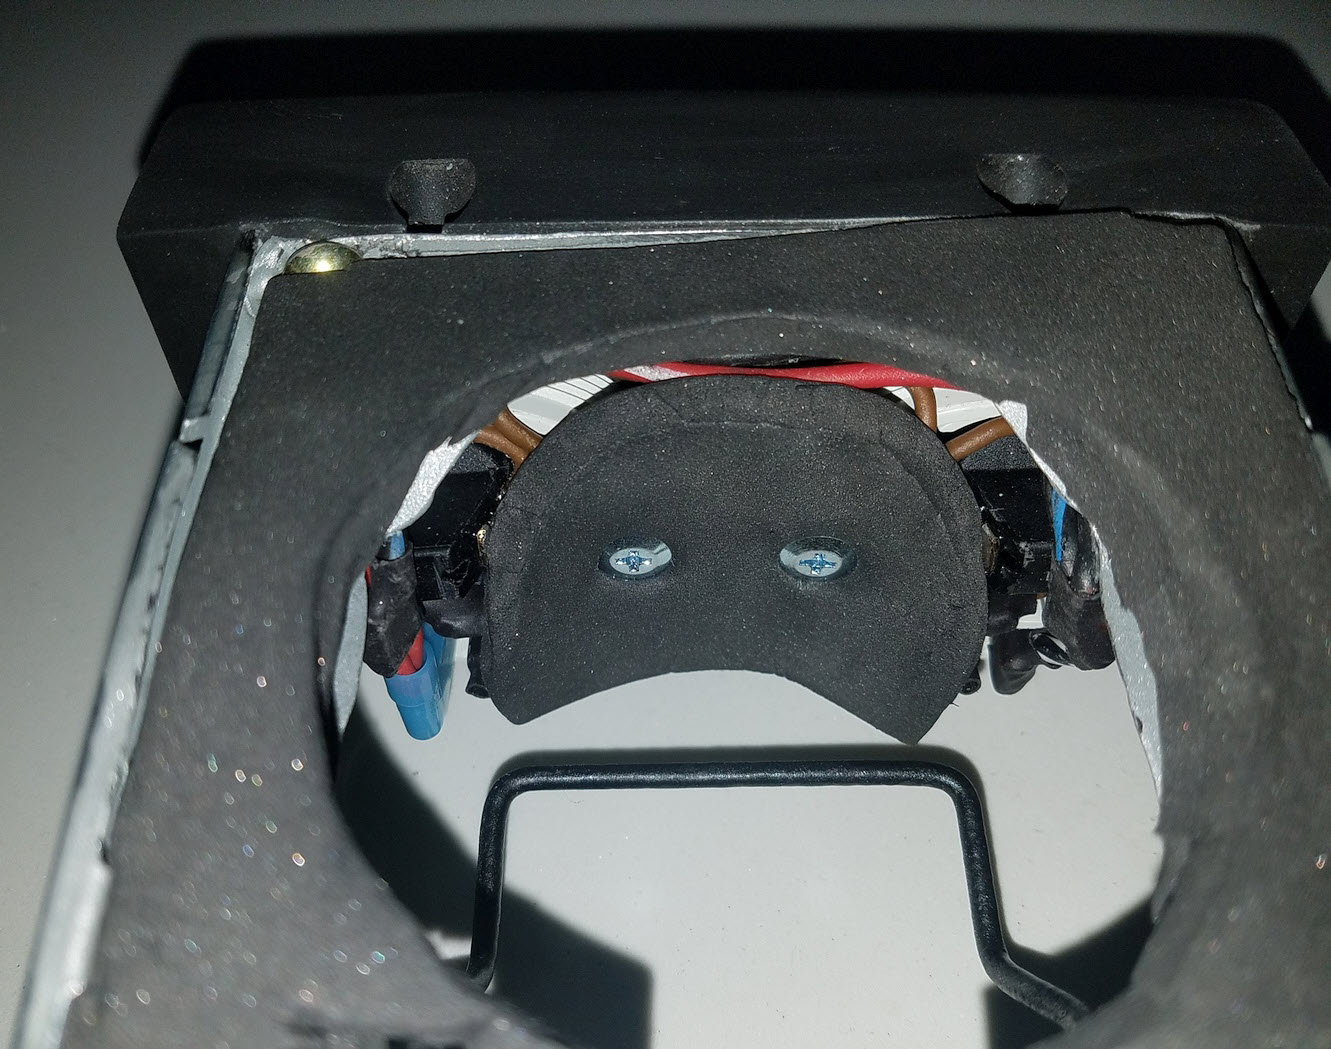
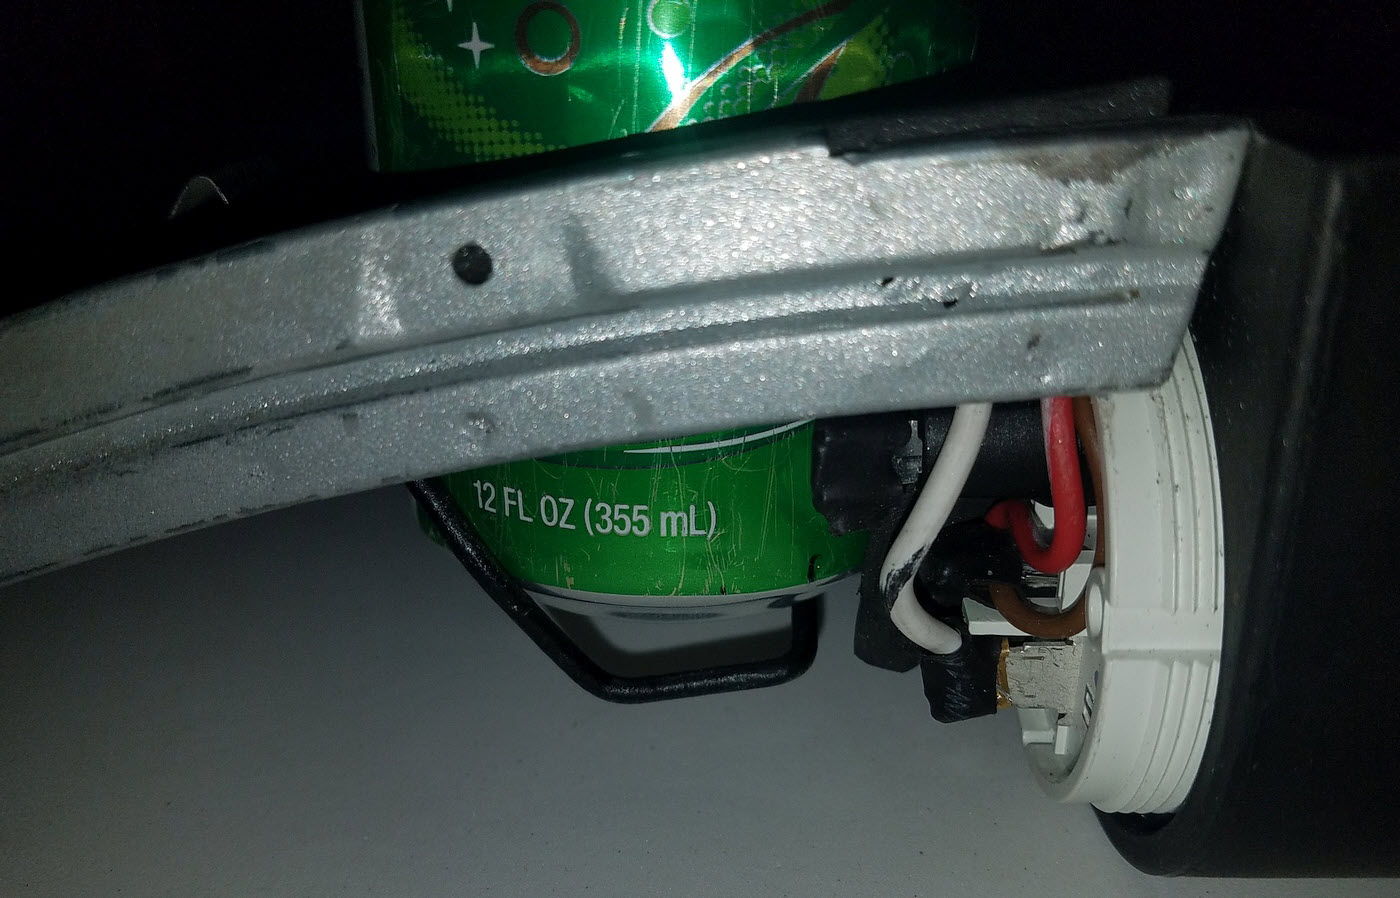
Epoxy coated black.
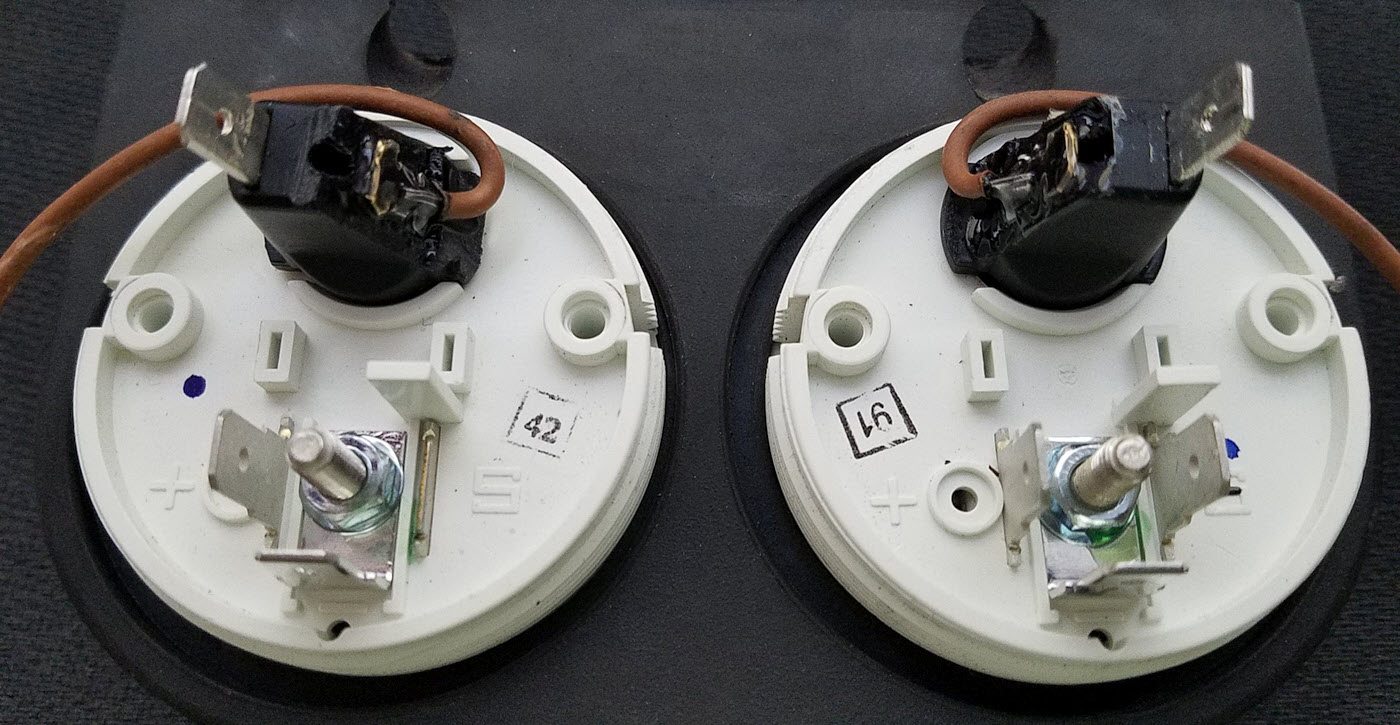
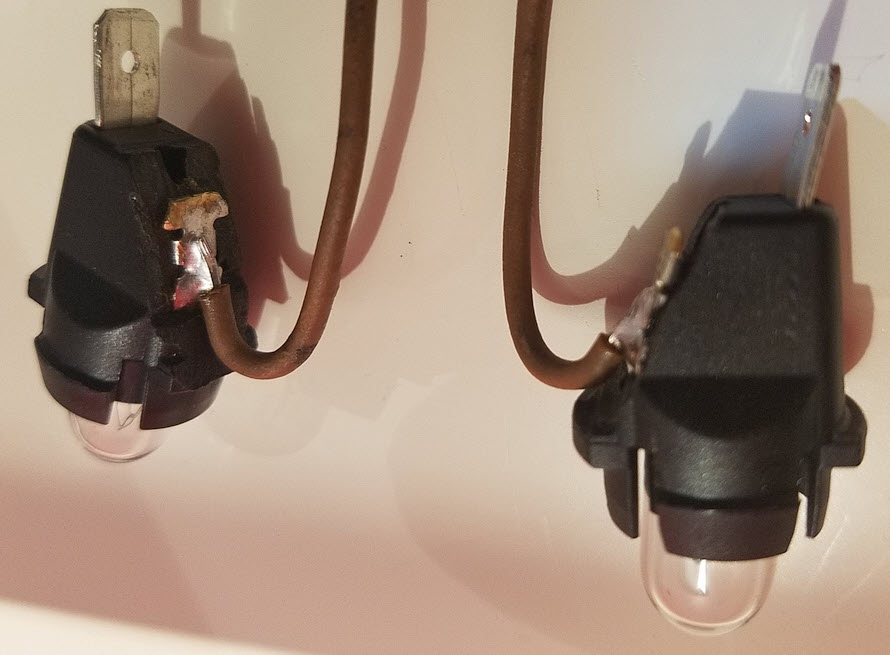
This is the tape to protect the bulb sockets while I did the black epoxy.