Joe's 914 Project
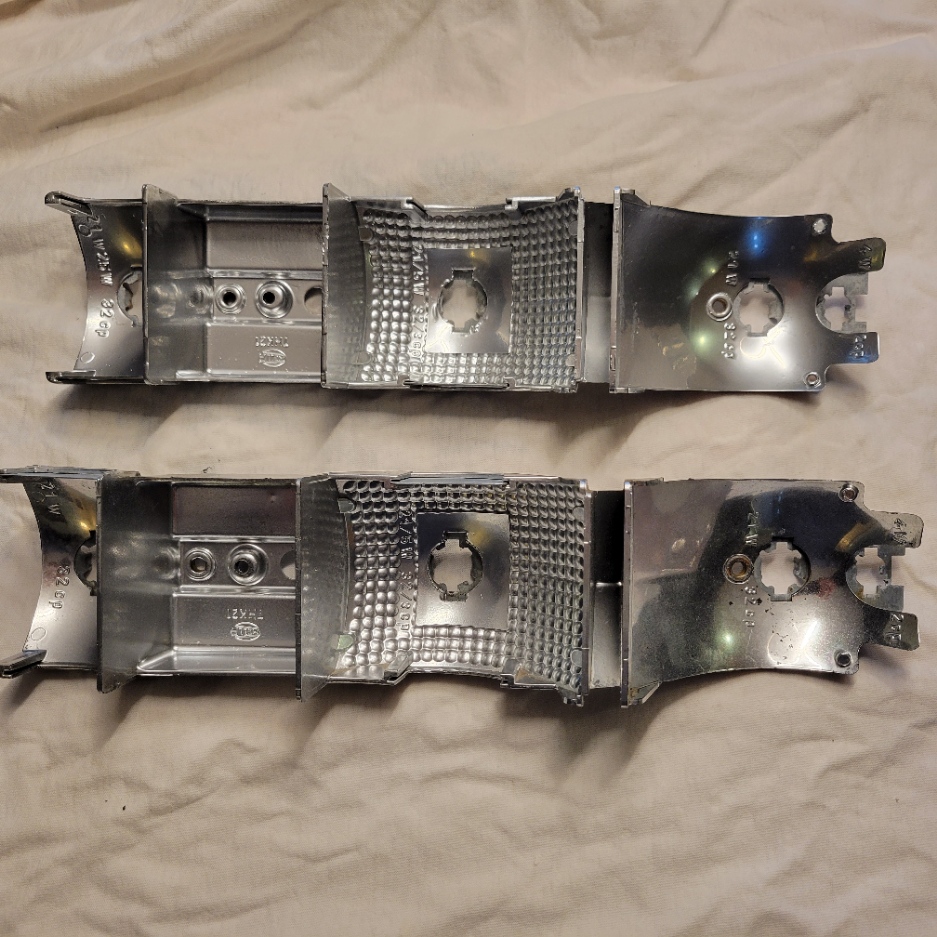
I have a few sets of these and the seals tend to go and that contributes to the trunk rot. The reflectors get that atmospheric humidity and tend to become dull after all of these years.
Having worked on the fog lights, this seems like a nice project.
The approaches:
1.Soda-Blast the reflectors
2.Paint with Rust-Oleum fake chrome paint over a Rust-Oleum Plastic Paint white paint primer. Lots of American muscle hot-rodders use white paint with fantastic results.
3.Reflective Tape:
a.I purchased 3M Stainless tape. Very similar to aluminum duct-work tape (WAY more expensive), just made from stainless. Thicker and harder to work with, but will never oxidize.
b.If the 3M stuff is not working out, will use chrome tape (Mylar chrome car wrap tape for trim).
4.LED Rear bulbs for all slots. This reduces the Amps in the old wire and the car in general while improving safety.
5.Depending on how that works out, will consider https://www.spokeworksled.com/914-led-solutions. He's also a nice guy!
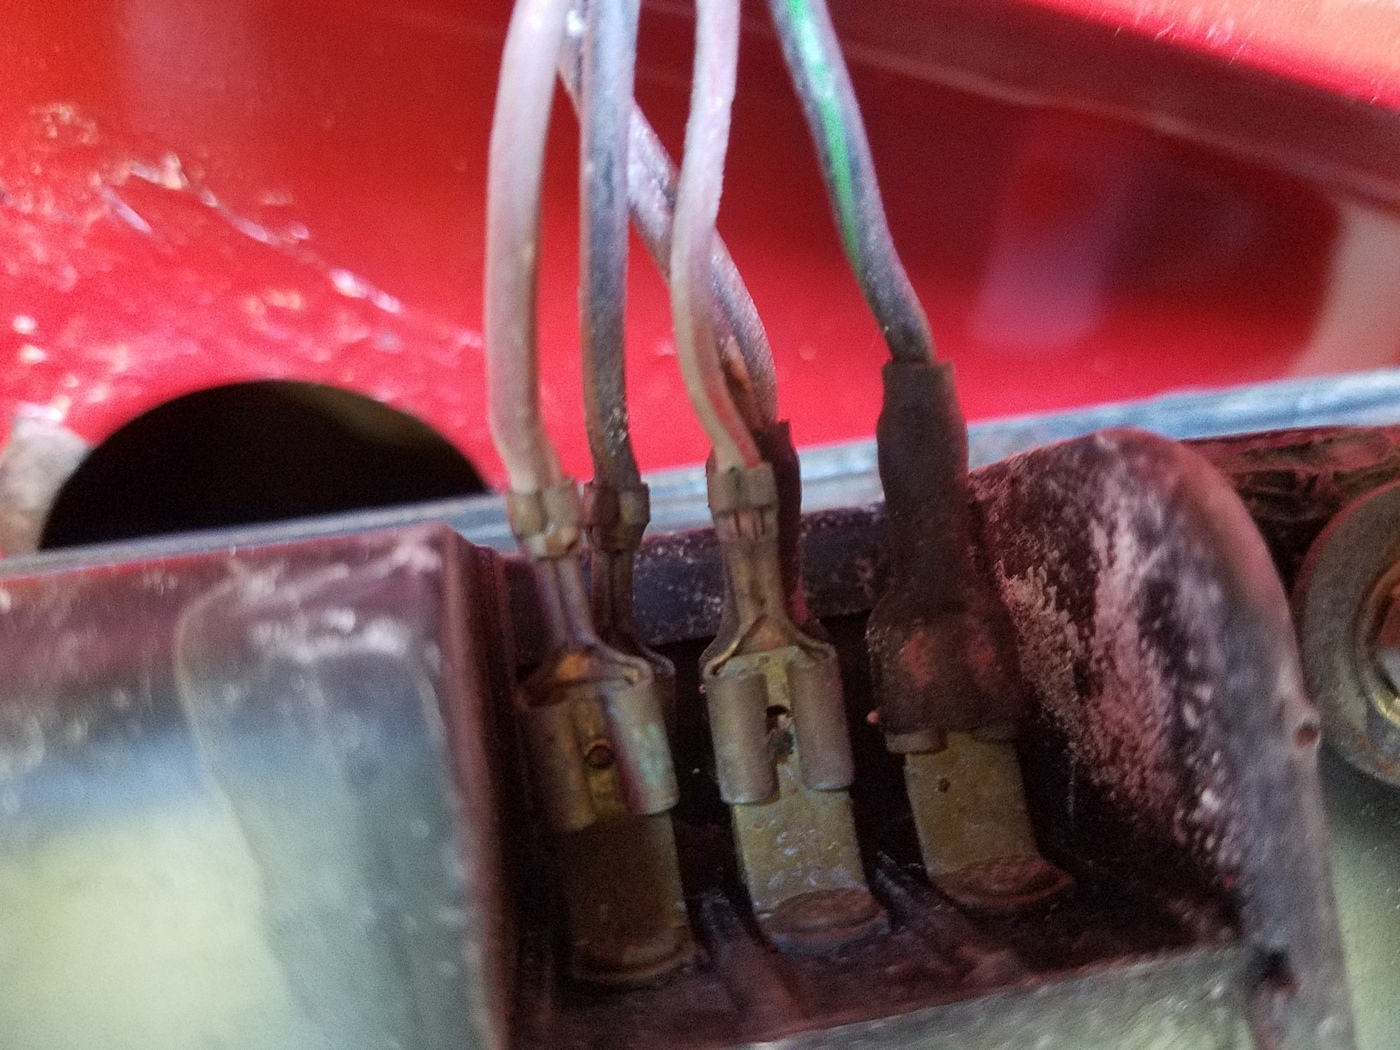
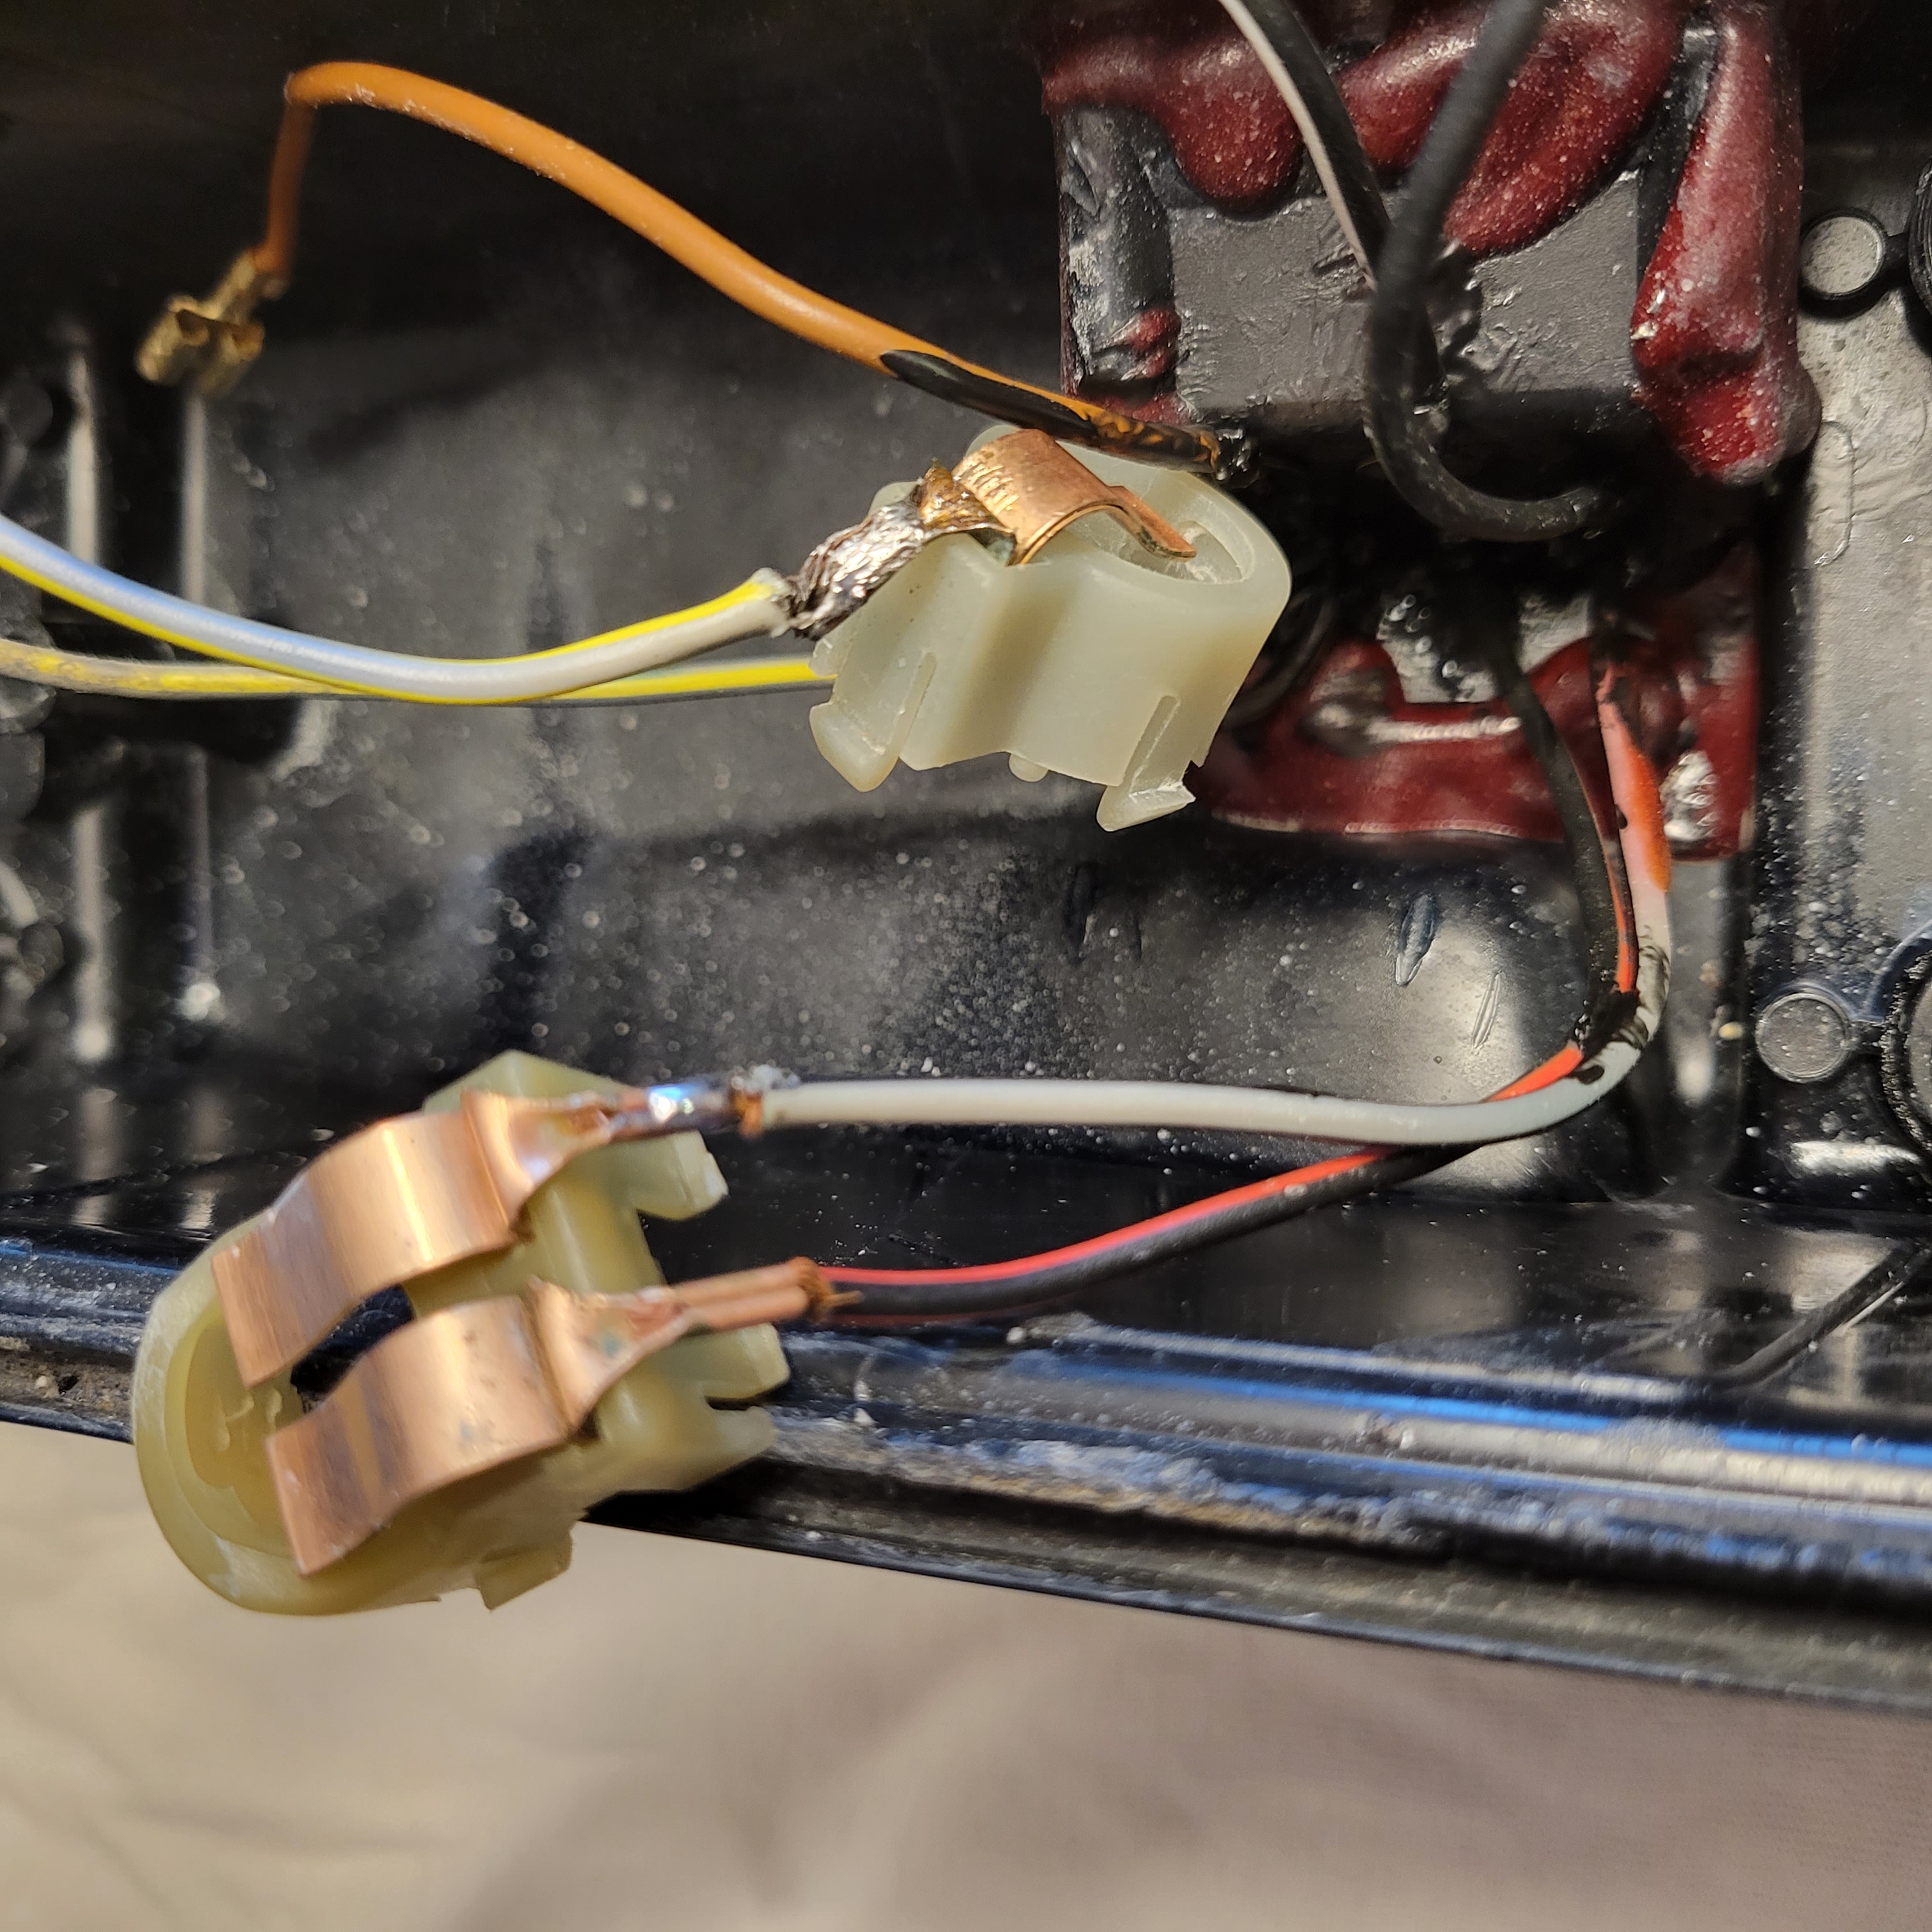
In the end, I used just the Chrome-ish spray-paint and it worked fine. I had to re-solder most of the wires in the tail-light buckets and all contacts were cleaned-up with Vinegar + Salt and a toothbrush.
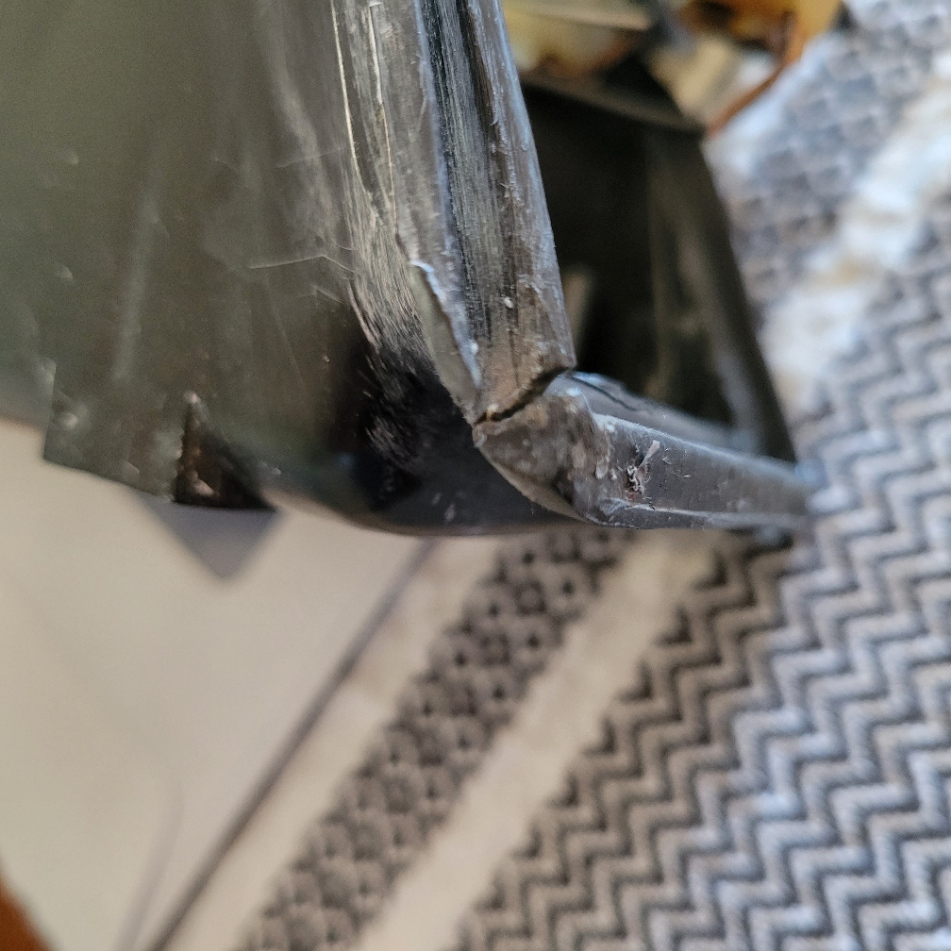
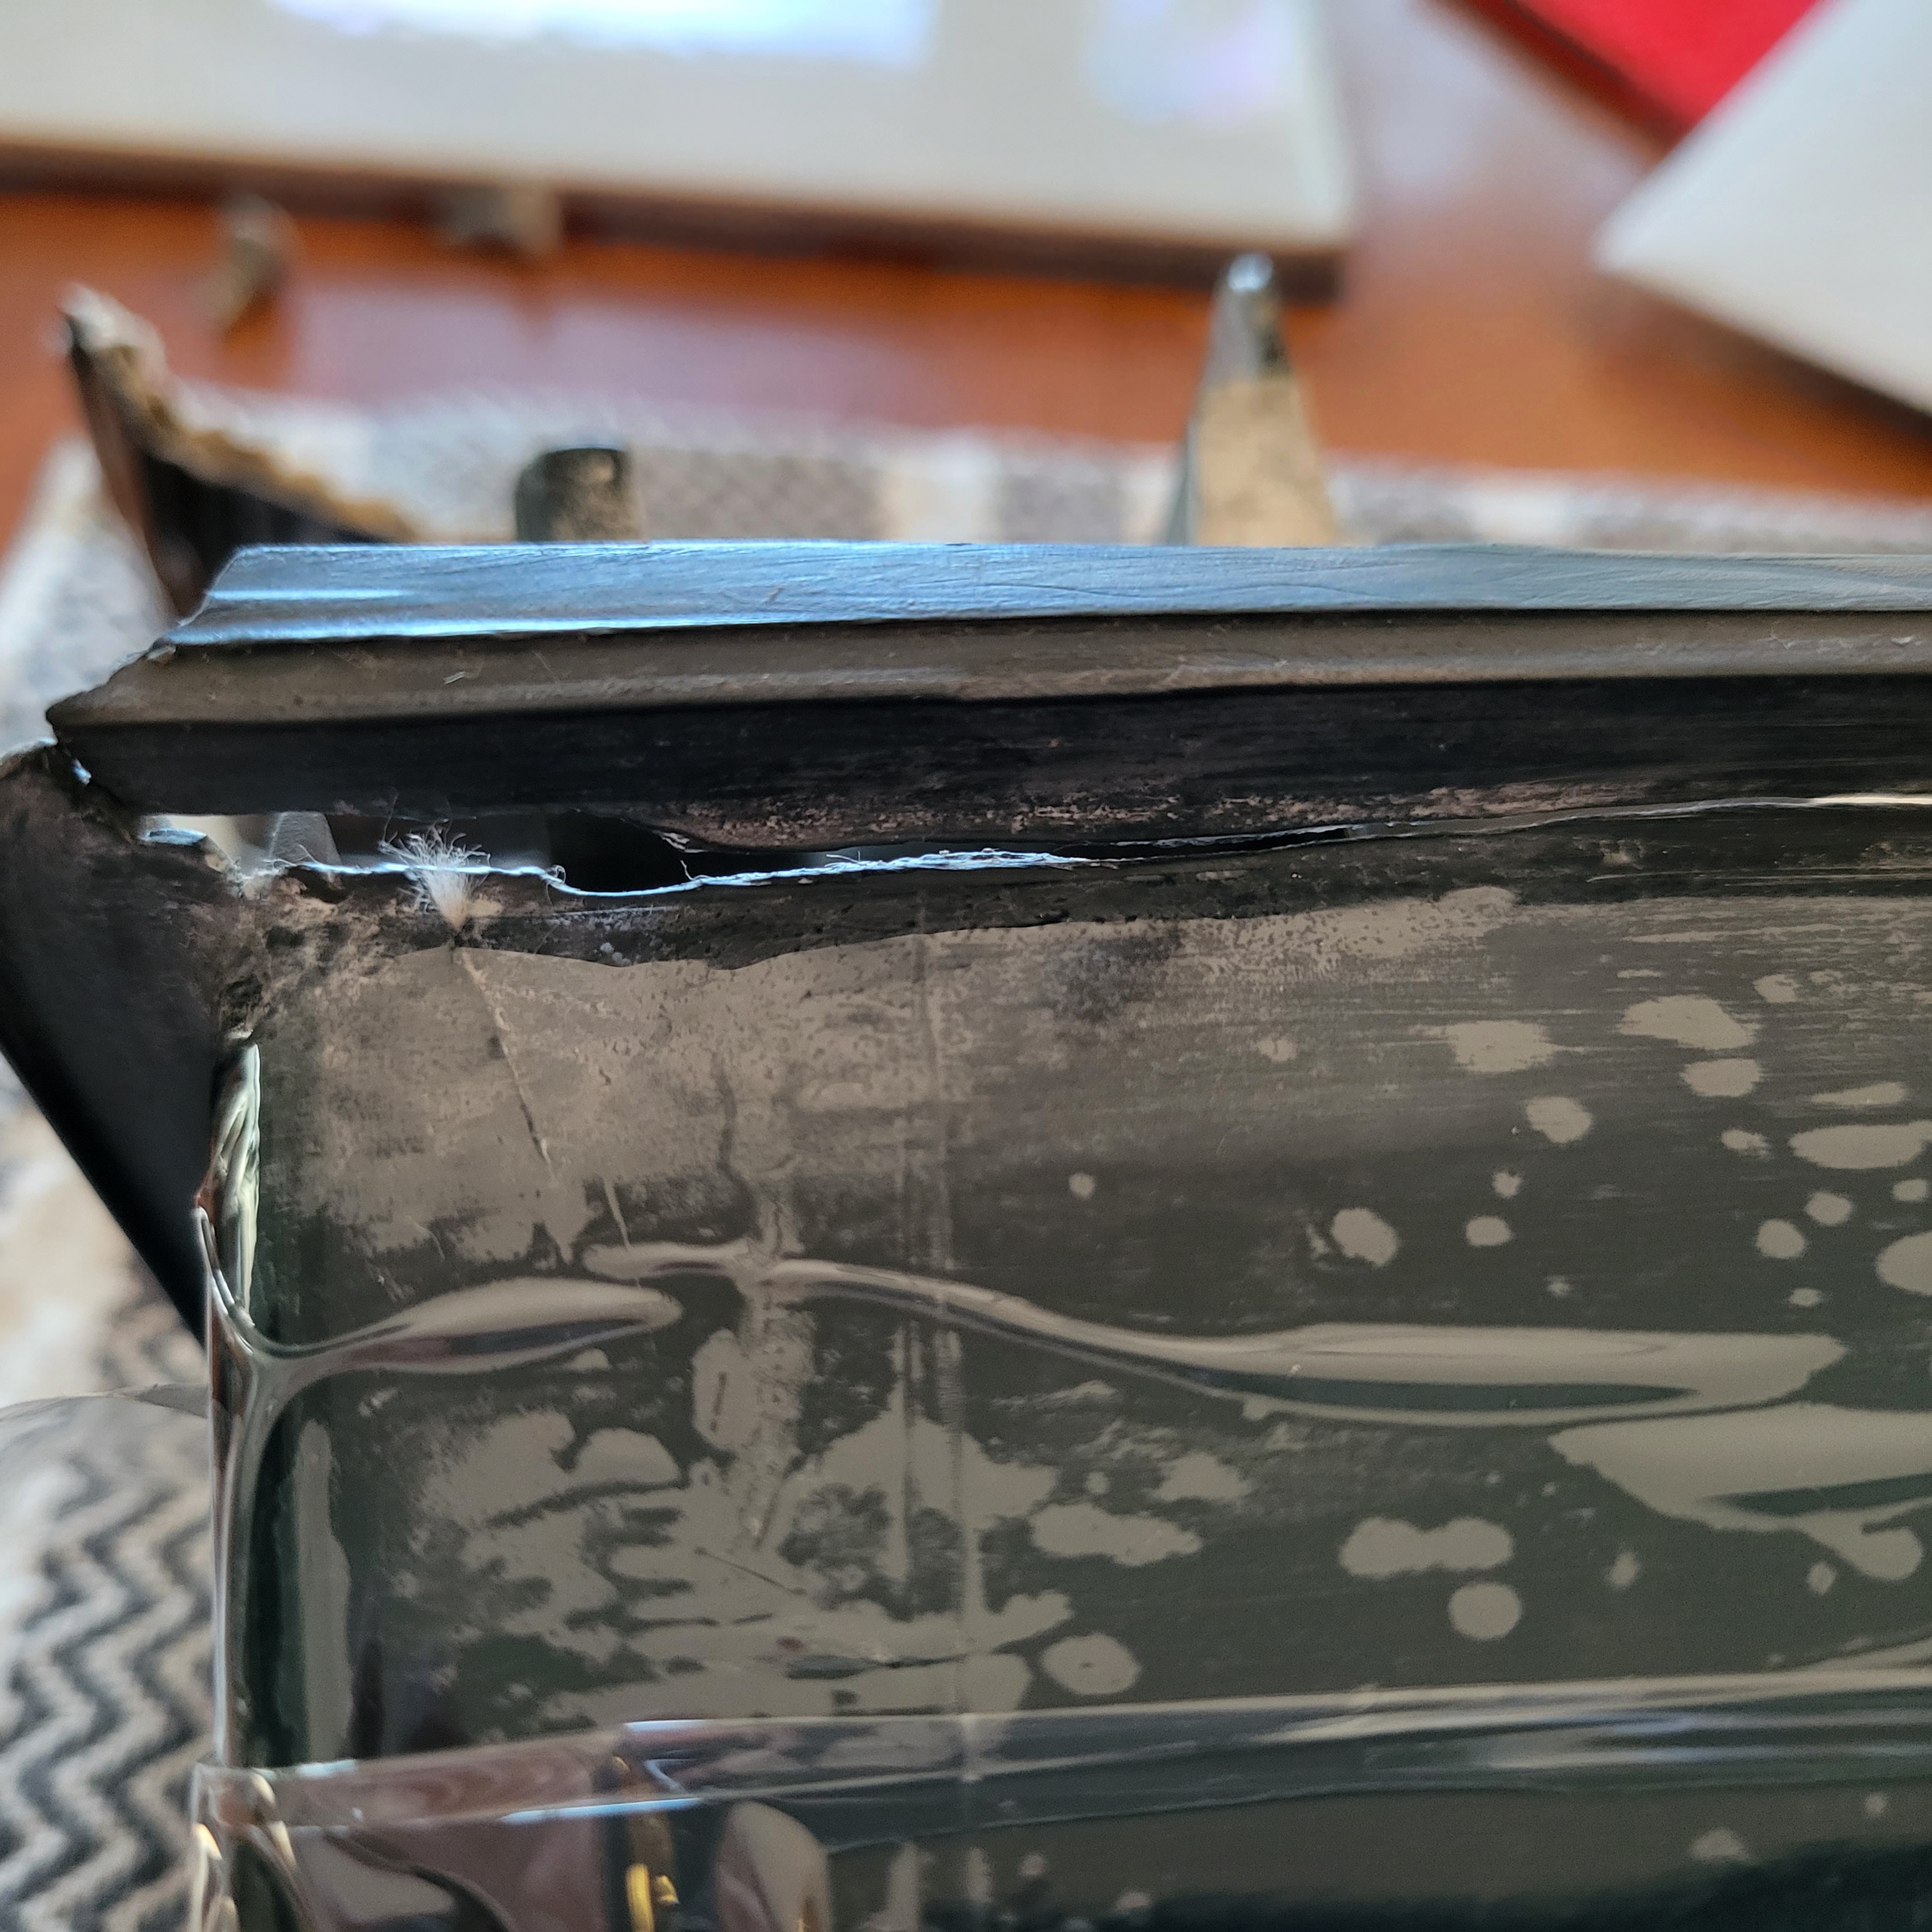
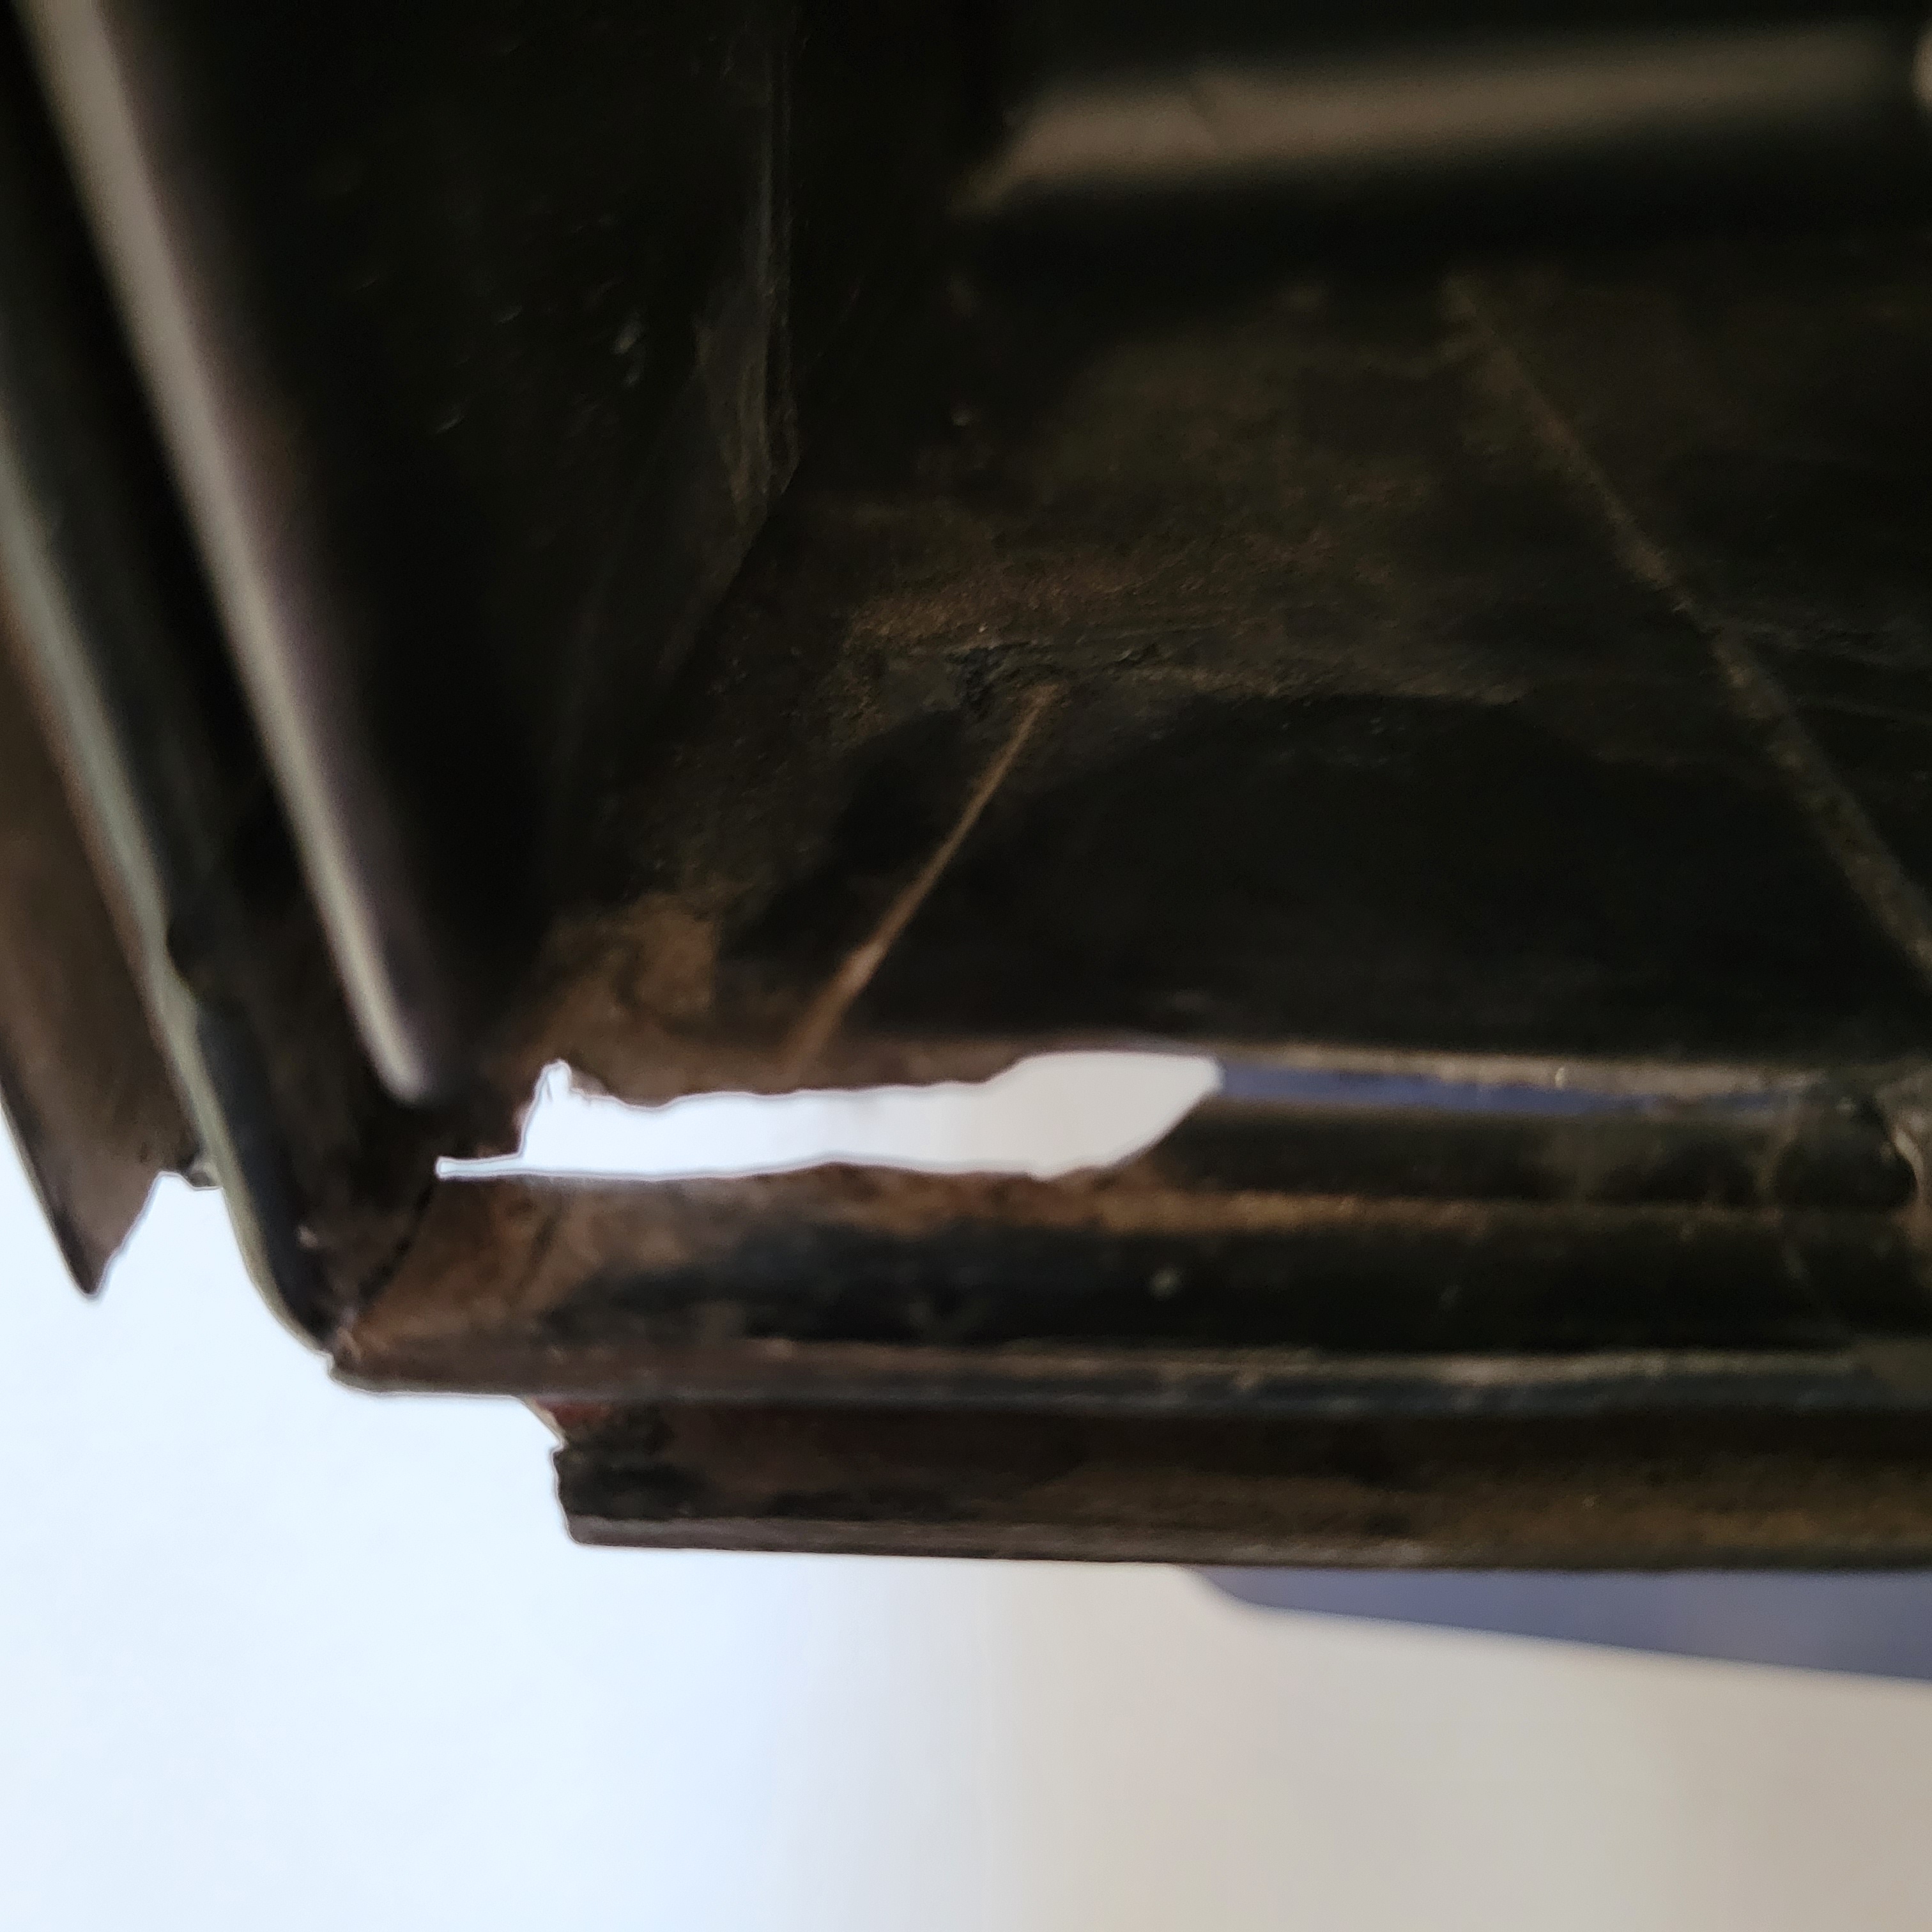
The buckets were mostly cracked and it took several coats of JB-Weld (with metal the aluminum bits) and a little carbon-fiber to fix these up. I polished the bodies with Baking Soda and then Brasso.
When patching the buckets with JB-Weld, be sure to use ONLY packing tape to seal-off the surfaces that should not be epoxied. I even covered my cardboard barges in packing tape. Epoxy does not stick to packing tape and I have even done carbon-fiber bike repairs with packing tape as my mask-off product with fantastic results.
One lens was cracked at the joint and I used the proper bonding method for plexiglass (Acrylic) by NOT using a CA contact glue, but instead using the correct plastic melting solvent Methylene Chloride to bond the pieces together. I purchased a bottle from the model section of a local hobby shop, but you can get this on-line too. Products like TAP Acrylic Cement and Weld-On 3 or 4. I used a small syringe with an applicator needle and let it sit in the desired position for a few hours to insure the best bond. Worked like a charm!
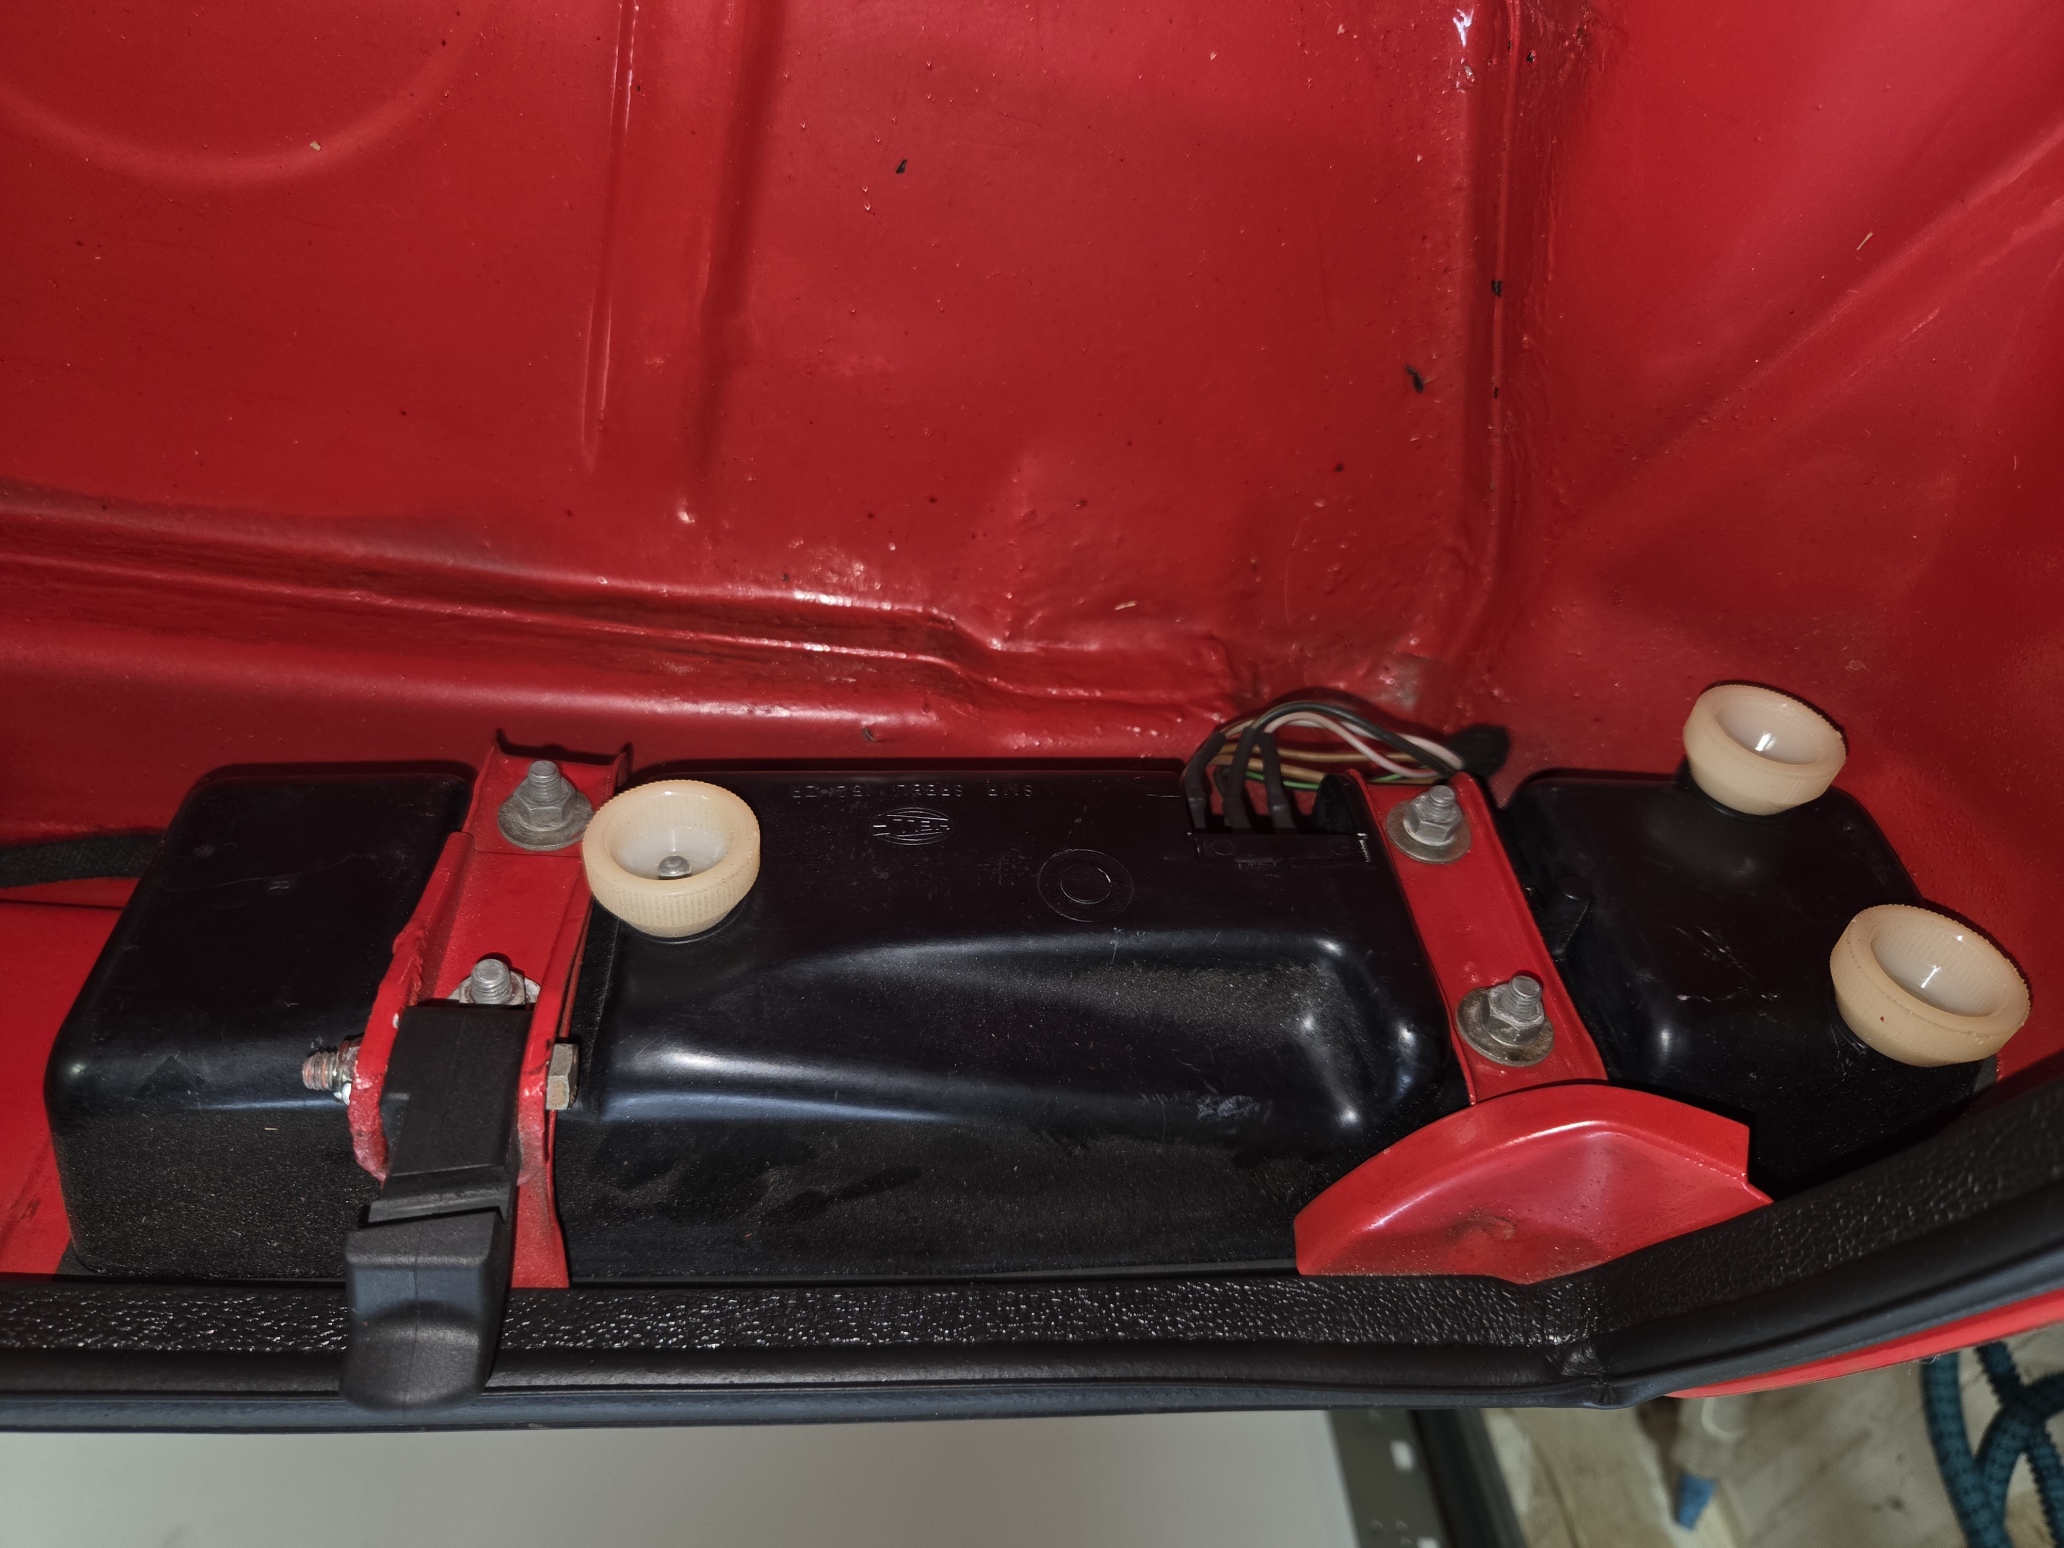
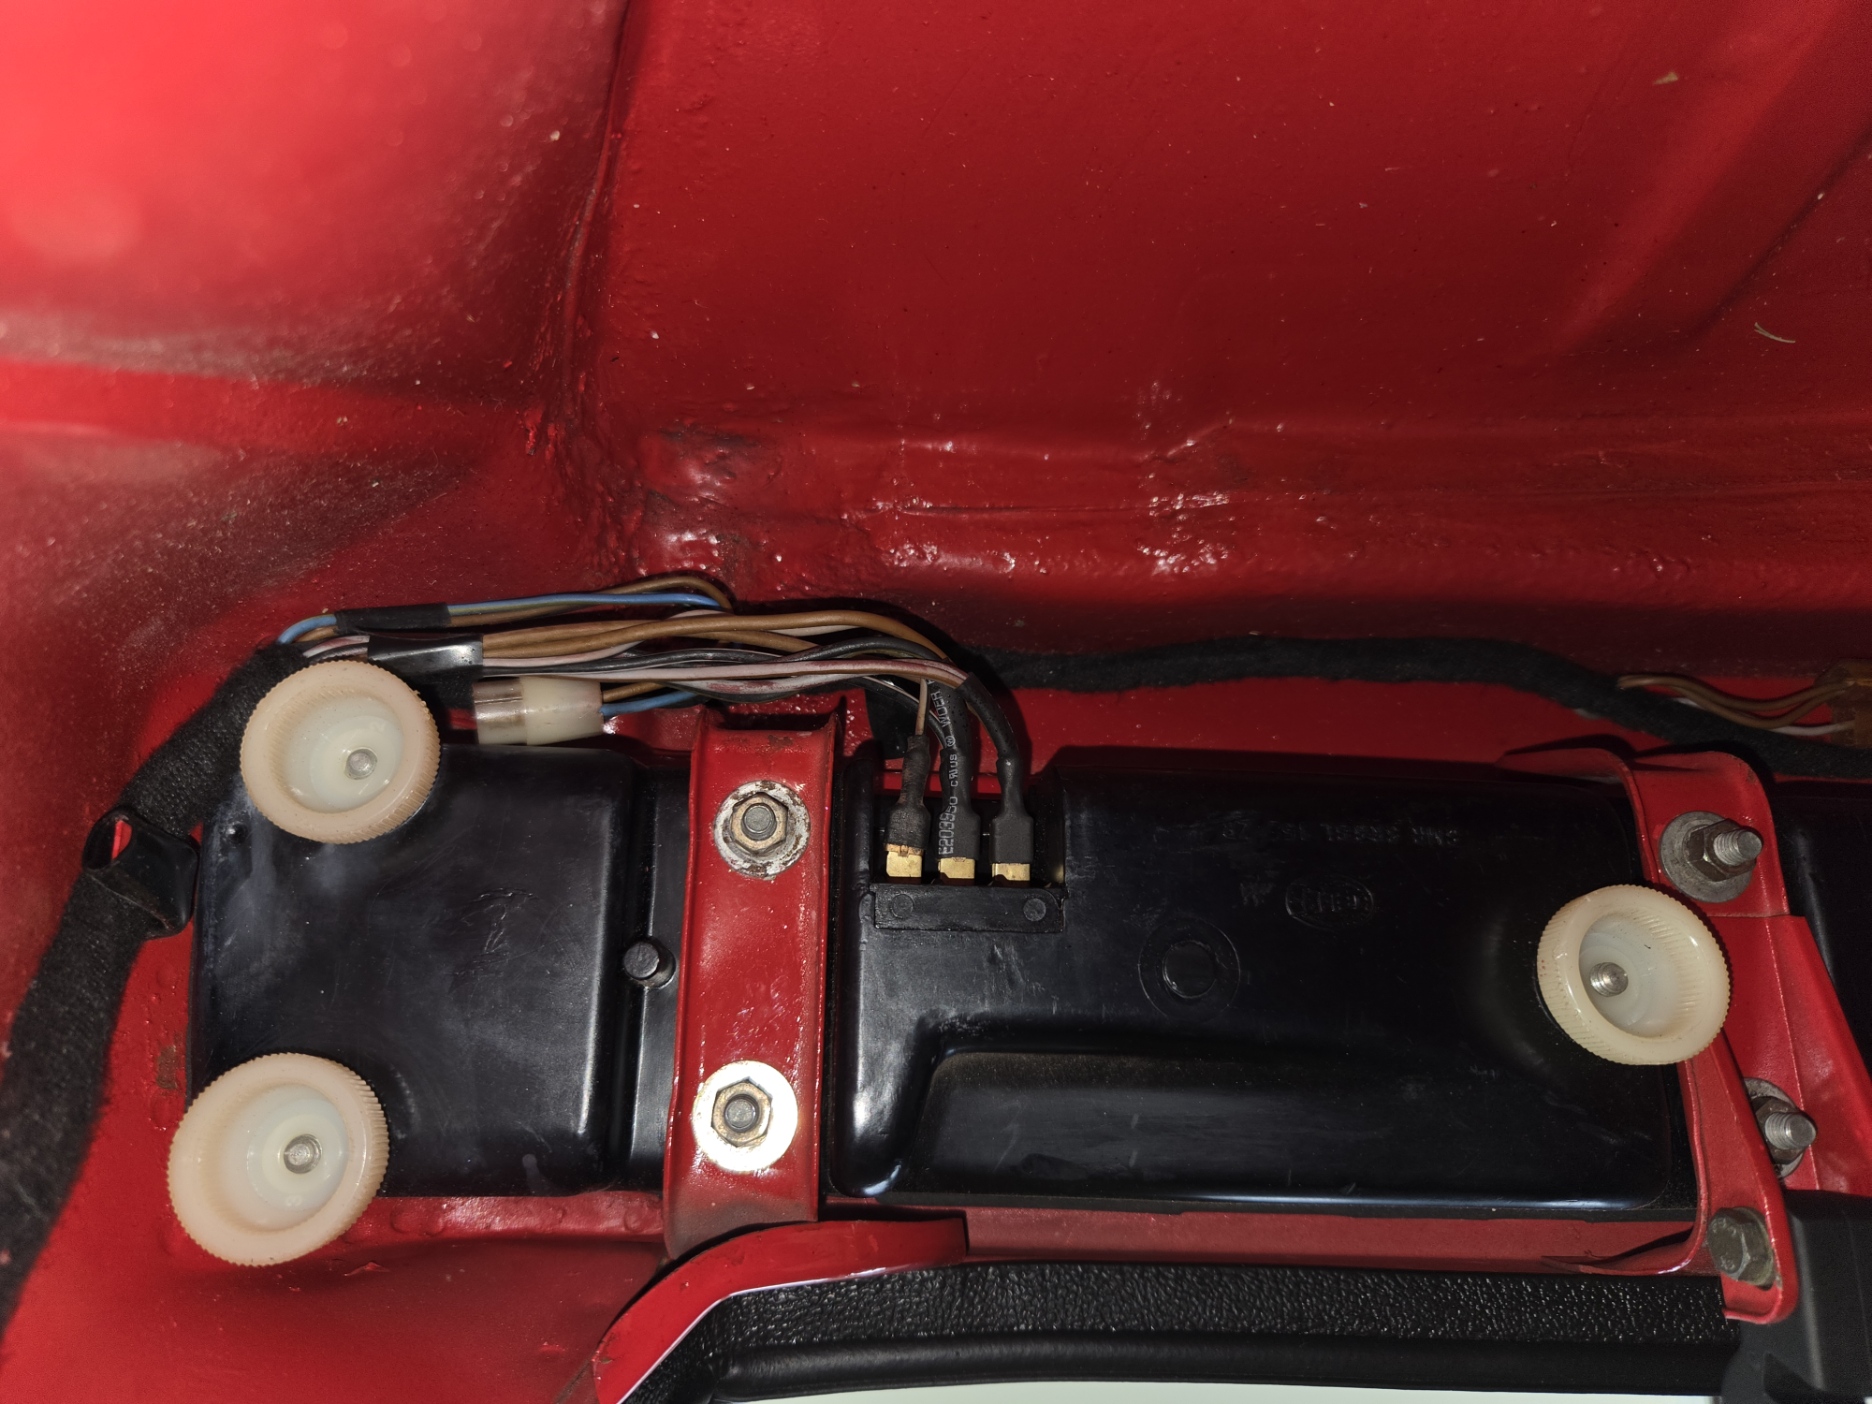
Pre-cleanup of my harness. Left Side, wires coming through the opening to the rear of the car, wire terminals facing up to ceiling. The diagrams on the web, such as Jeff Bowlsby's website are very helpful for the color combinations:
Passenger Side:
Driver's Side:
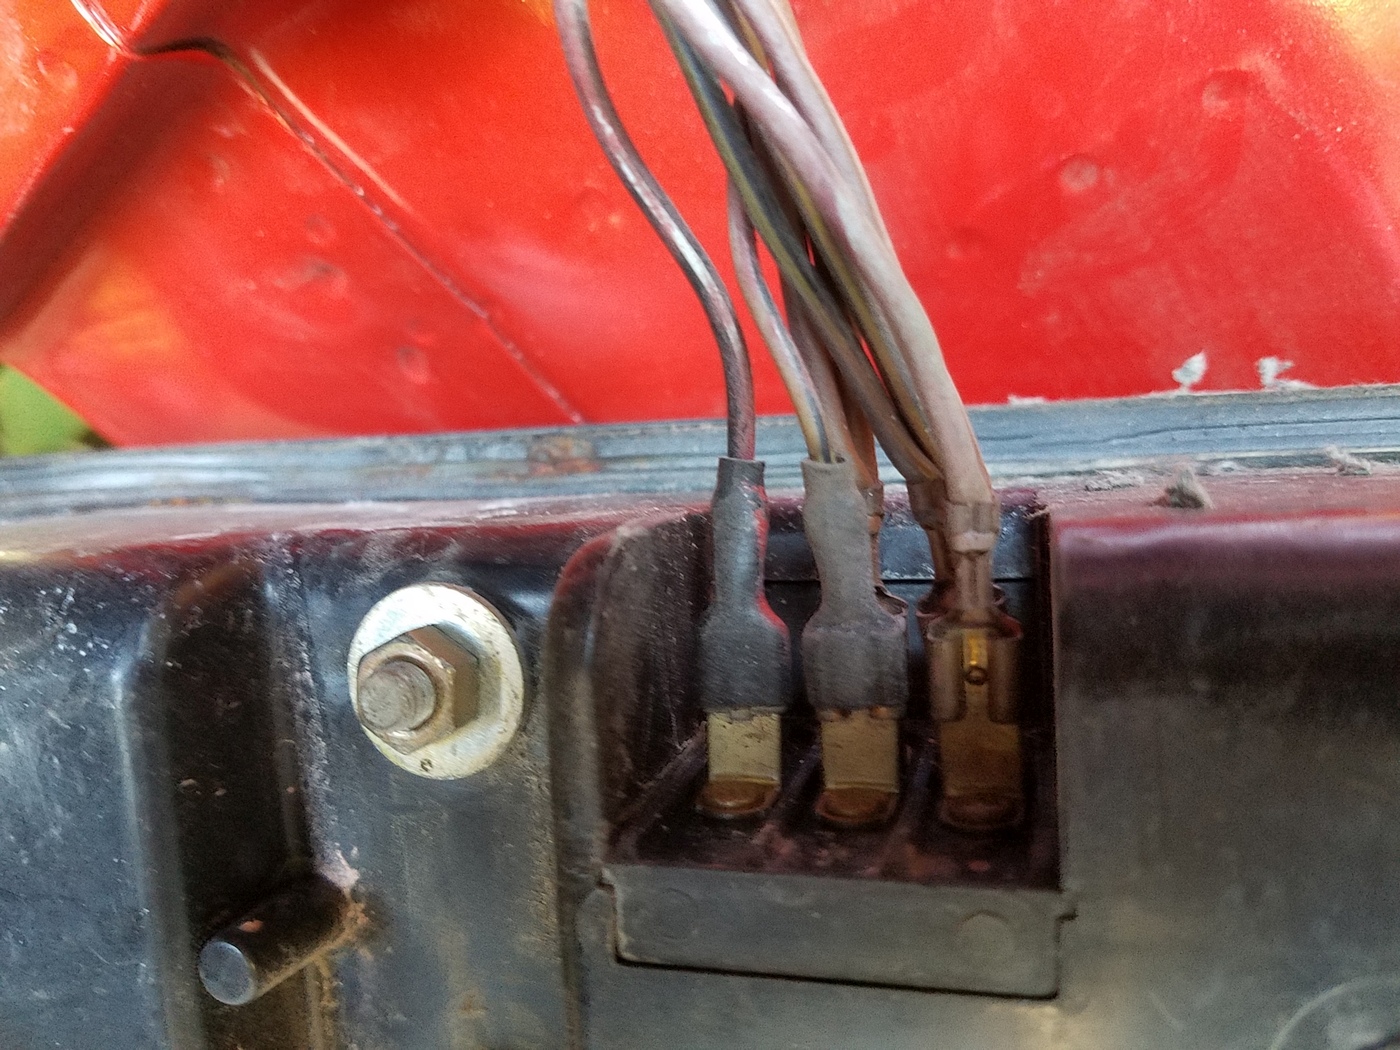
Right Side, wires coming through the rear bodywork / trunk opening to the rear of the car, wire terminals facing up to ceiling:
Corner and other cracks were repaired with JB Weld:
Plastic packing tape was used to keep the JB Weld off of the rest of the light housing:
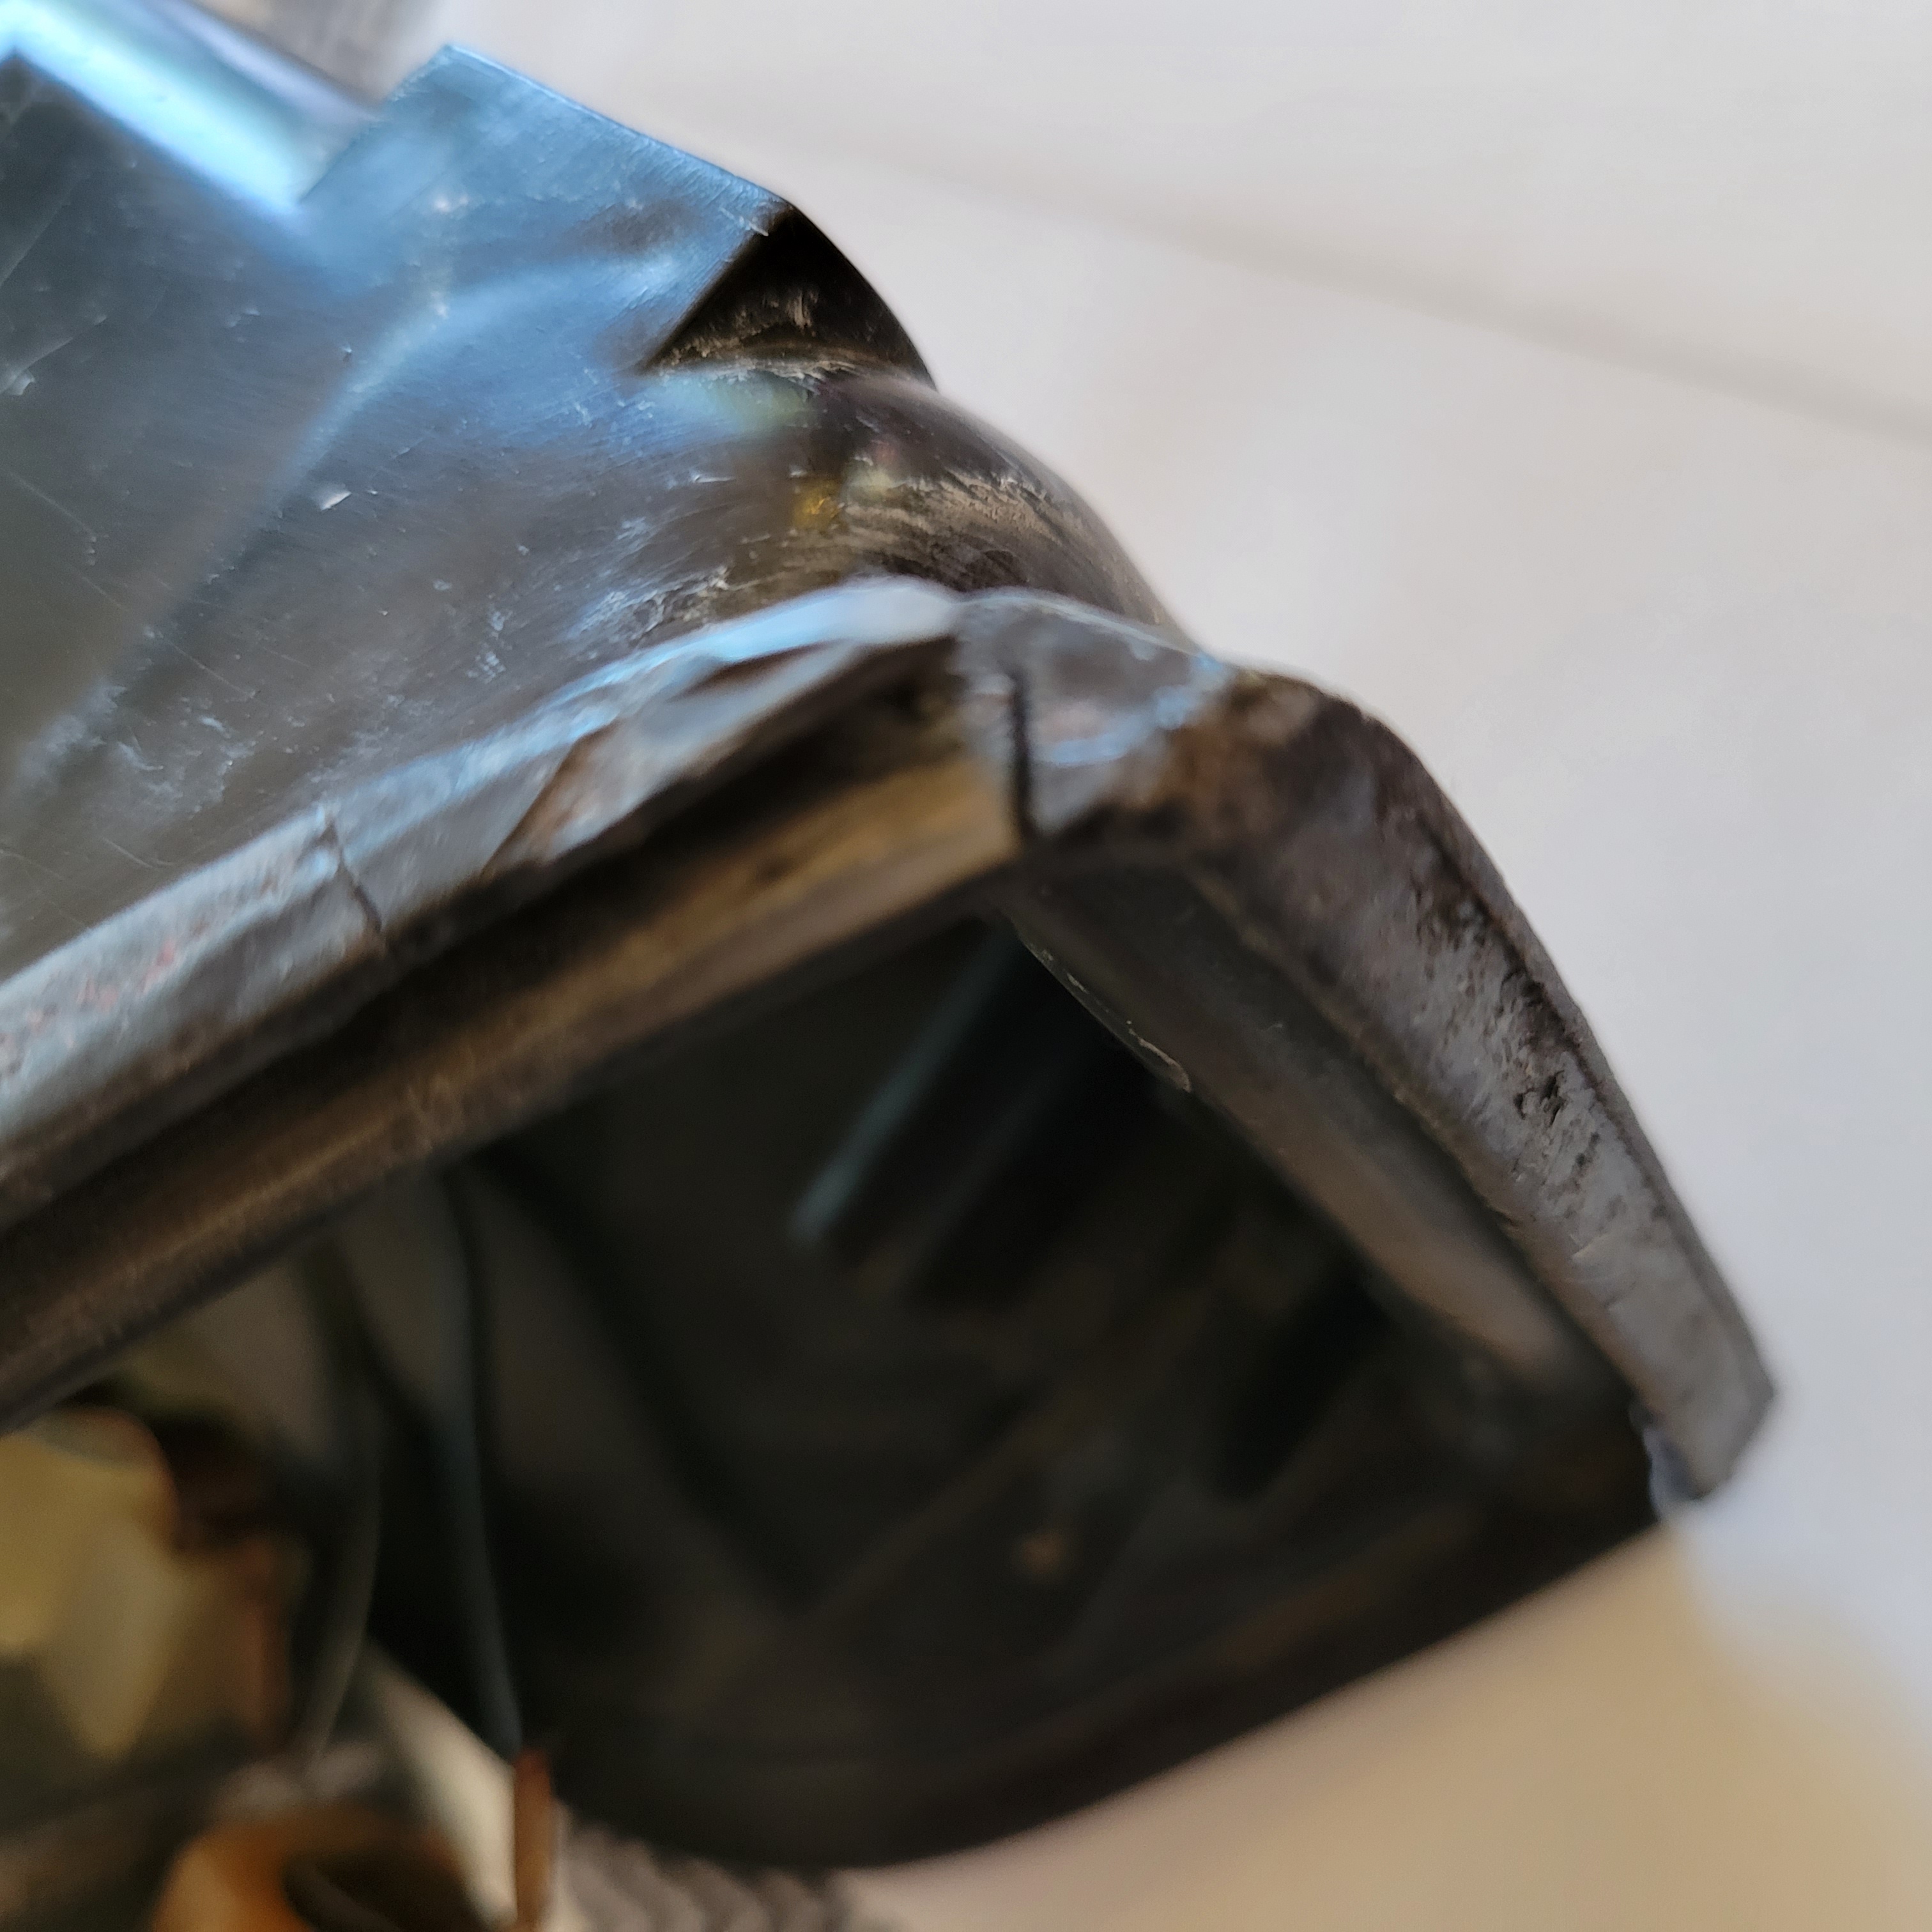
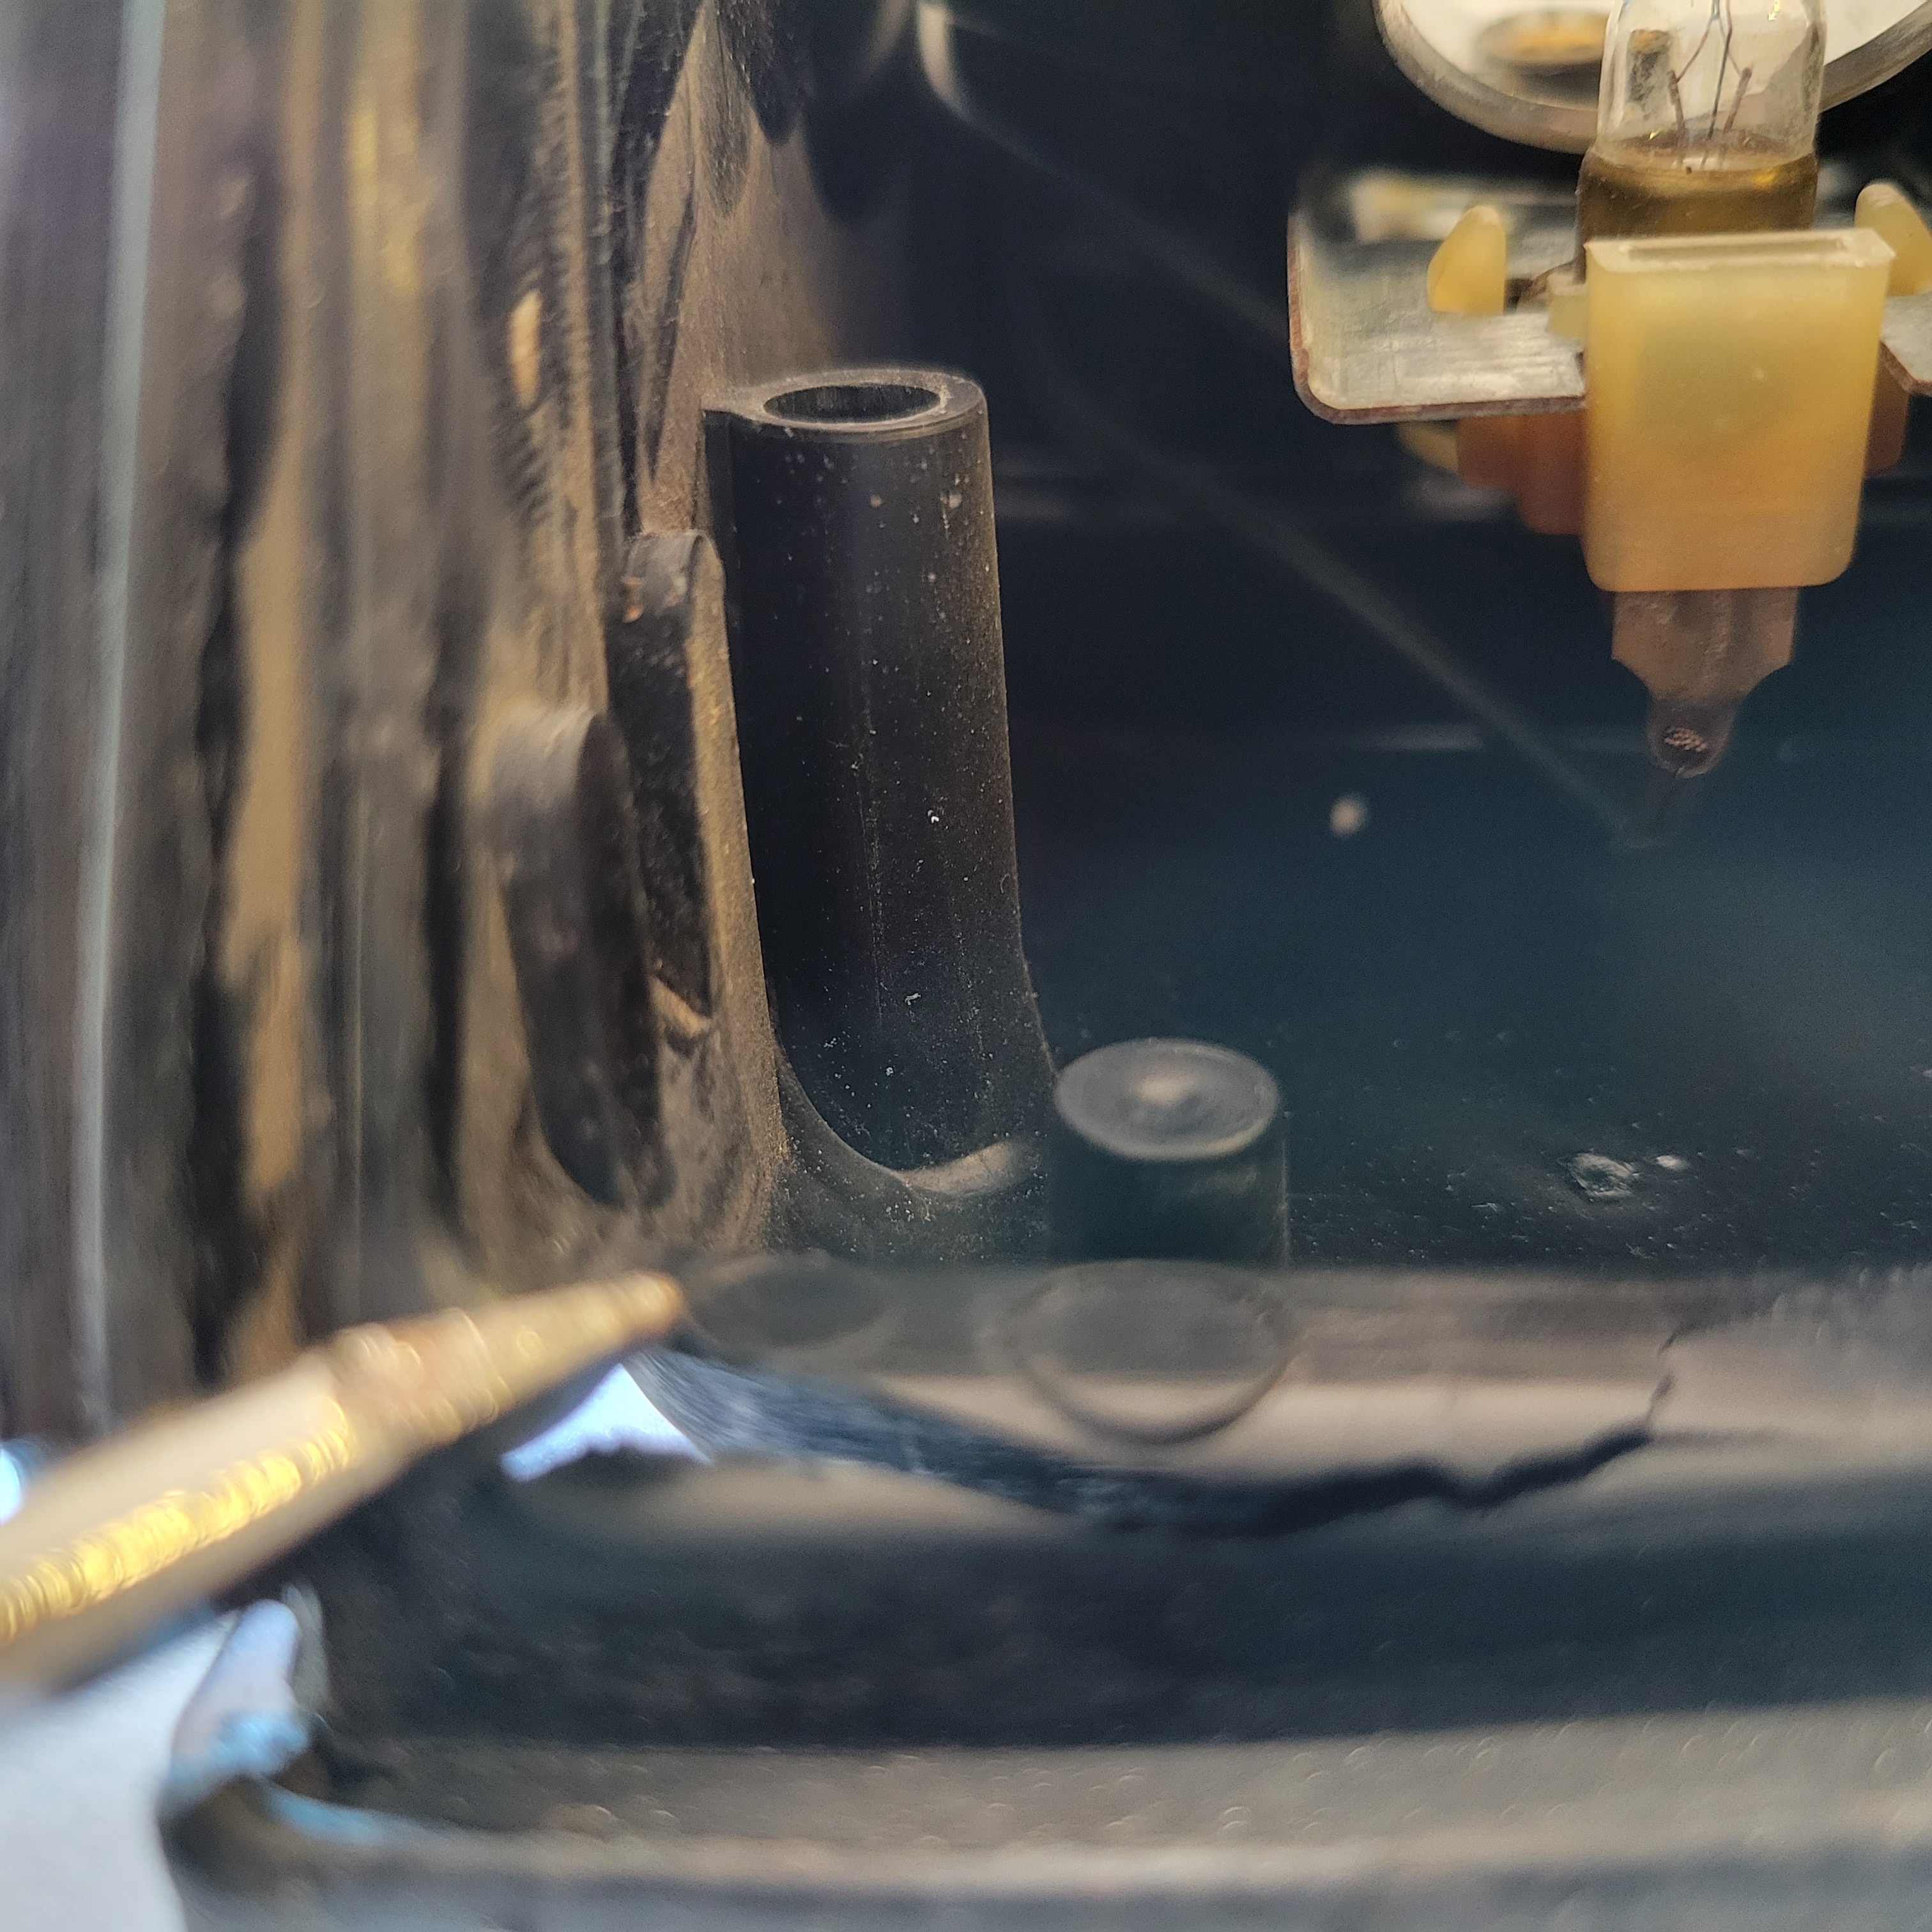
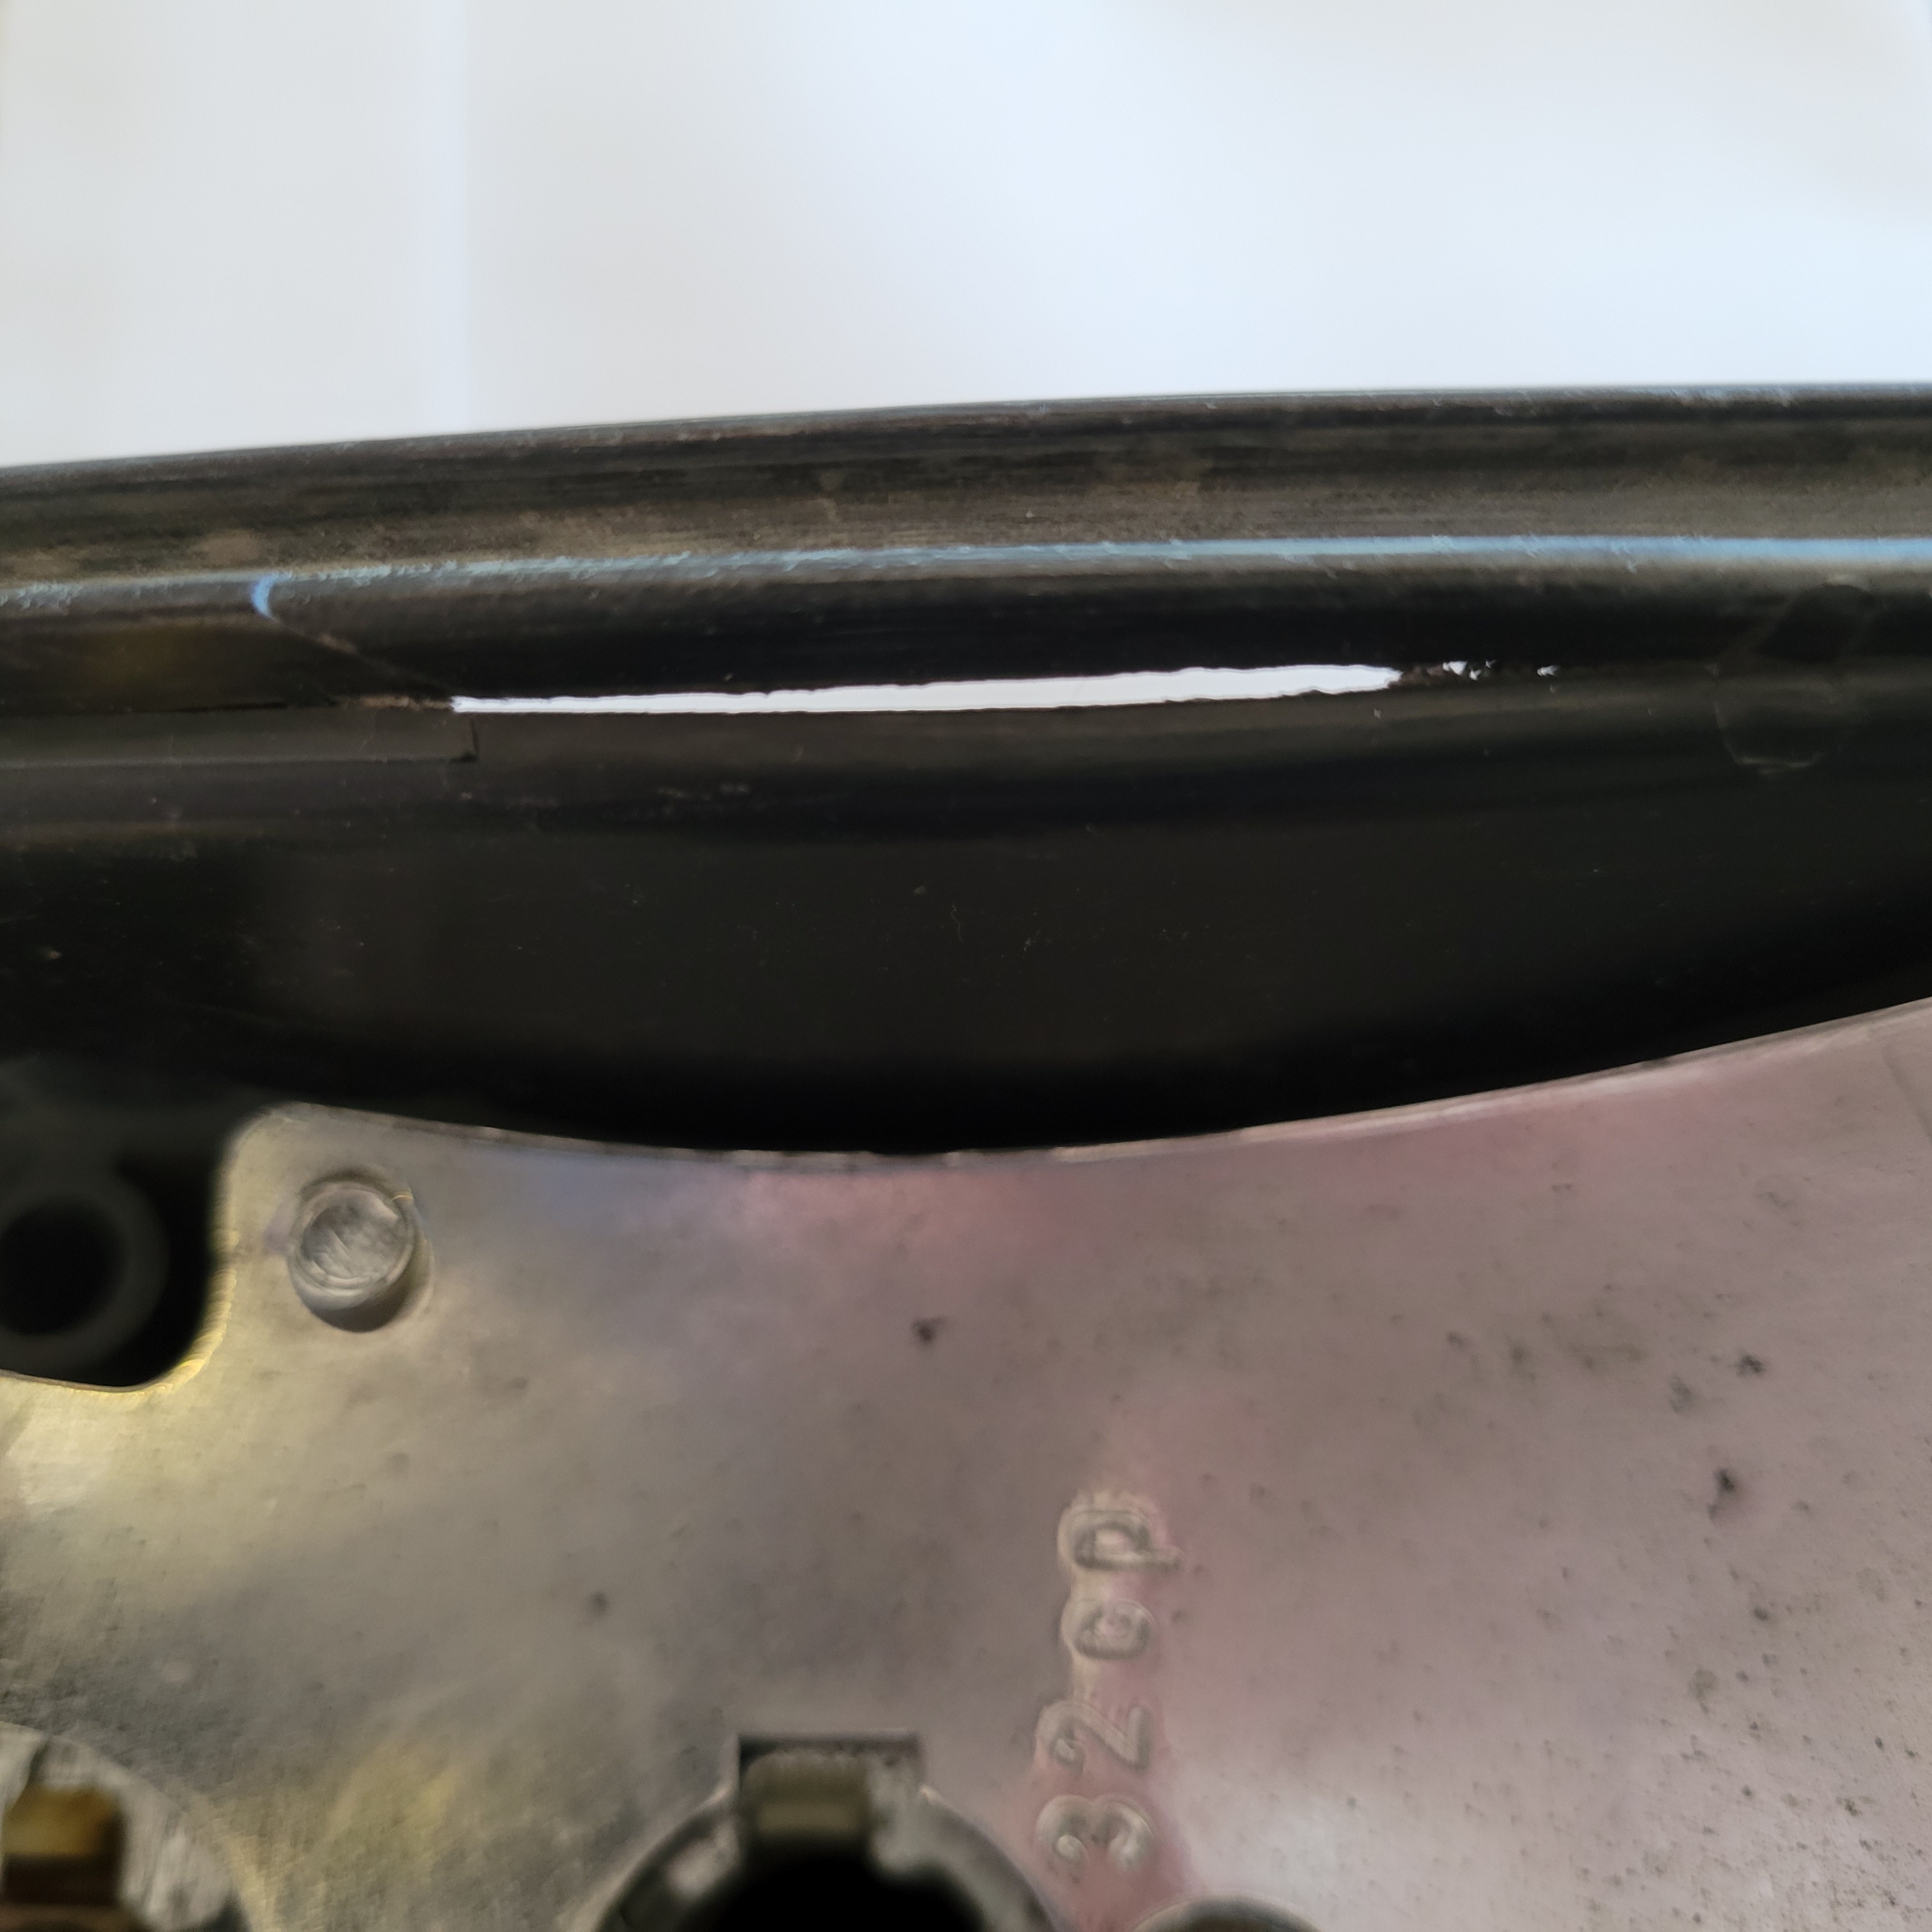
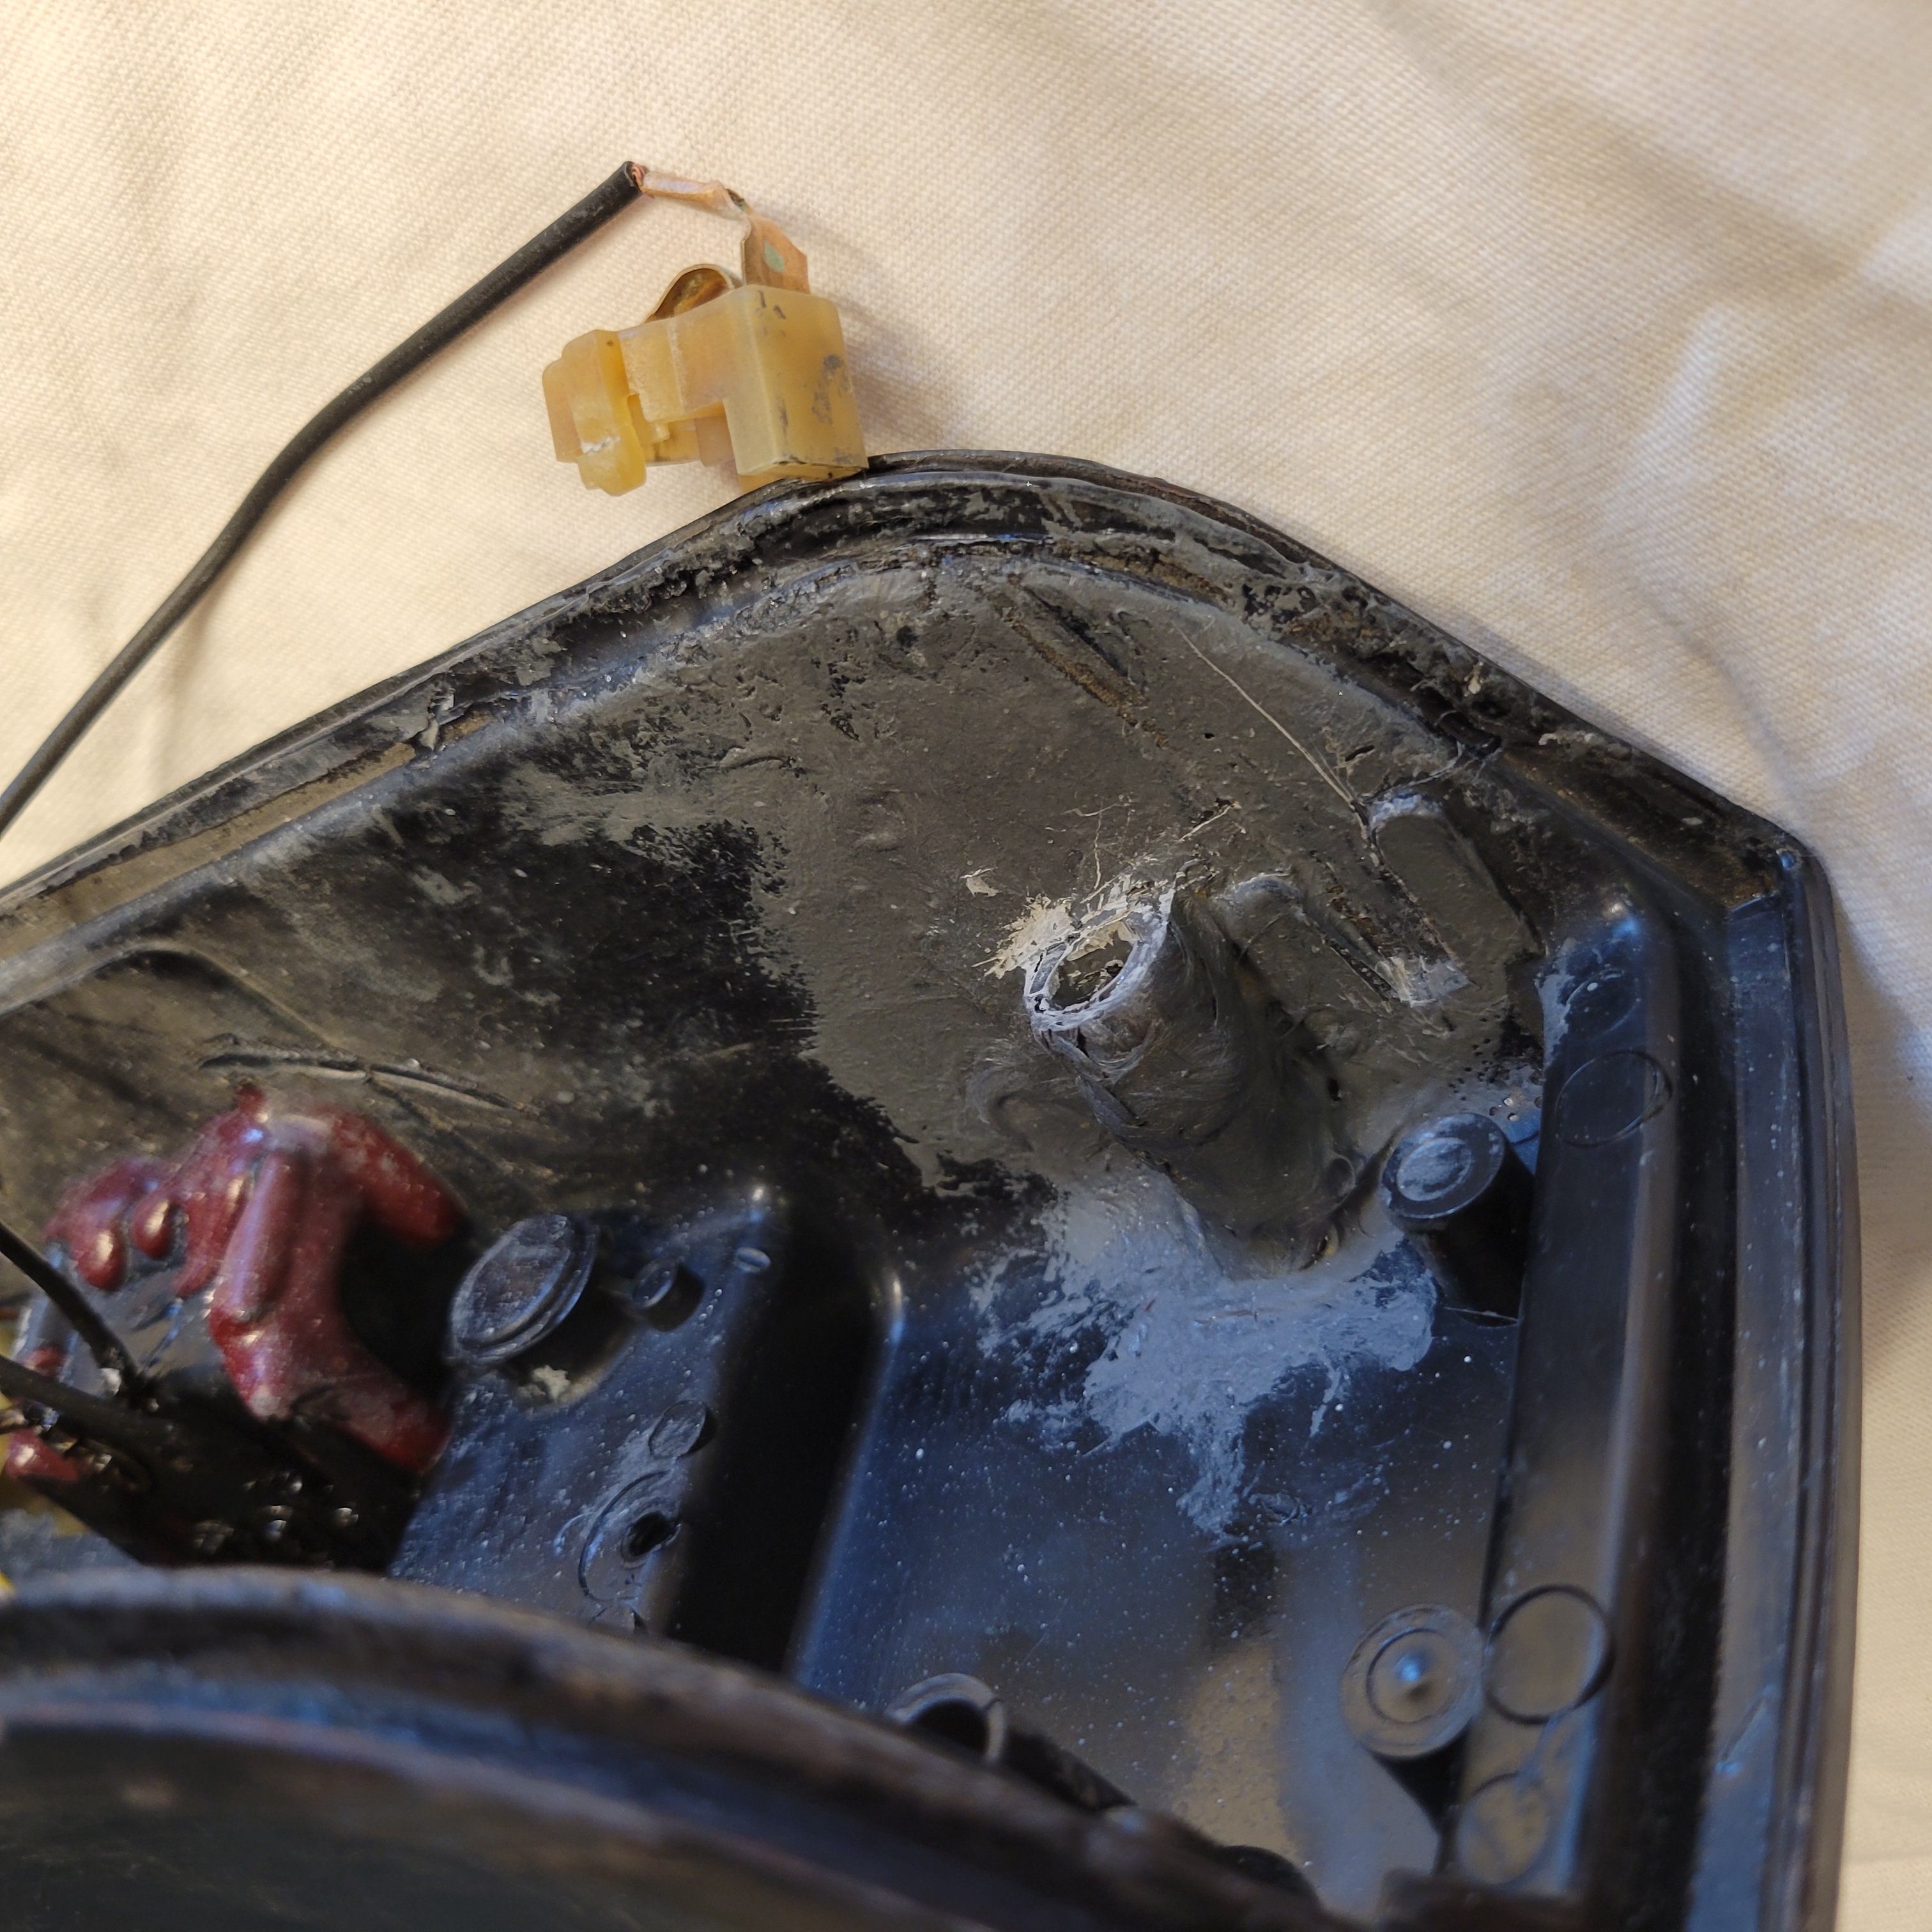
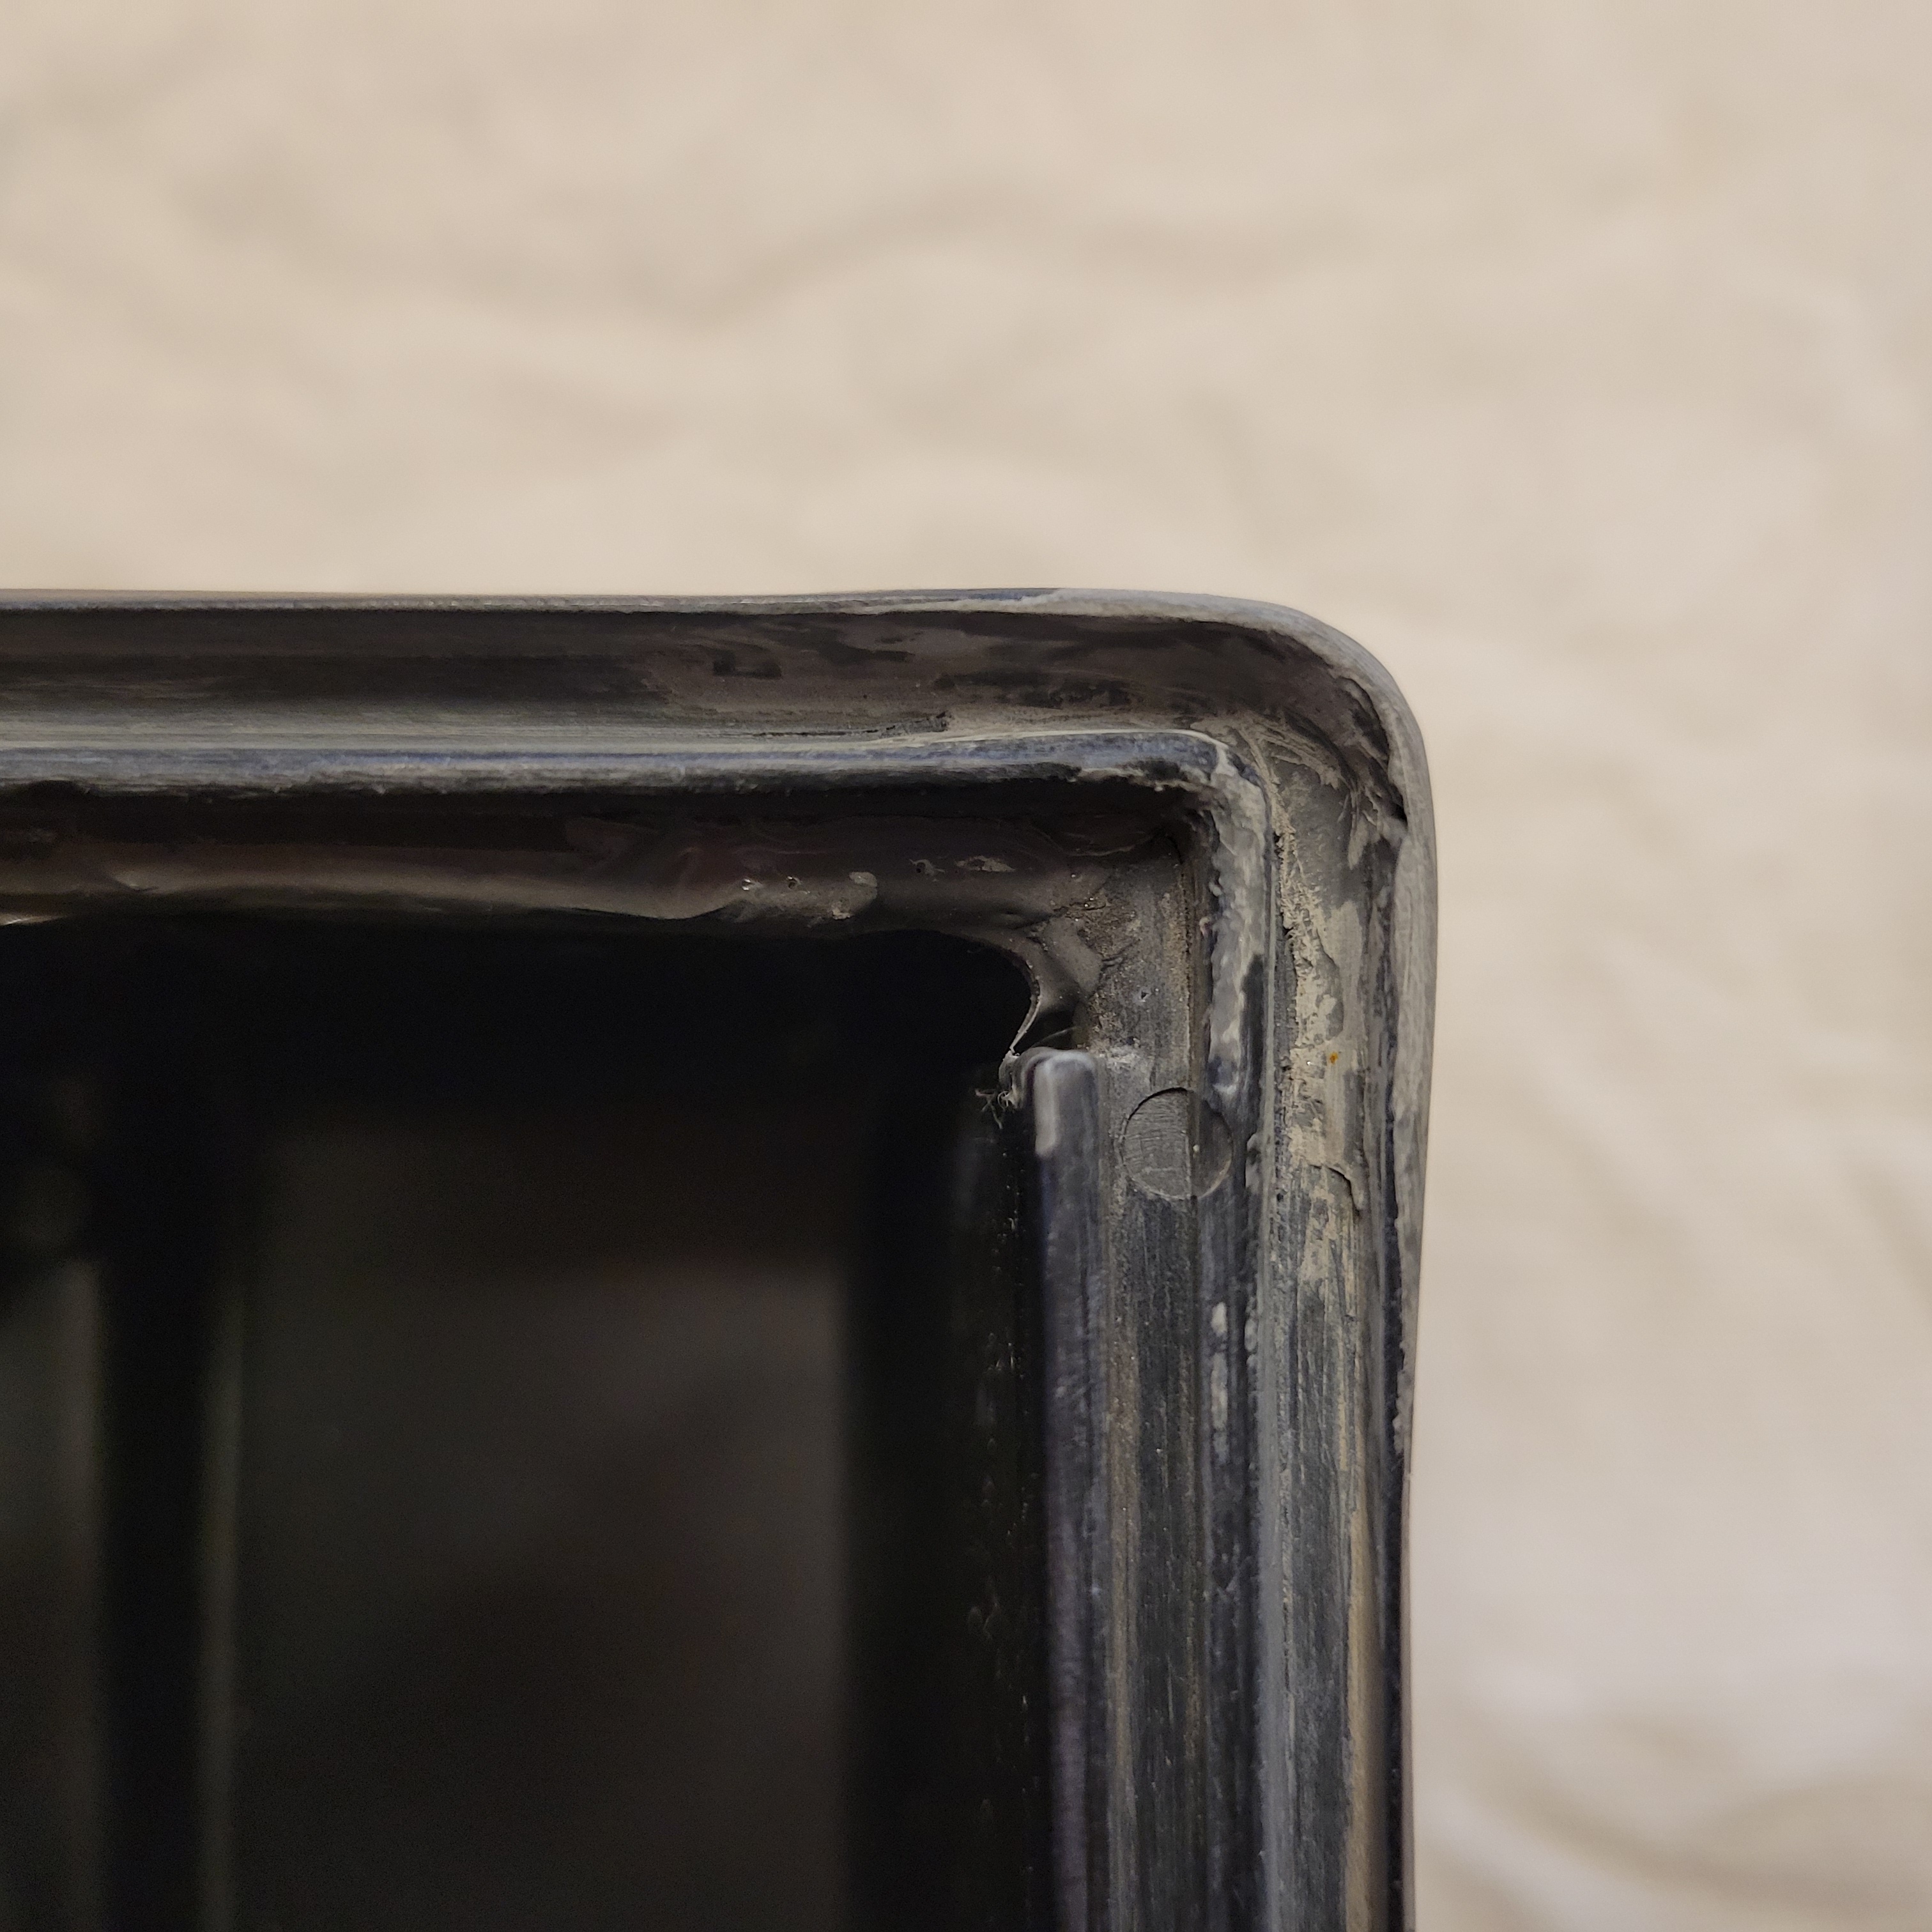
Cleaned up and re-soldered where needed:
Sanded the JB Weld before painting that black.
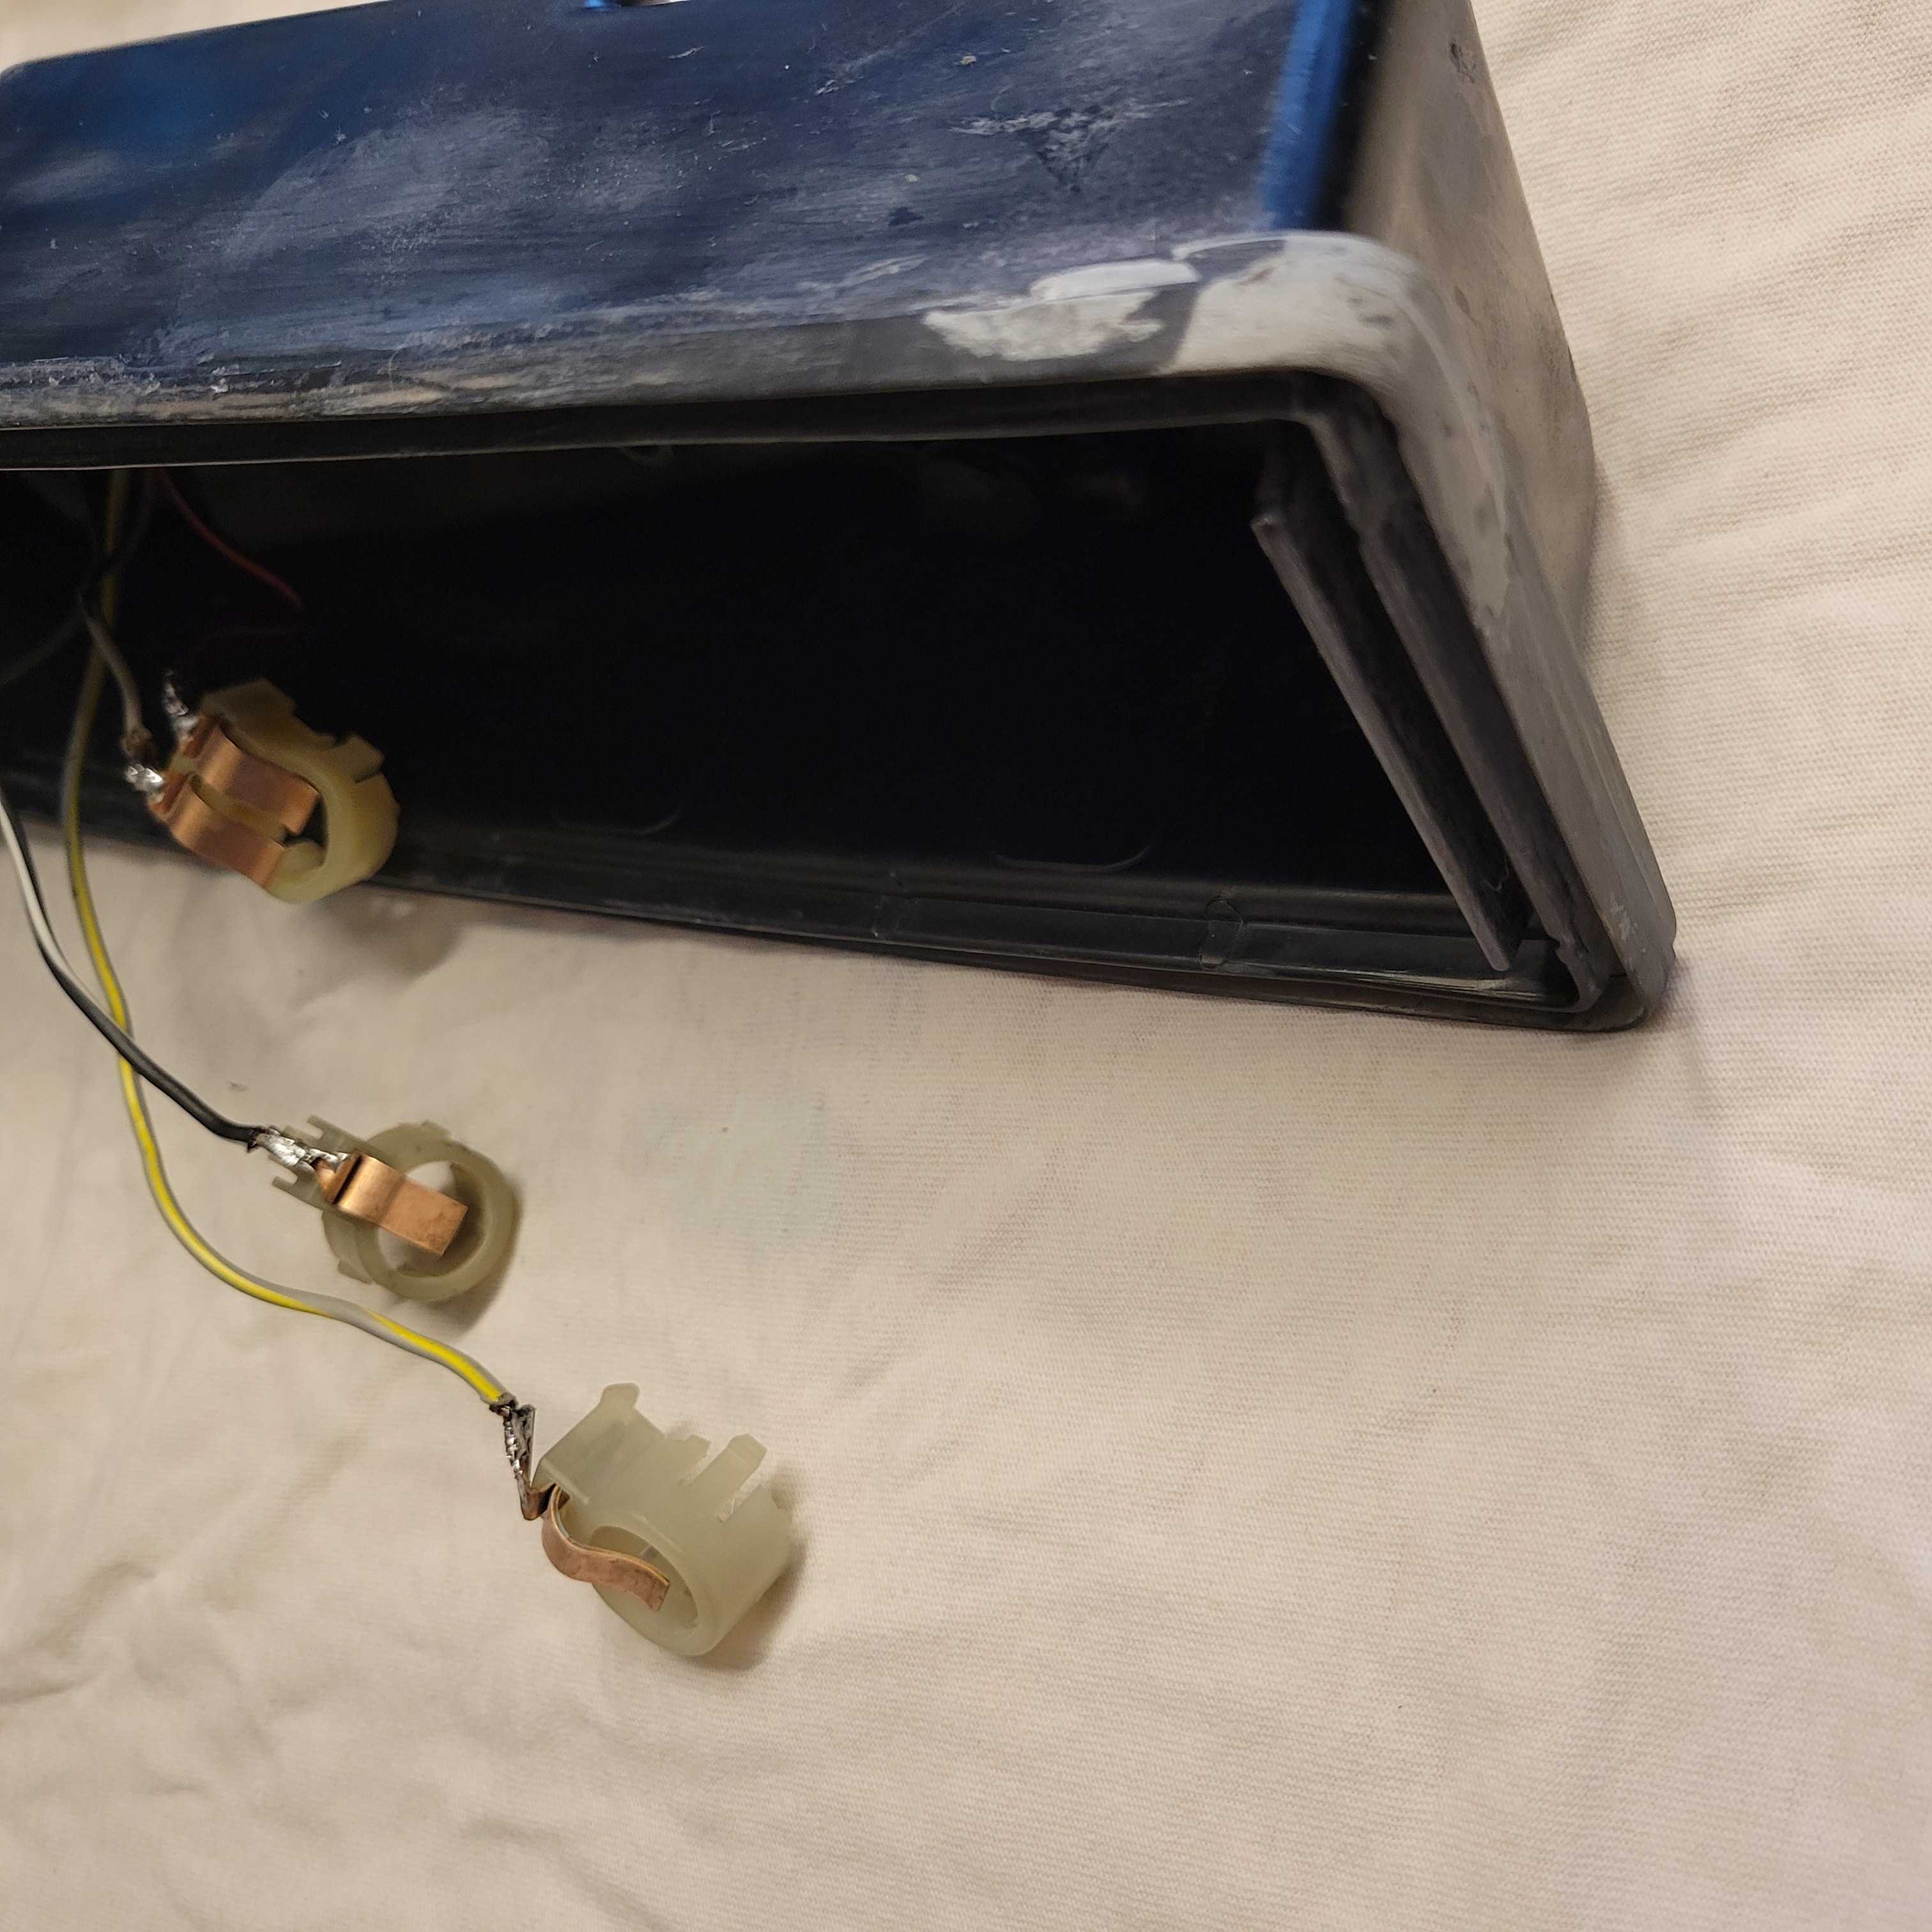
Inside bulb mounts:
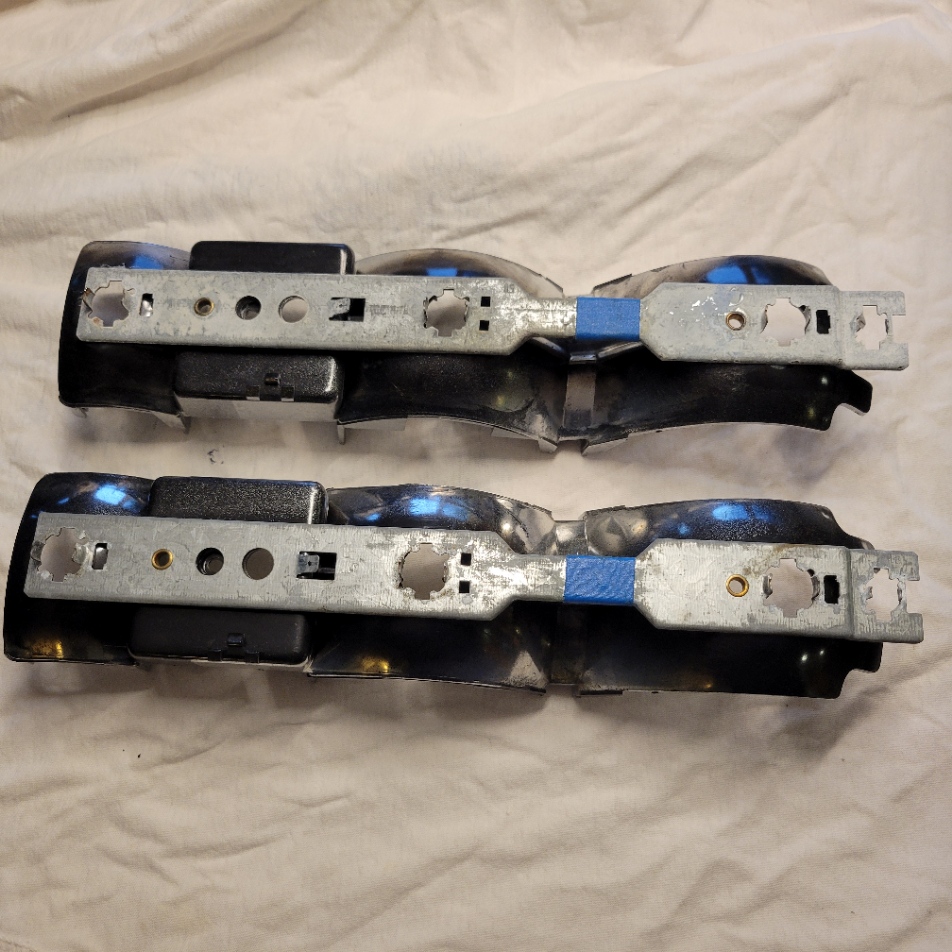
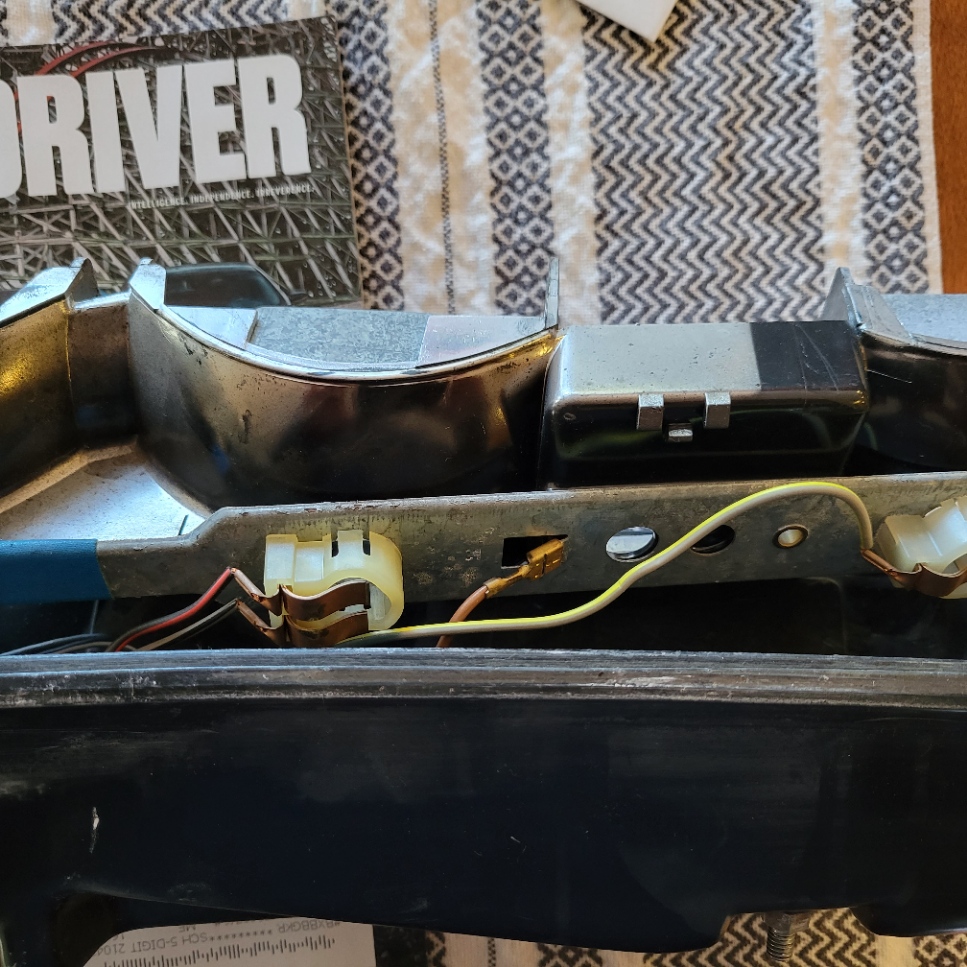
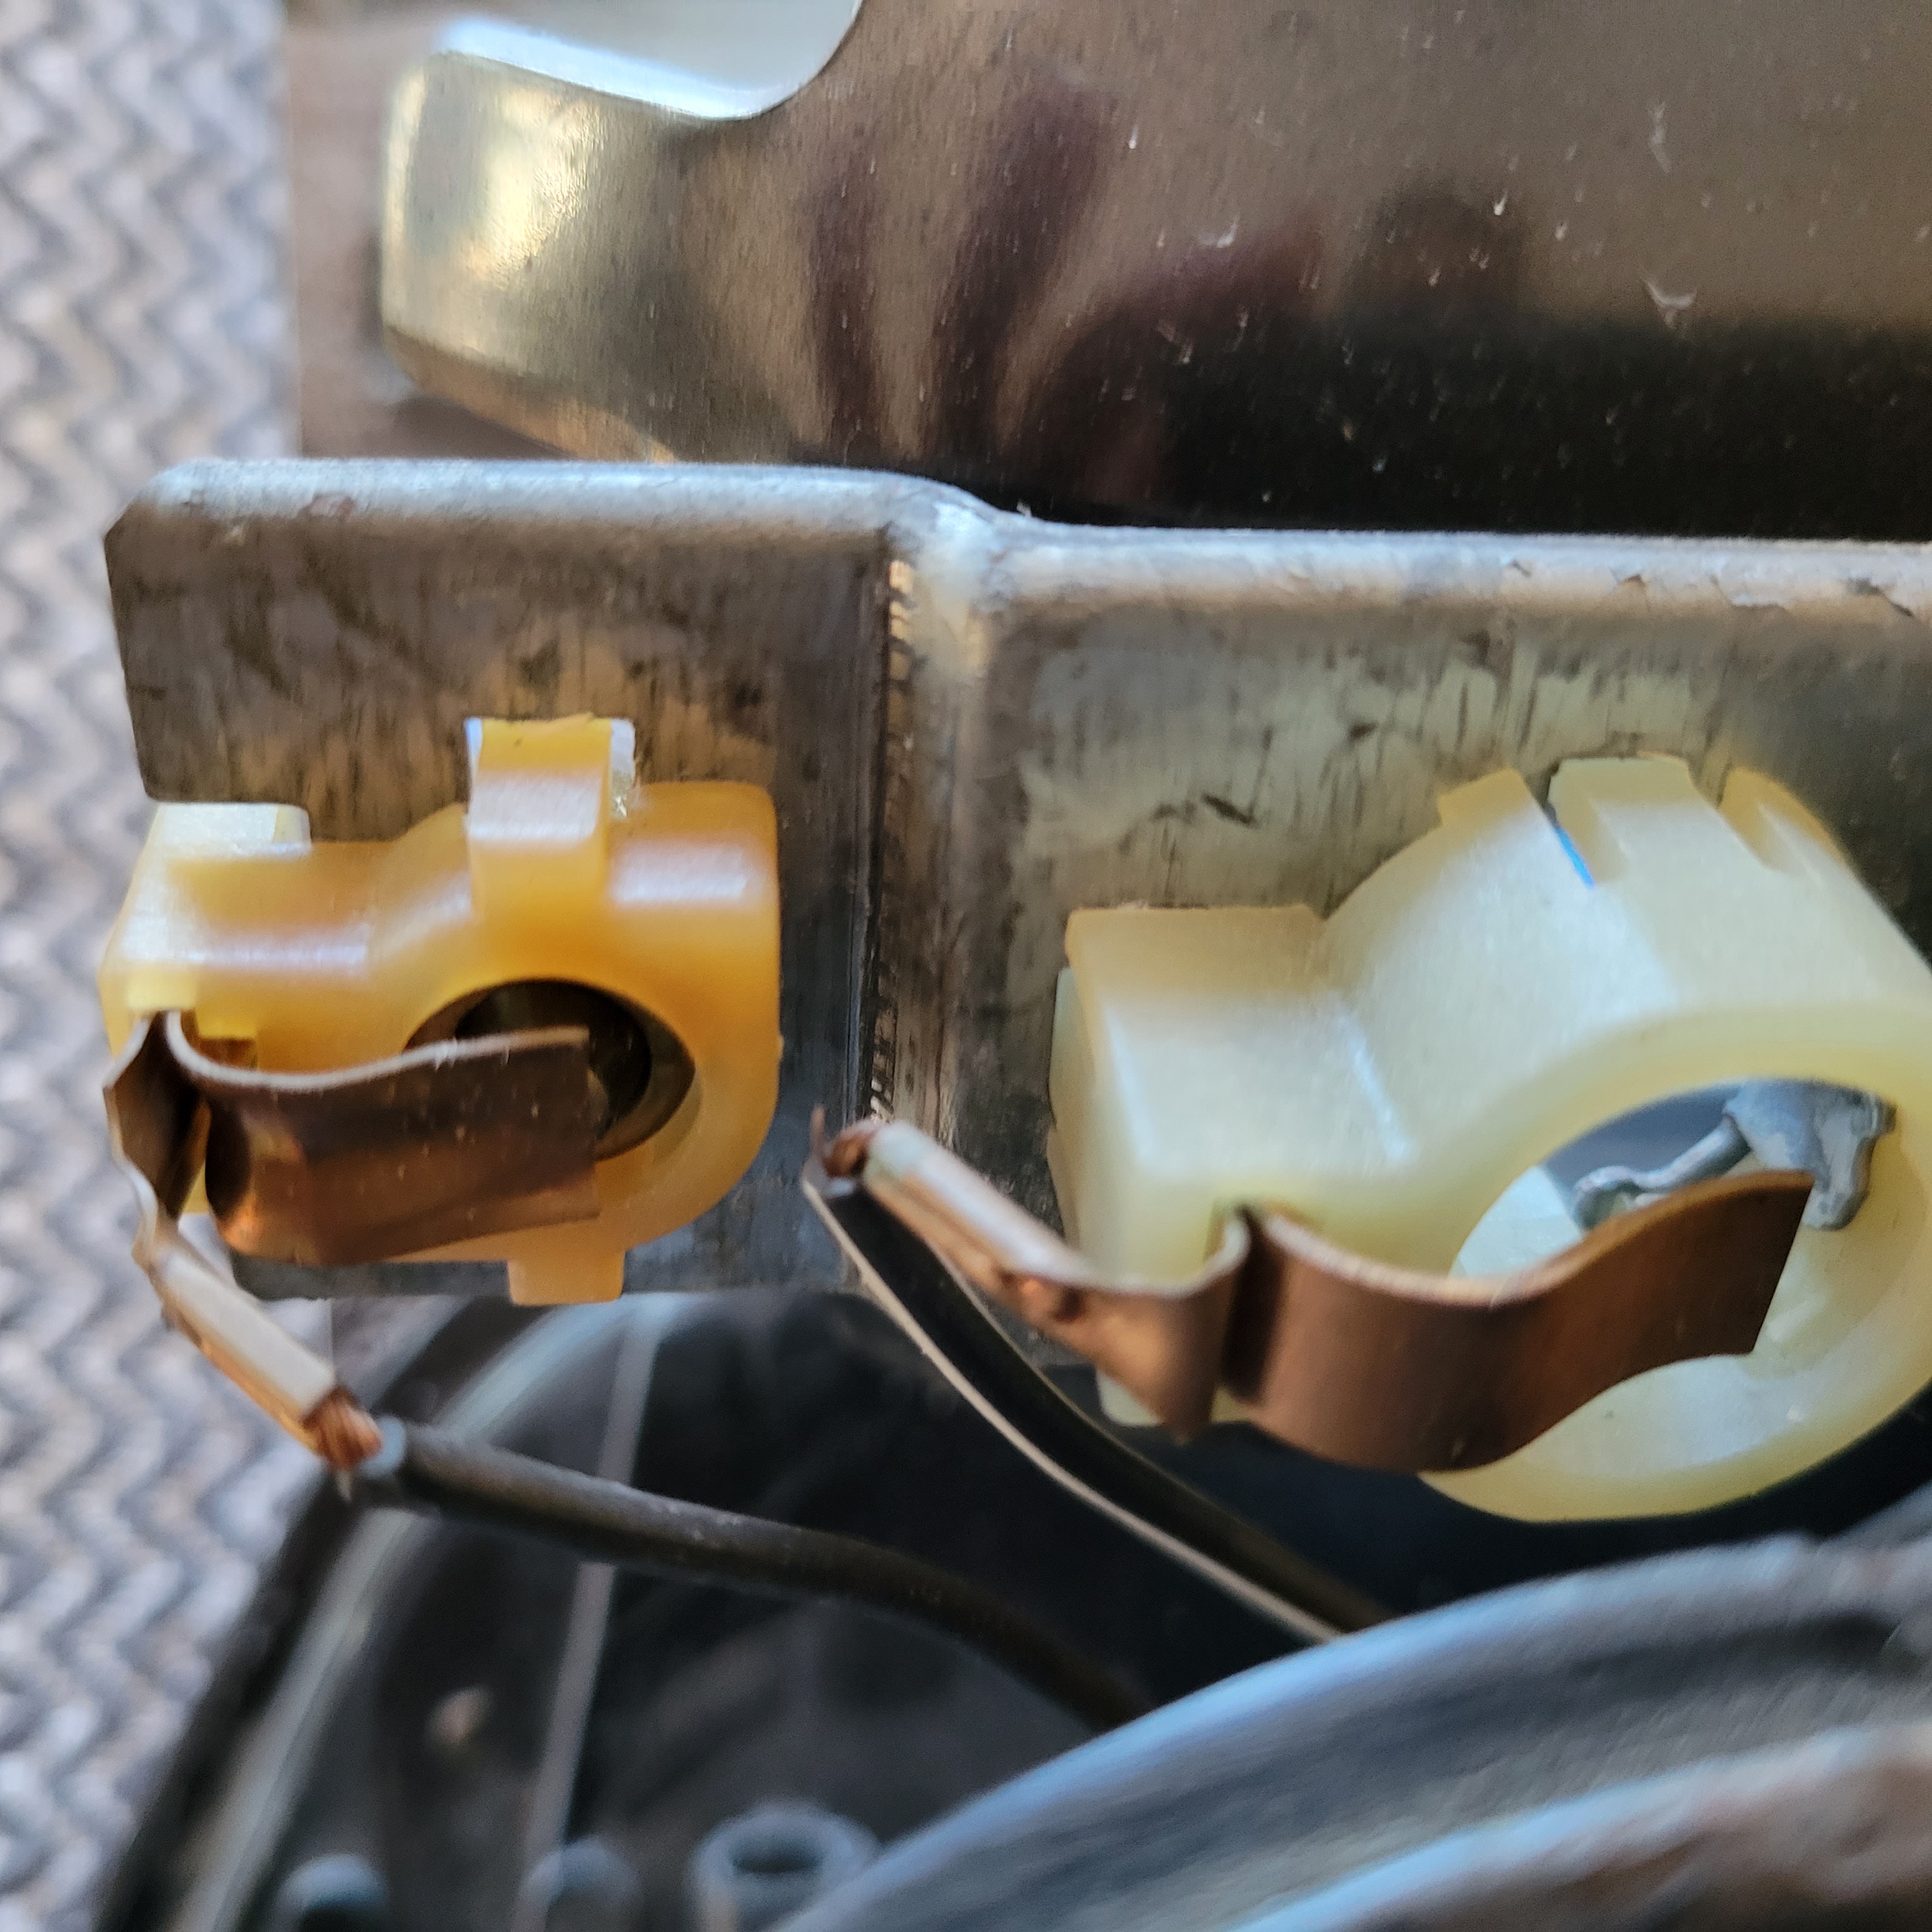
Reflectors with the metal bulb strips mounted. The reflectors were scuffed and then painted with a chrome-ish paint. Some people use road-line white reflective paint and it works well, I have seen two cars that had this and the lights are bright.