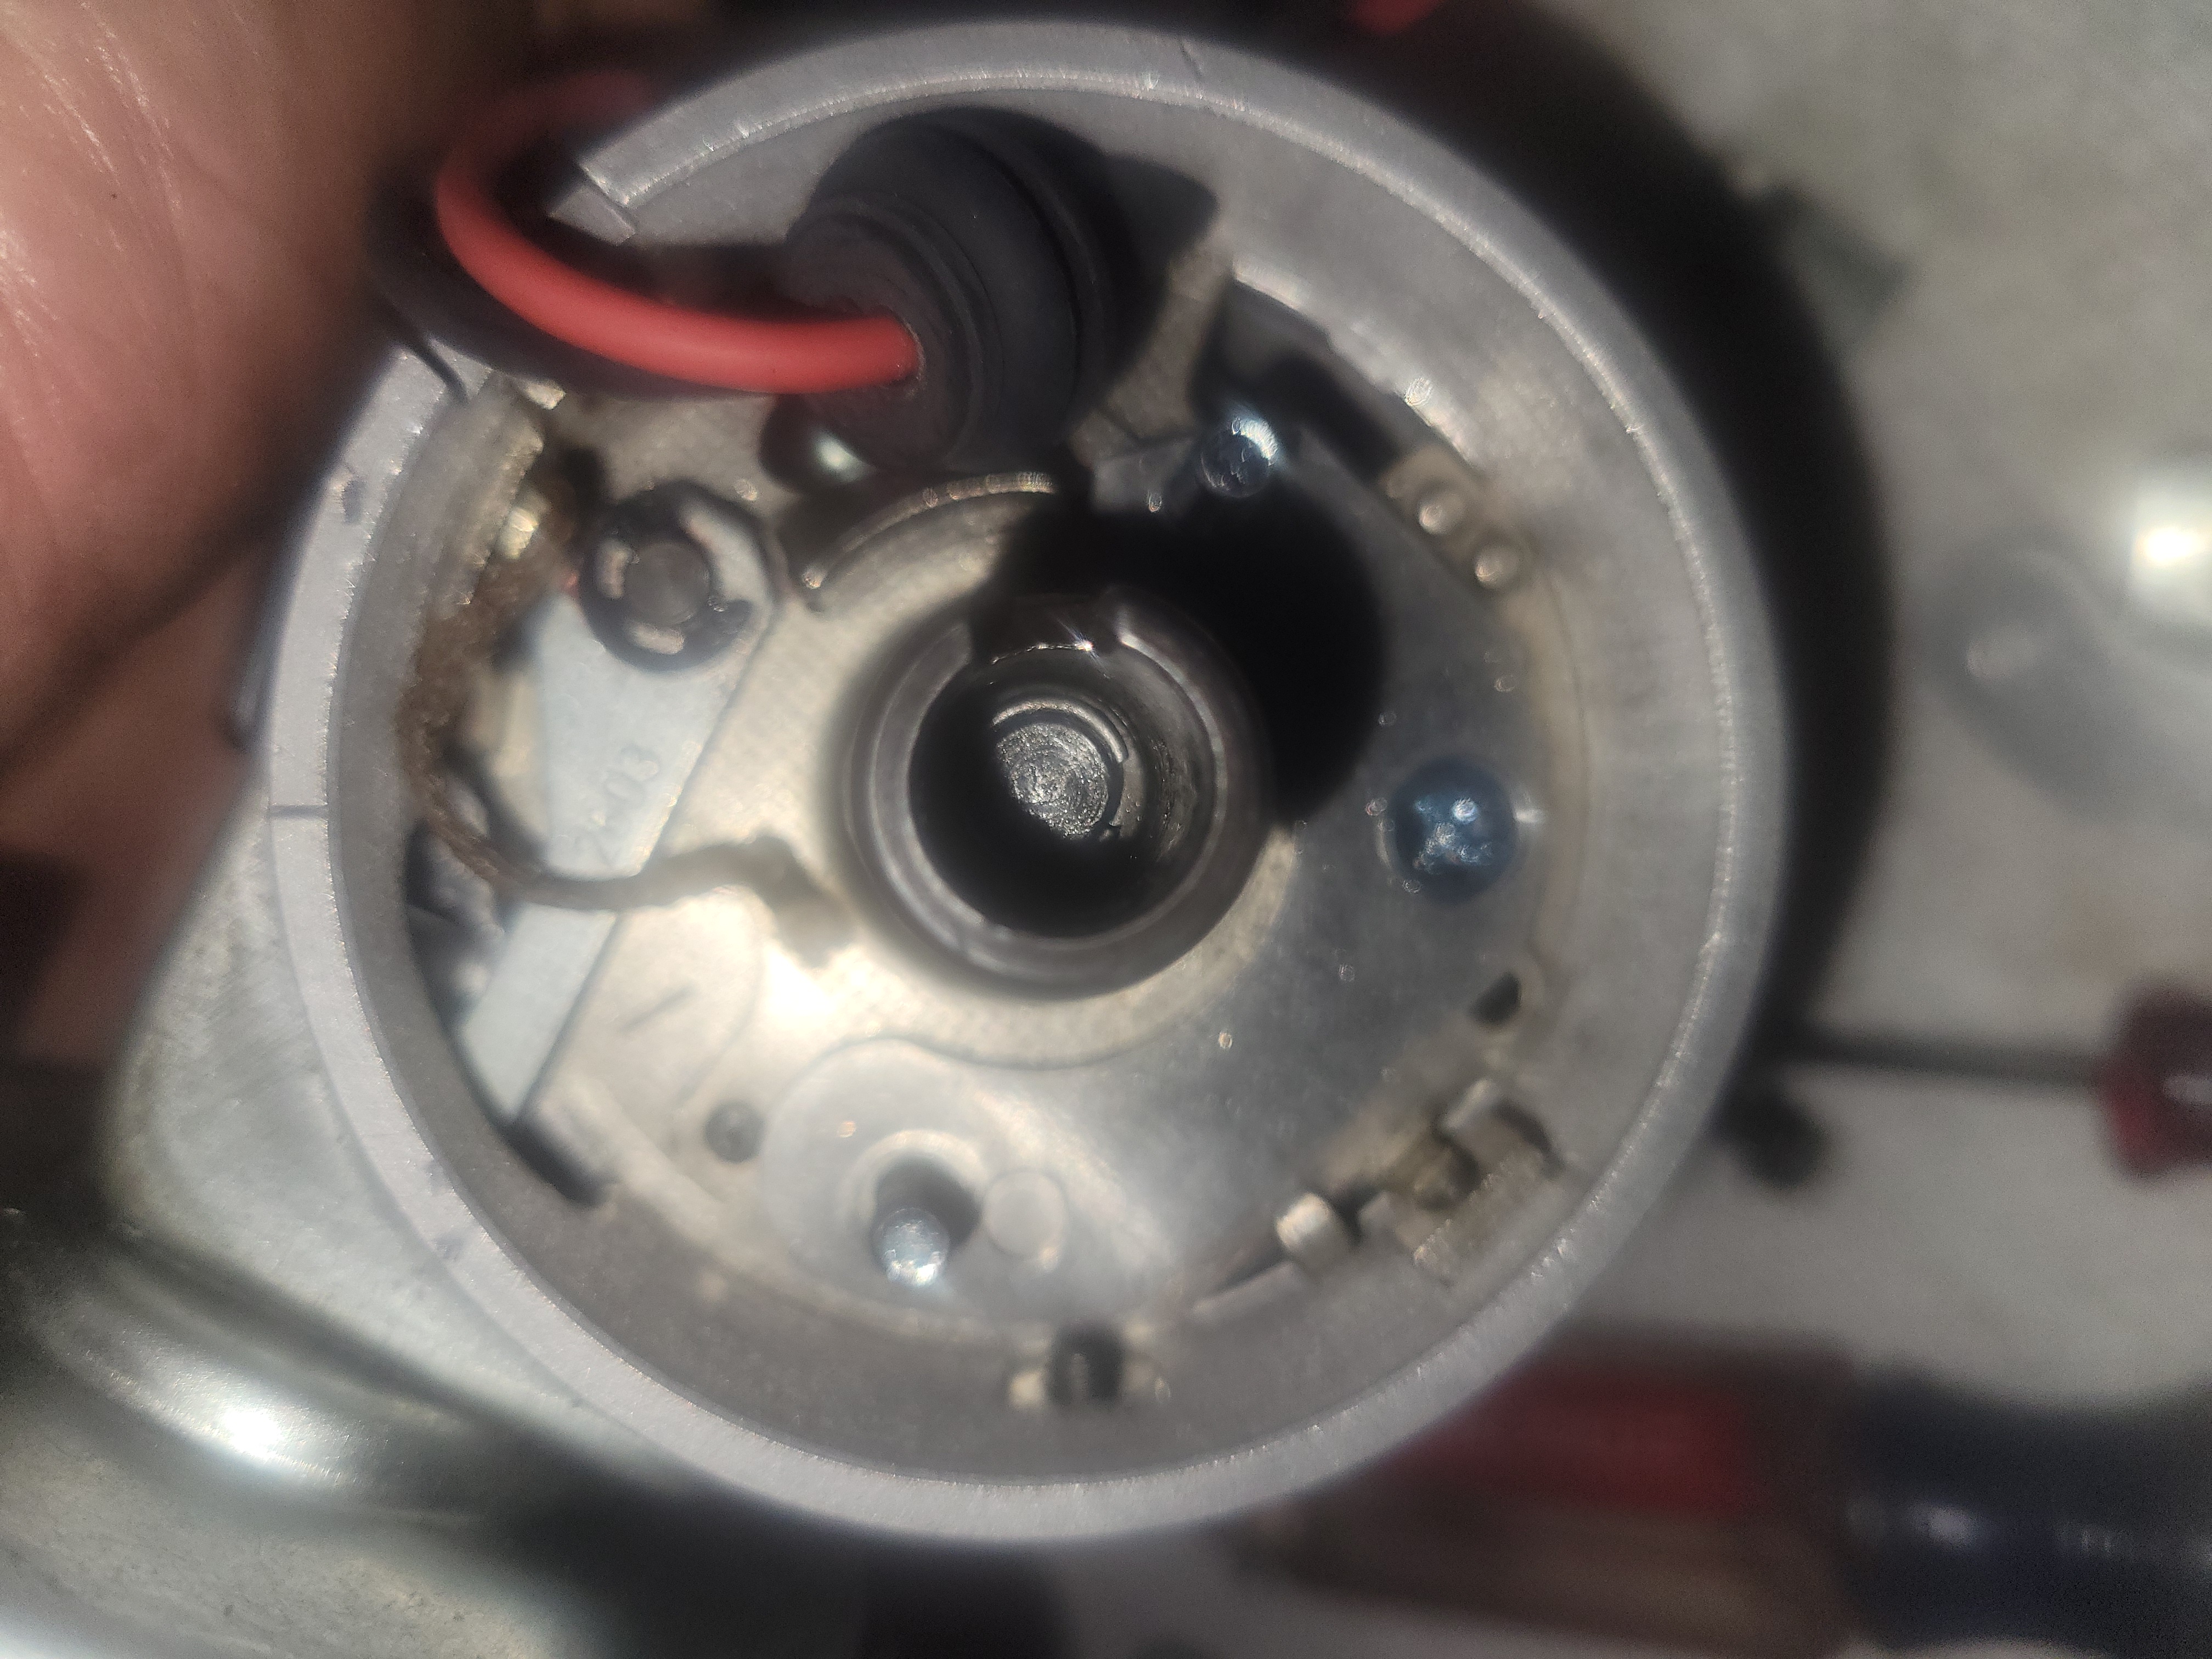
Joe's 914 Project
I have some spares for these, but this is the final version and I did a complete rebuild of the distributor. This was cleaned up with a wire wheel on a bench grinder.
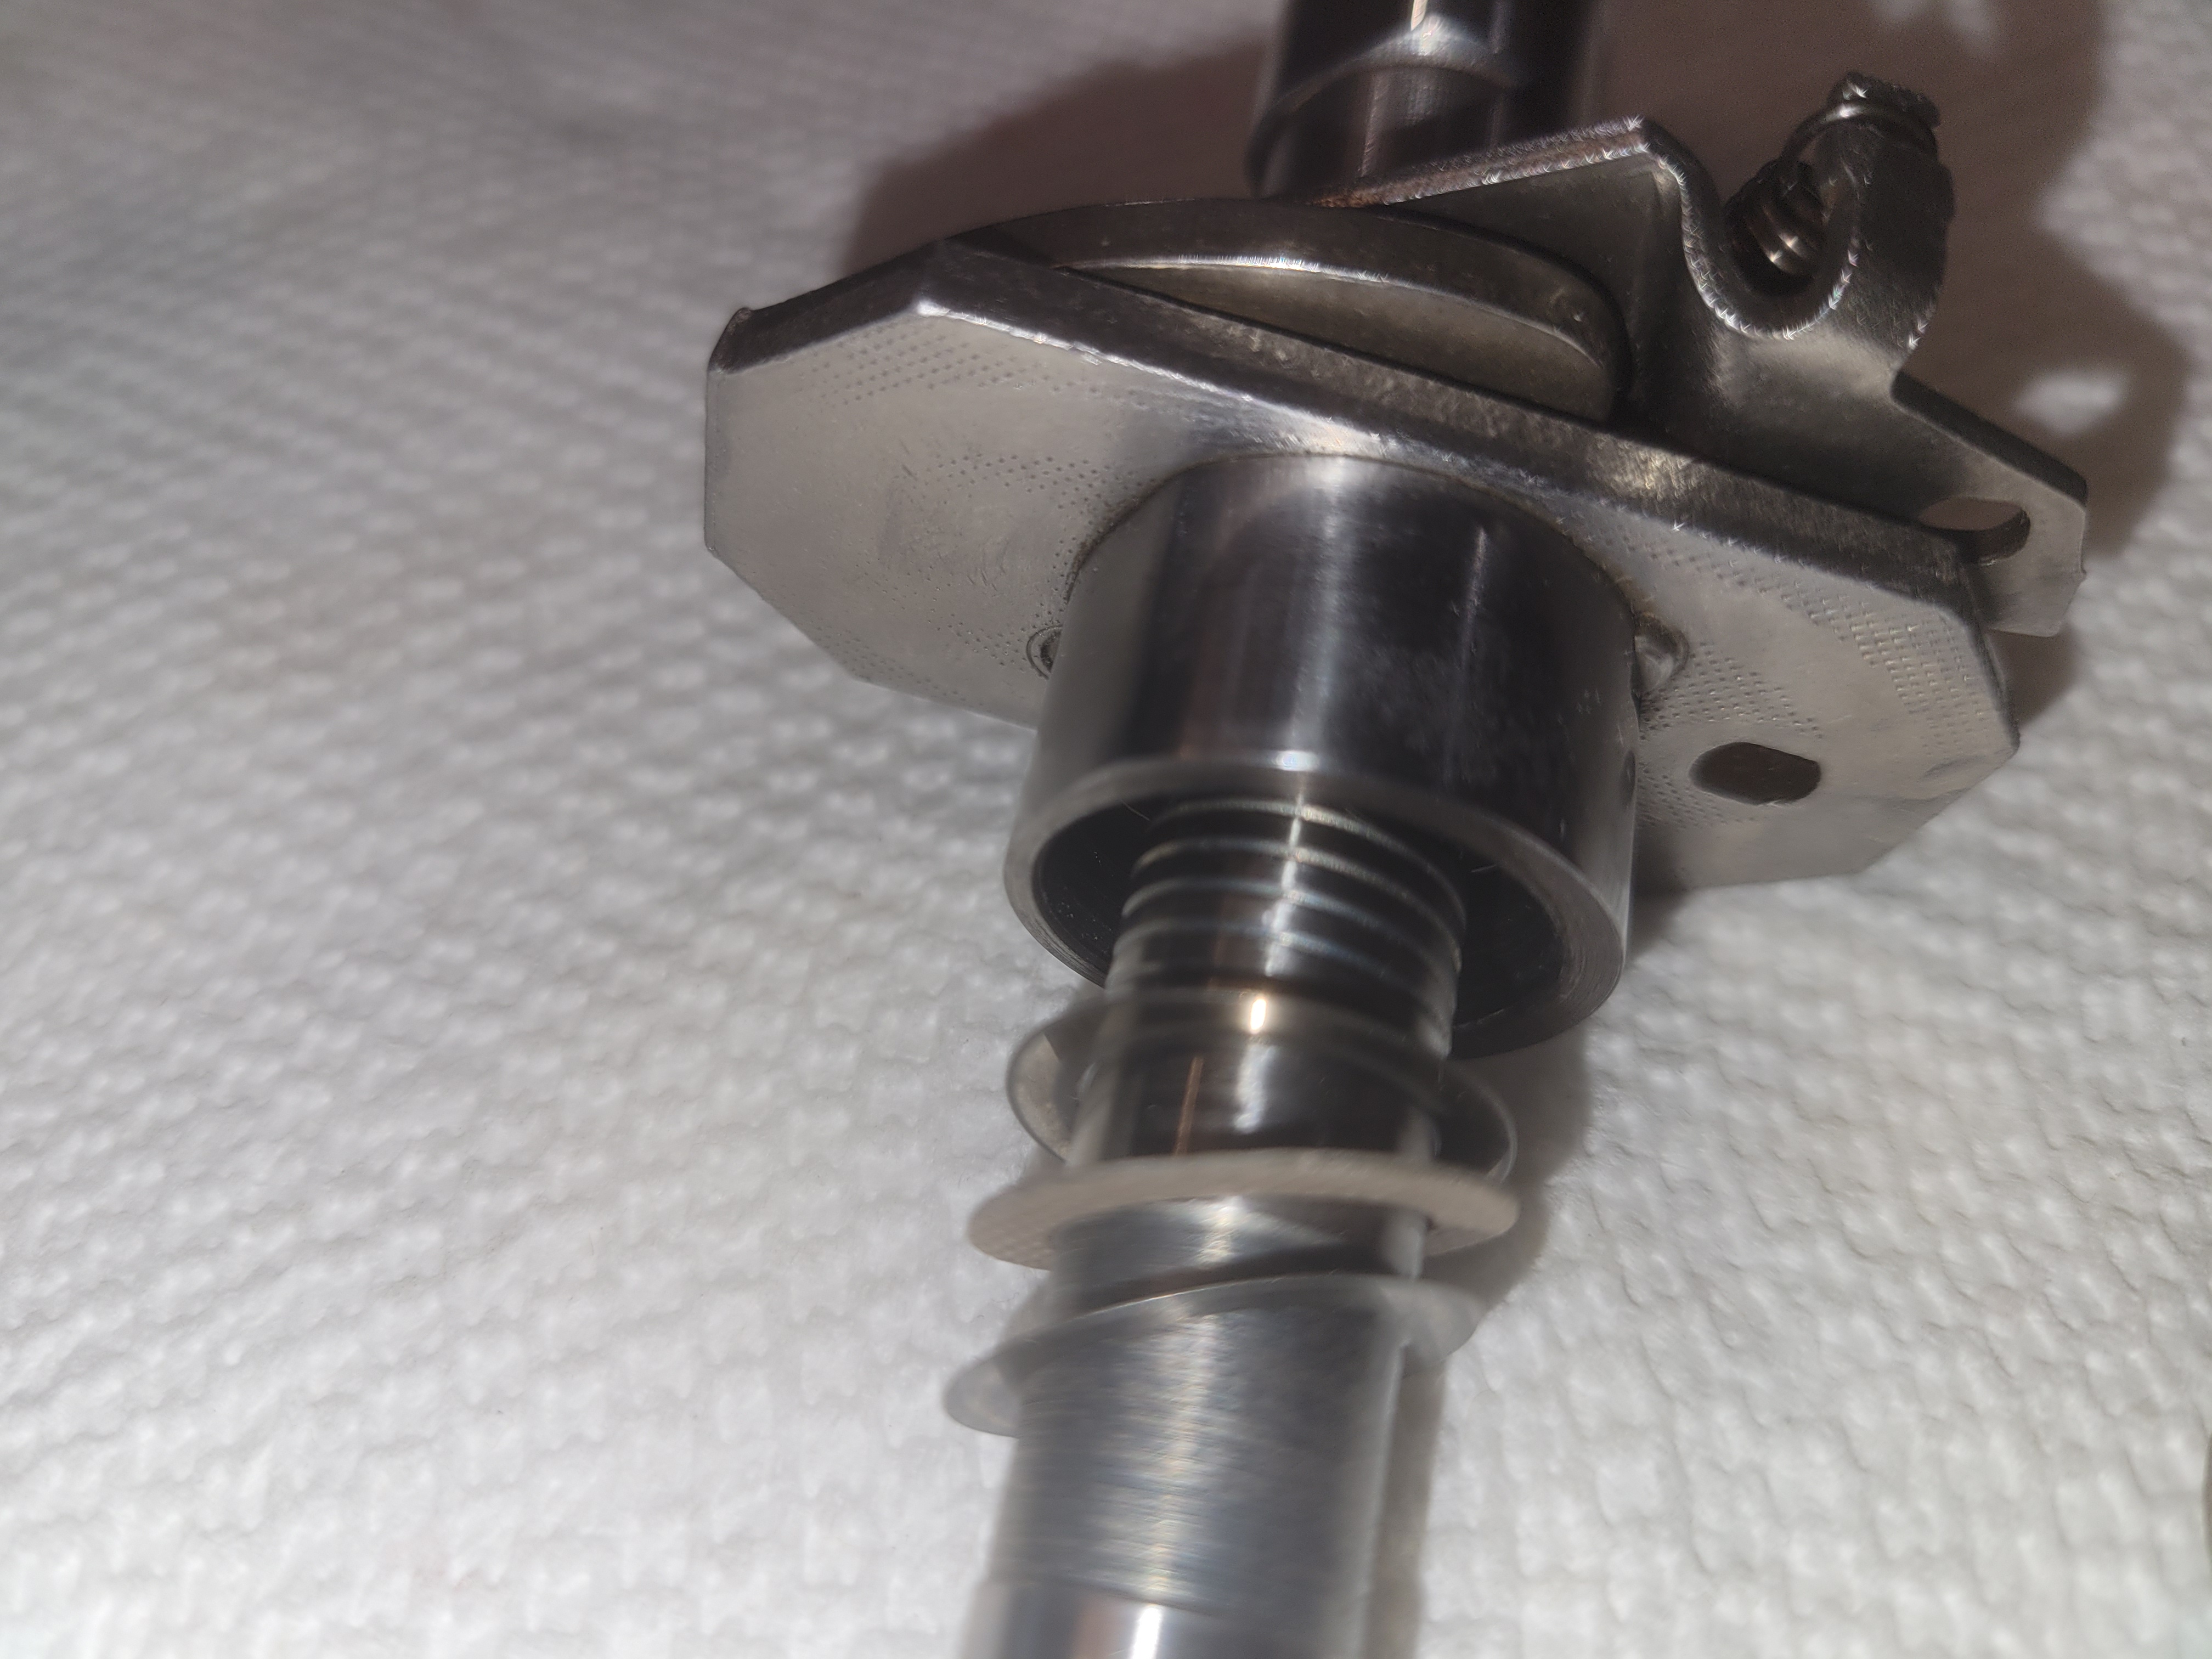
Rebuild kit was tough to find, I called around and https://www.vwnos.com Kit number VWNOS 1030 https://www.vwnos.com/vwnos-1030 had what I needed with a few tweaks. He says he will not rebuild Porsche distributors; too bad because he has the SUN machine to tune the springs and advance curves. The fiber washers for the bottom of the shaft at the drive gear are too big and I had to sand them down while constantly rotating them. Took about 5 minutes to sand them down:
Installed the rebuild and a view of the oil pressure and idiot light hose:
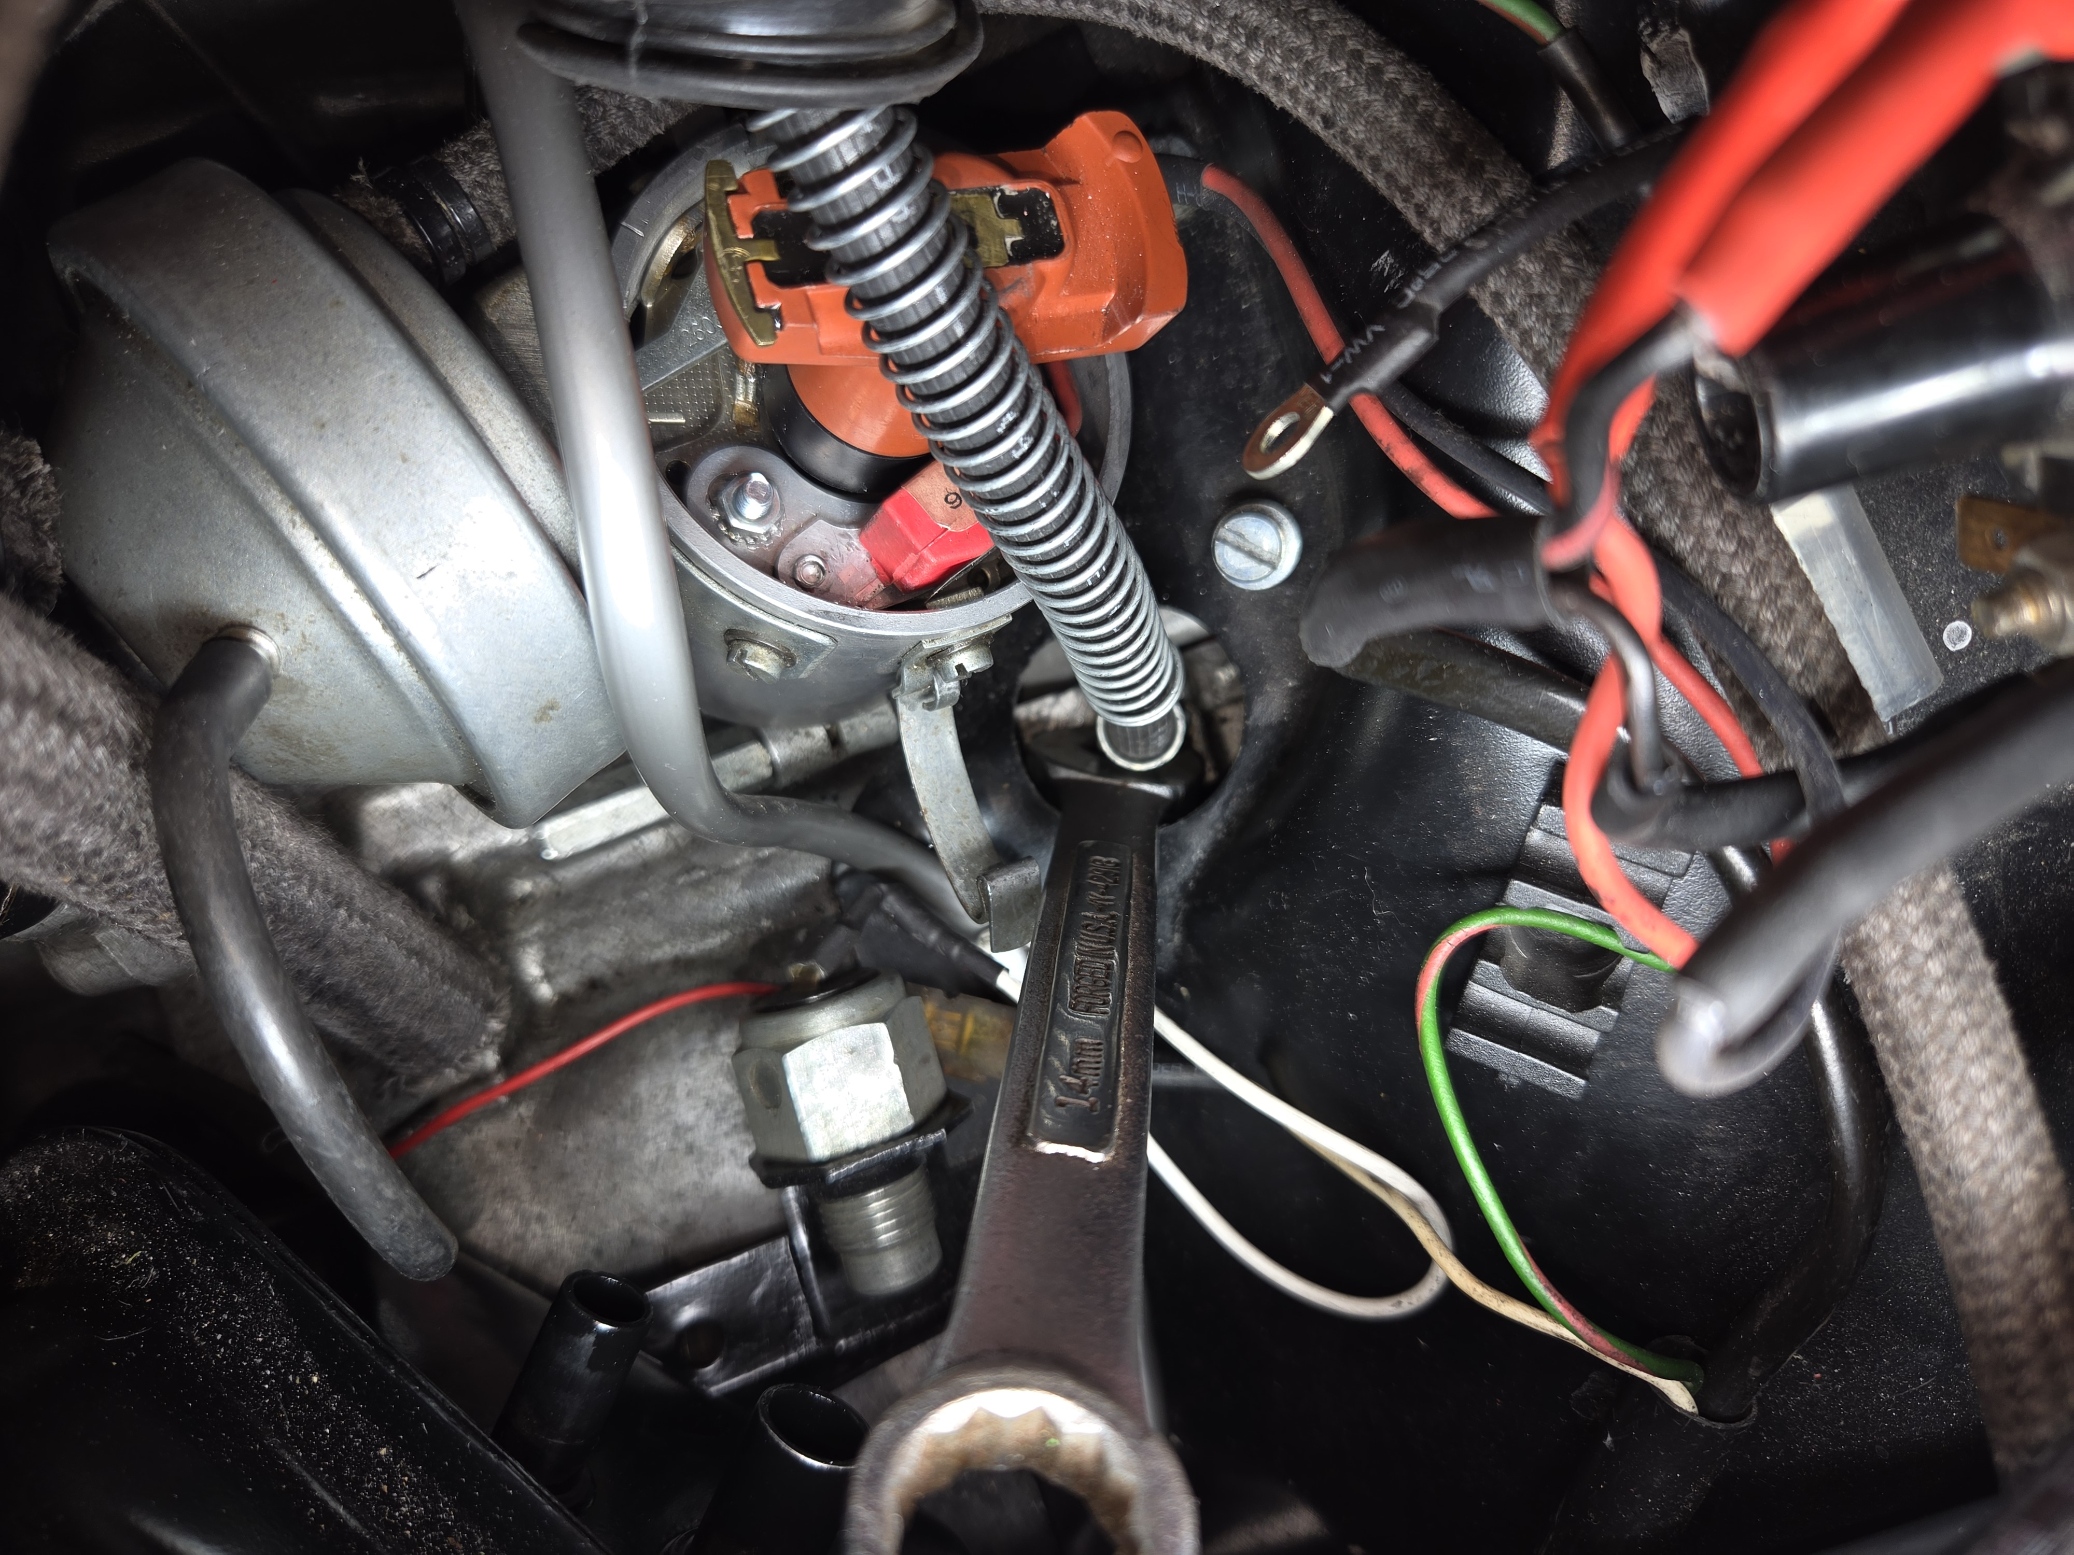
Wire-wheeled can:
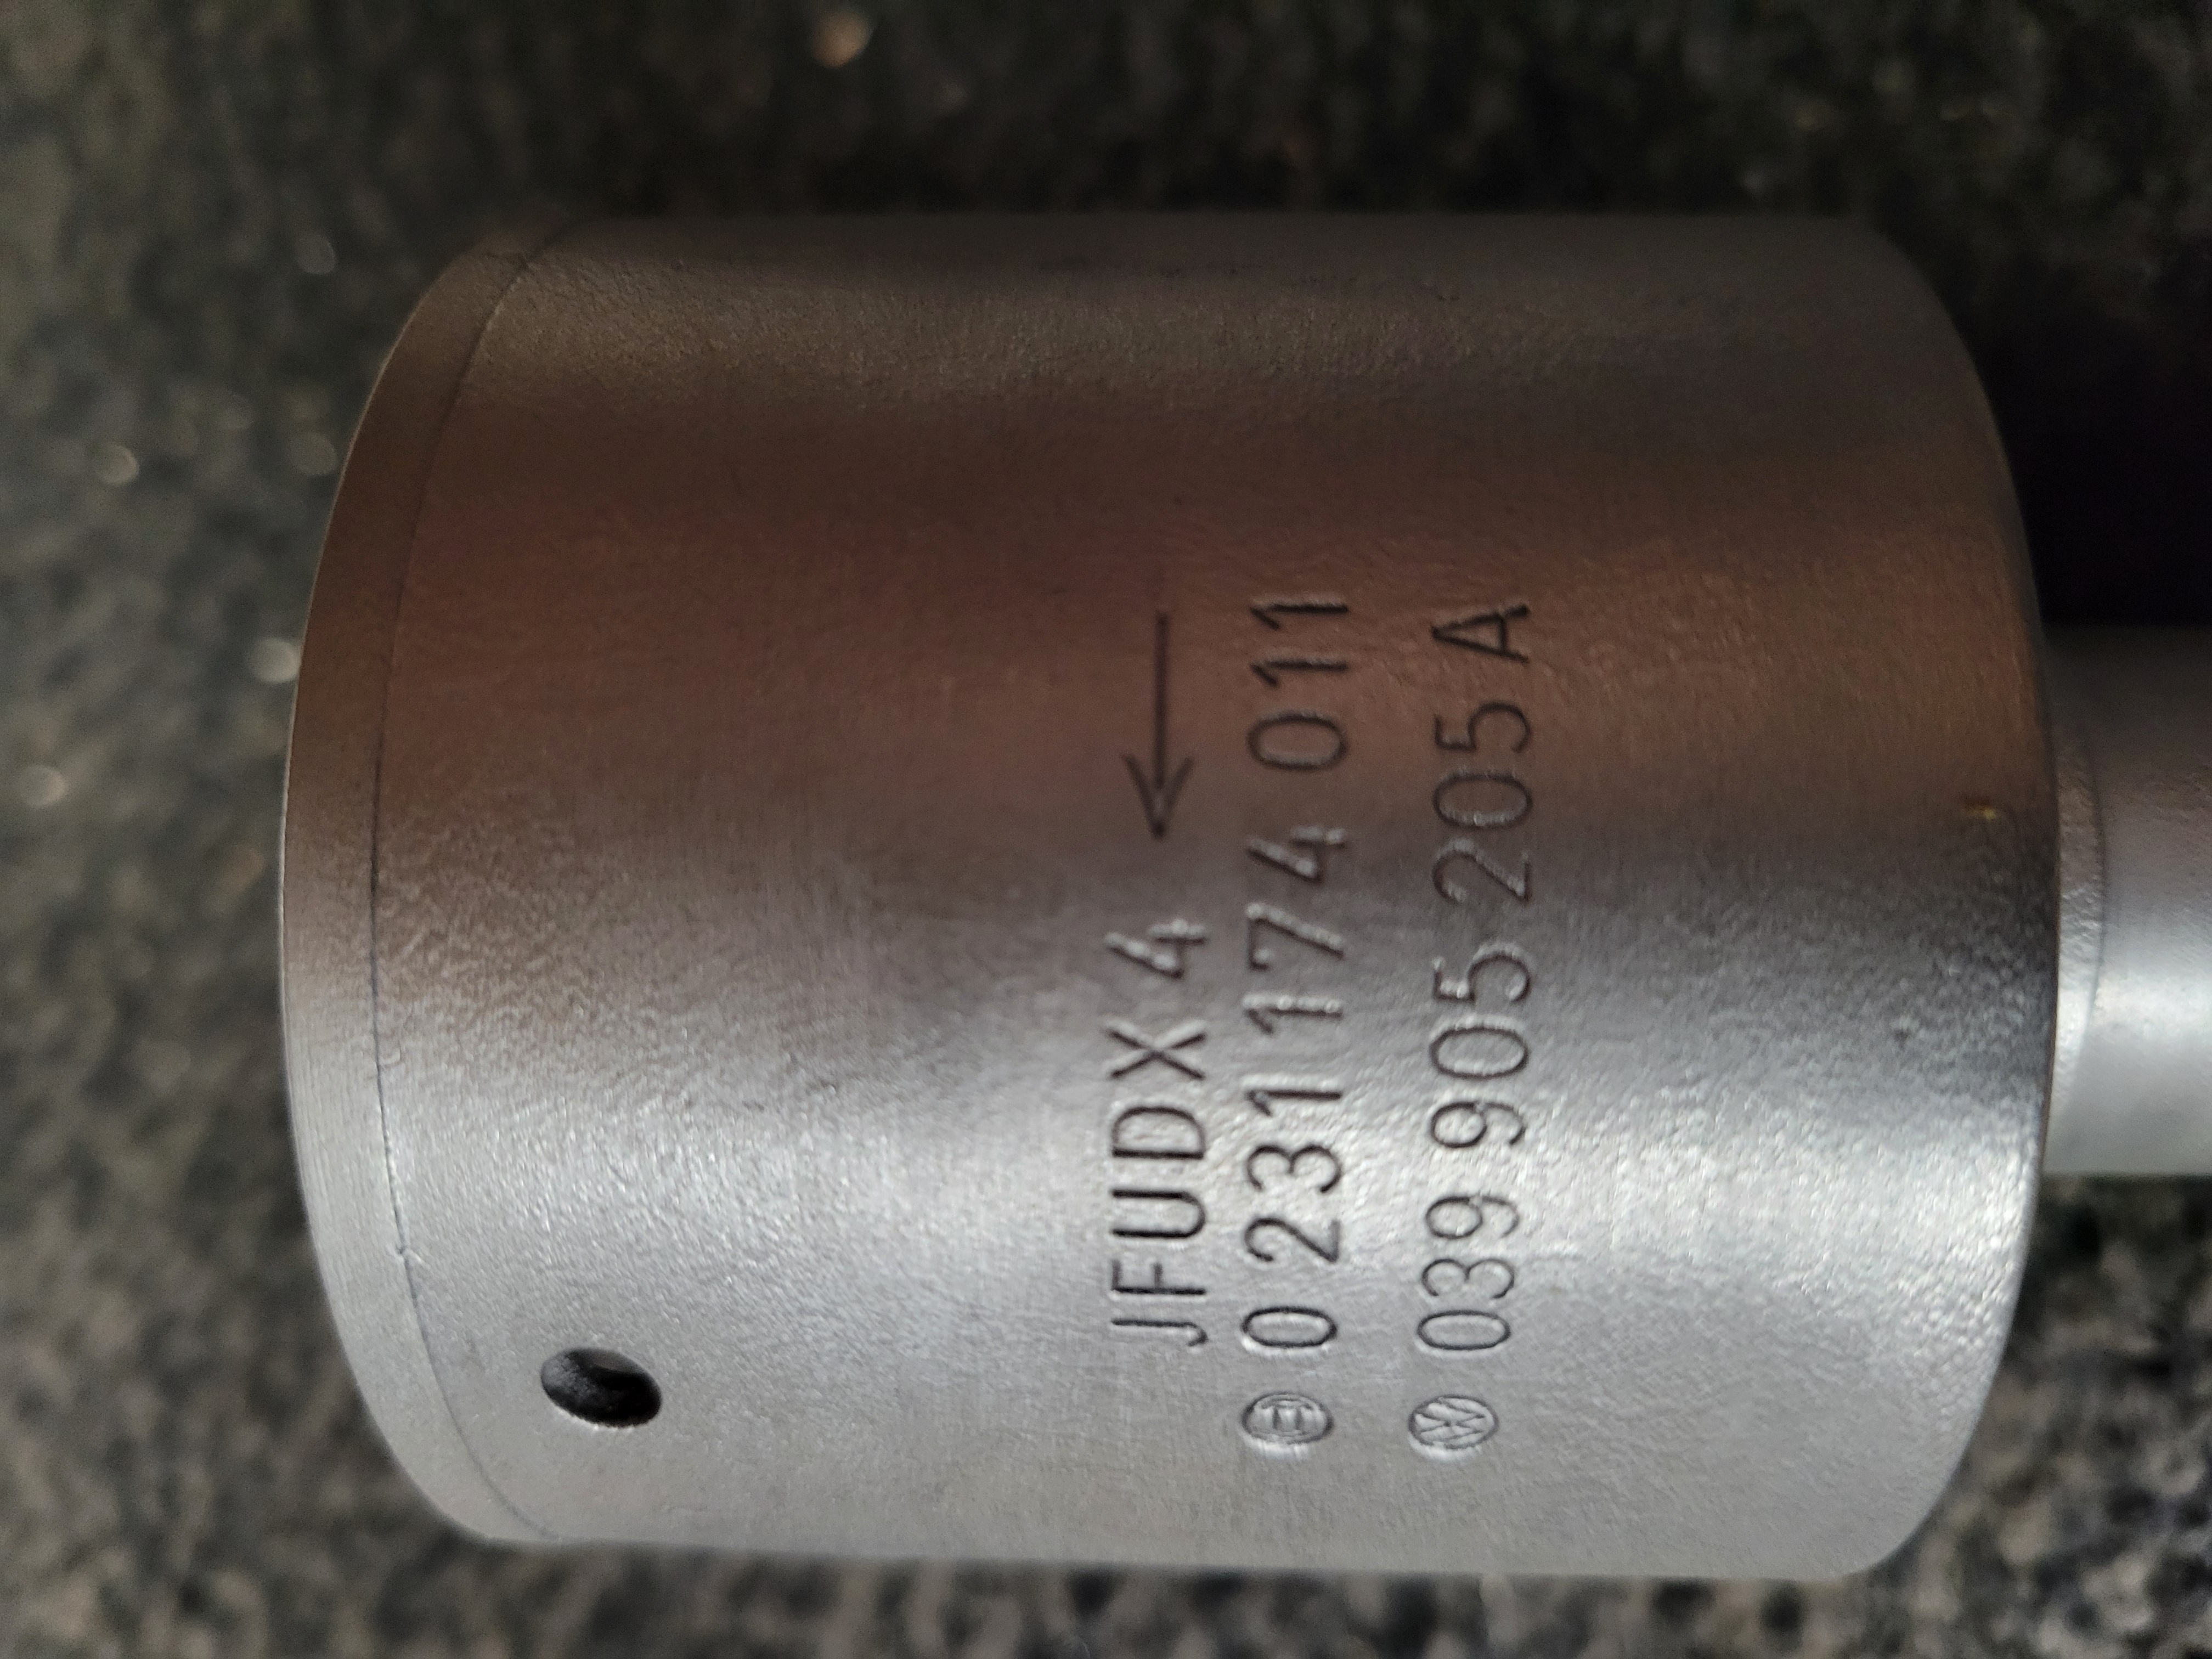
Note the broken spade on the blue shrink-wrap wire. I shoved the DMM probe in there and it had 12V. But it was actually broken, just bridged by the probe (ooops). Once the spade was replaced, the car started right up. I went with RED and BLACK shrink-wrap once I redid this stuff.
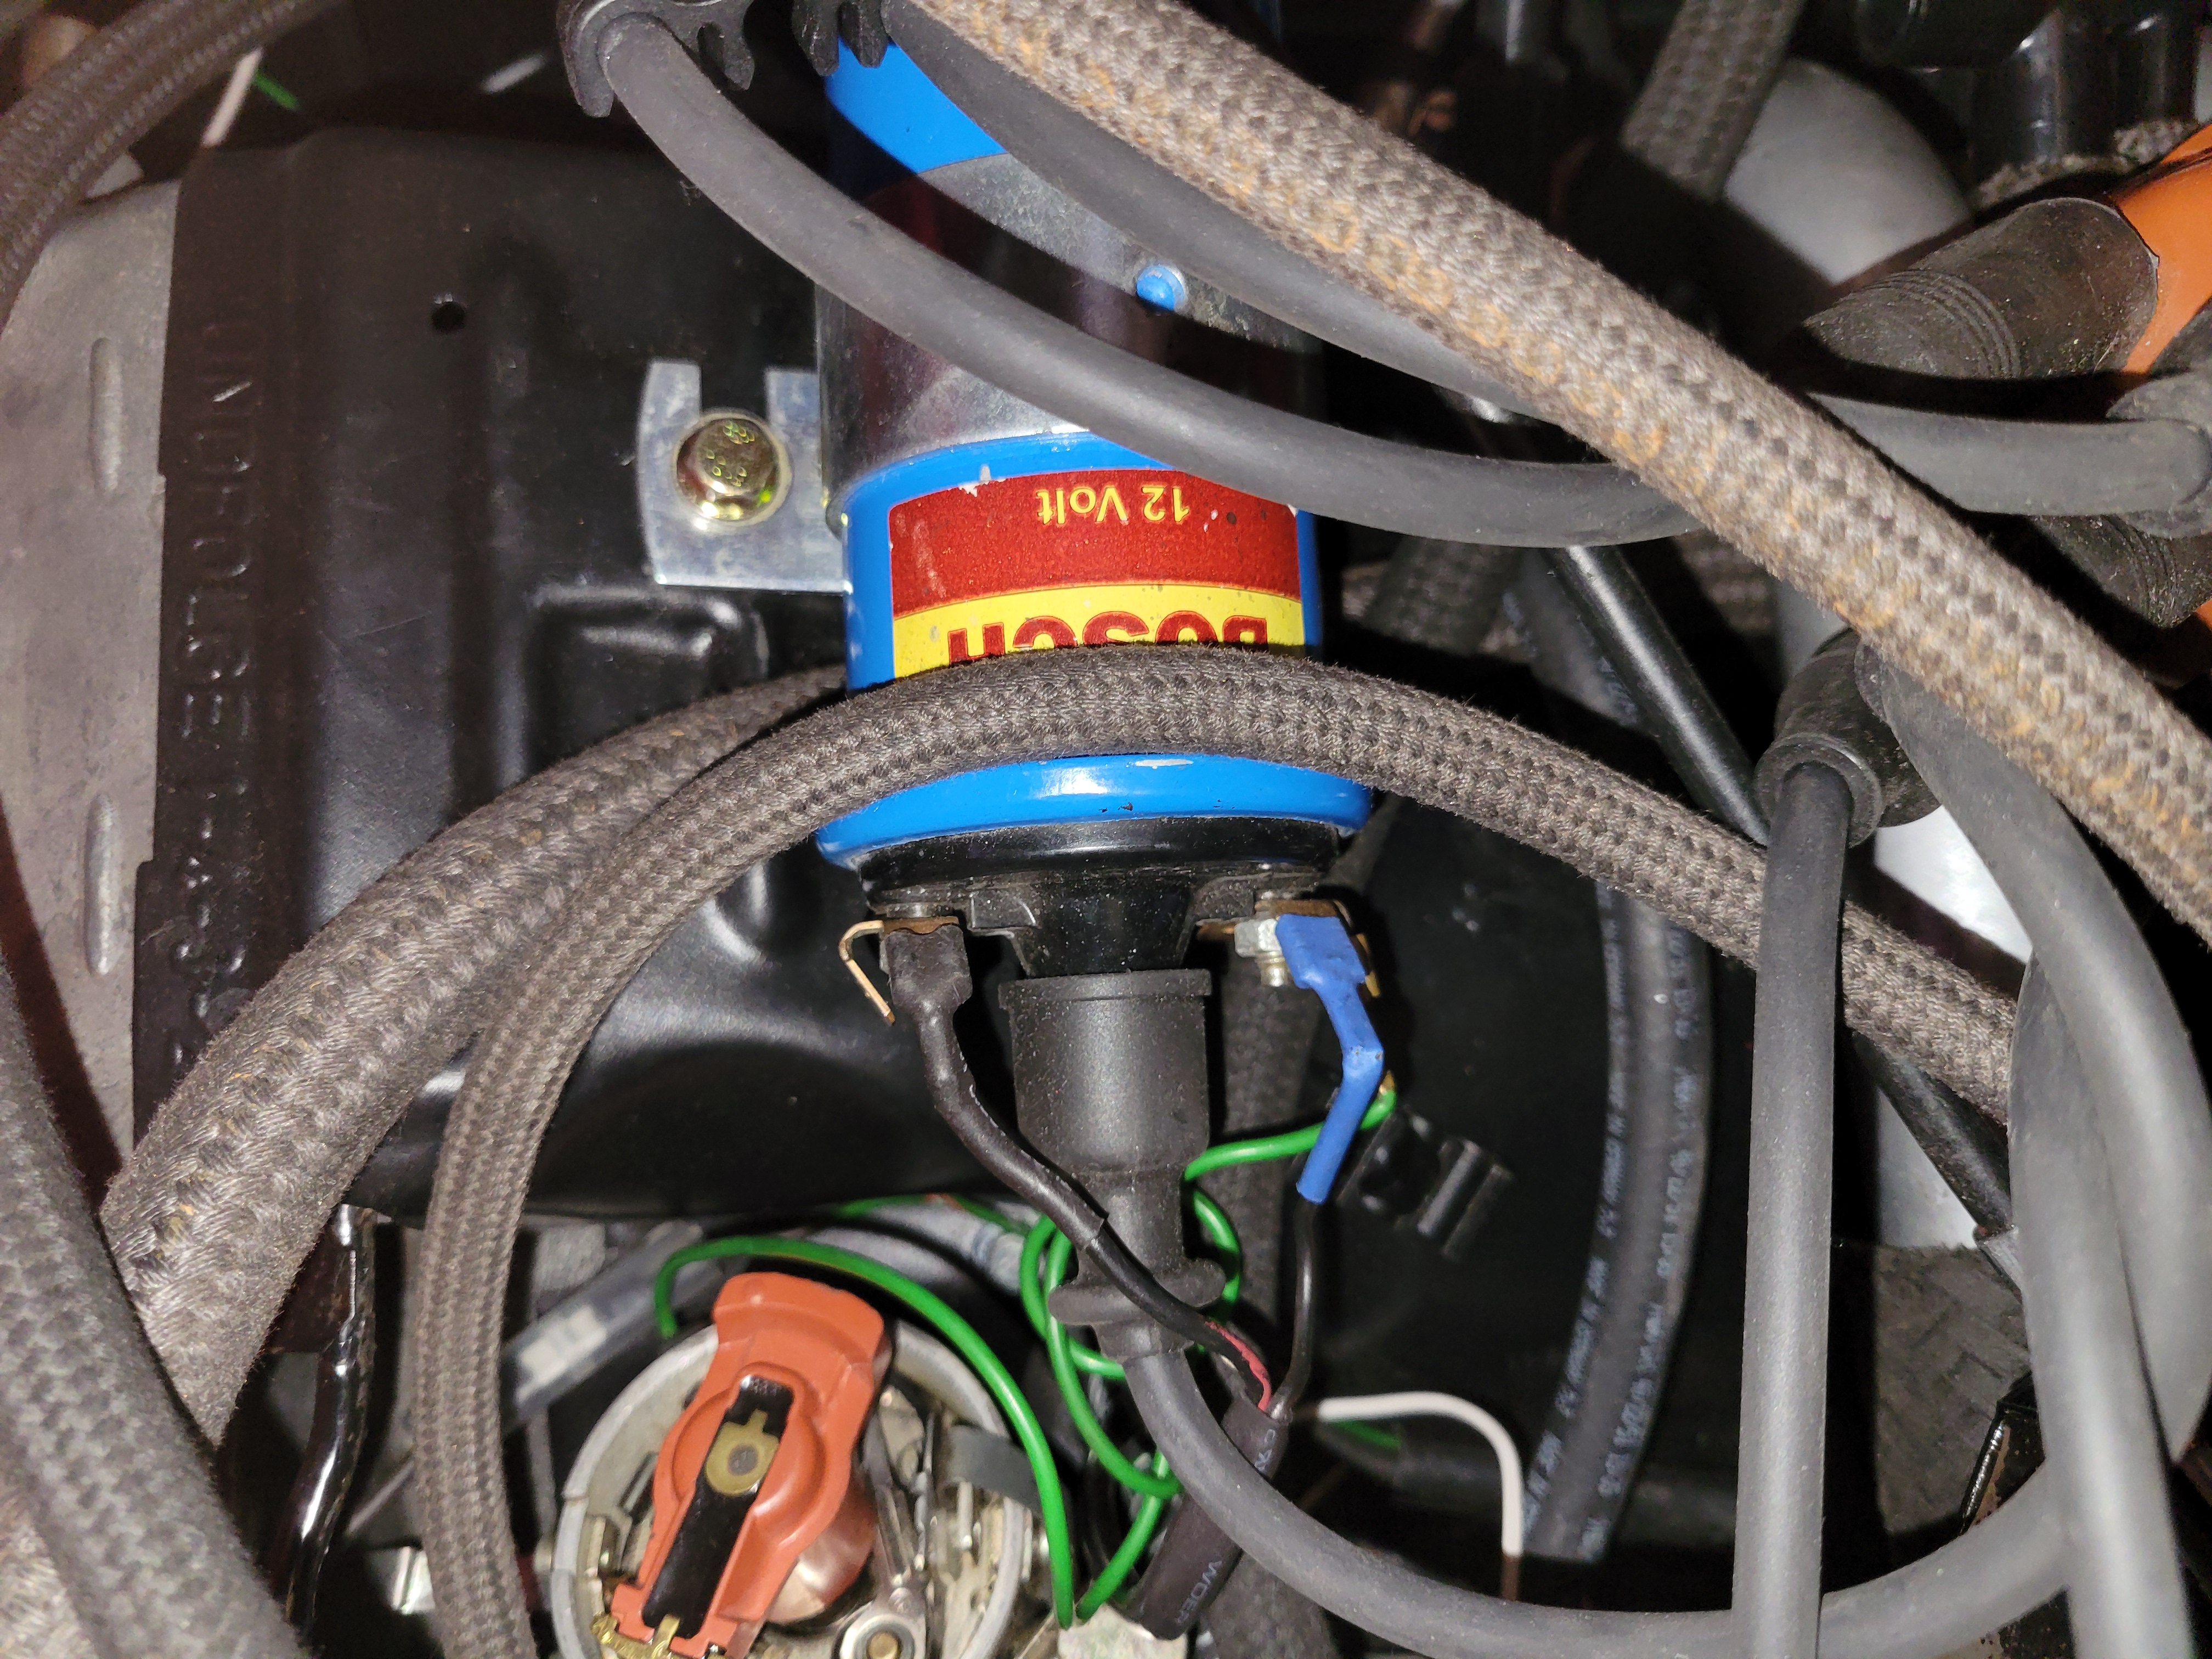
Some grease, but not horrible:

Another view. Notice the felt in the center shaft to hold some oil. Re-oil every 3,000 miles.
Remove the clip holding the vacuum canister. Remove the screw holding the canister in place and then remove the canister.
Vacuum test it to make sure it can hold pressure.
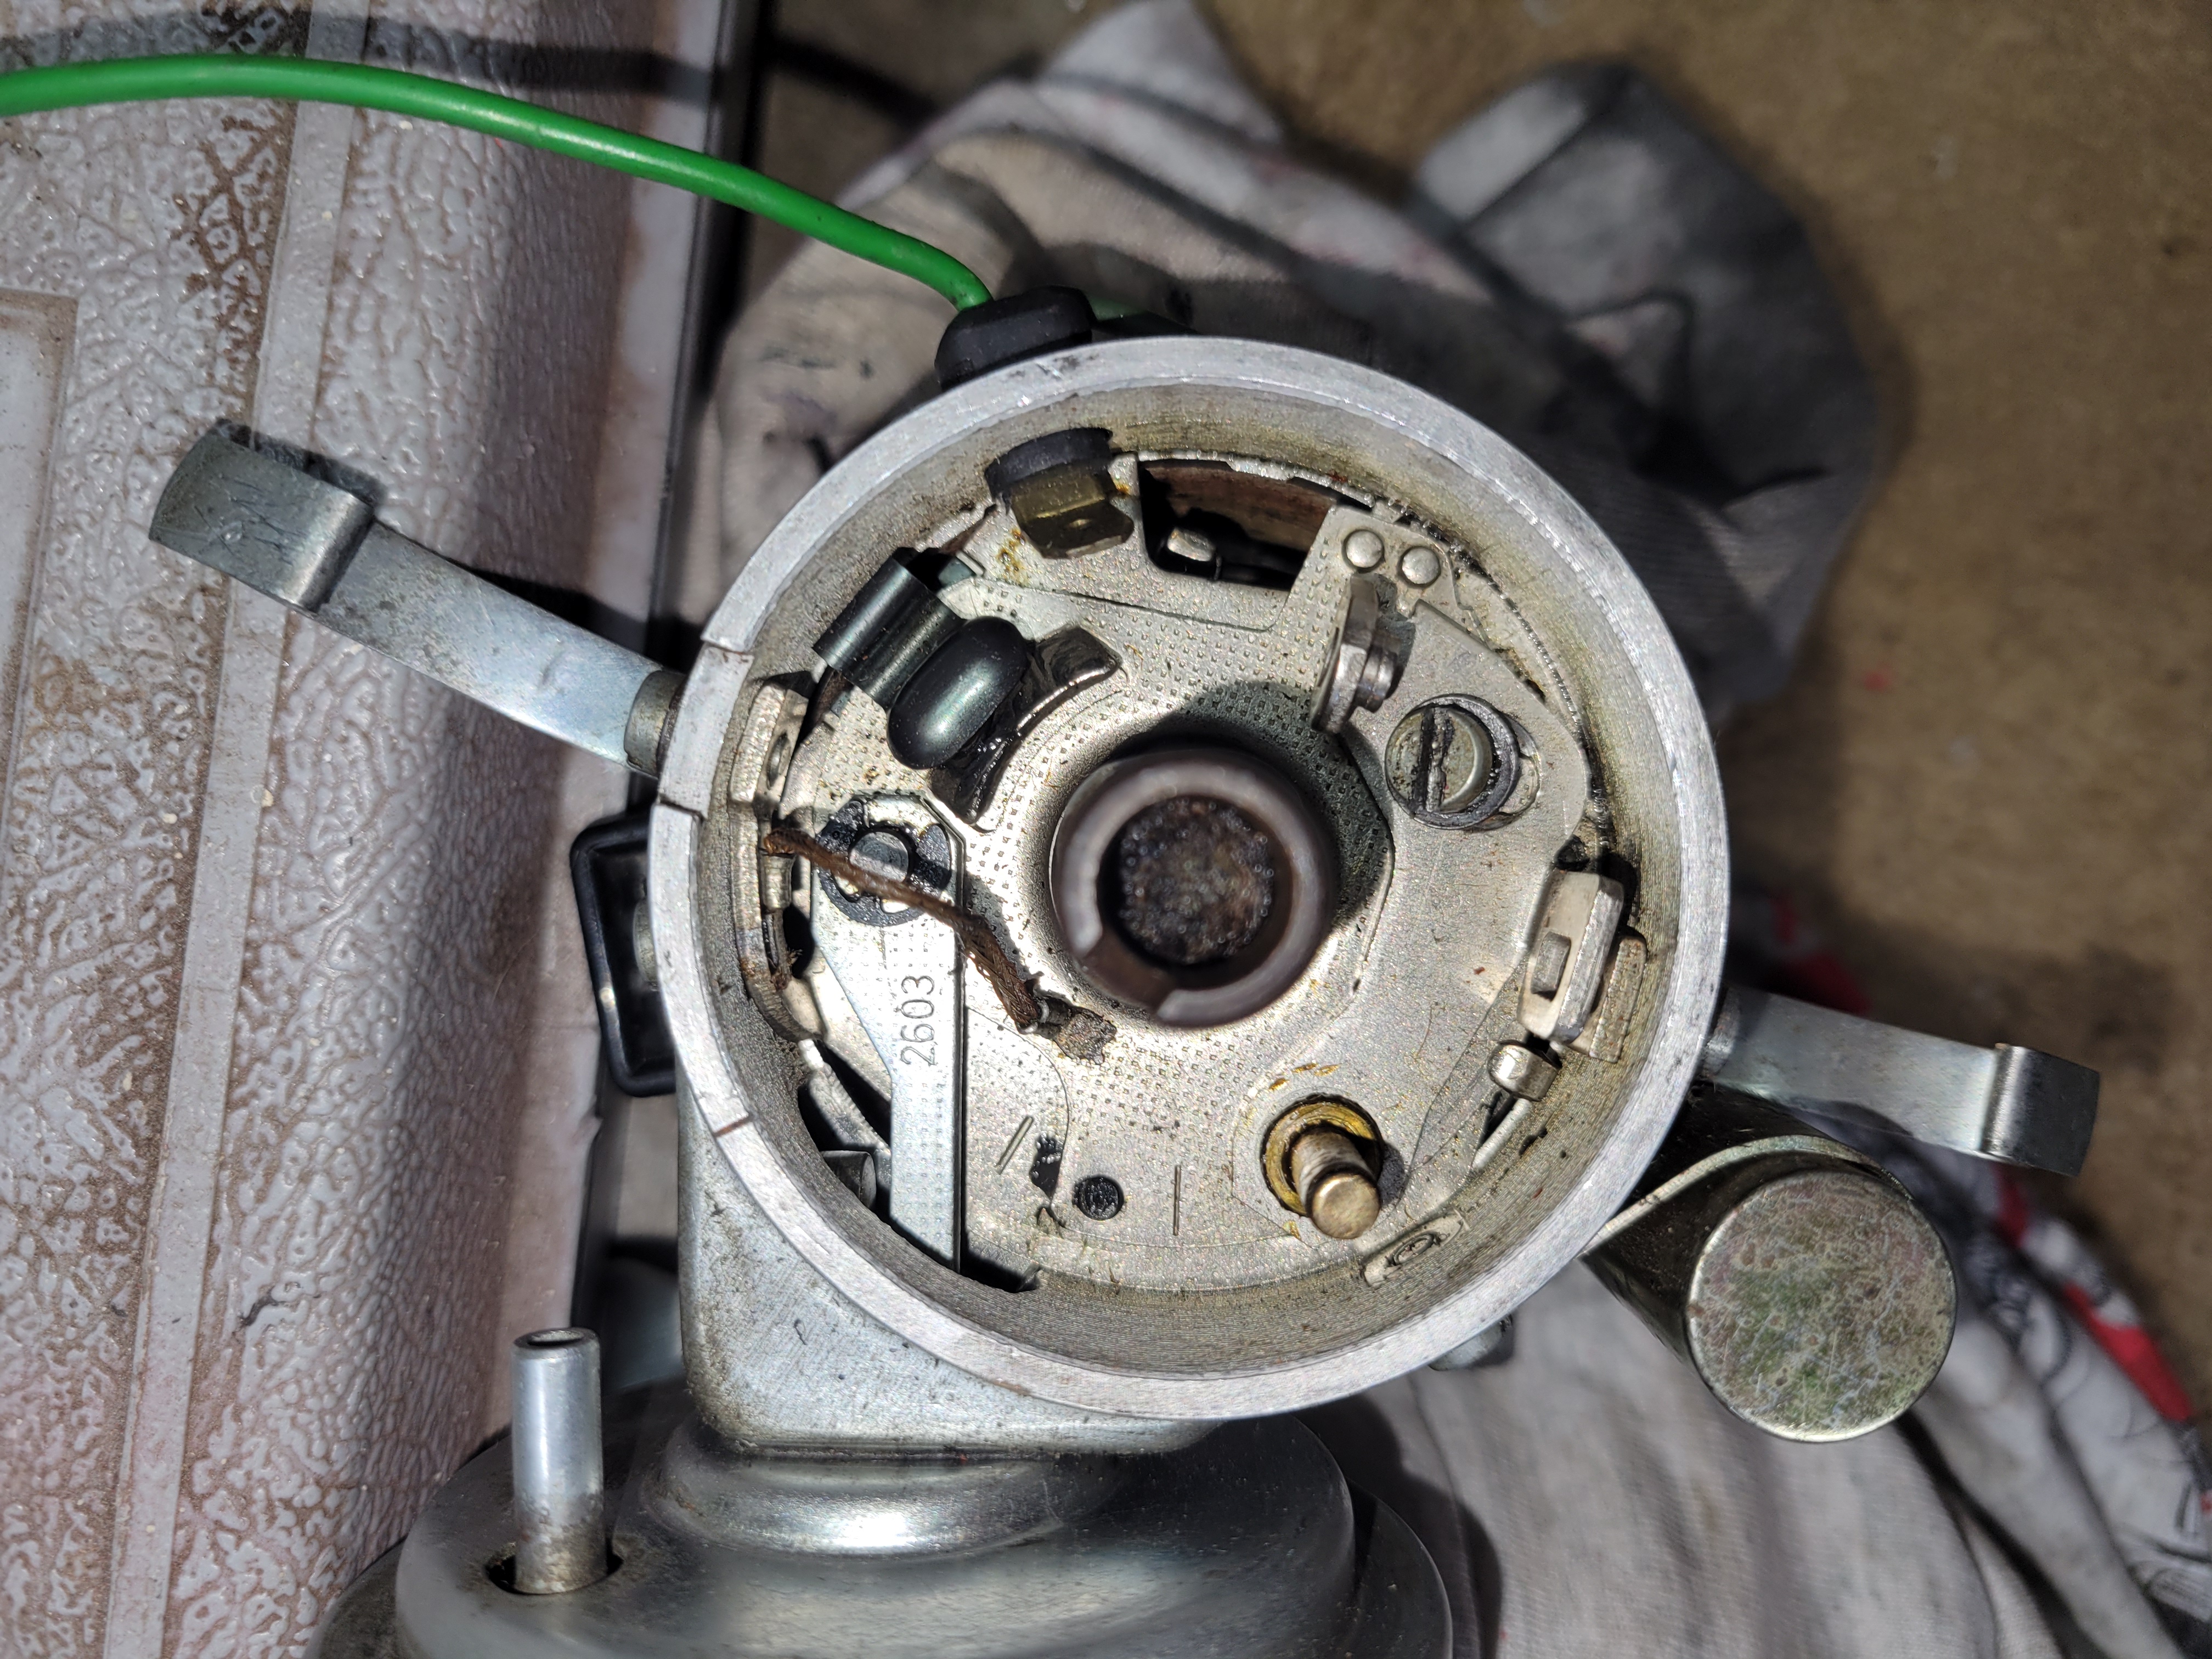
Goodbye points:
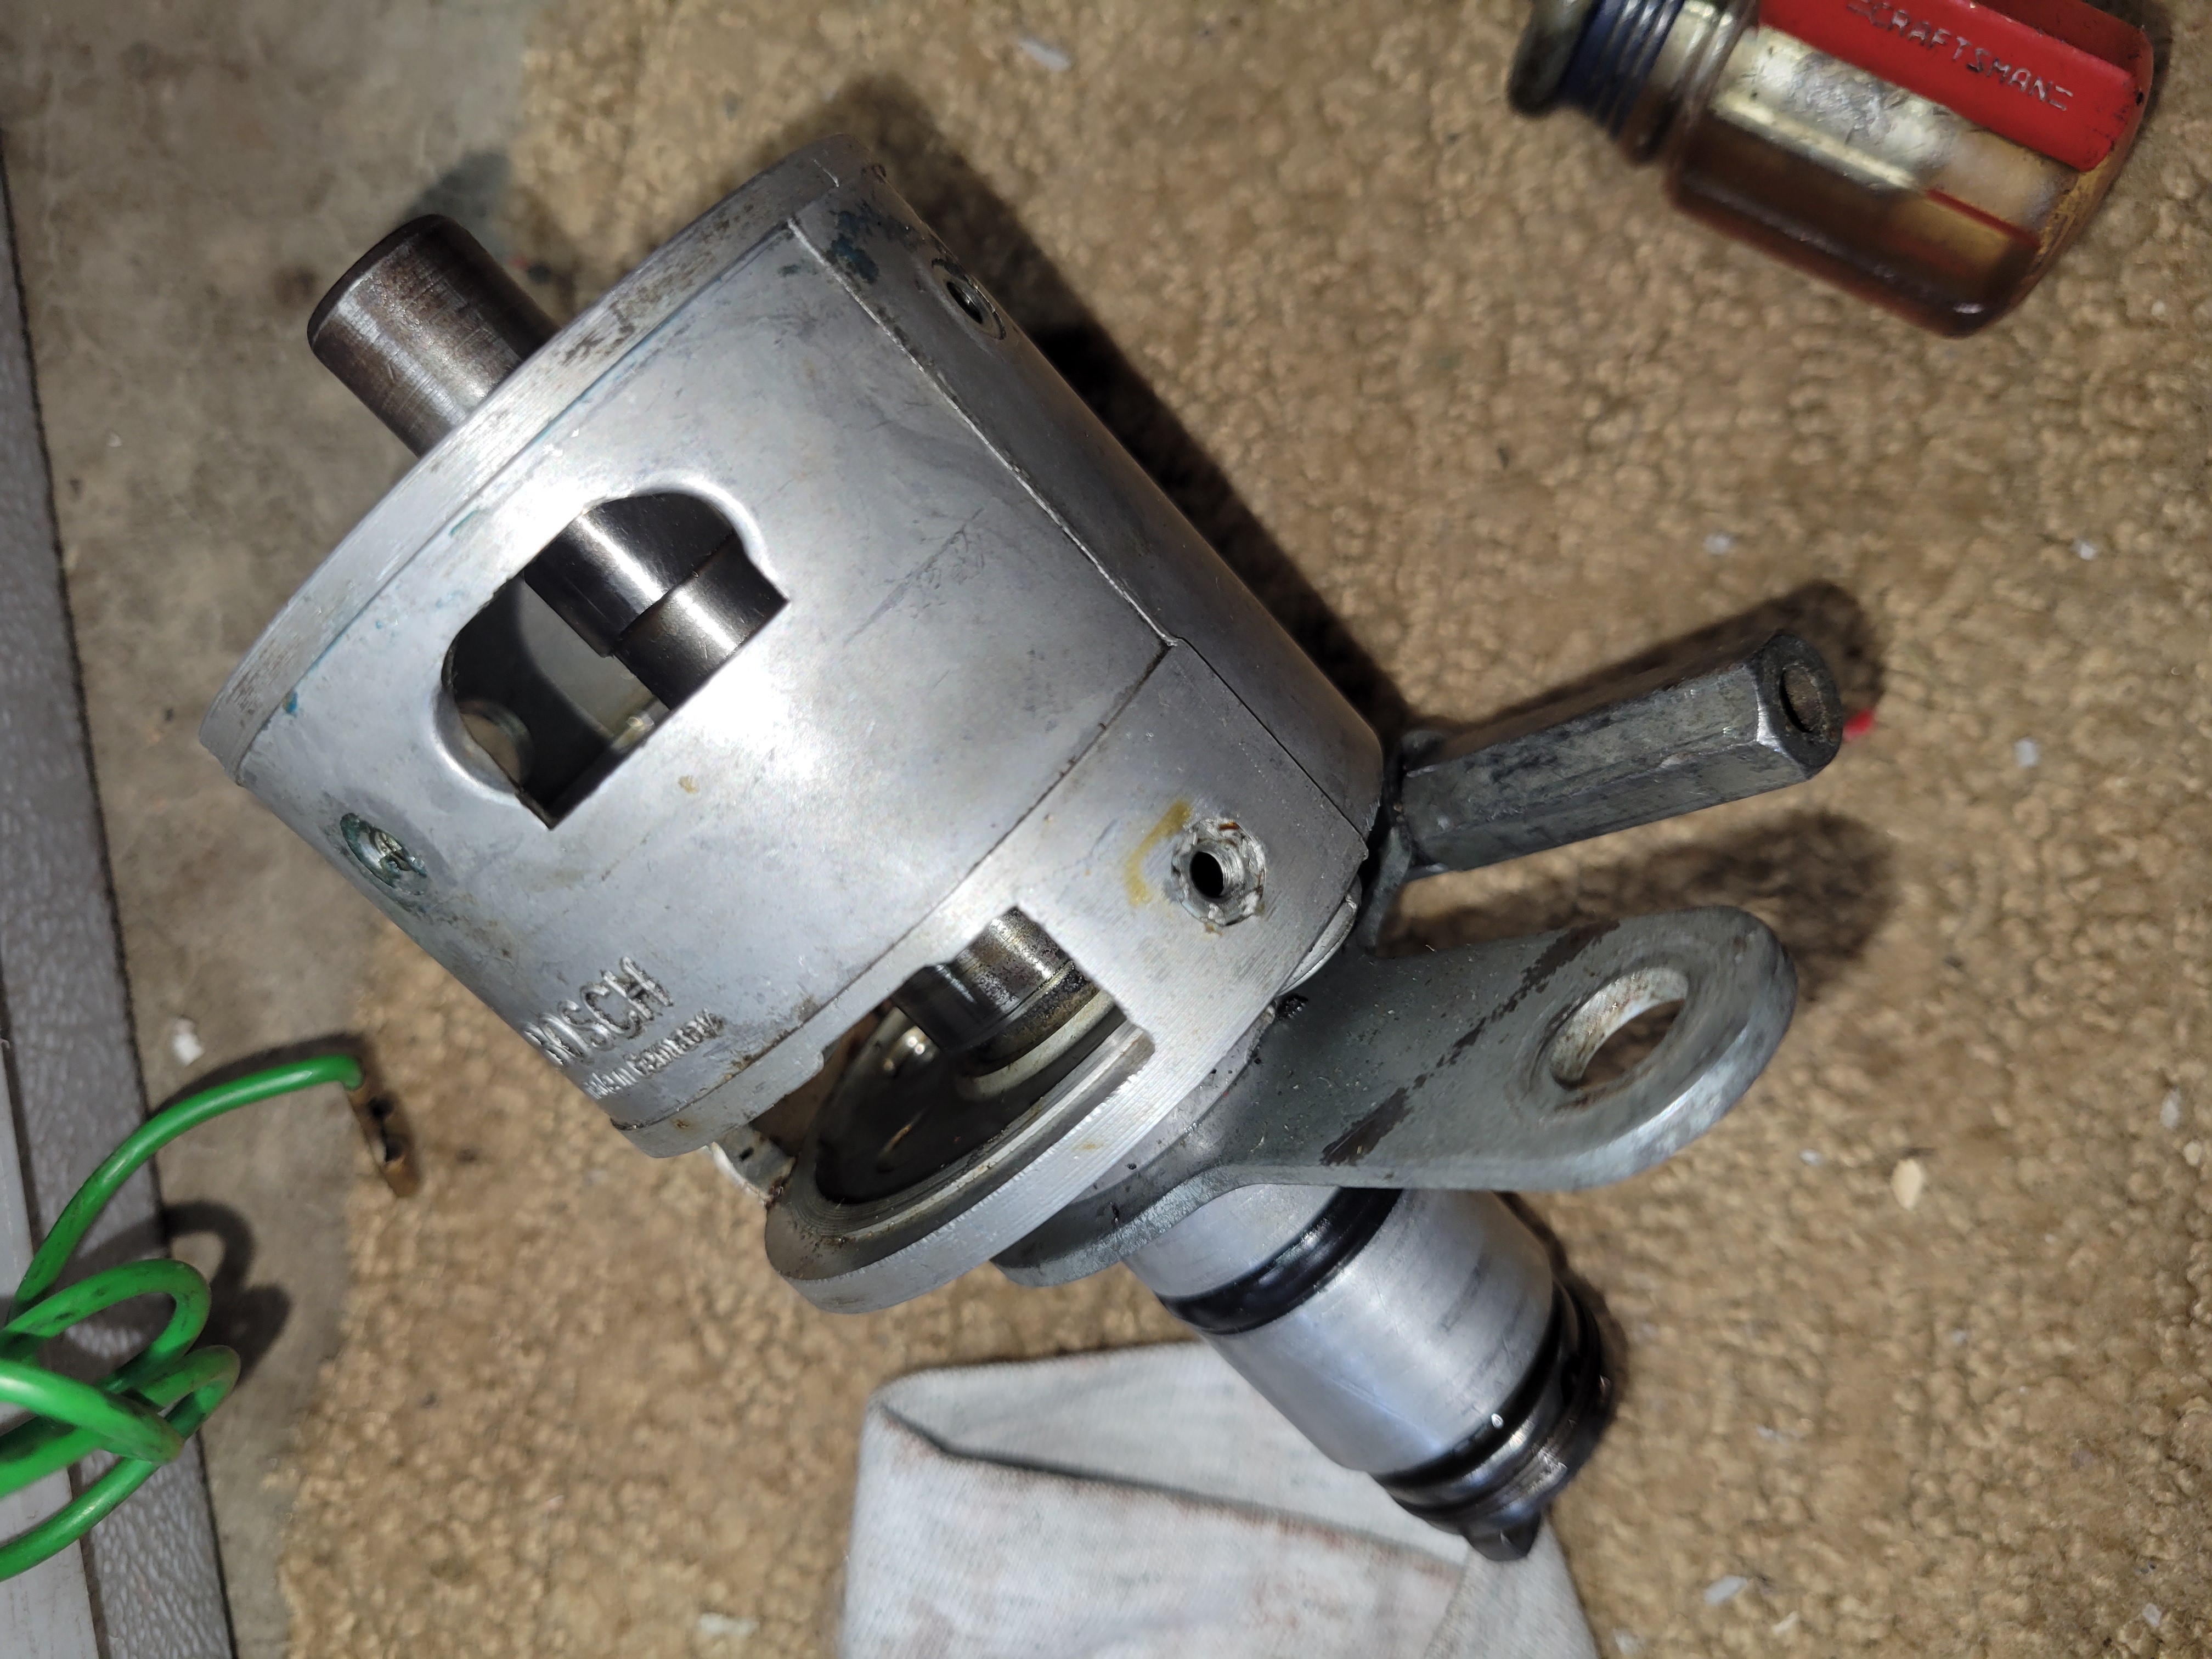
Note the felt plug for the shaft, take that out: Note the clamping mechanism and long threaded nut. I recommend a washer under that nut to make it easier to turn. Mine was not tight enough and the distributor rotated towards advance-timing. Easy to correct, but annoying if you are on the road.
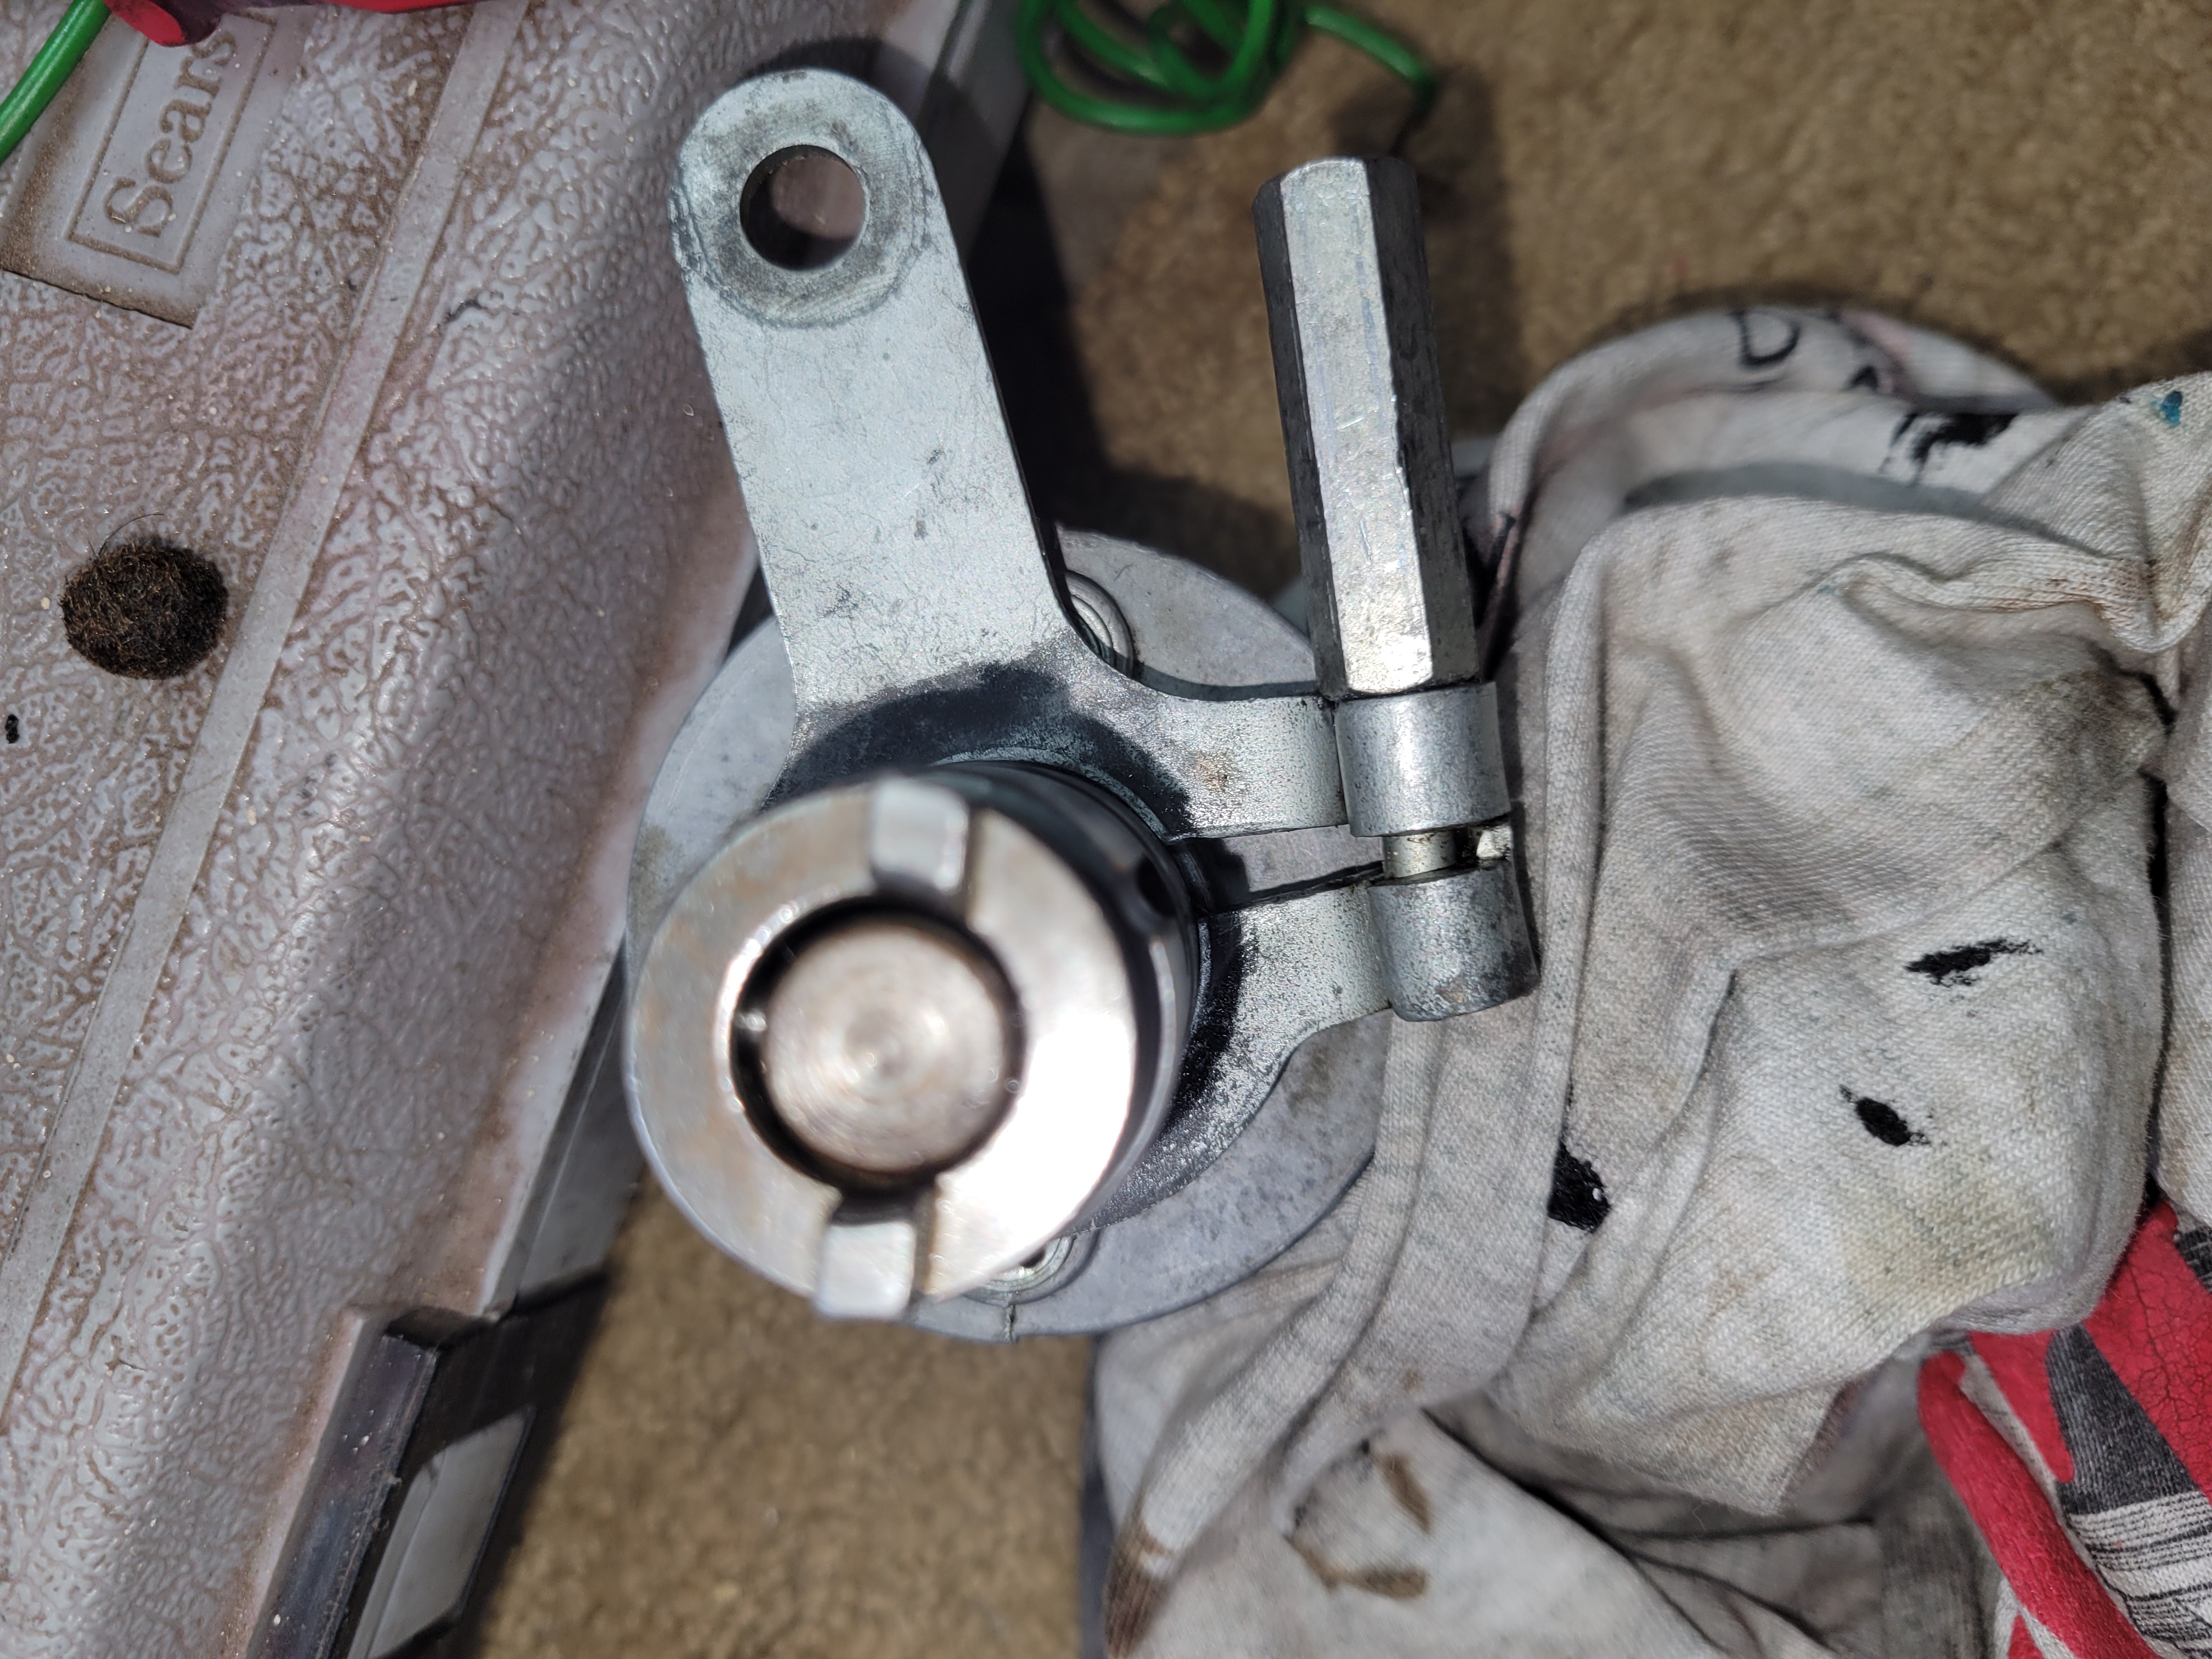
Removing the drive gear is a sore spot for some. I'll show you the trick to get it out below:
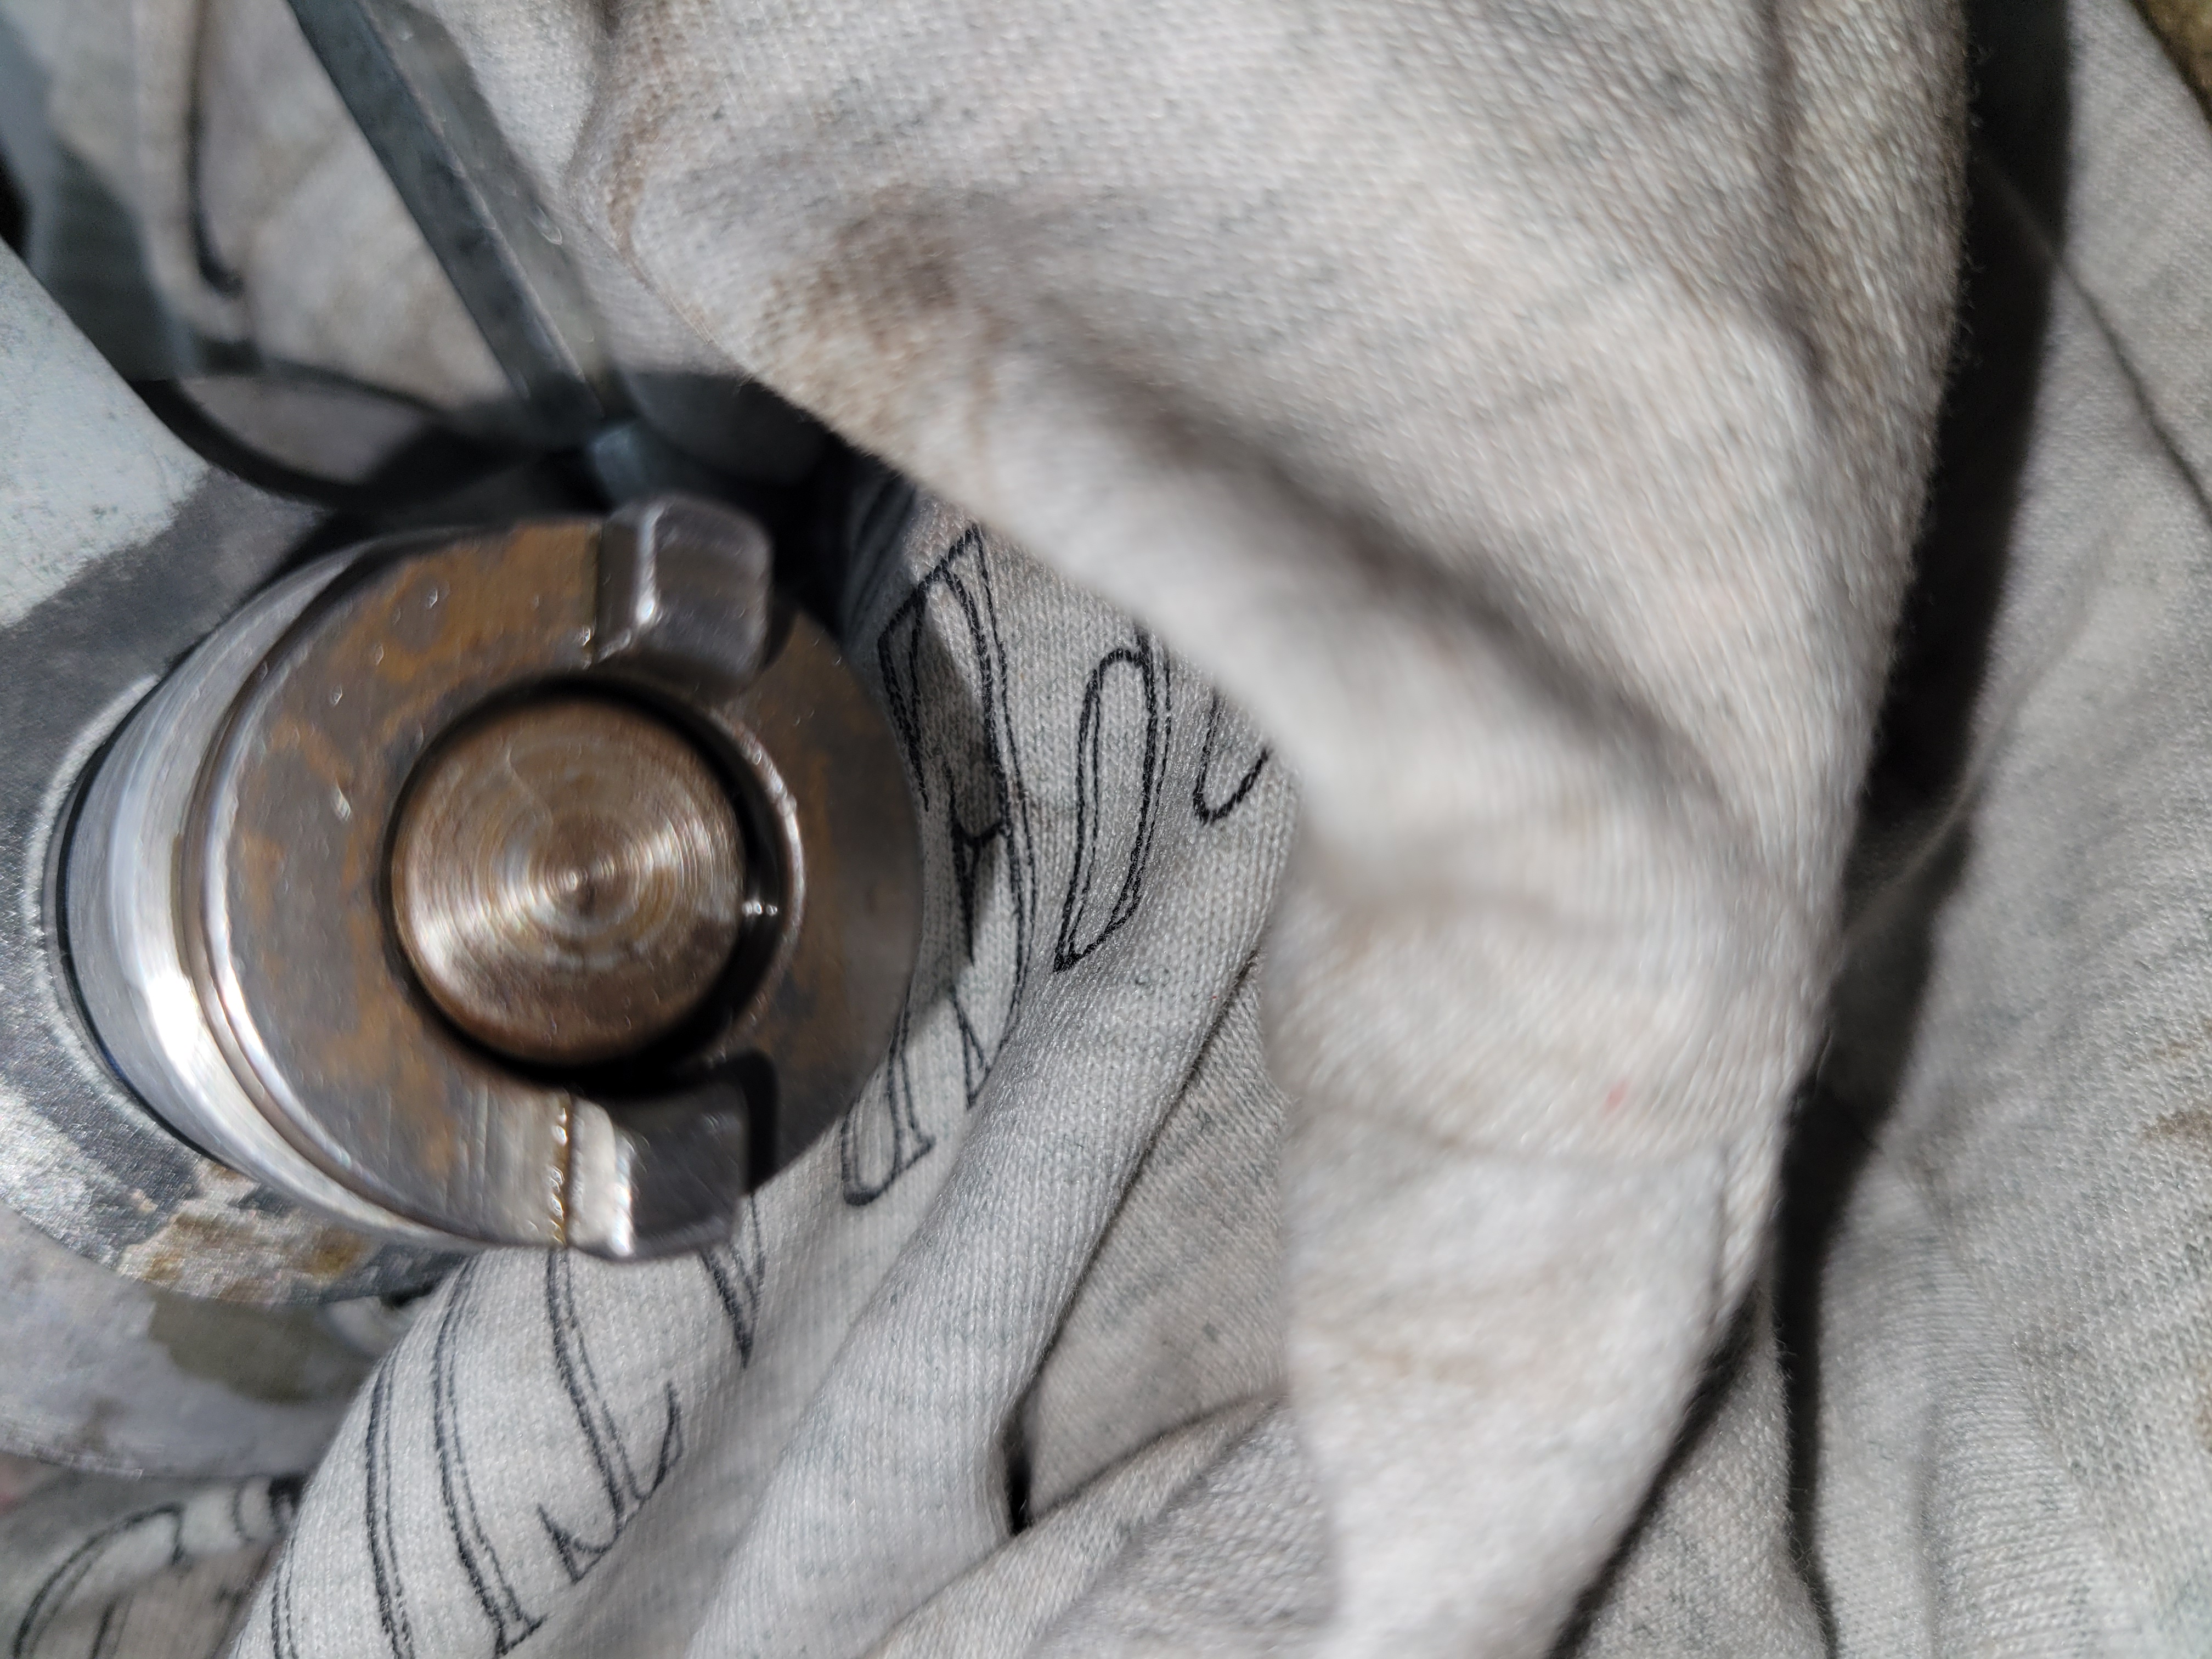
Remove the spring. Note the orientation direction of the spring. It covers the pin that holds that drive gear to the shaft:
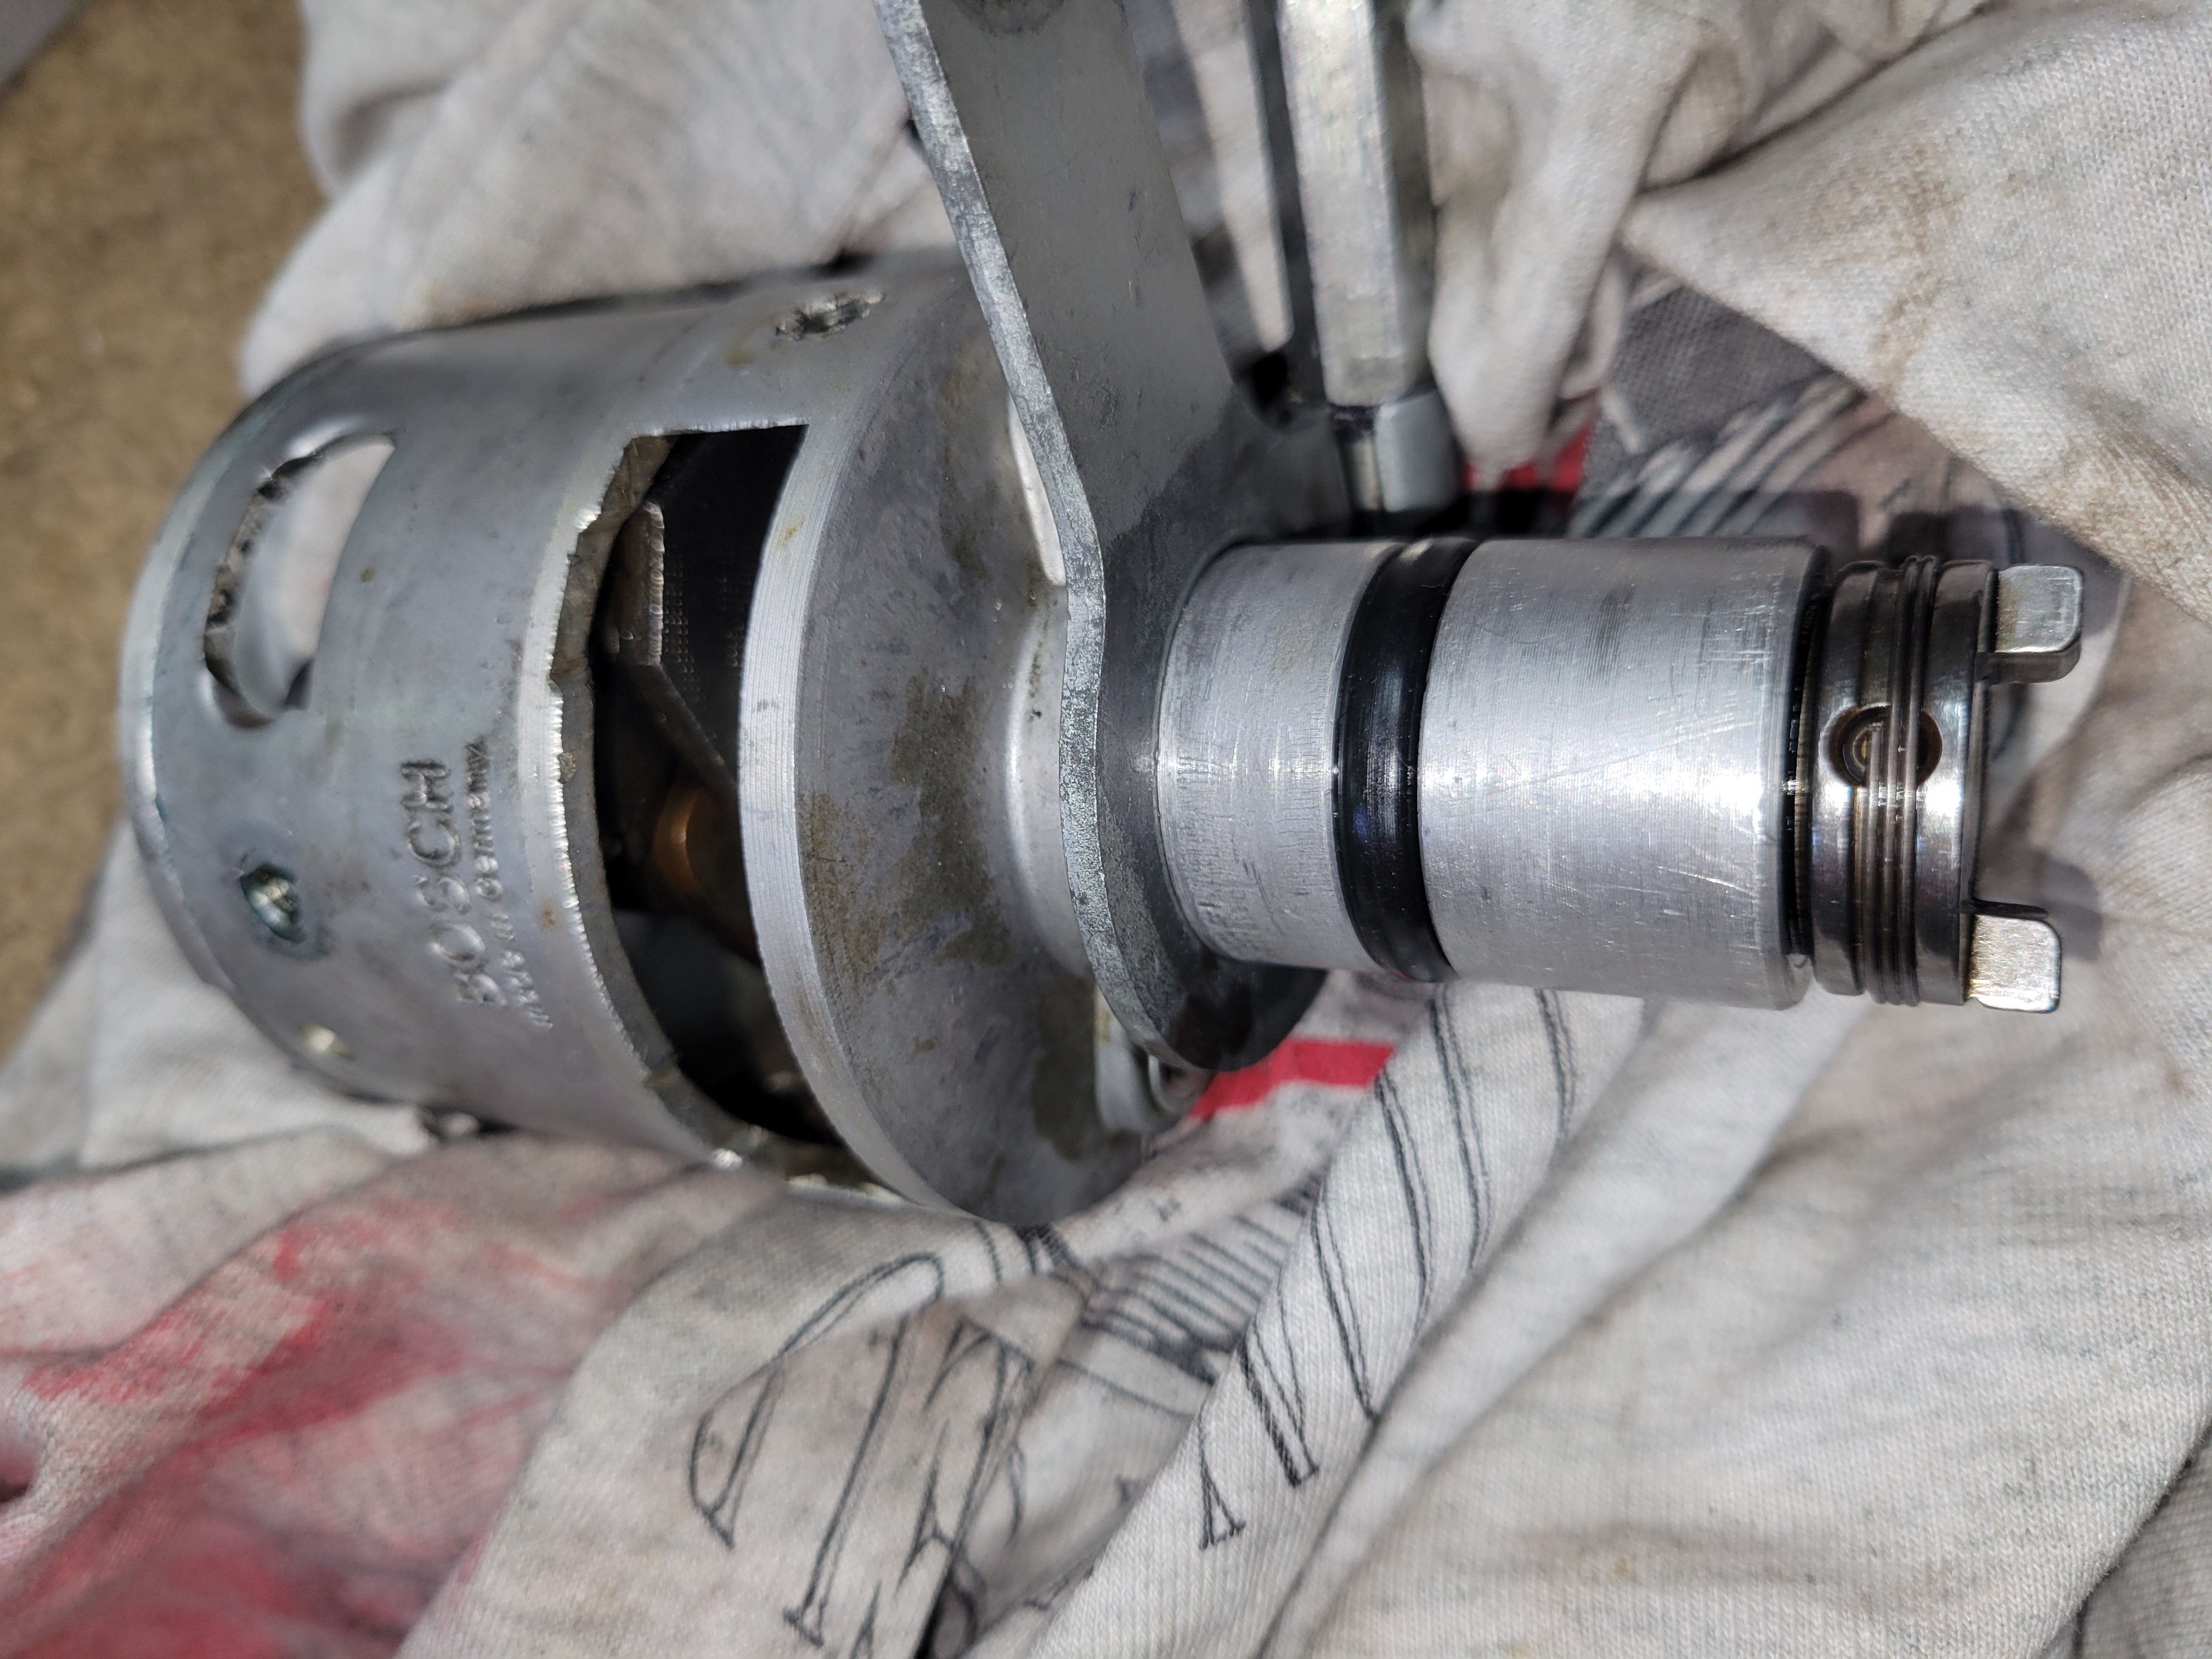
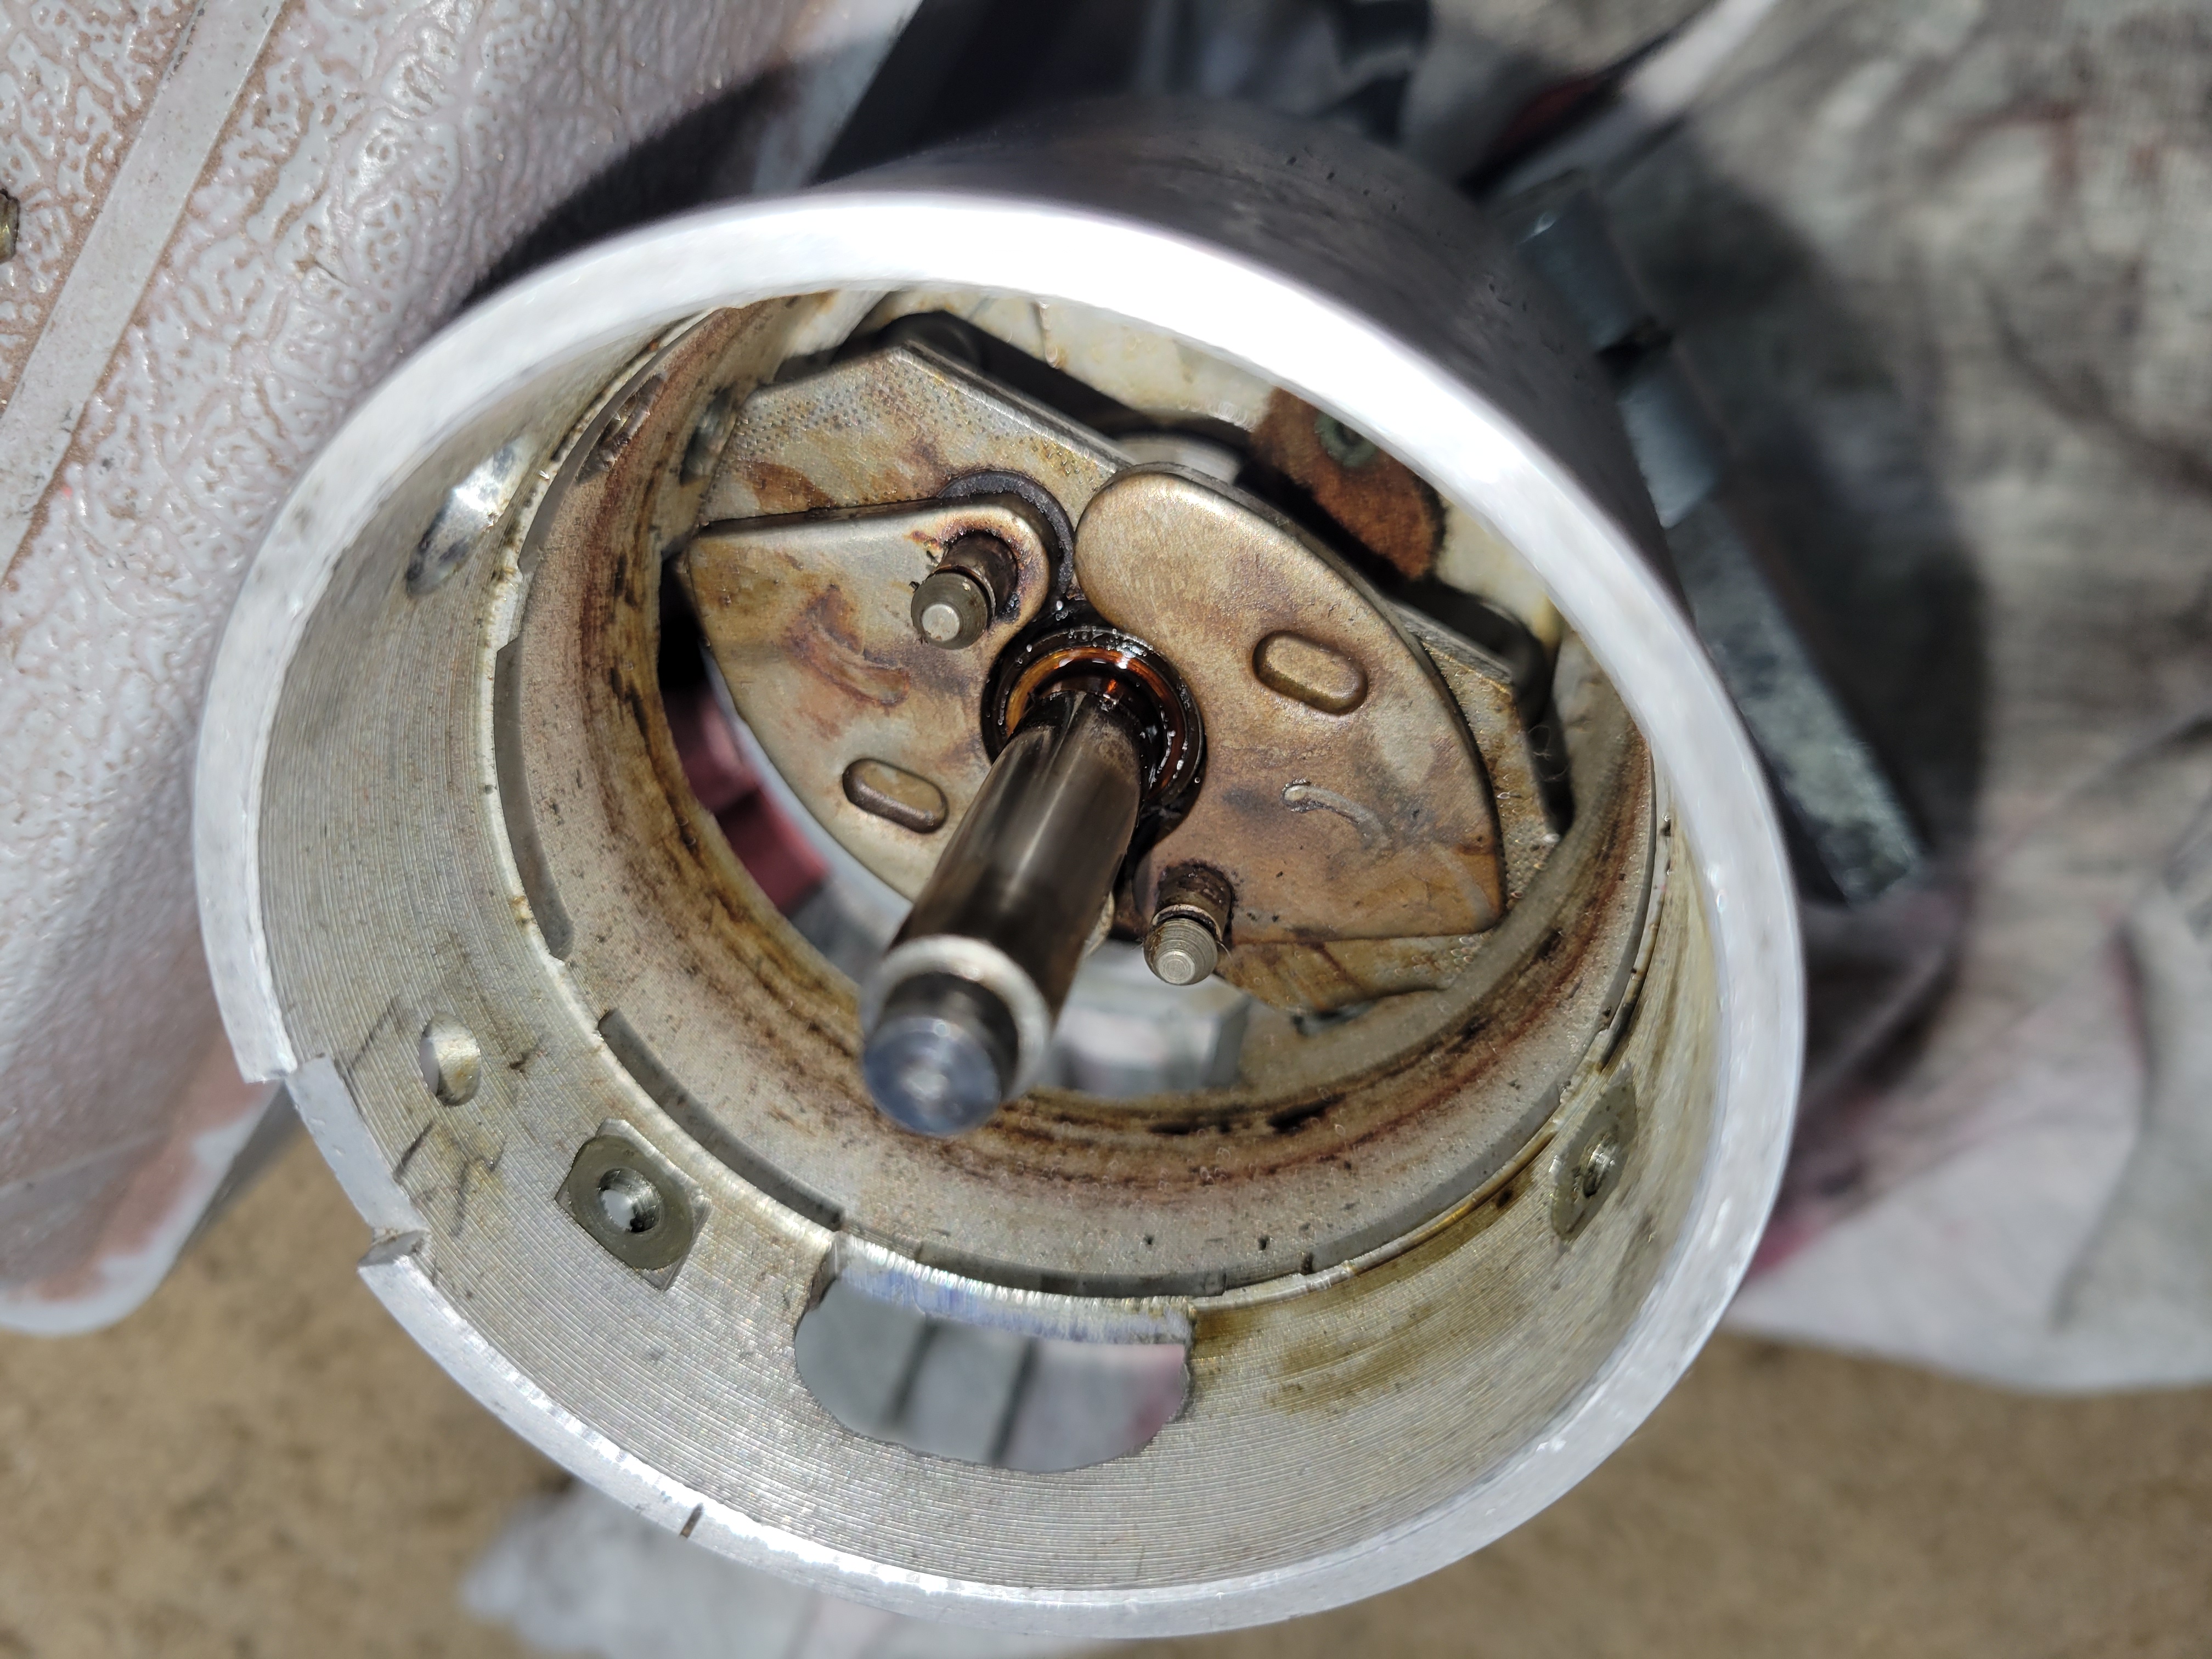
How do you get to this phase? First, you remove the points and the points plate shown in the images above. But how do you get the top pivoting part of the shaft off? Remove the felt in the center and you'll see the nose of the shaft. It has a circlip around it. VERY difficult to get back on. Place the distributor in a box so that flying circlip is contained. Or wrap a towel around it as you do the next part.
Put a punch in the center and hold the outer / upper shaft and then hammer the punch. The circlip will pop-off and free the upper part from the points plate.
Here, the springs are removed. Those springs are NLA and they have two different sizes to account for two different RPM curves..
Remove the weights and the spacers under them.
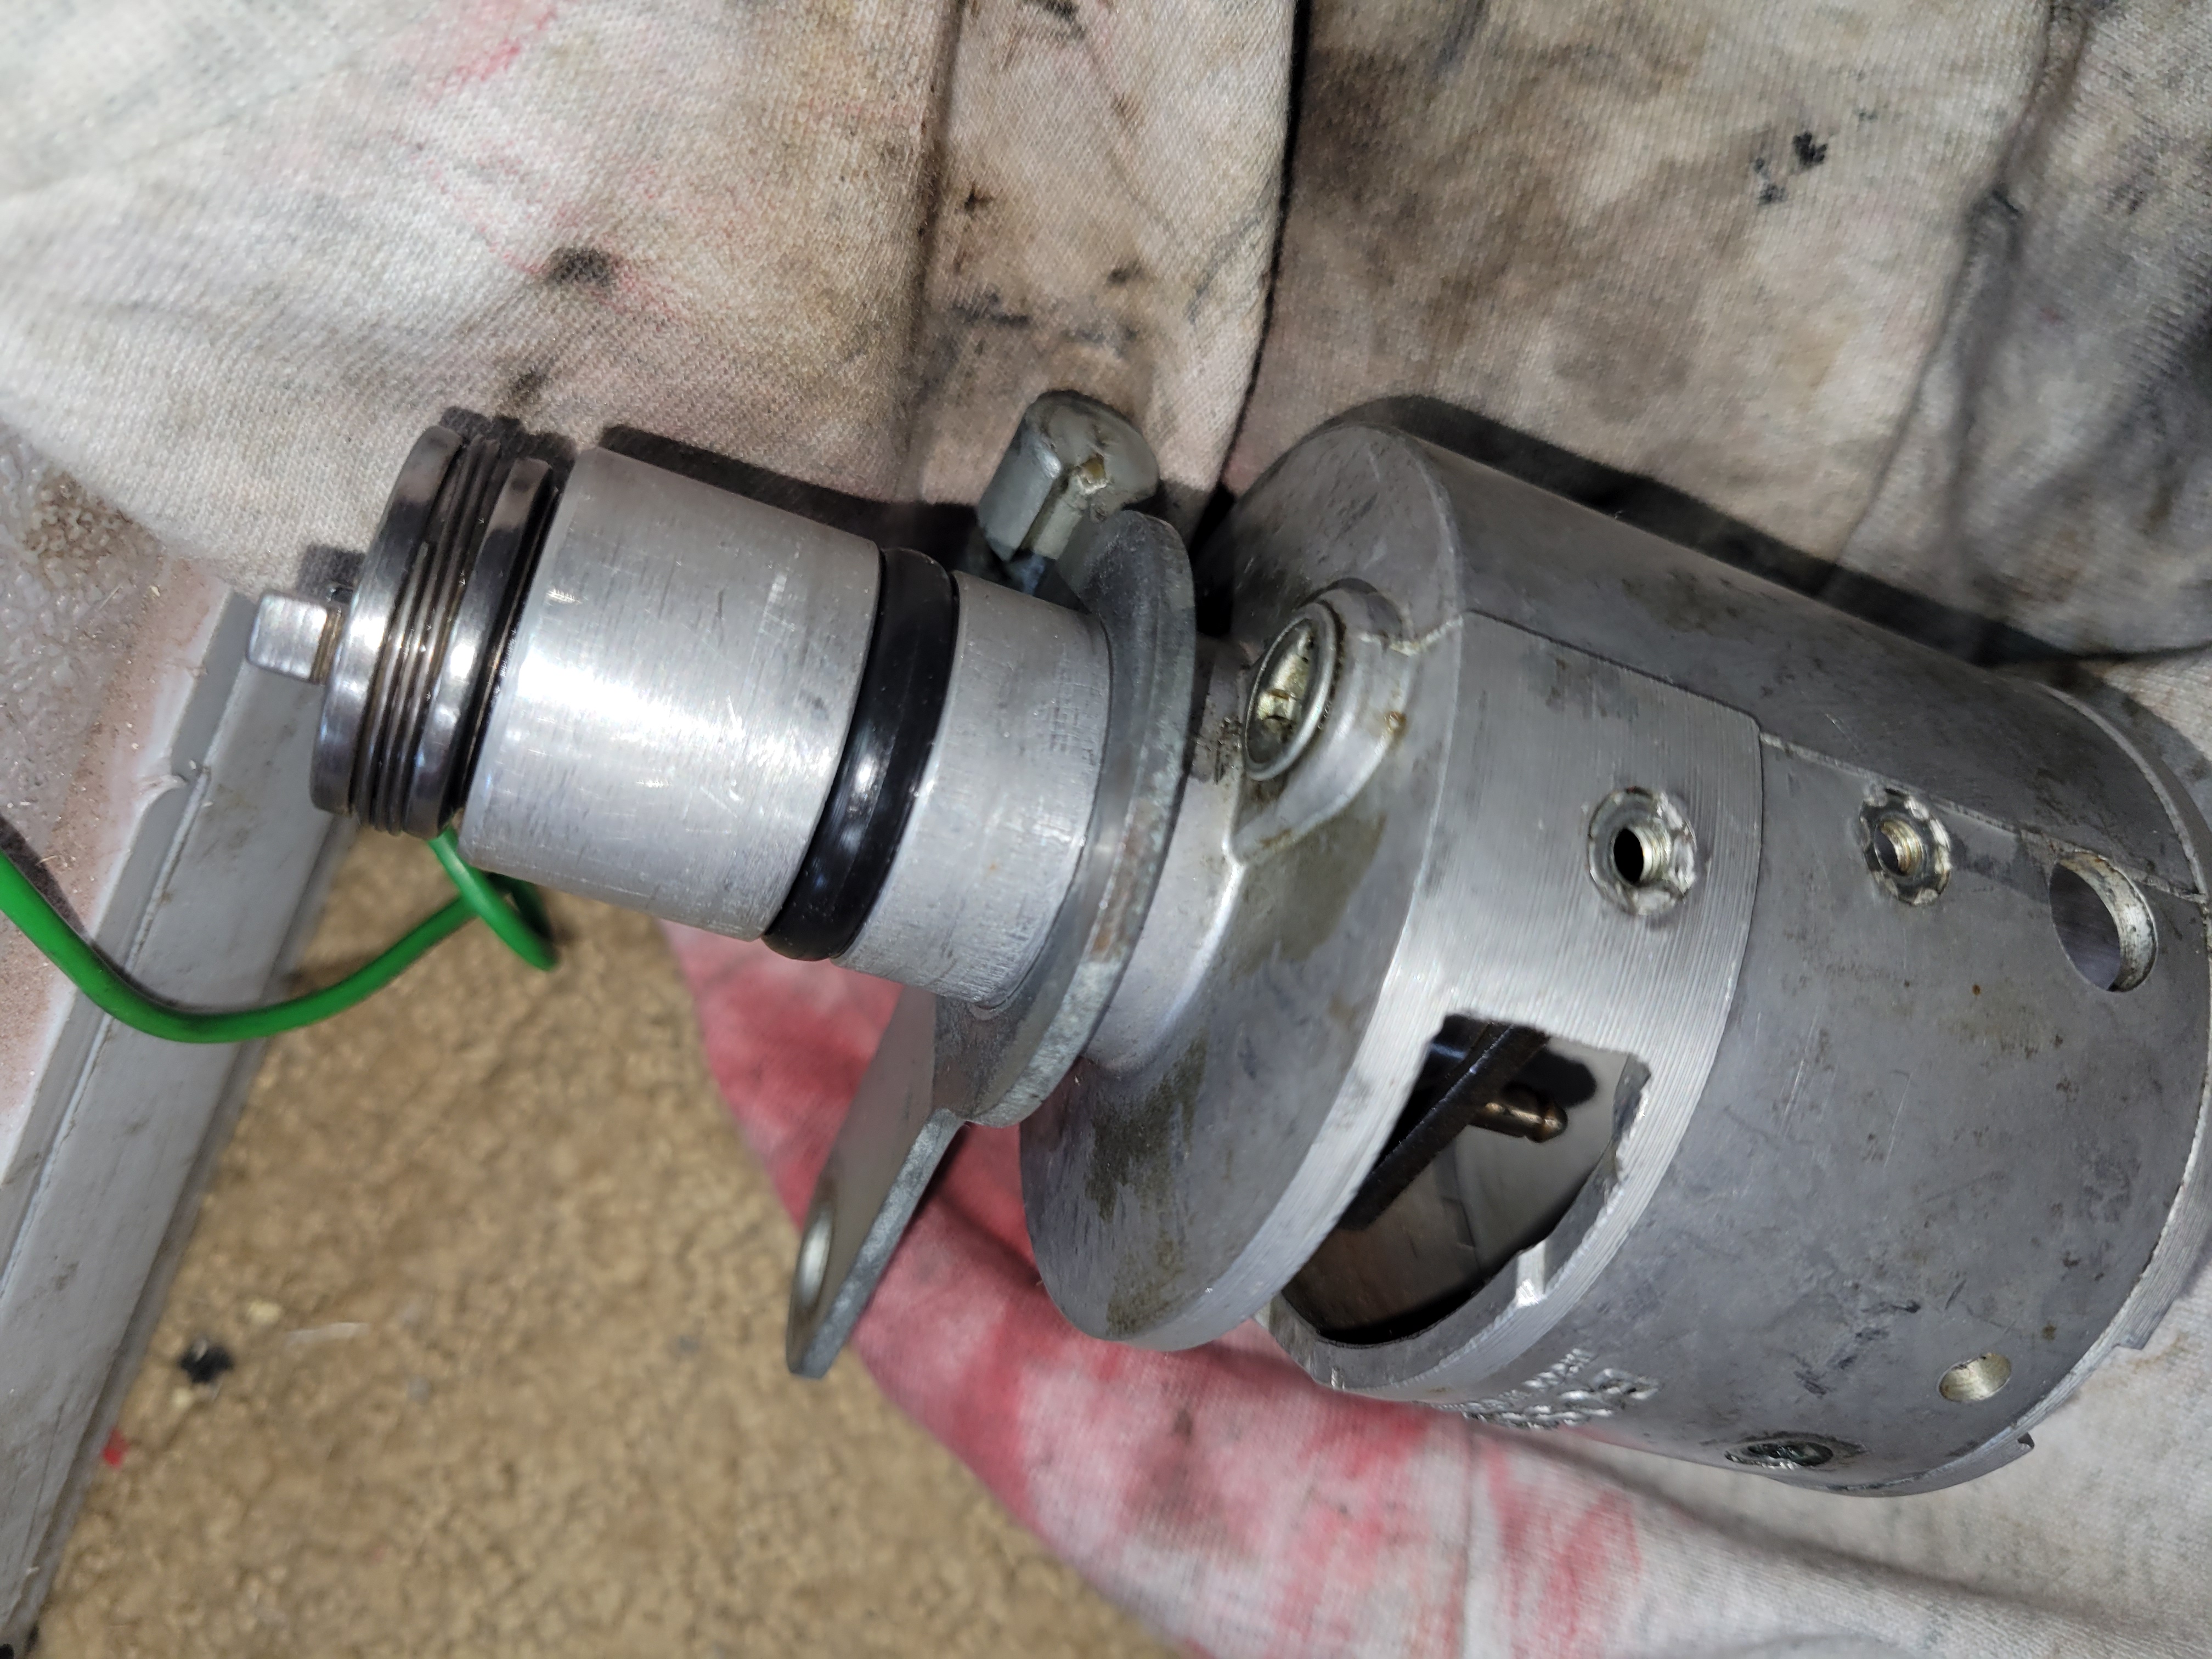
Notice the position of the gear-drive on the vise. This braces it firmly and you will then use a drift-punch to walk-out the pin. Apply some oil first.
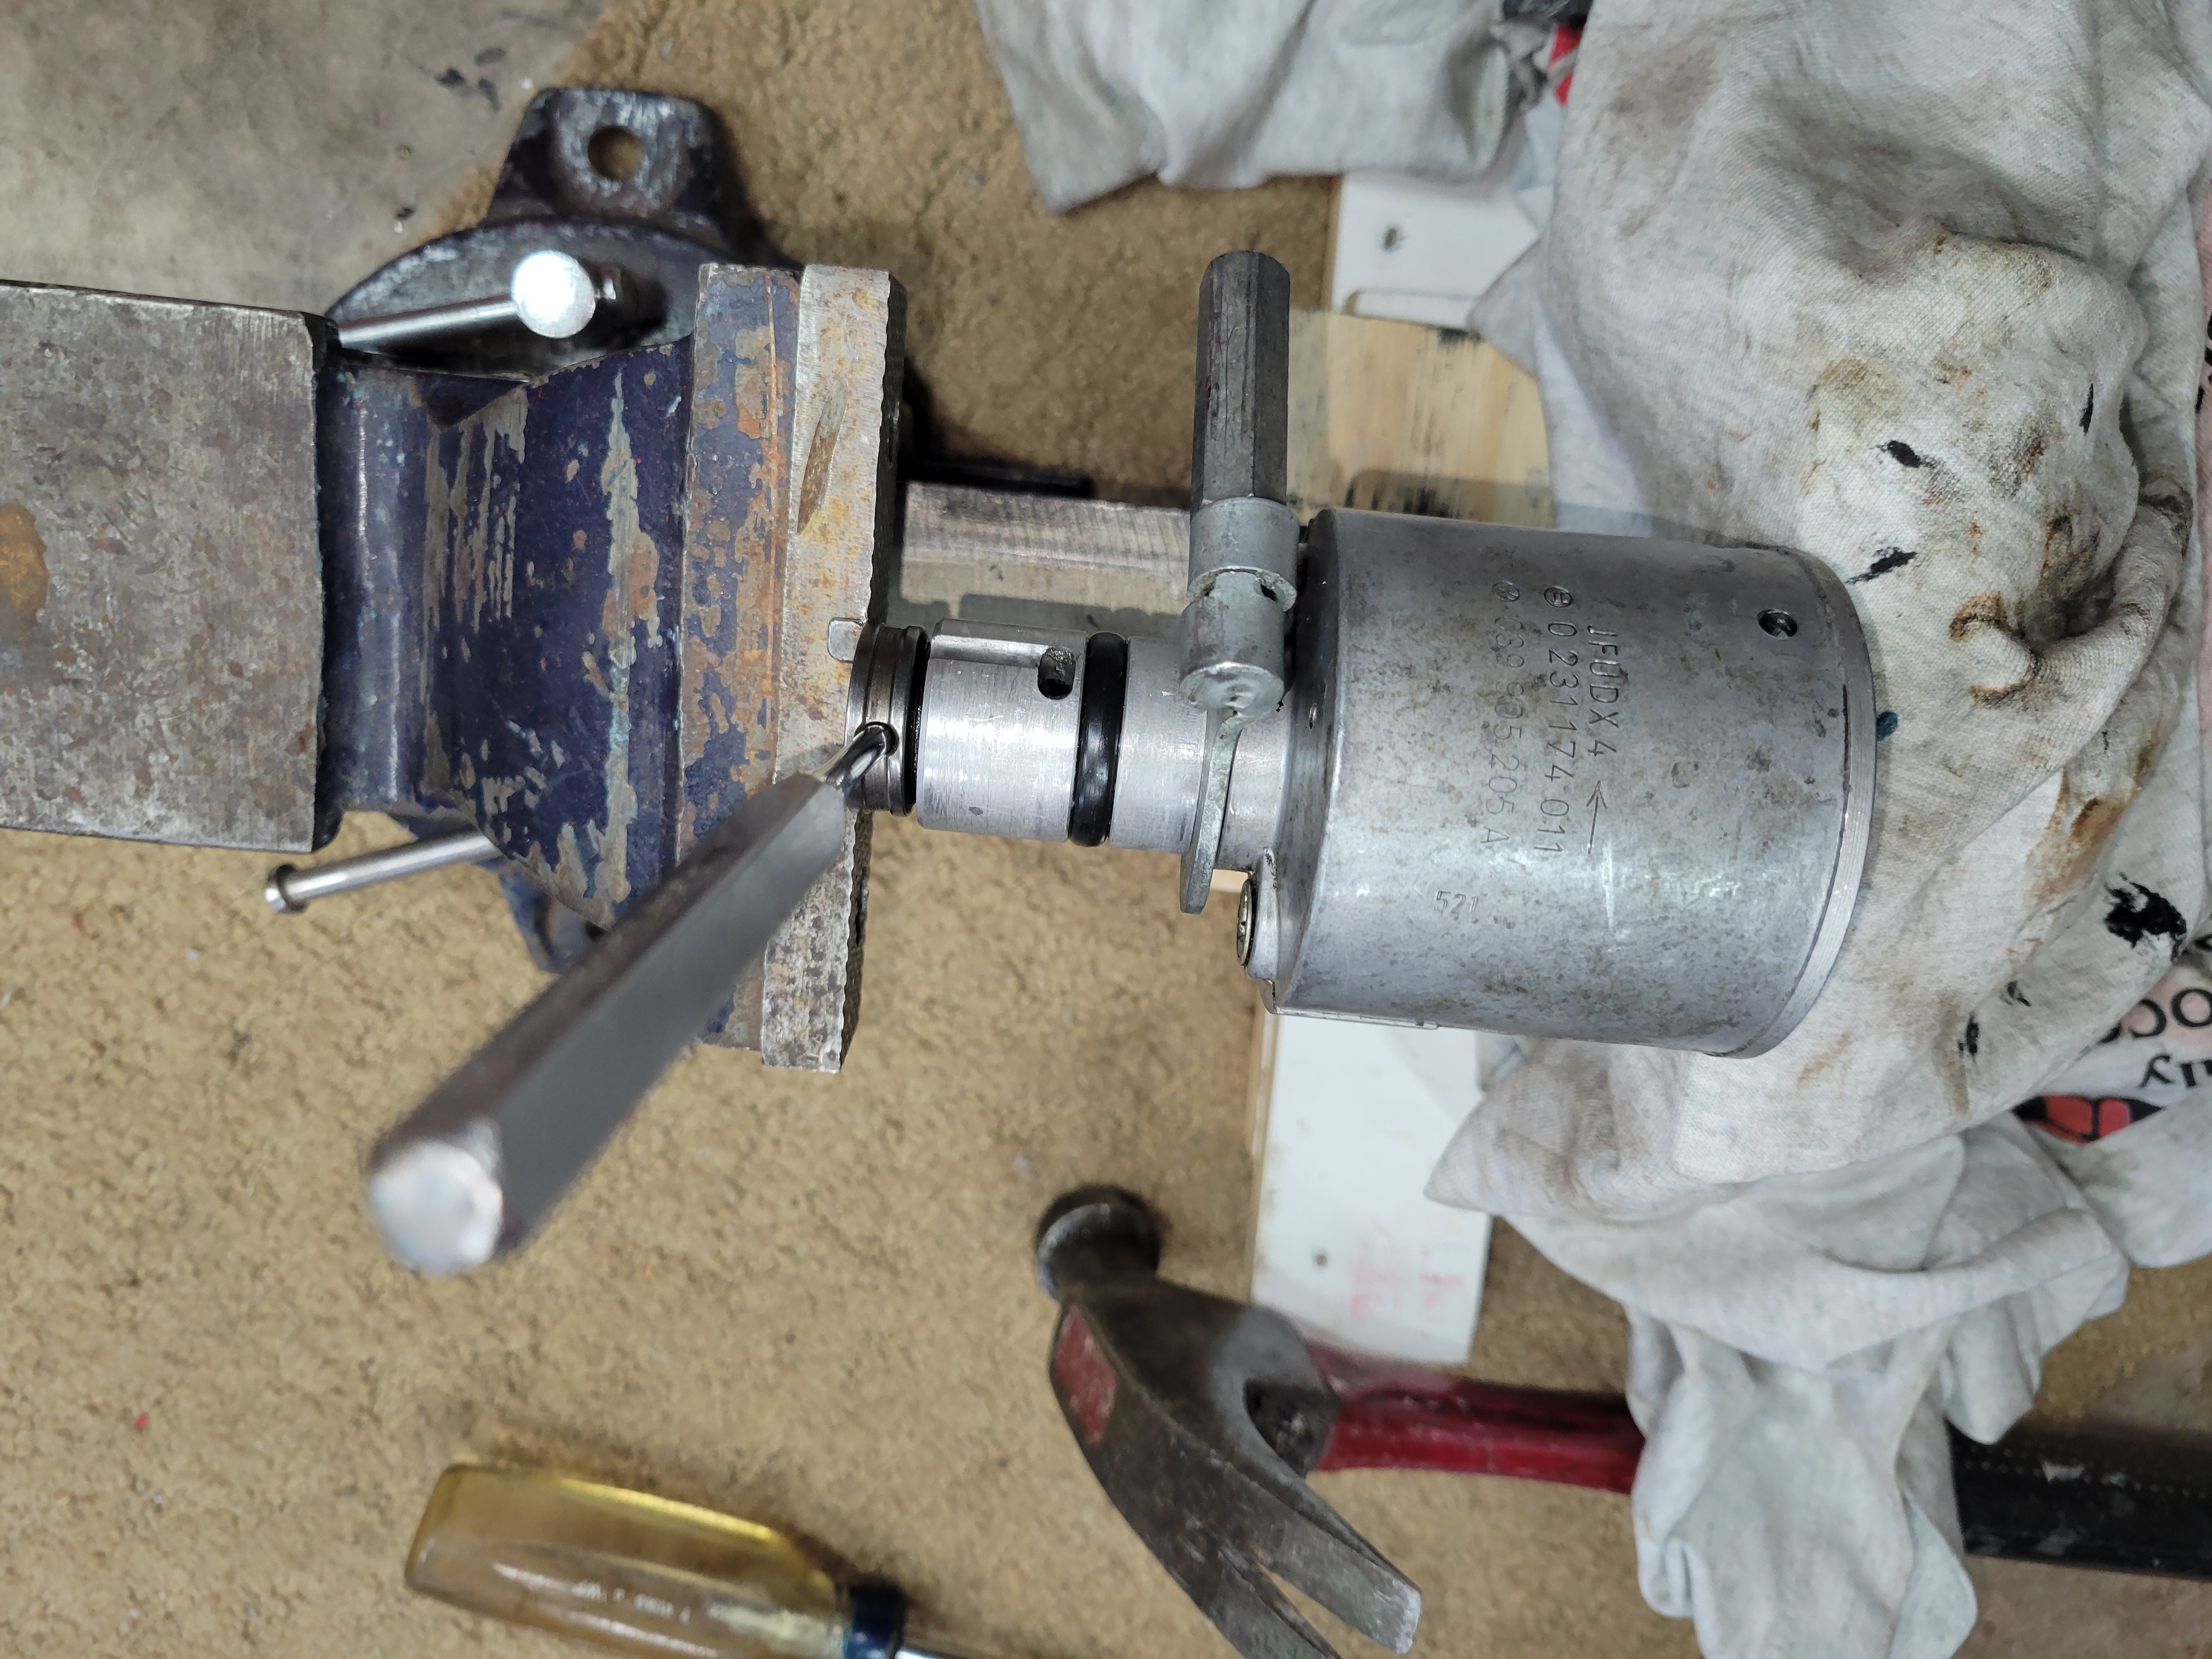
Free
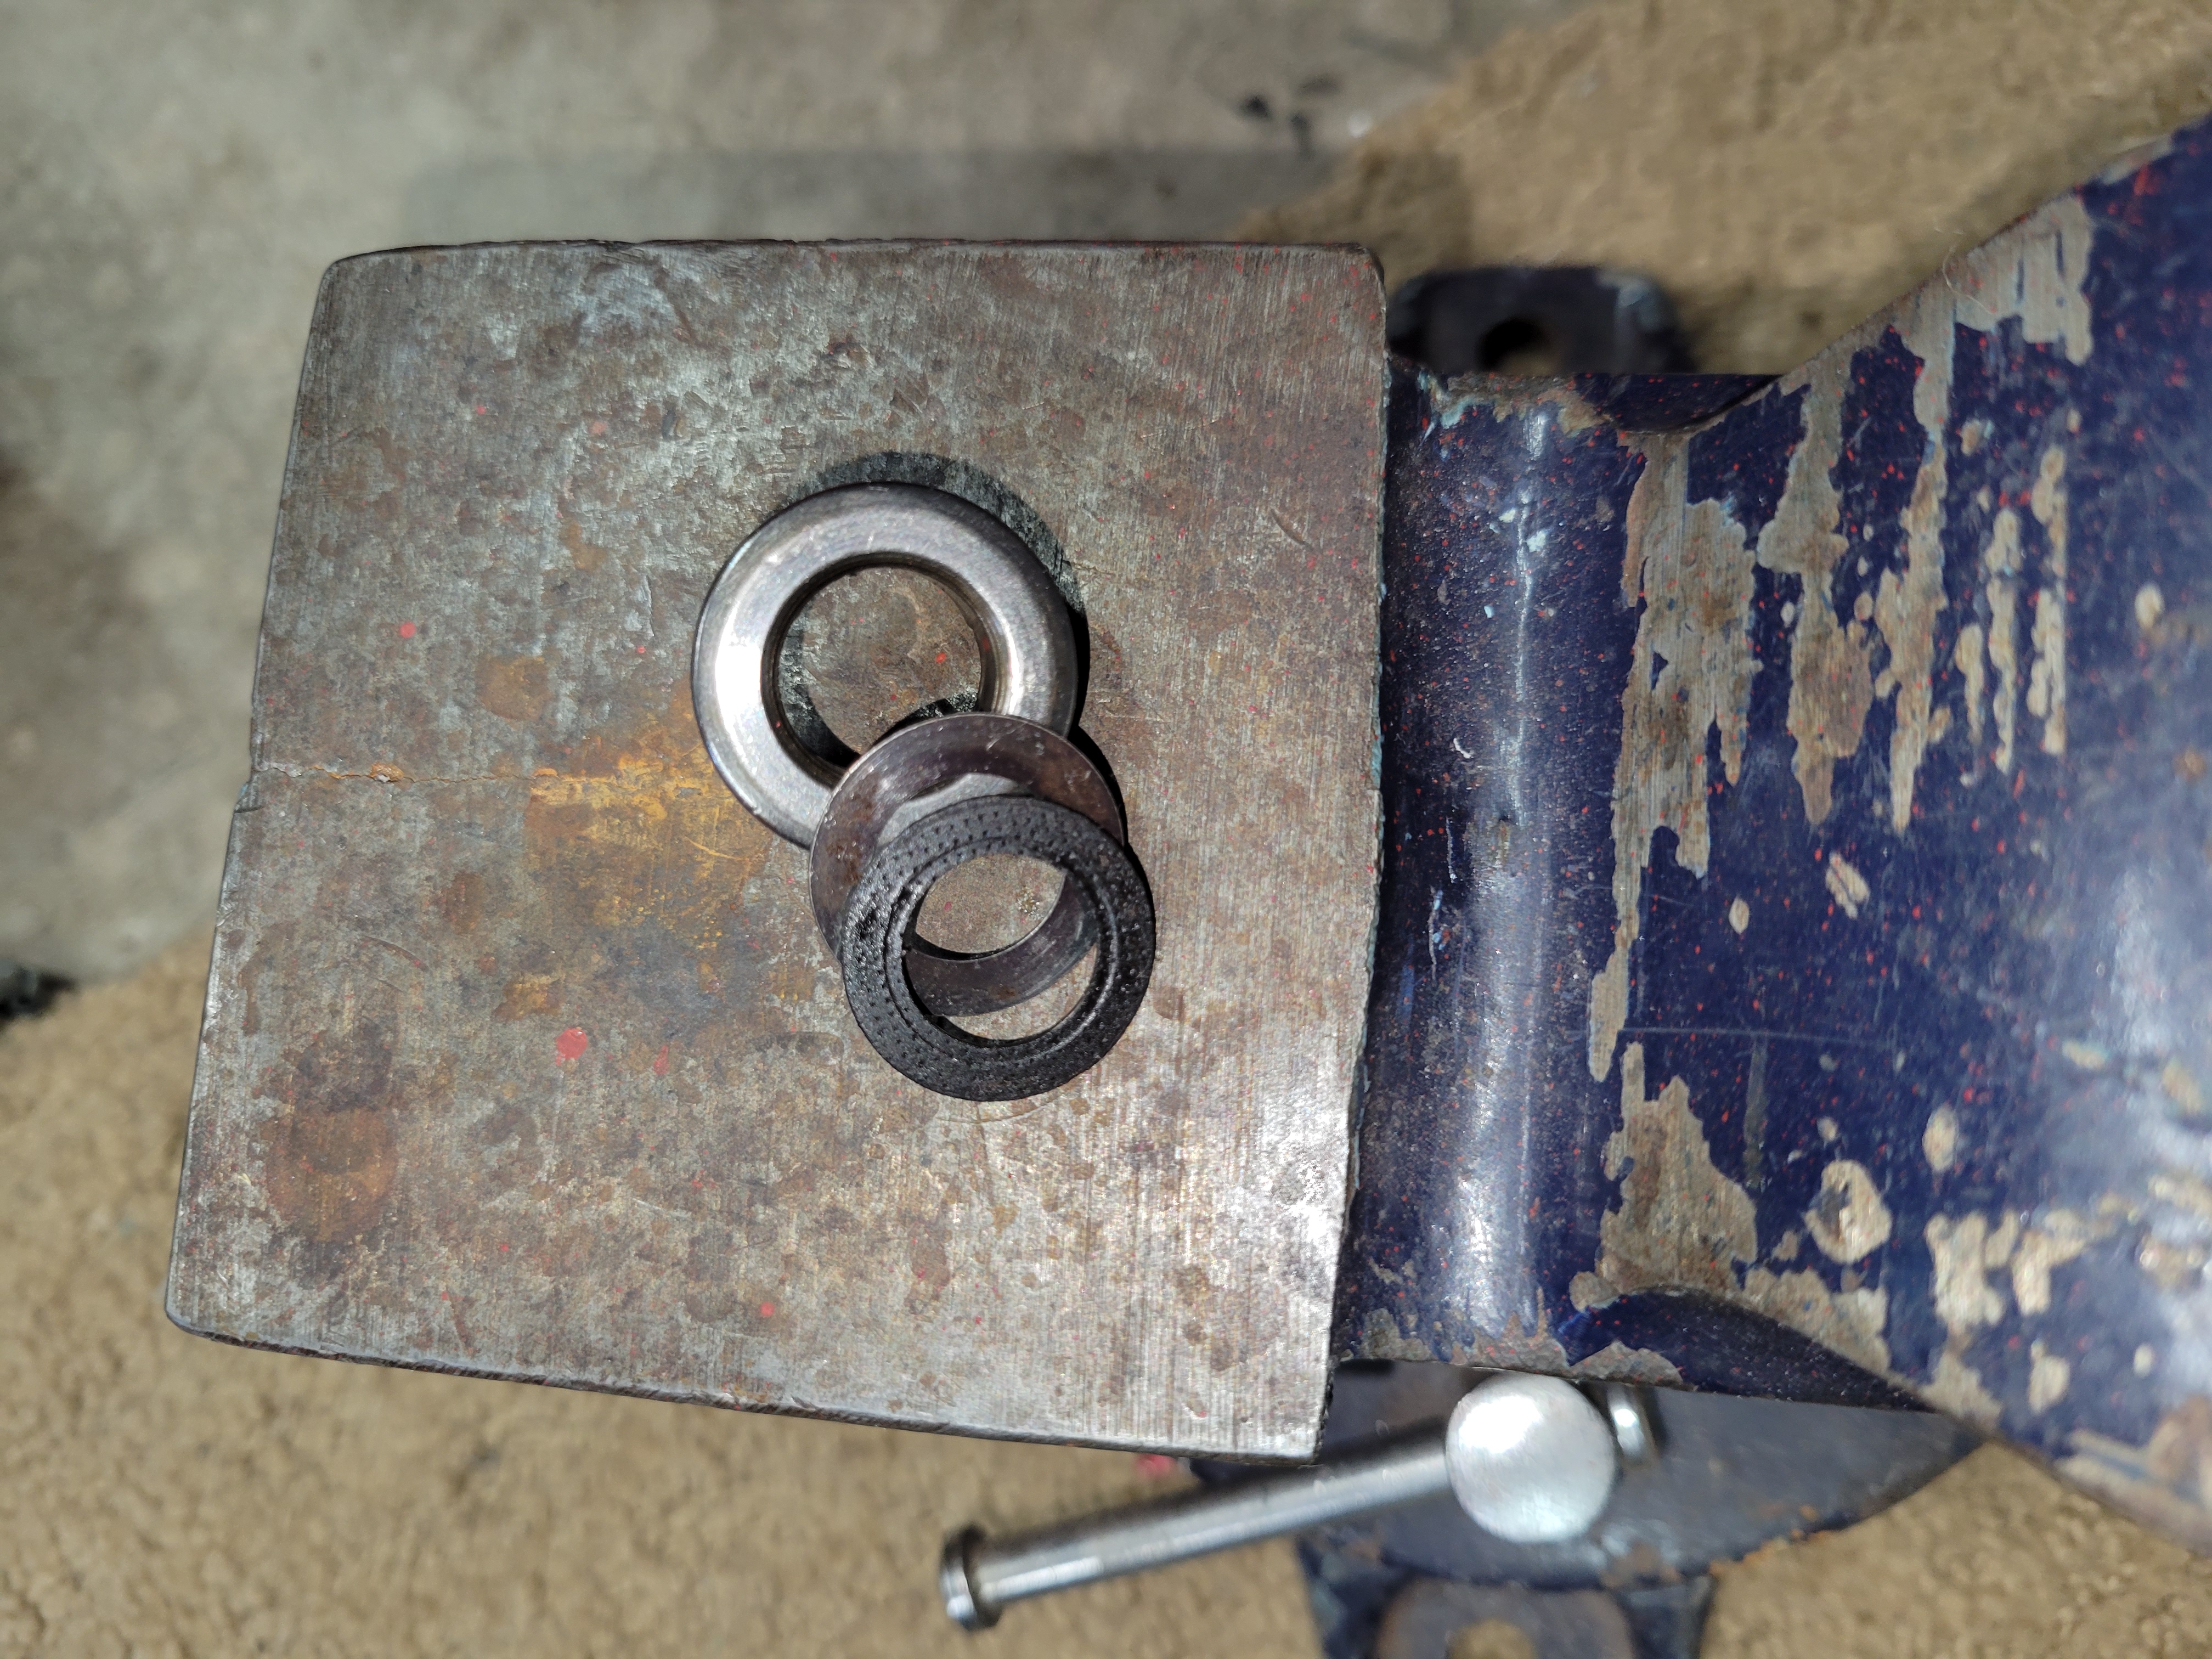
The count of shims could vary from wear and we need to control the vertical play. I had this too low on reassembly and the bottom cam was touching the distributor and not rotating freely. I added another shim as needed.
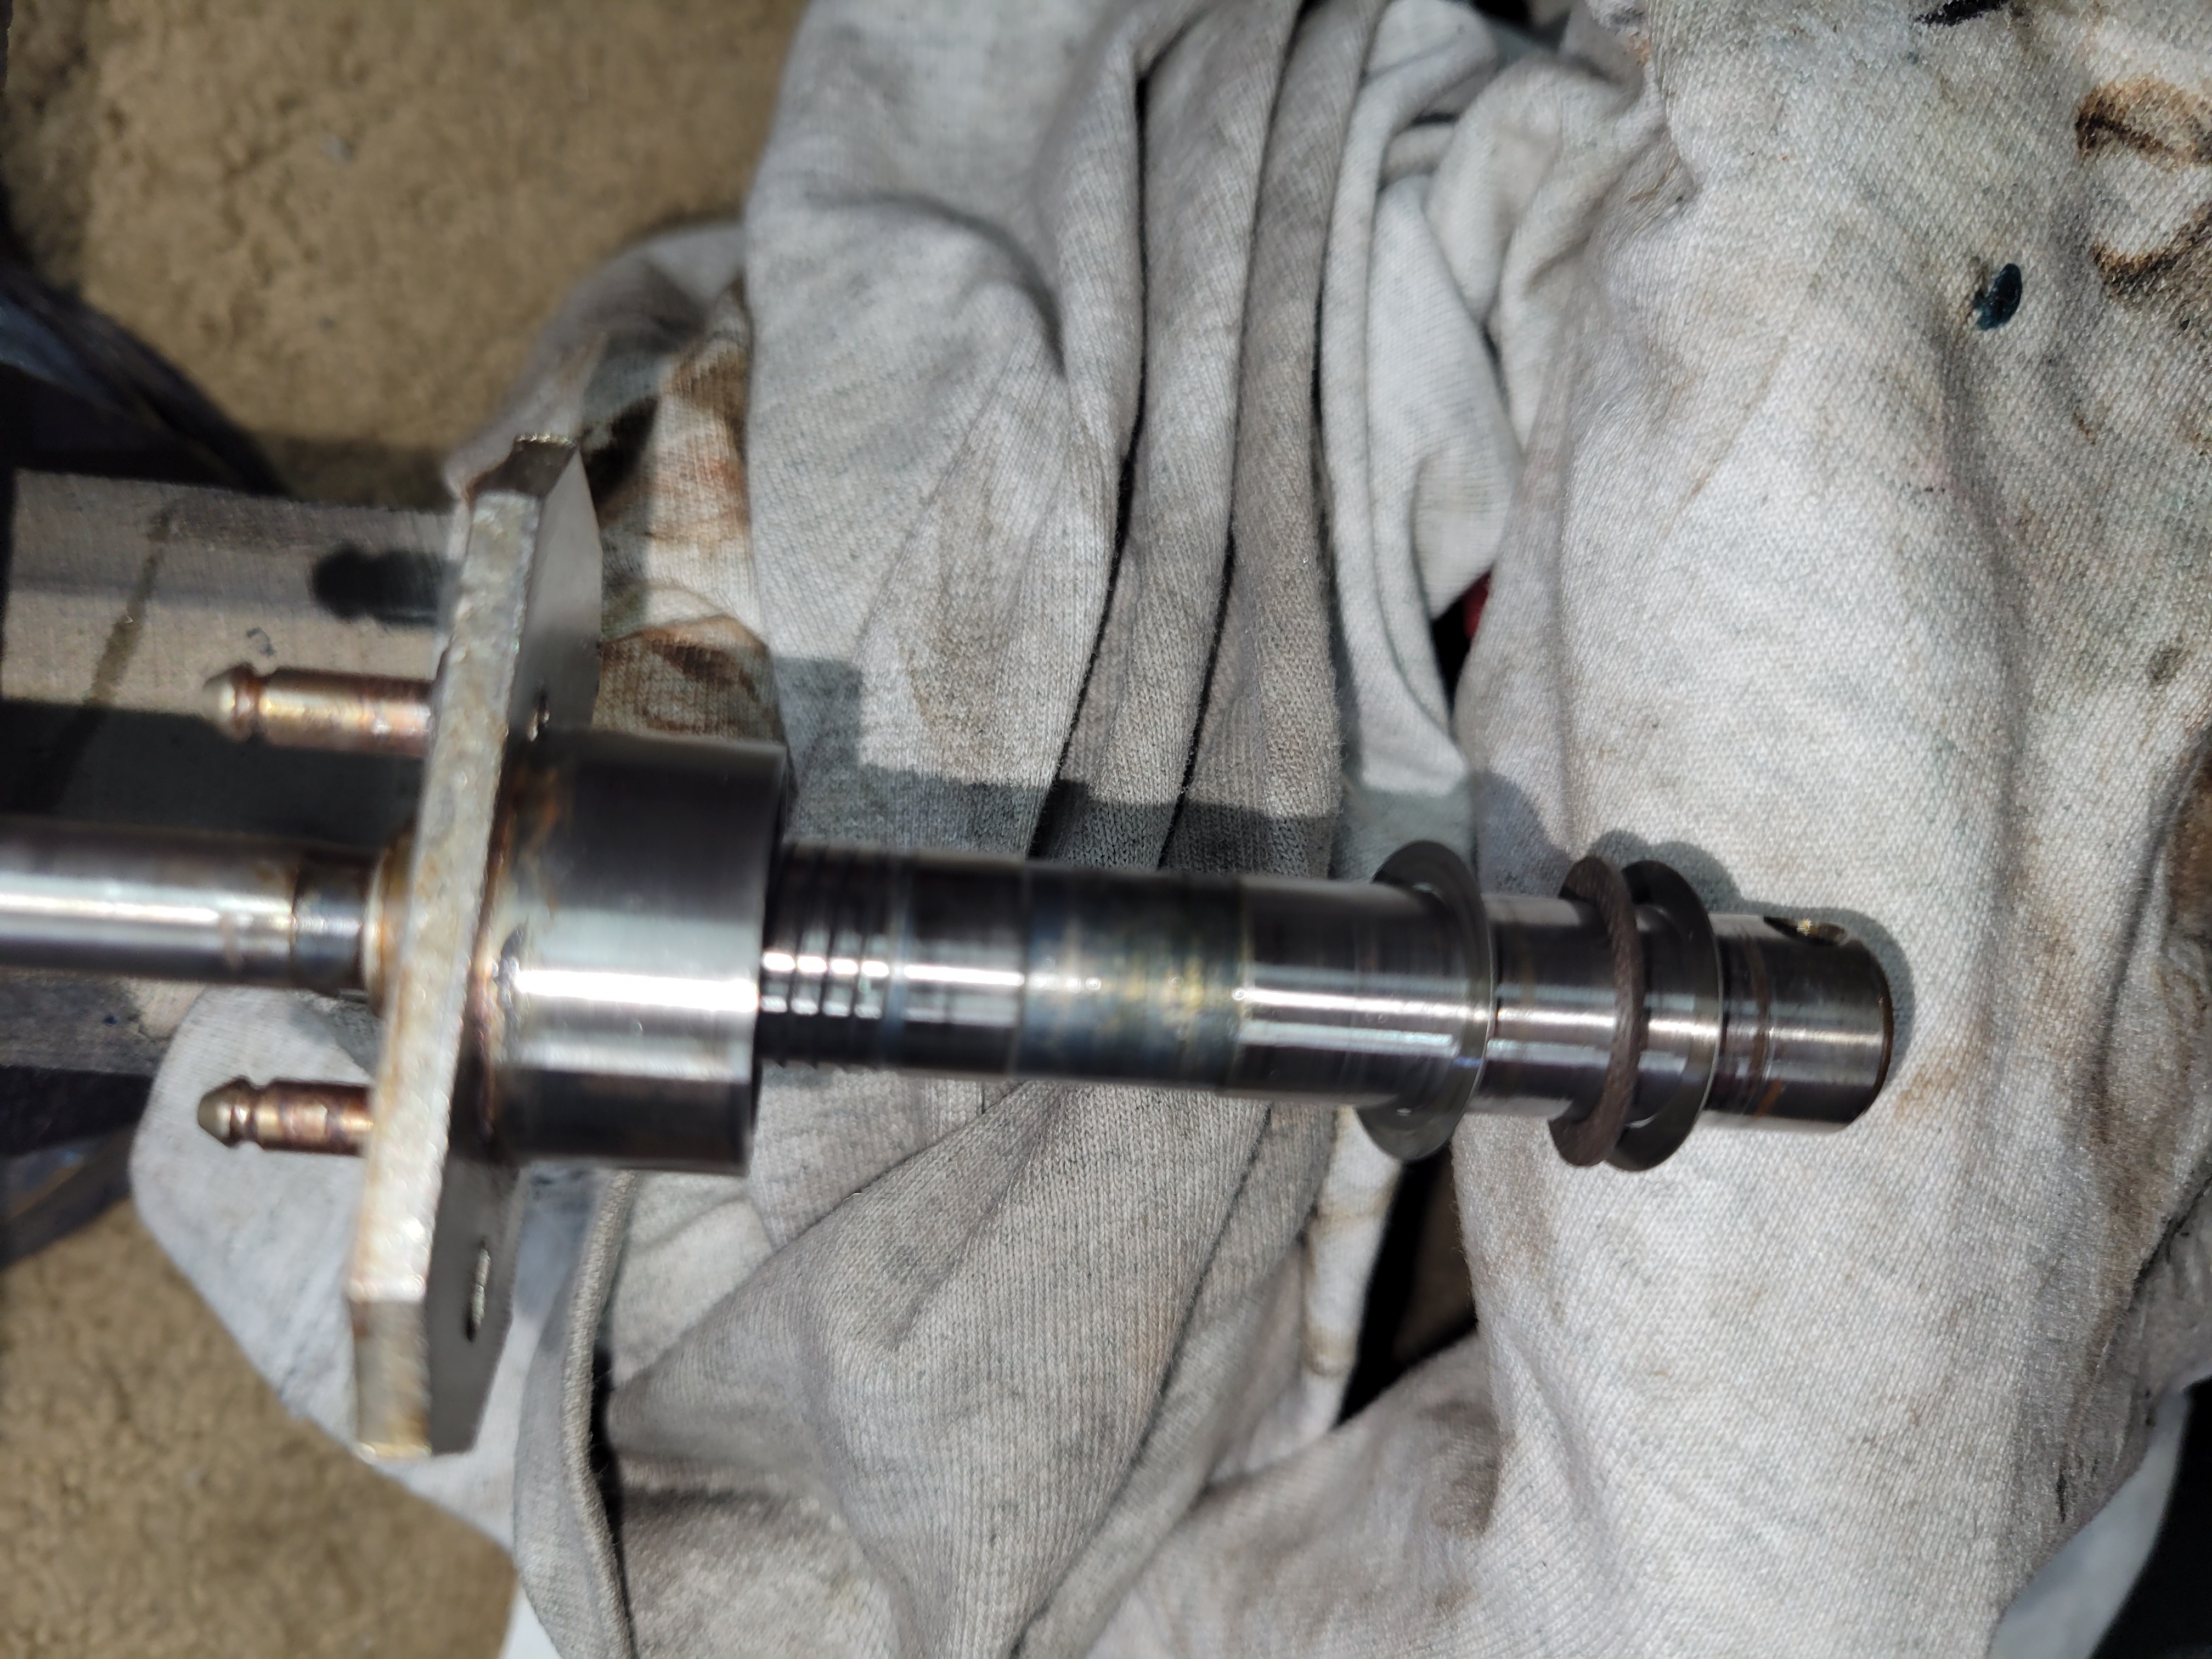
With the shaft removed, this is the inside bottom of the distributor. Most of these have no felt to hold the grease. The kit came with some new felt and I was able to pinch that back into the mount to refresh it.
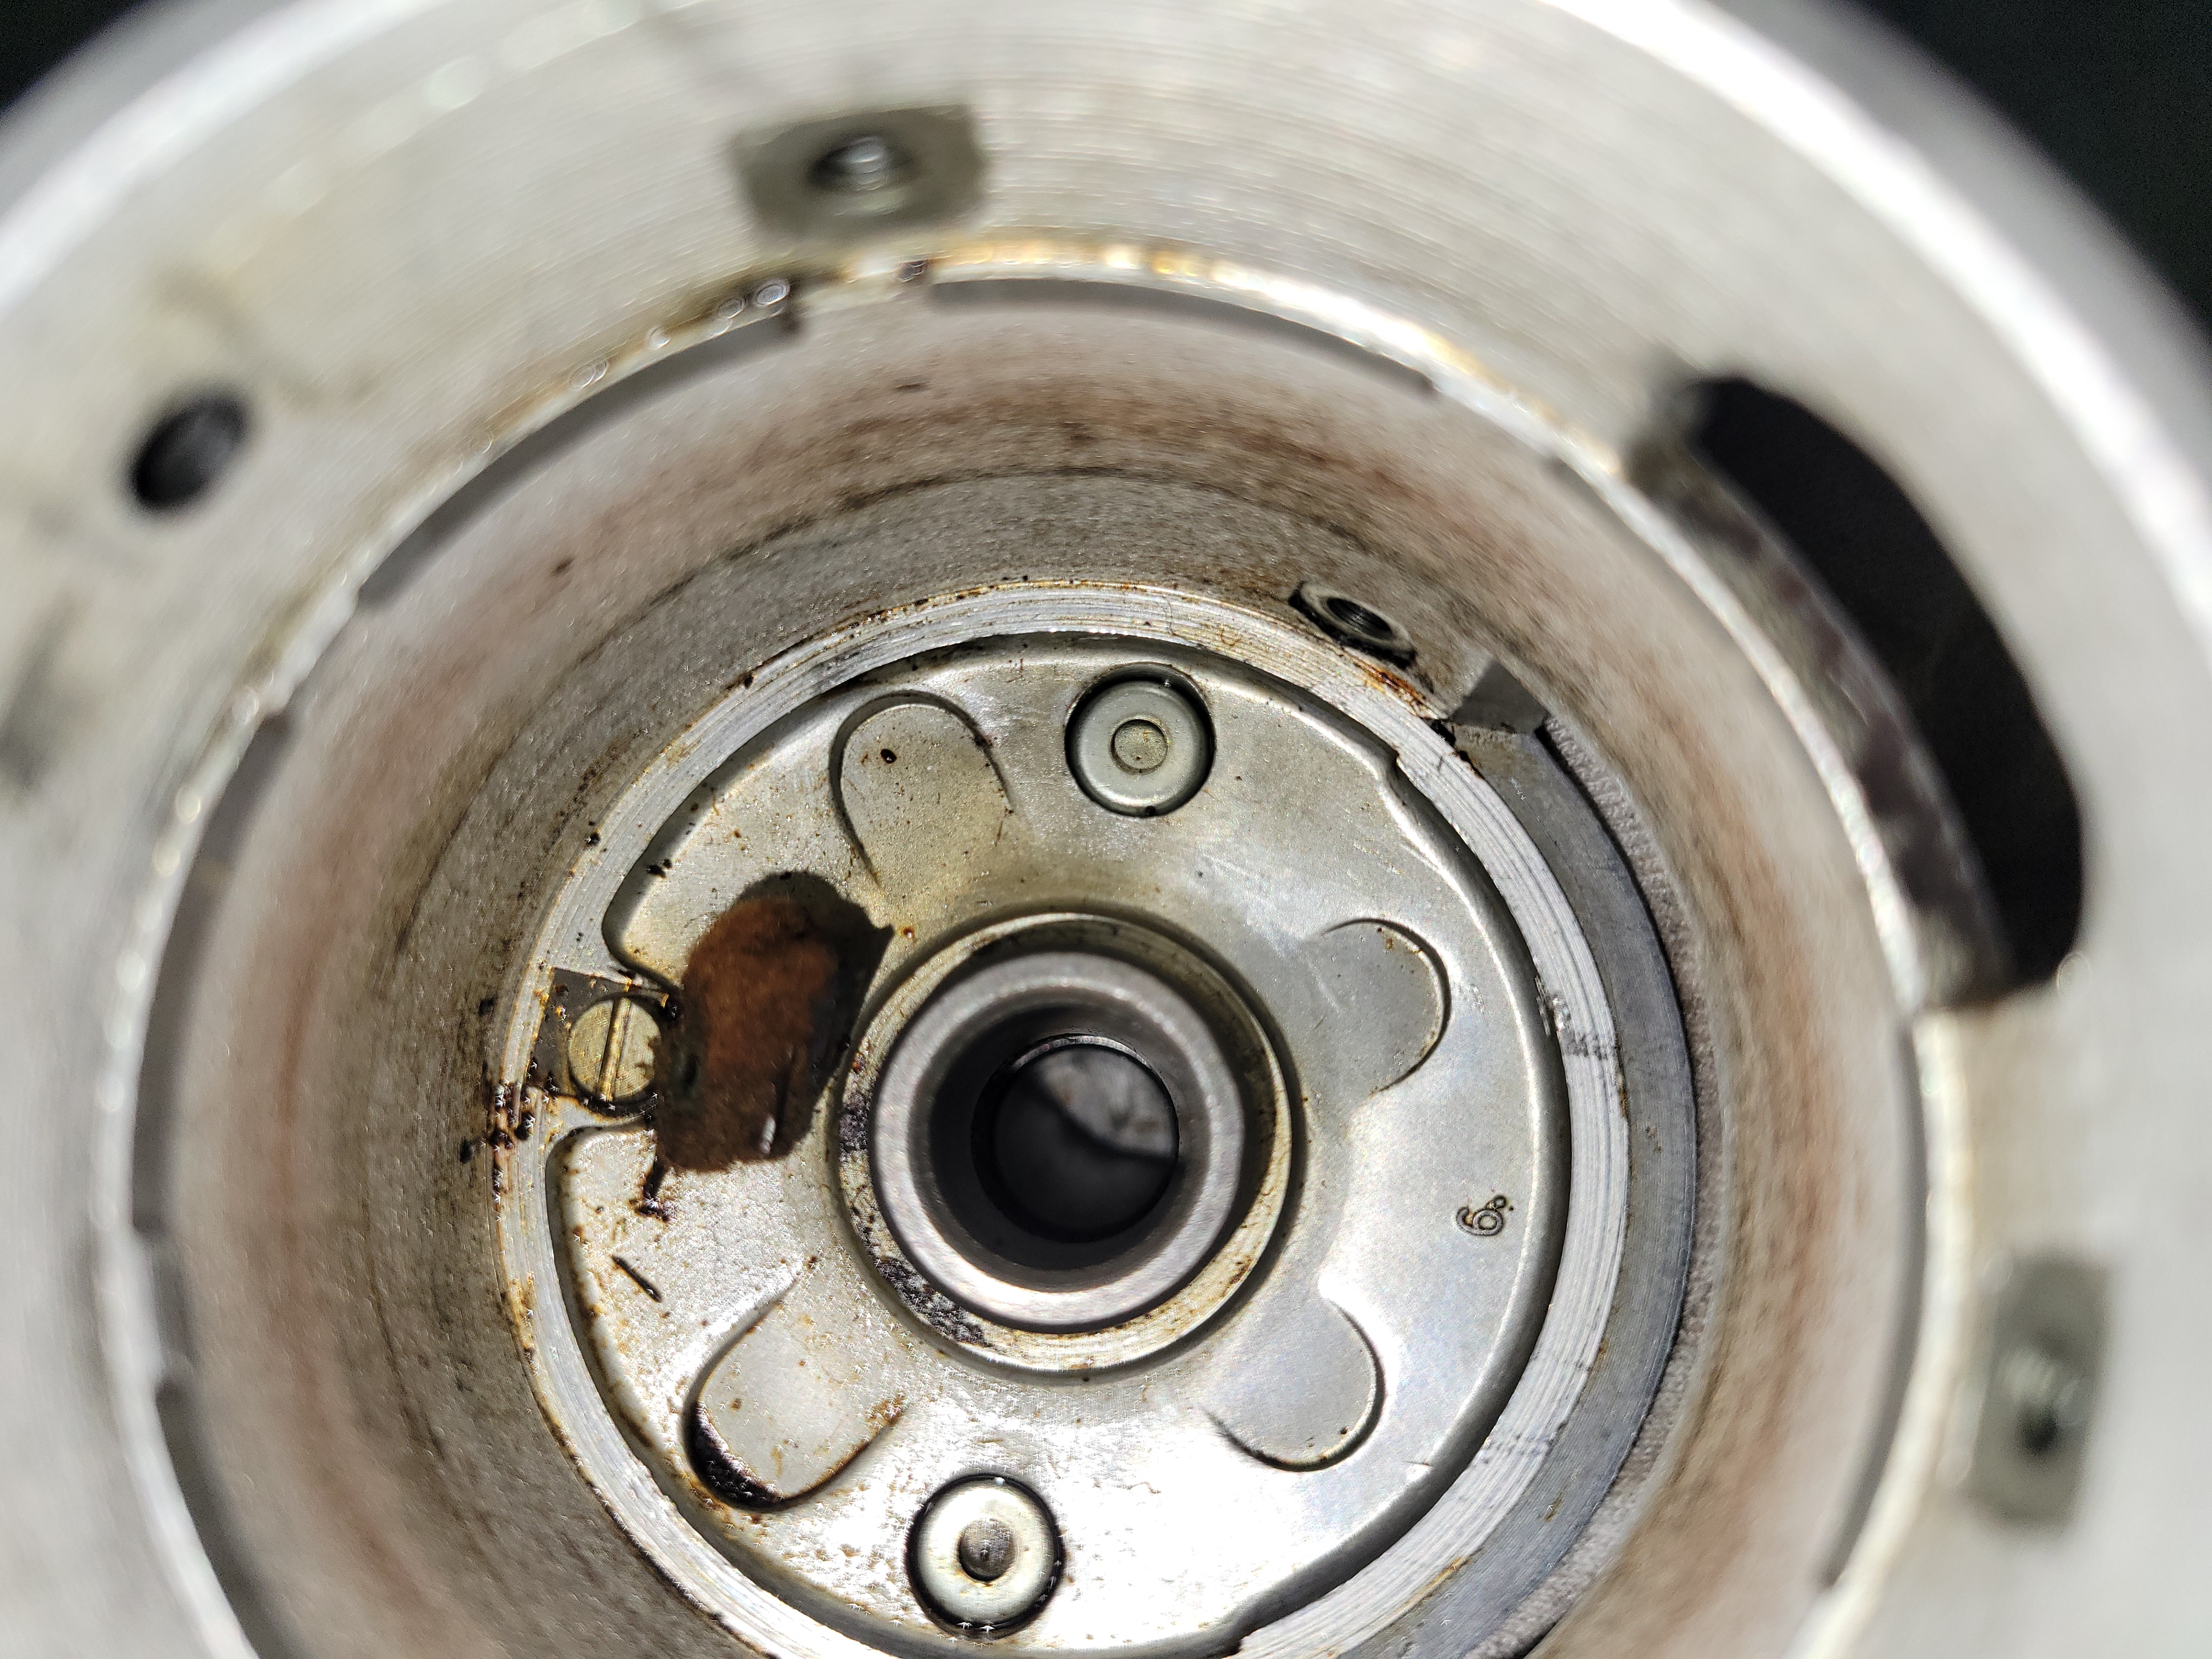
Hello felt wiper thing...
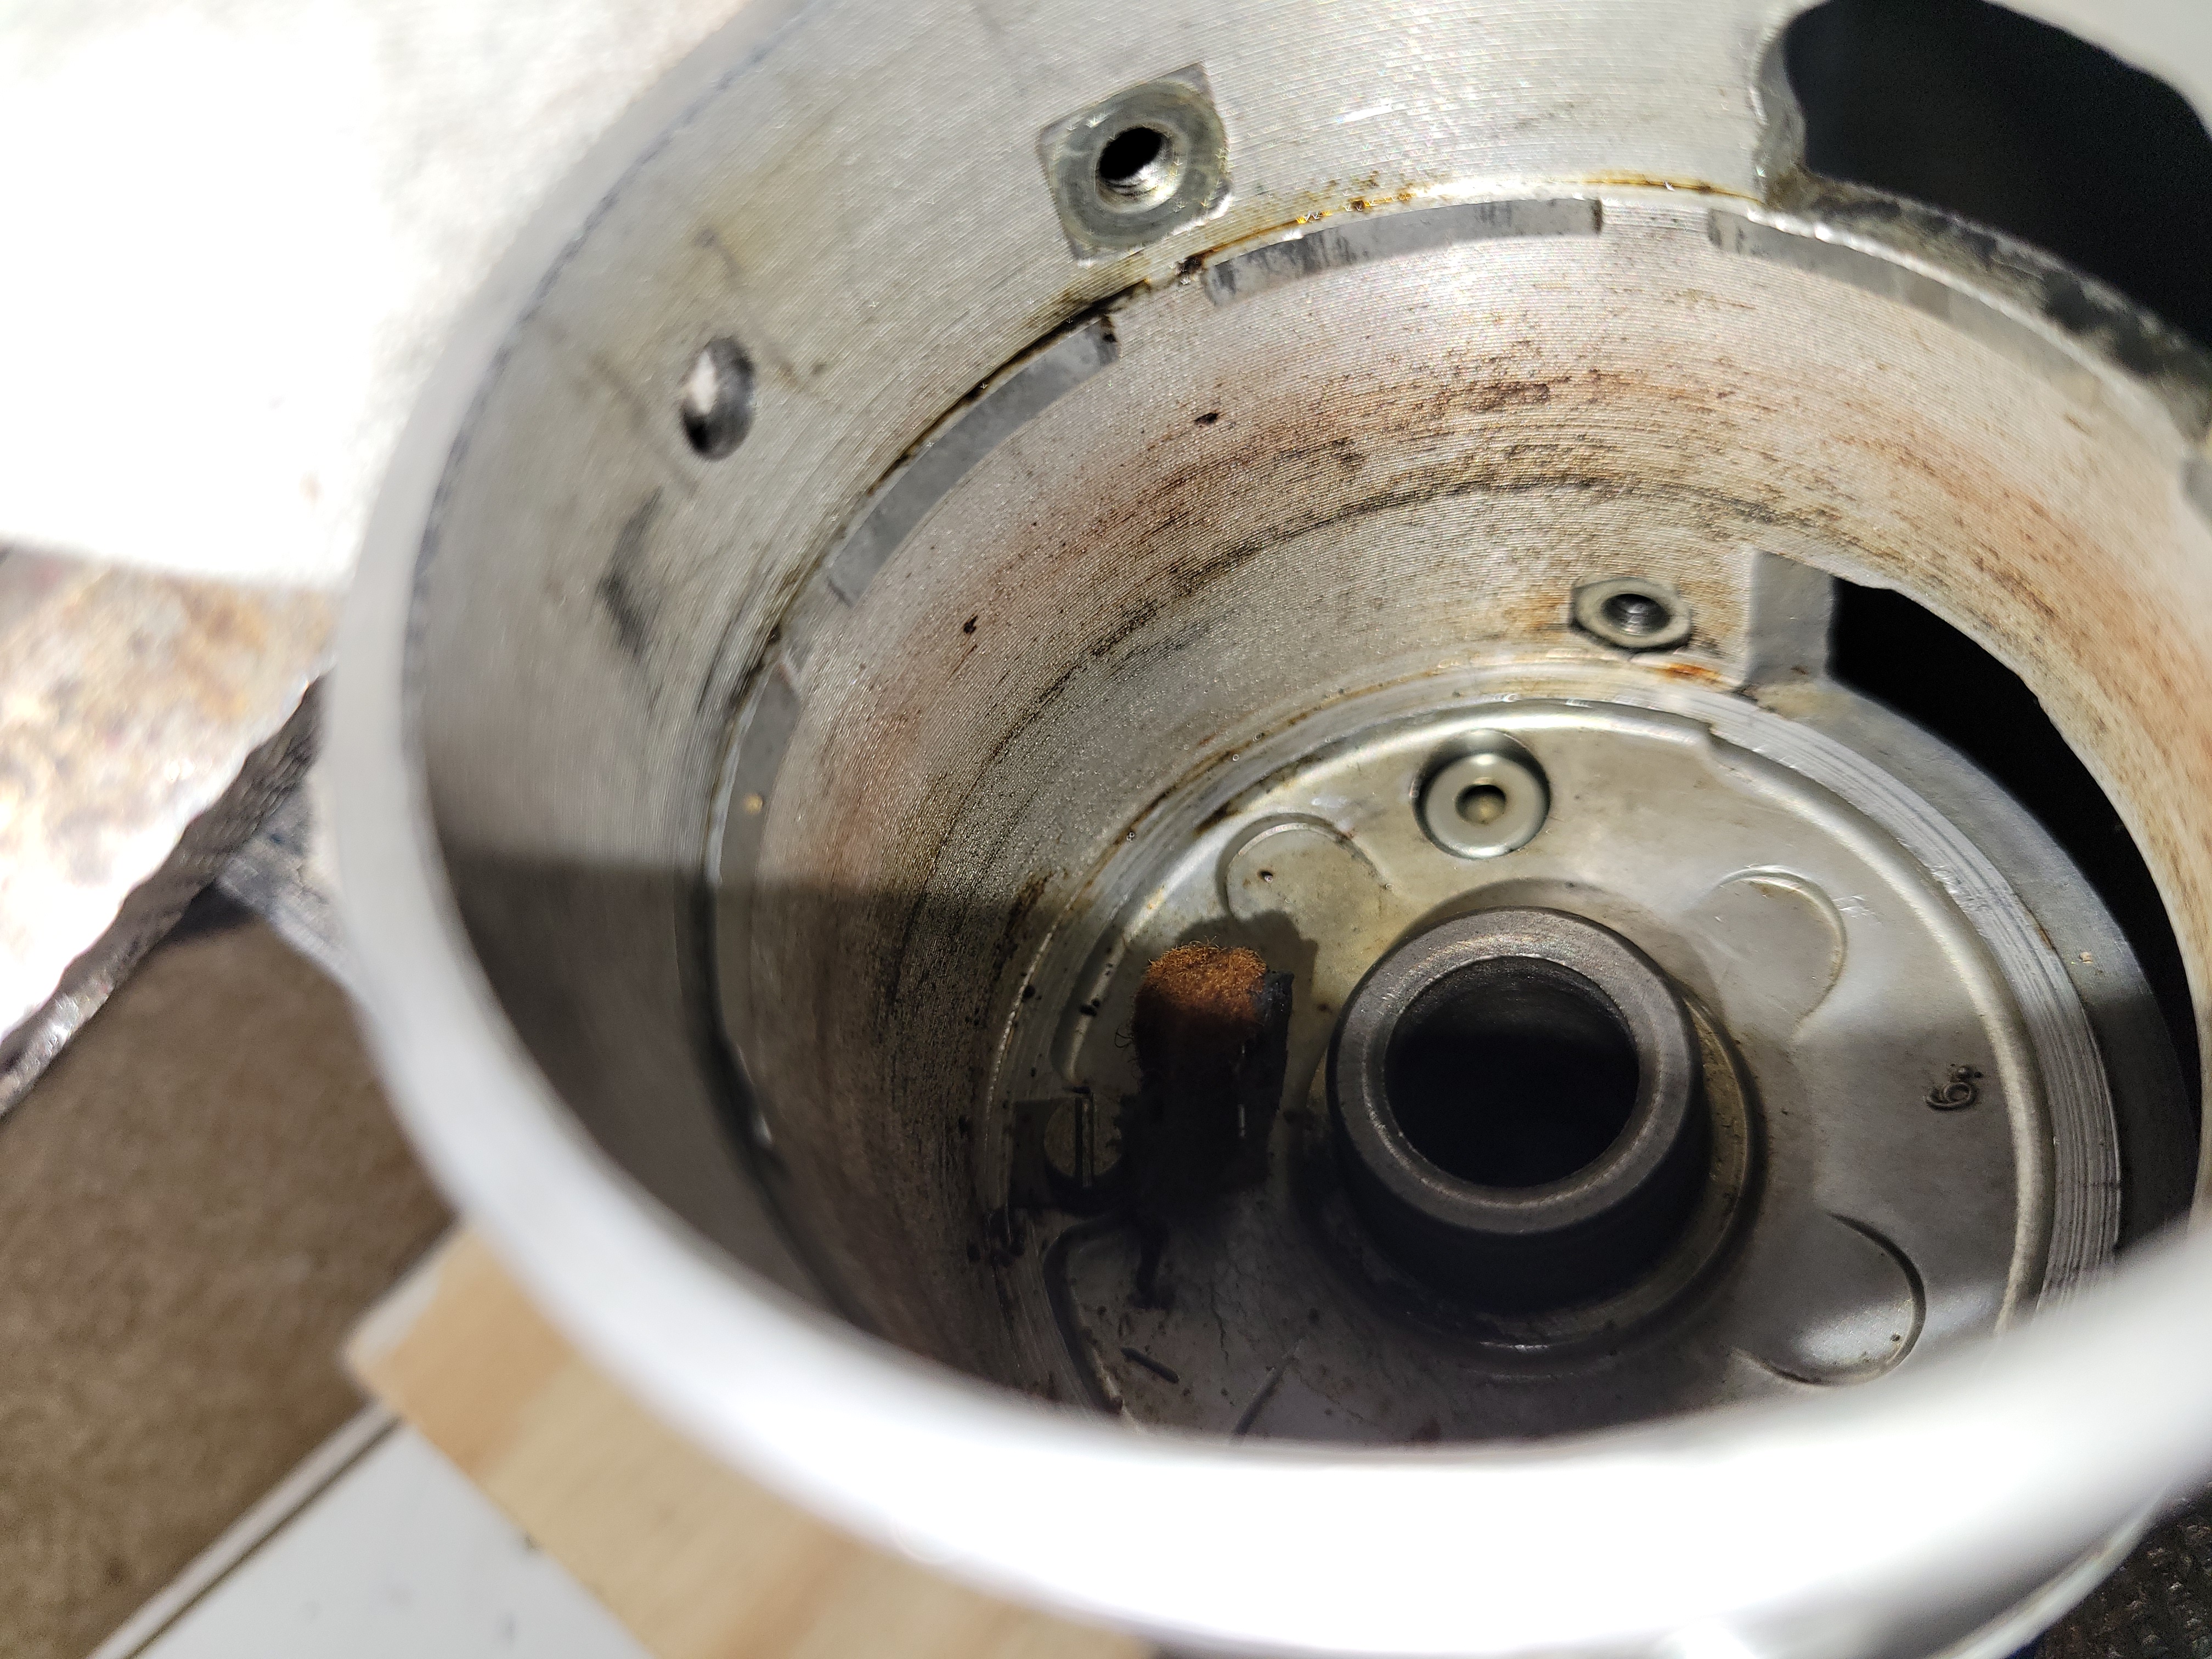
Another view of the folded felt for the grease needed for the lower lobes
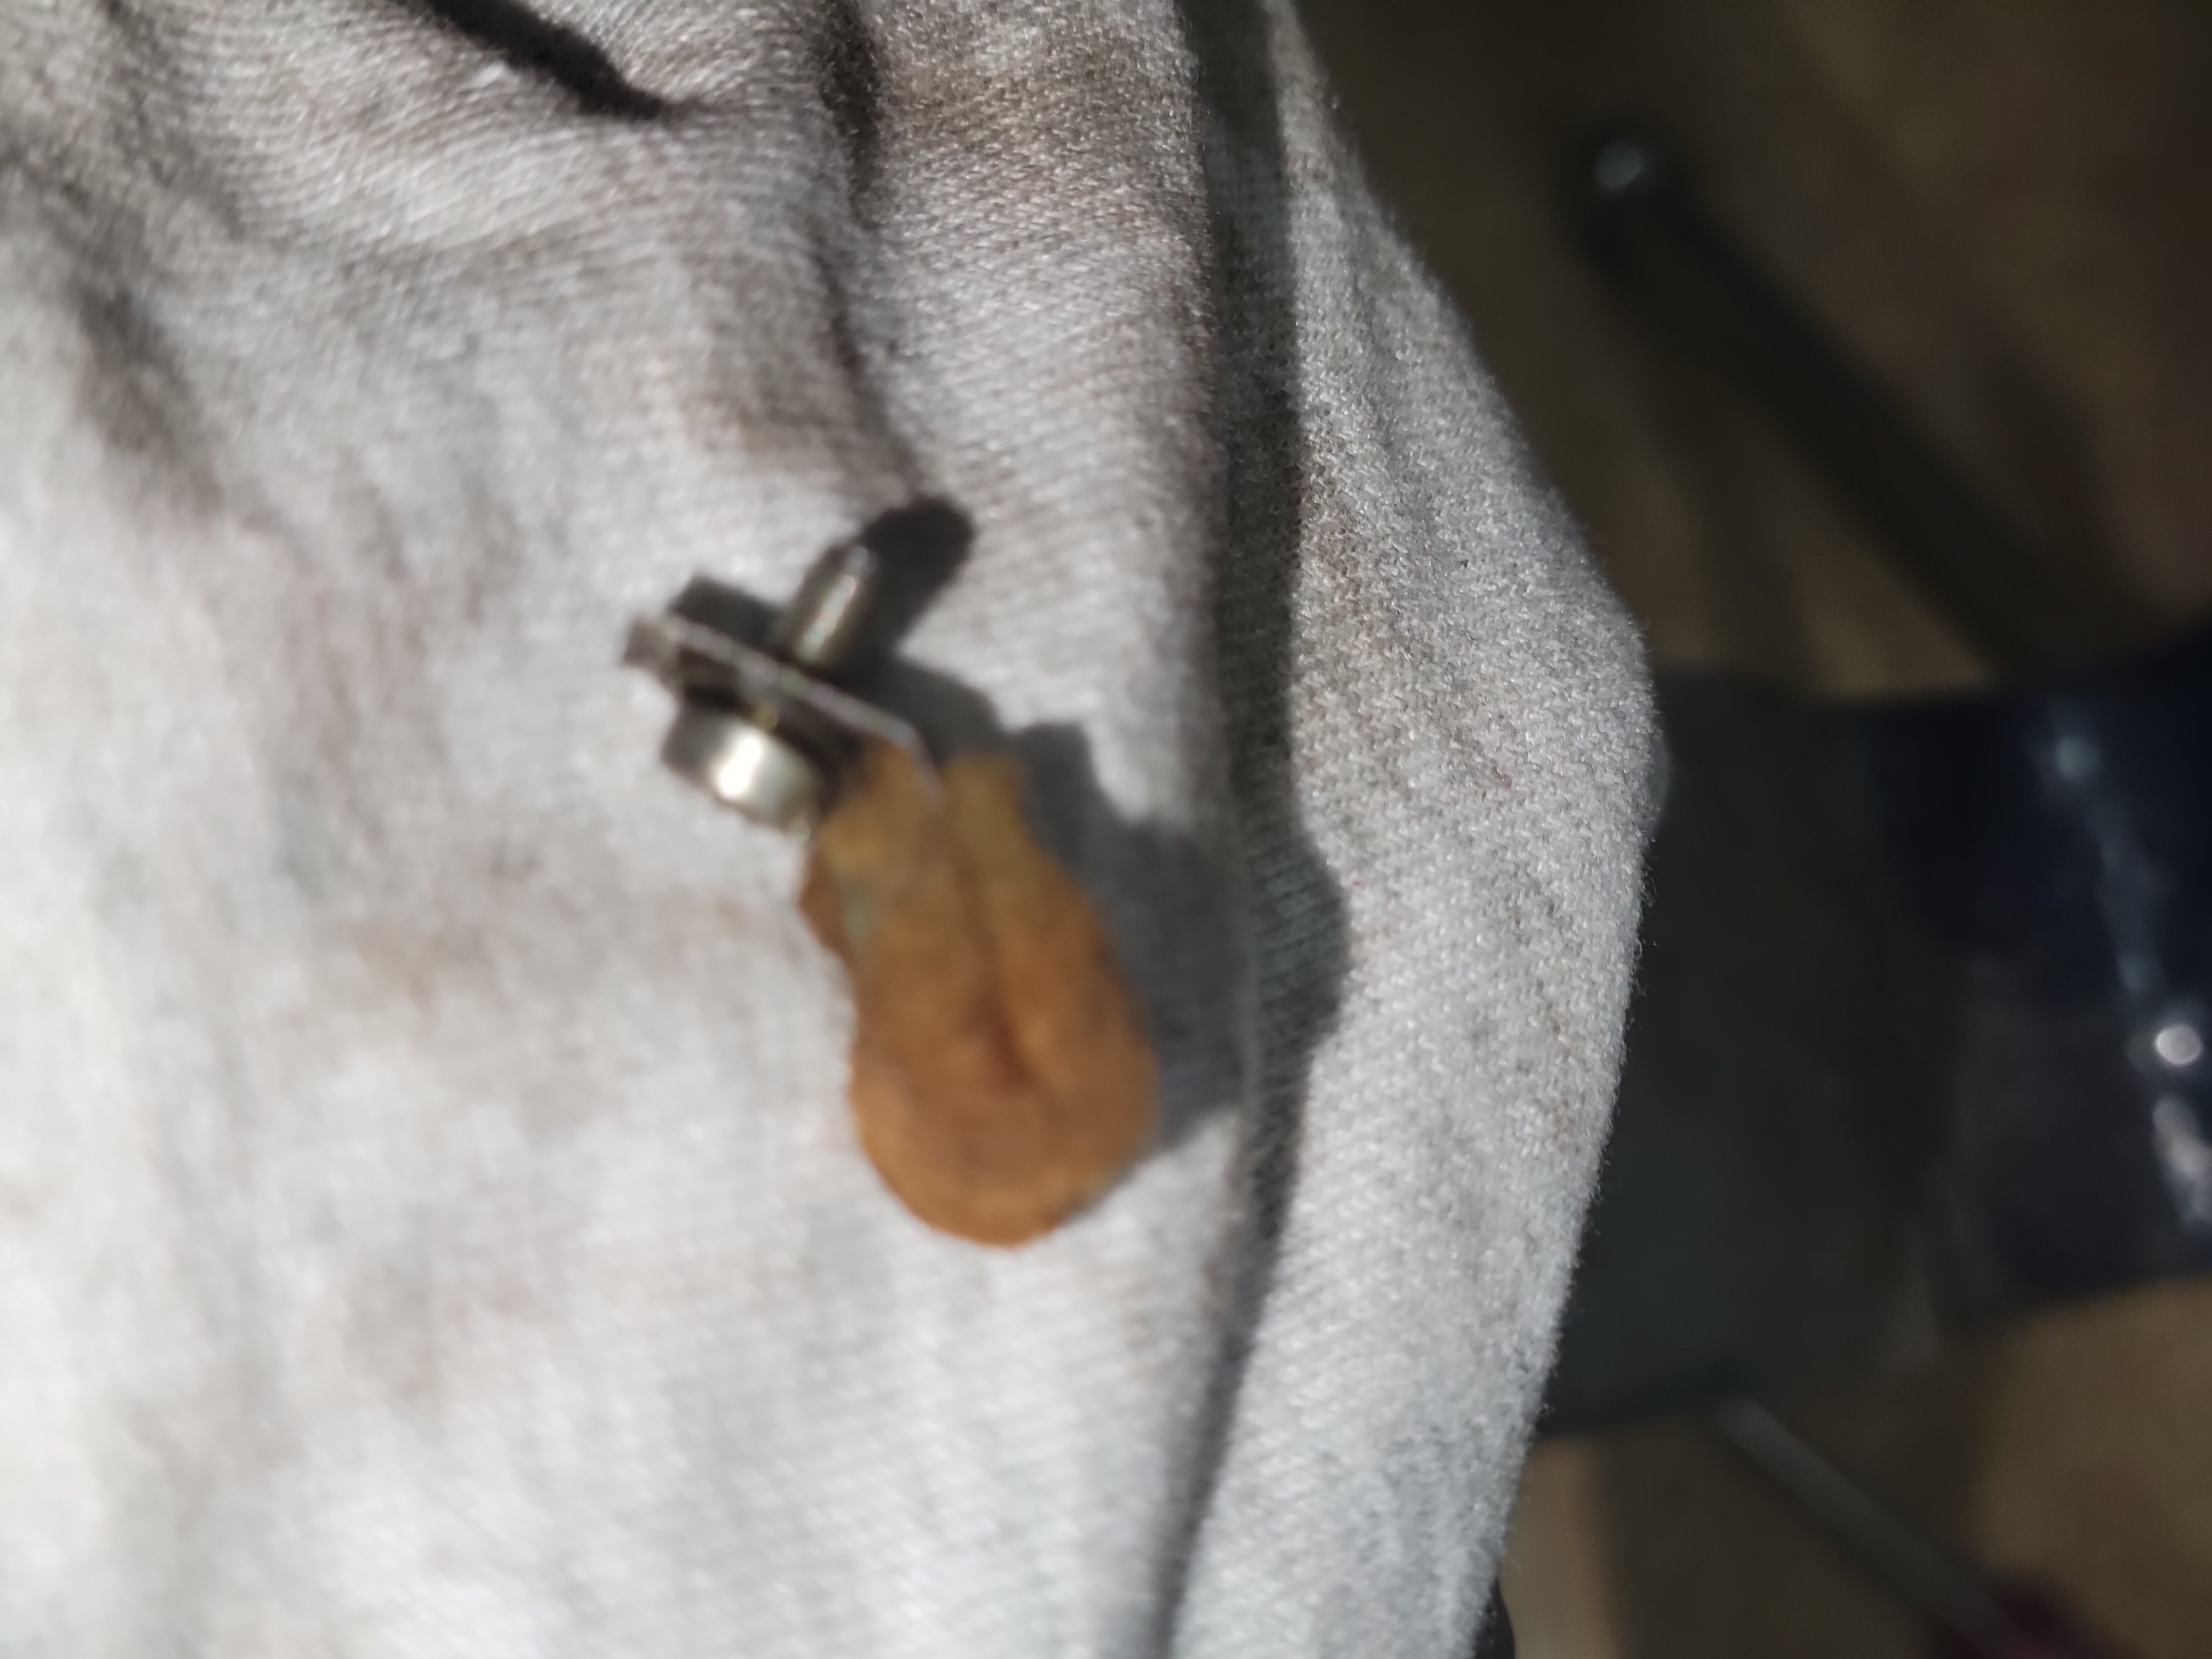
Notice the pop-rivet
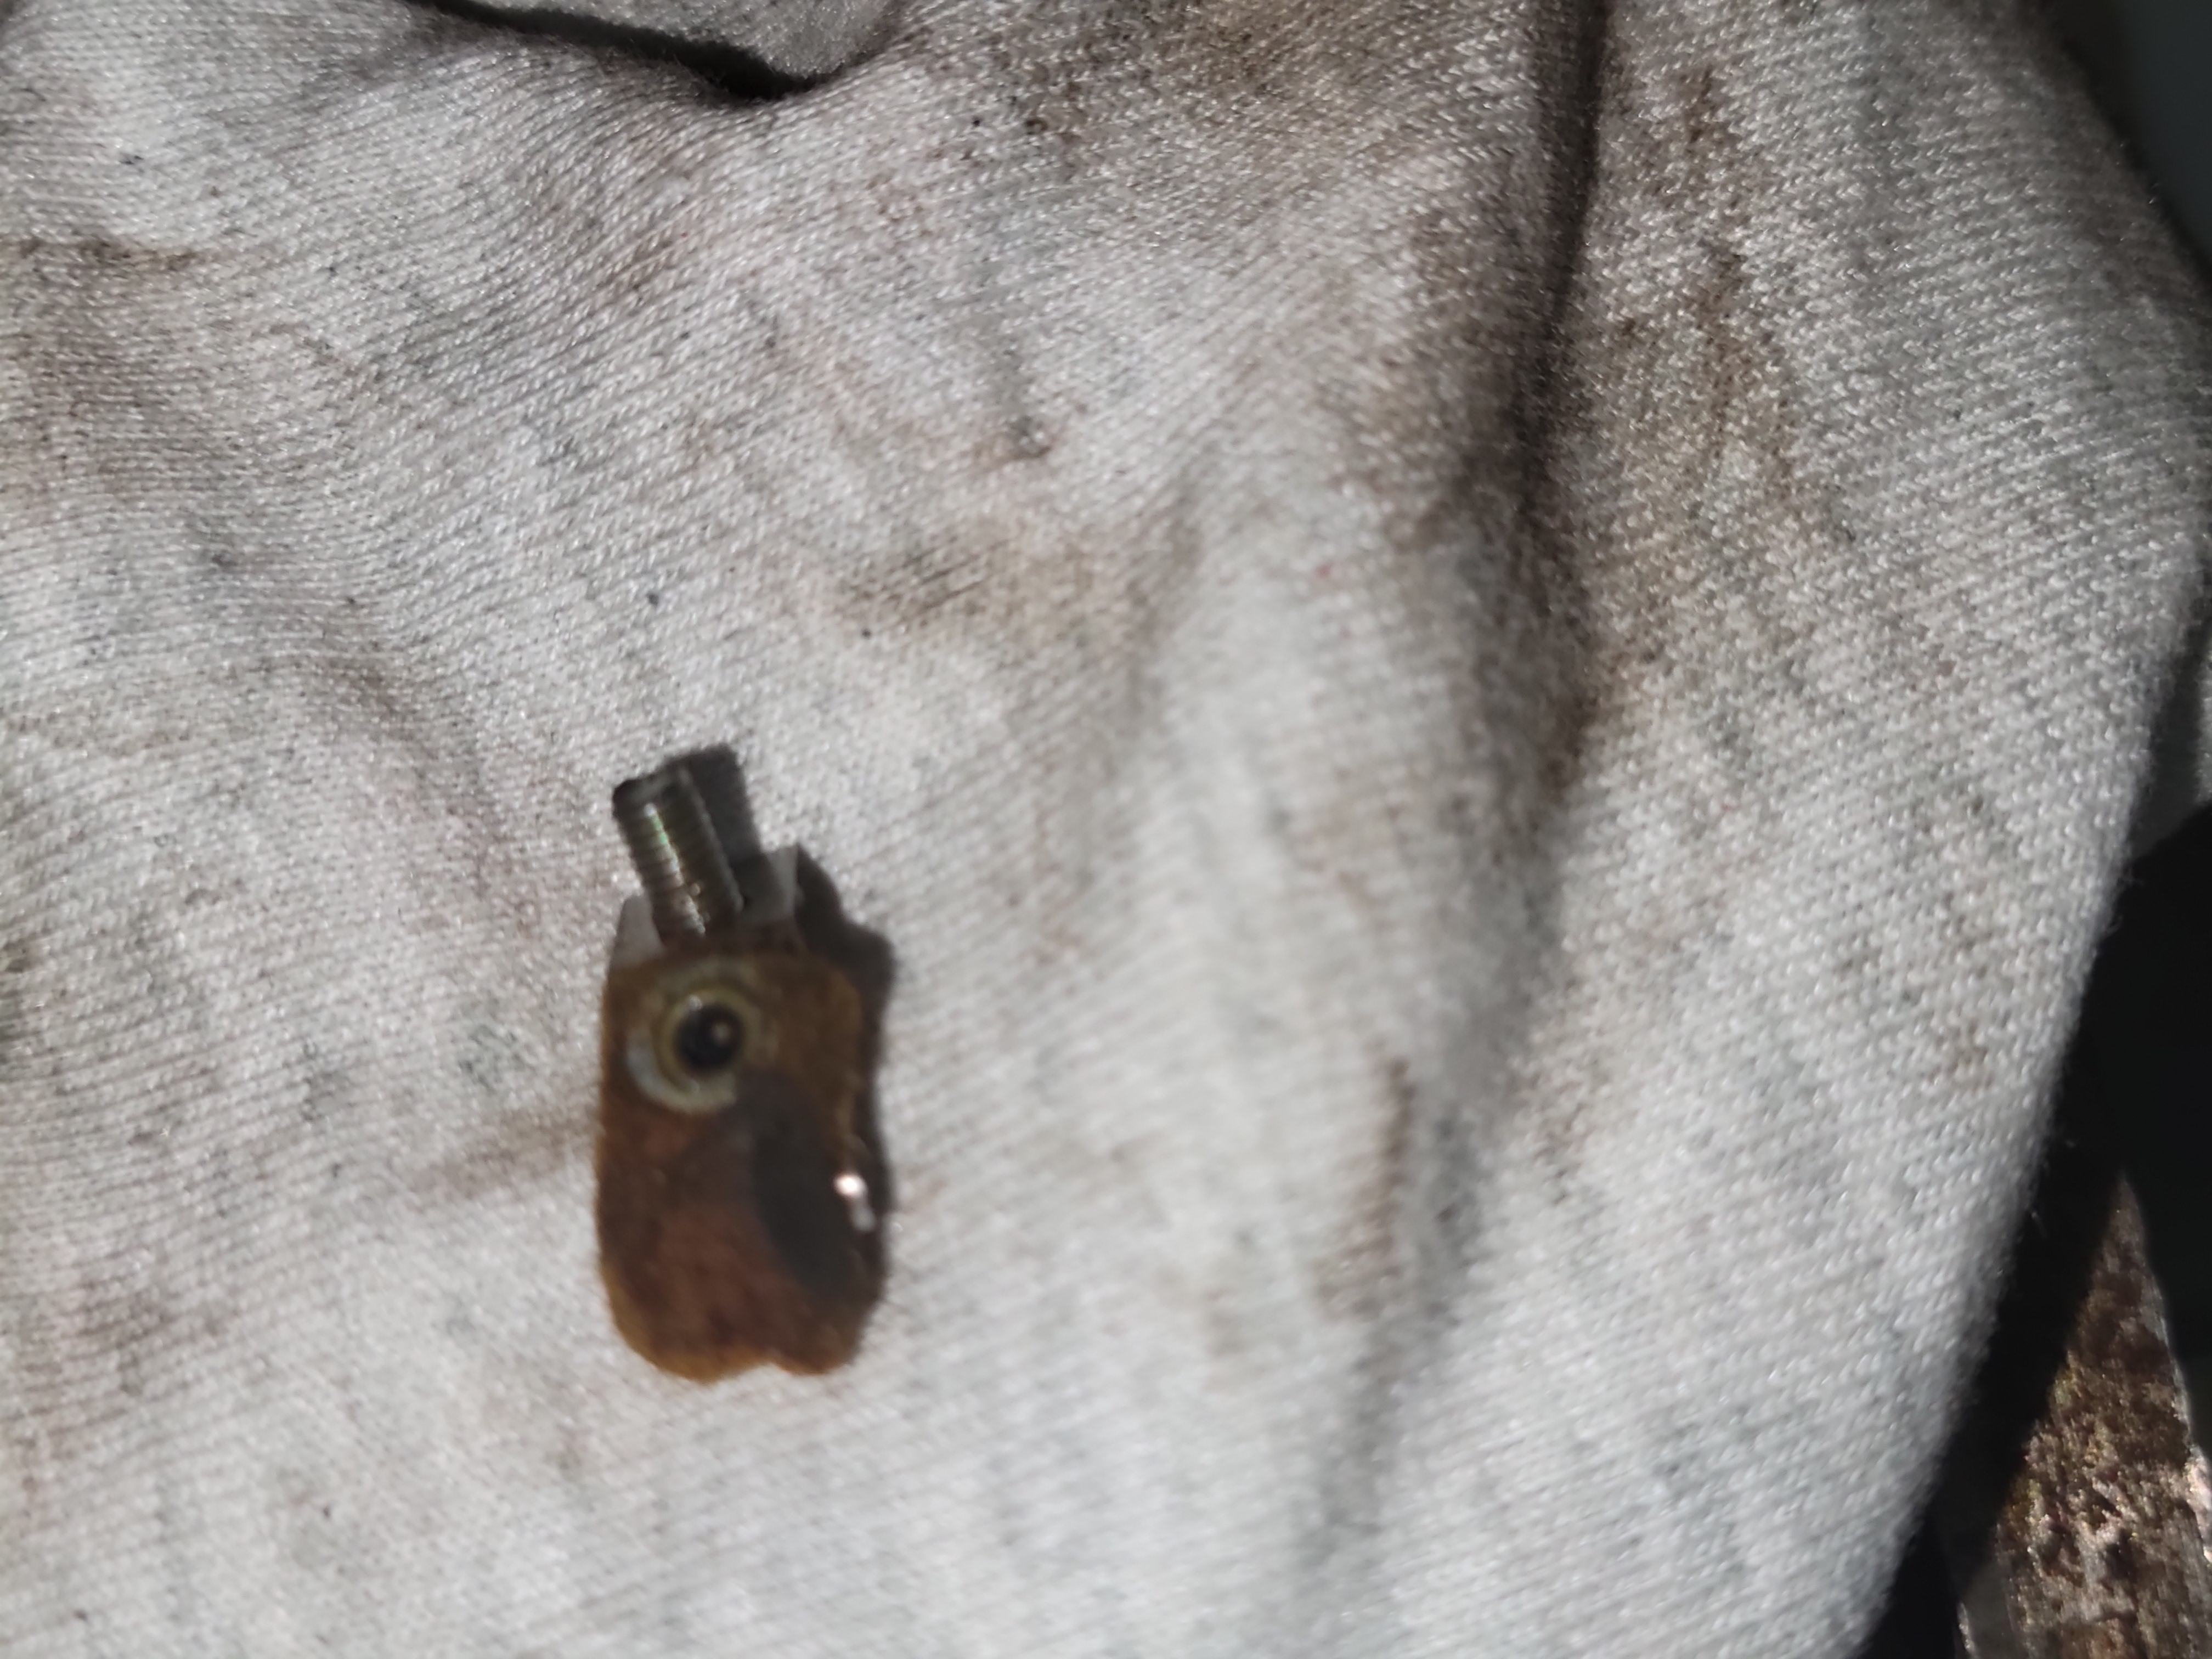
Another view of this rare-bast
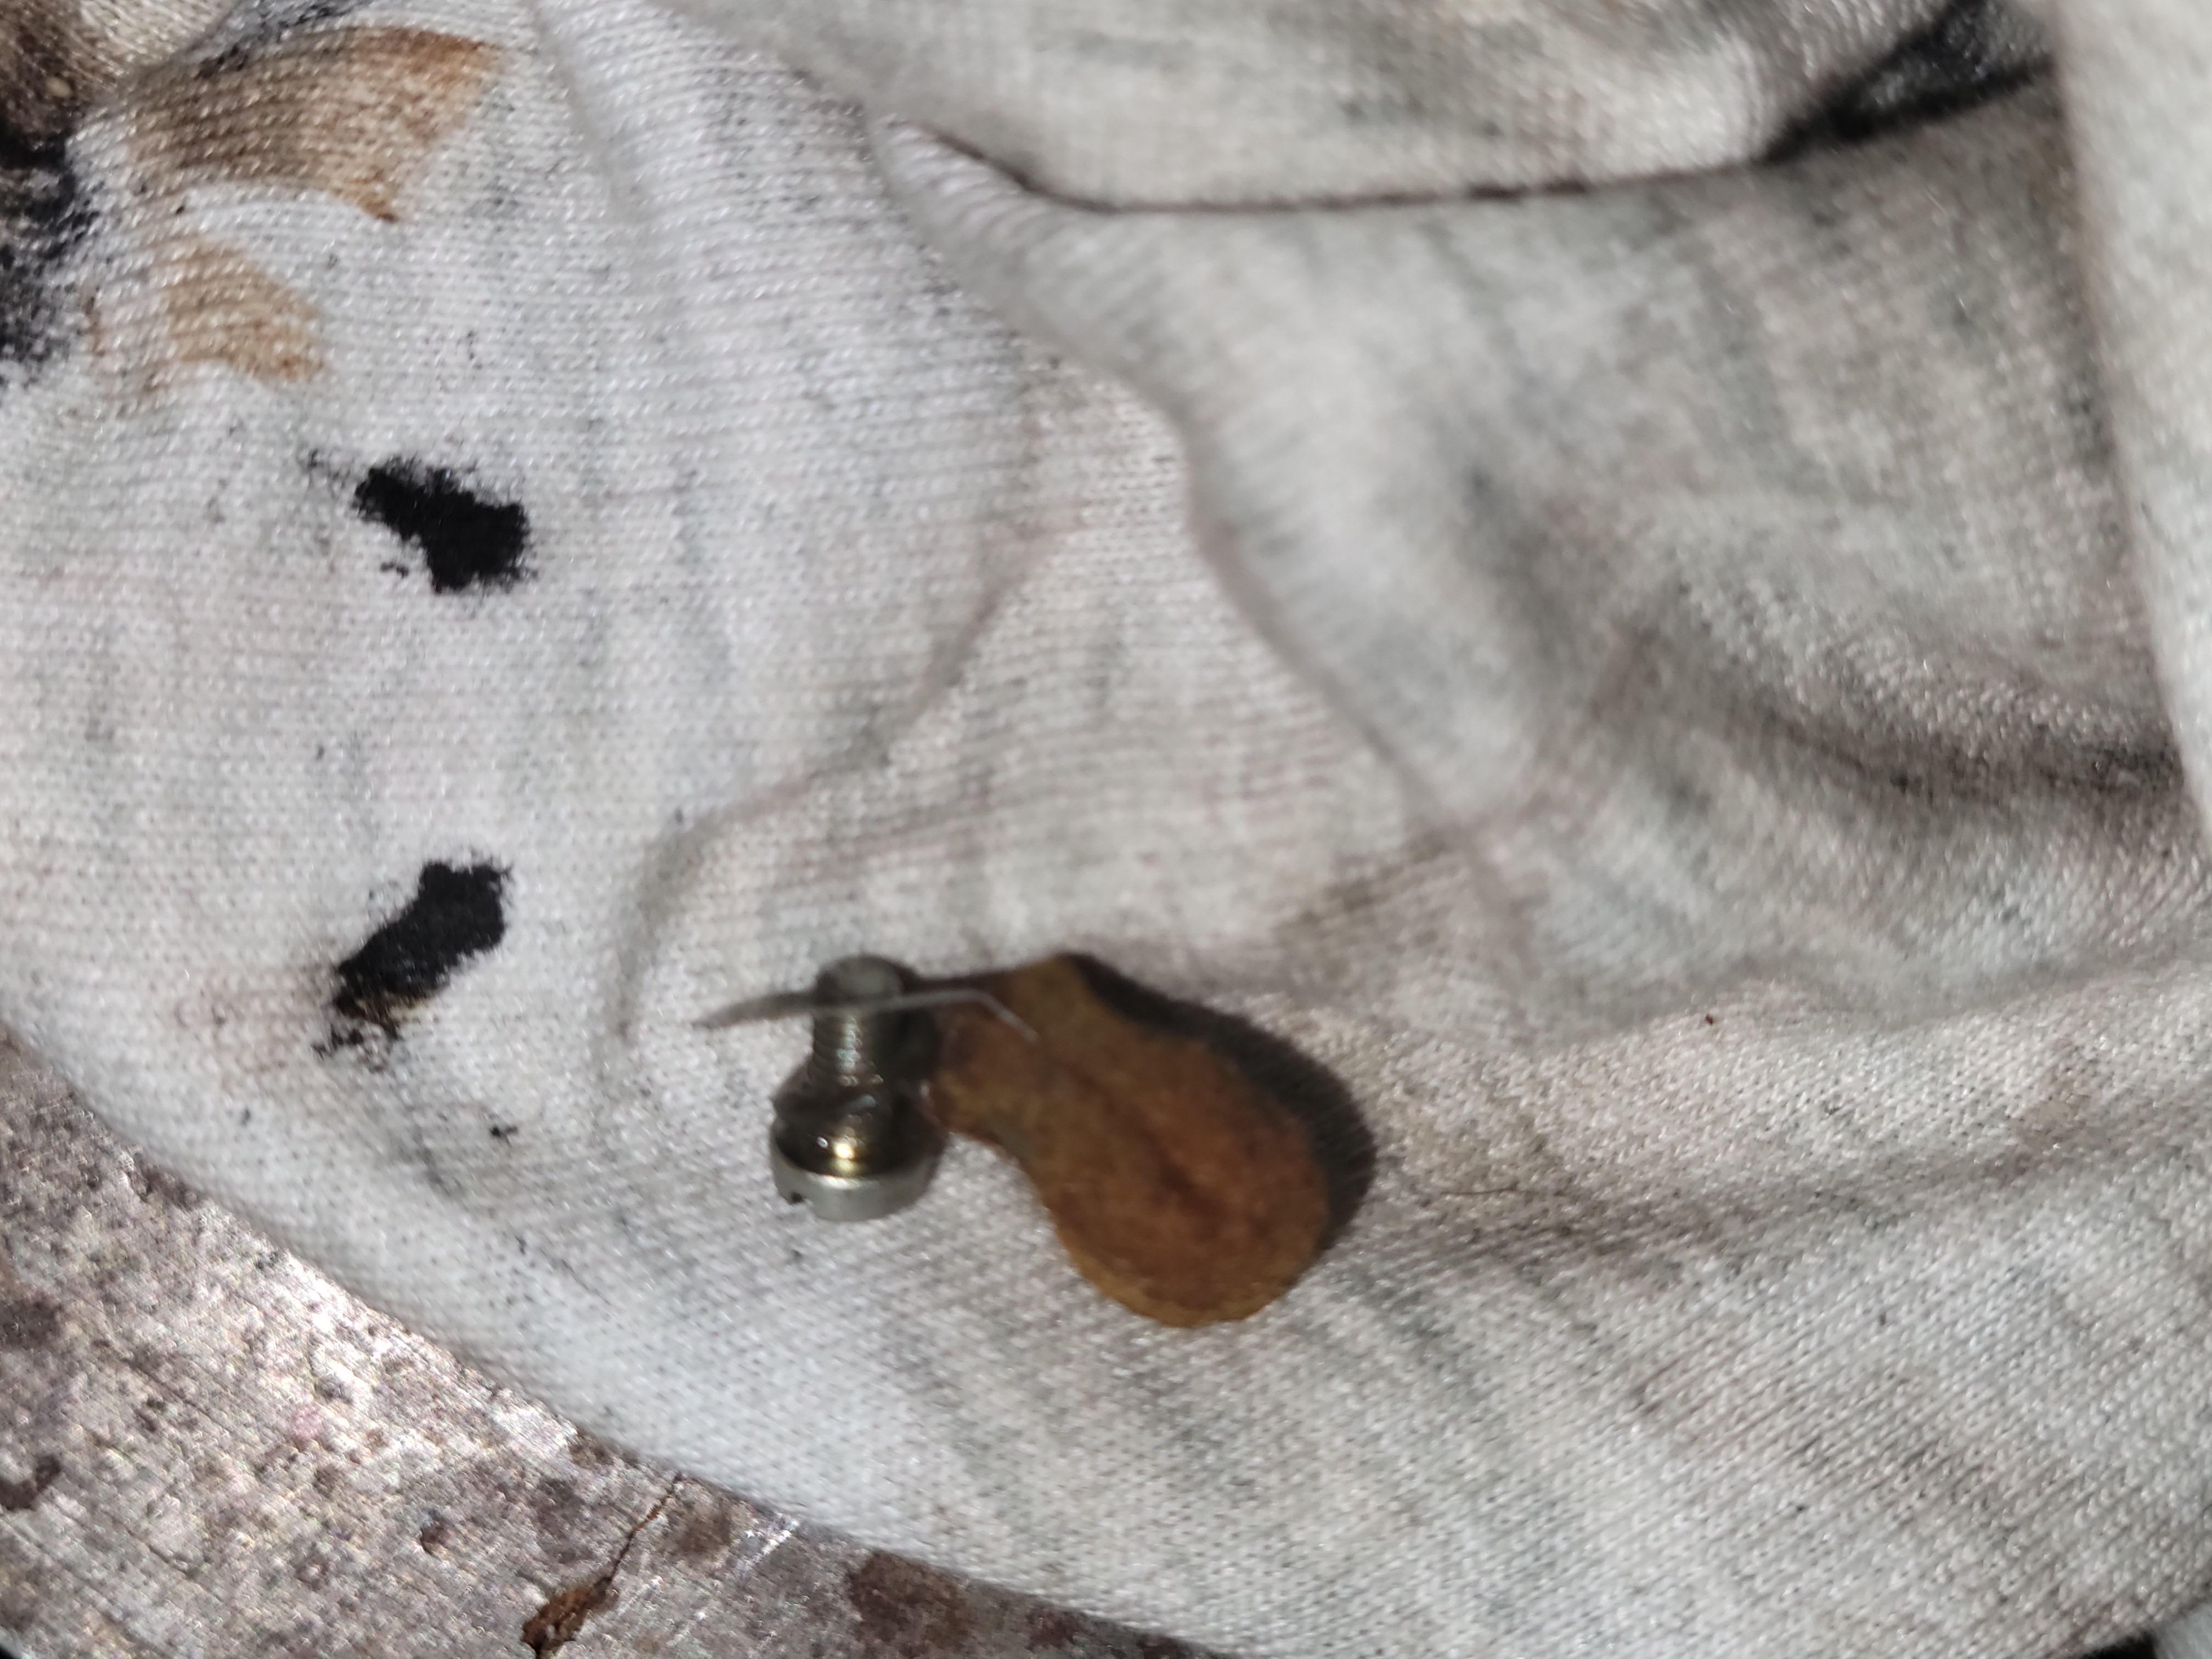
The cracked nylon spacer is for when the weights park. We 3D printed a replacement, but you might be able to use a nylon bushing from Lowes / ACE / Home depot and then just cut what you need from the nylon bushing.
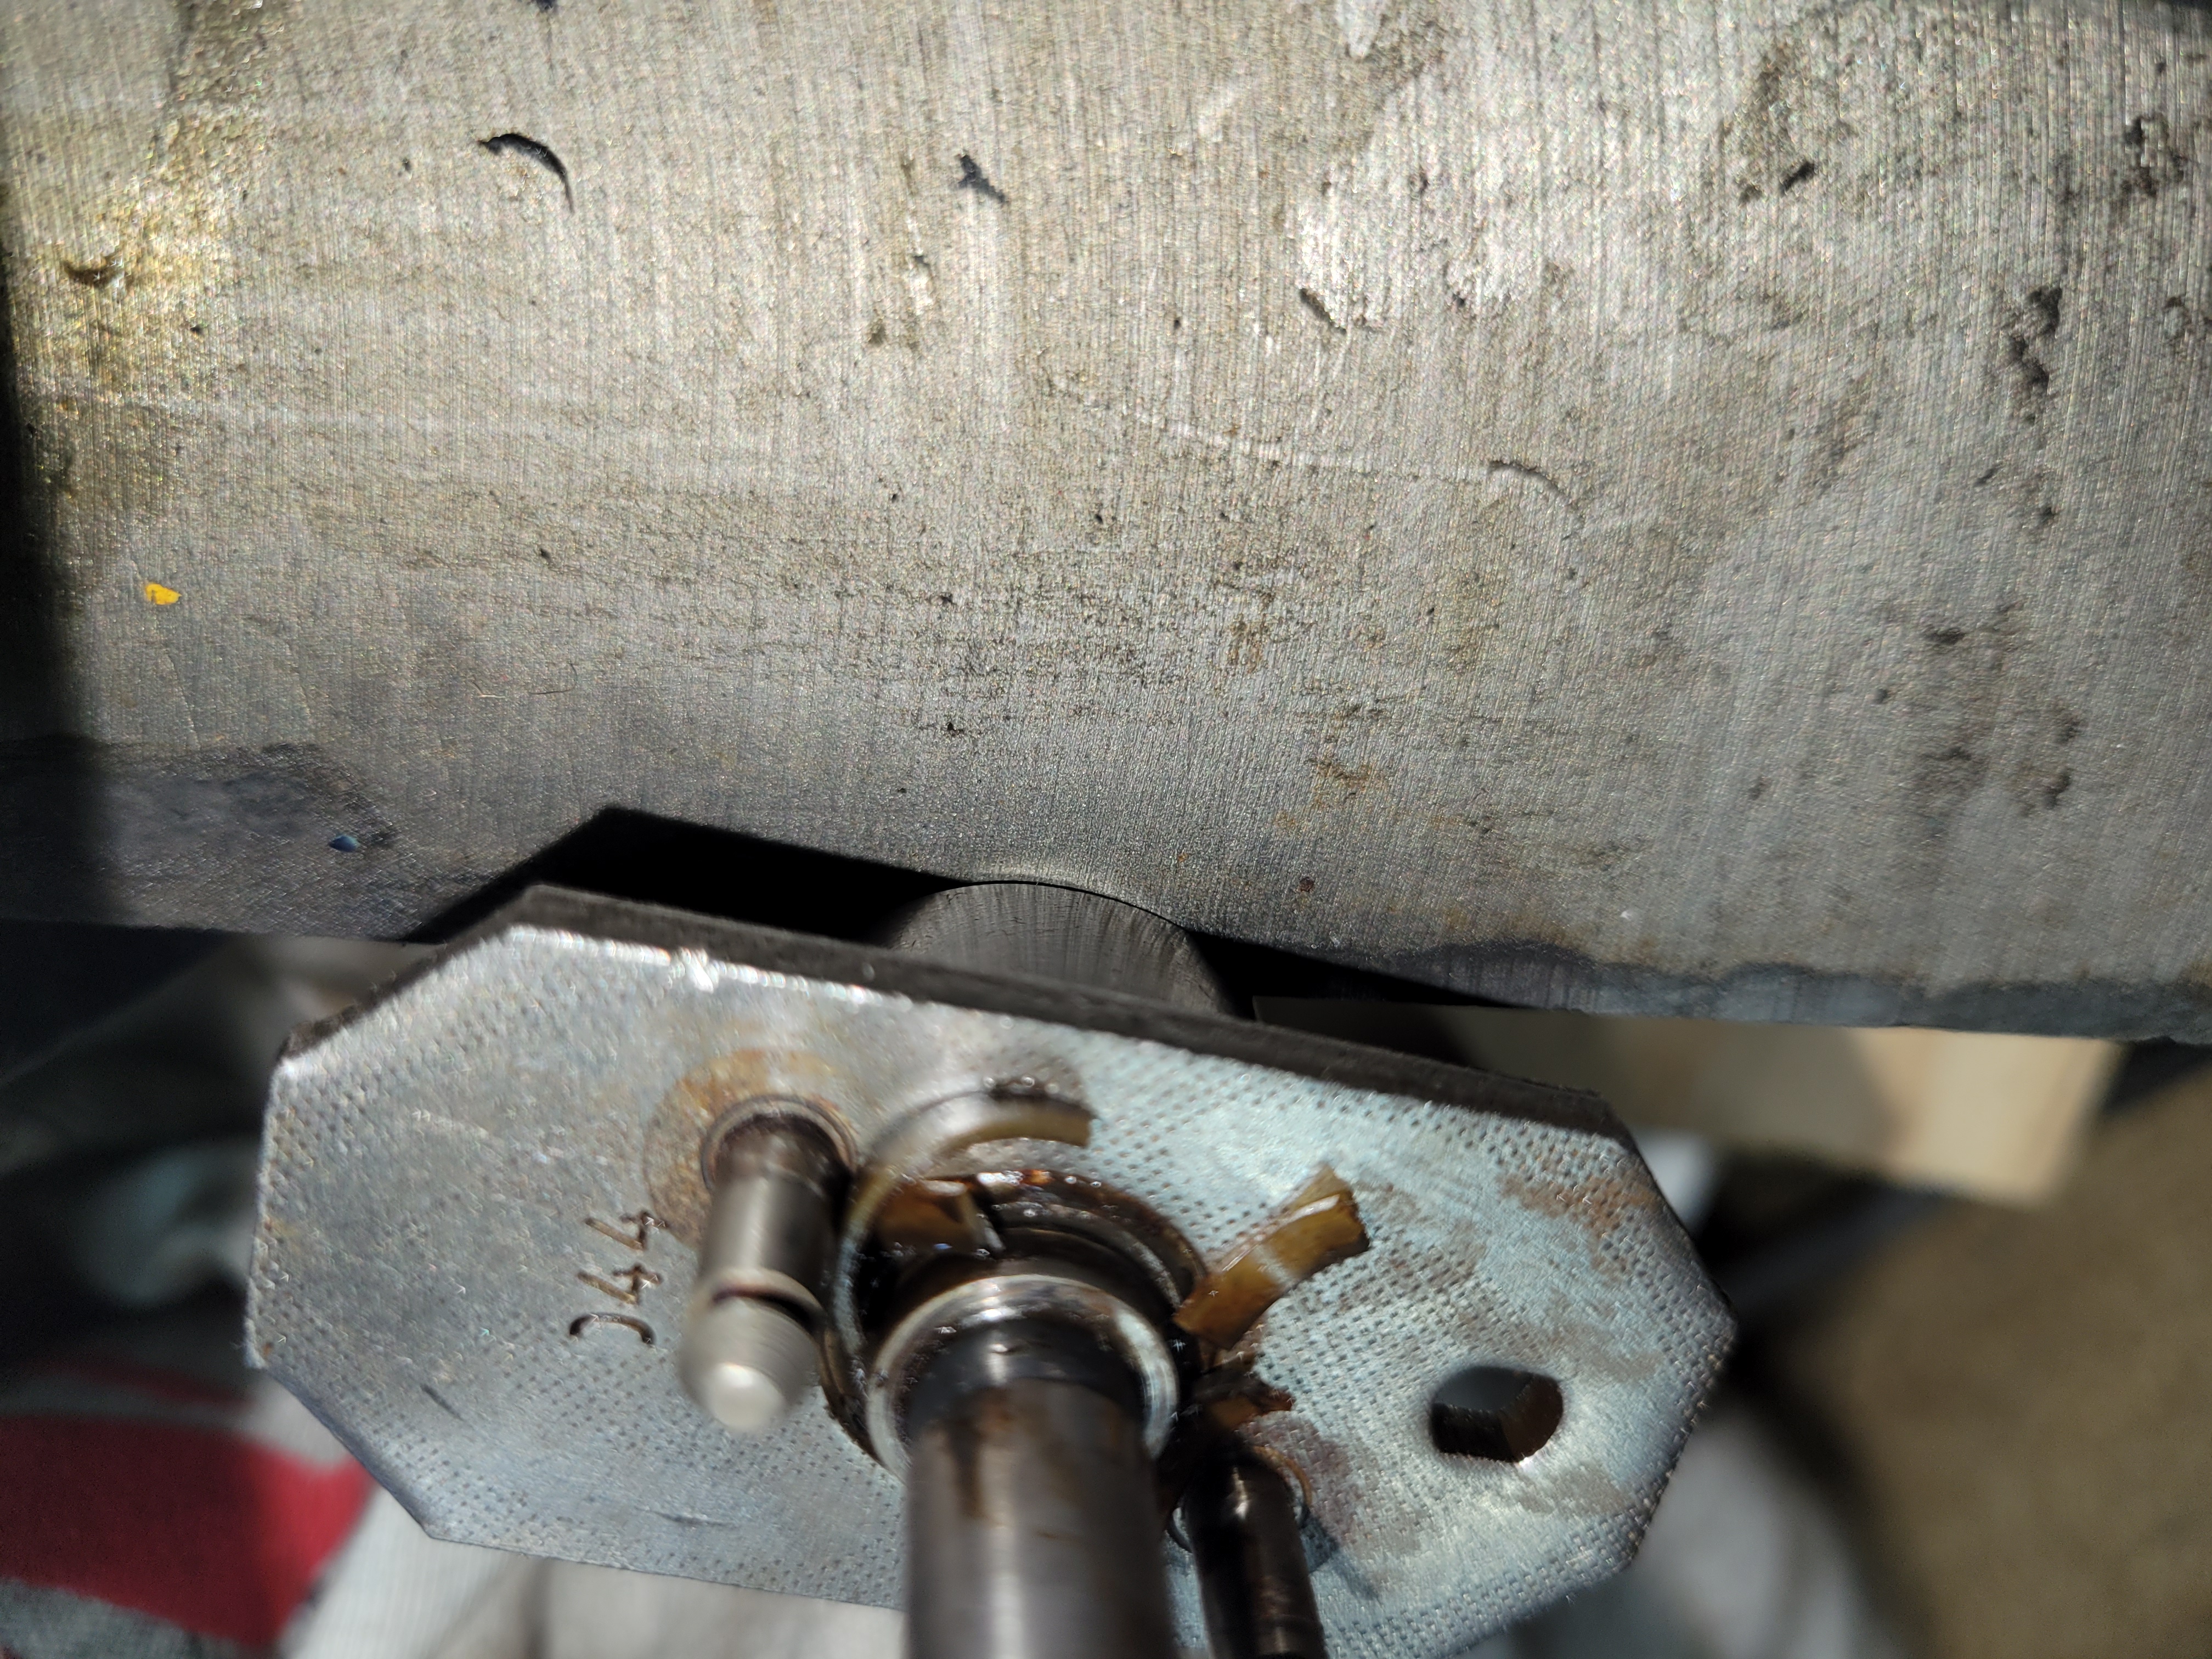
I wanted to level the clamp, it was bent.
The points plate has wrap-around tabs. I had loose ones. I tightened them carefully with padded vice-grips and some hammer taps. Just a couple of thousandths of play:
The kit provided the spacers for the weights. Our fabricated bushing in the center.
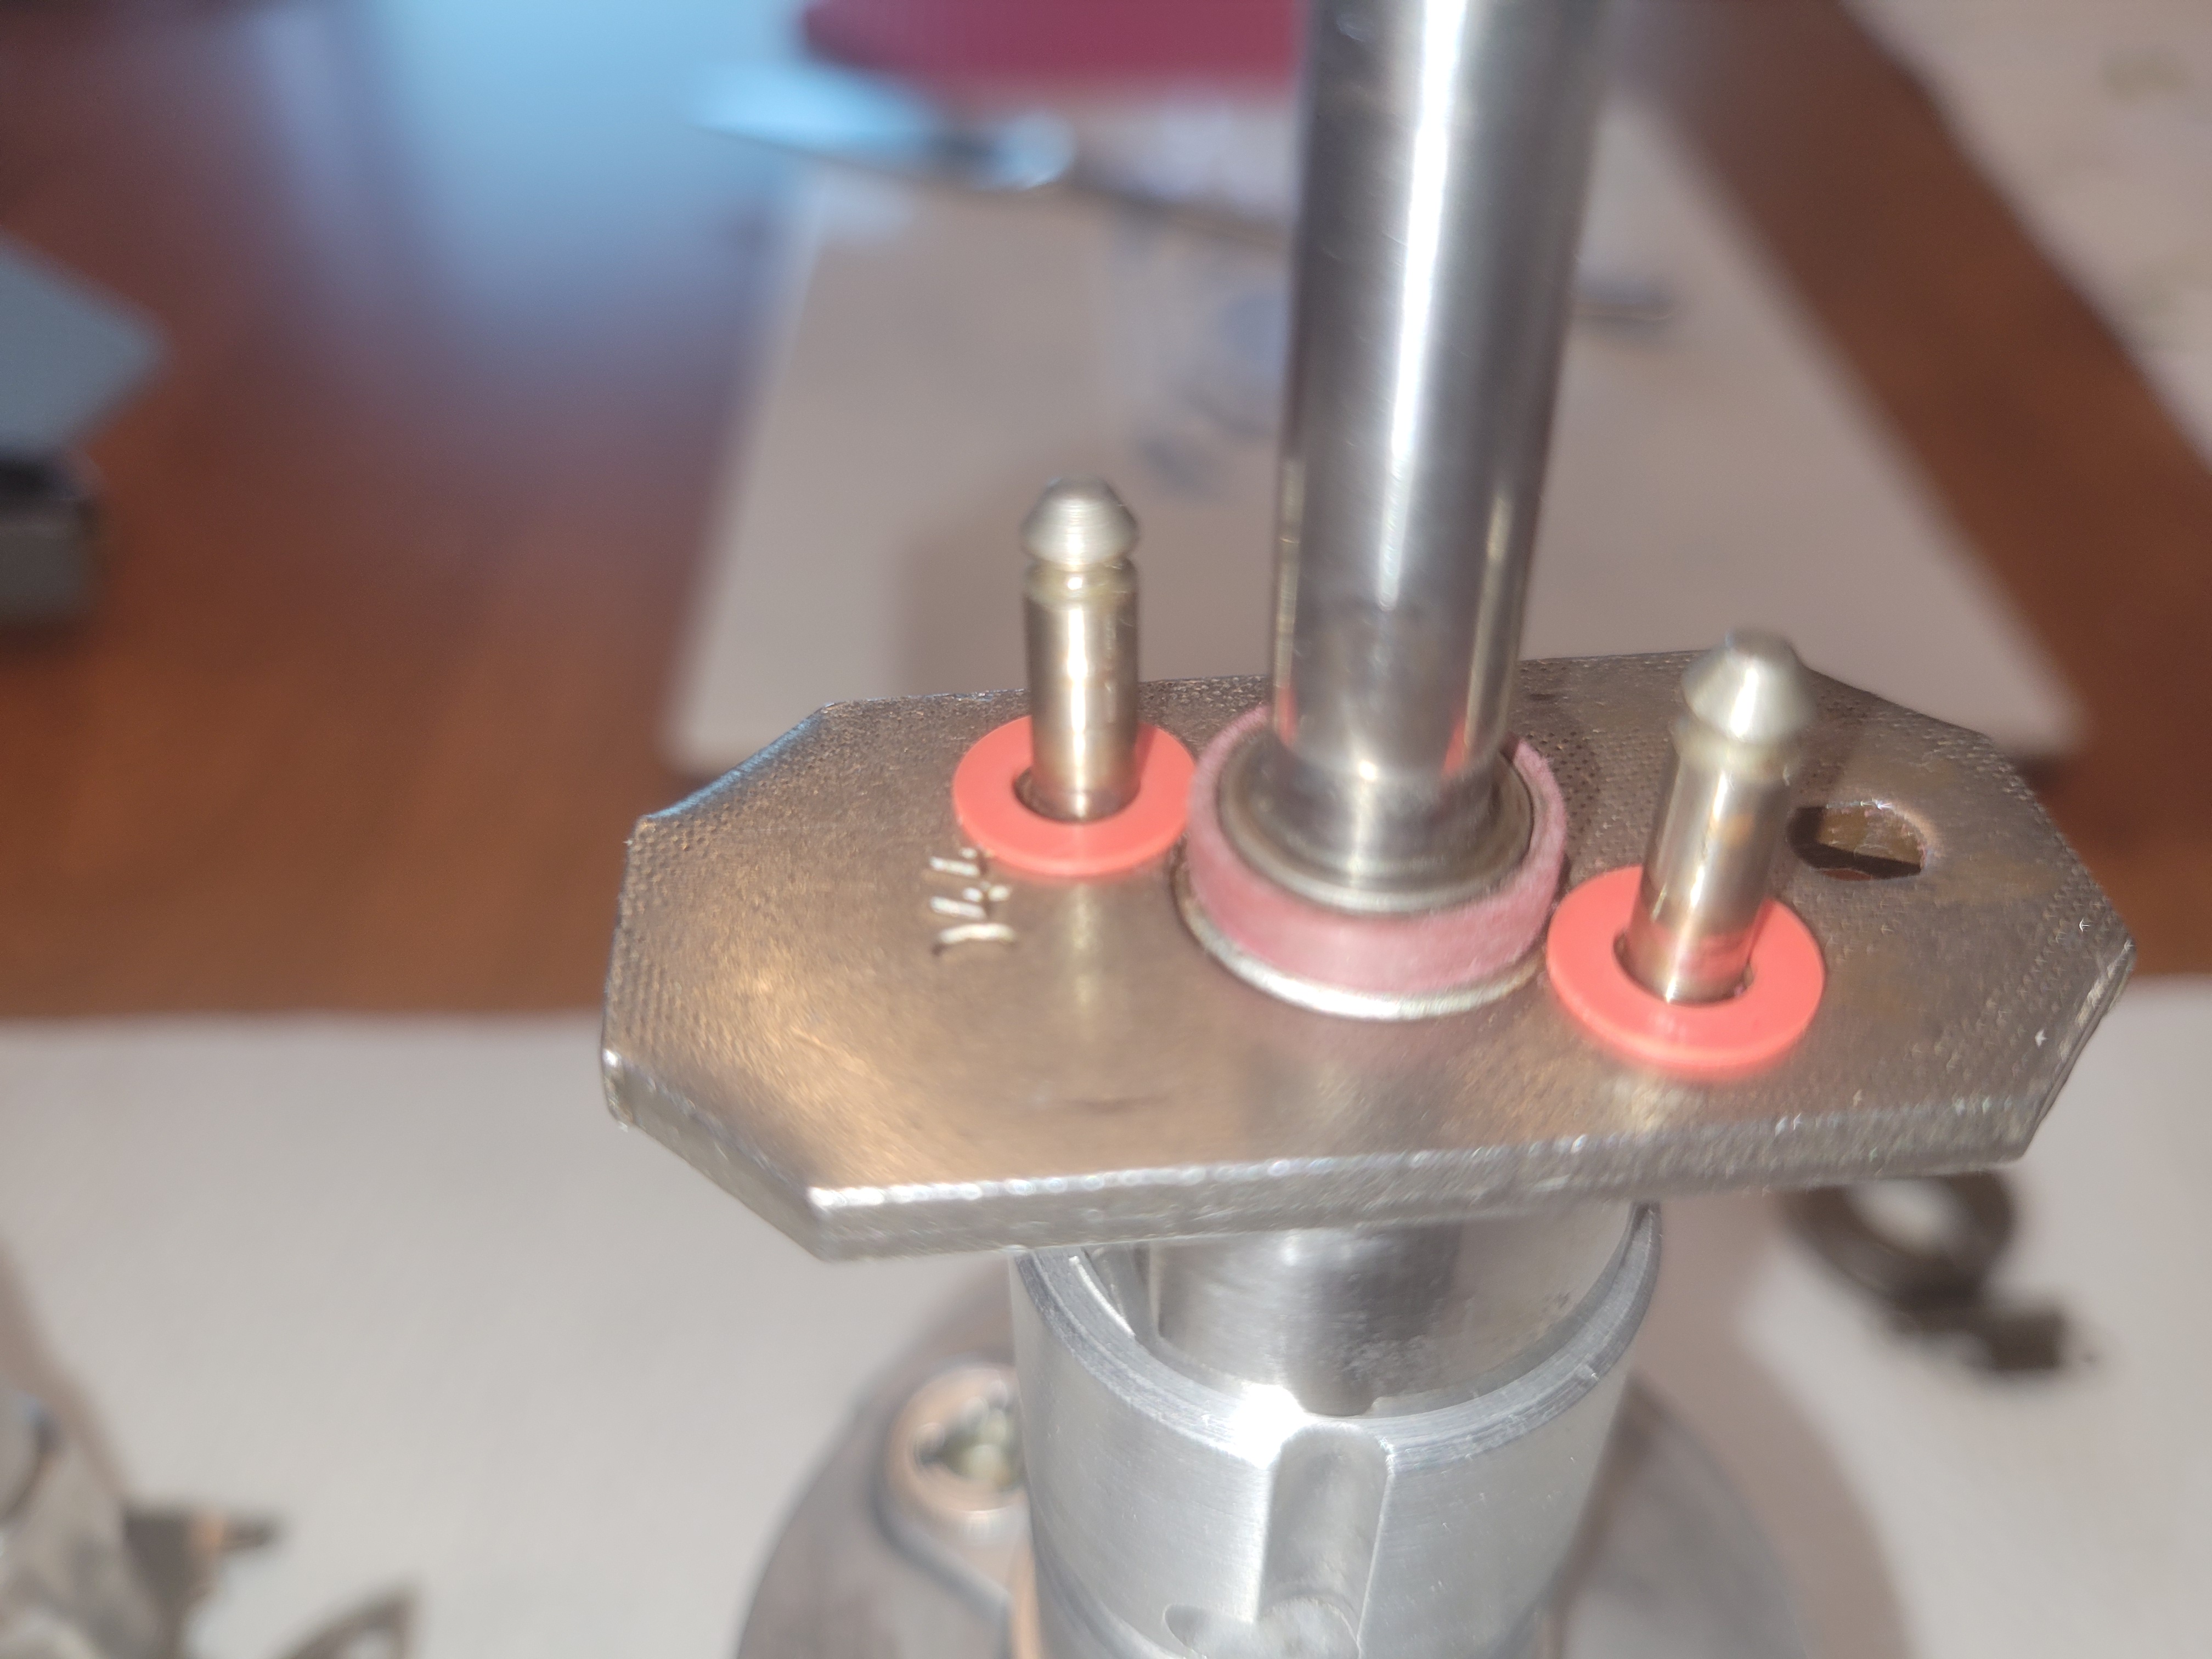
Pre-assembly

Pre-assembly of the upper shaft on the lower shaft.
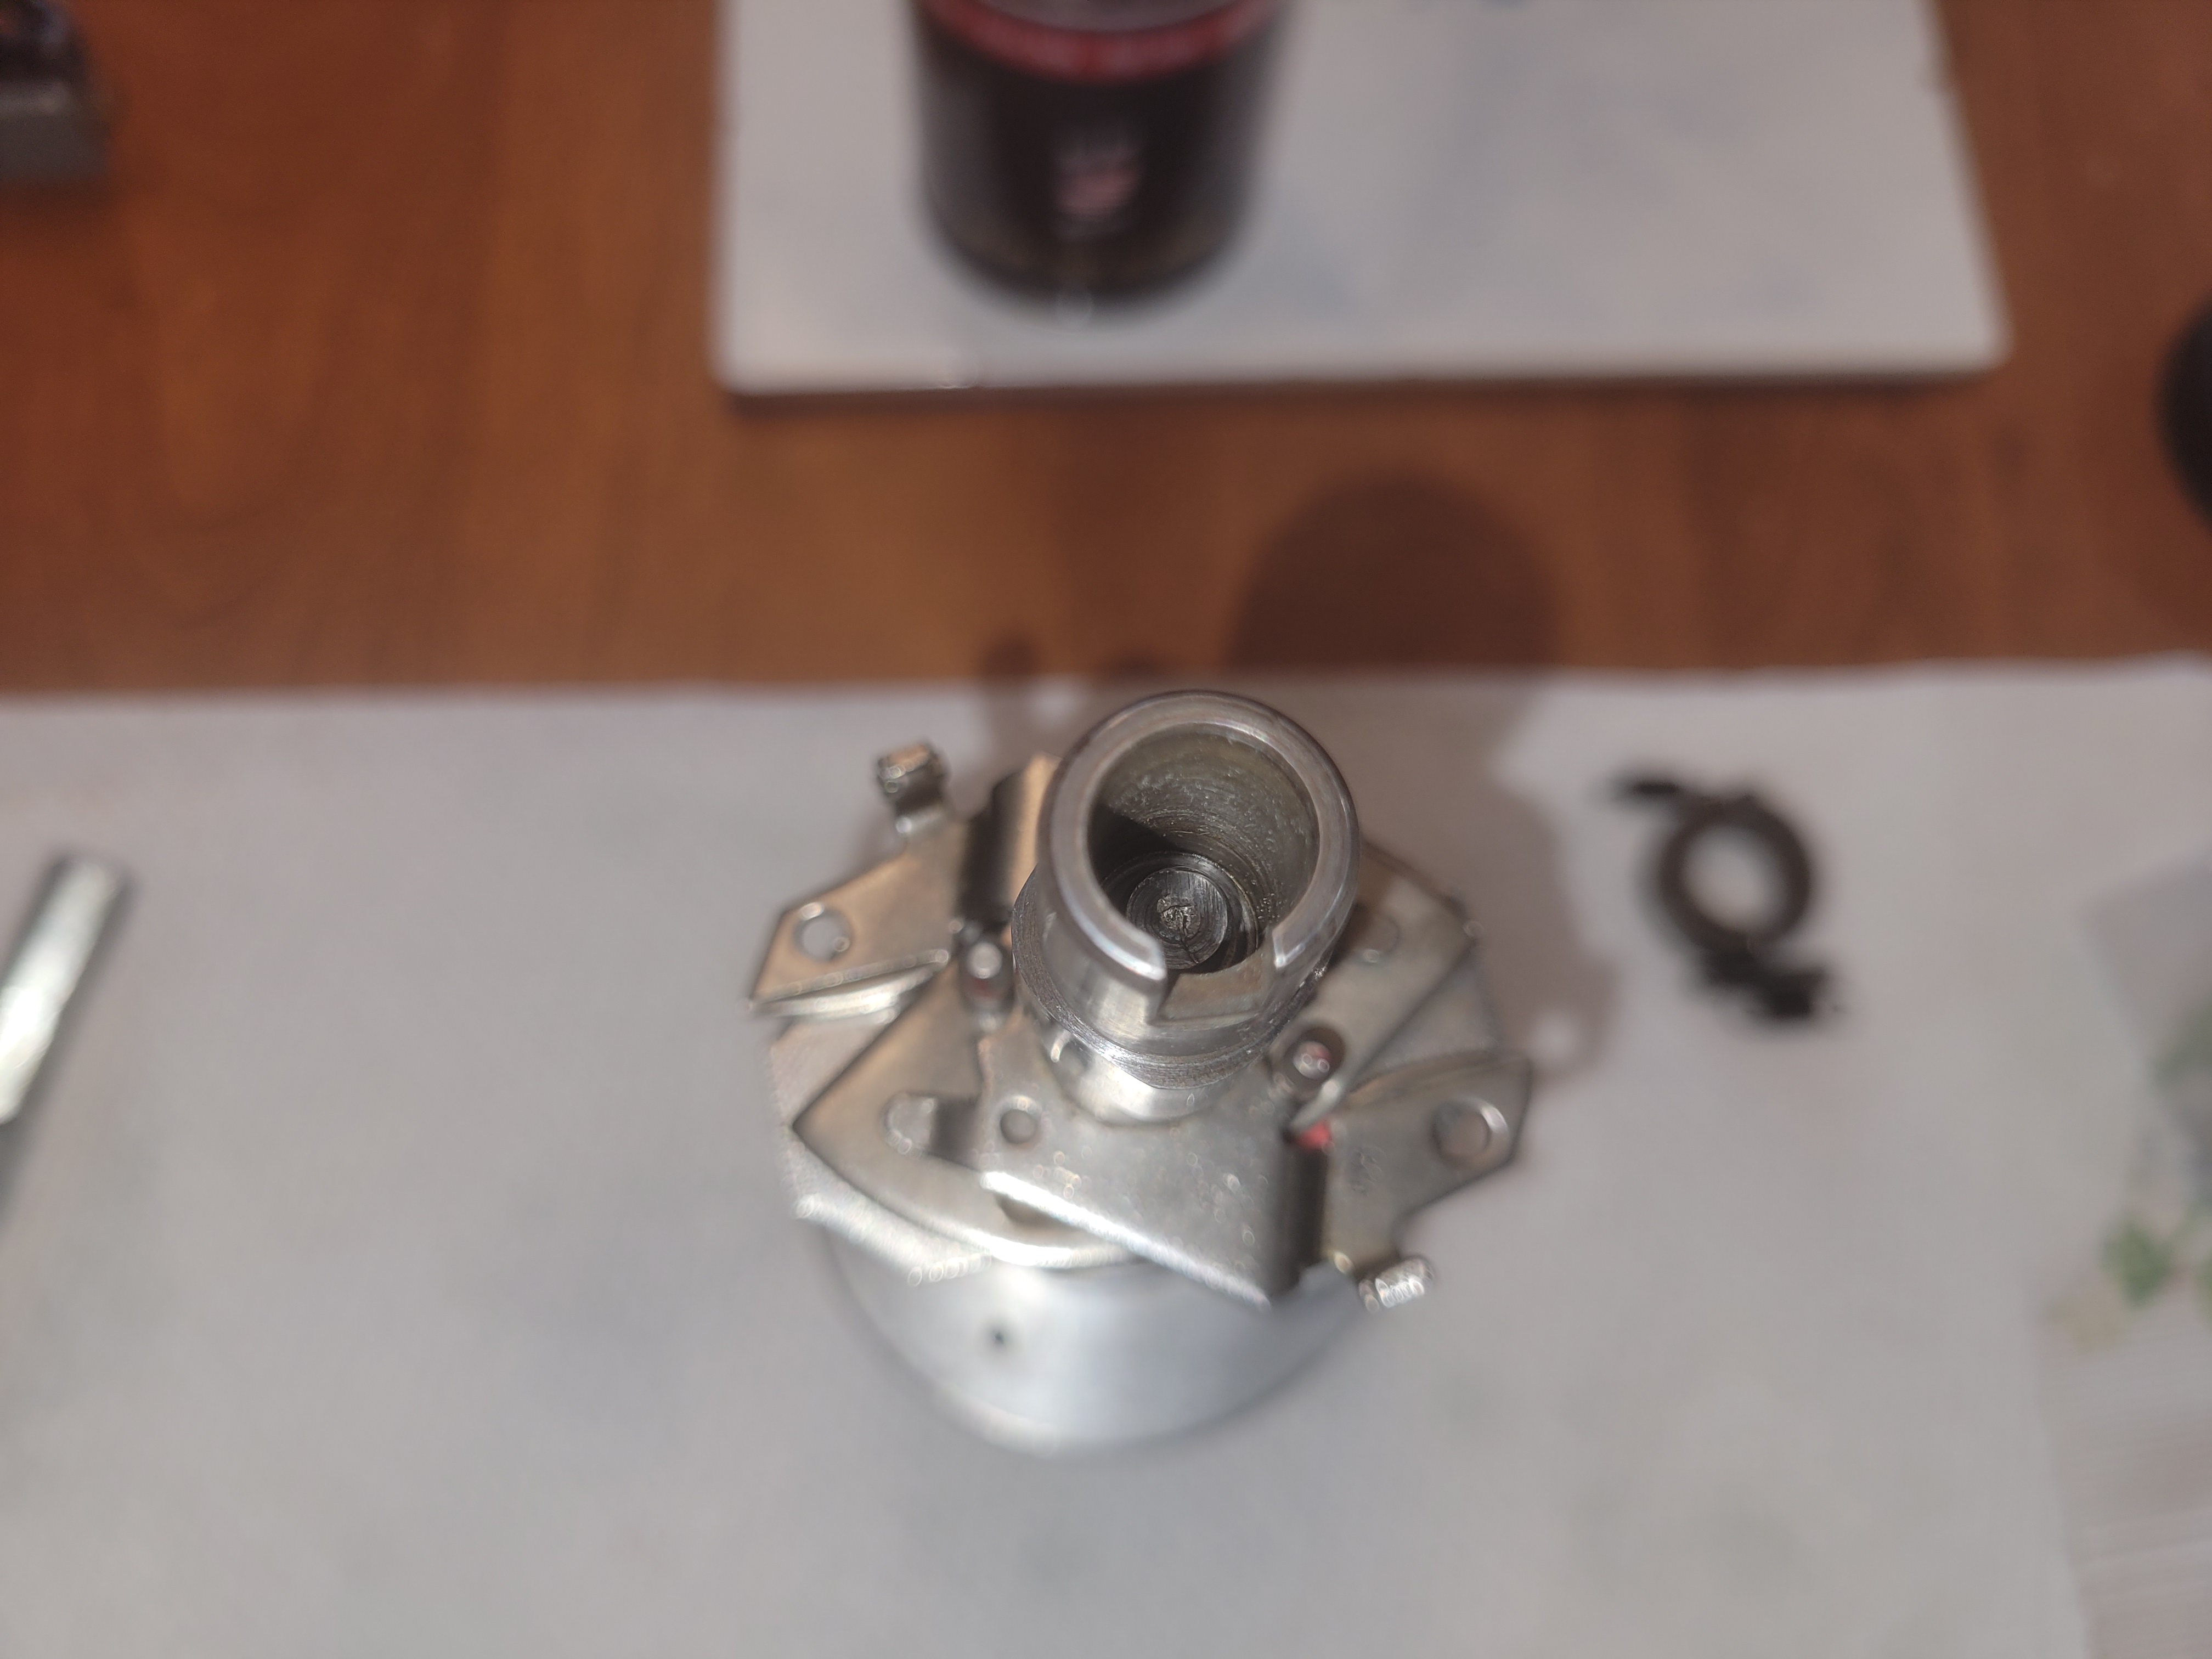
Underside view
Felt insert to keep the shaft lubricated. This is WAY too big. I cut down what would fit.
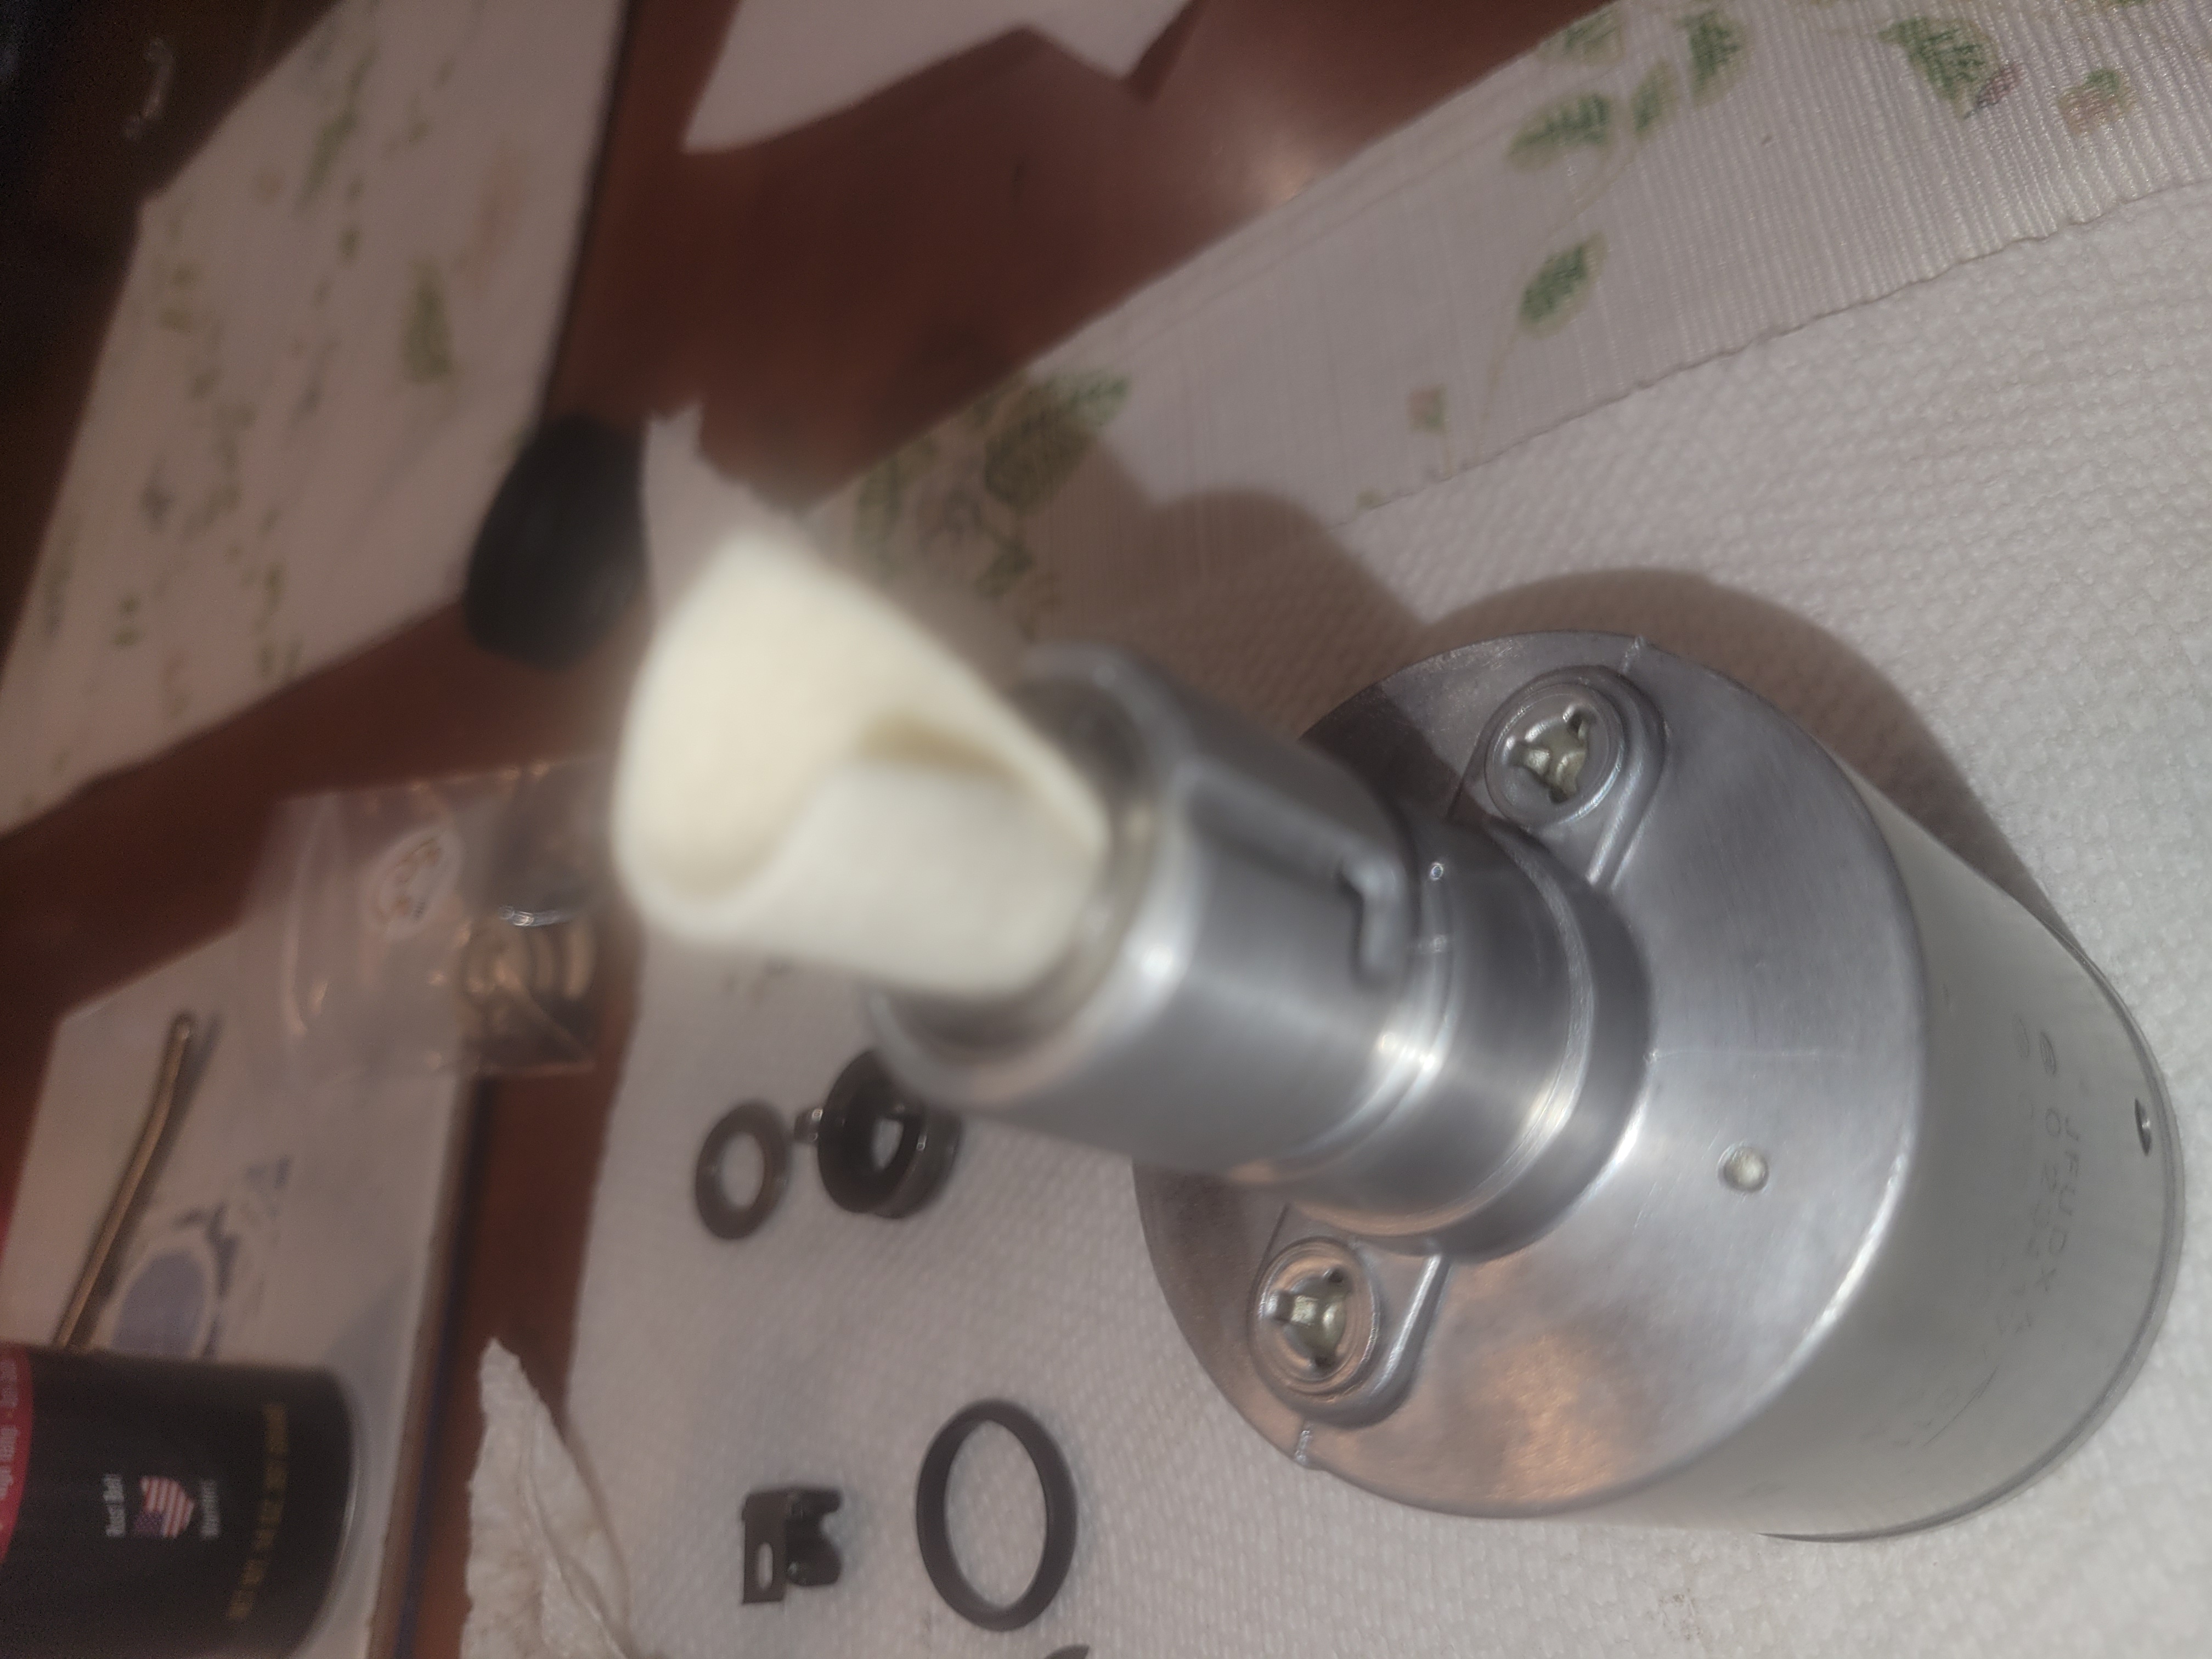
Smaller indeed!
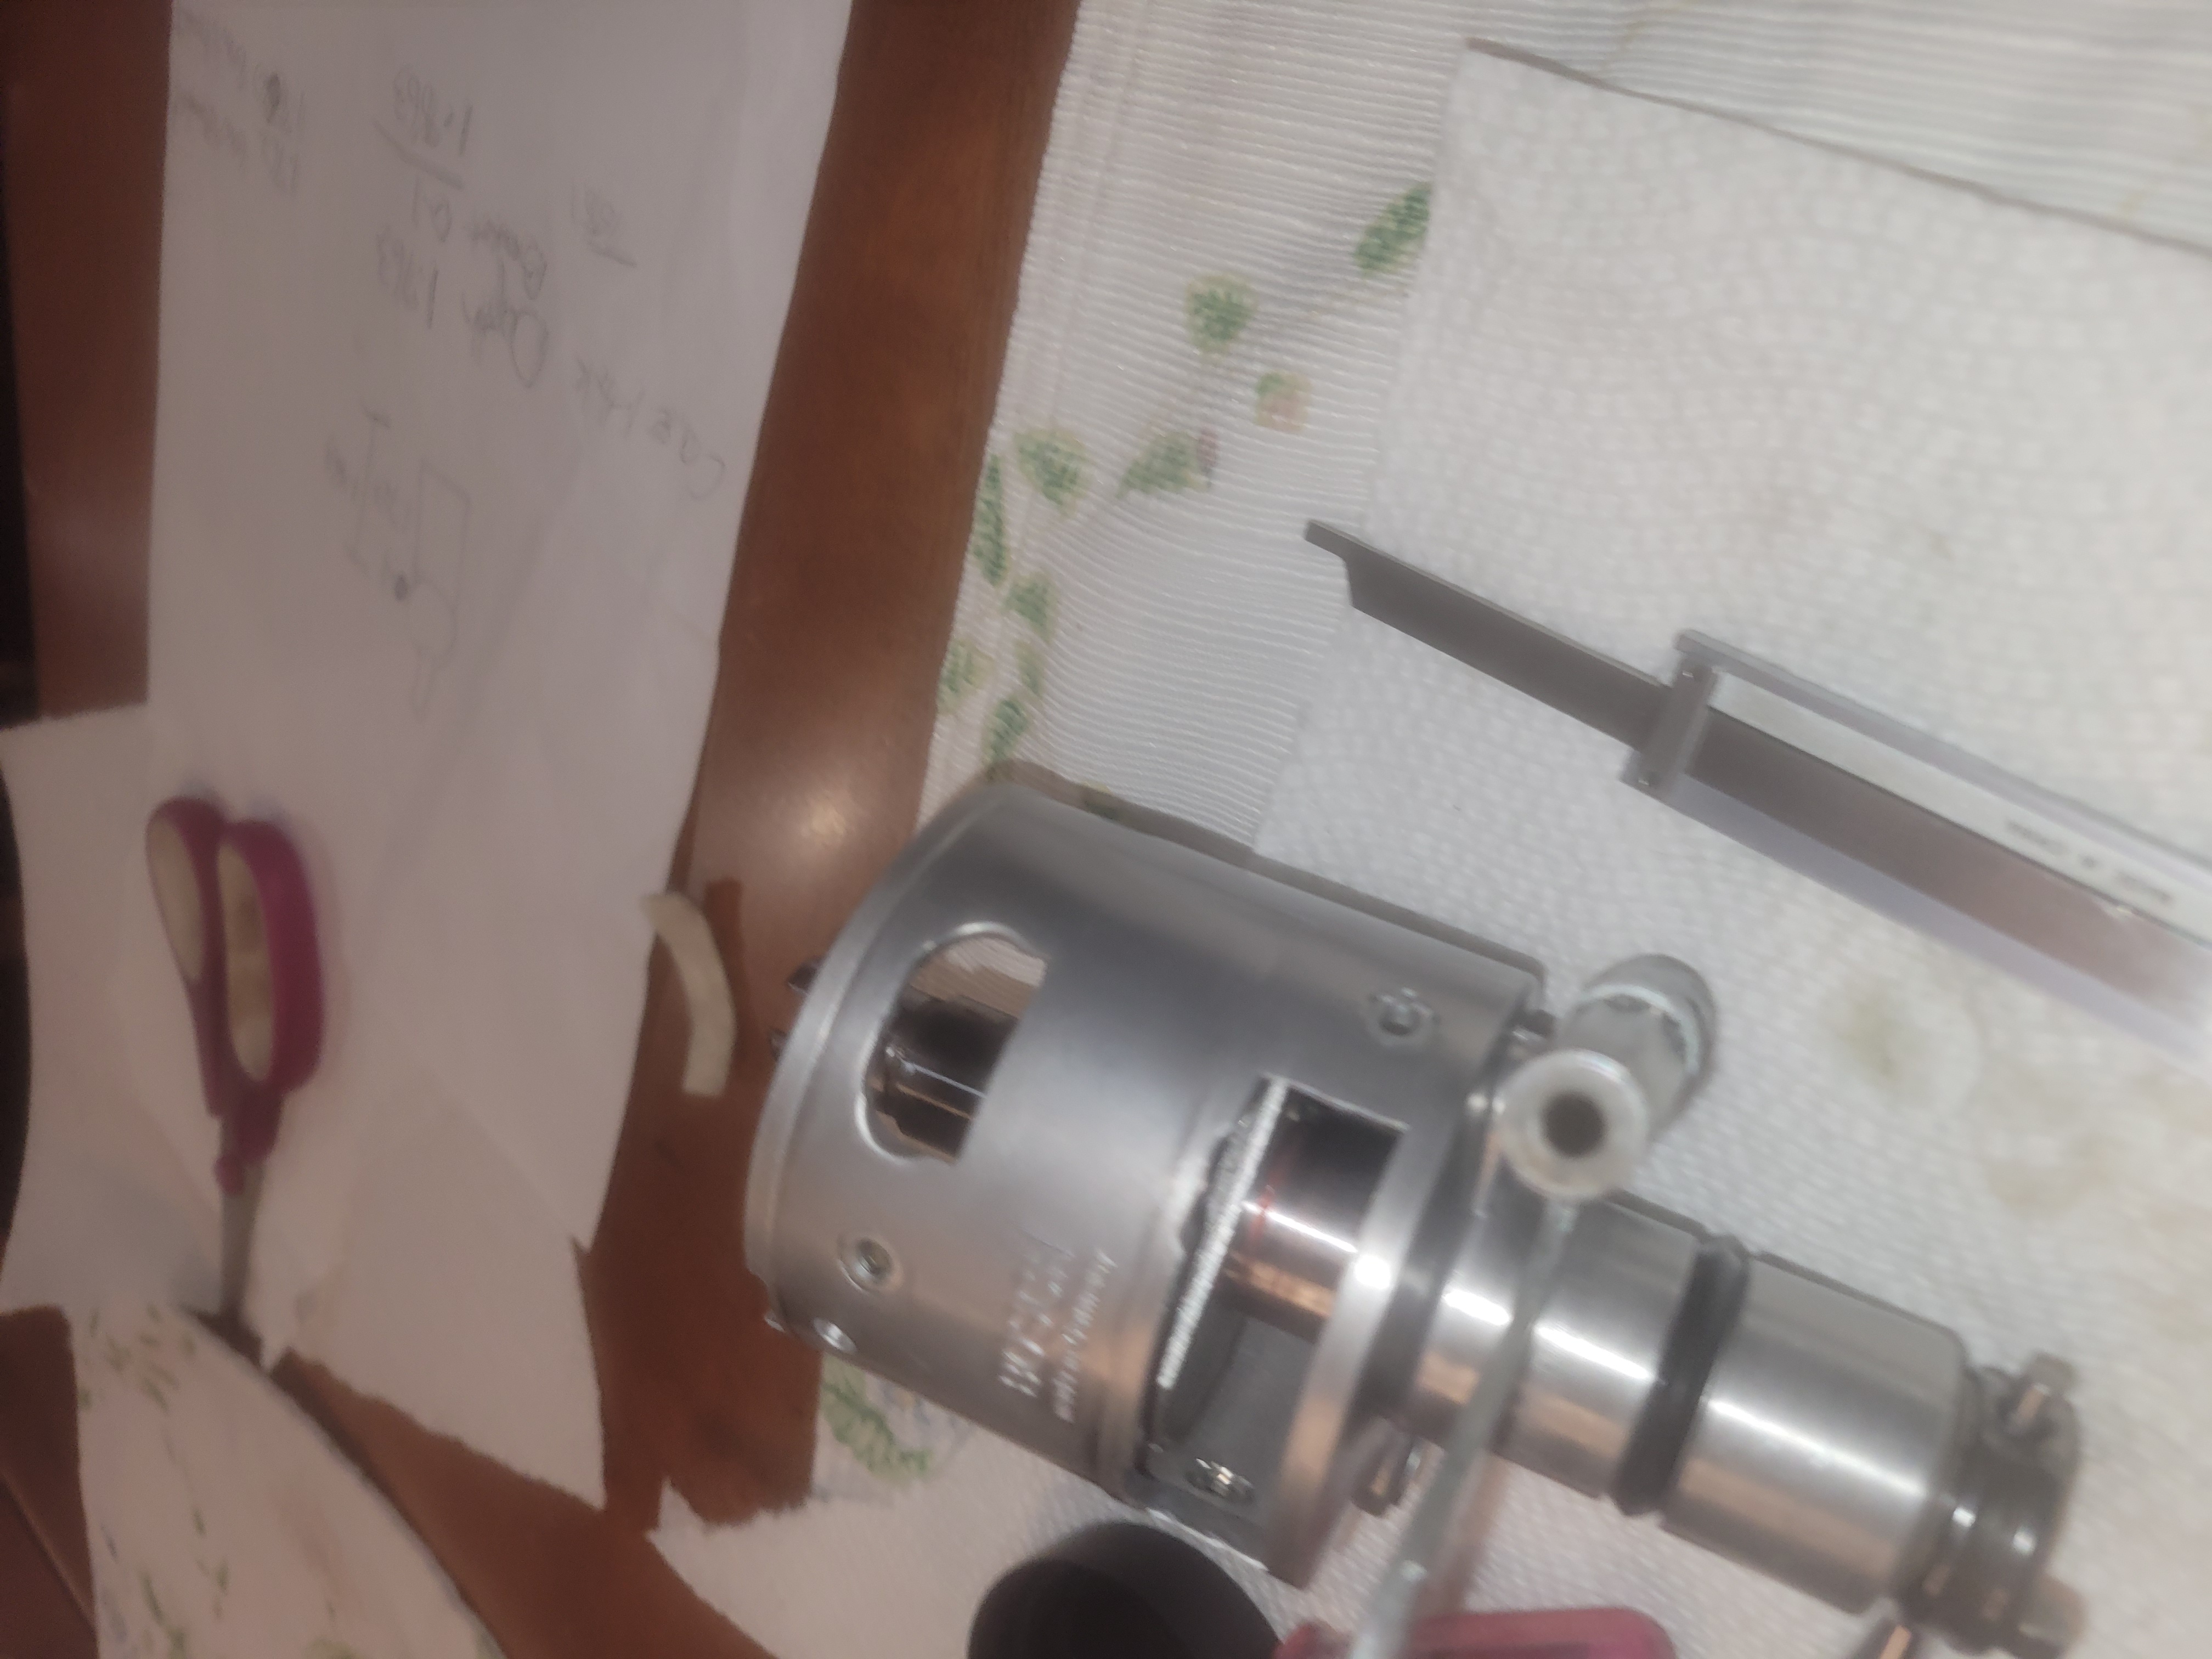
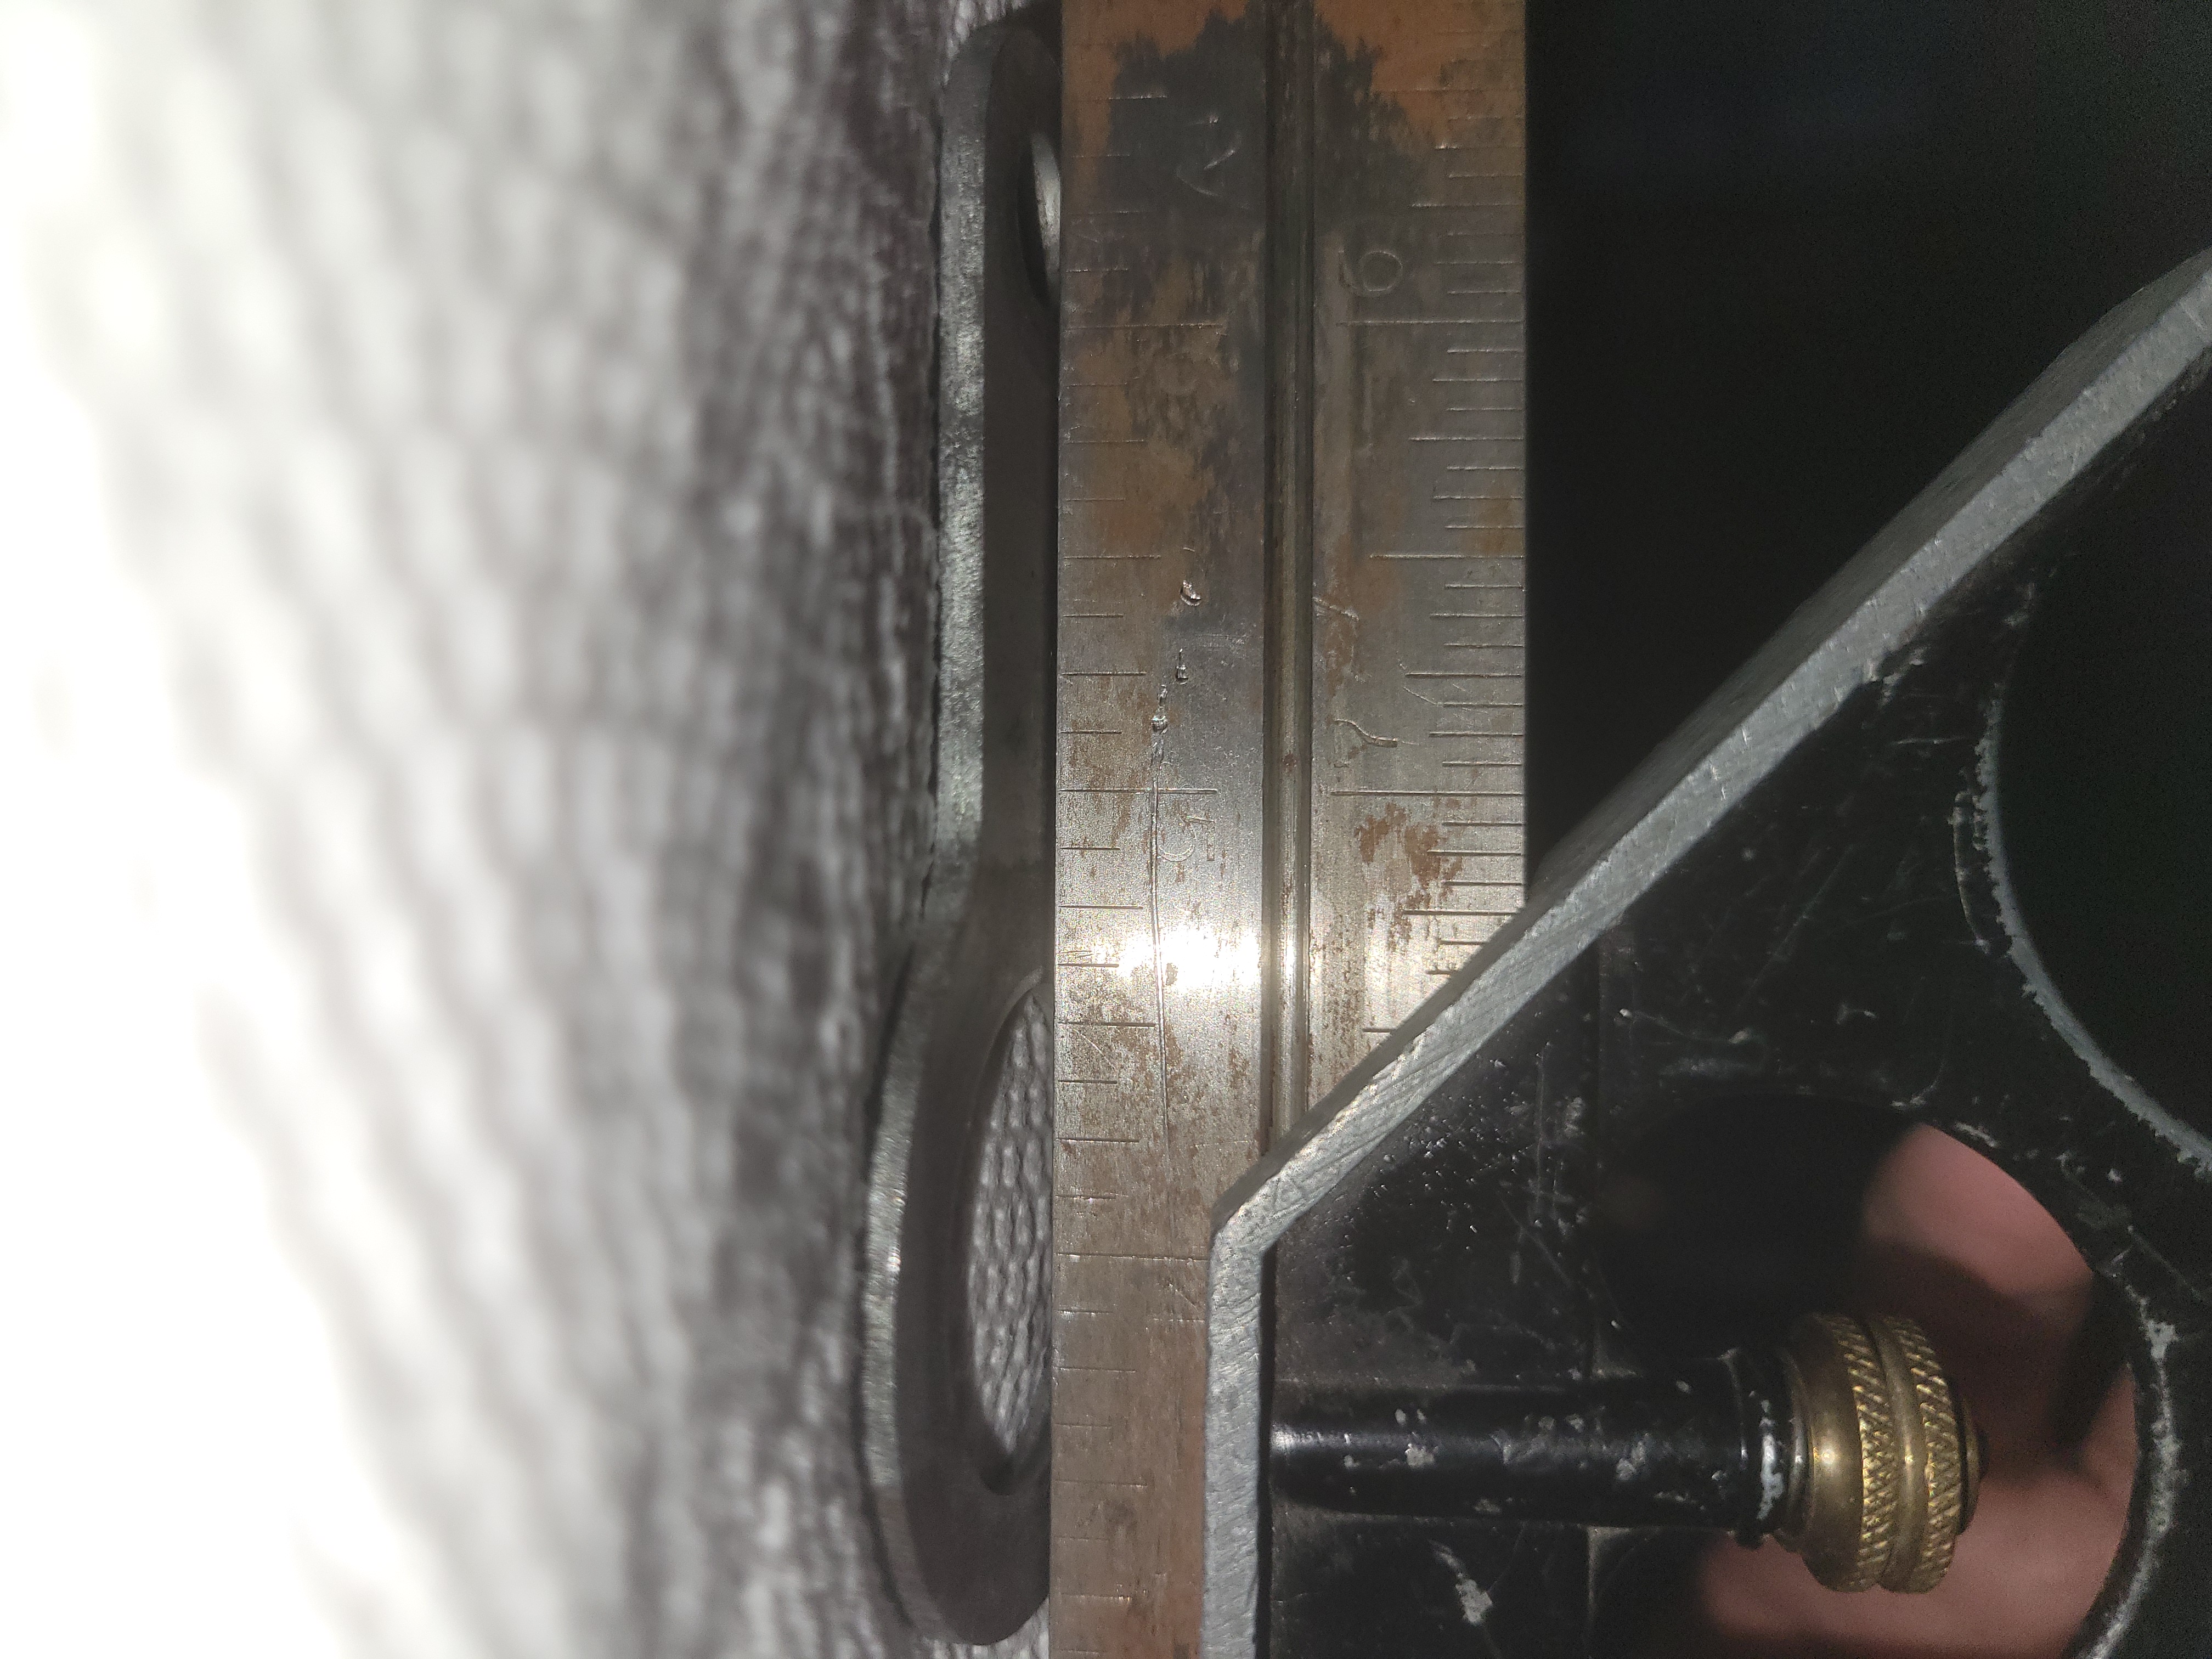
Why am I measuring this? Because the hole that the distributor fits into has the engine drive gear at the bottom. This measurement with the clamp in place is noted and then compared to the depth of the distributor hole in the engine case. You do not want it to bind, you want a few thousandths of space and you can change the shims on the drive gear to distributor space as needed. CAUTION, the distributor points cam cannot bind and you might need to space the inside (under the pints cam) to make this all work.
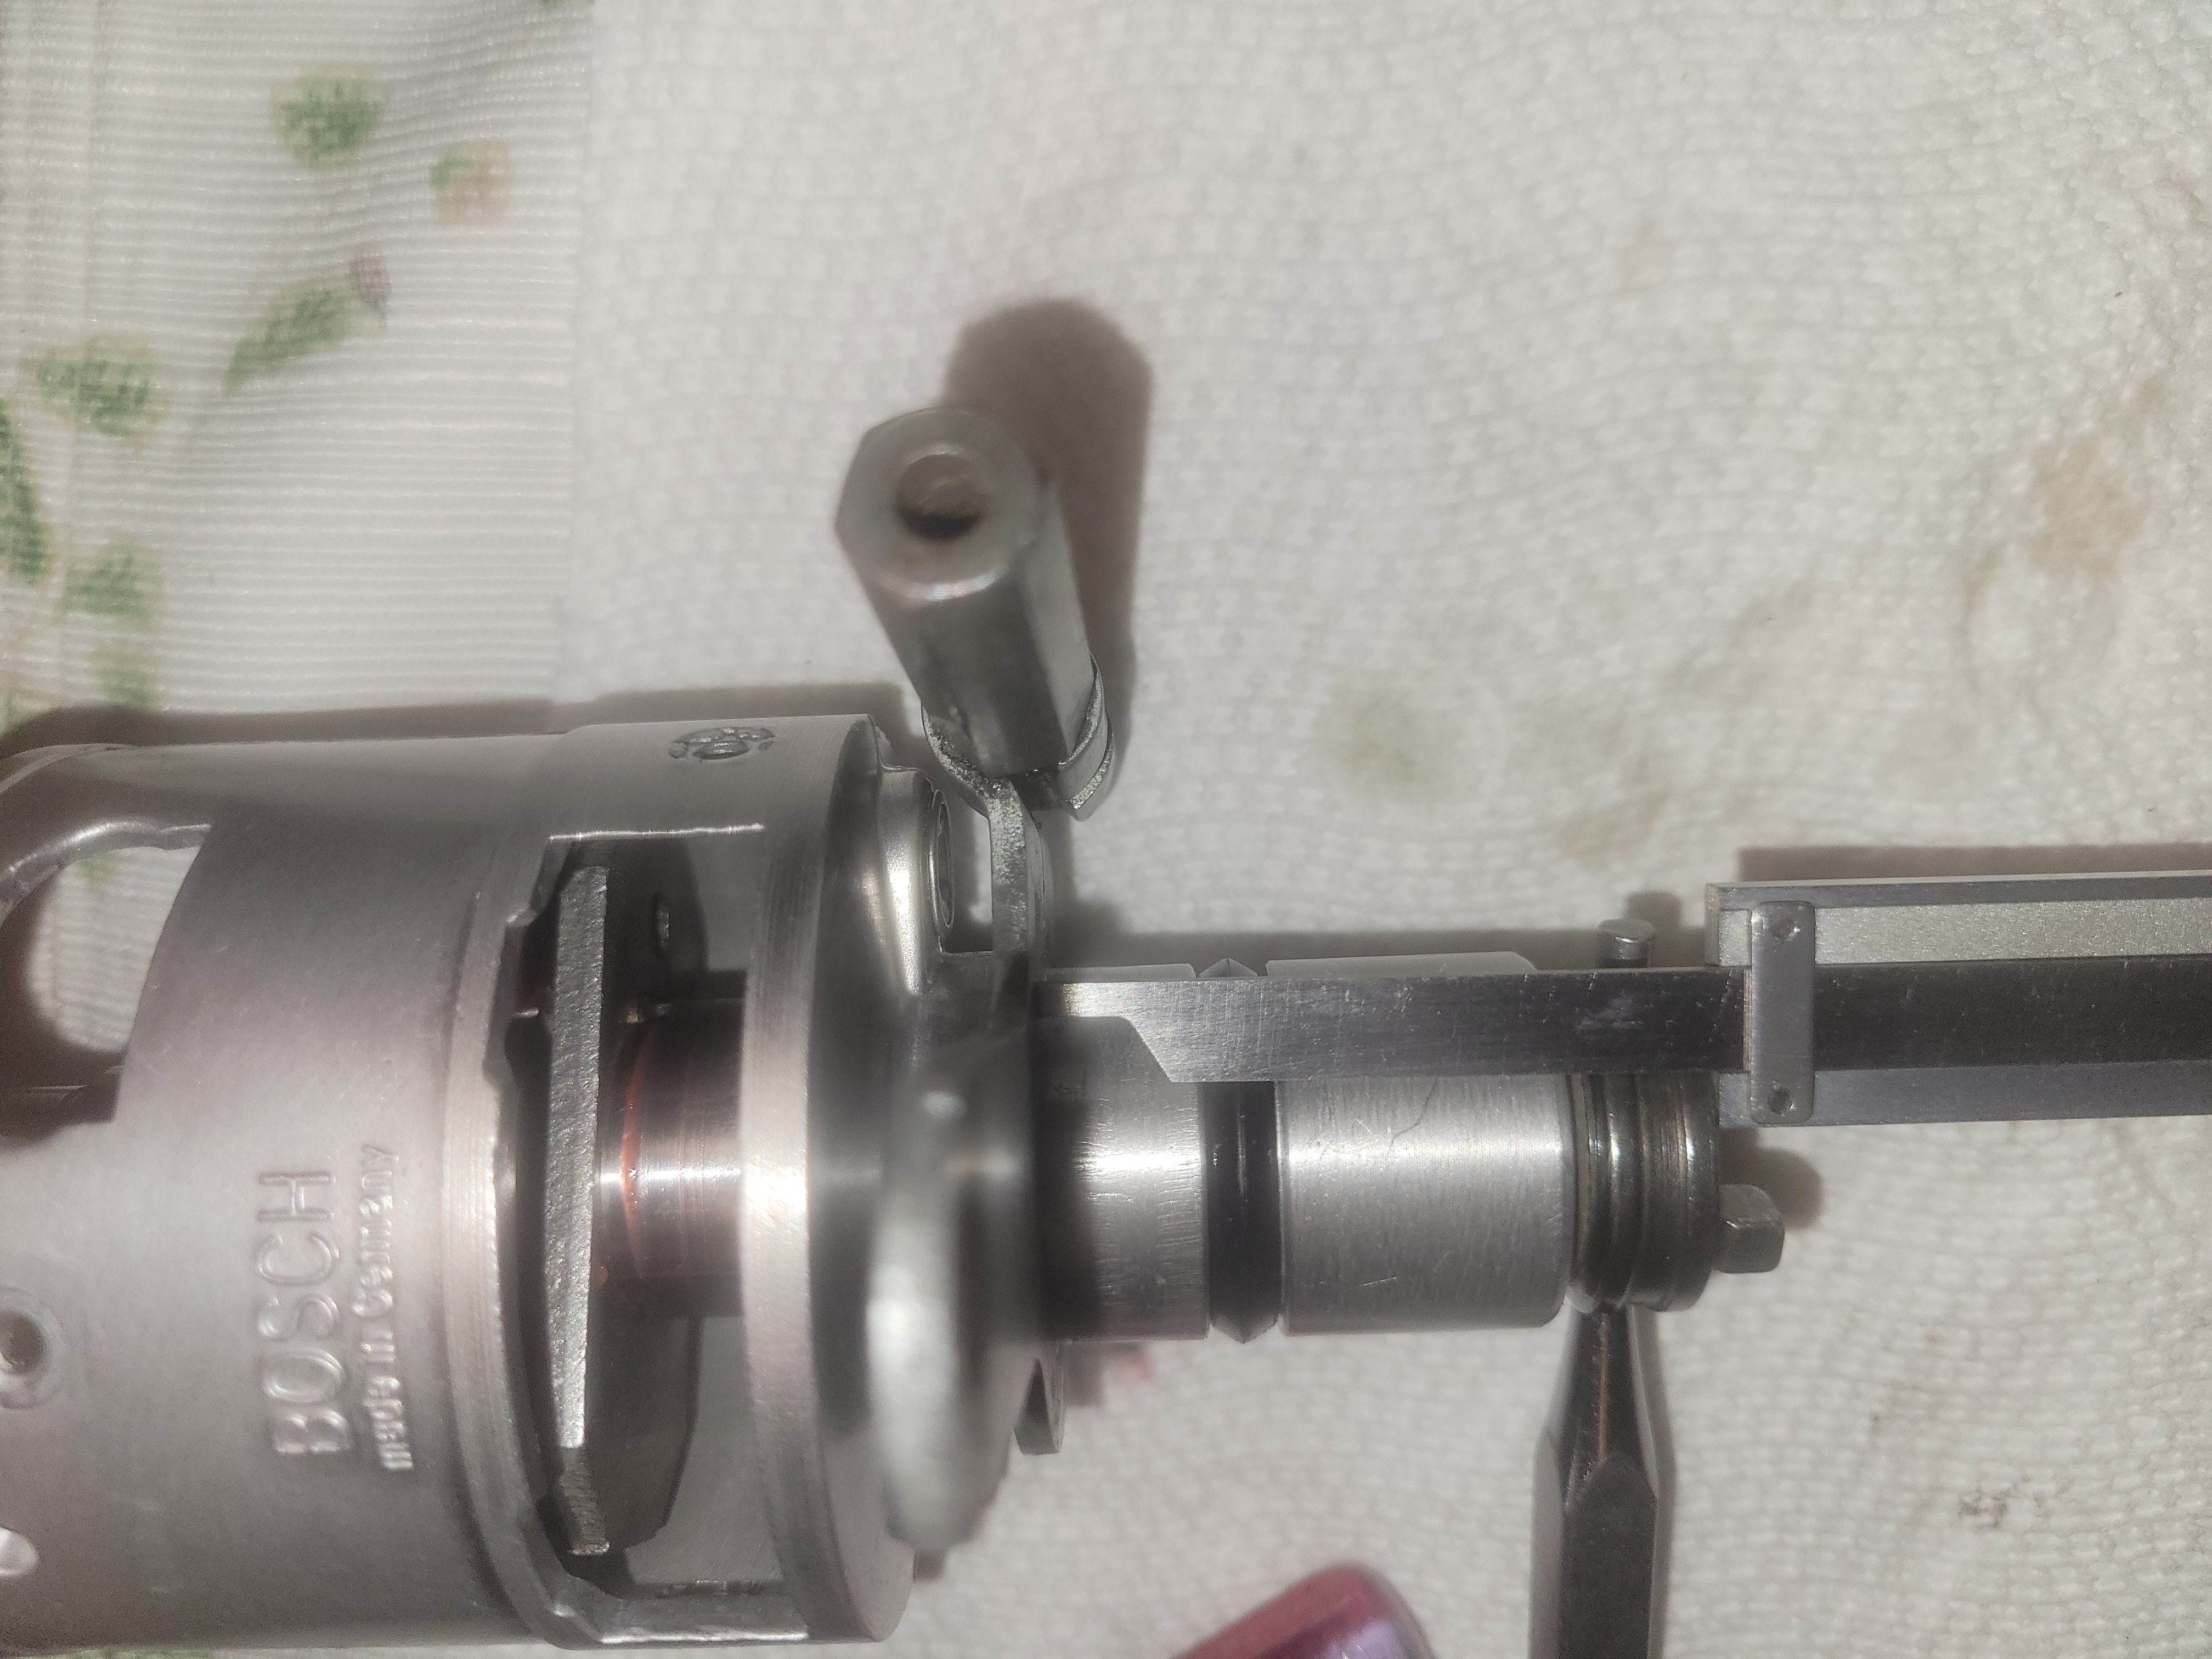
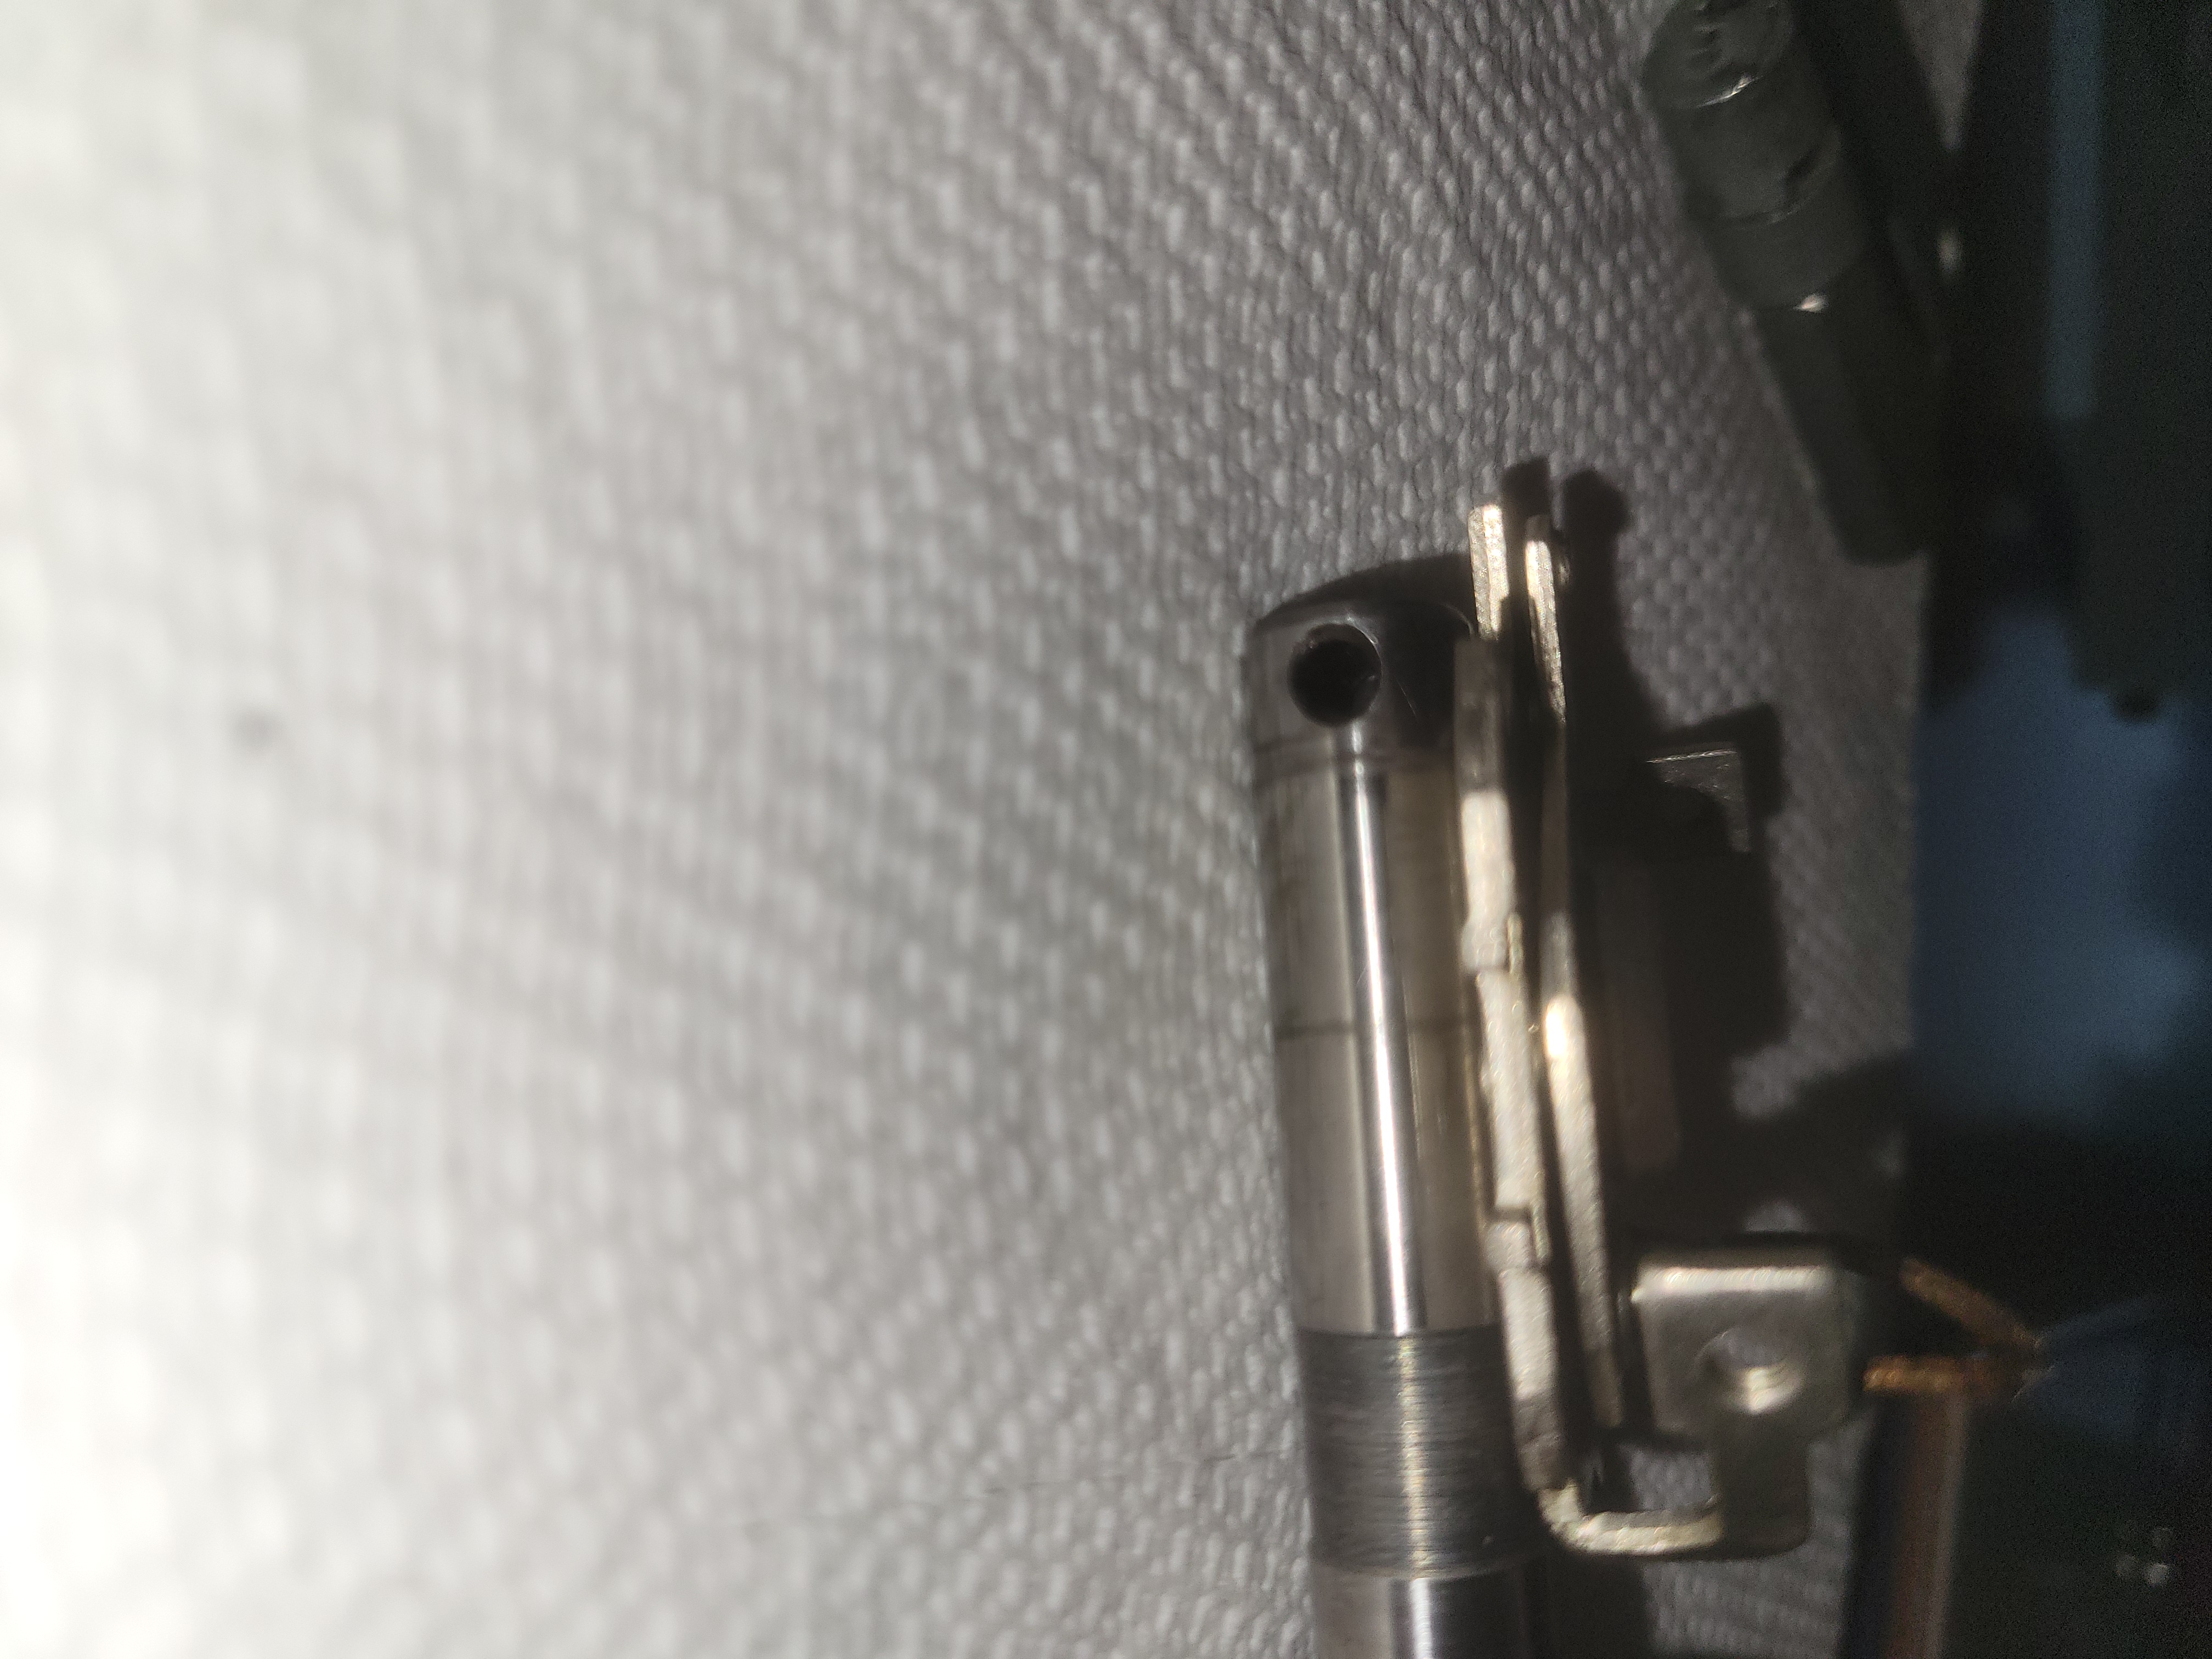
Notice the circlip inside. It is quite hard to get that back in. I used a few thin screwdrivers and I even used the body of a cheap metal pen to walk it down.
The pin needs to be tapped back in and then the coiled spring goes over that.
The PerTronix plate is mounted instead of the points.
Needs the felt washer in the center and then a few drops of motor oil. Completely dry is about 3 drops o oil.