Joe's 914 Project
Patch for the battery tray area. Unfortunately, the metal is thin and there was a lot of burn through that will be seen in the pics below. I have the full inner panel and it could be replaced (re-use the hinge mount that I welded-in?).
Plan is to use panel mount nuts to secure battery tray o that is can be removed for cleaning out the leaves and such. Just some careful planning for that, but not hard to do. Will fab parts and have them painted as it comes along.
The Battery tray is in another page.
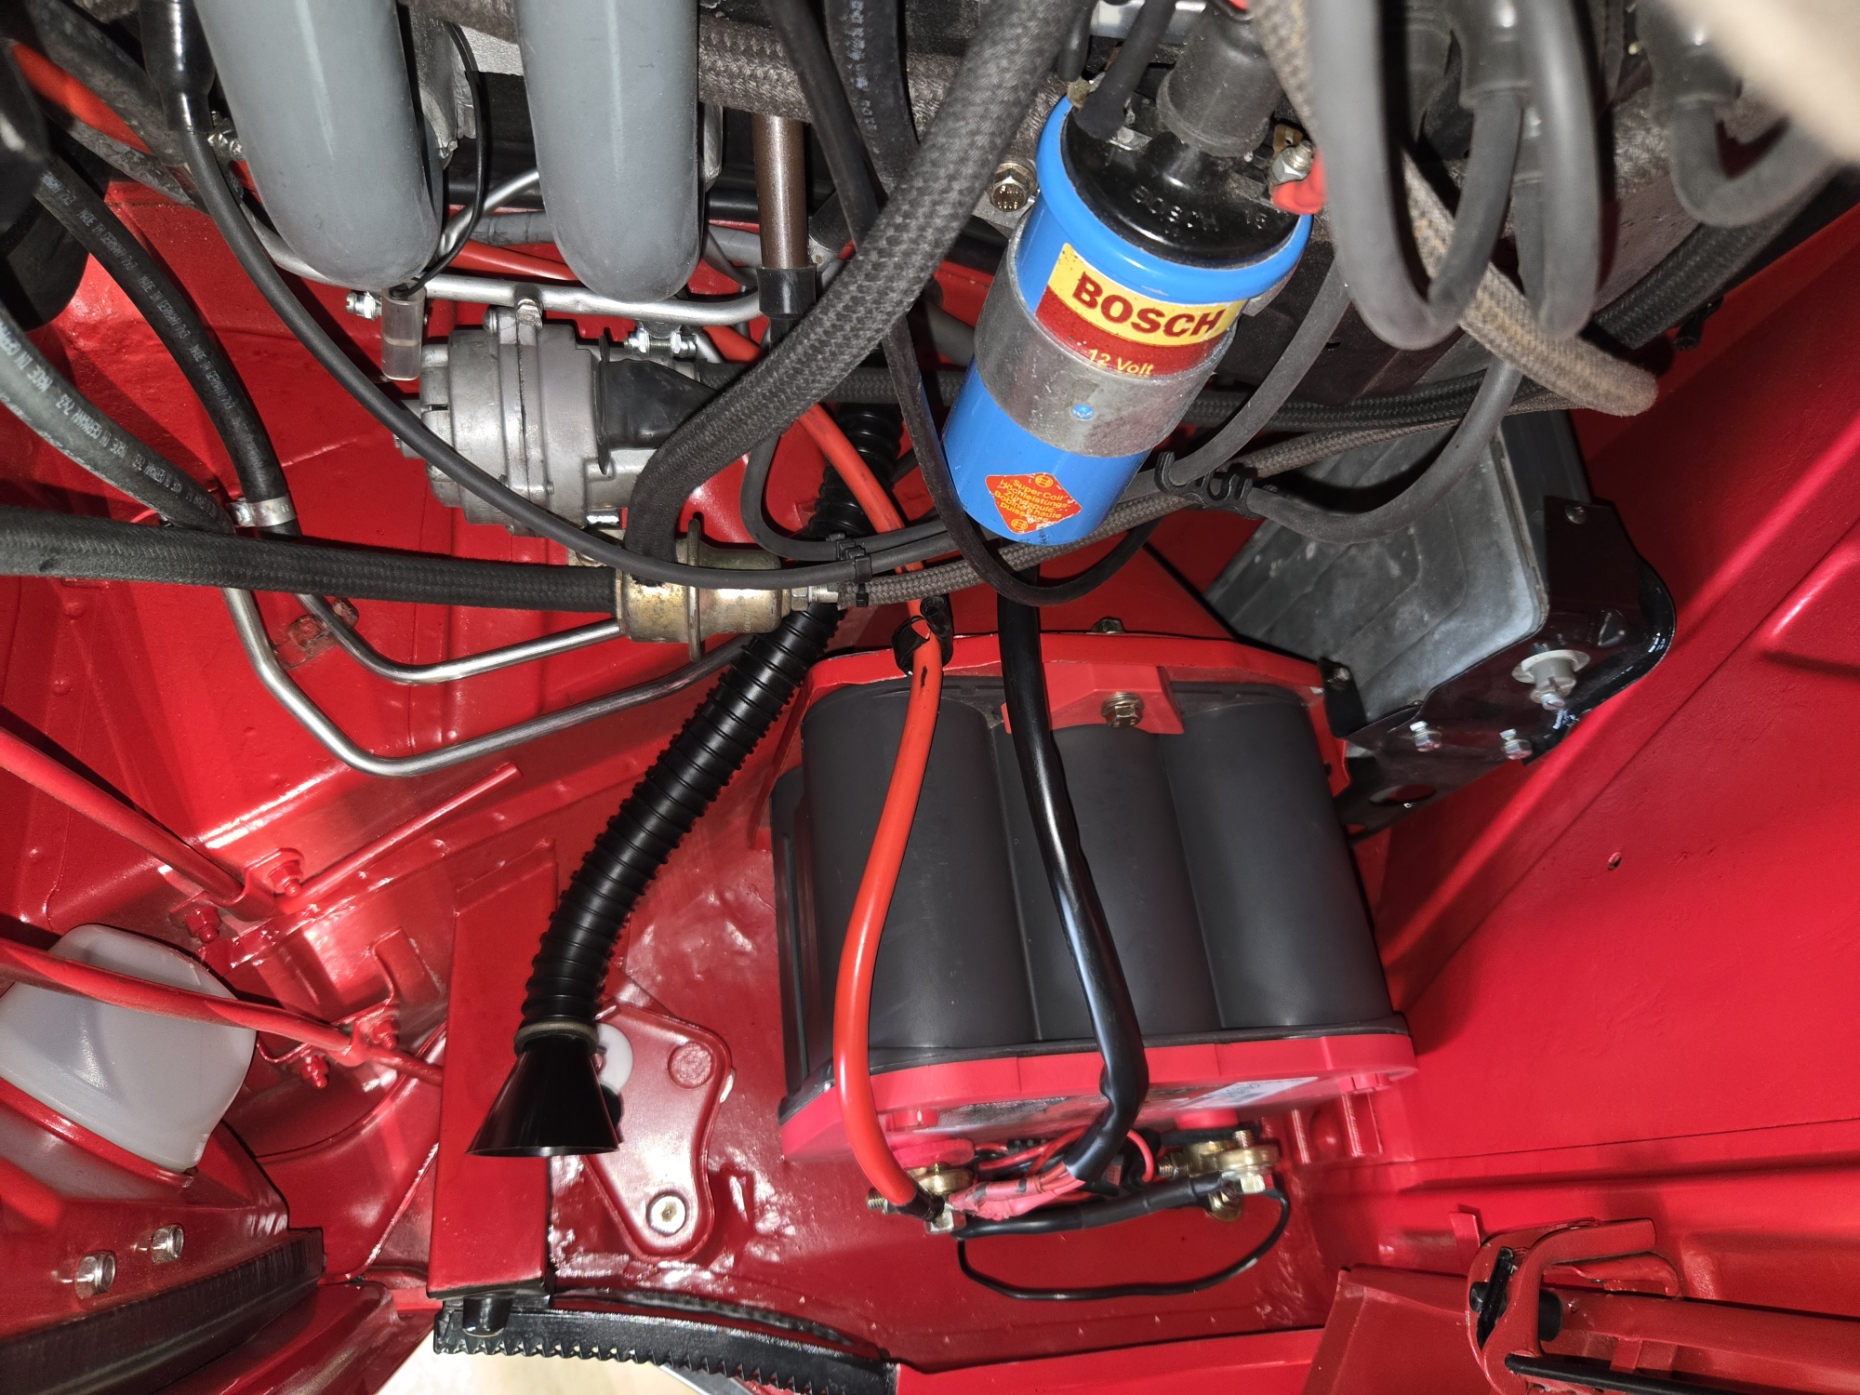
With the battery tray, engine shelf, assembled. It is rewarding to get to this phase:
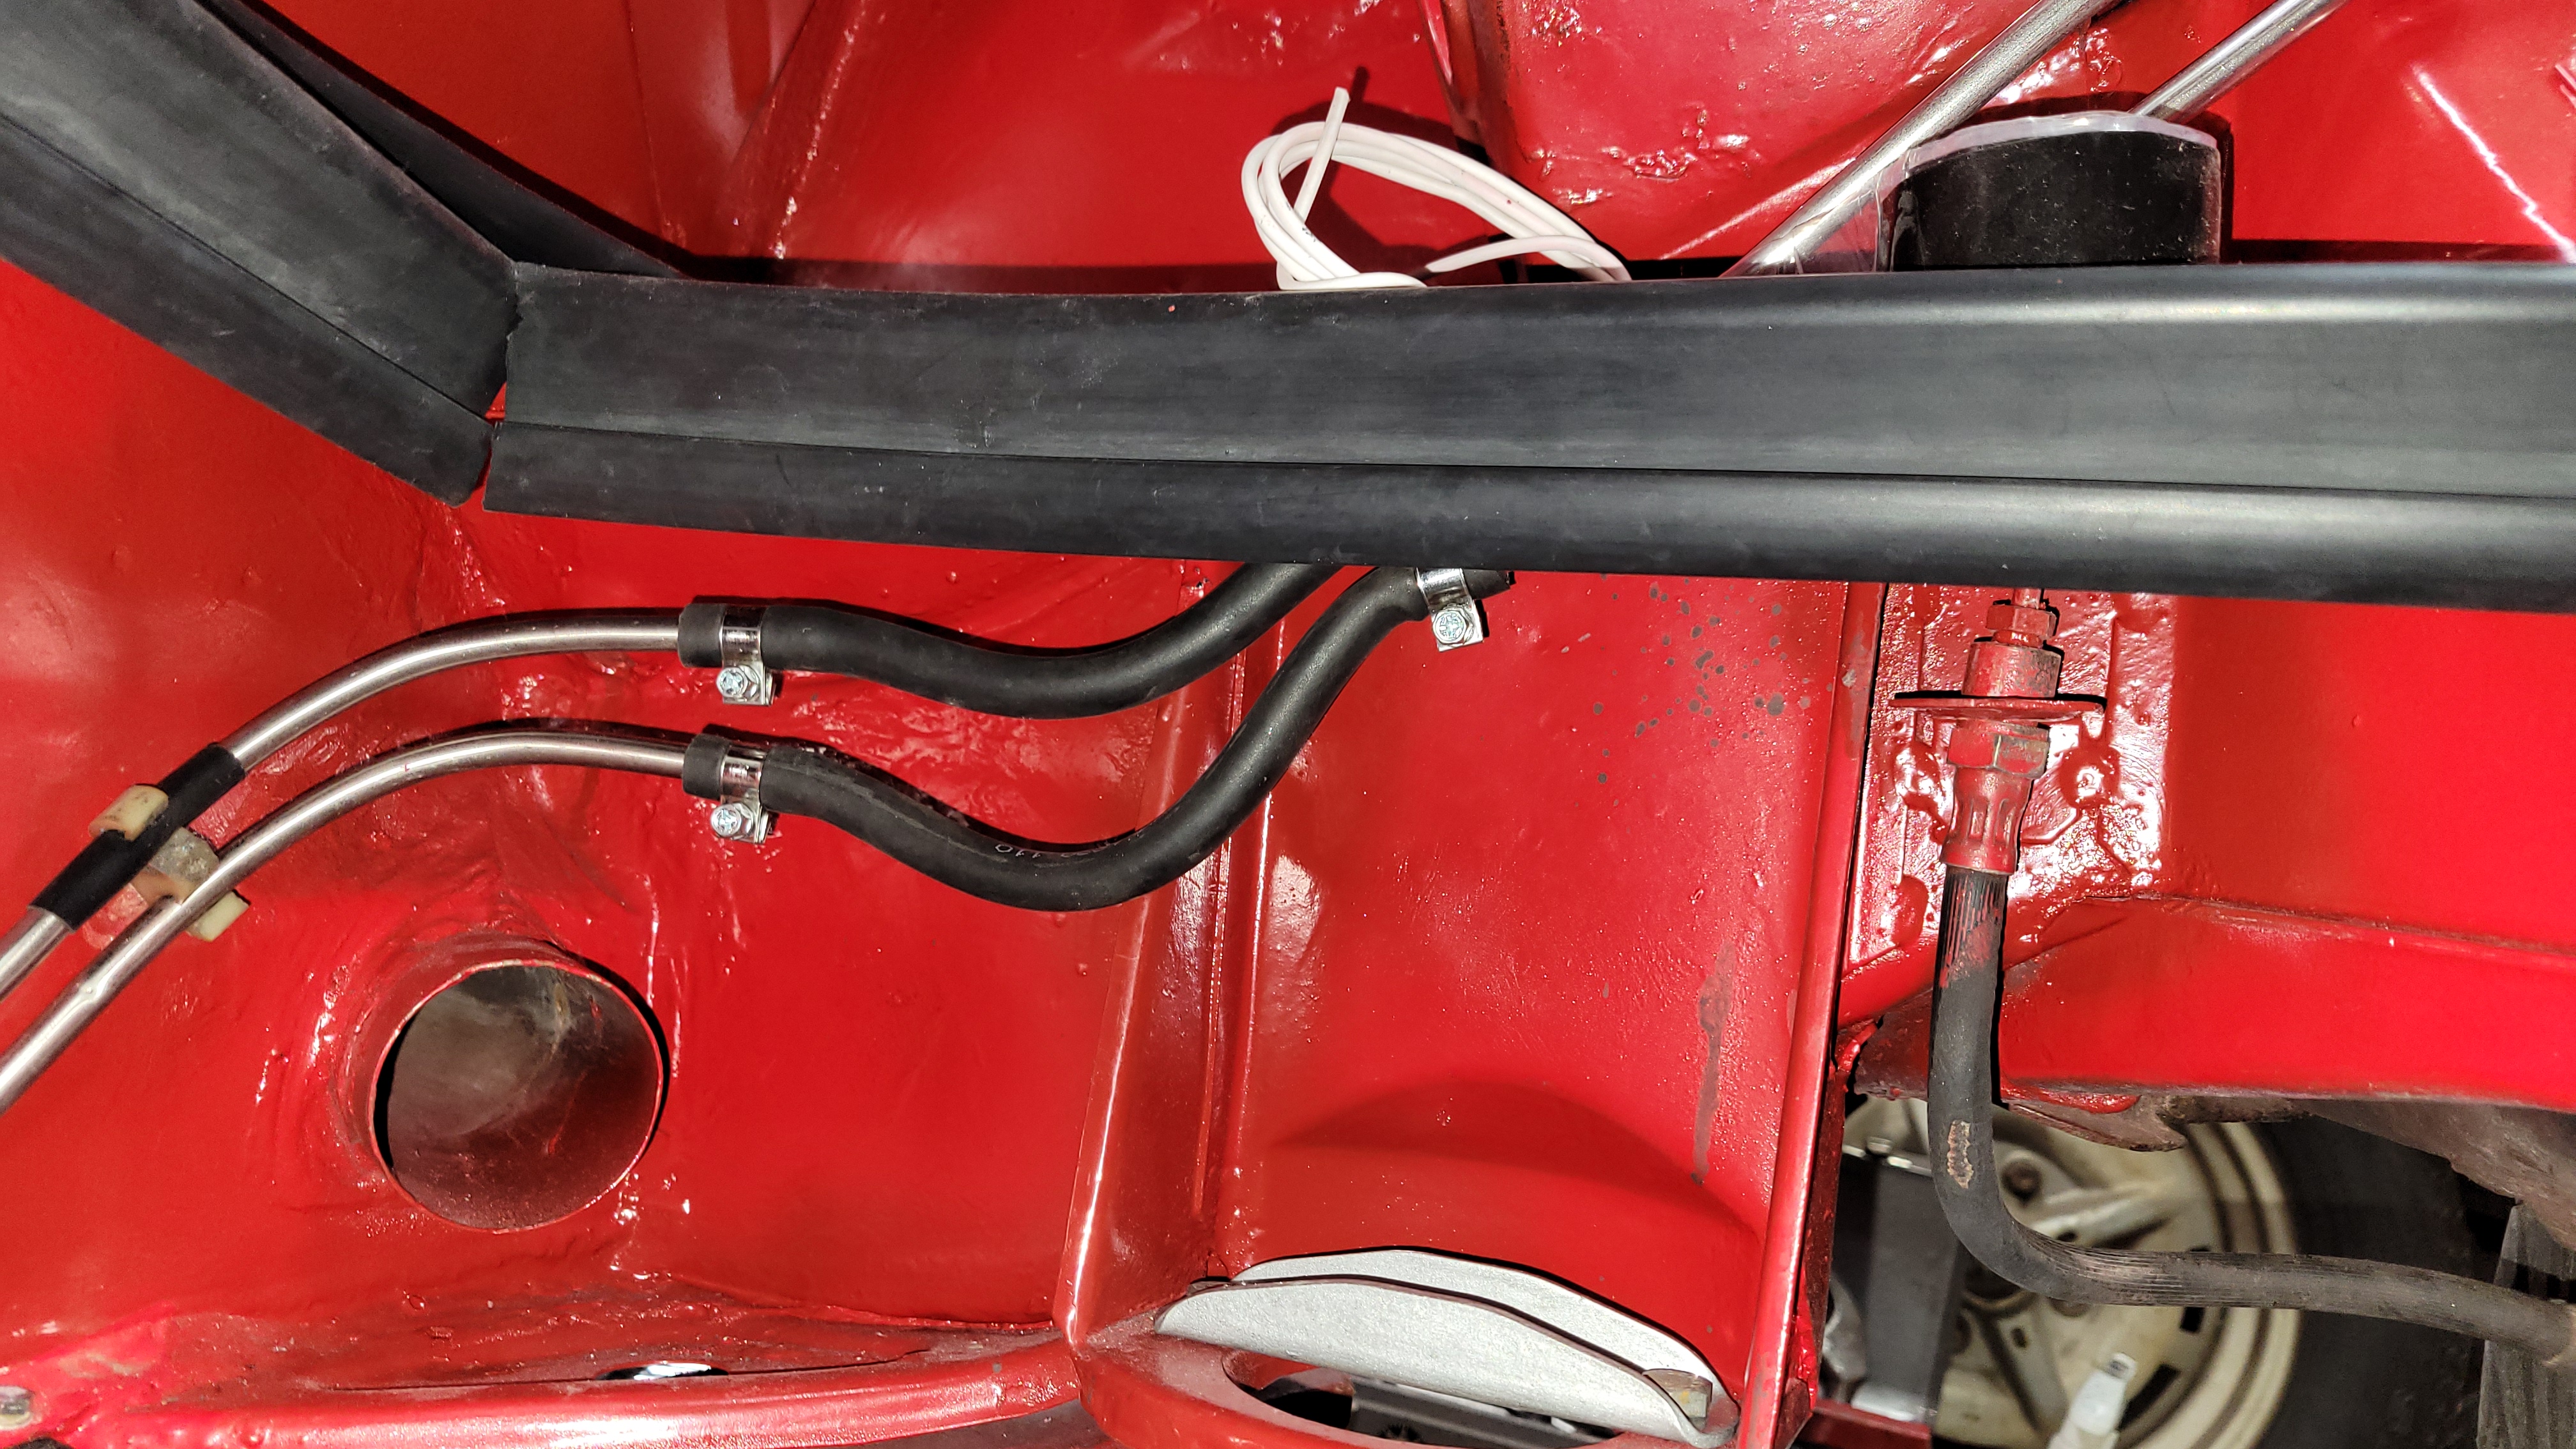
Te lower part of the Hell-Hole after replacing a ton of metal. The engine shelf holding the seal was replaced (Thank you Restoration Design for making both left and right sides of this part). The brake lines were replaced after this photo was taken.
Engine Shelf was "HOLY"
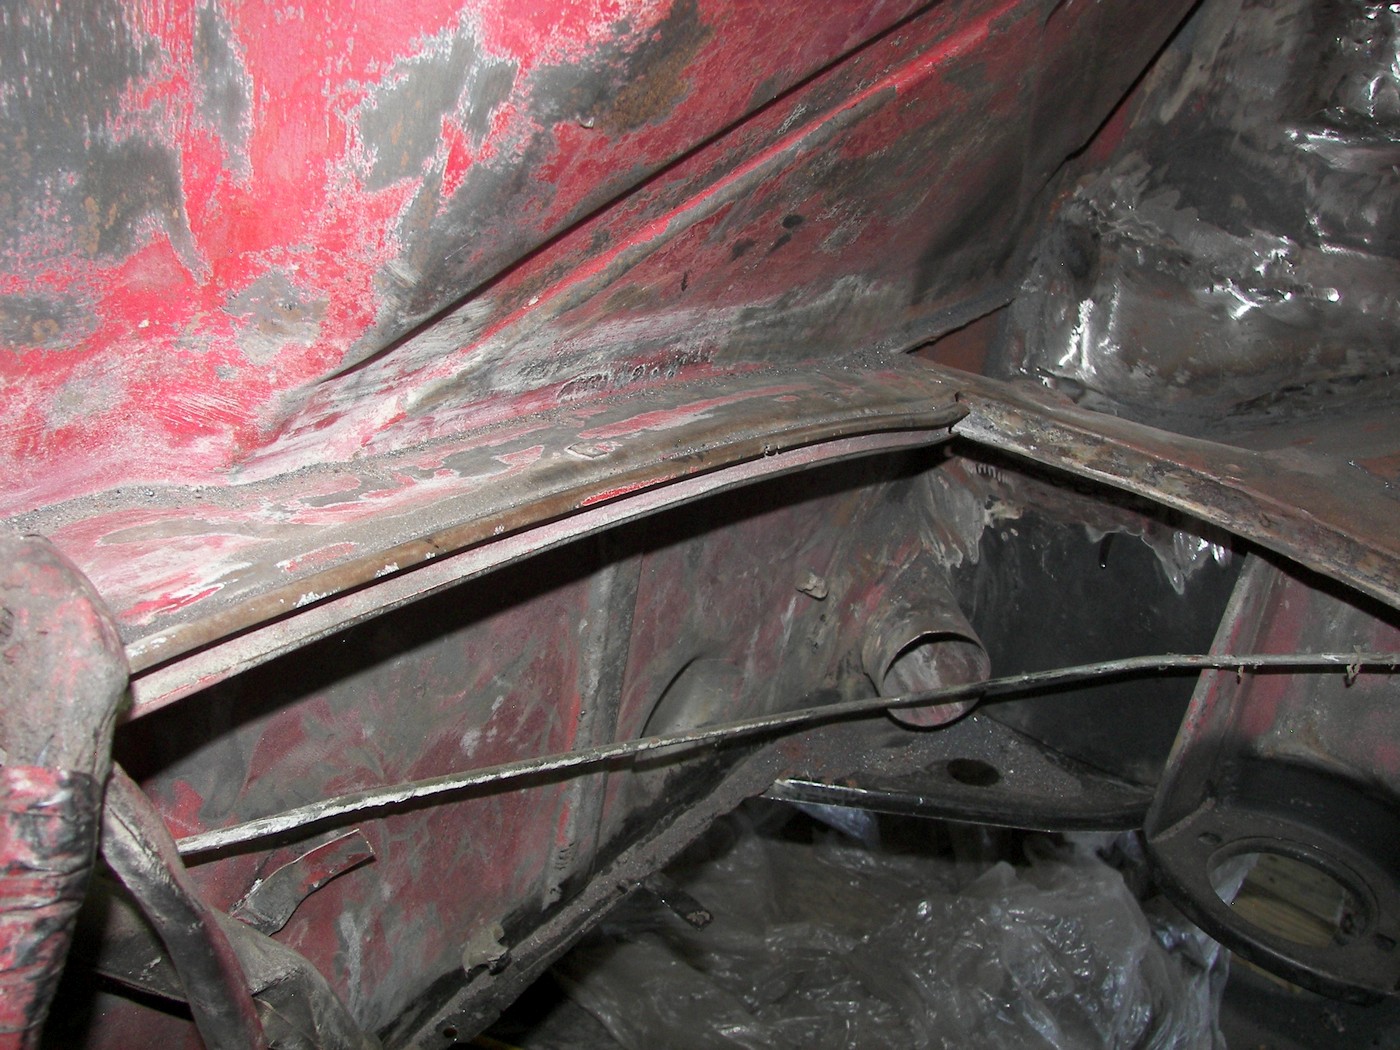
You can see the patch that was done with the passenger floorboard.
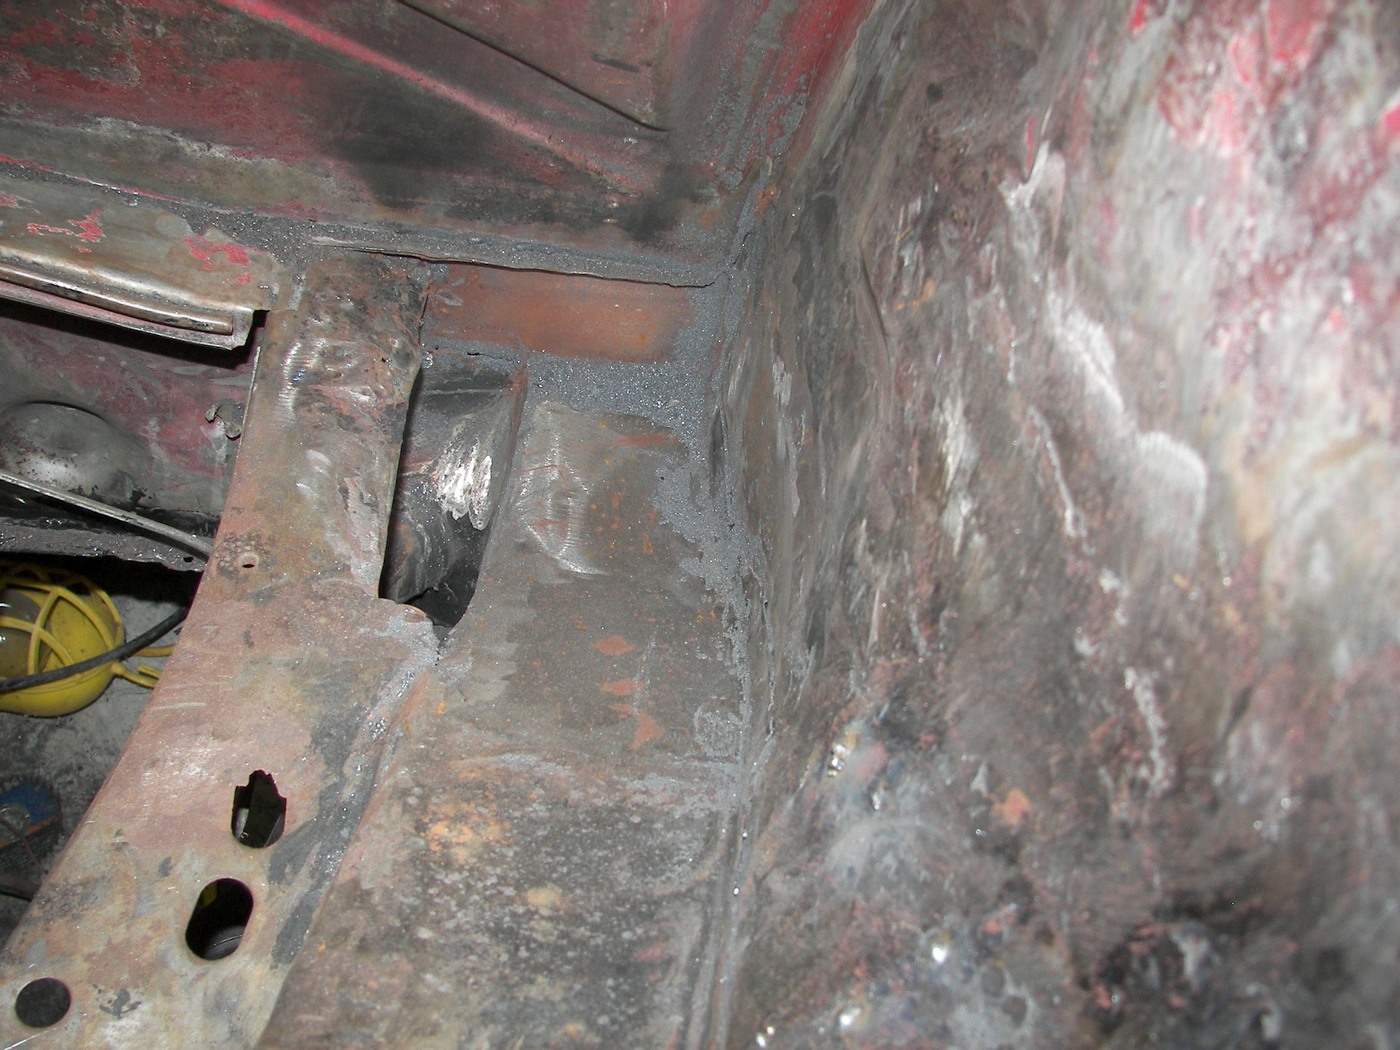
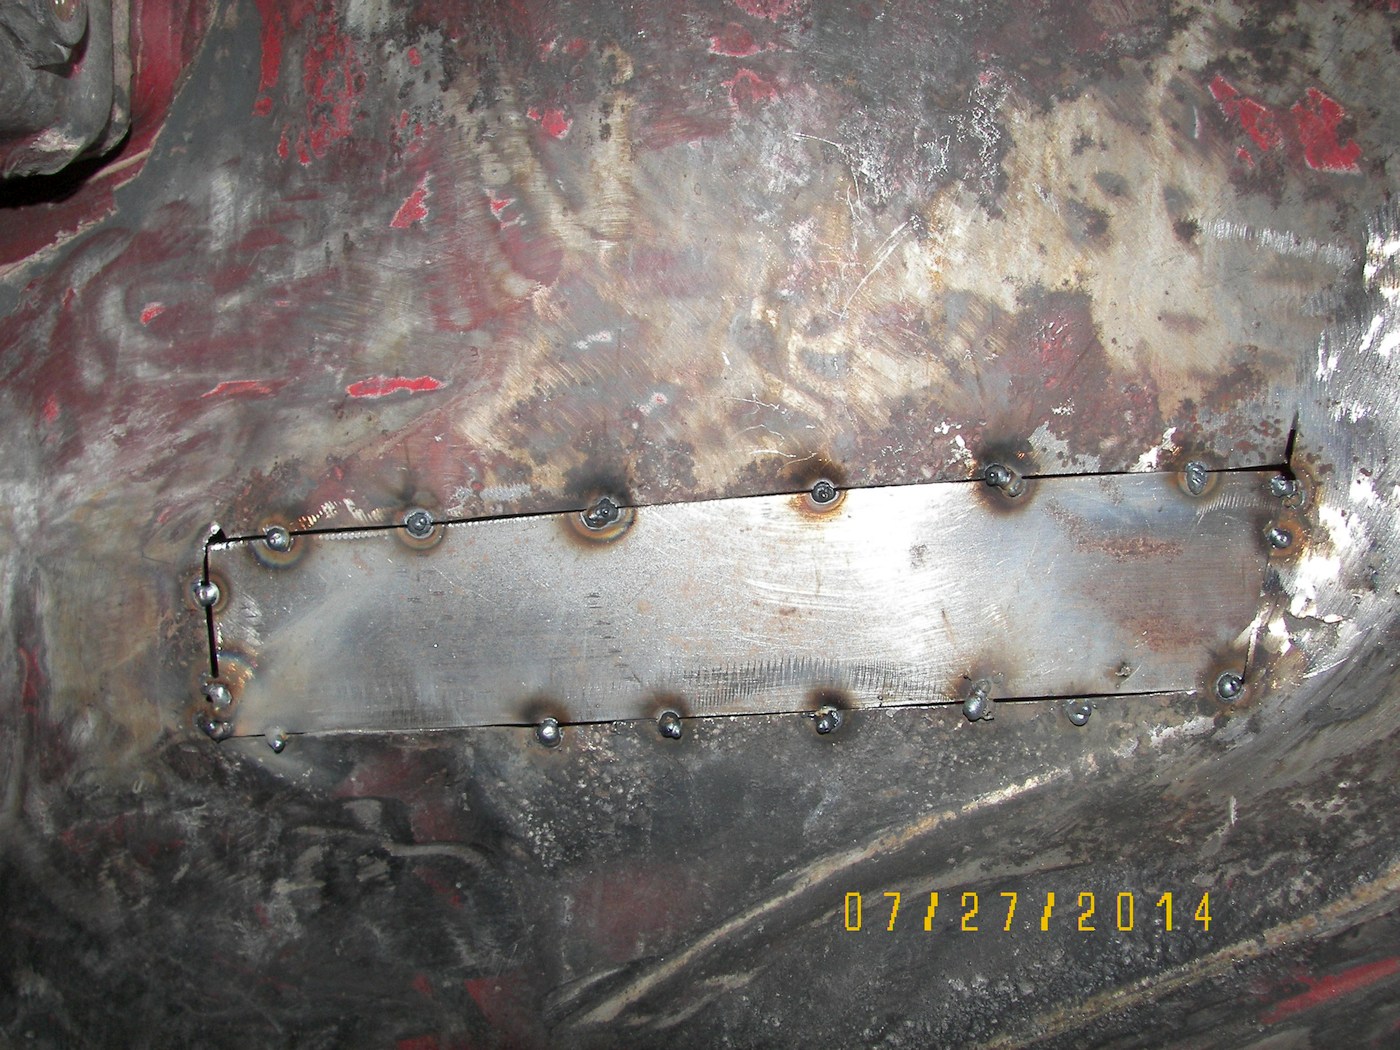
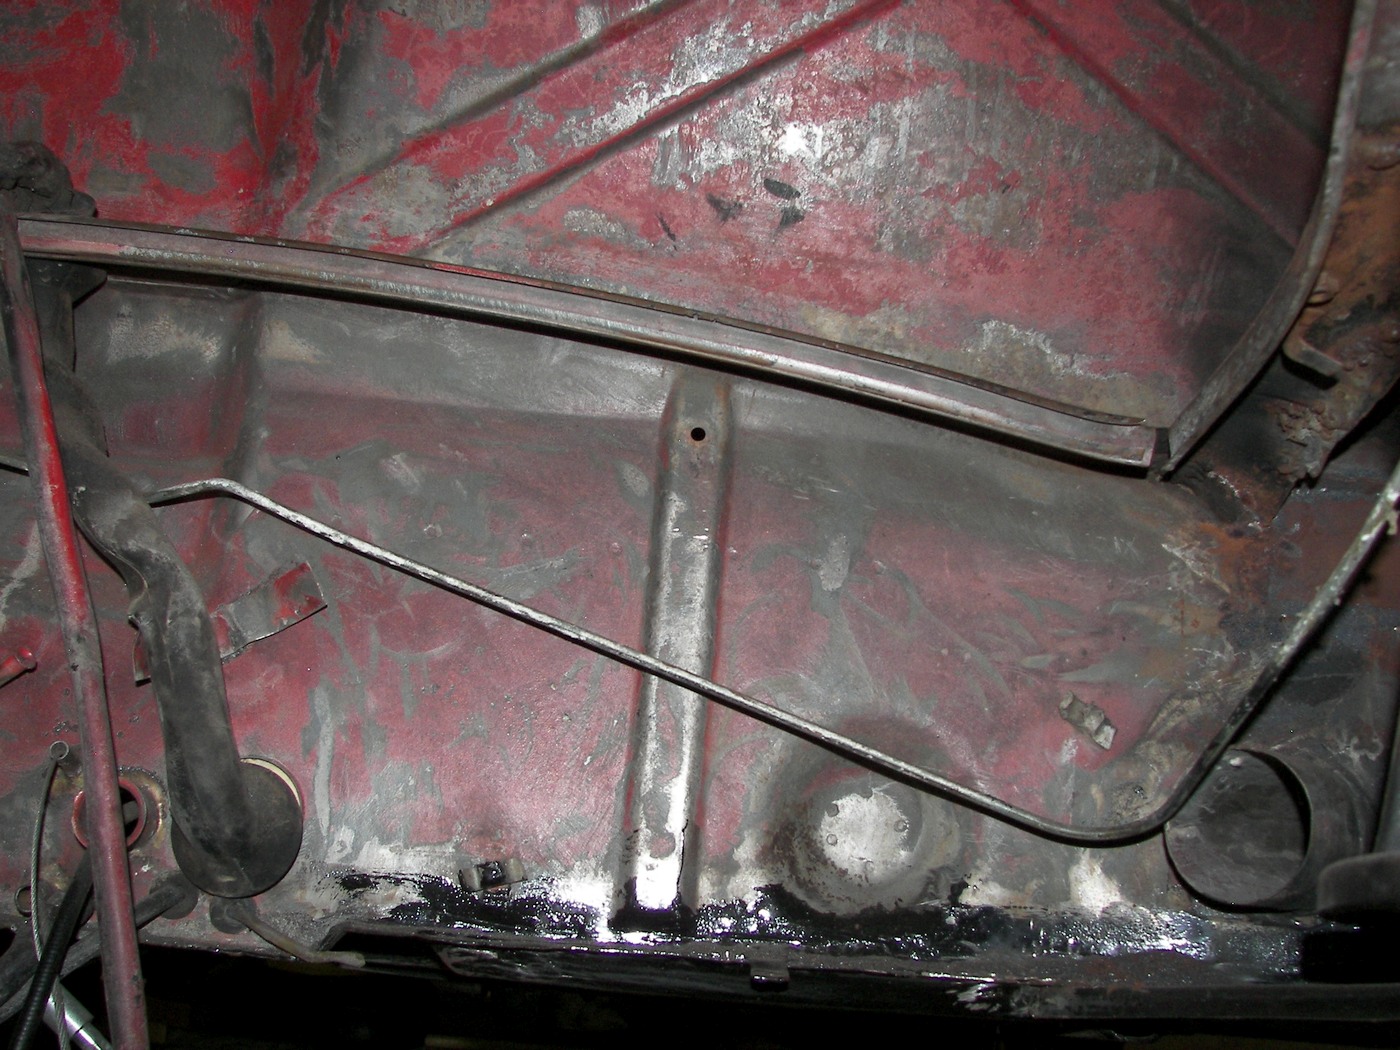
Metal cleaned up and new hinge mount for the trunk lid. MUCH repair to the shelf to get it to look like this. Lots of burn through on the side panel below the hinge mount. Tons of zaps to try to make it right. Looks like pocks, seems strong. Could be replaced? Notice that the engine shelf has a hole in it. That needs a curved patch or just a new engine shelf form Restoration Design. I have the engine seal channel to fab-in if that is the way to go. Sometimes new metal is just easier.
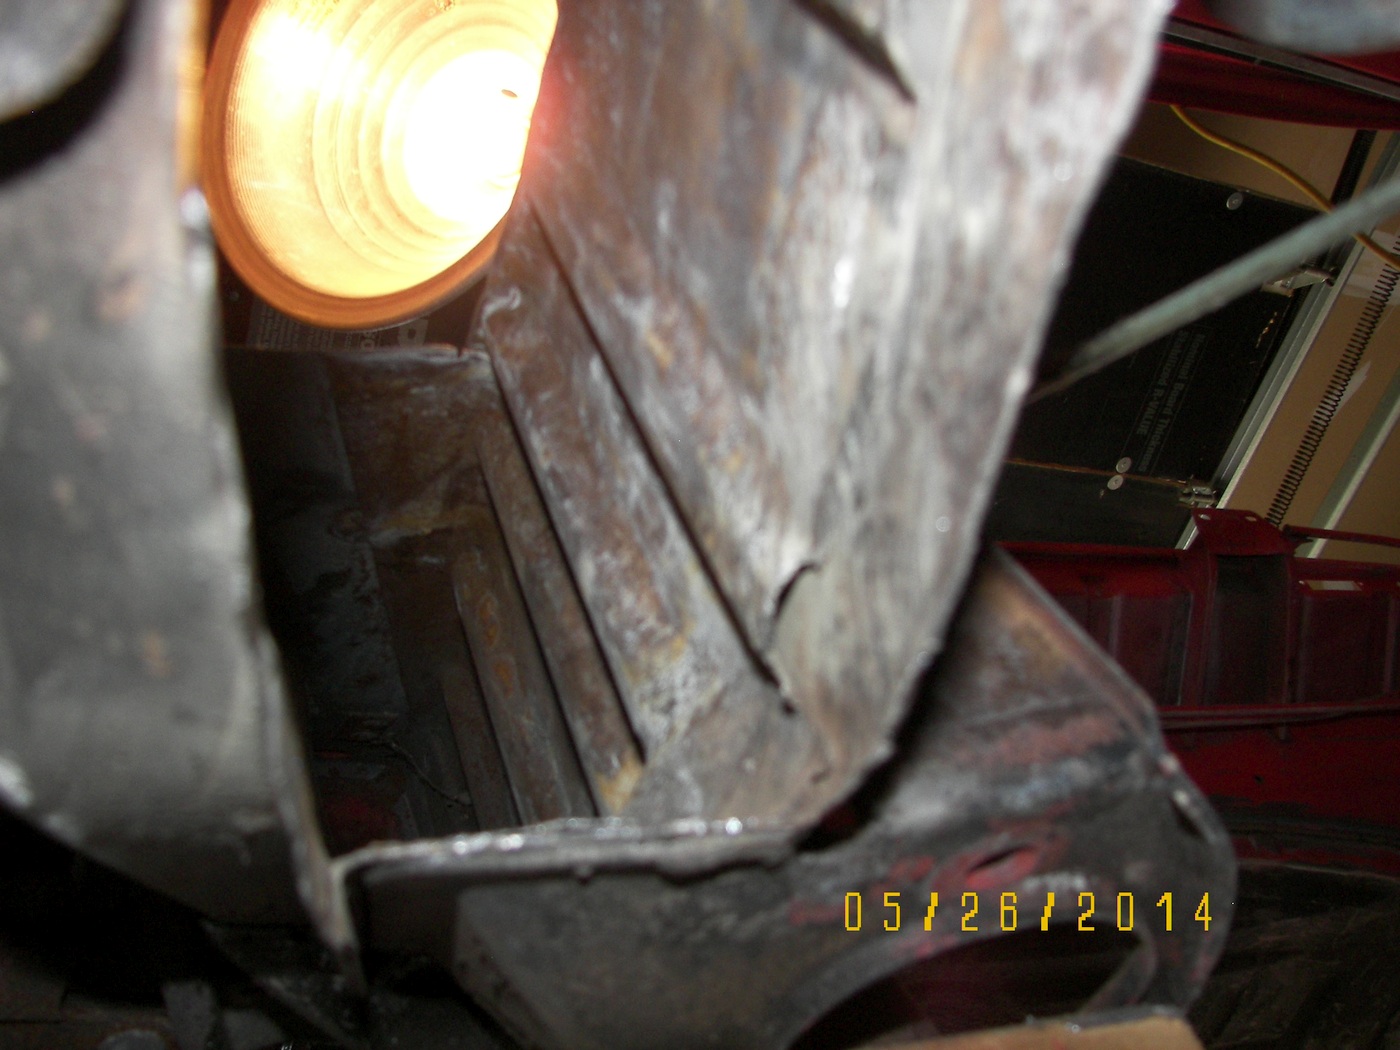
Underside of long needed repair too. Cut out the rot and fabricate replacement parts. Decided to reinforce around the warm-air heater tube to give me more to weld onto (in pictures below). The image following is looking up in the passenger side. Note the warm-air / heat tube on the left:
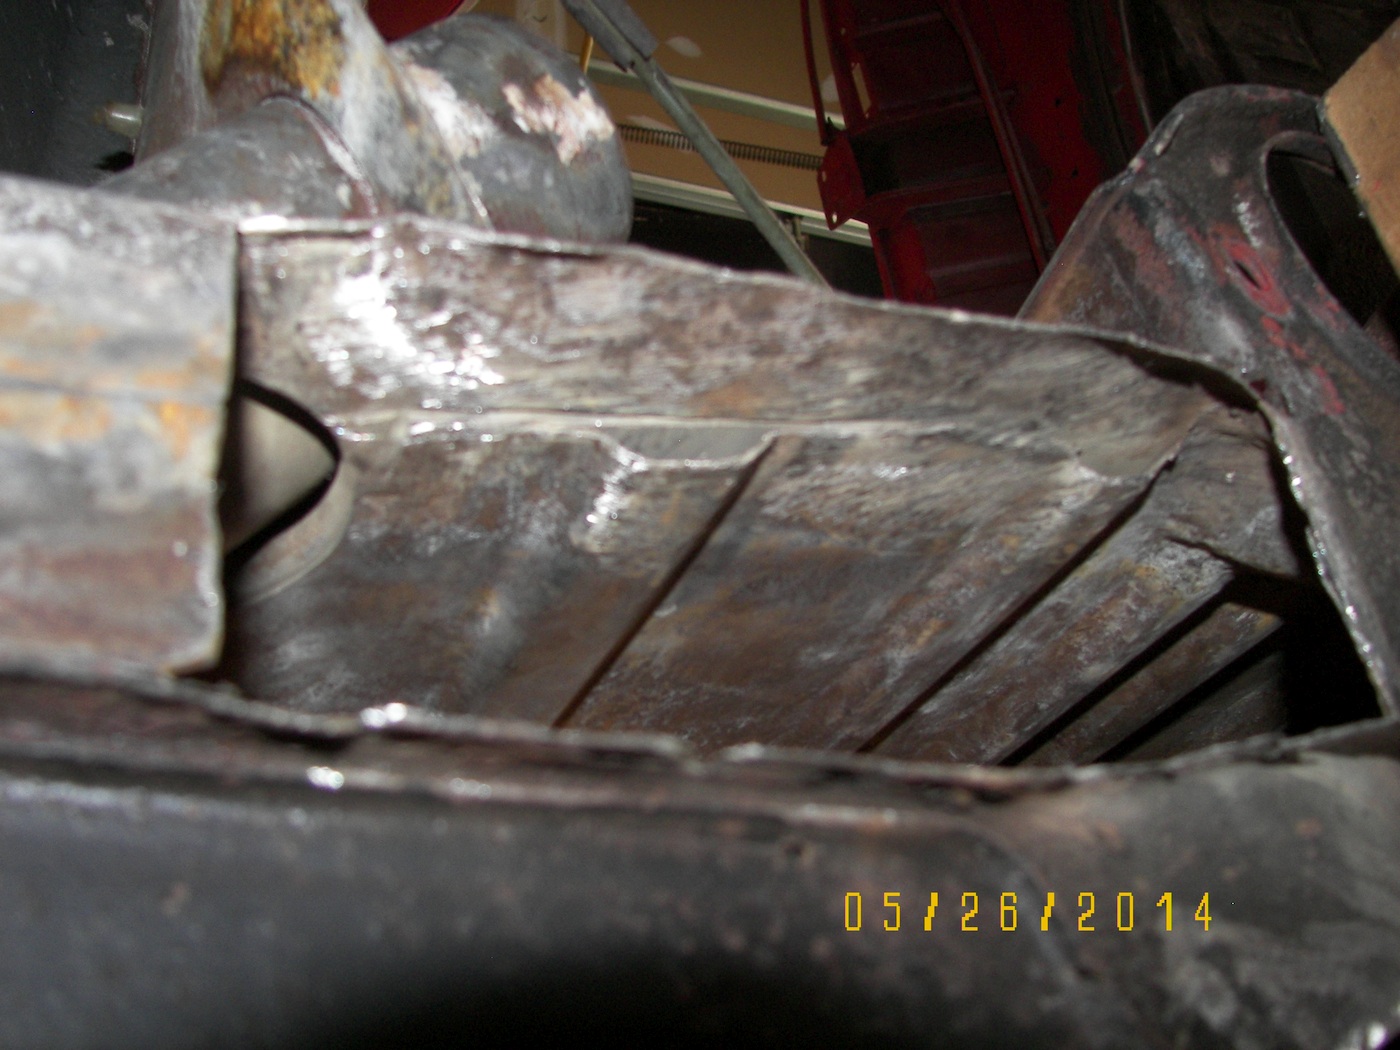
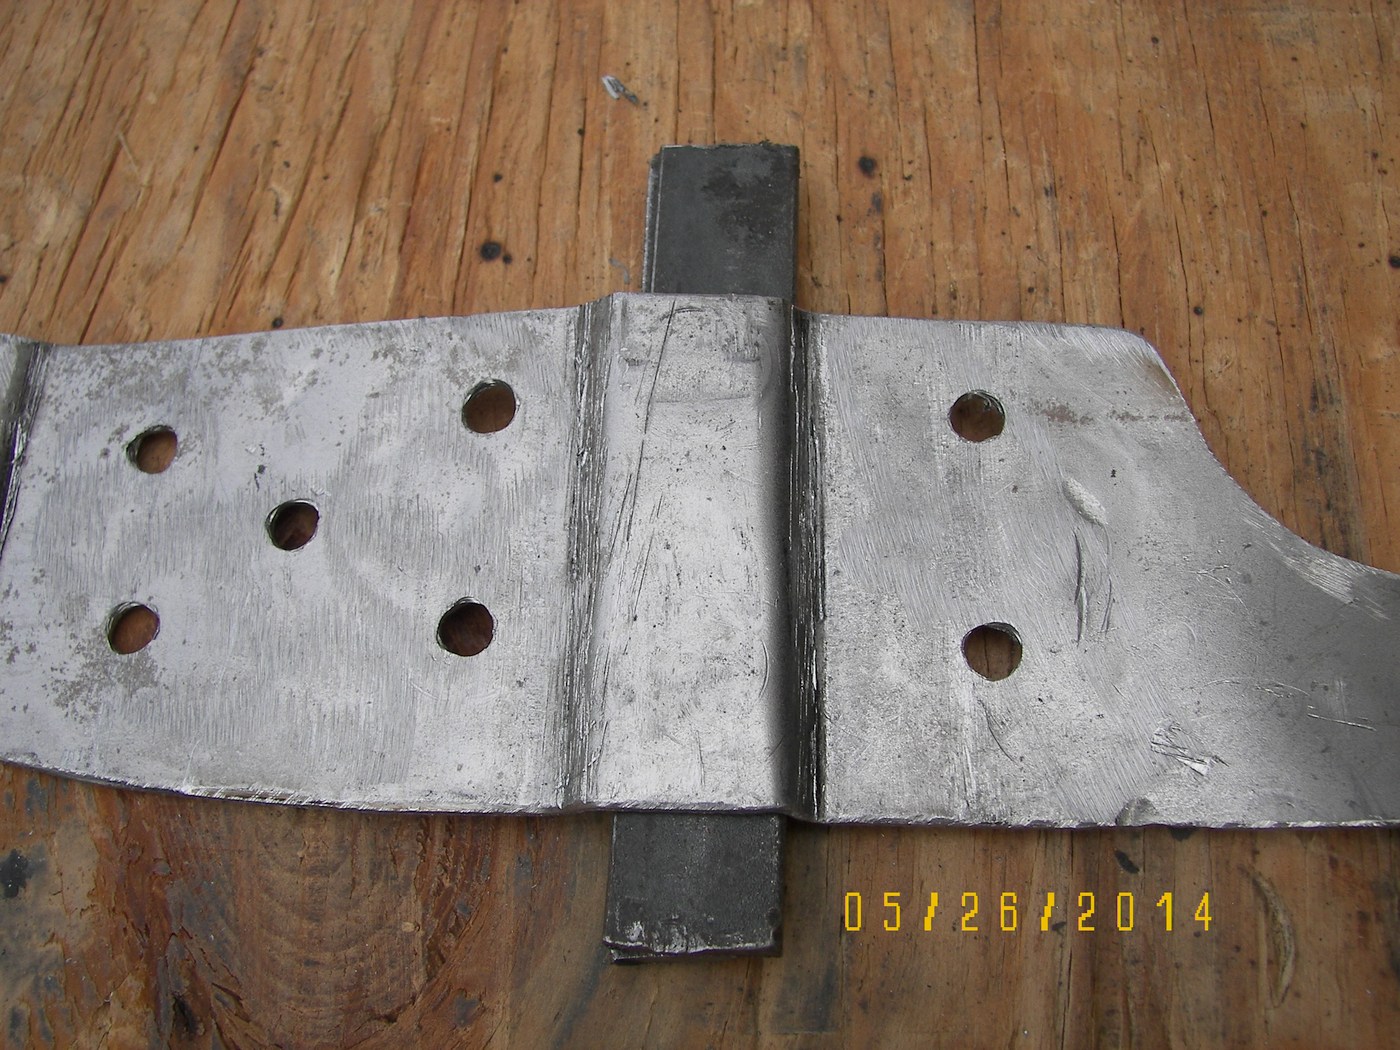
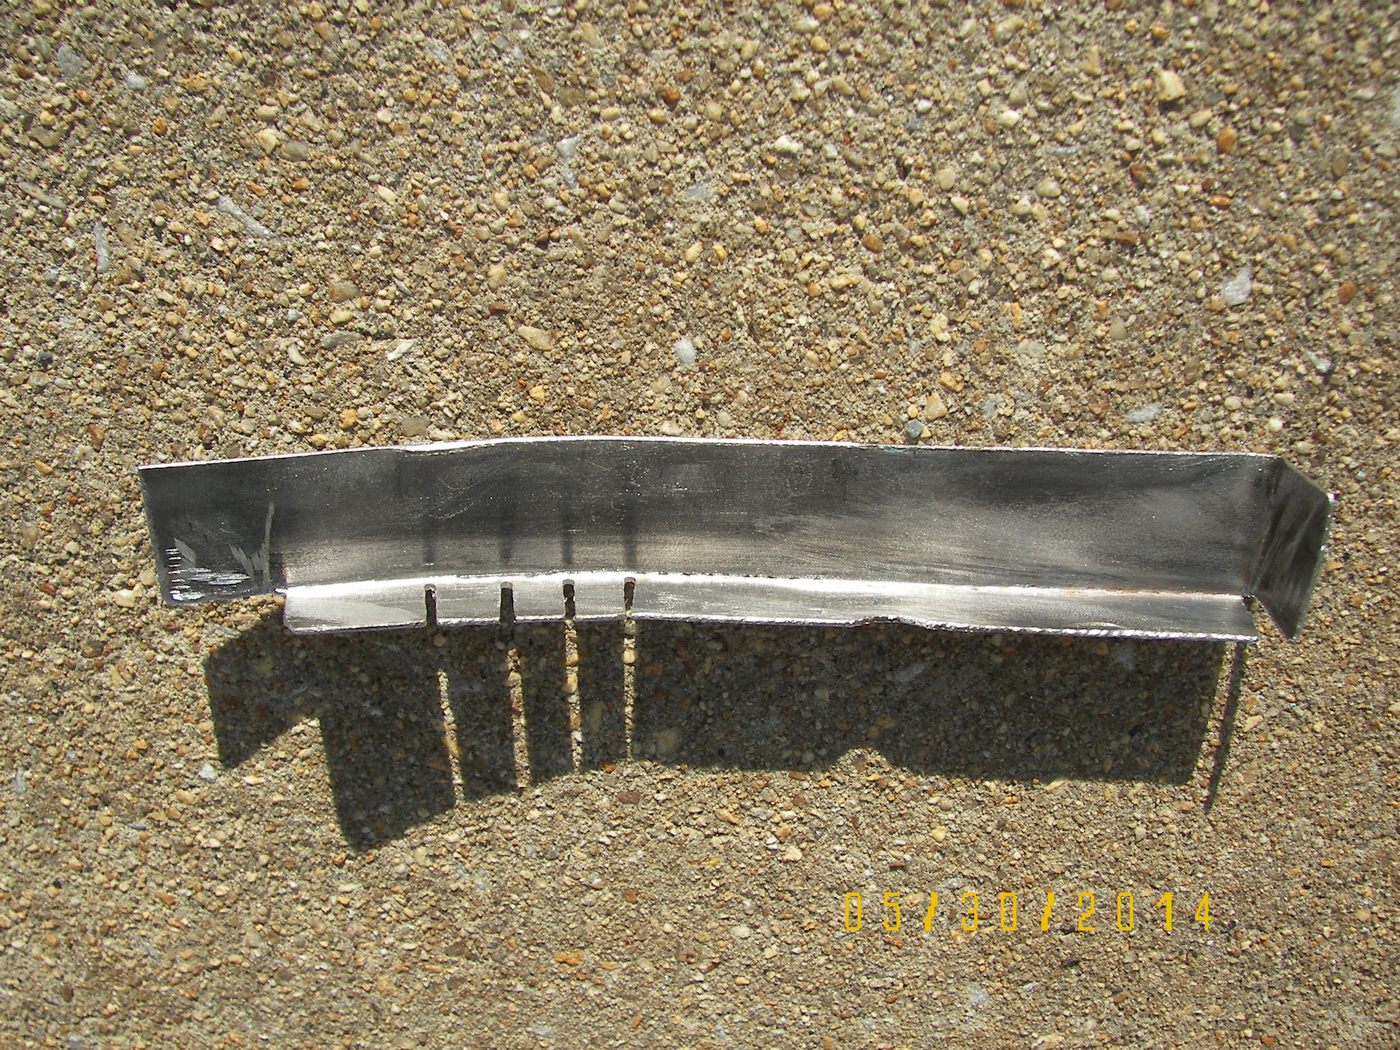
The mounting piece that will be used around the heater tube to give me more welding area for the under-long. The hump was bent and hammered over flat-stock so that it follows the perforation in the metal that is in the long seen in the image above:
Hell-hole exposed...
Fabricated Under-long part. The cuts for the curve get welded-over and then ground smooth:
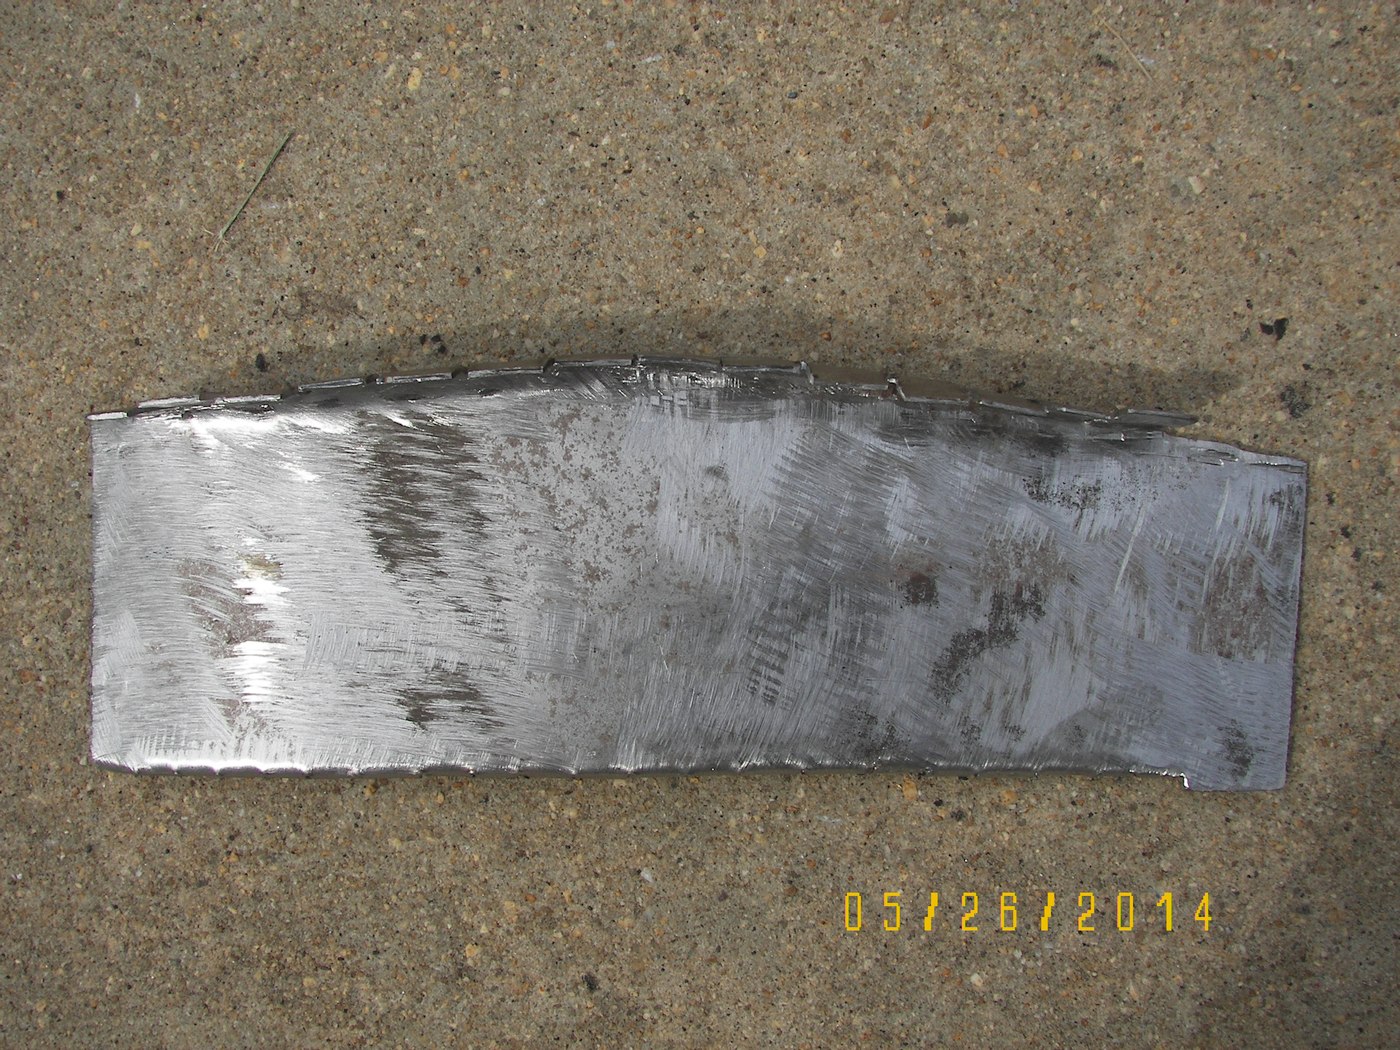
This is the engine-bay hell-hole top piece. Top of image the tabs bend up to go against the inner fender-well. The bottom edge is bent the other way to weld onto the inner long. Left edge to firewall, right edge to up-sloping inner long.
Assembled. Not my burn through repairs to the metal of the inner fender-well. Might cut that out and put a panel in there, I have the Restoration Design piece and could re-do the hinge mount on a fresher panel? BOTH left and right engine shelves were replaced with Restoration Design pieces. Solid now. The burn through repairs are evident here in the panel. Minor pinholes if you put a light behind it.
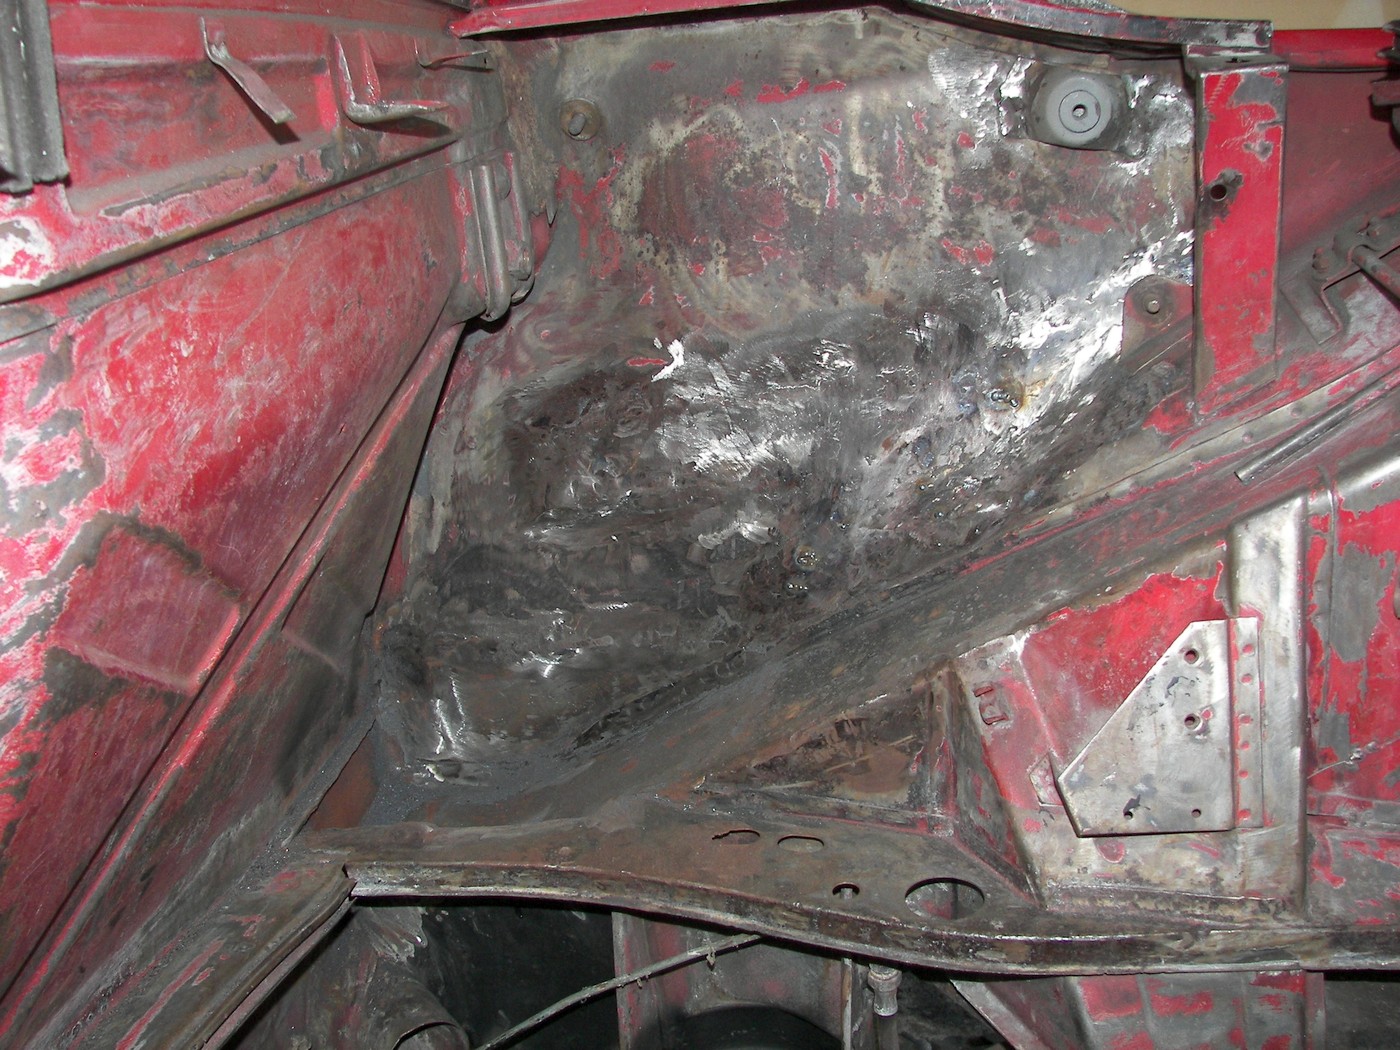
The replacement fab worked out well and clean. The firewall repair is stronger than stock too. That hole in the engine shelf needs fab work or just replace that entire passenger shelf part from Restoration Design. You can see the two oval holes for the fuel lines. But the one hole needed some fab work and it was best to replace the entire engine shelf on both side.
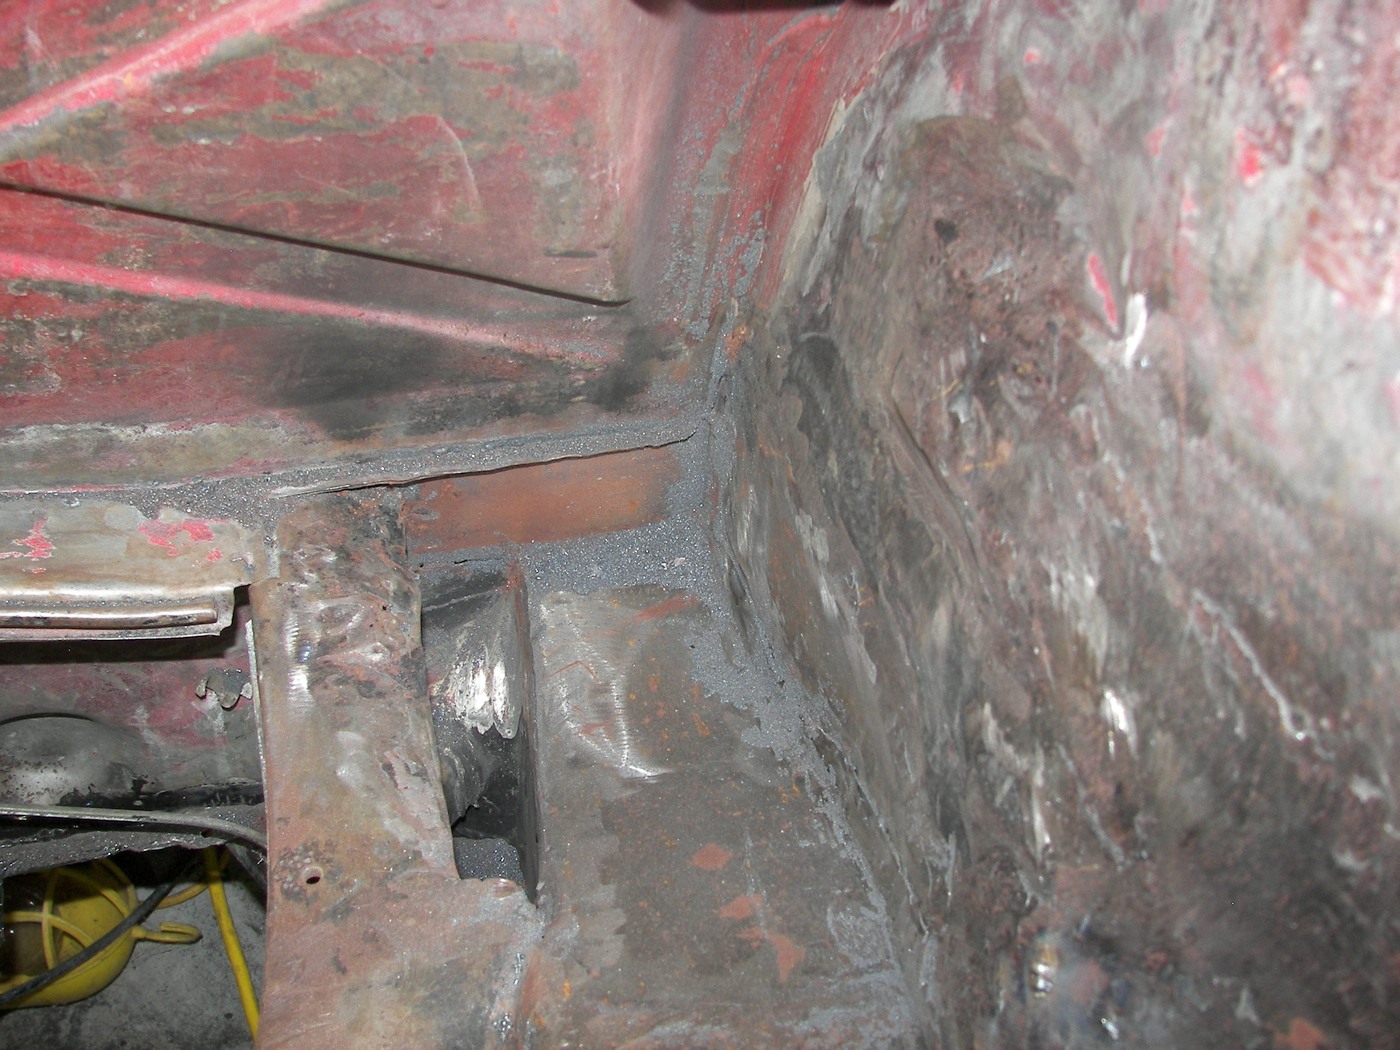
Closer look at the metal.
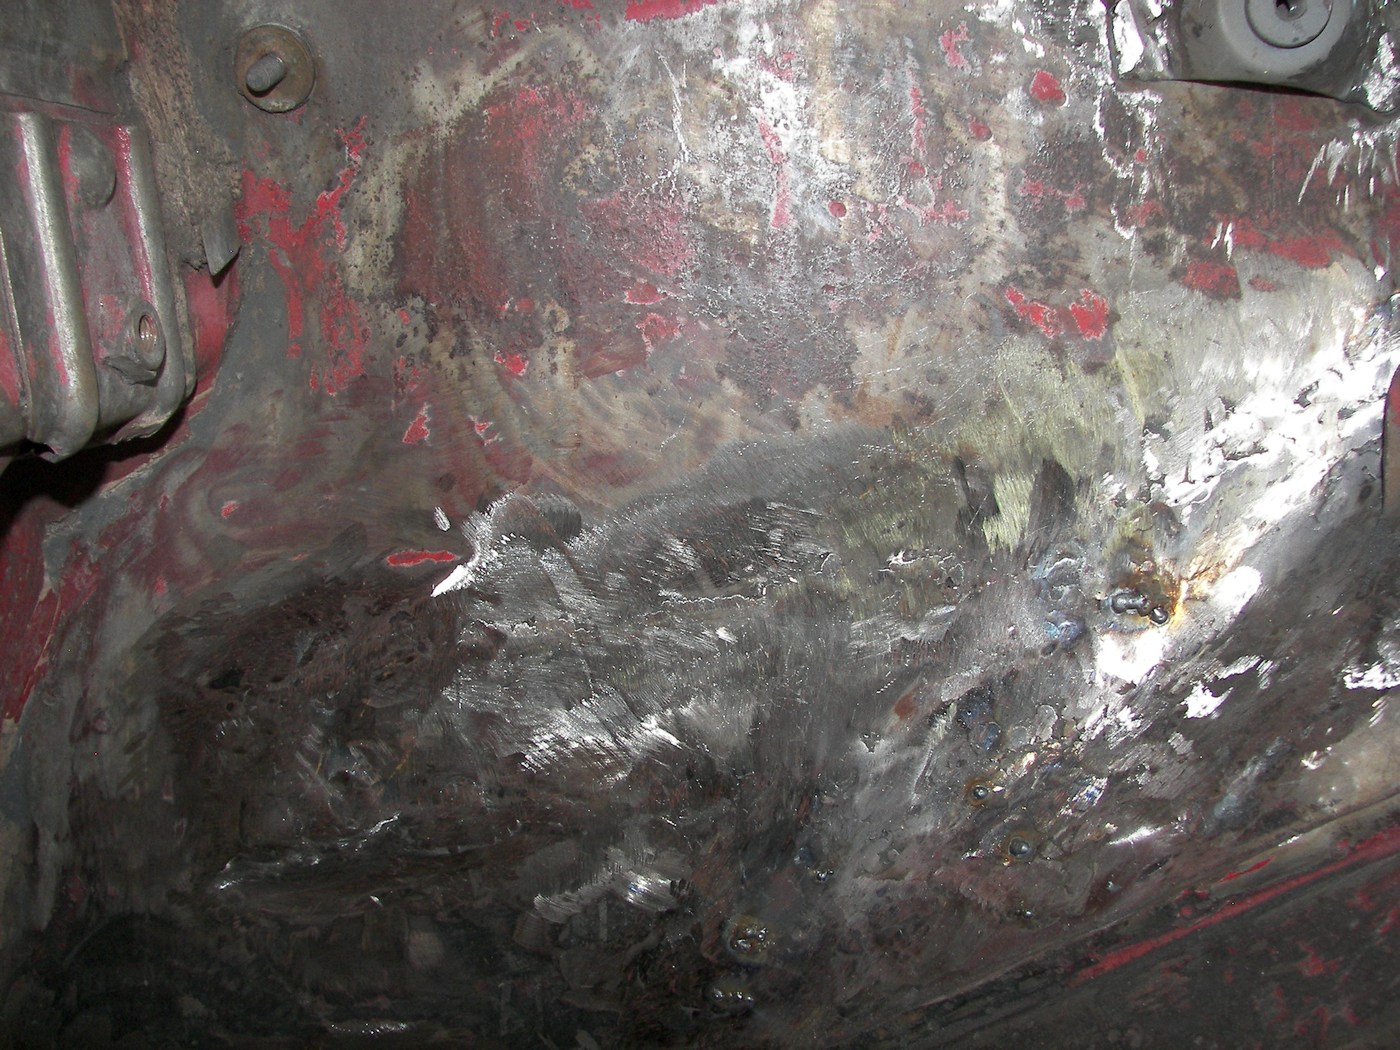
Inside the fender-well. These welds were flattened with a sanding disk.
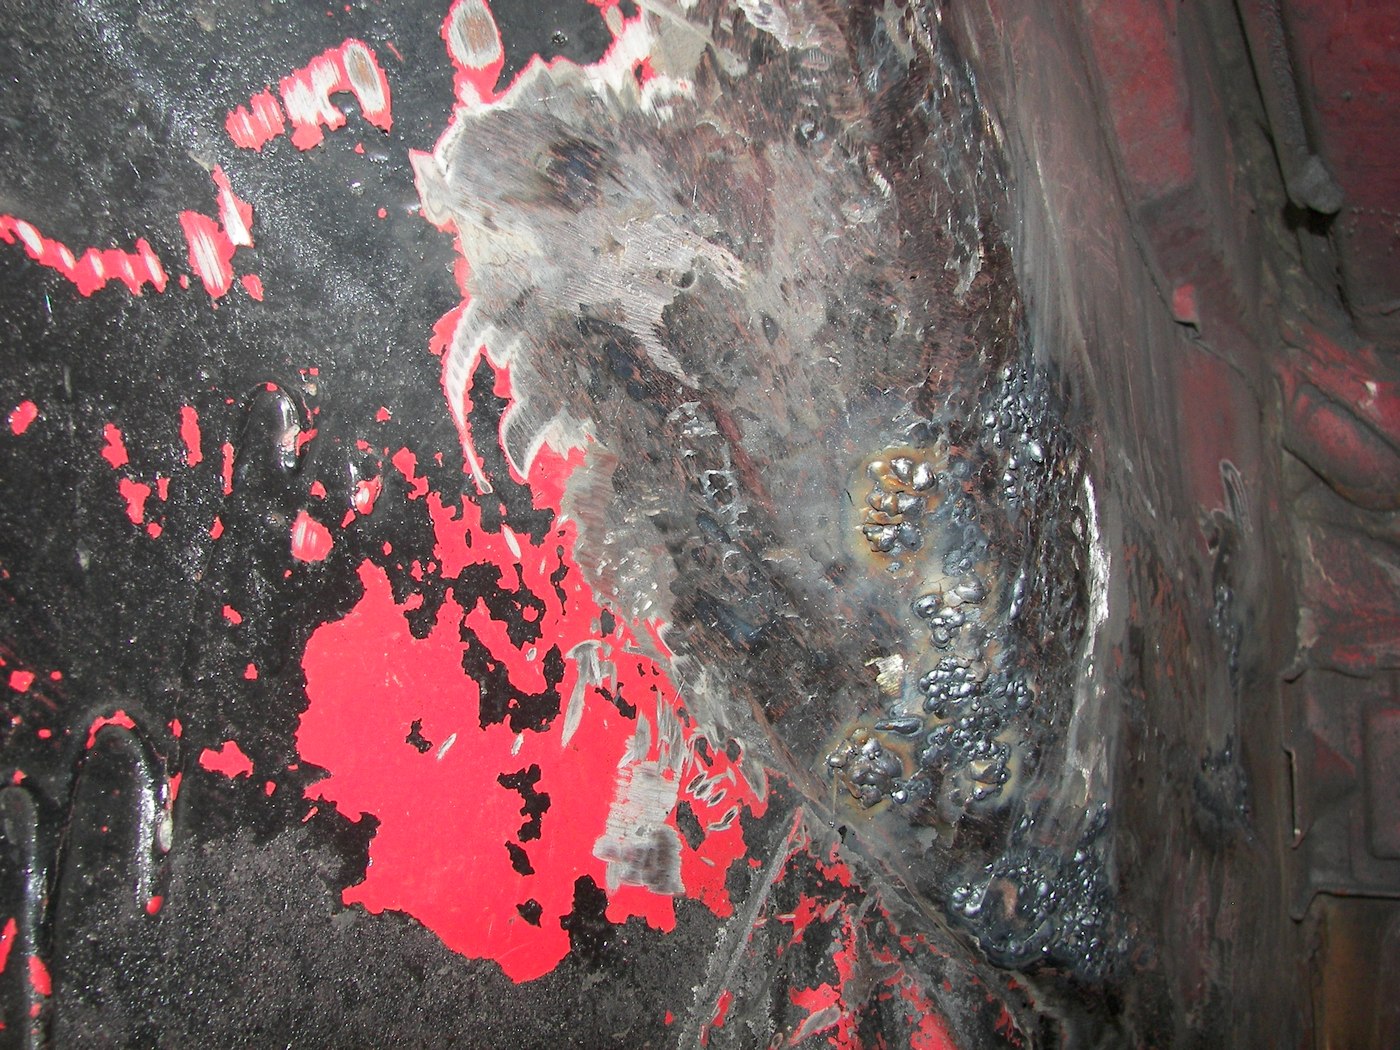
Right side shows under-side of the engine shelf (passenger side). The brake lines are pulled down. Be sure to weld-in tabs for those lines before painting.