Joe's 914 Project
The engine and pump are from a 74' and I went with the 8MM OD stainless lines in the tunnel from the 75' and then I needed to deal with the fuel pump. Since the 75' has the fuel pump hole in the trunk firewall and the ground wire spade on the chassis, I went with that location.
The 75' and76' cars had a heavier wire thickness for the fuel pomp up front (longer distance form engine relay board = more resistance / offset by thicker gauge of wire). I used that from the harness and you will note the extra red wire that I spliced in with solder. The extra red wire feeds to the custom gauge setup I did in the old ashtray location to supply voltage. This wire powers the voltmeter, it also lets me know if the fuel pump is getting juice and that was an old trick I used in my original 74' car with an LED to know that it was getting juice. The gauge draws almost no amps at all.
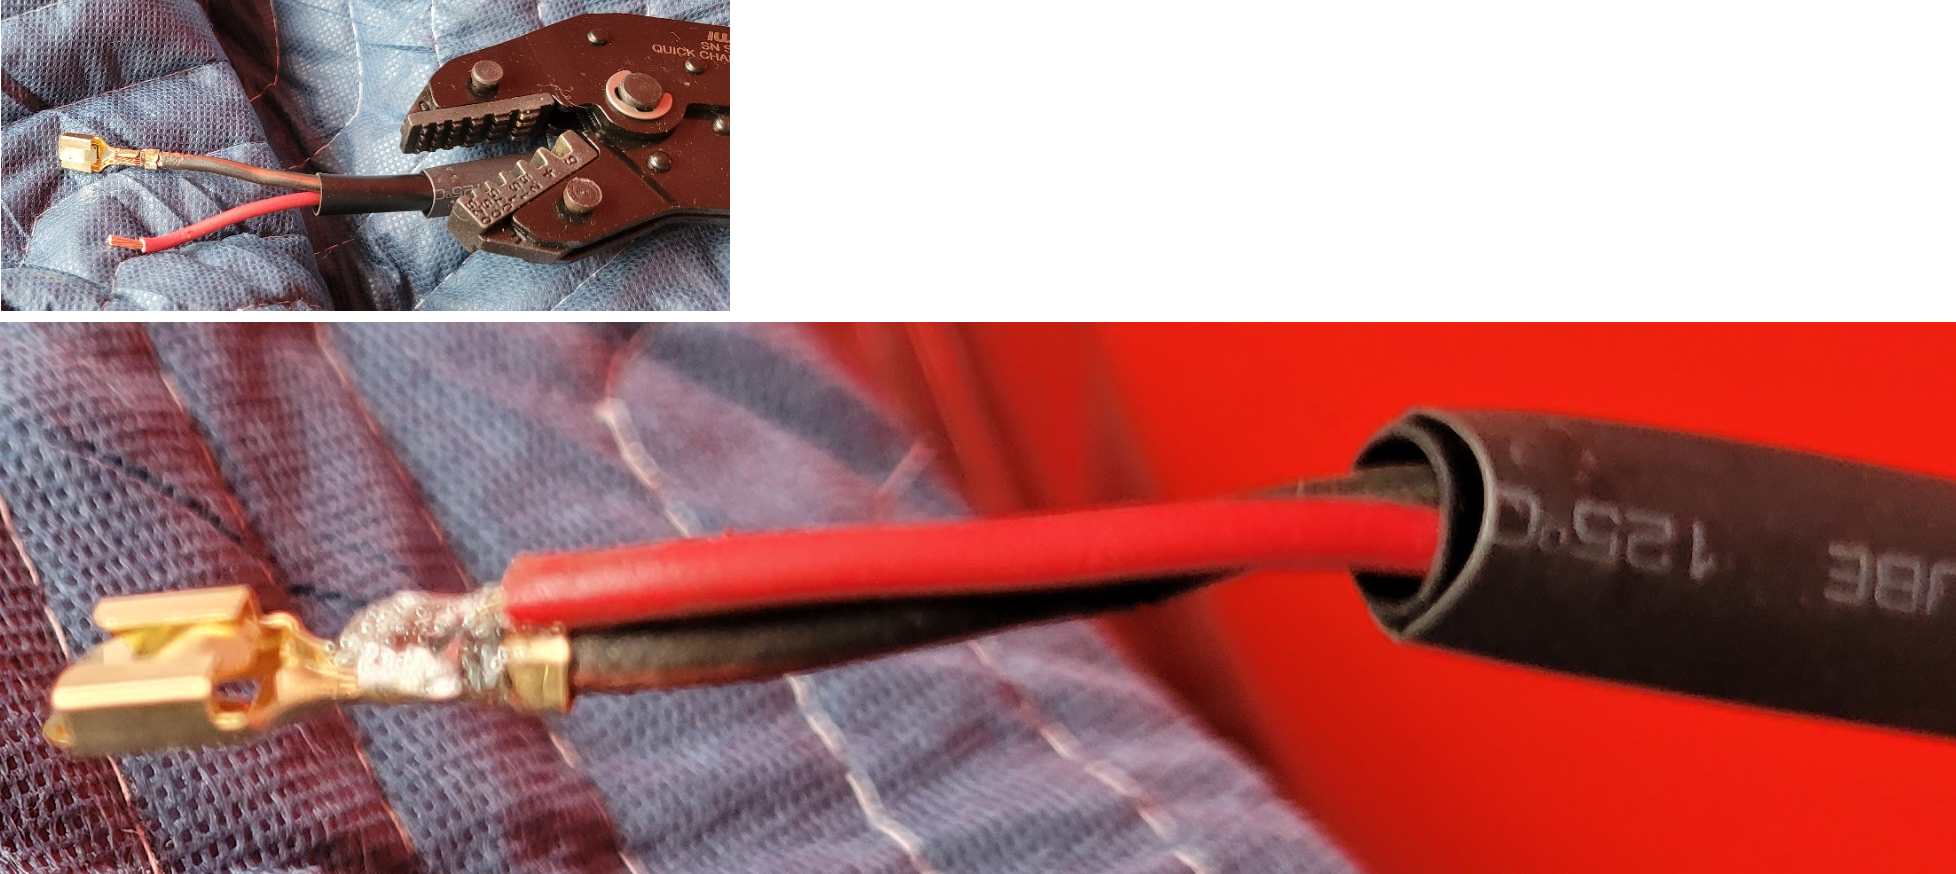
You can see the crimped-on spade with the little plug retaining hook. Yes, these are gold plated. The red wire needs to be soldered on top of the crimp. The image of the solder joint looks messy, but it is the image that is messy, the solder was clean all-around.
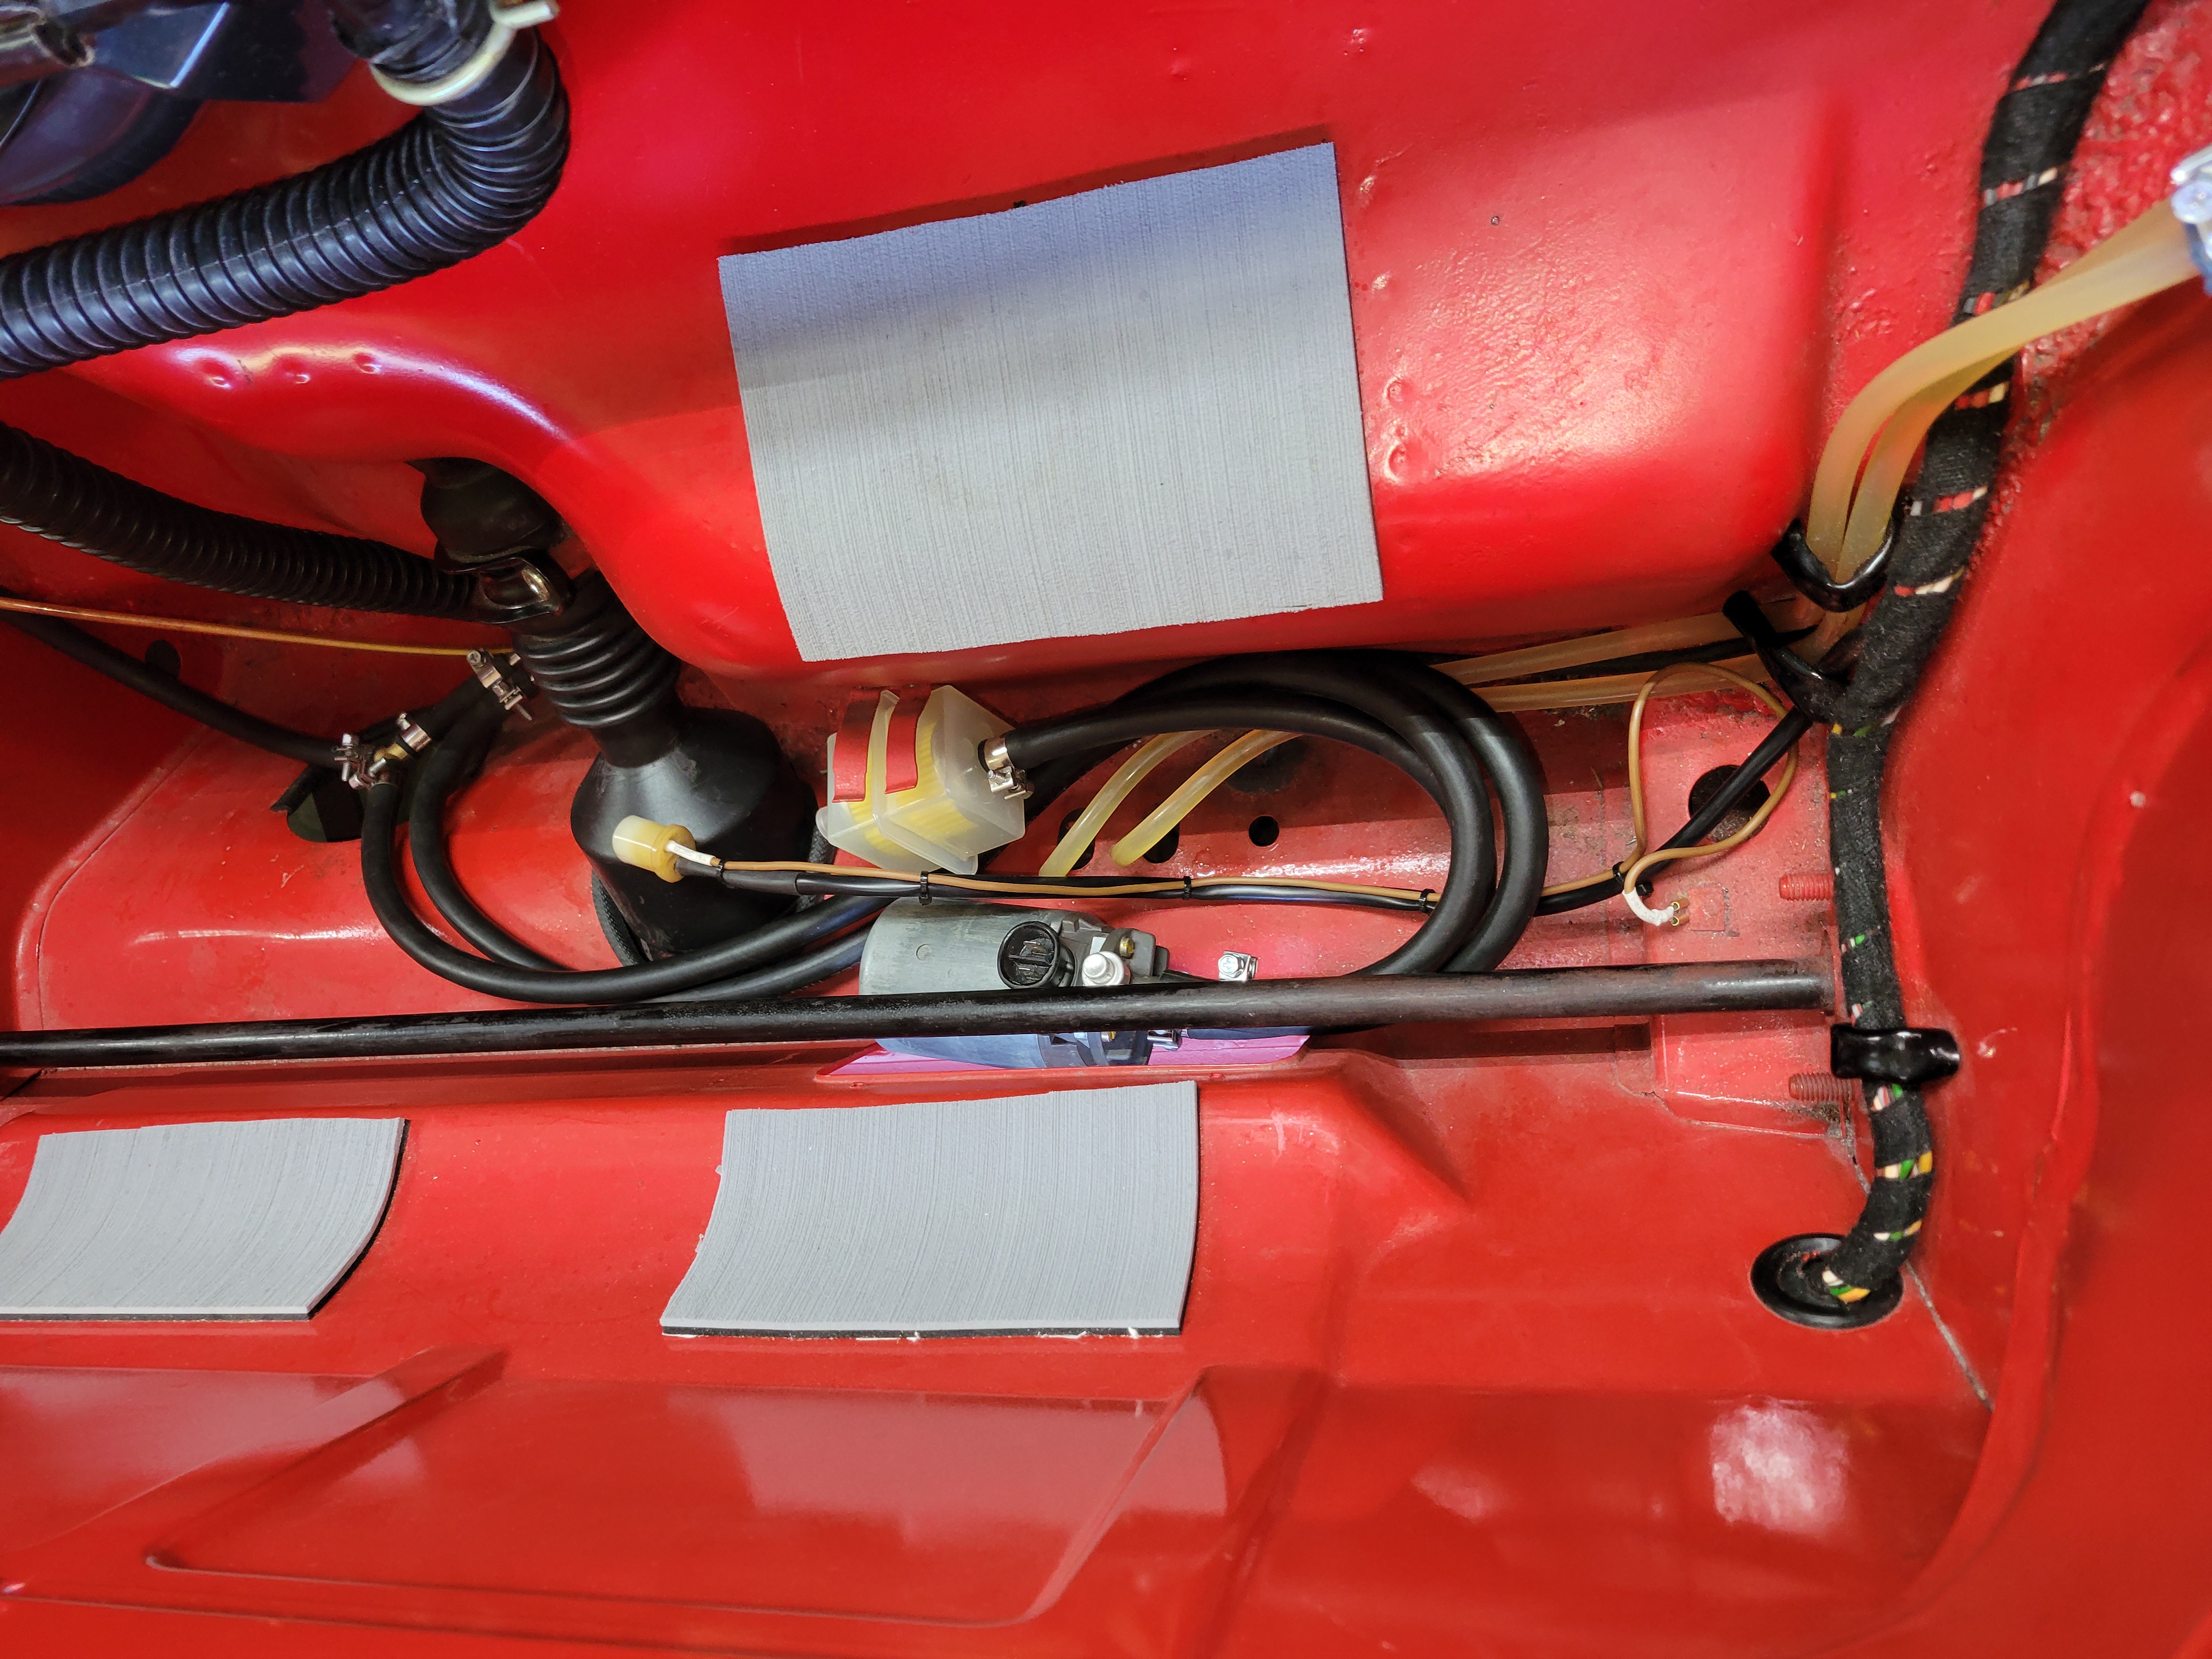
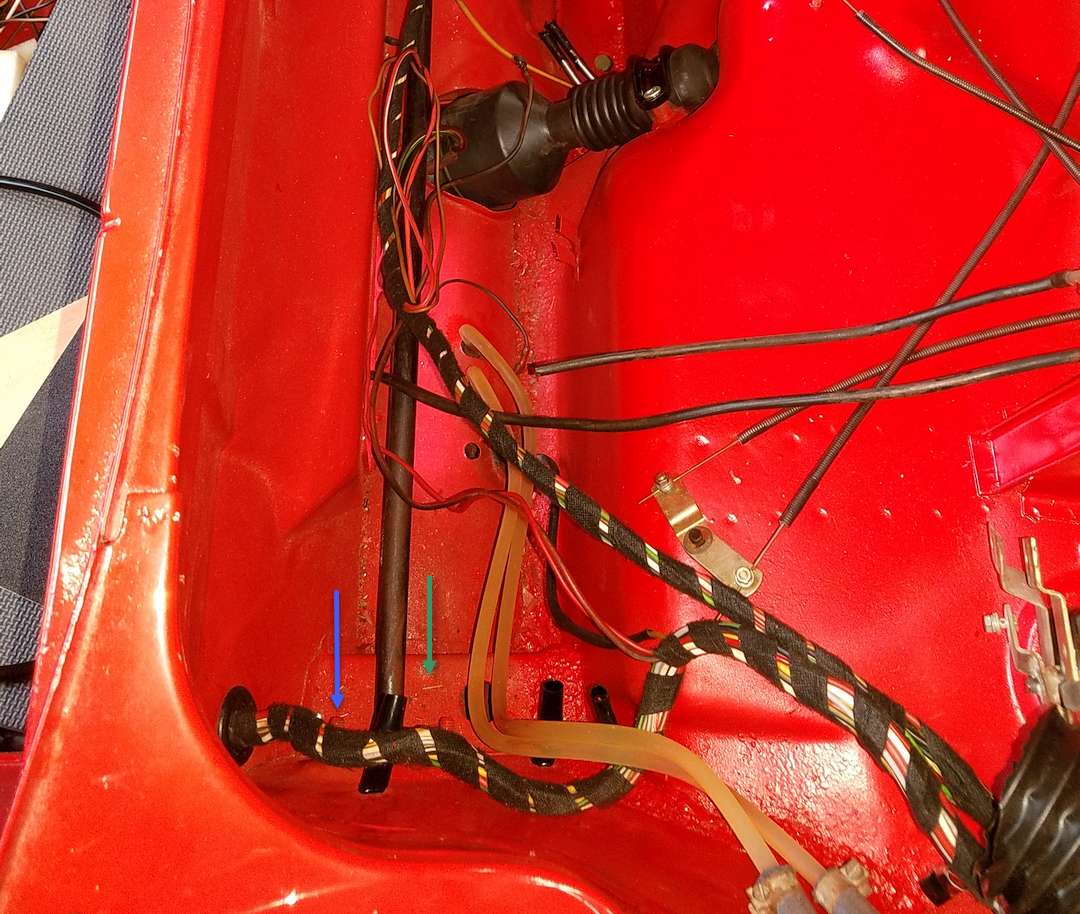
Blue arrow below shows the location of the sway-bar bolts, but the ground spade is to the right of the sway-bar and the Green arrow is pointing to that spade. The fuel pump ground wire hooks to that chassis spade and it is visible in the last image below with the ground wire attached.
Note the stainless fuel lines just above the steering column shaft. Taped to prevent contamination until assembly.
The red wire gets soldered onto the spade. That red wire is part of the harness re-wrap and goes into the cockpit and it routed to my custom gauge pack for the voltmeter. Note that the 75-76 cars used a thicker fuel pump wire (black with red stripe) into the front trunk due to the longer length from the relay board in the engine compartment. The voltage gauge wire is soldered onto the spade that goes into the fuel pump plug (note the spade tab hook). Vinyl sheathing with shrink-wrap termination (see the images below):
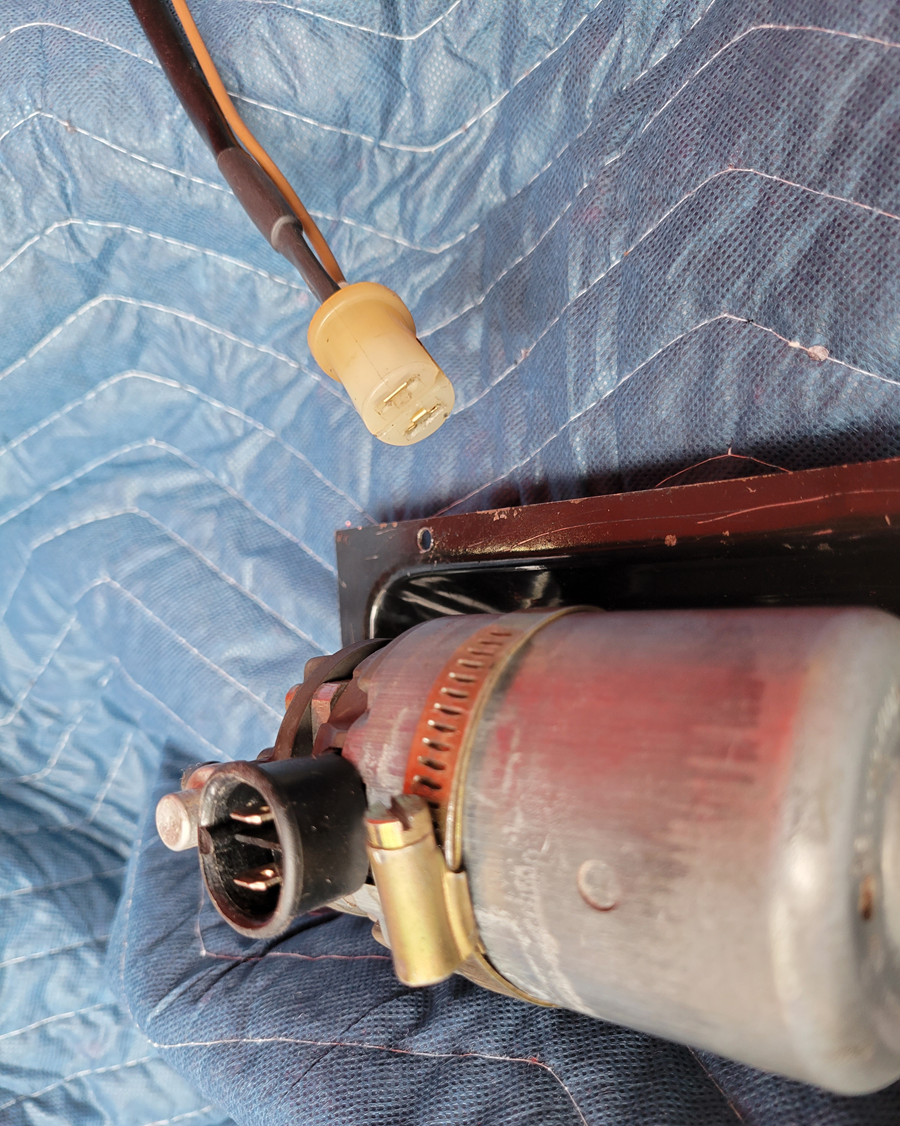
Here you see the shrink warp over my PVC sheathing and the upgraded (thicker than stock) ground wire to the spade on the driver's side inner fender, below the gas tank. That is NOT paint on the fuel pump, it is just the light from the red paint shining onto the fuel pump. The retaining mount seen here is not yet repainted. The yellow zinc strap was from one of the air-box clamps that I replaced. The pump will be rotated about 15-30 degrees upwards to let the electrical plug stand clear of the brake fluid lines.
Pump plumbing, filter, electrical plug setup and ground wire visible. Not the fuel line Y-Splitter for the early-style fuel pump is brass and not plastic. Pads are not carpet that absorbs moisture and rusts the tank; these are boat deck rubber pads. No squeaks, no issues. The sway-bar was removed and painted before the tank went in, I did that with the new sway-bar bushings.