Joe's 914 Project
Lines:
The bottom of the tank has two lines that are:
10mm - Front of tank supply line that uses the infamous "sock" screen. The preferred gasket size is 10mm X 16mm
8mm - Back of tank return line for unused fuel from the fuel-system loop. The preferred gasket size is 8mm X 16mm, but you will find only 14mm OD sizes, but that will seal this up.
Gaskets made from copper or aluminum crush washer styles are common and other styles such as a bonded seal or galvanized washer can also be used. Some people use Curil-K2 or Hylomar as an additional liquid sealing compound during assembly. Copper crush washers can be heated to expand the copper and reused if needed, I used rubberized sealing washers from BellMetric.
Pump:
The pre-75' cars used a 3-port pump that can receive some of the fuel from the return line (a Y-splitter sends some fuel to the pump and some to the return line). The 75'-76' cars used a two port (fuel-in / fuel-out).
The pre-75' cars had the fuel pump lines at 10mm feeding the pump and 8mm return while the later cars had two 8mm lines. Those early cars had an unusual tapered hose to mate the10mm supply line to the 8mm pump inlet and aftermarket alternatives from Tangerine Racing (stainless steel) can be used to replace those or just use a filter from the 75'-76' cars that has the 10mm inlet and 8mm outlet and use the length of rubber hose needed to make it fit.
Fuel supply and return lines are NOT under high pressure. They are pressurized by the pump, but it is not like the pressure used in modern cars. It is easy to over-buy and over-engineer your solution with thicker and inflexible rubber fuel lines. The modern alcohol-tolerant lines should be used because you will be sometimes be forced to buy E85 or similar fuel in your state or from time-to-time. The thicker hoses in the engine bay would be more resistant to heat and vibration wear in that application space. The lines under the tank feeding the pump are not very pressurized and the return line is only mildly pressurized. You can heat the lines in boiling water for a few minutes and use some motor-oil to ease the lines onto the fittings and it will not foul-up your injectors.
Tank:
I took my fuel tank to the local coin-op high pressure wash facility and blasted the inside of the tank with degreaser, soap and a rinse. Lots of small particles came out but it was not so bad inside the tank. You can also use vinegar and other solvents left in the tank overnight and then rinse that out. Aftermarket reproduction fuel tanks are now available. There is no reason to keep and repair a rusted tank, especially if the carpet-pads that are mounted on the bulkheads have created pin-holes, given the availability of used (eBay, bulletin boards) and reproduction tanks.
Sender:
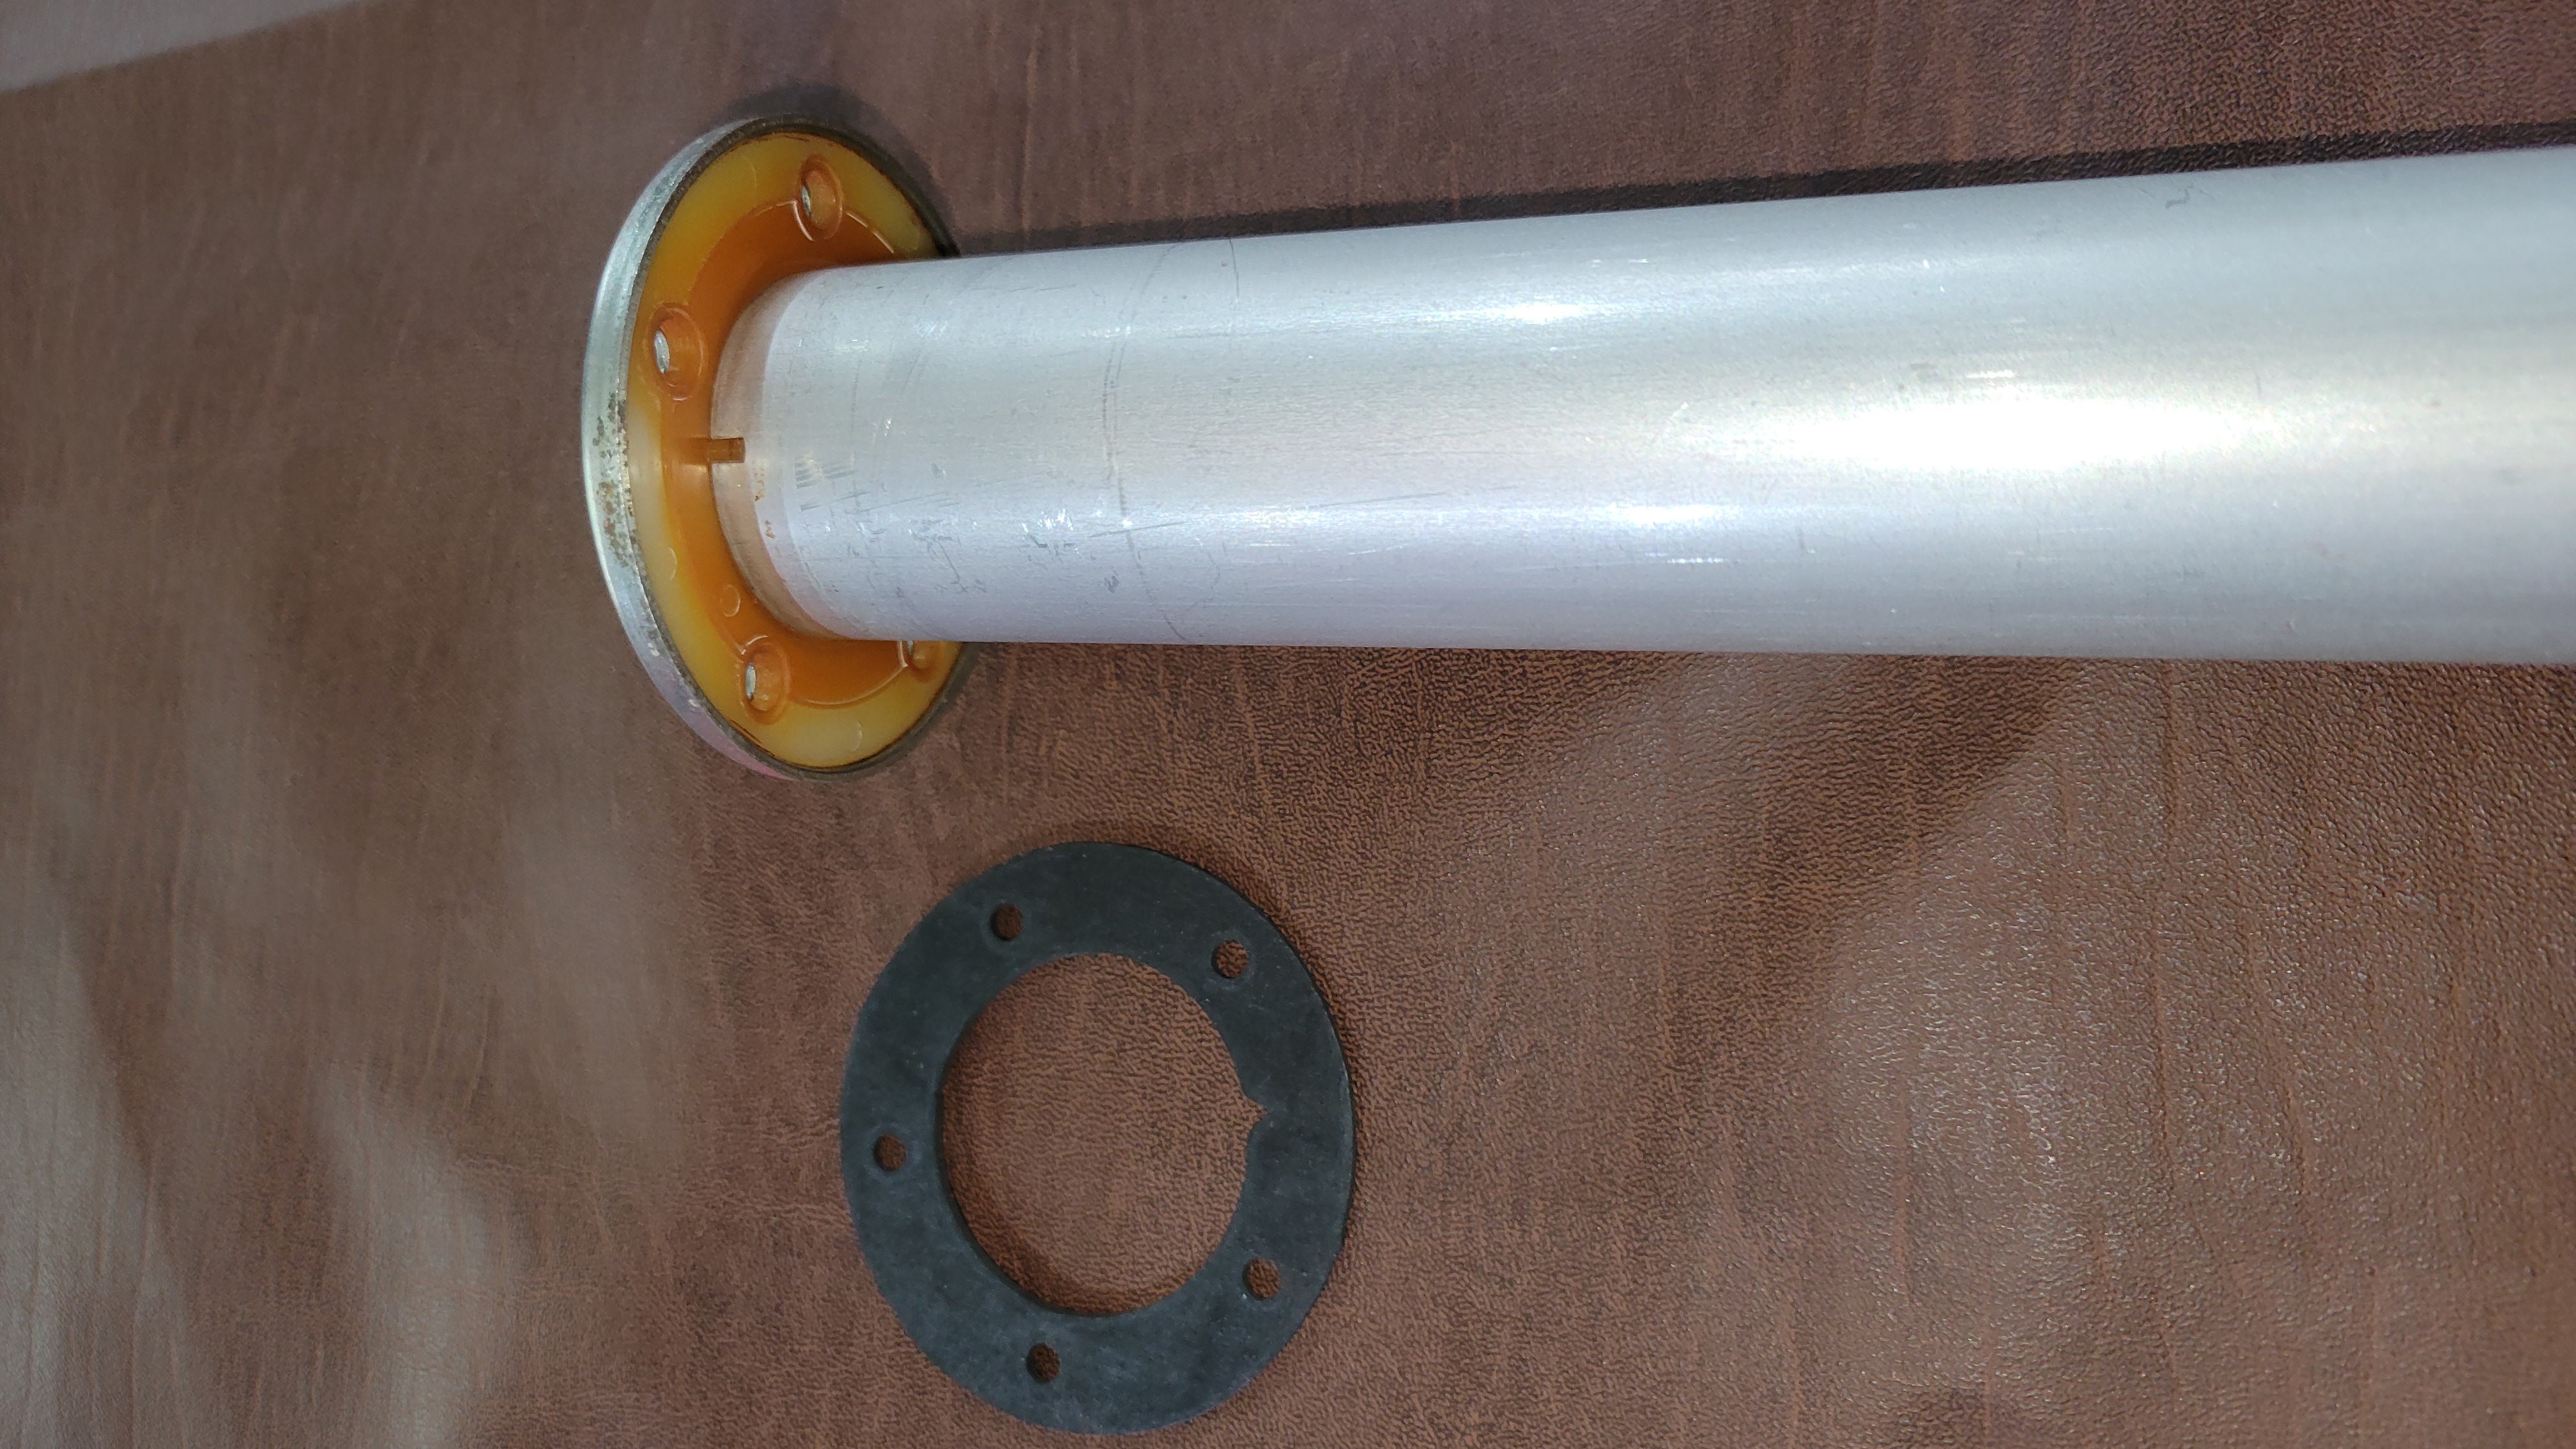
The float in the sender has a left and right set of metal pinchers that glide along two wires to alter the resistance reading based on the bridged length of the two wires. The bottom has an electrical contact that creates a link to ground if the float hits the bottom (empty tank) contacts to bridge them for the low fuel warning light.
The original 74' fuel sender for the fuel level died and I opened it up. A broken wire. I used the core of a Coax cable wire and the ground wire was a perfect fit to solder-in and replace the broken wire in that sender. Worked like a charm. As the float goes UP, the distance traveled across the wires is shorter (less Resistance) and as the fuel float goes DOWN it lengthens the distance that the wires have to increases resistance. Hello fuel meter OHMS to a gauge.
In the 75' car I had the 74' repaired unit in the tank, but eventually the empty fuel sender (float at bottom makes contact to ground) stopped working and the empty fuel light did not come on. I used the 75' car spare and all leads checked out fine, but to make sure it had clean contacts on the float, I dunked the entire tube in white vinegar and salt for about five minutes (stirring it) and then I rinsed it with water for about 5 minutes and let it dry. I came up super clean, shiny copper, etc. The empty tank warning light (LED) works perfectly now with no issues of any kind. I can still work on the one that failed as a spare.