Joe's 914 Project
Stripped out, powder-coated and reassembled with Grade 10 bolts from BellMetric.
All new bushings, bearings, ball joints and bolts. The sway-bar bushings and rear nylon cups in the drop-links were all replaced.
The image below is the POR 15 version of it, but I wanted to do the bearings in the hub and the pivot shaft and pivot bushings were bad.
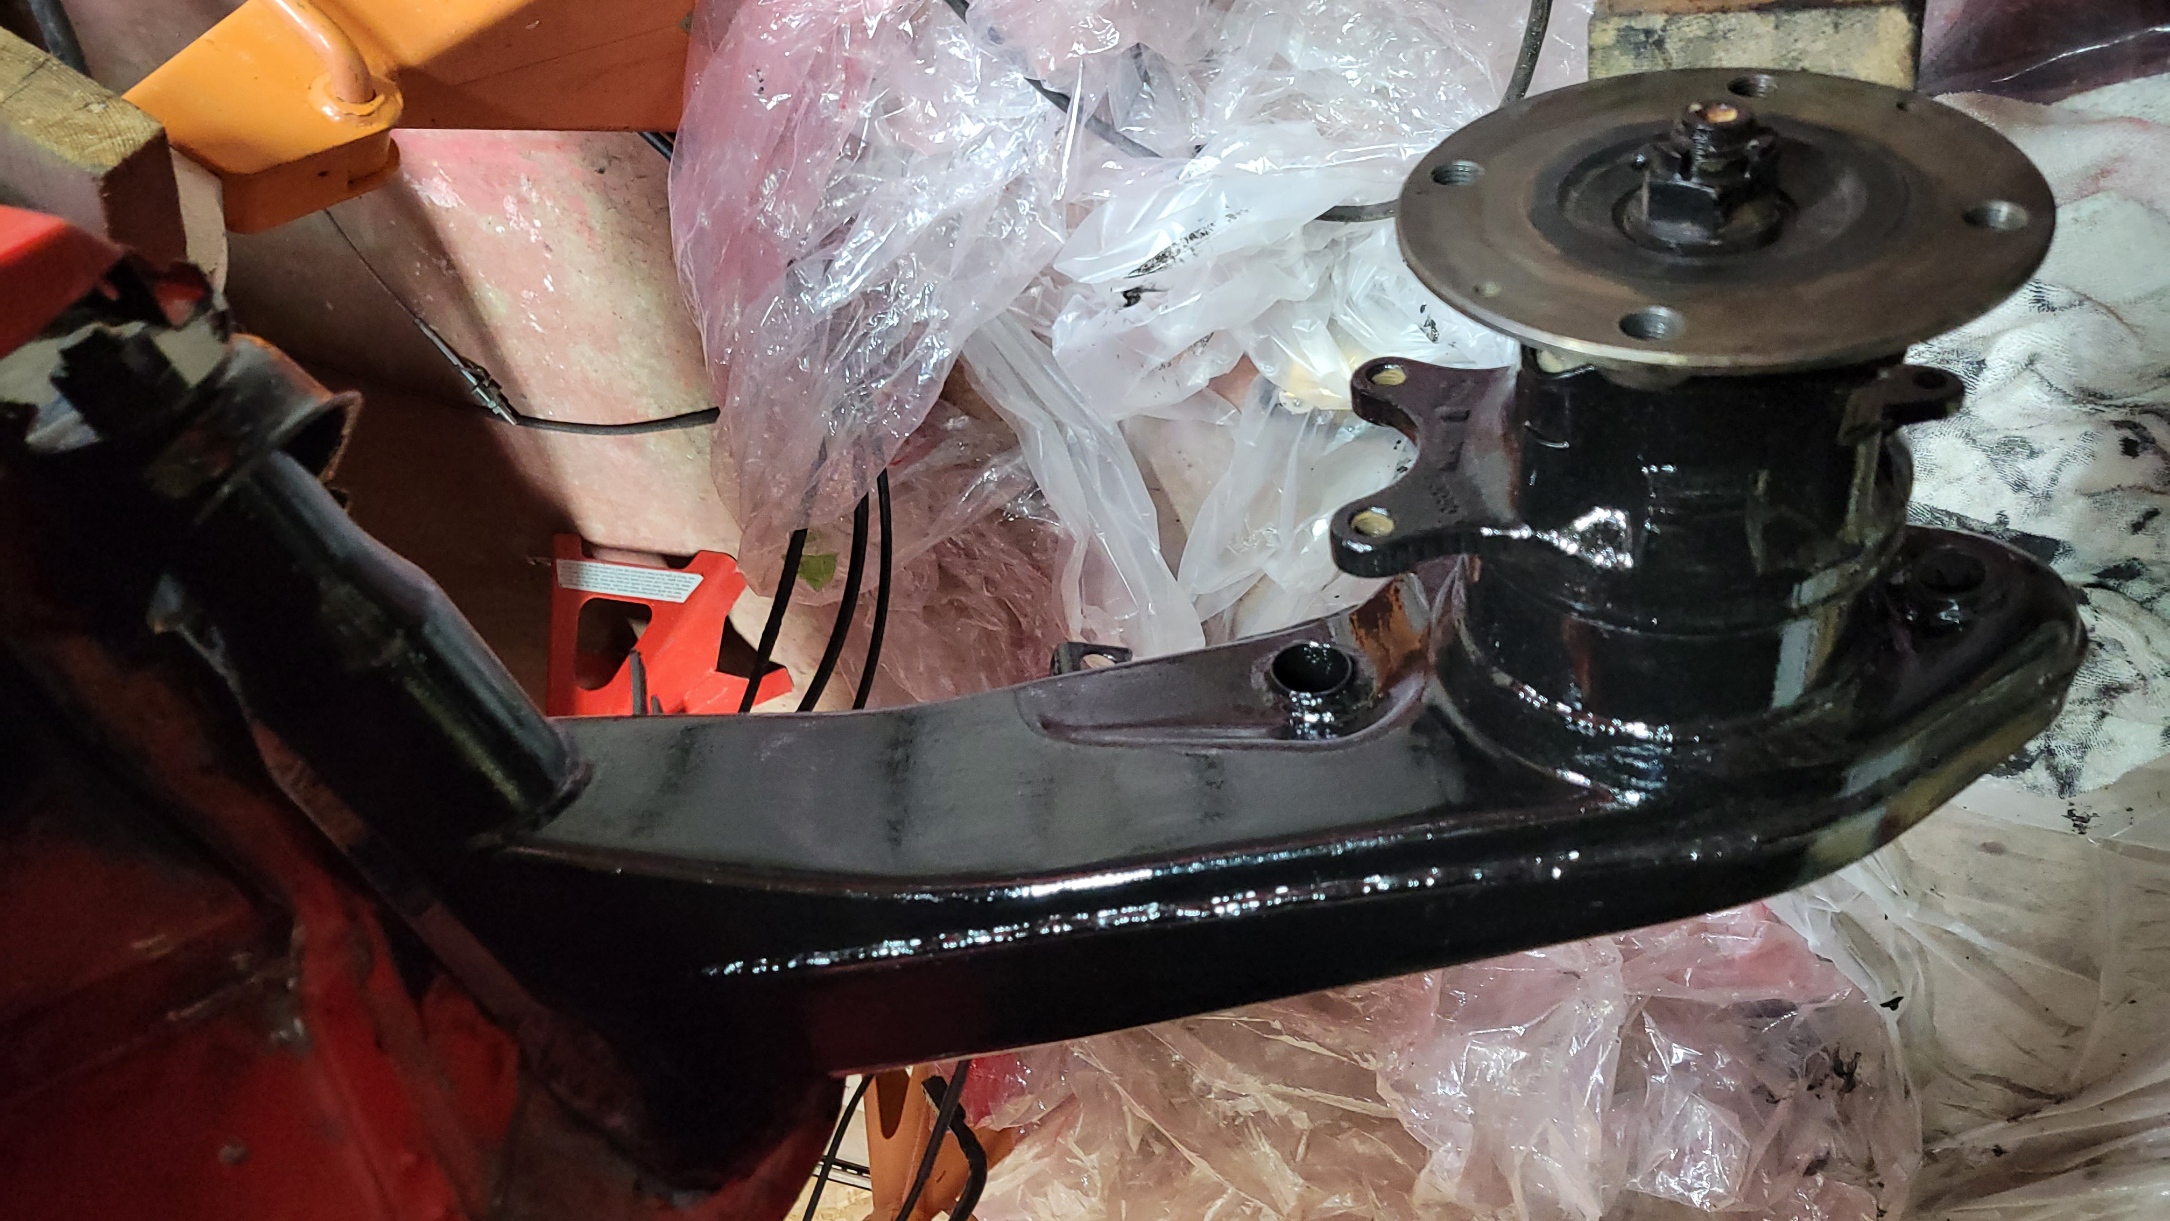
Another look at the POR 15 version.
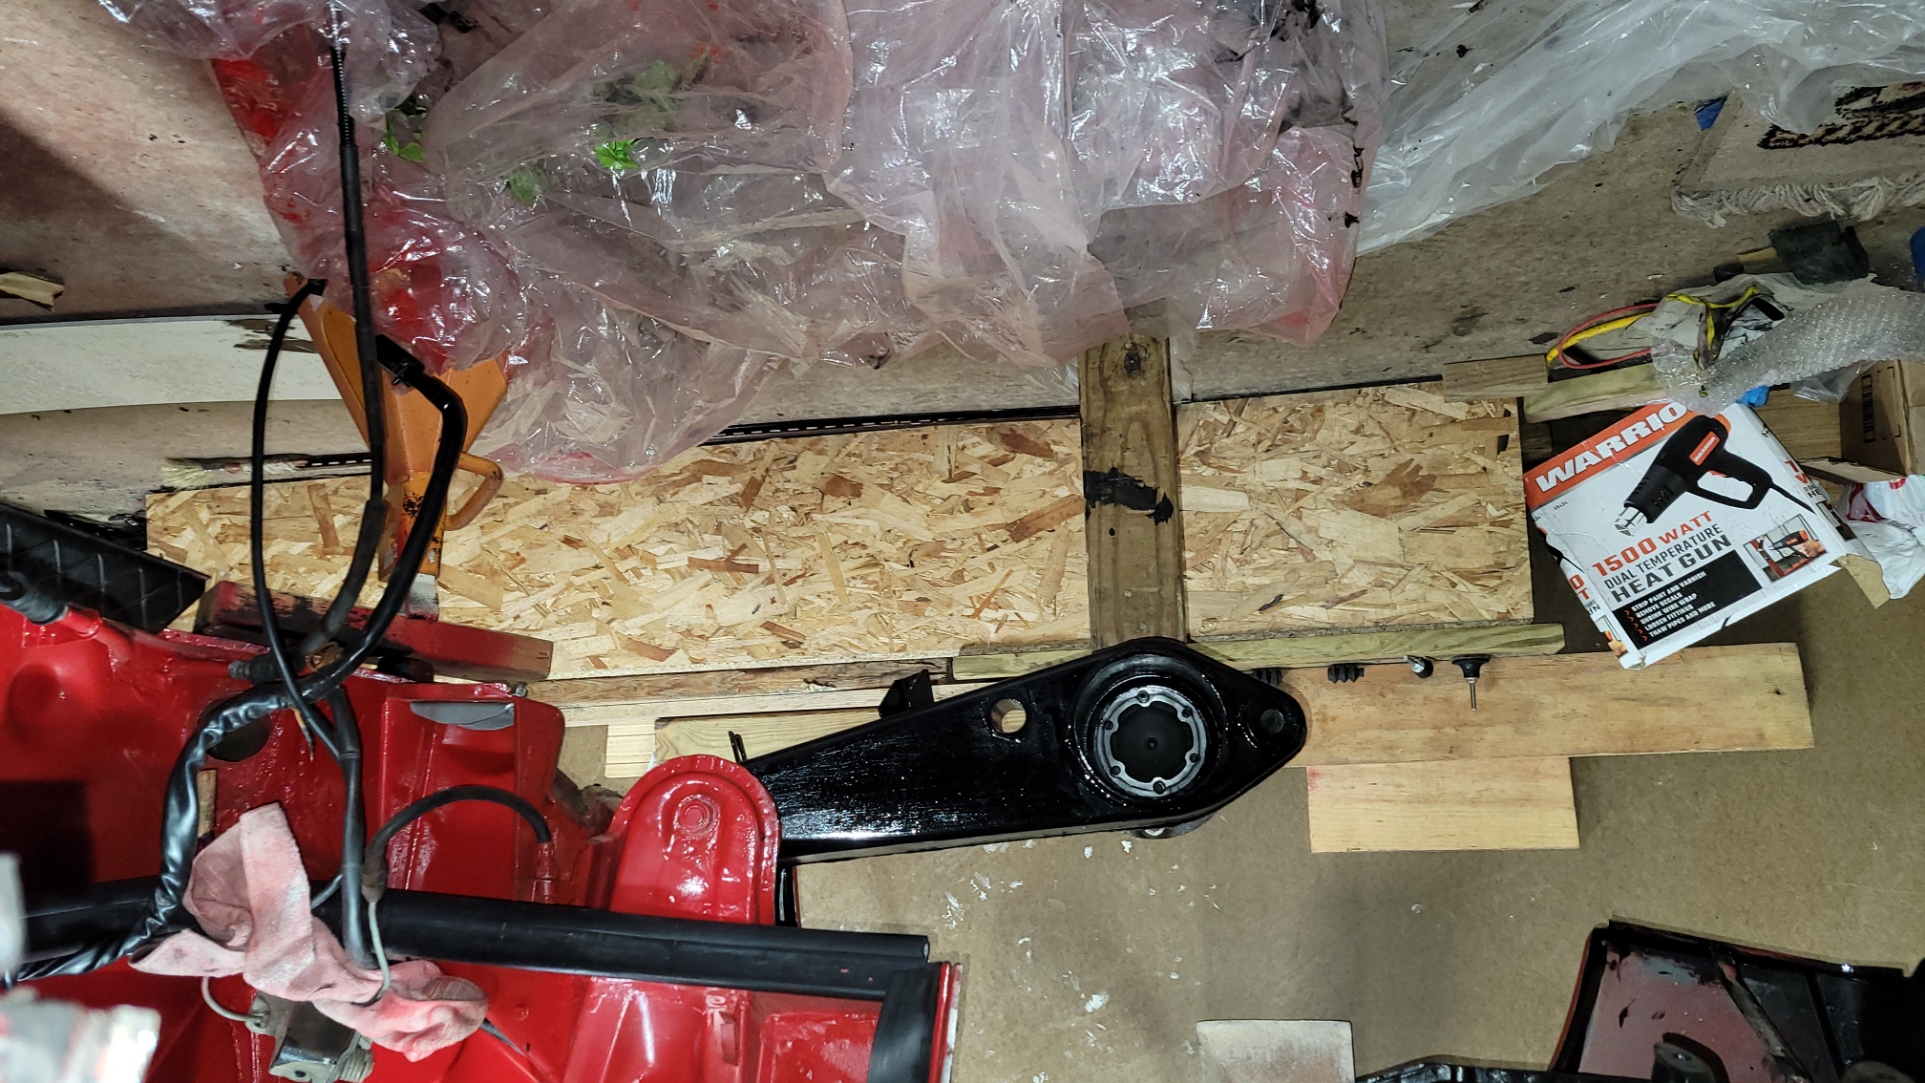
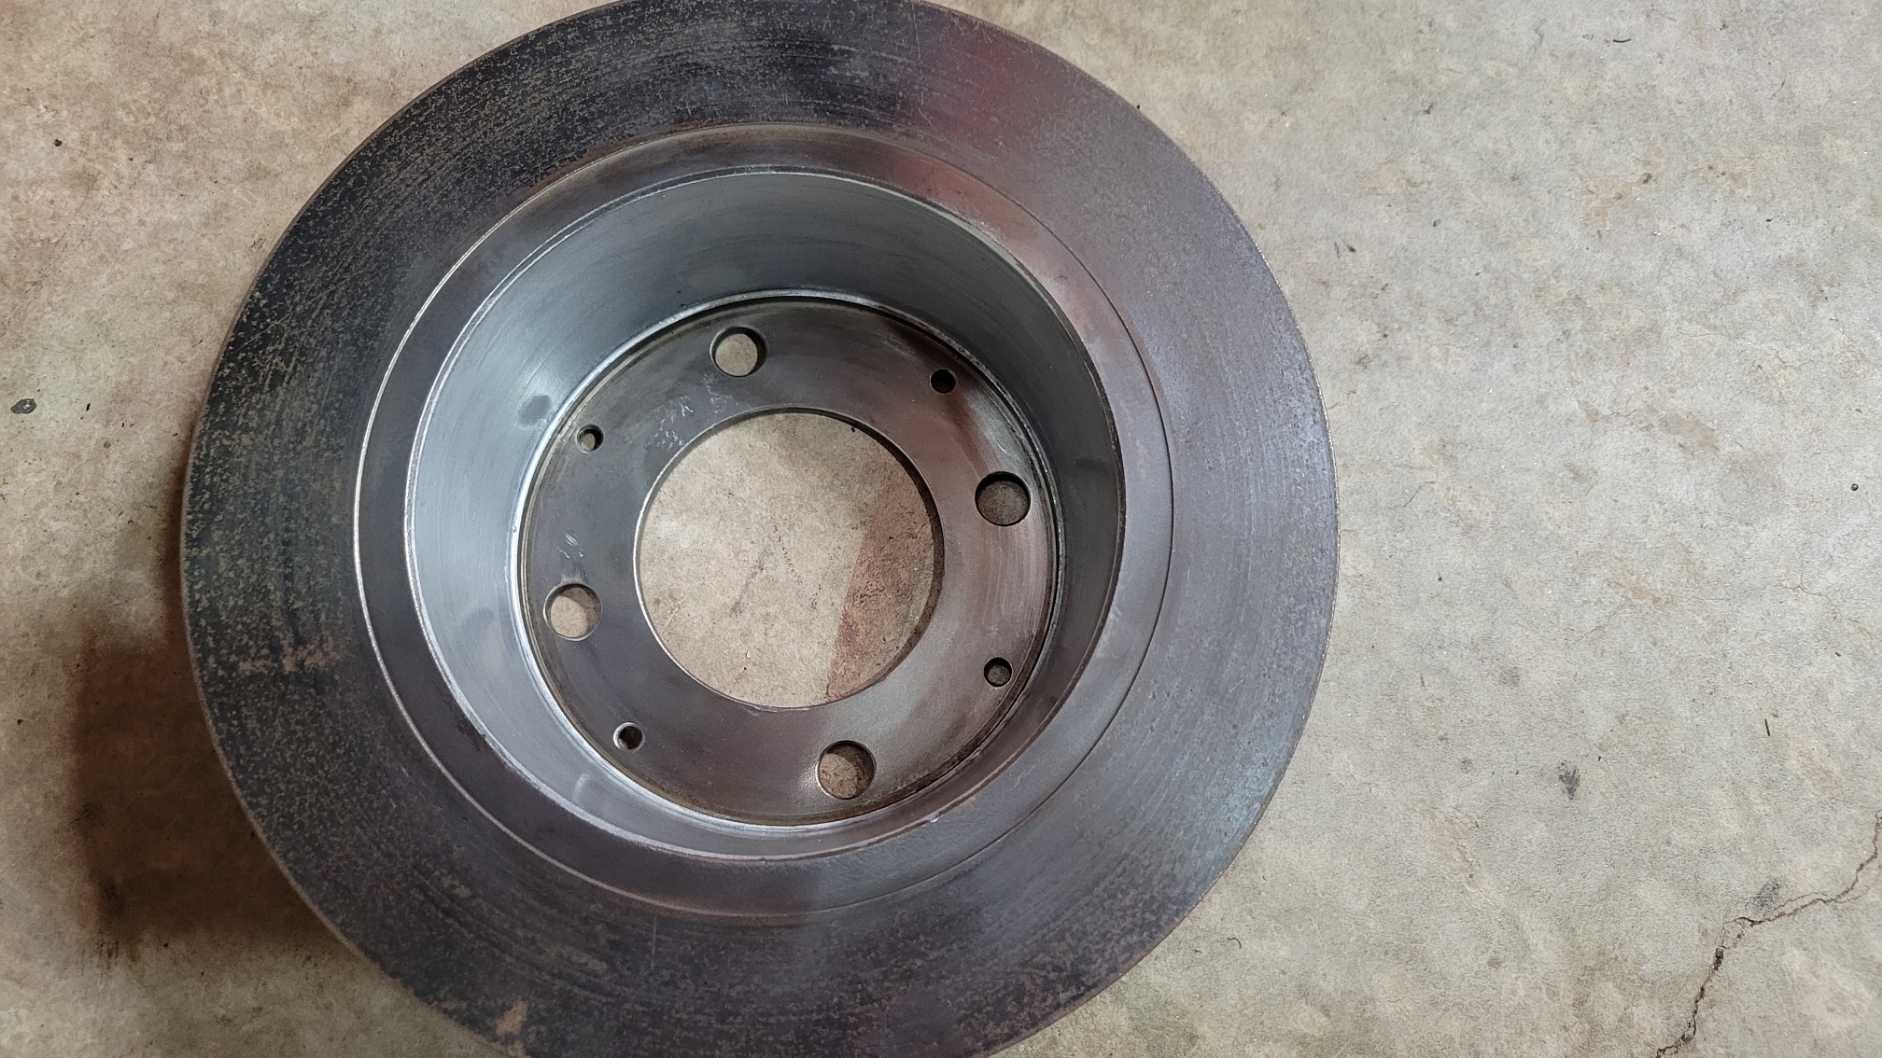
Disk has a ton of wear left in it. These were wire-wheeled and painted.
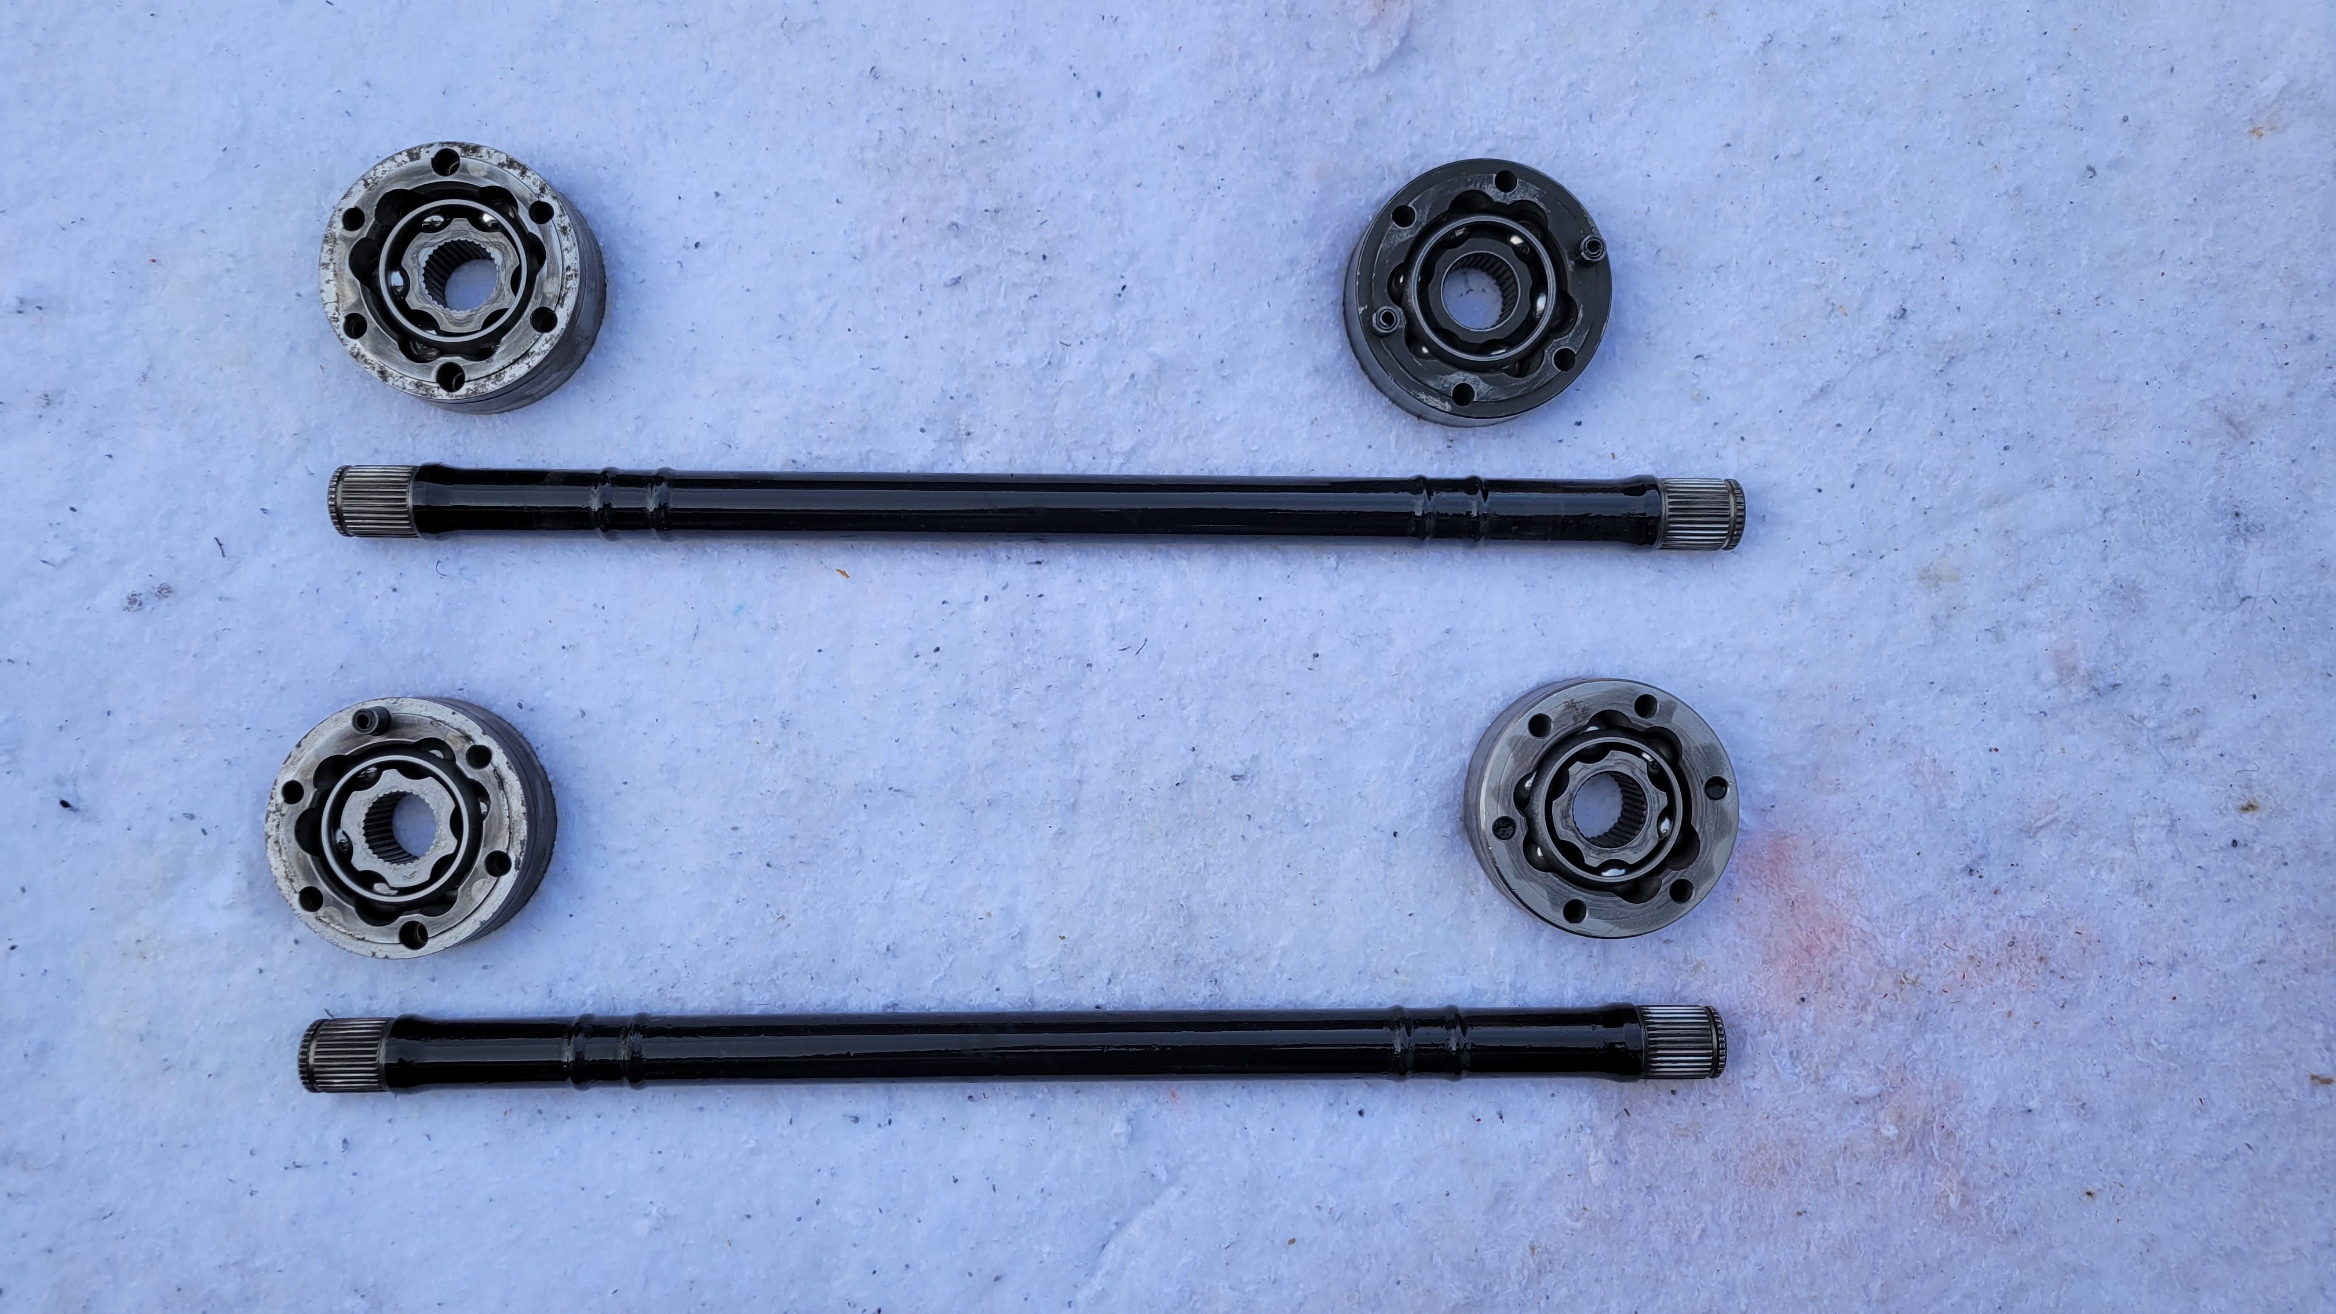
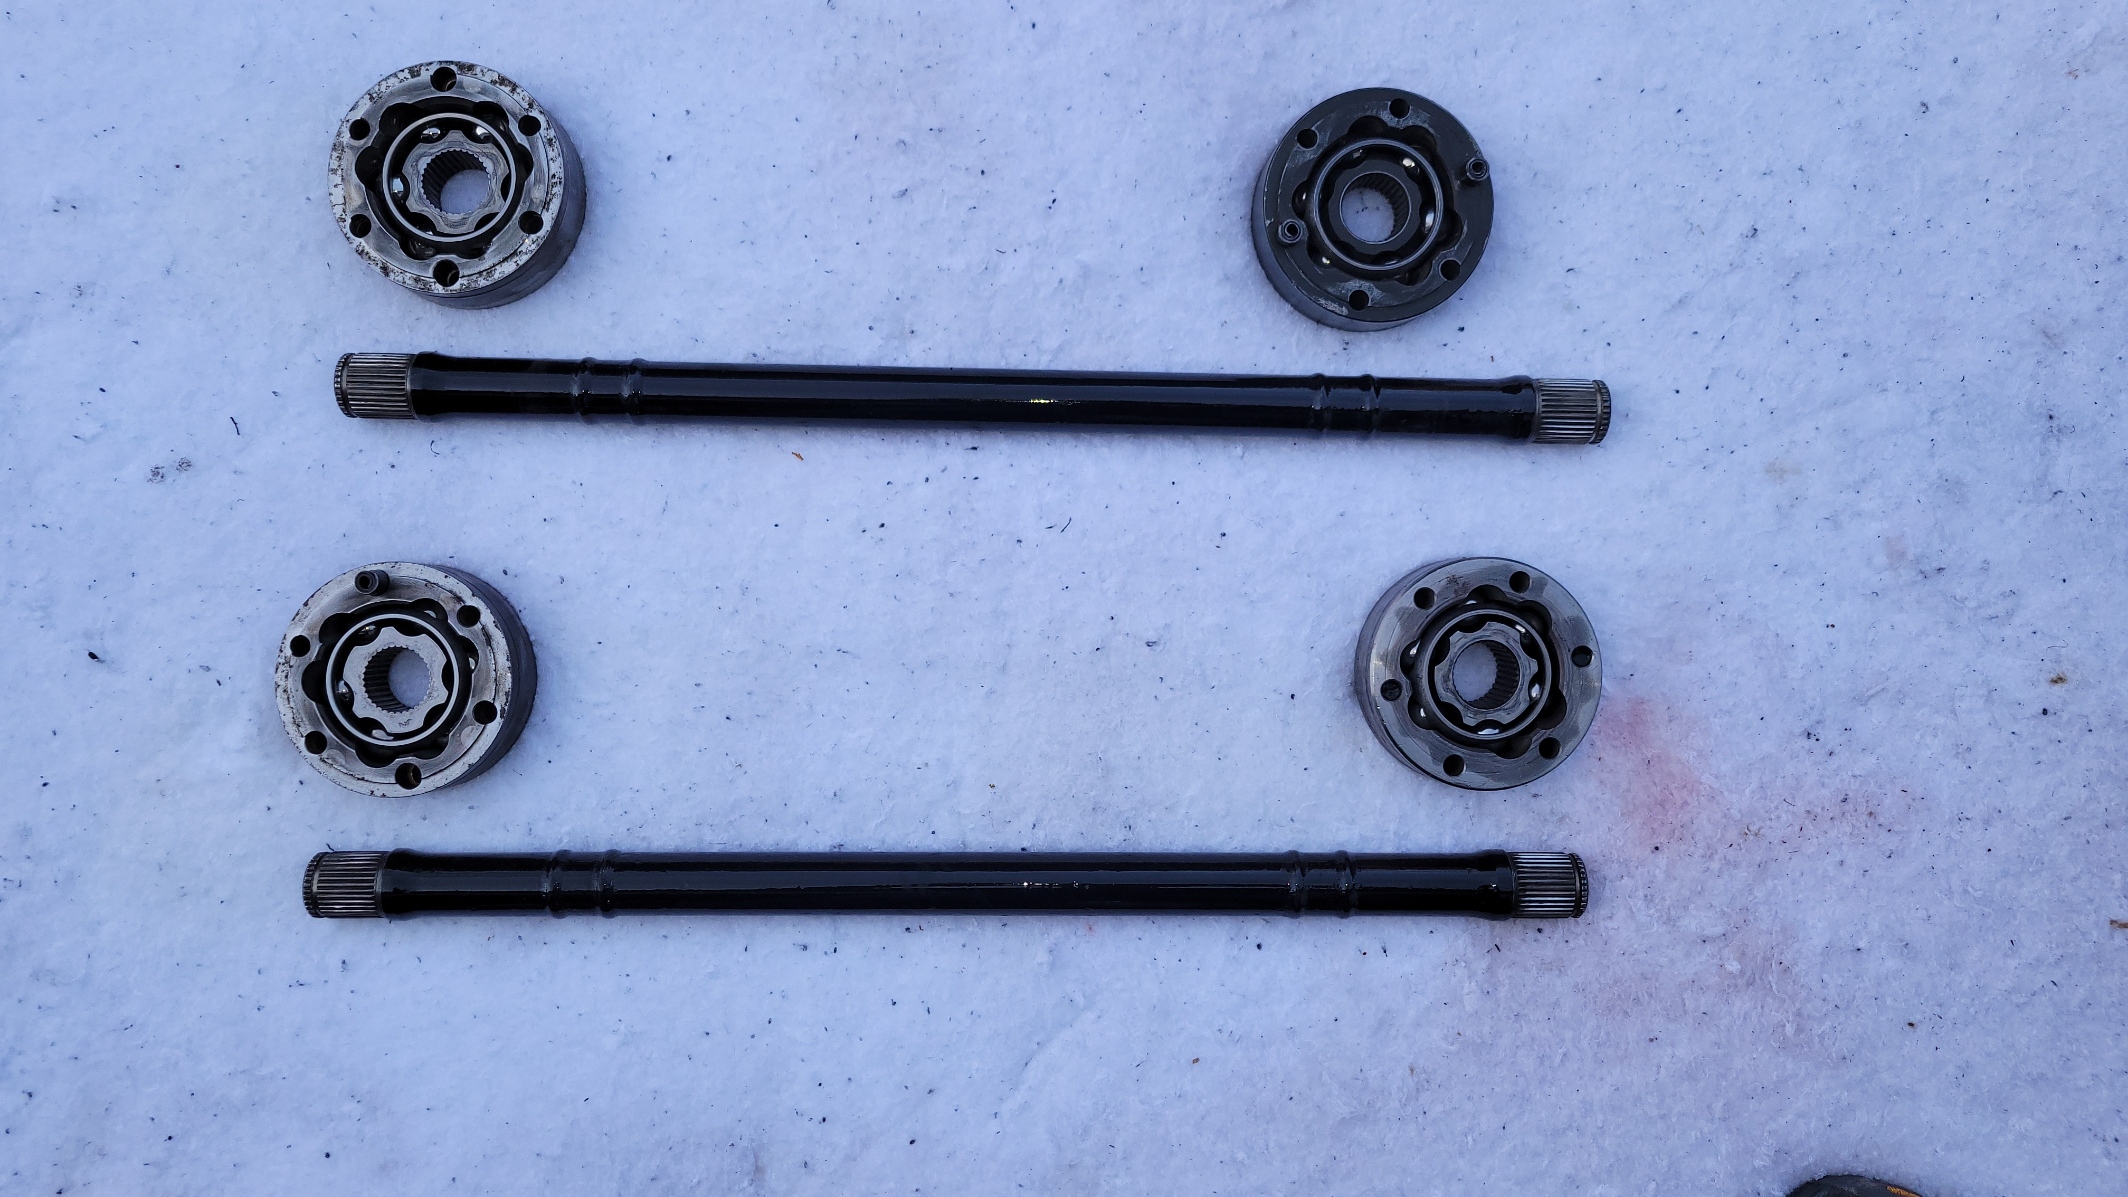
CV joints were disassembled and repacked.
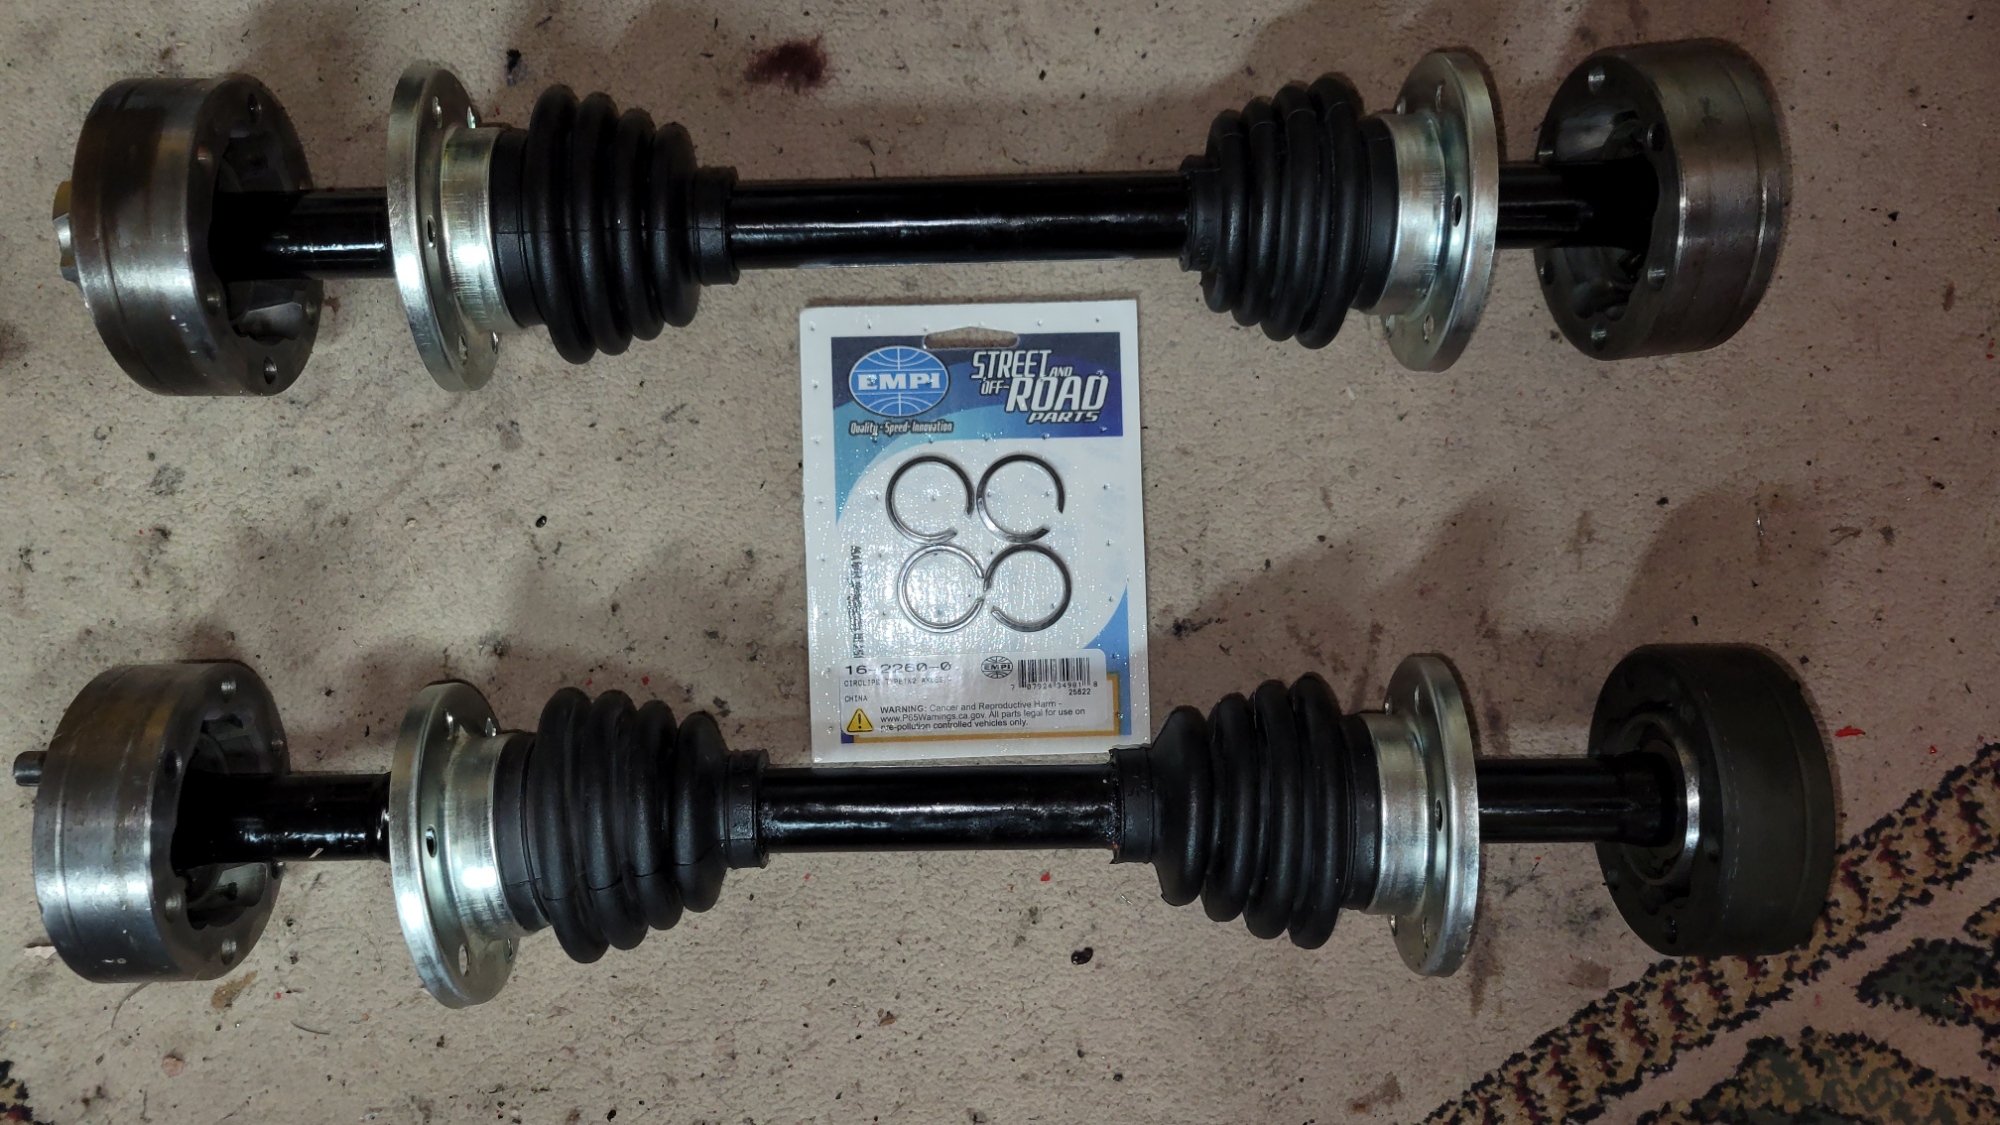
New CV Boots and CV retaining clips.
Once again, the POR15 treatment was done before I decided to take out the suspension and powder coat.
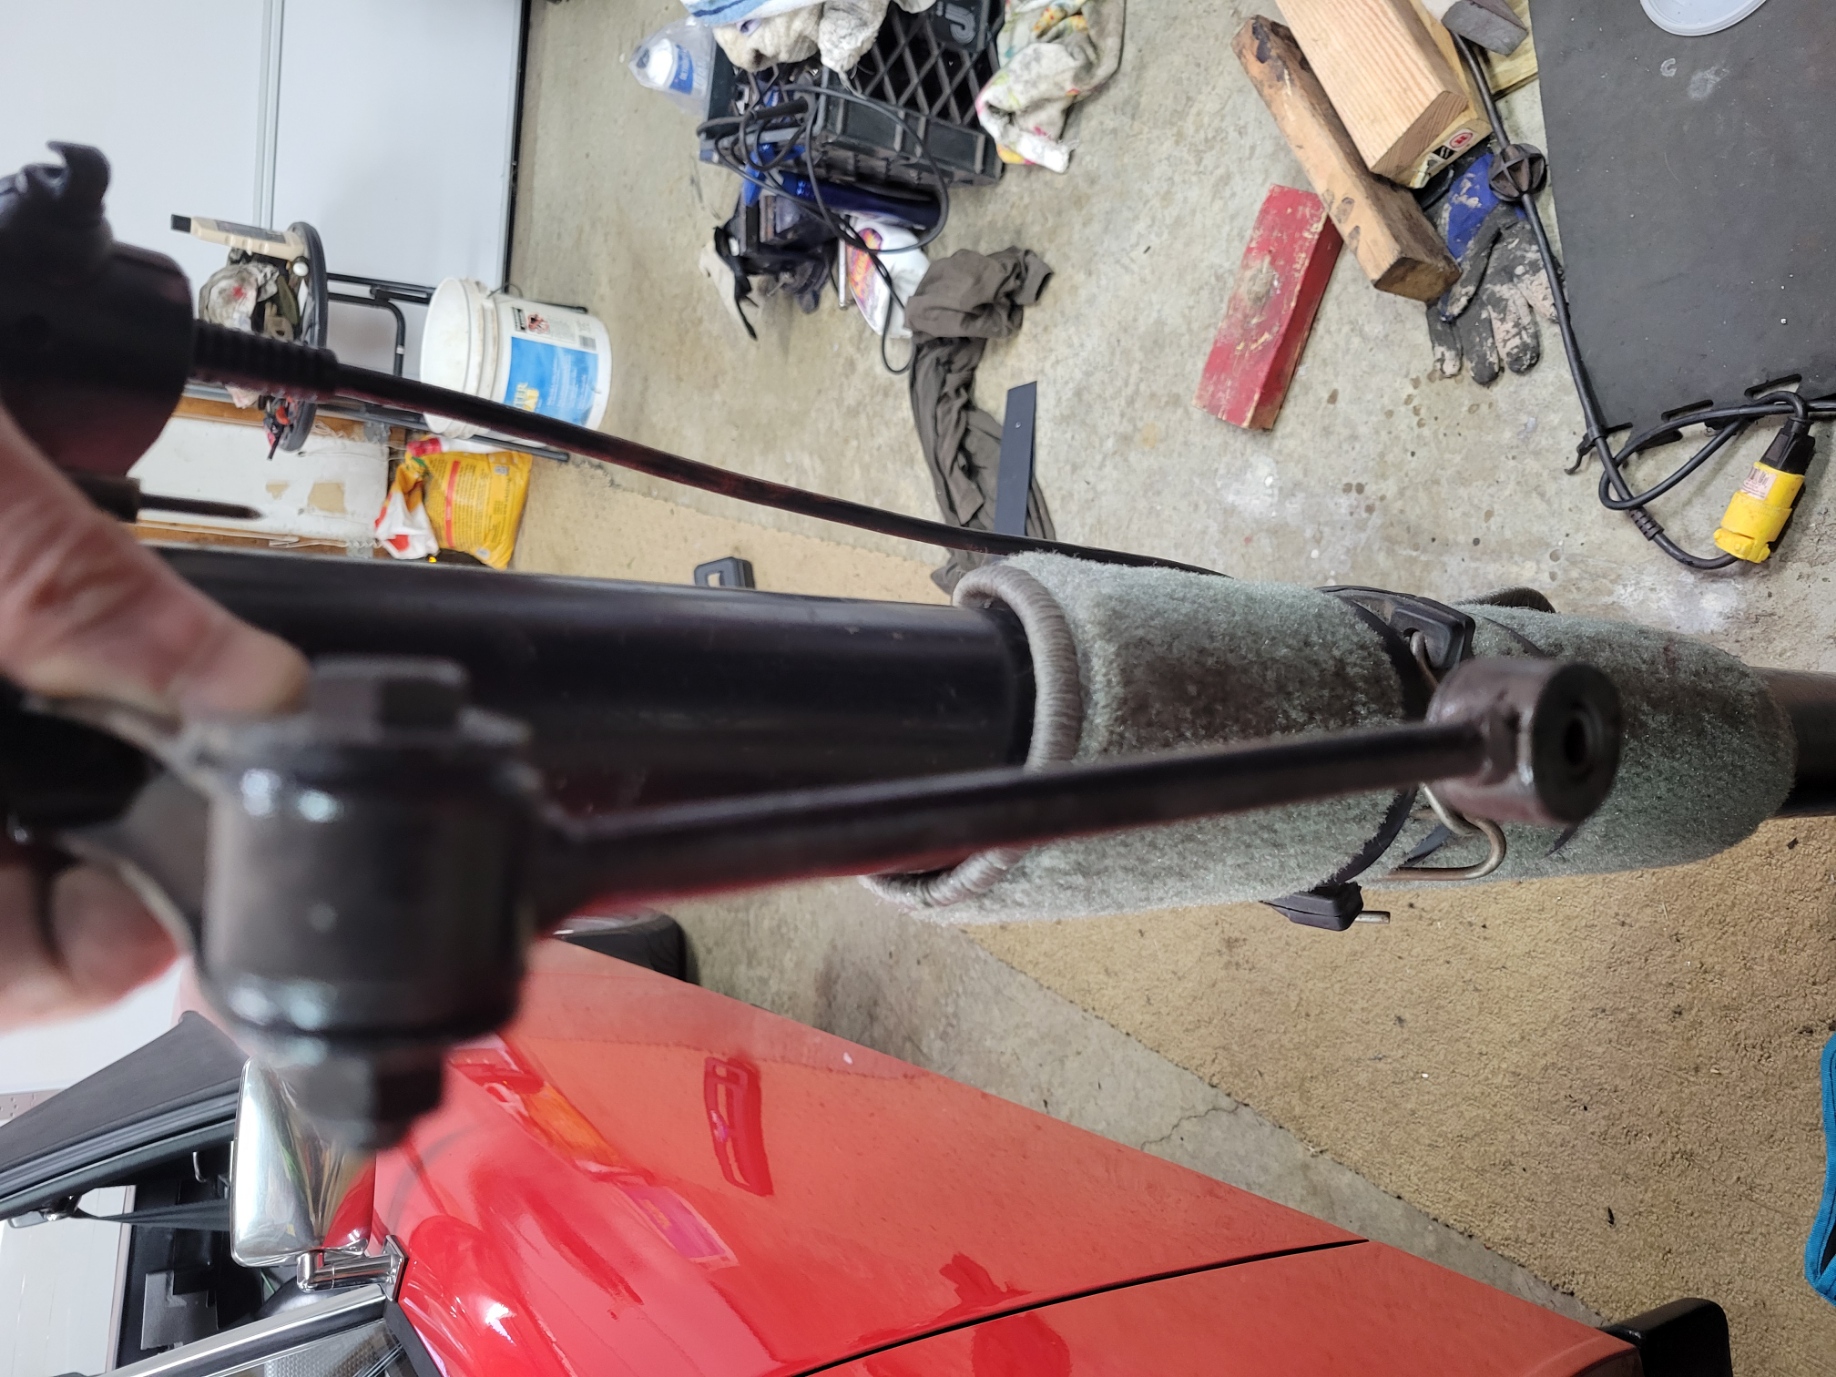
Sway-Bar links were stripped, repainted and they got new rubber bushings too.
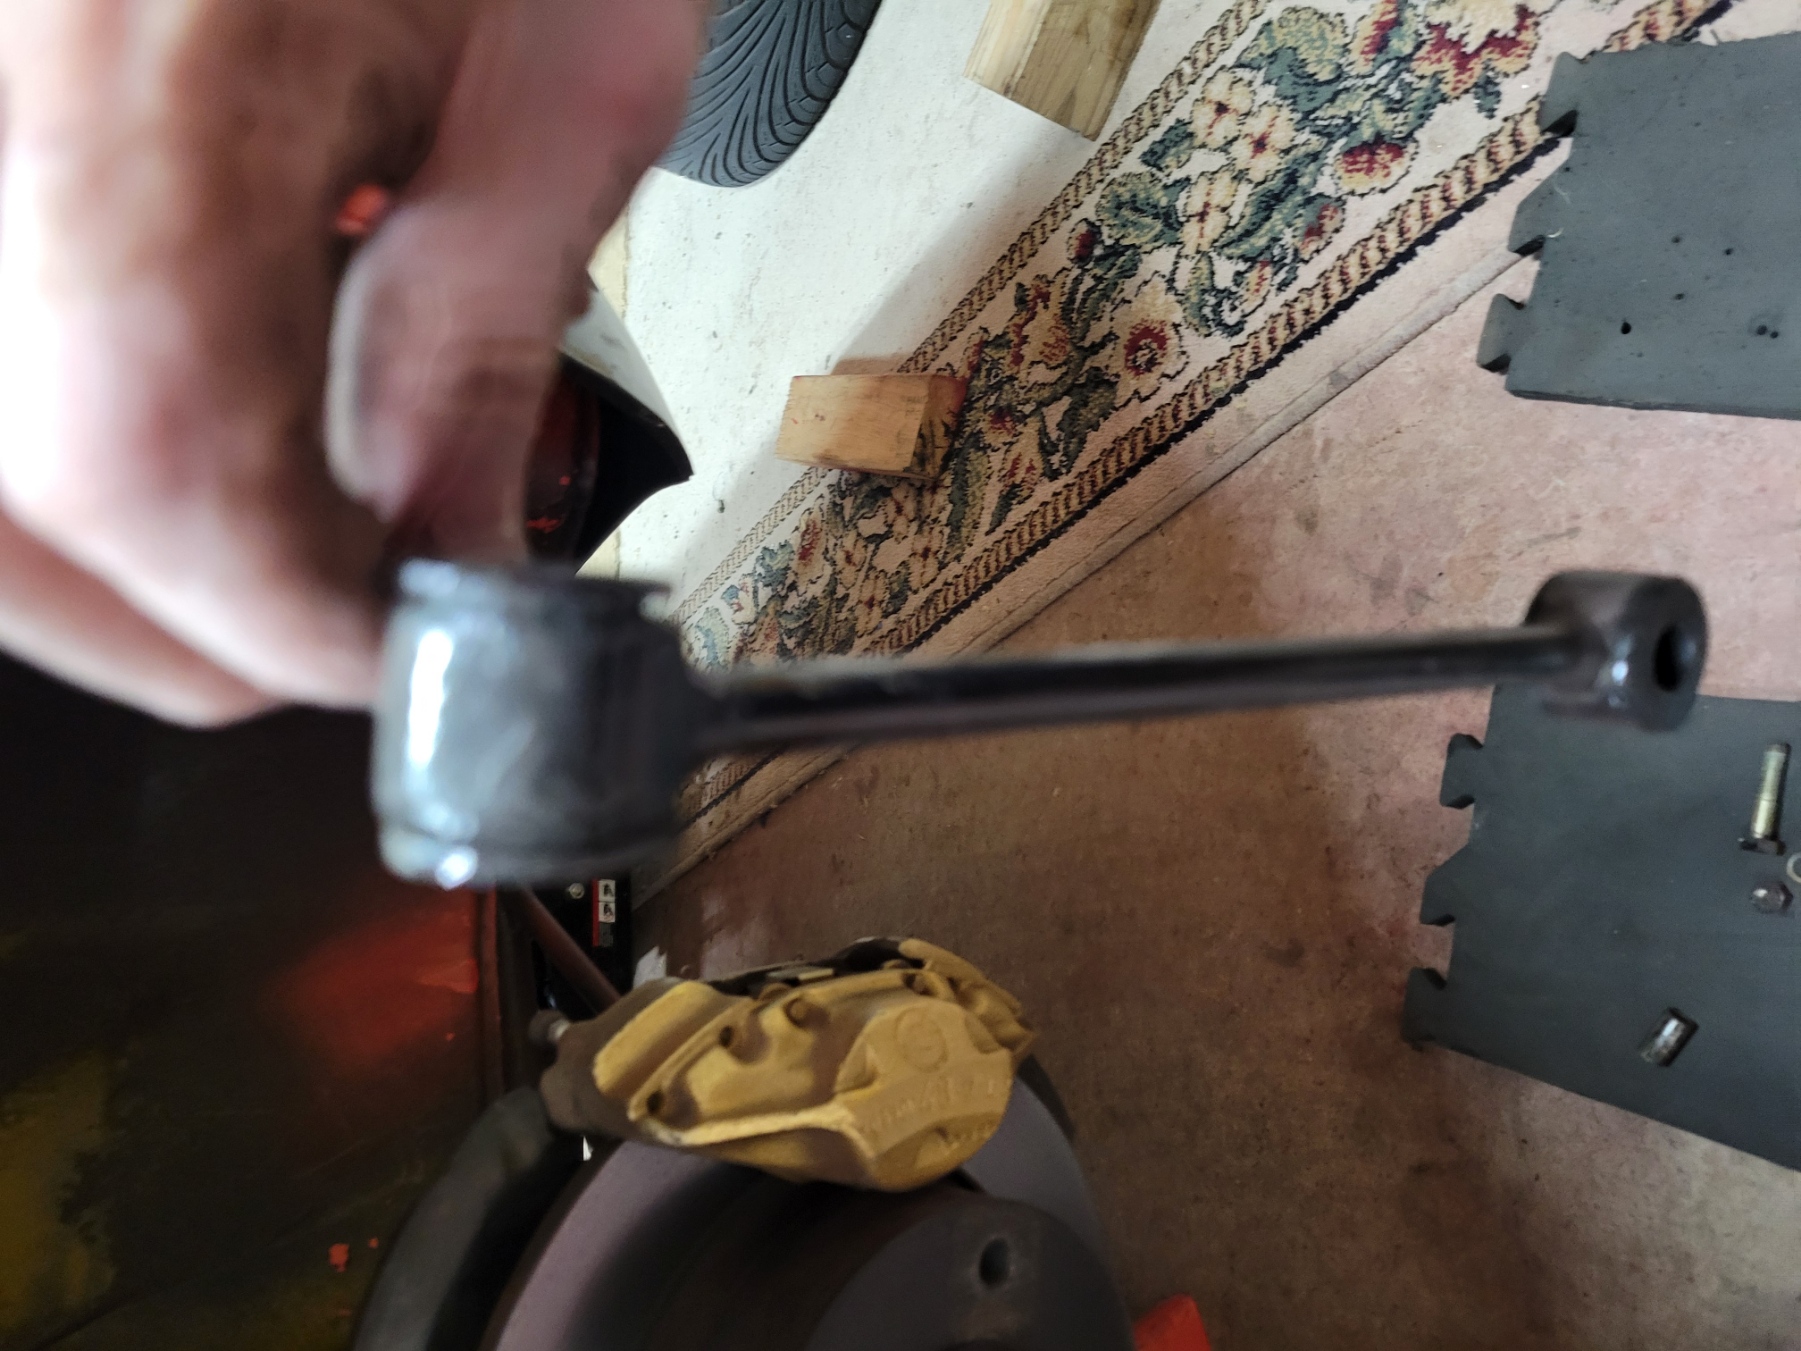
Painted and before new bushings.
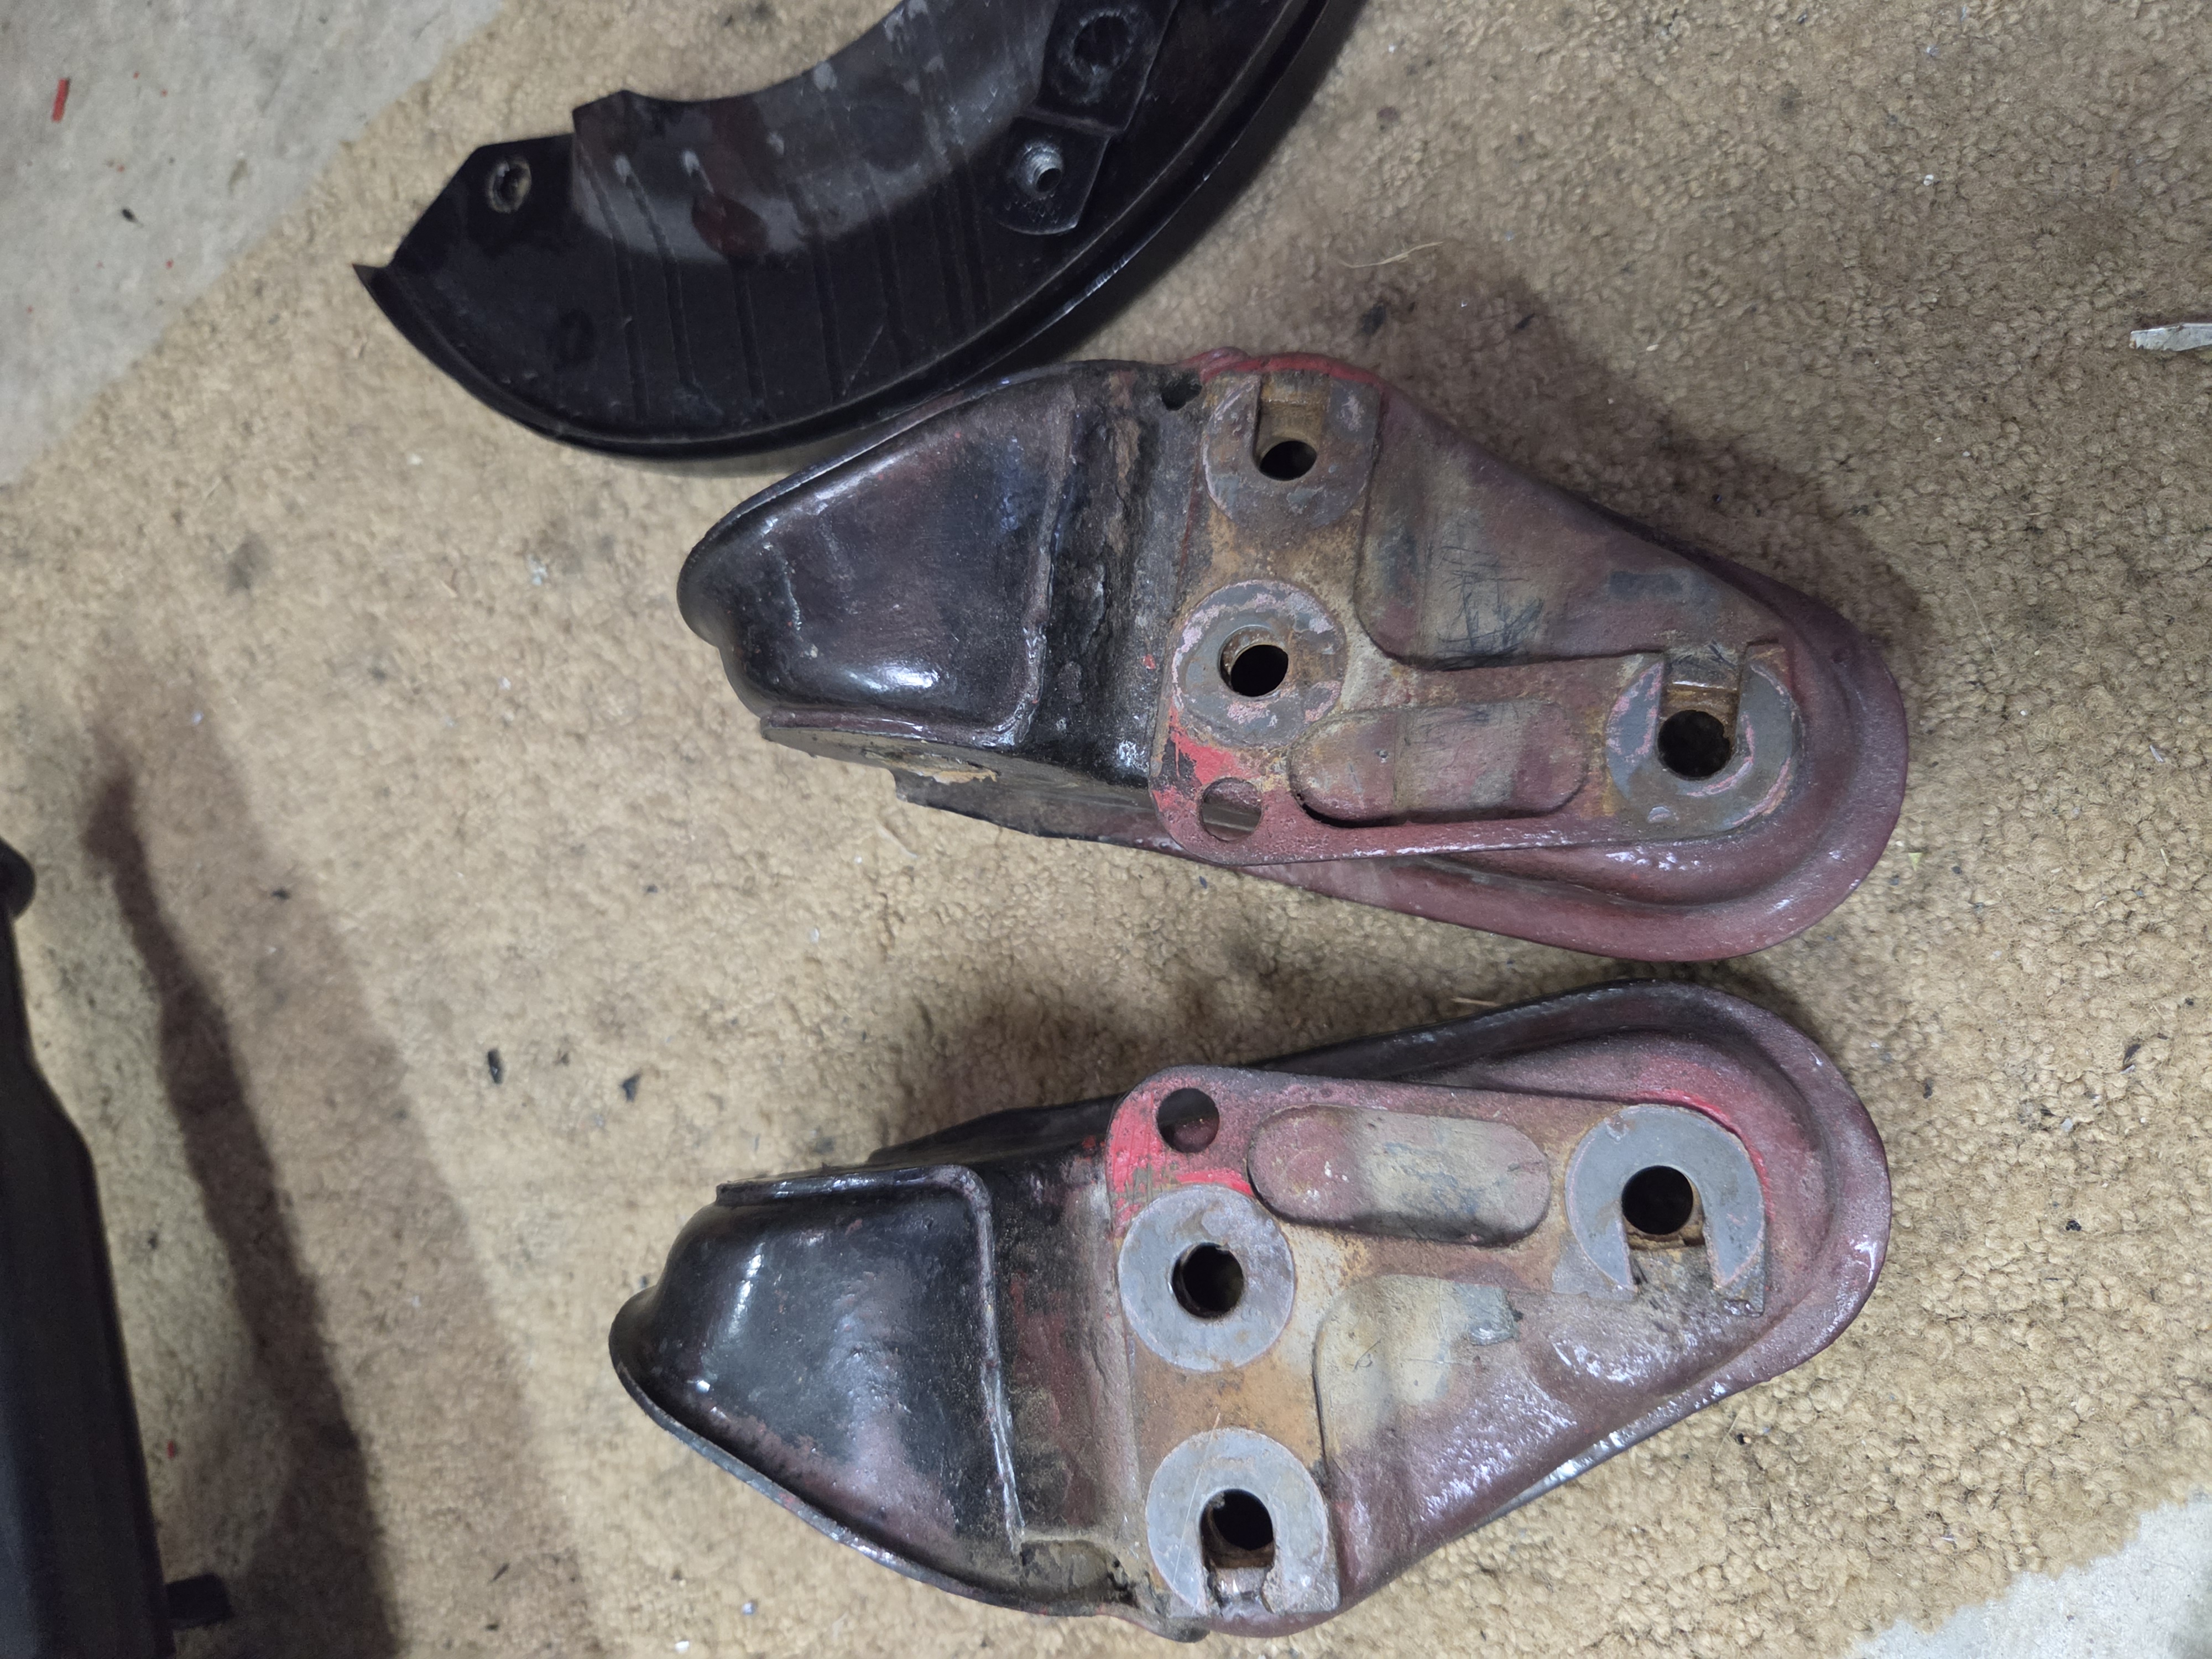
These got blasted and powder coated. Note the orientation of the shims.
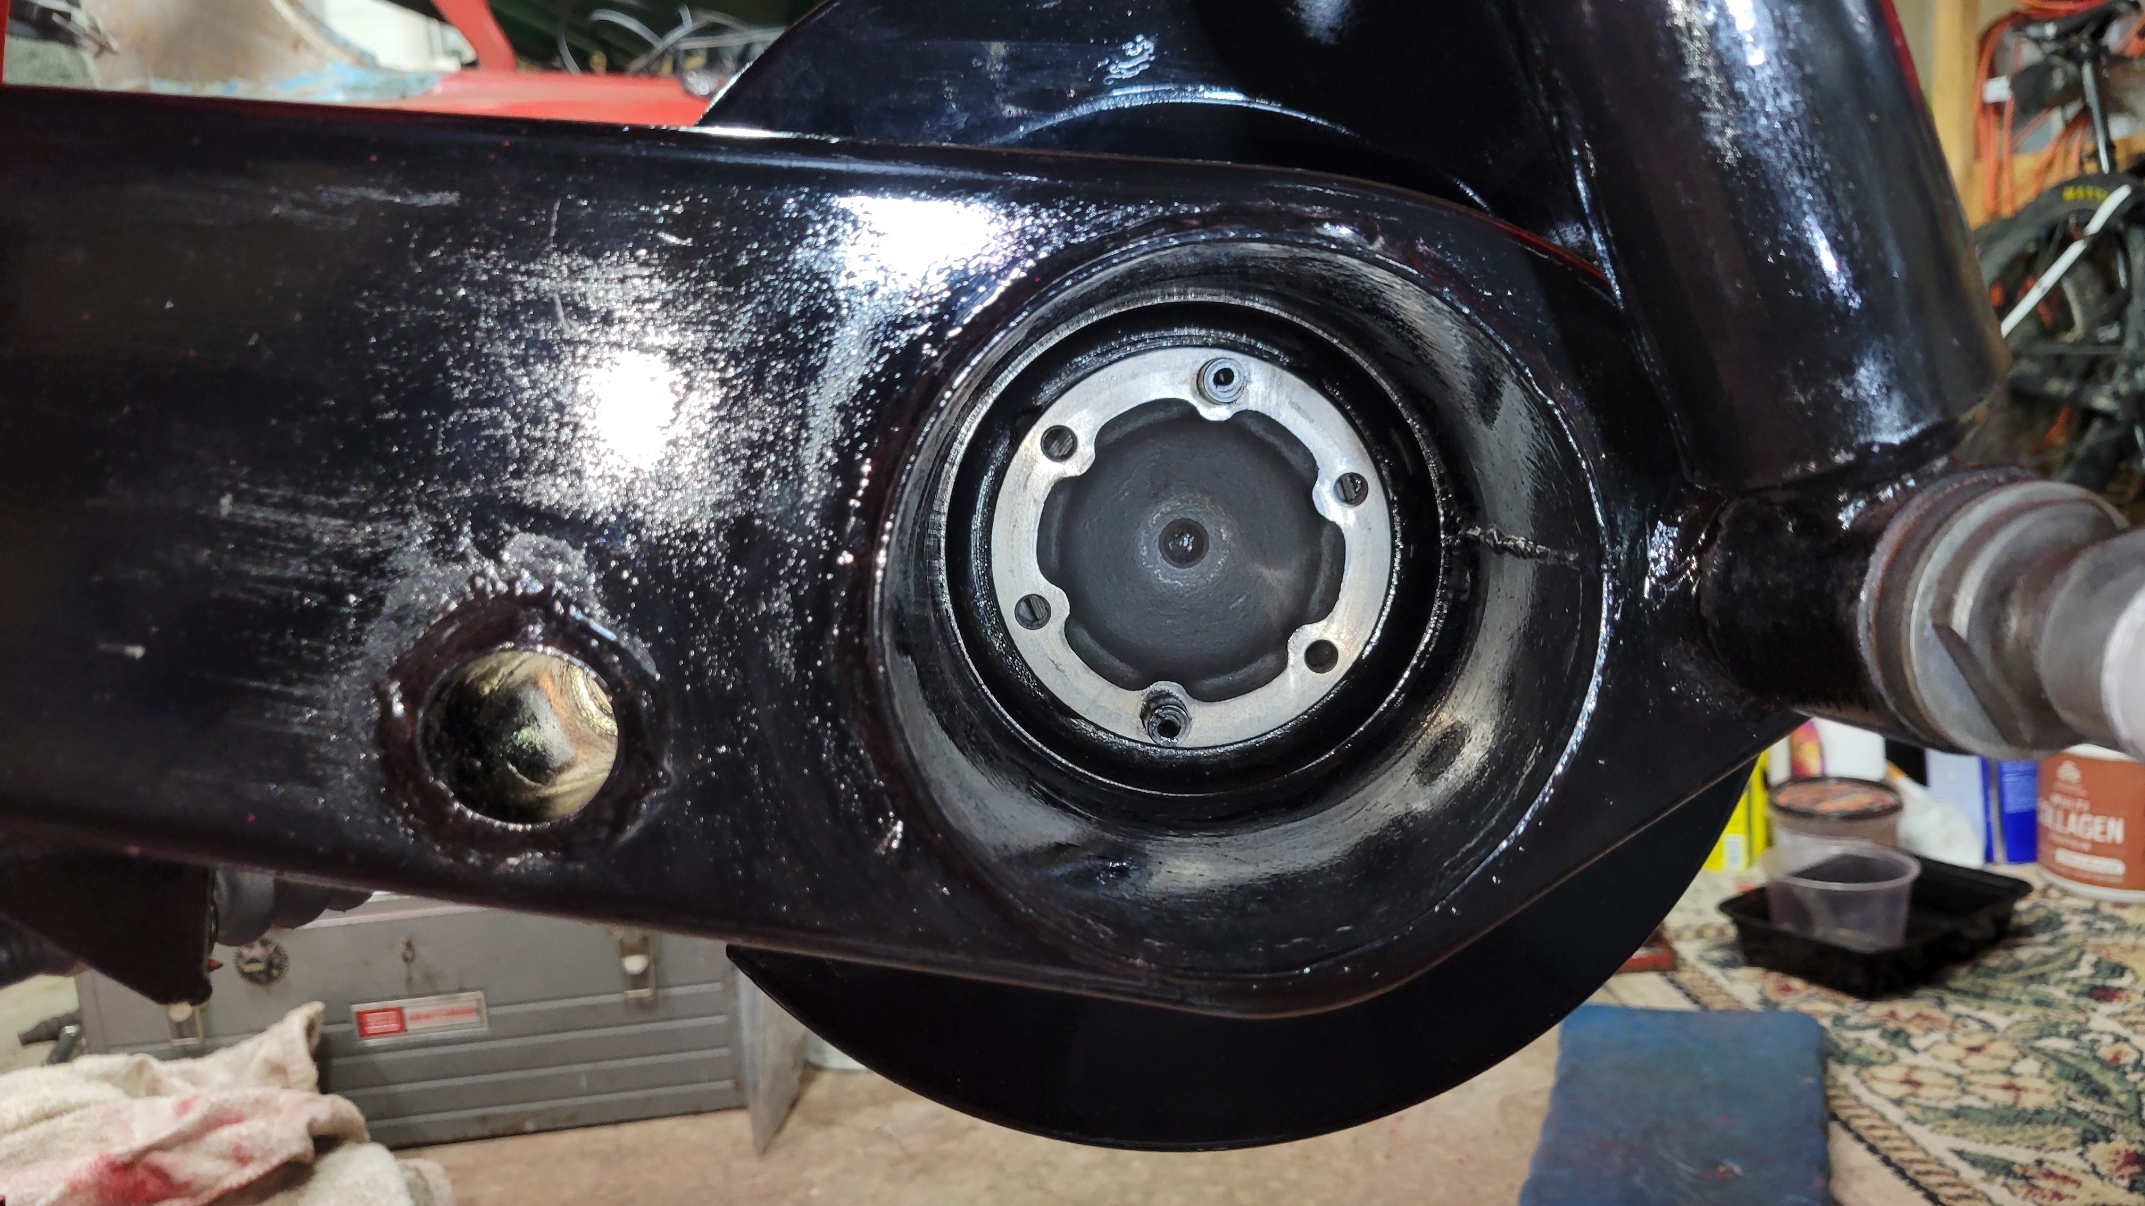
Before the massive PIA project to remove the pivot and bushings.
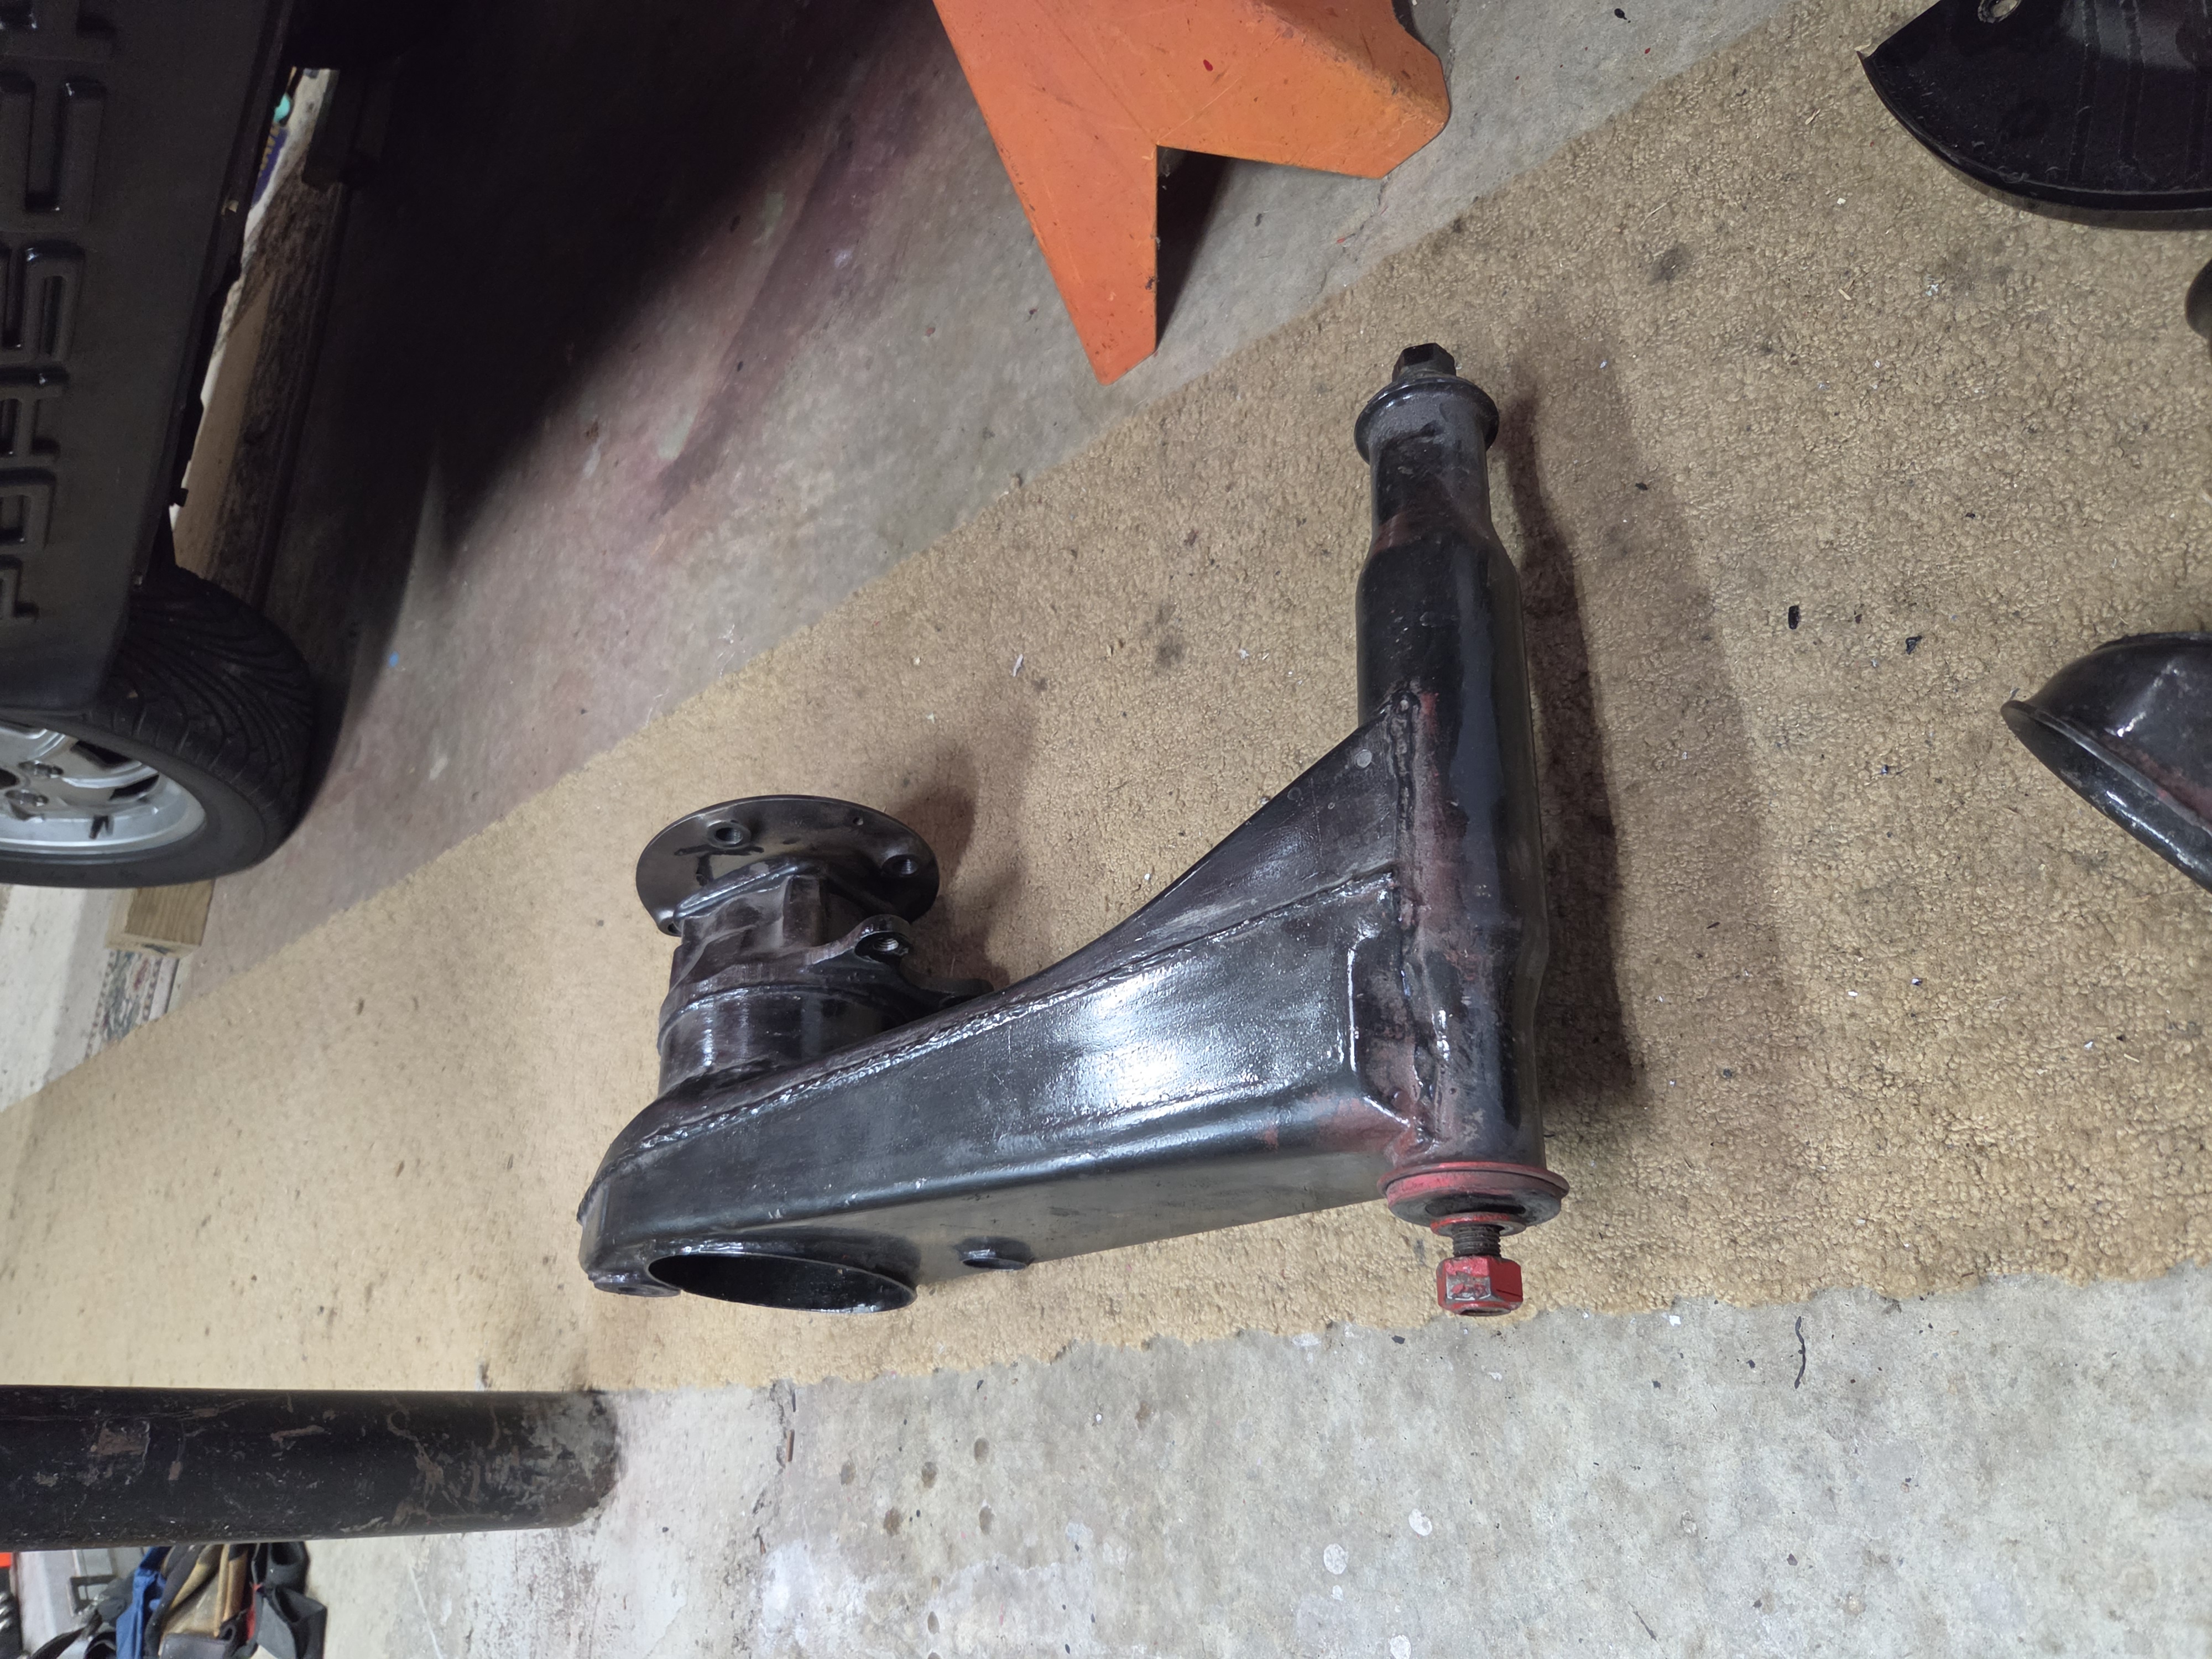
Home-Made slide hammer with 1/2" rod and a flywheel as the hammer.
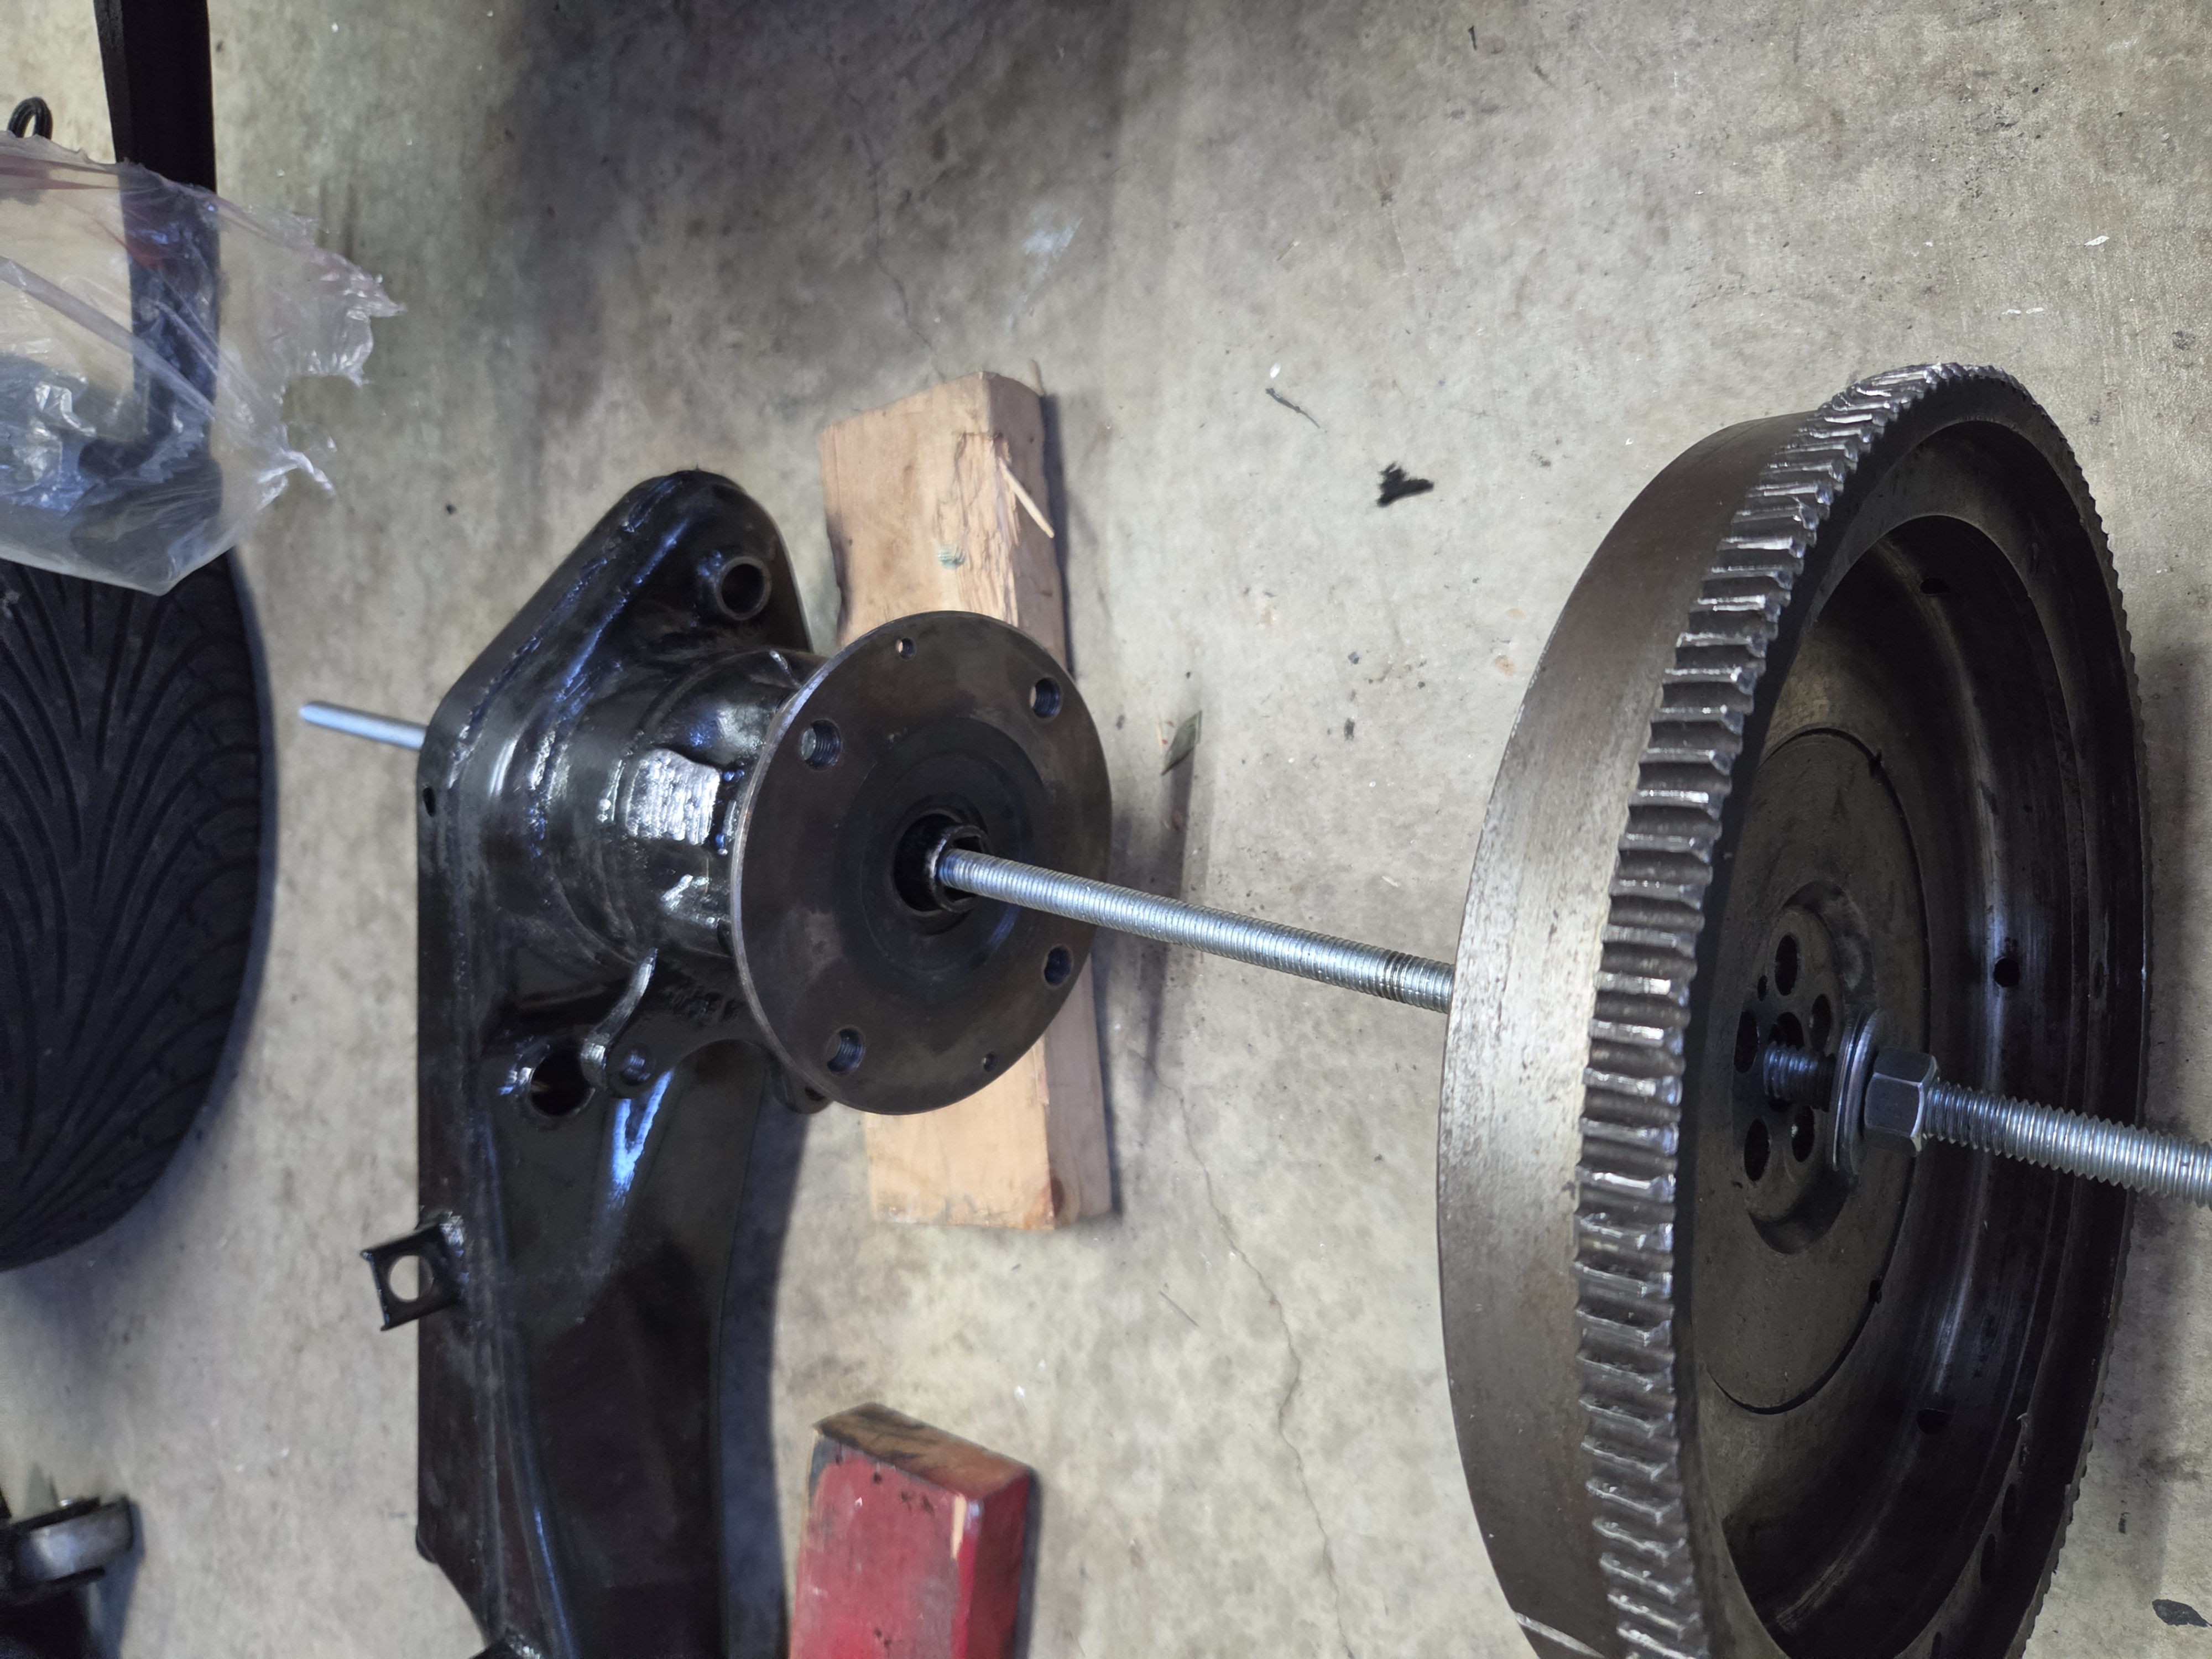
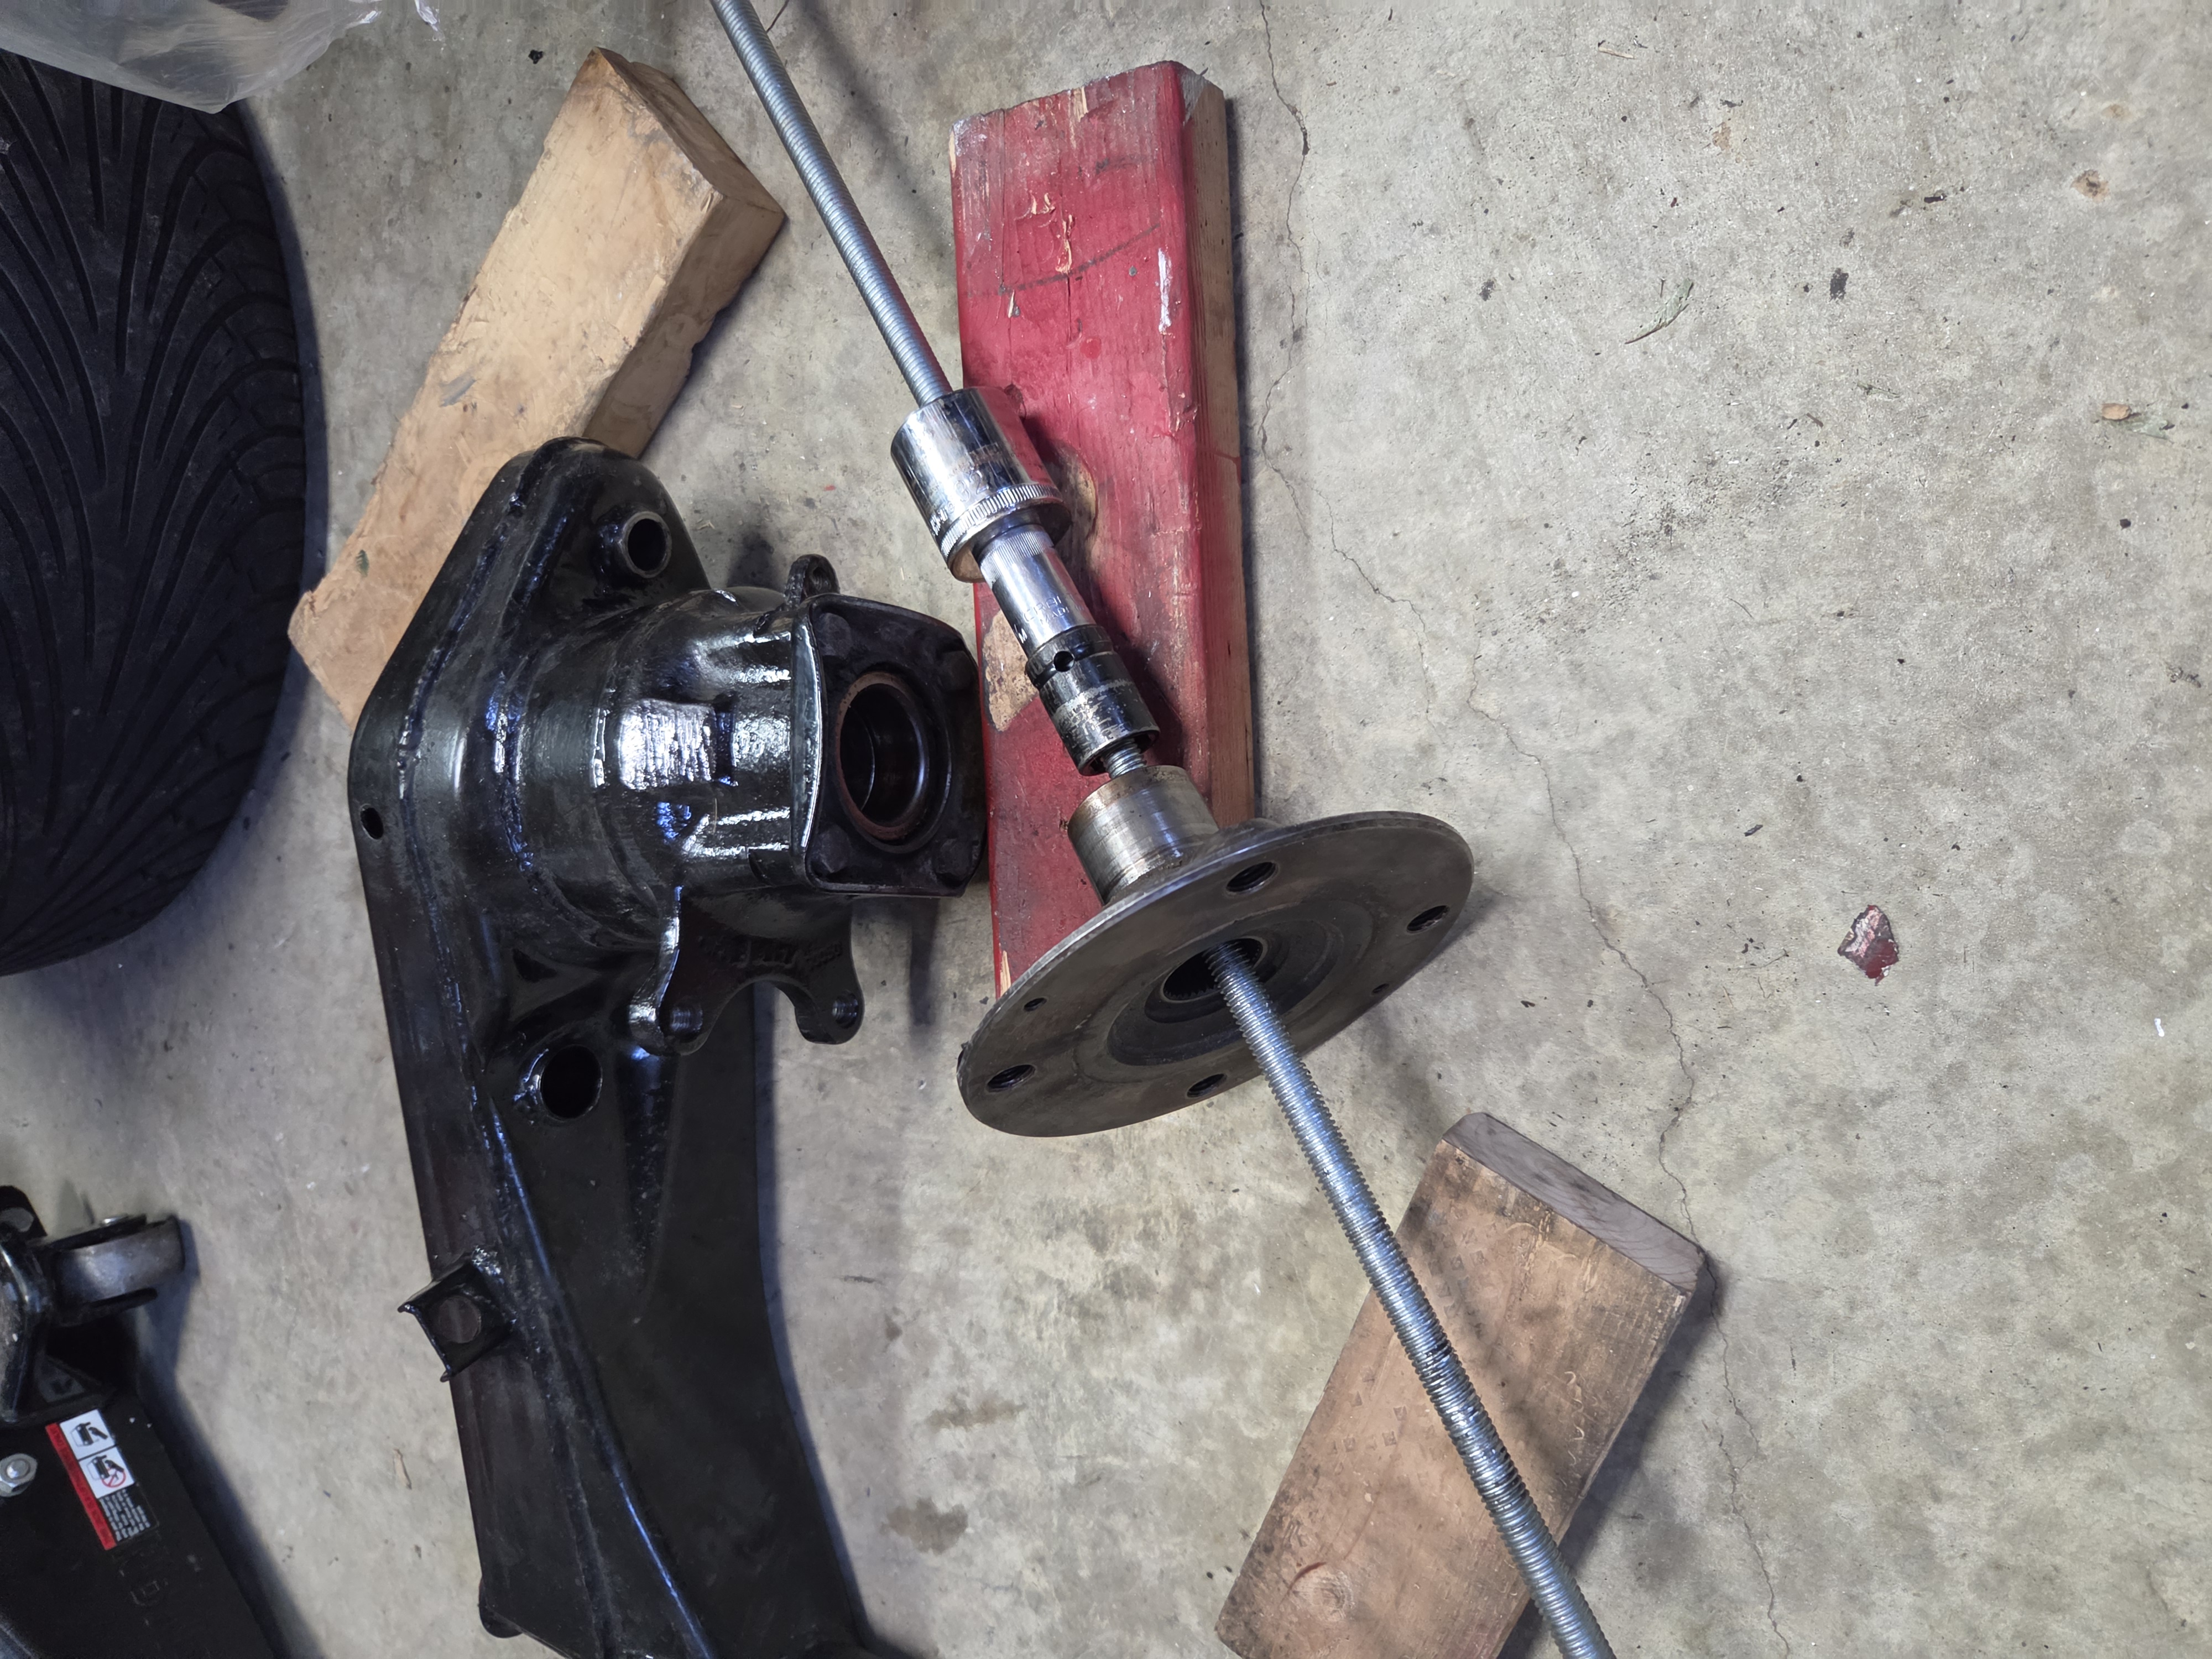
Note the use of a socket as the slider bushing.
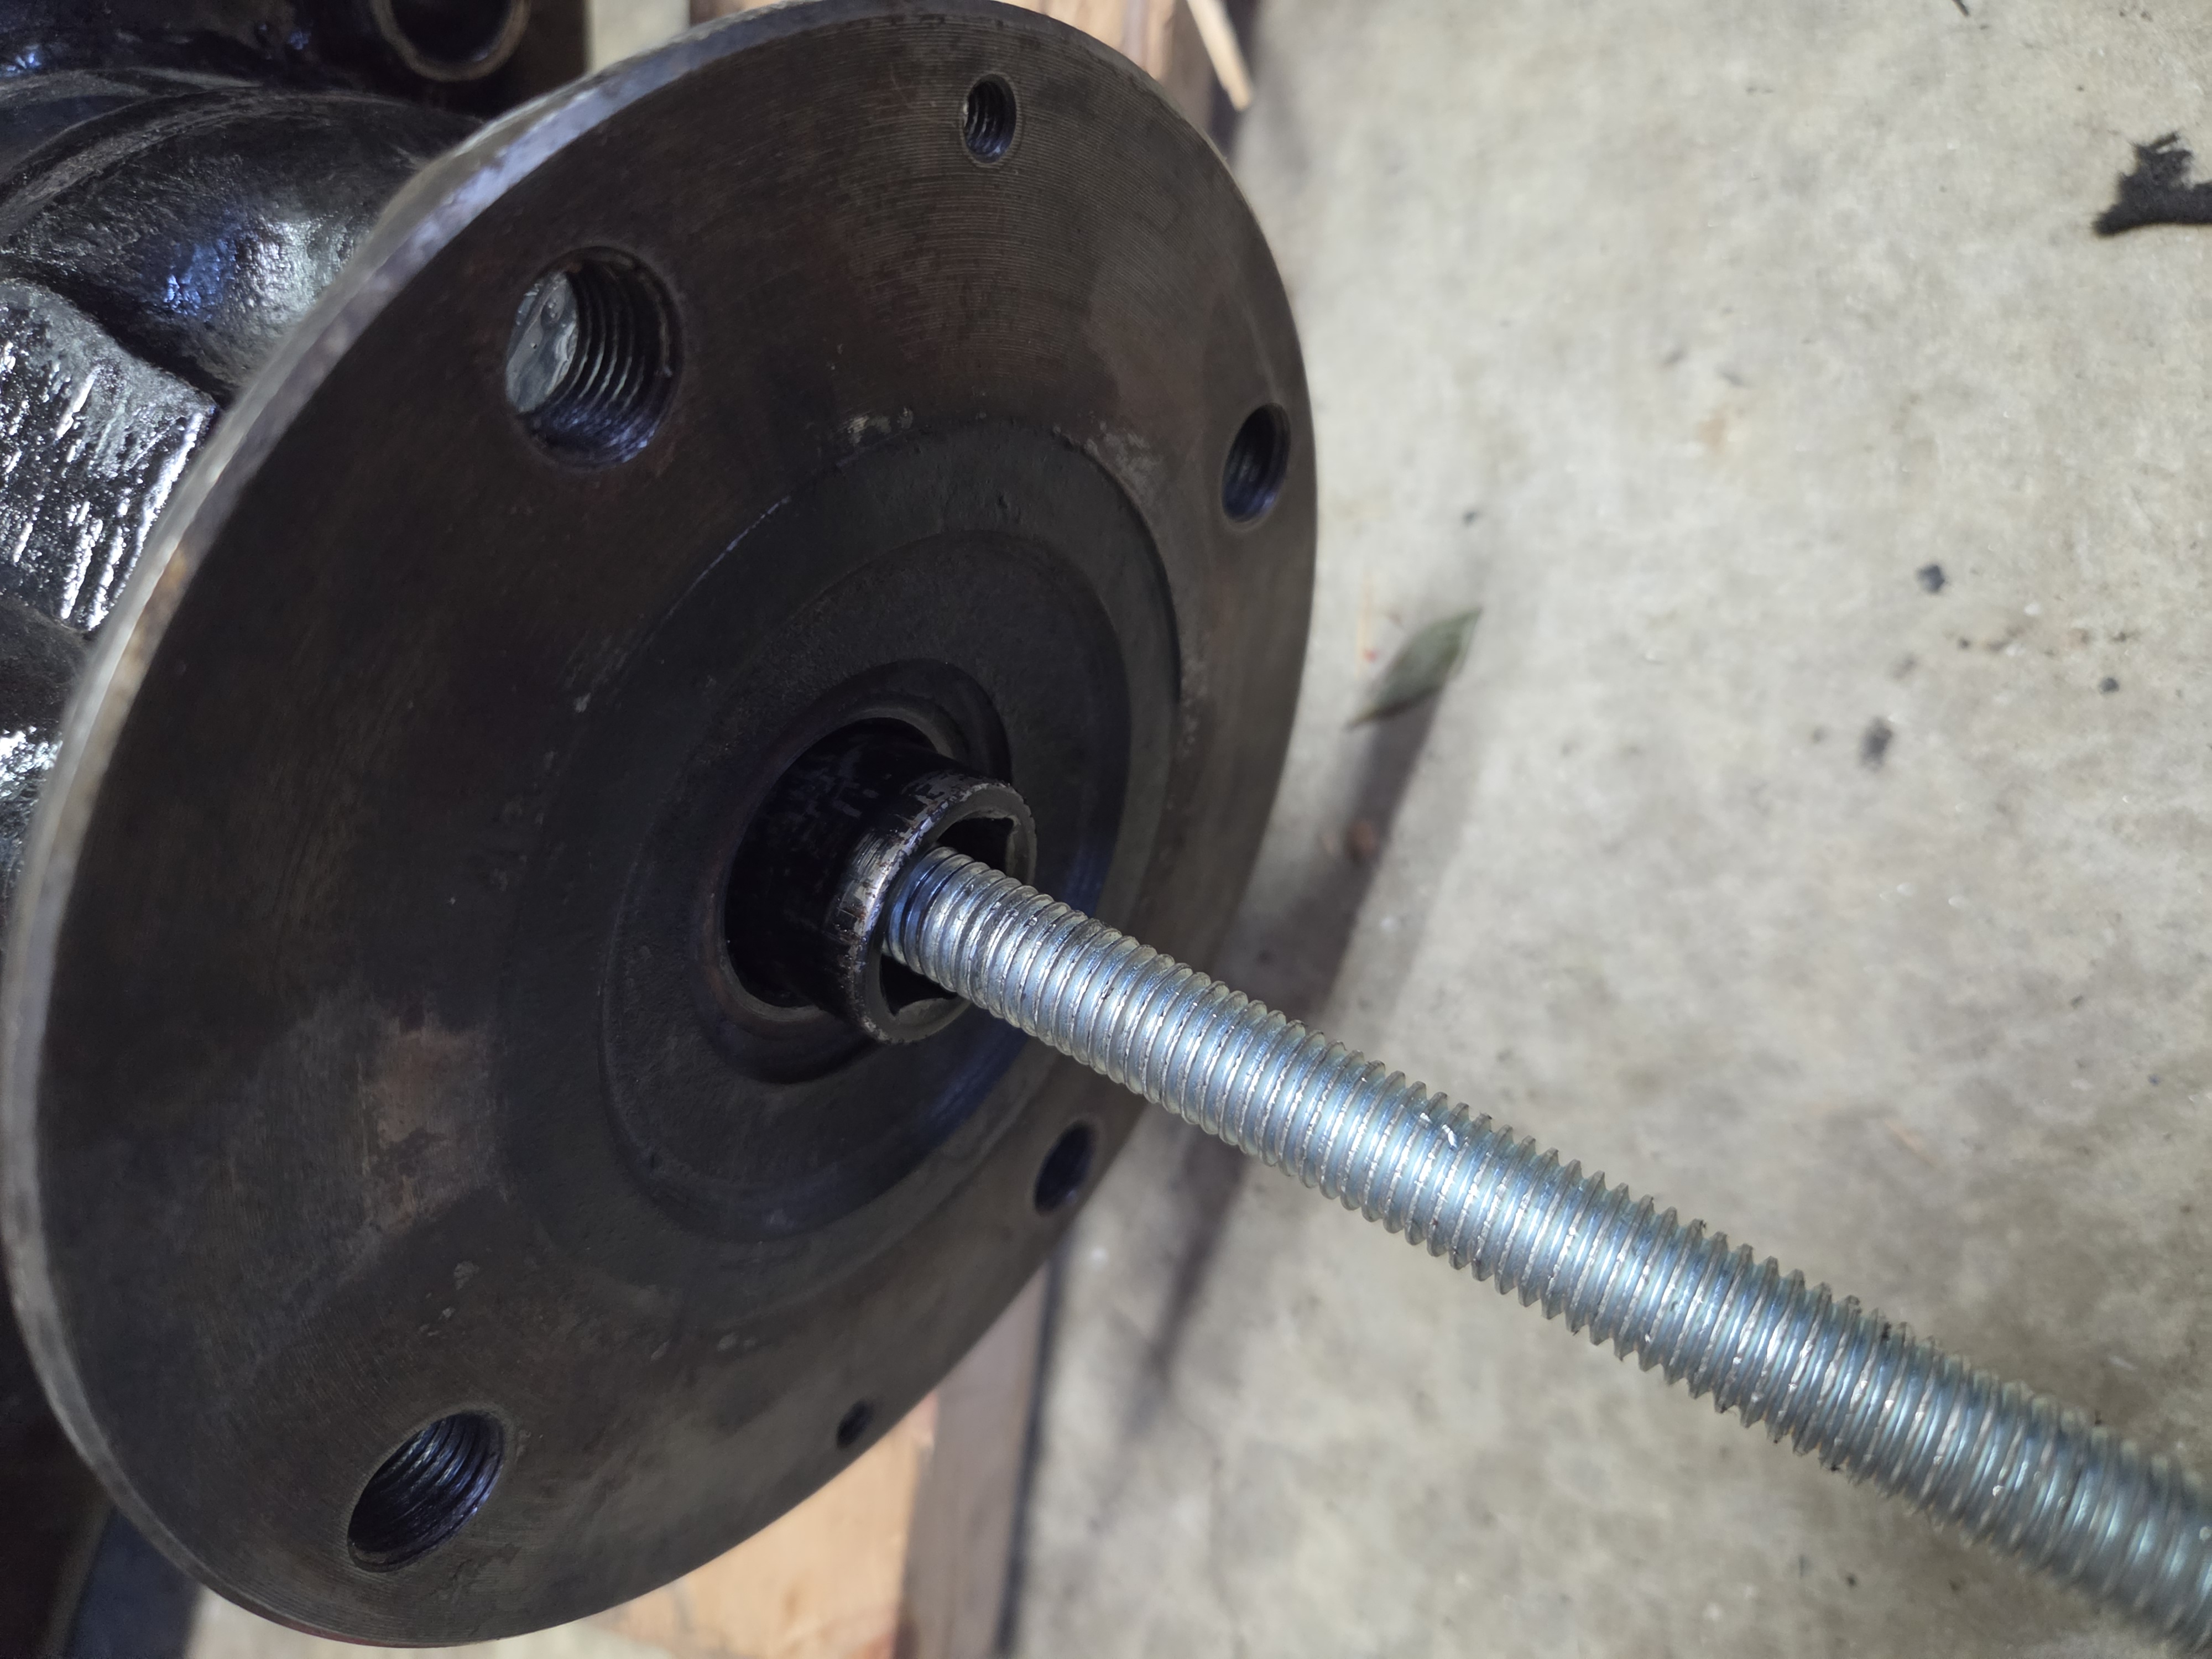
Free after 14 pulls.
Front trailing arm and the ancient ball-joint. A nice little 14" harbor Freight plumbers pipe wrench removed the nuts with the help of a little 4-foot rod.
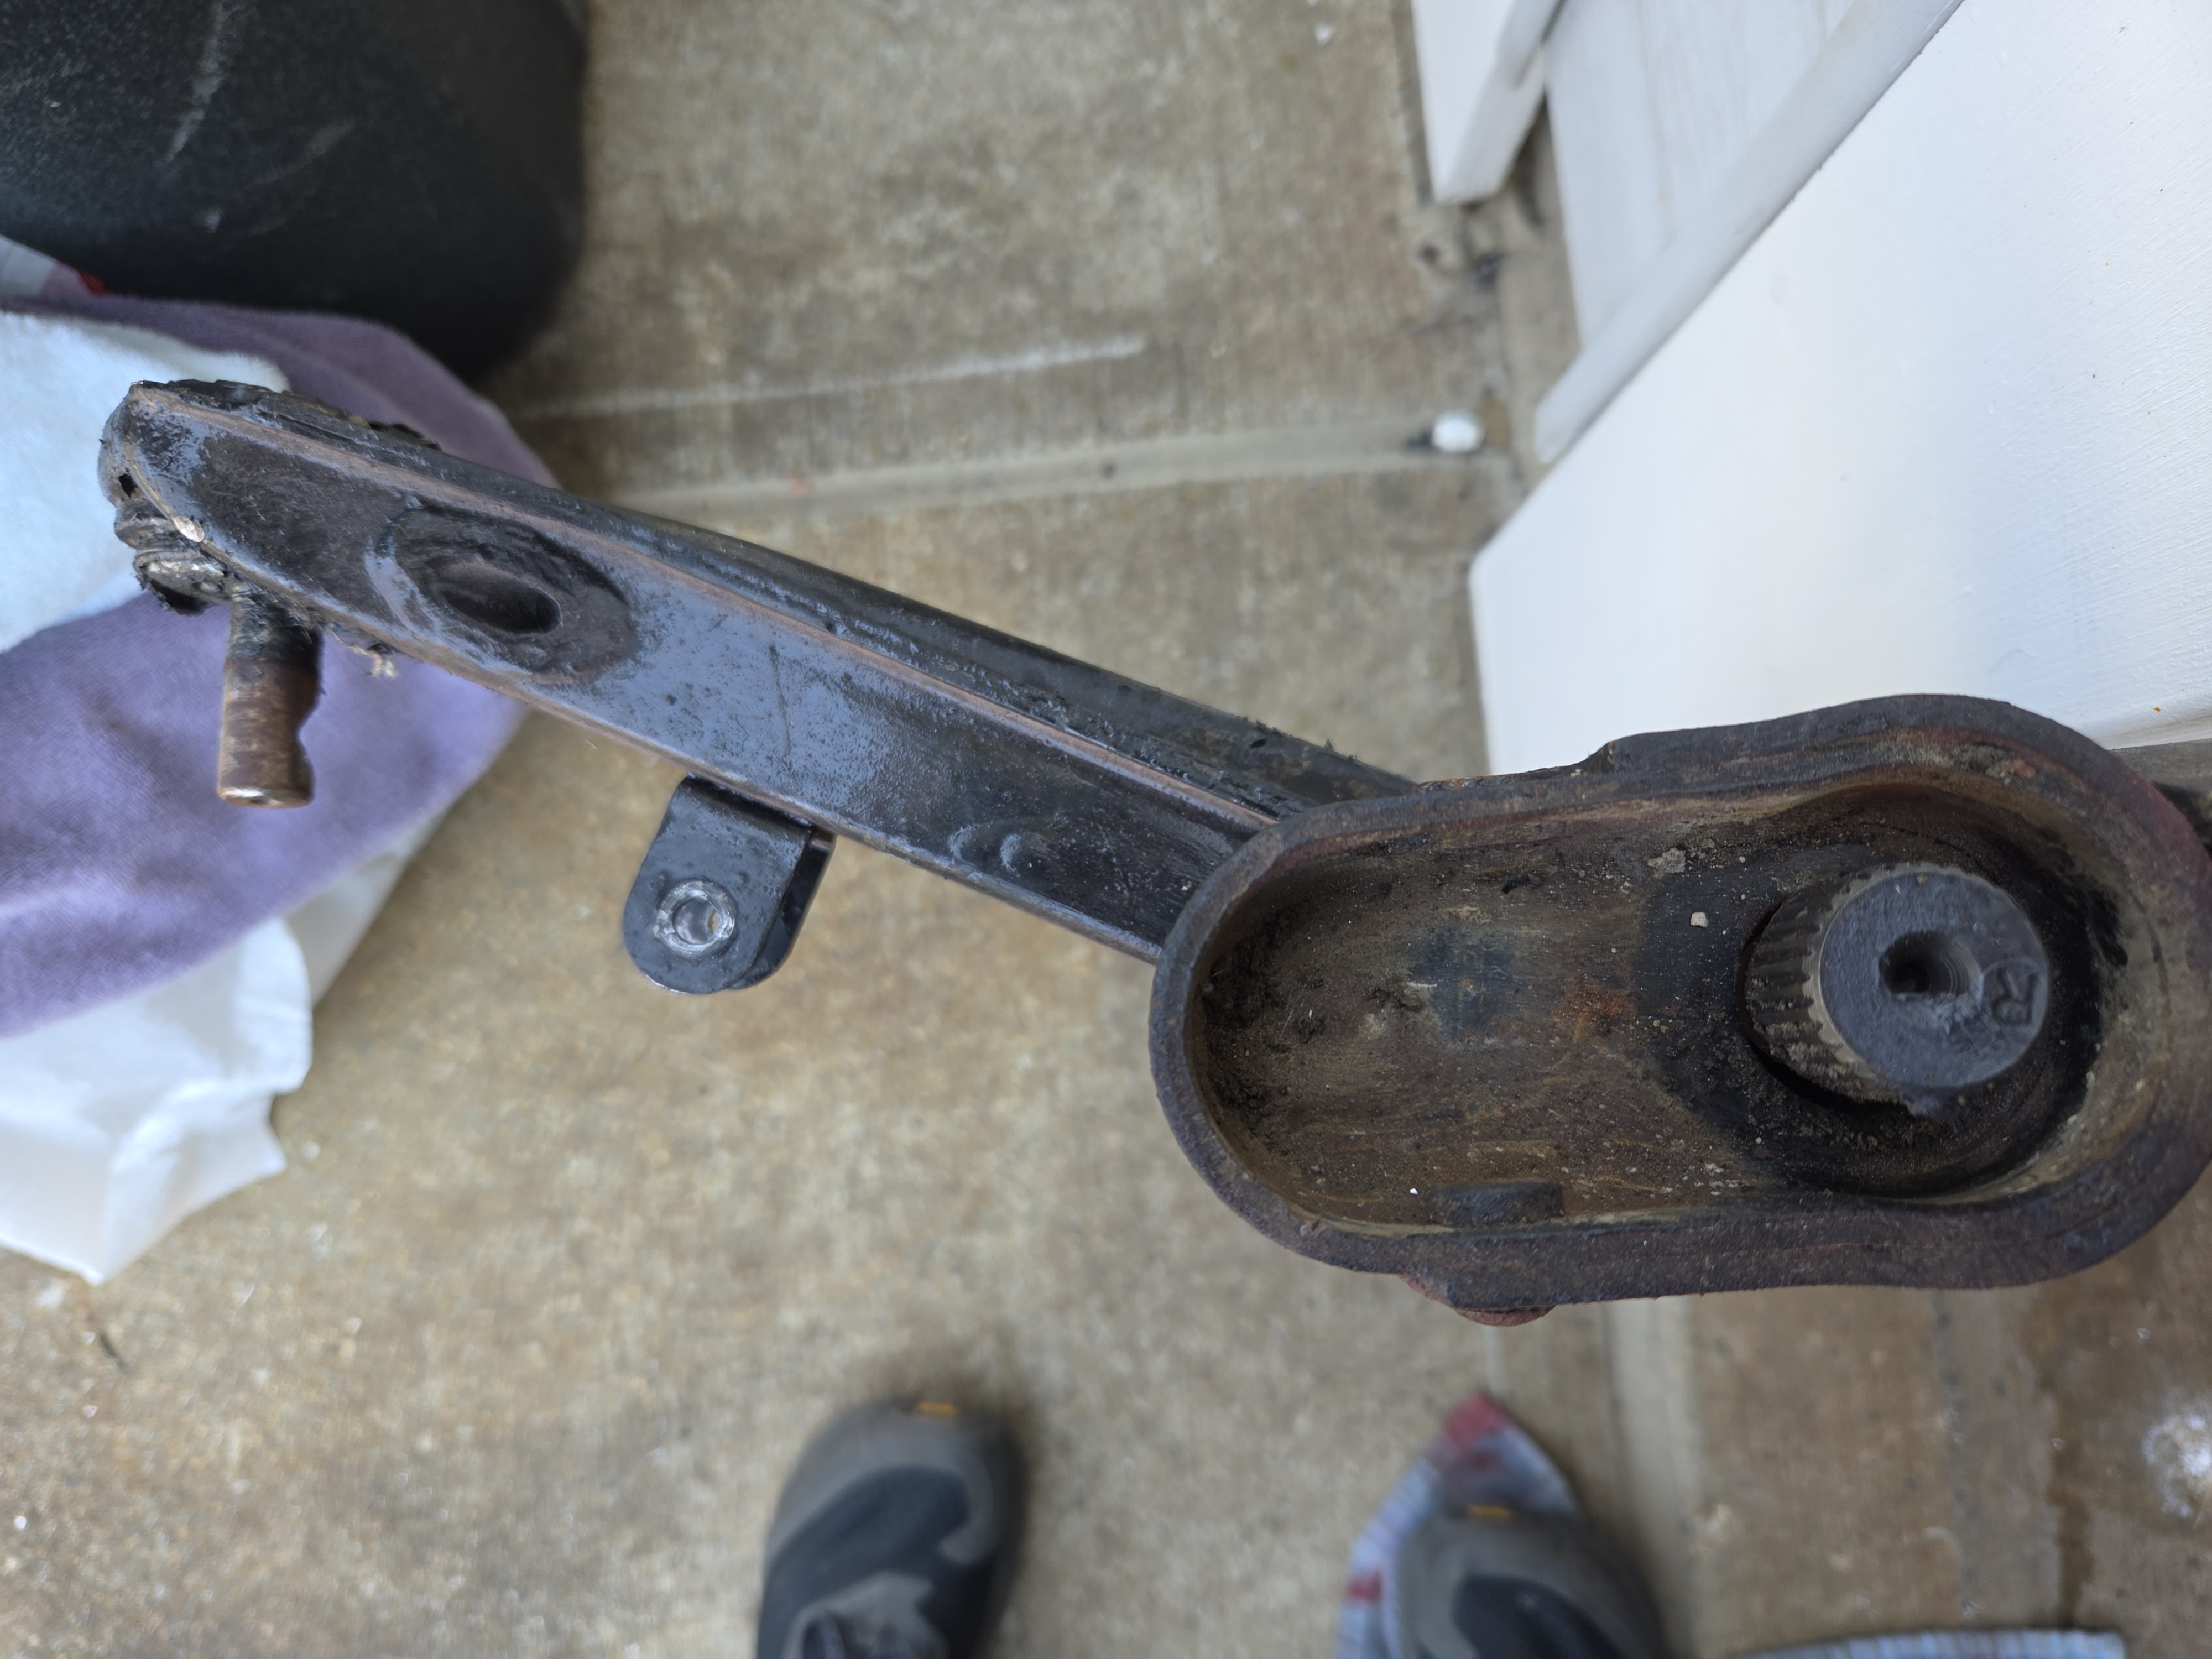
You can see the torsion-bar sponge rubber seal is 100% gone.
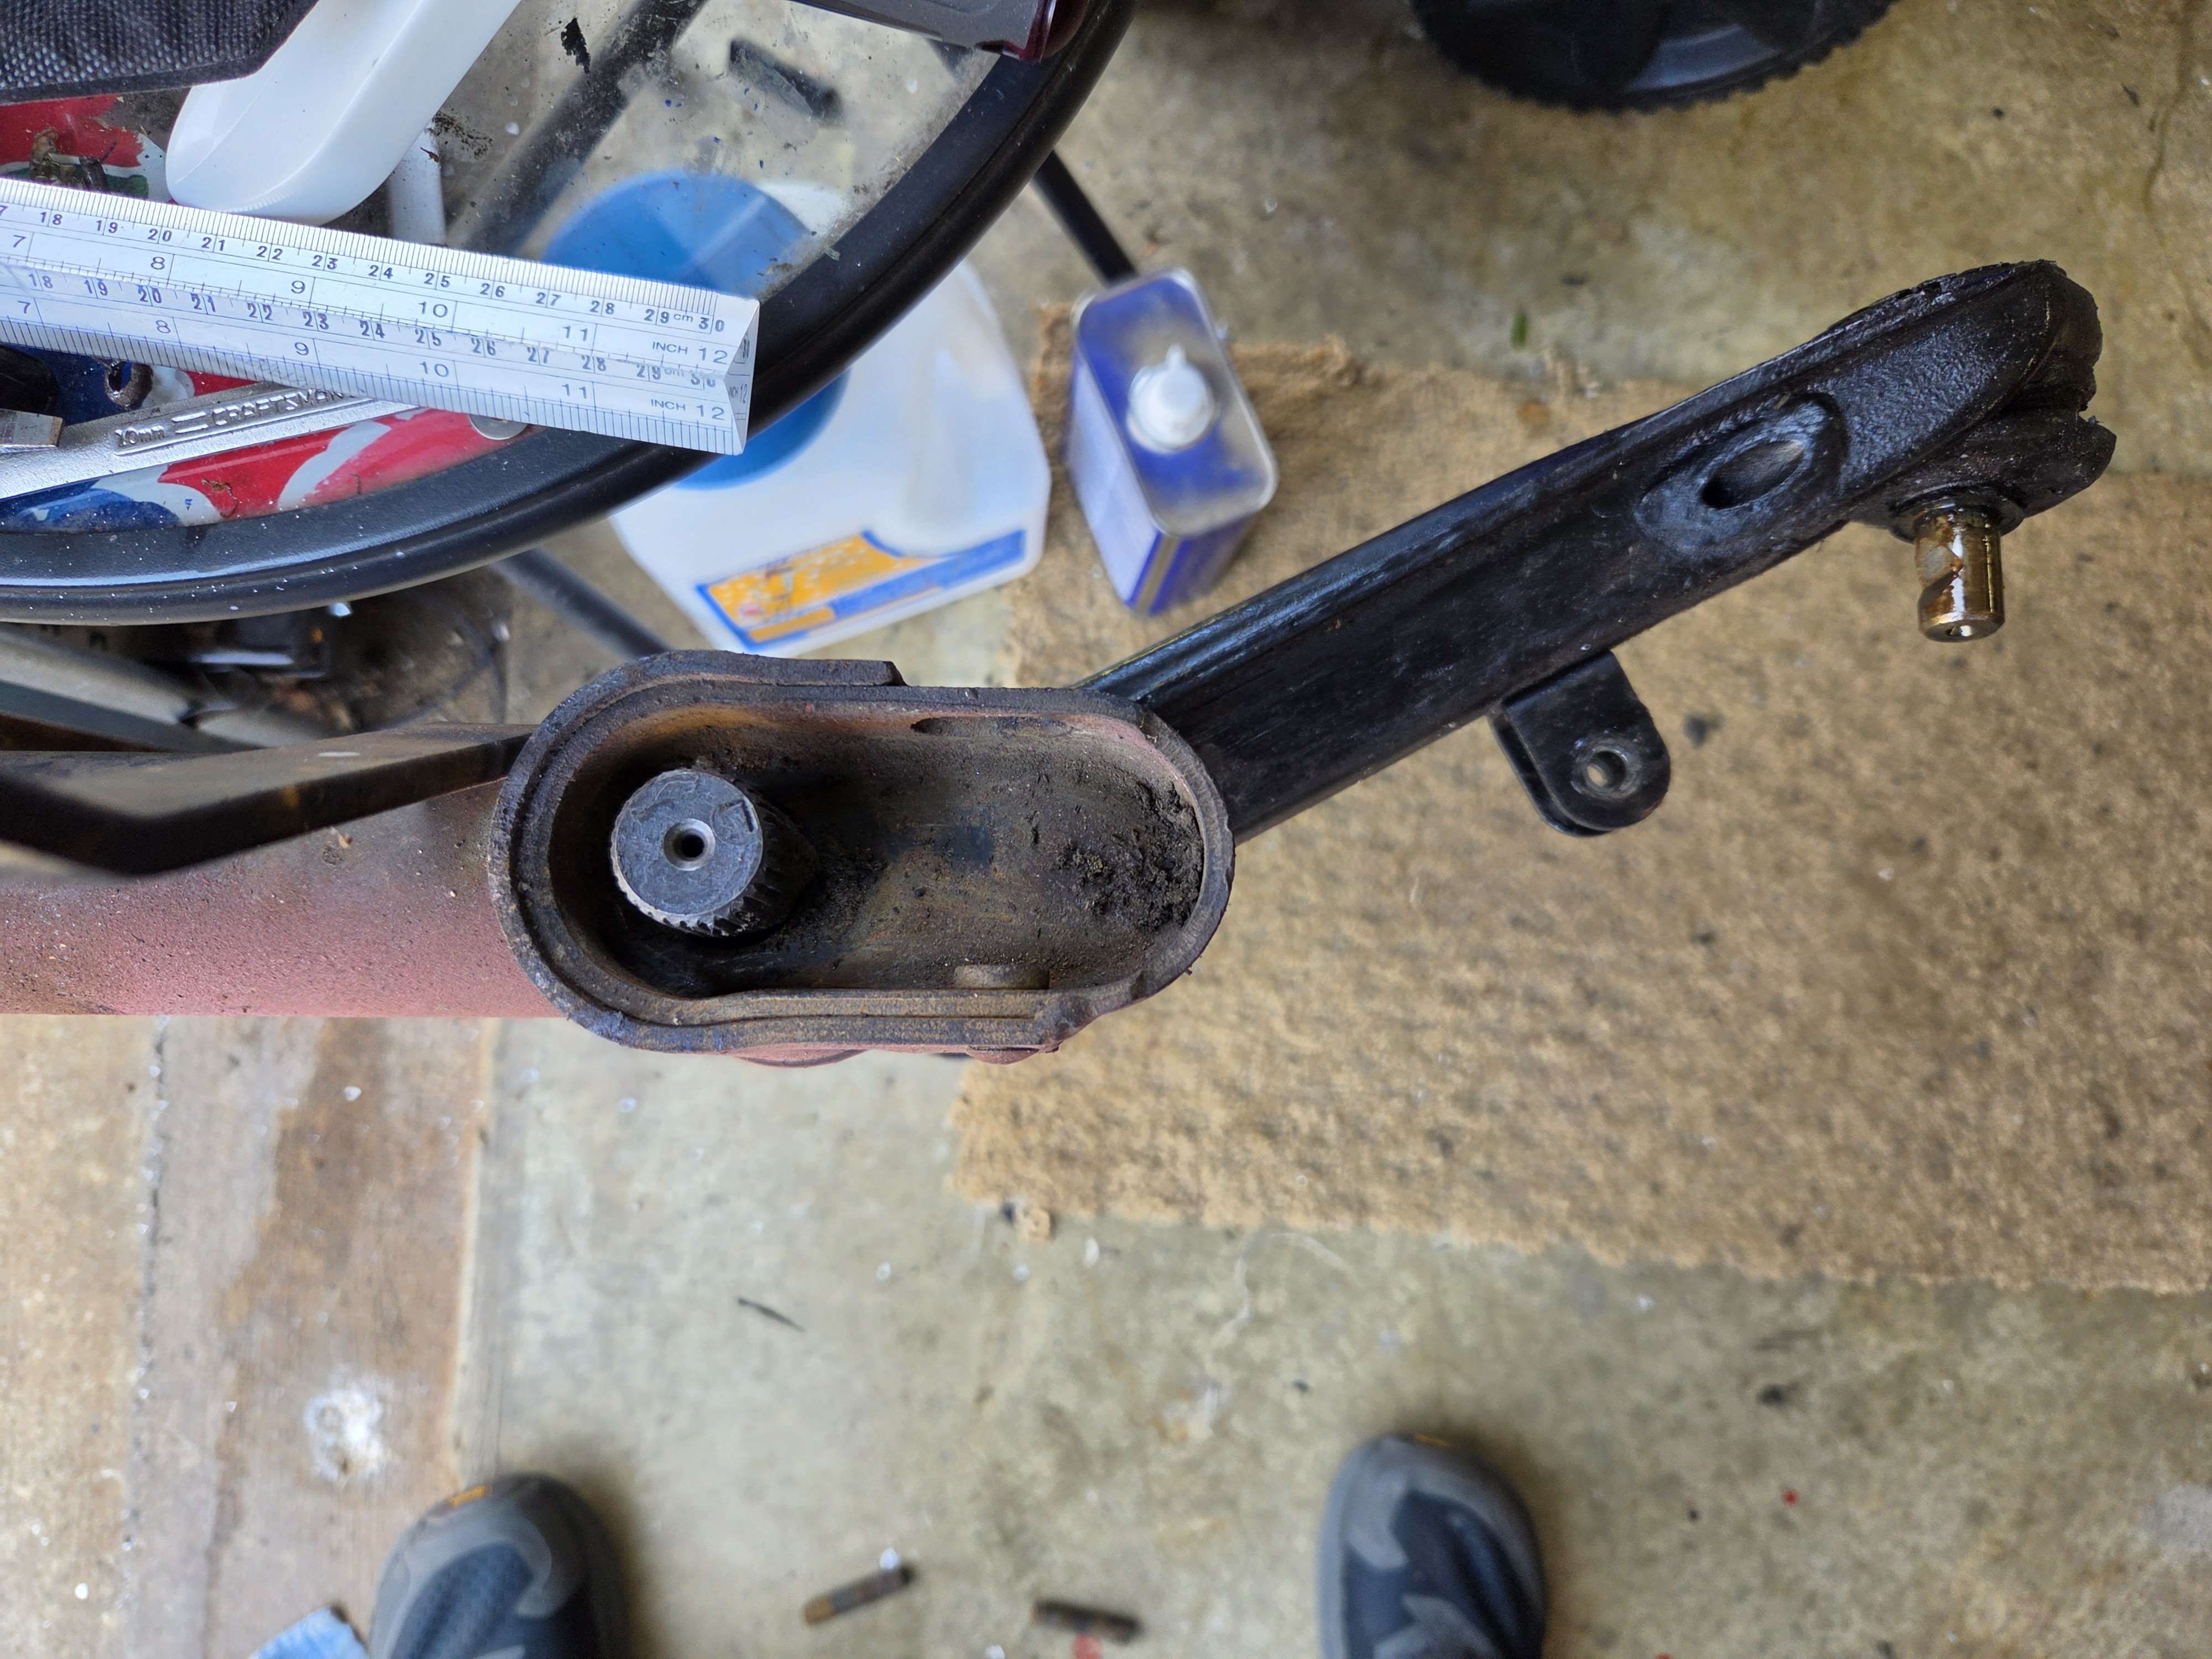
The raw-unfiltered press. Note the hole for the pivot (one on each board)
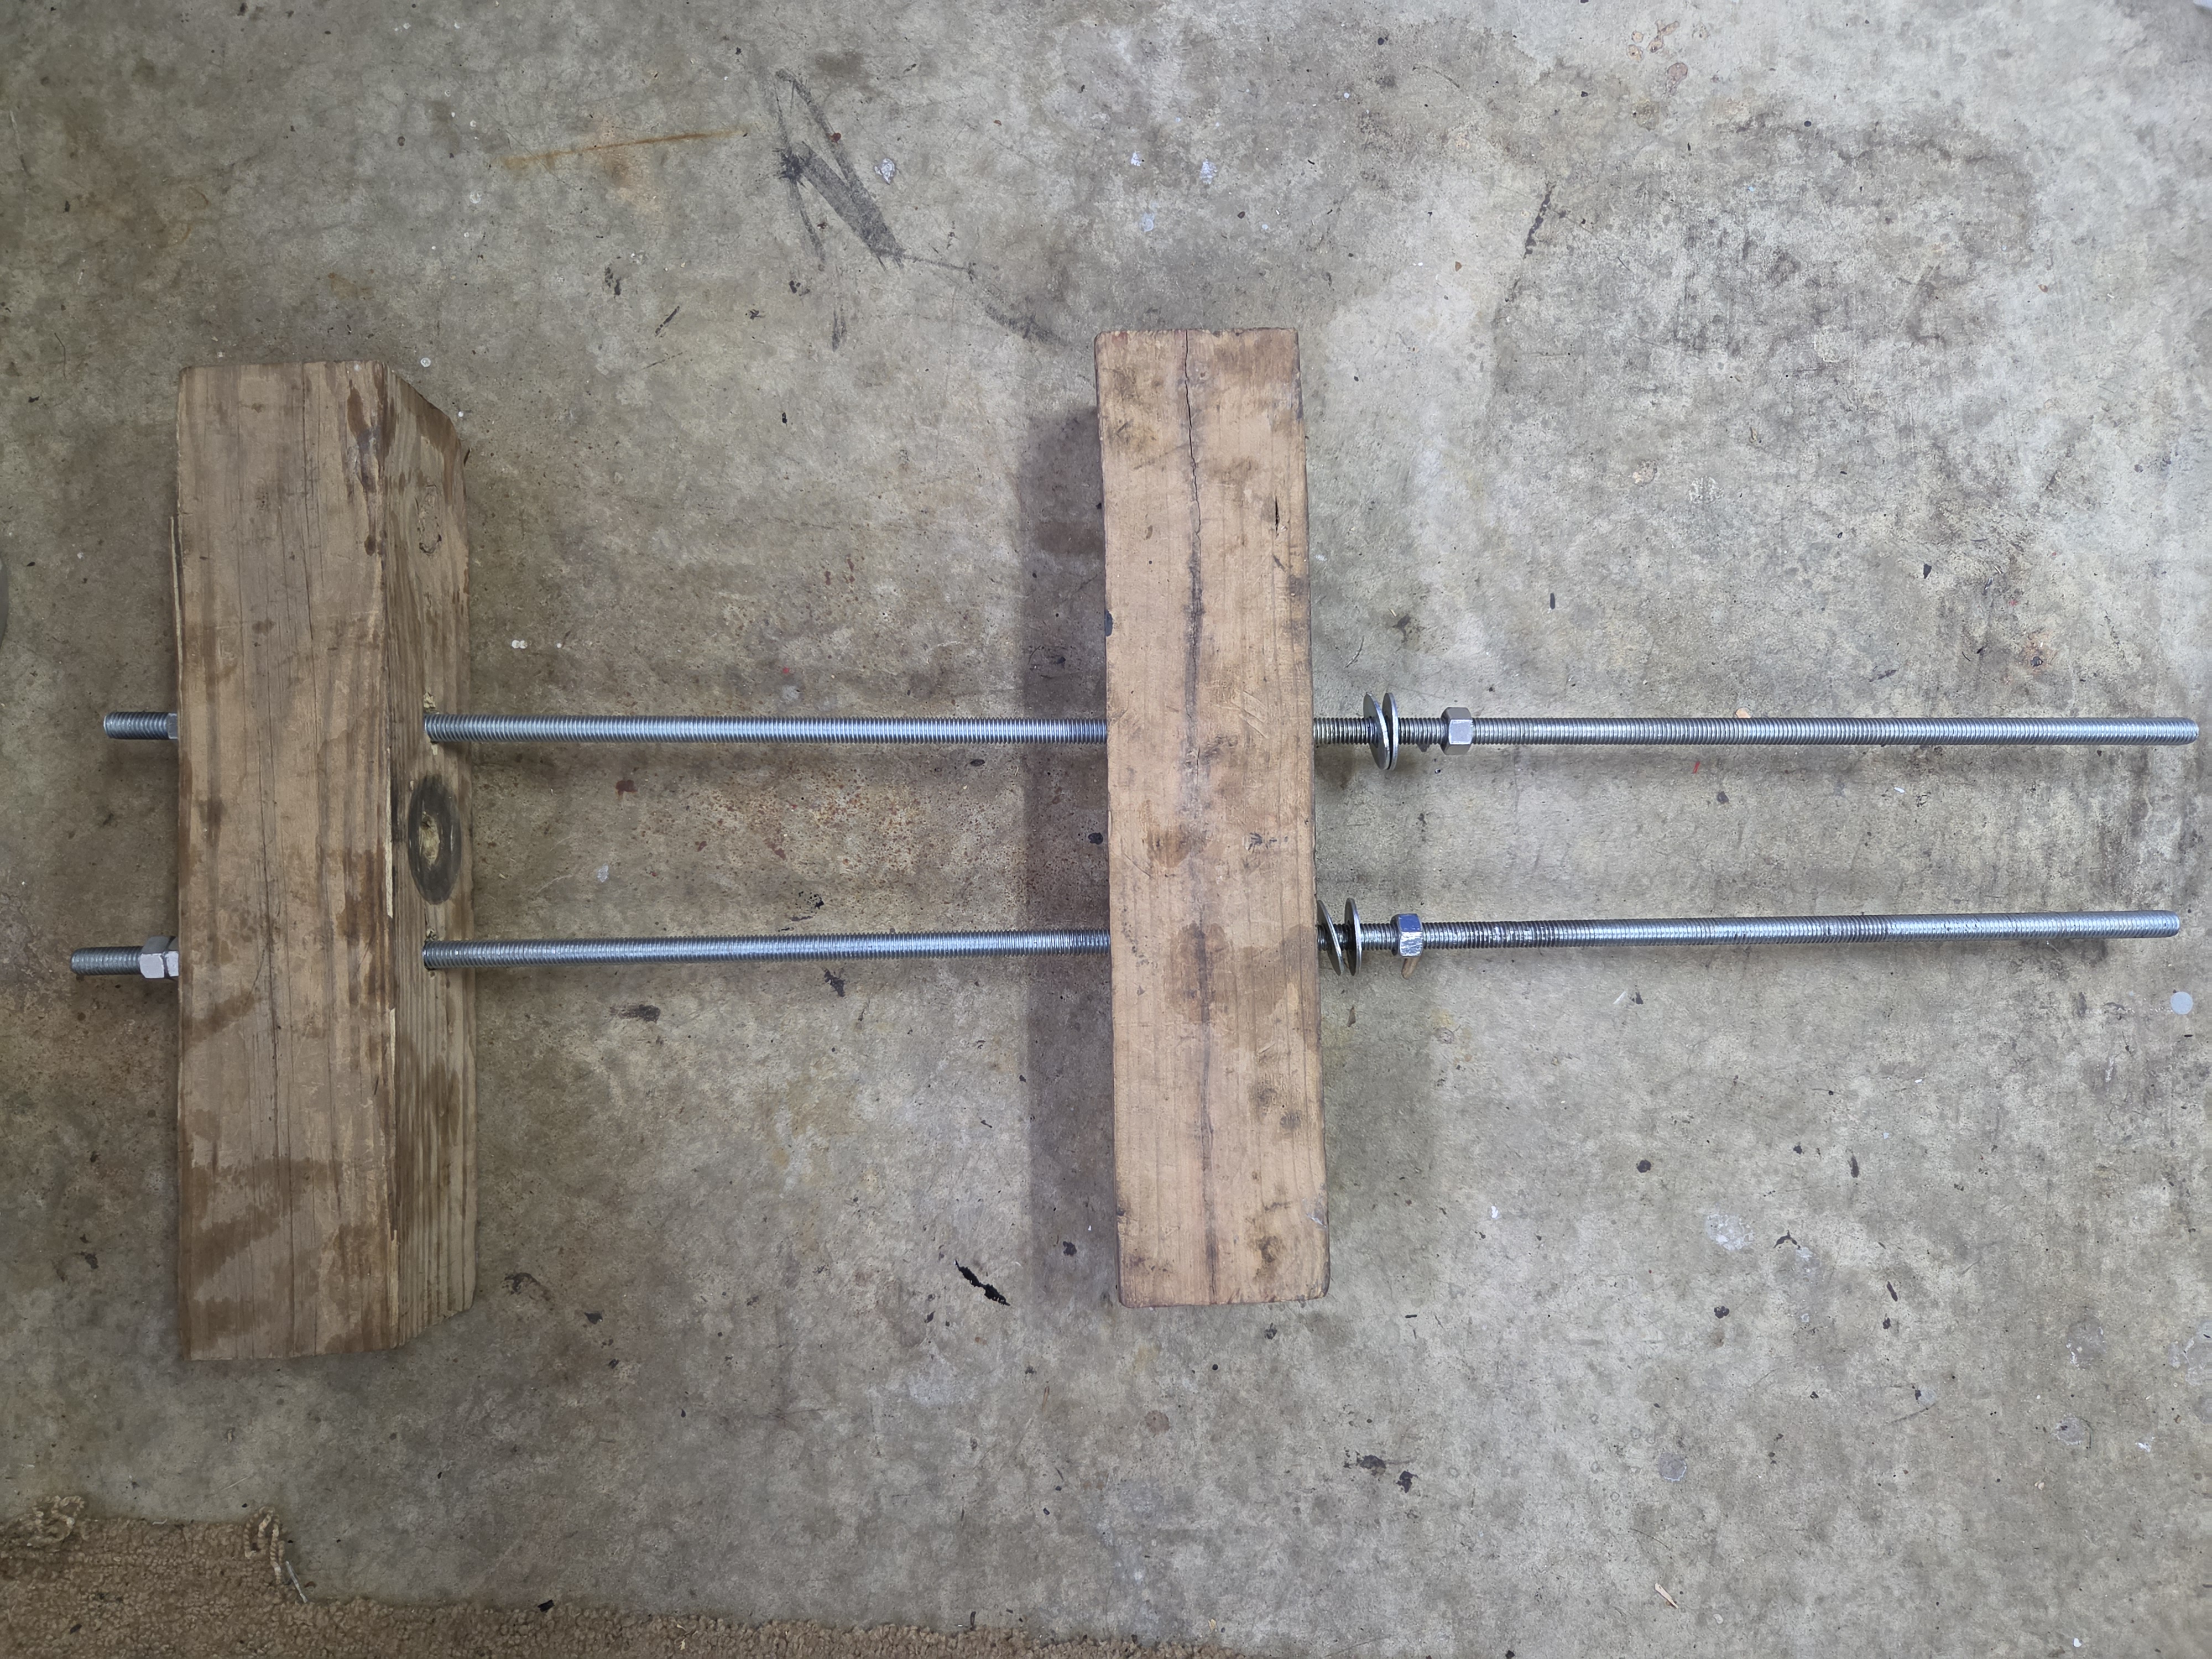
The Mother of invention. Two 4"/4" scraps with two 1/2" rods became a press. Some drilling to make room for the pivot shaft threads to be in the wood for stability. Some washer and maybe 1000 turns of those nuts at 3-4 turns per side. Level them up as needed as you go. The press was absolutely easy to do. Not the use of a nut to protect the threads.
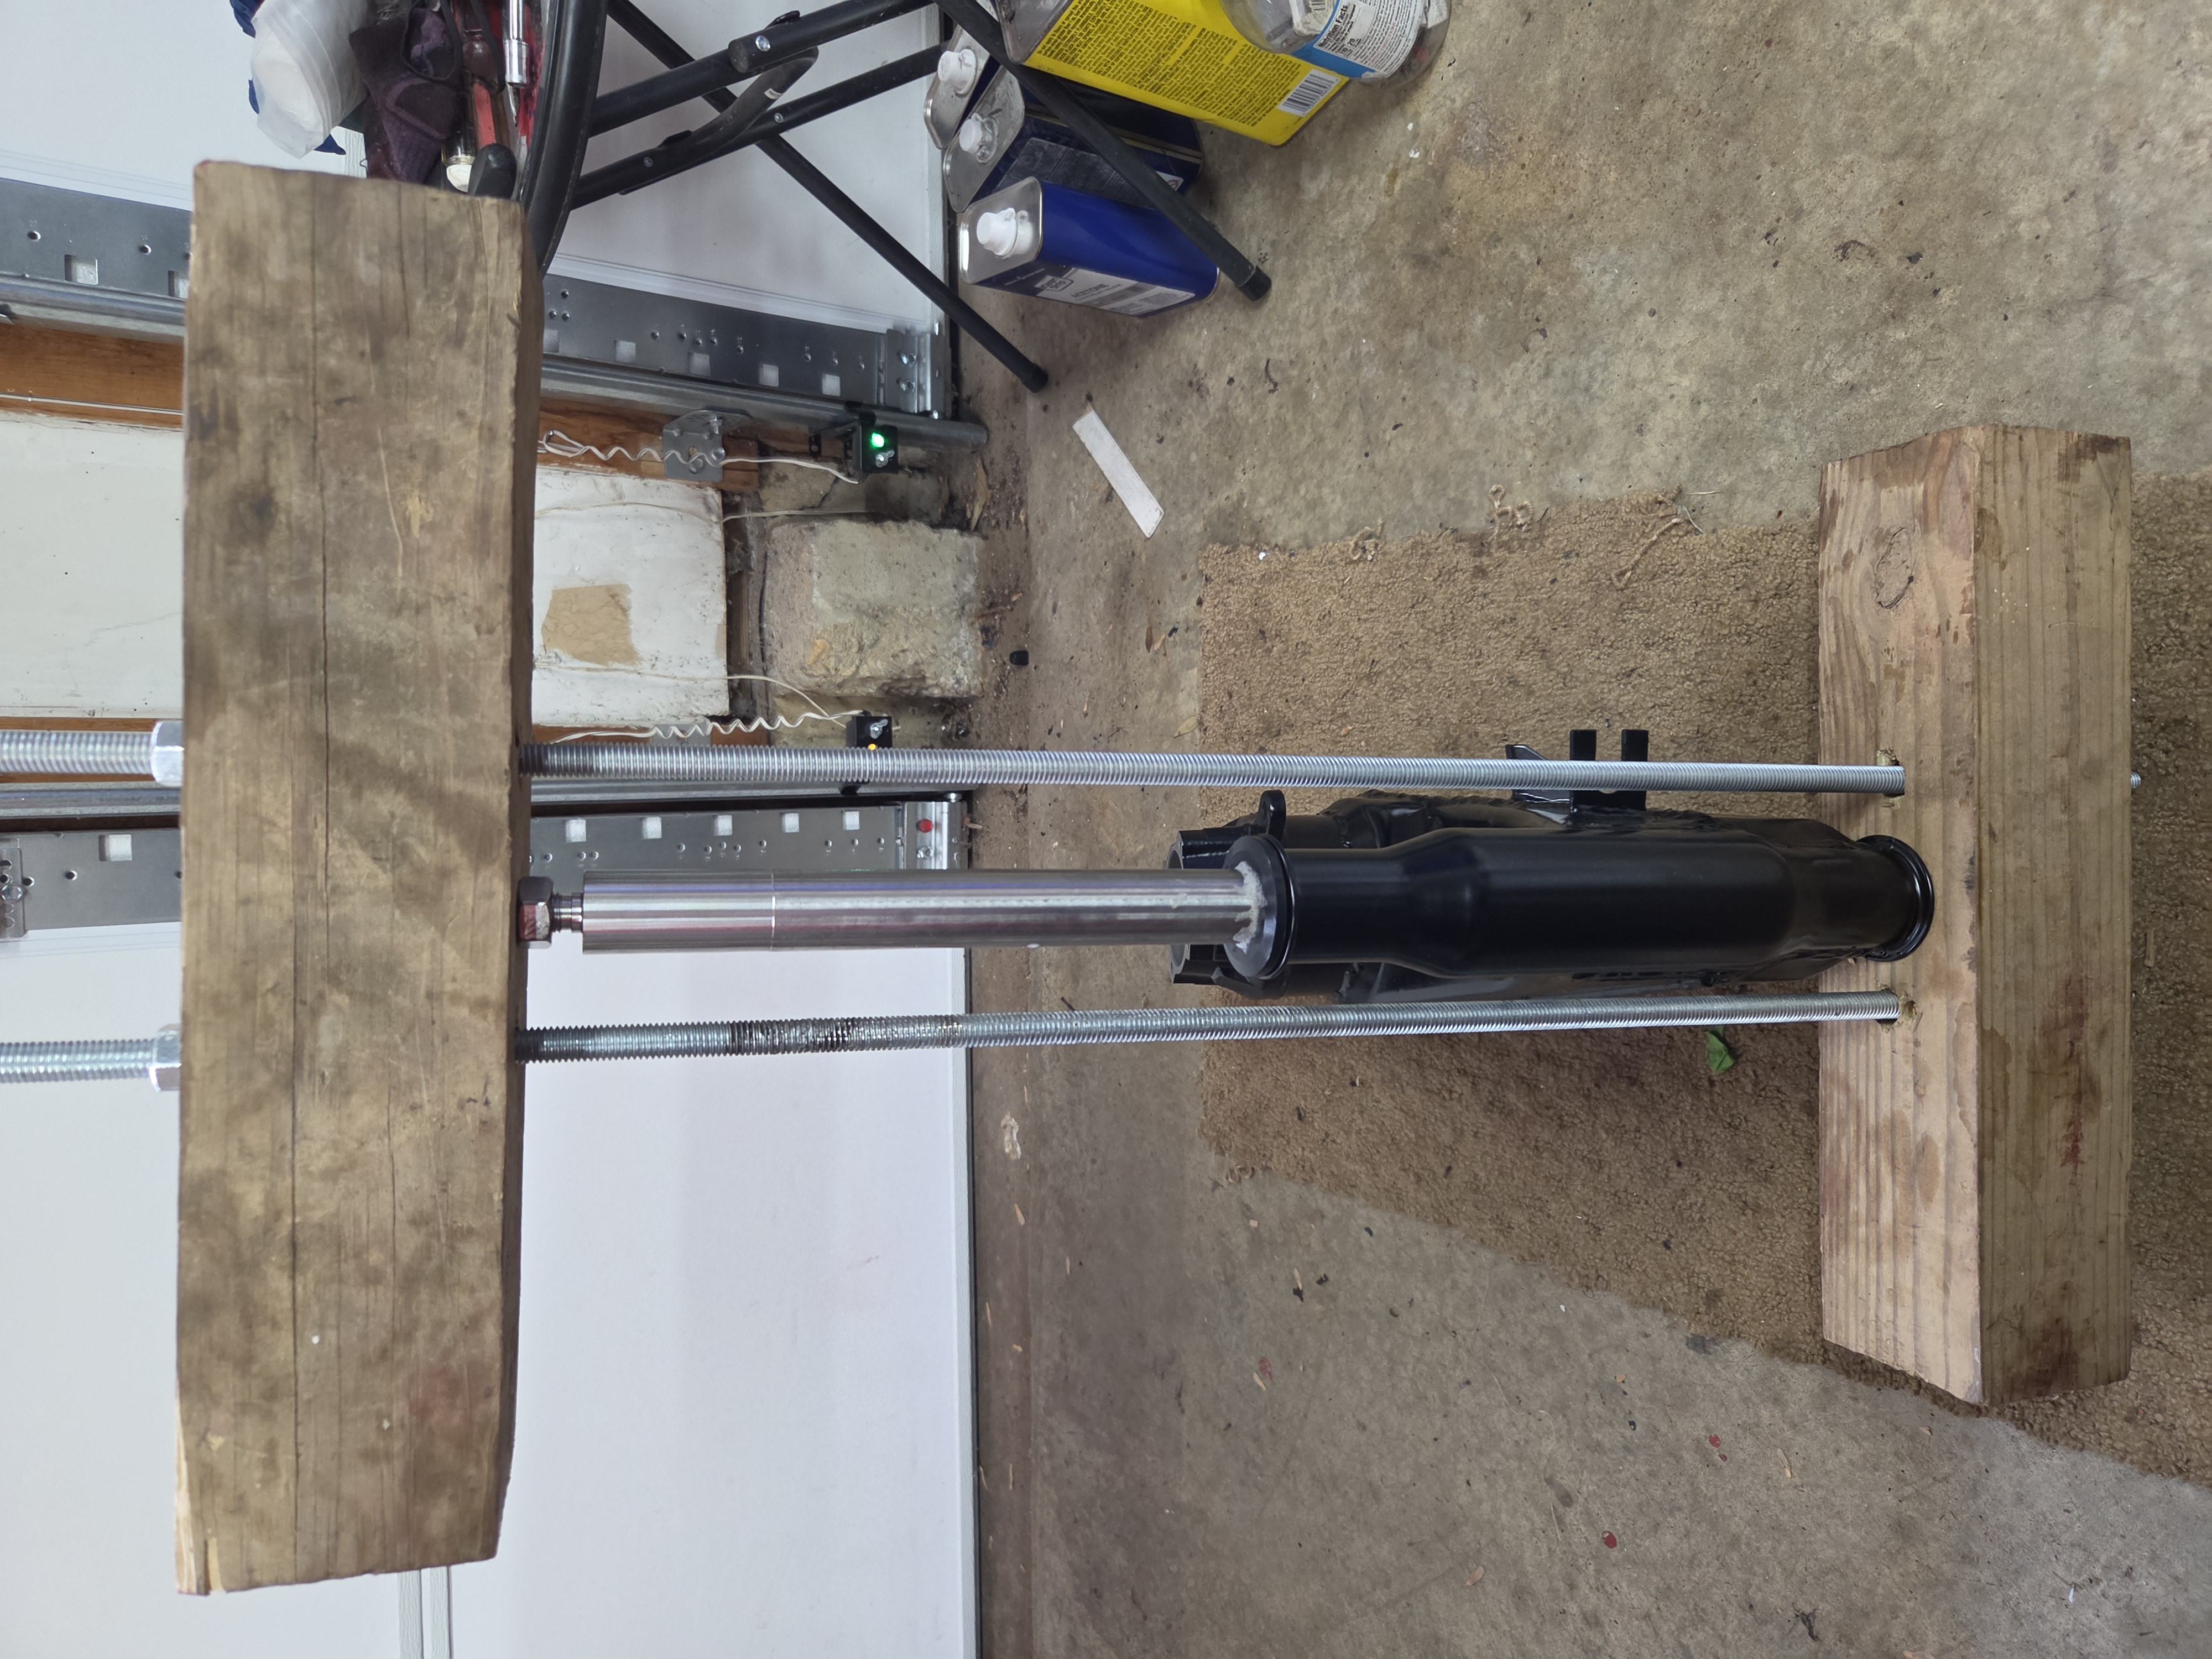
I did a lot of test fittings to make sure the threaded rod was centered in the holes. Different sockets, some tape, whatever was needed. These are 1/2" rods and they just barely allow the 1/2" sockets to fit. I found that regular sockets allow this, but impact sockets do not allow a 1/2" rod to fit because they have more material above the square socket-wrench fitting and the center hole is not 1/2".
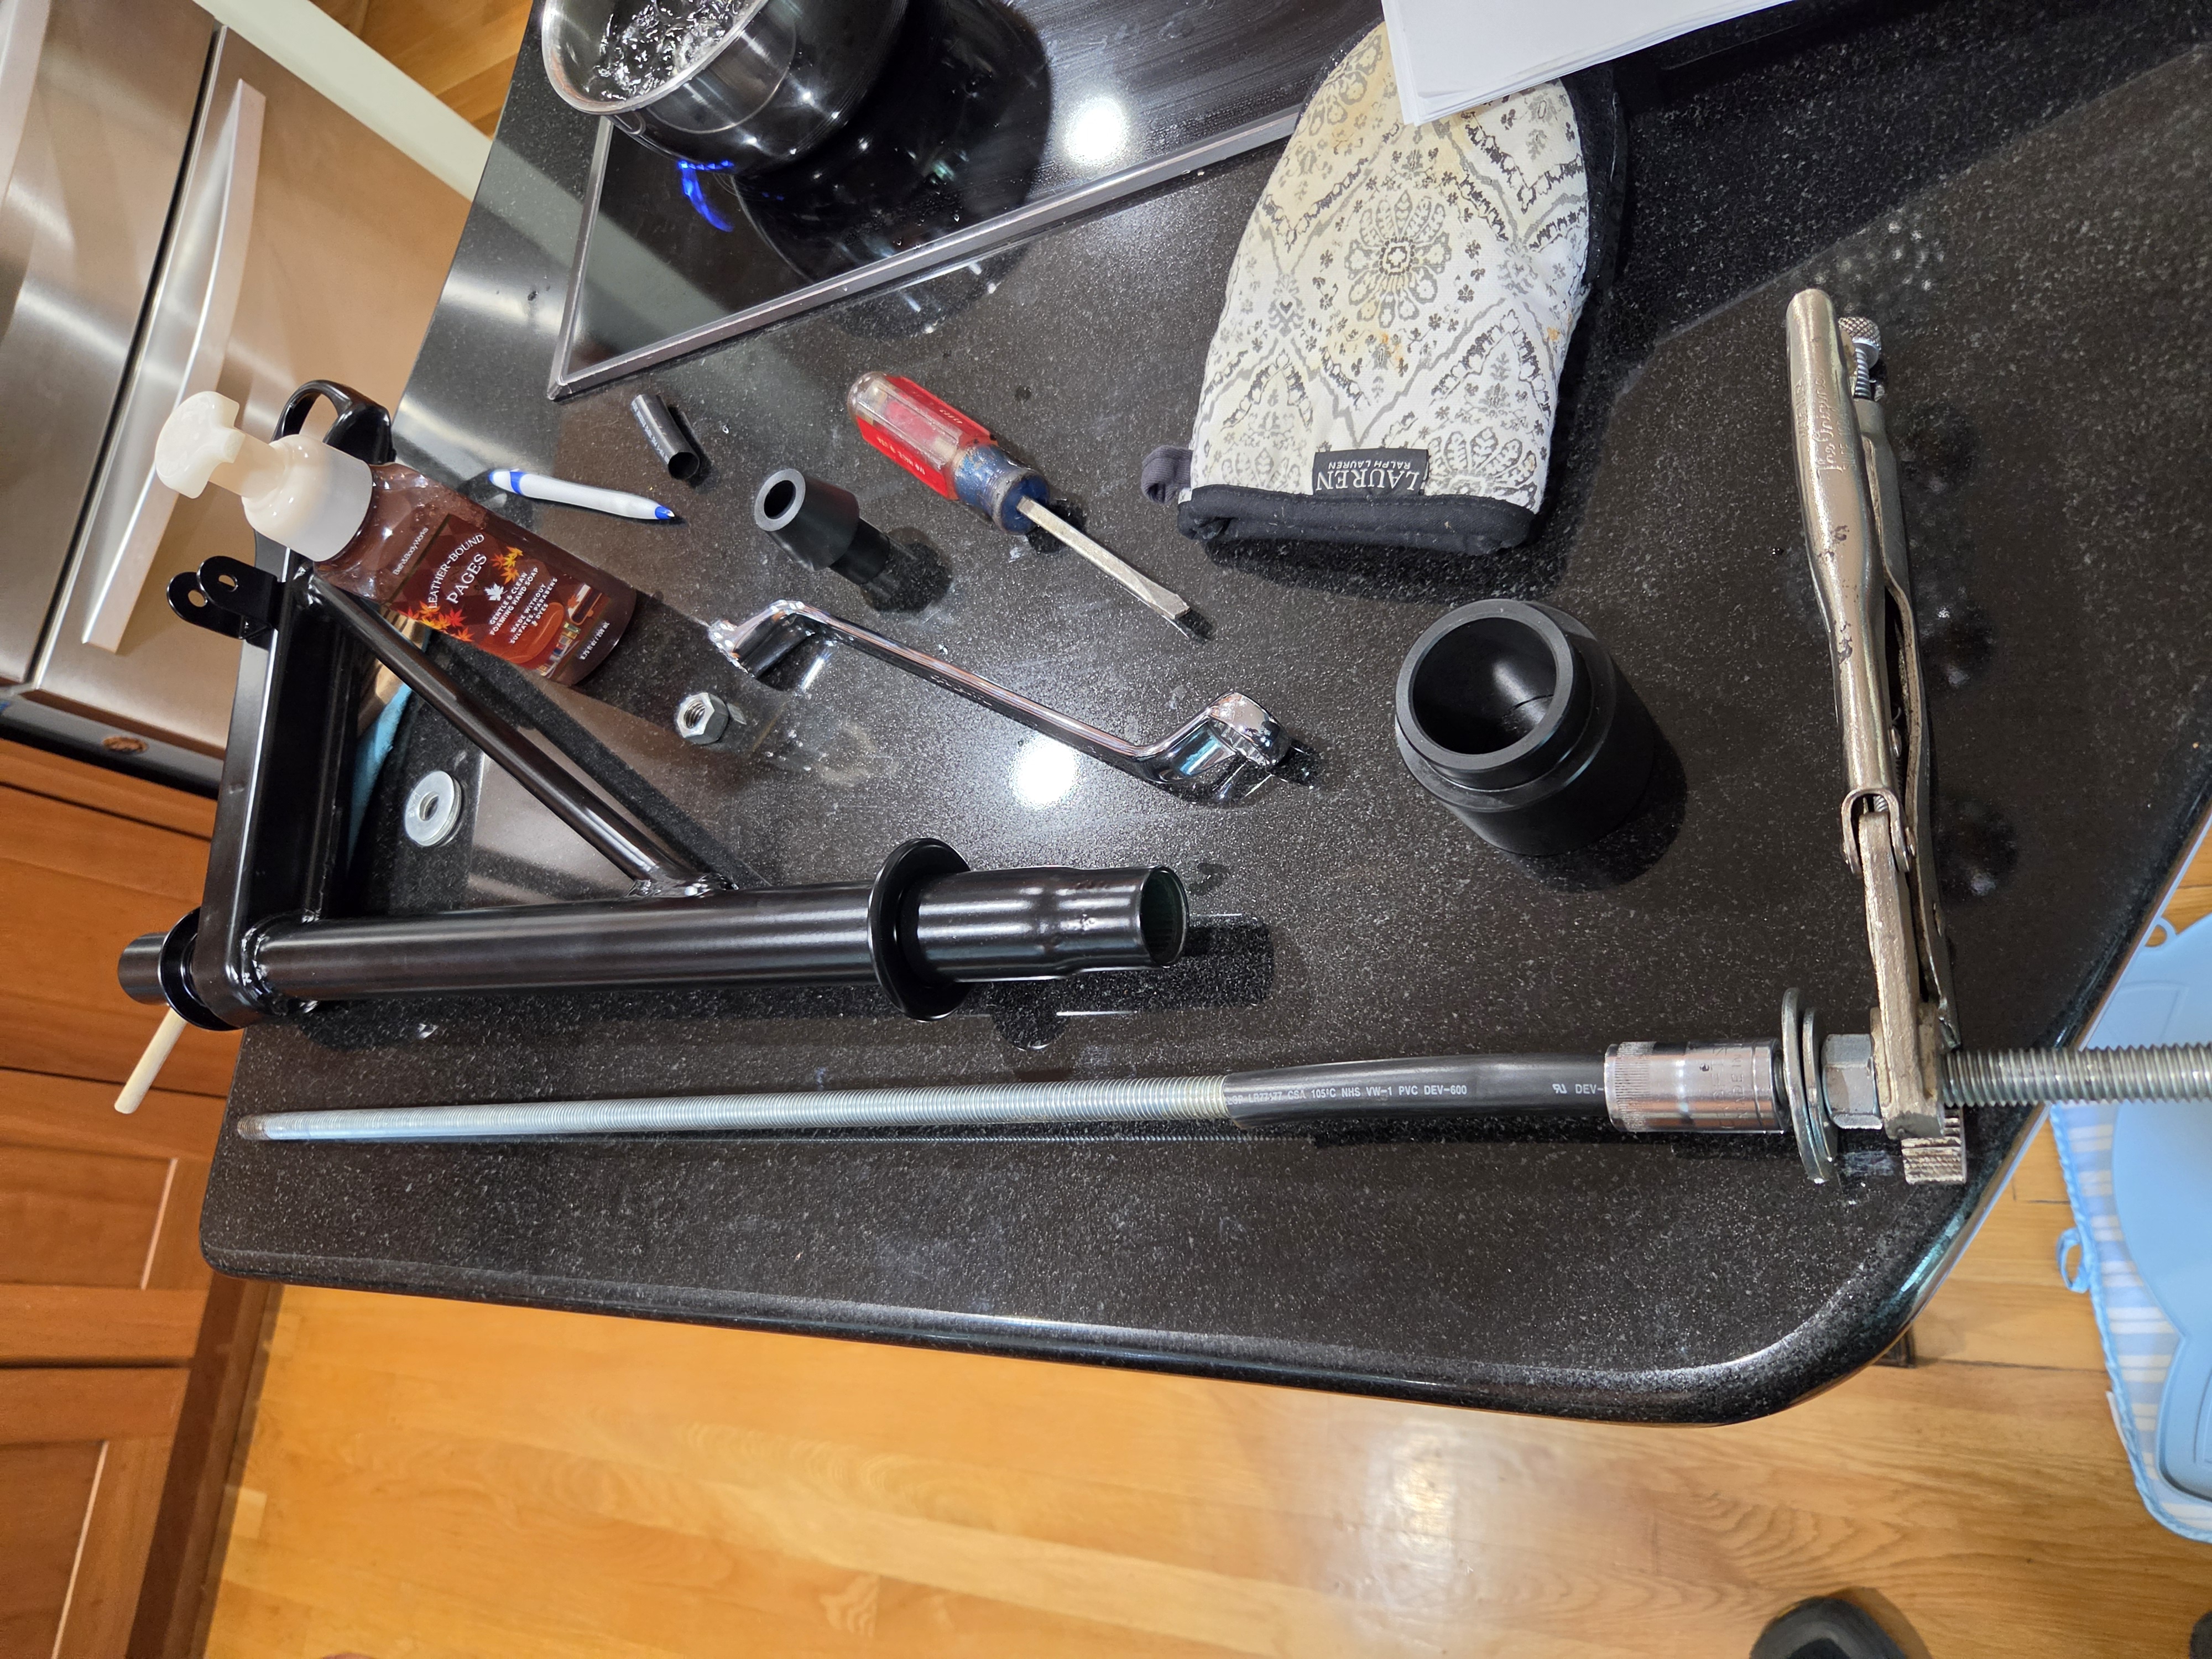
Pre-Assembly setup and rehearsal.
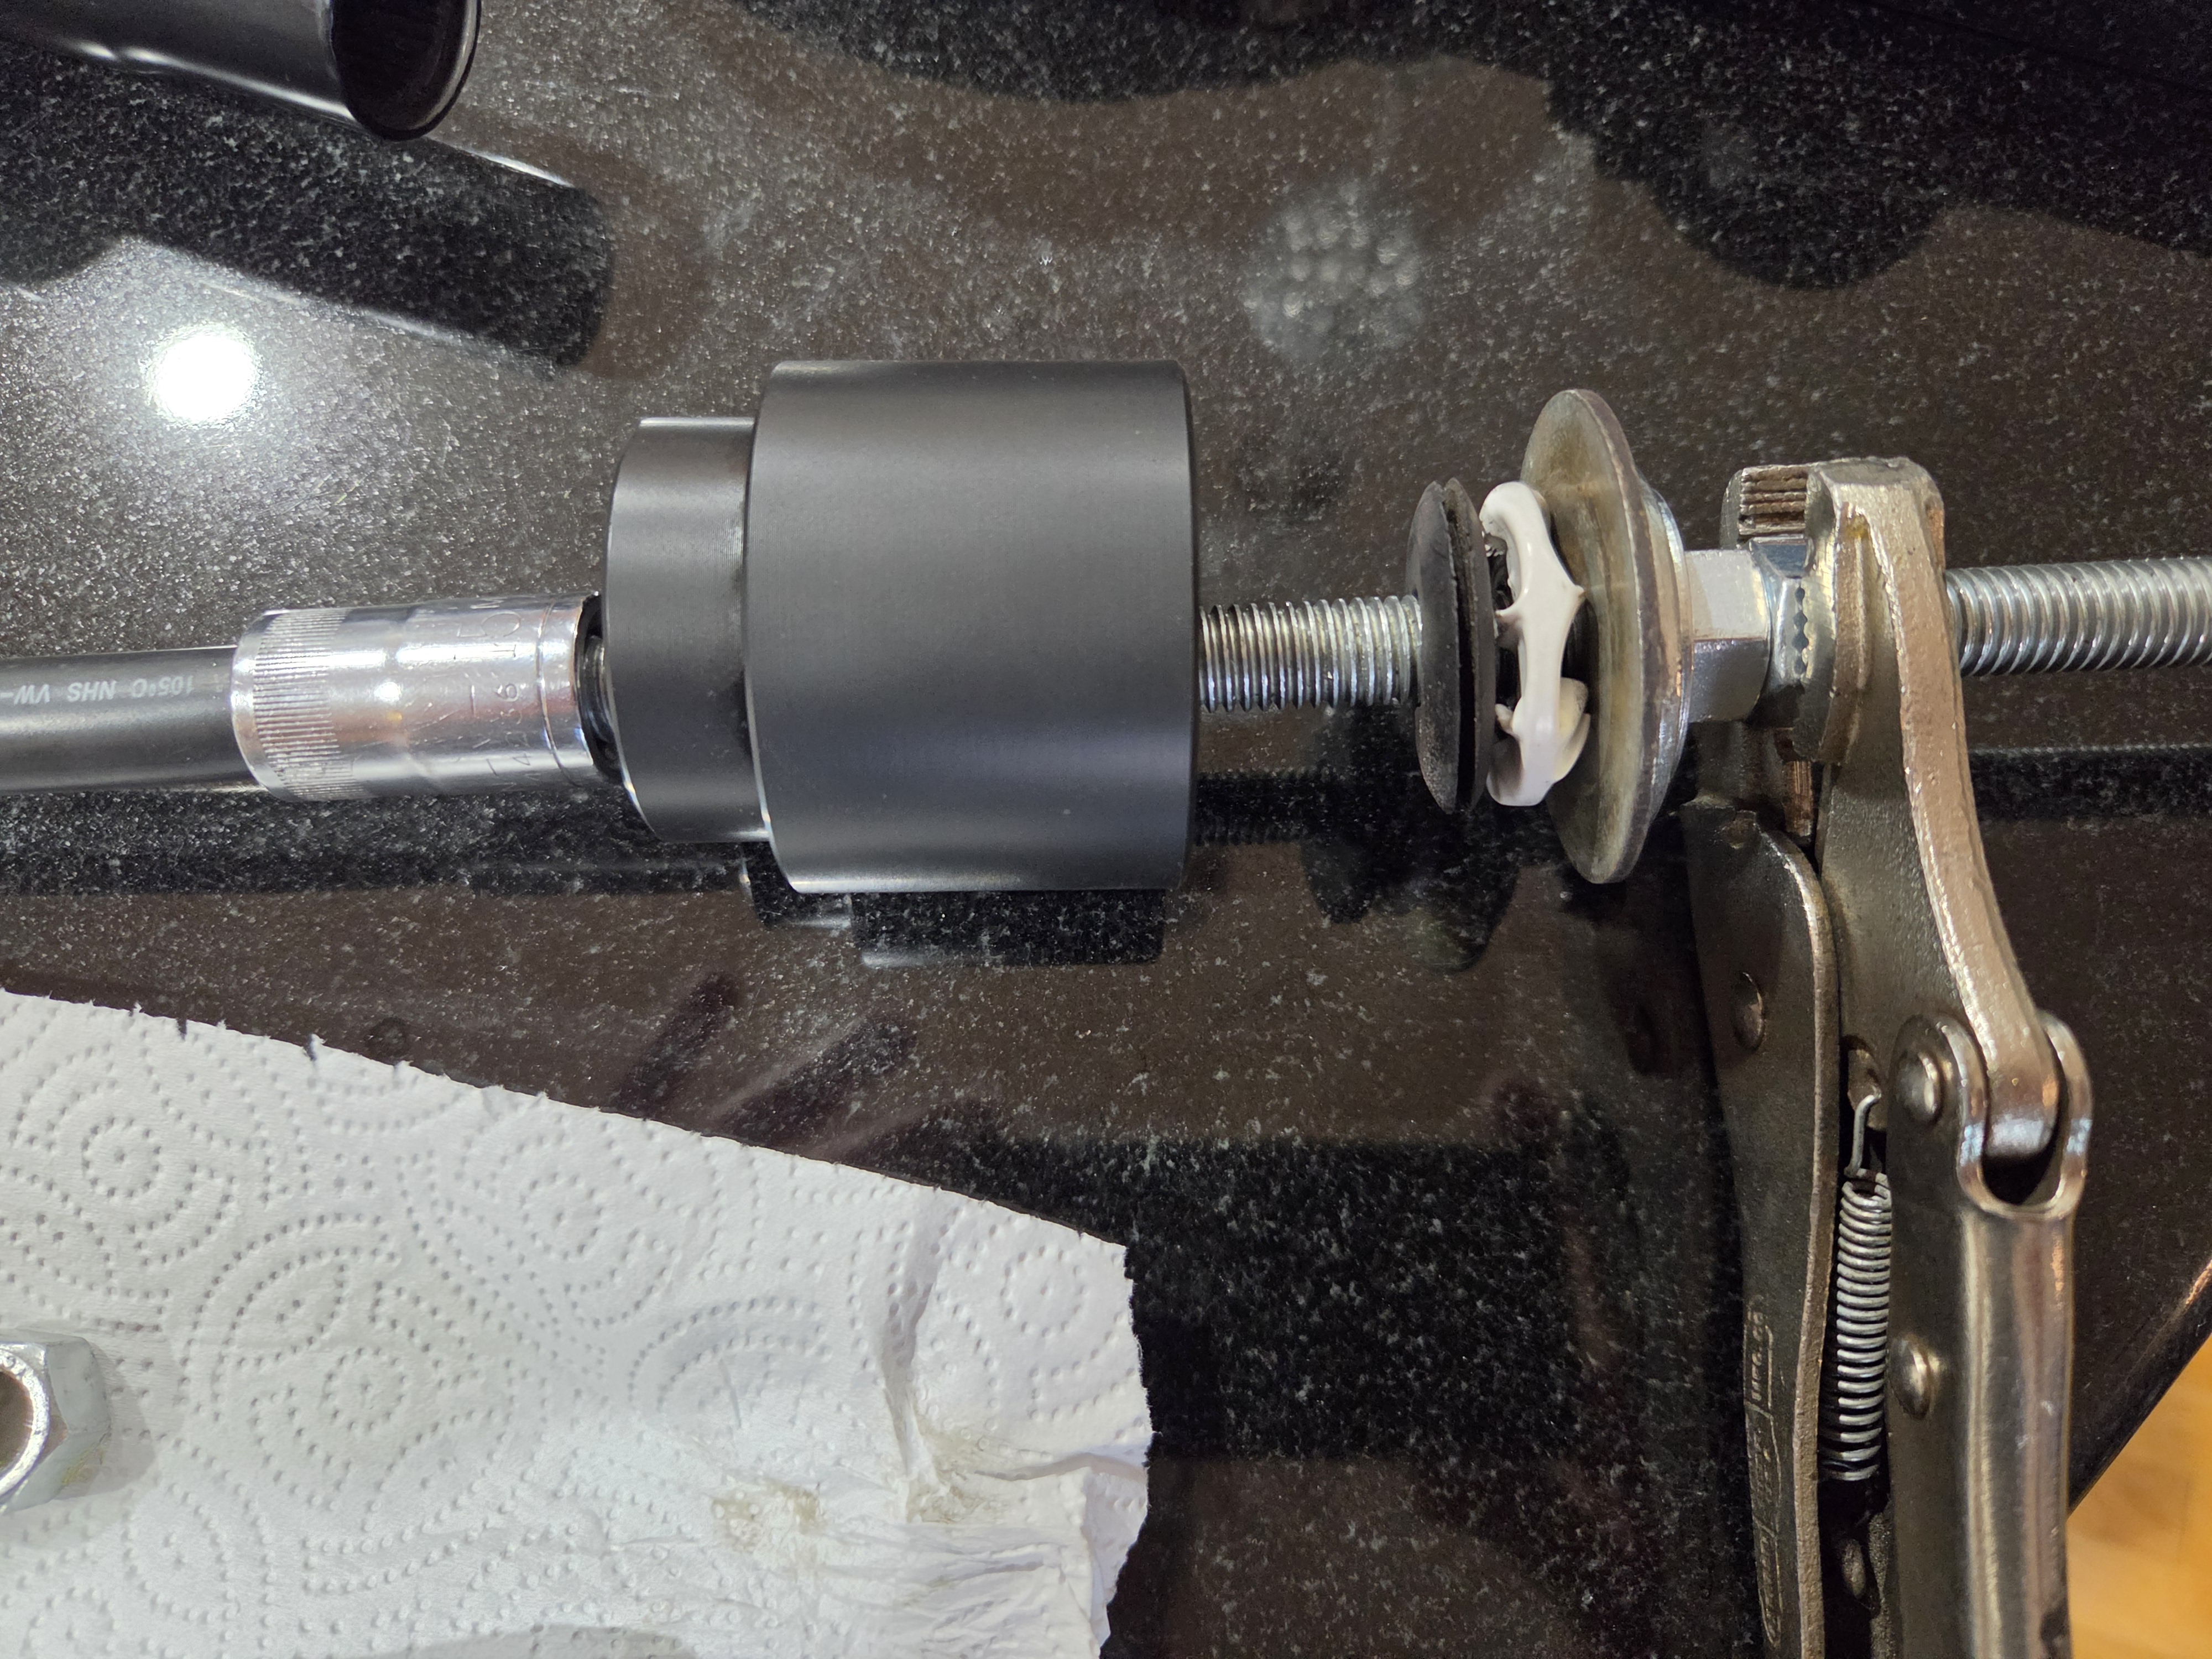
You two are gonna' be buddies now...Notice the rubber bushing was trimmed just a bit to make it taper and the rod would then touch the metal locking star washer cleanly.
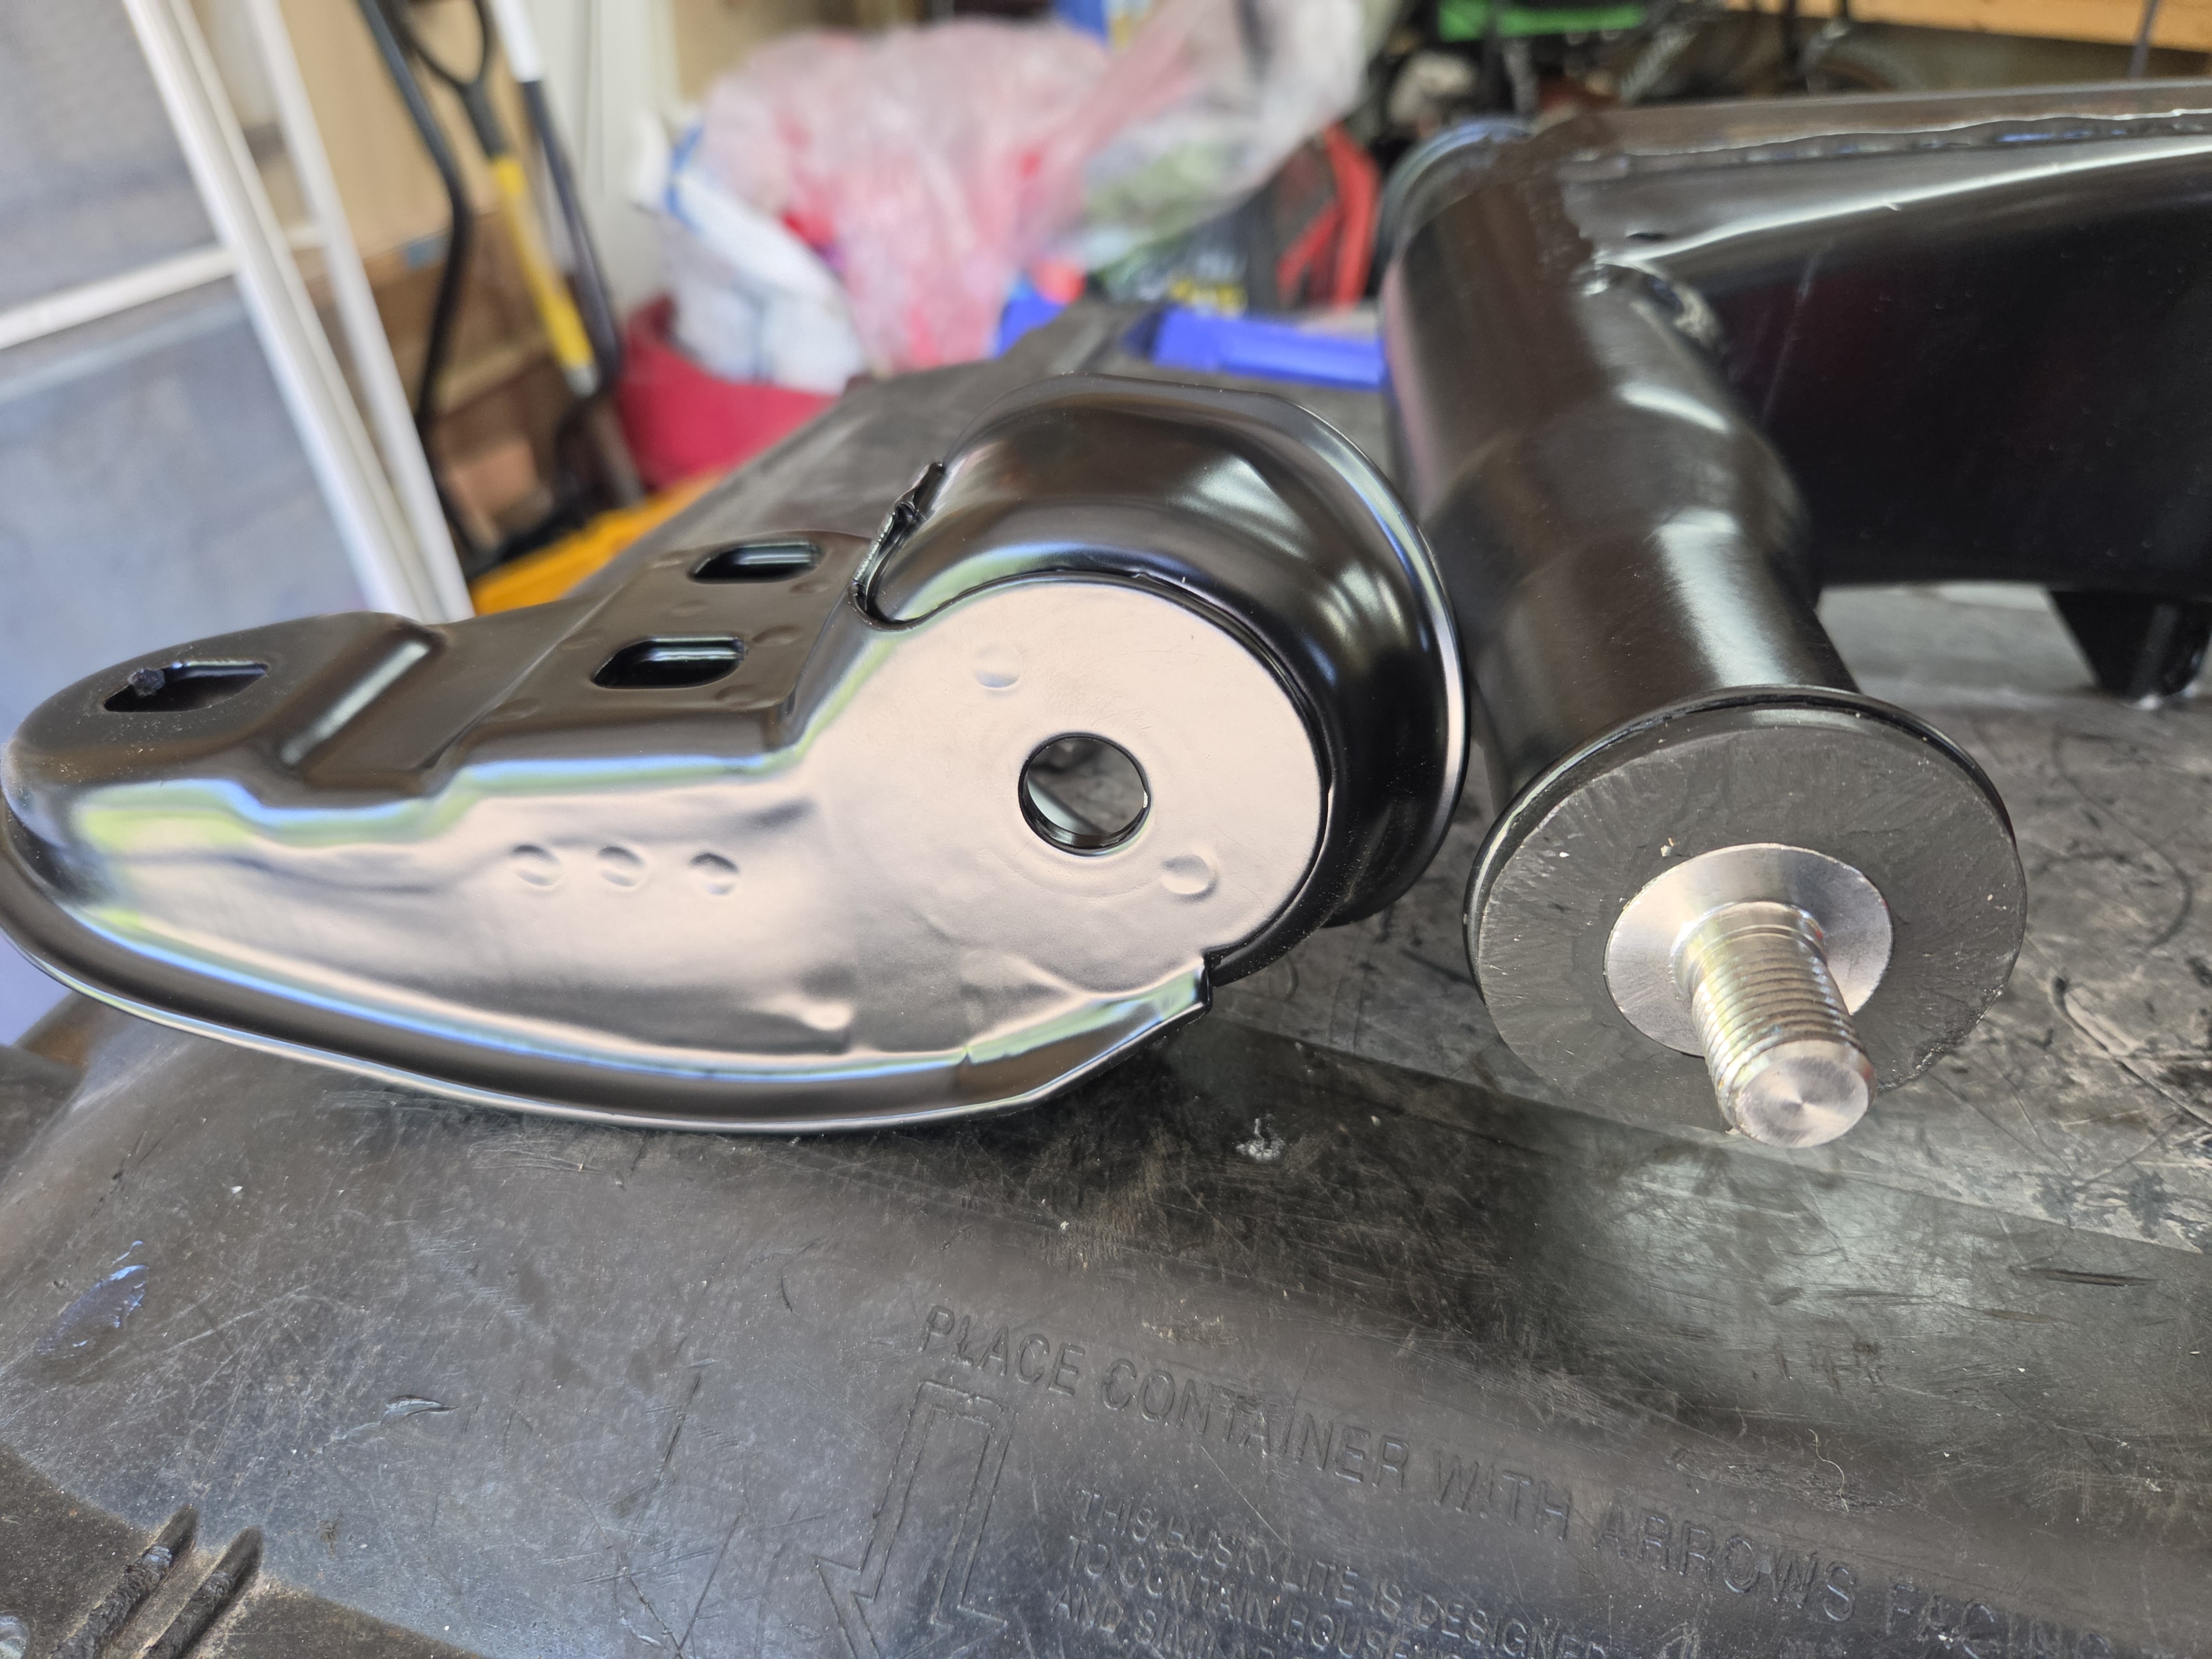
Lovely assembly, new powder coating ad bolts.
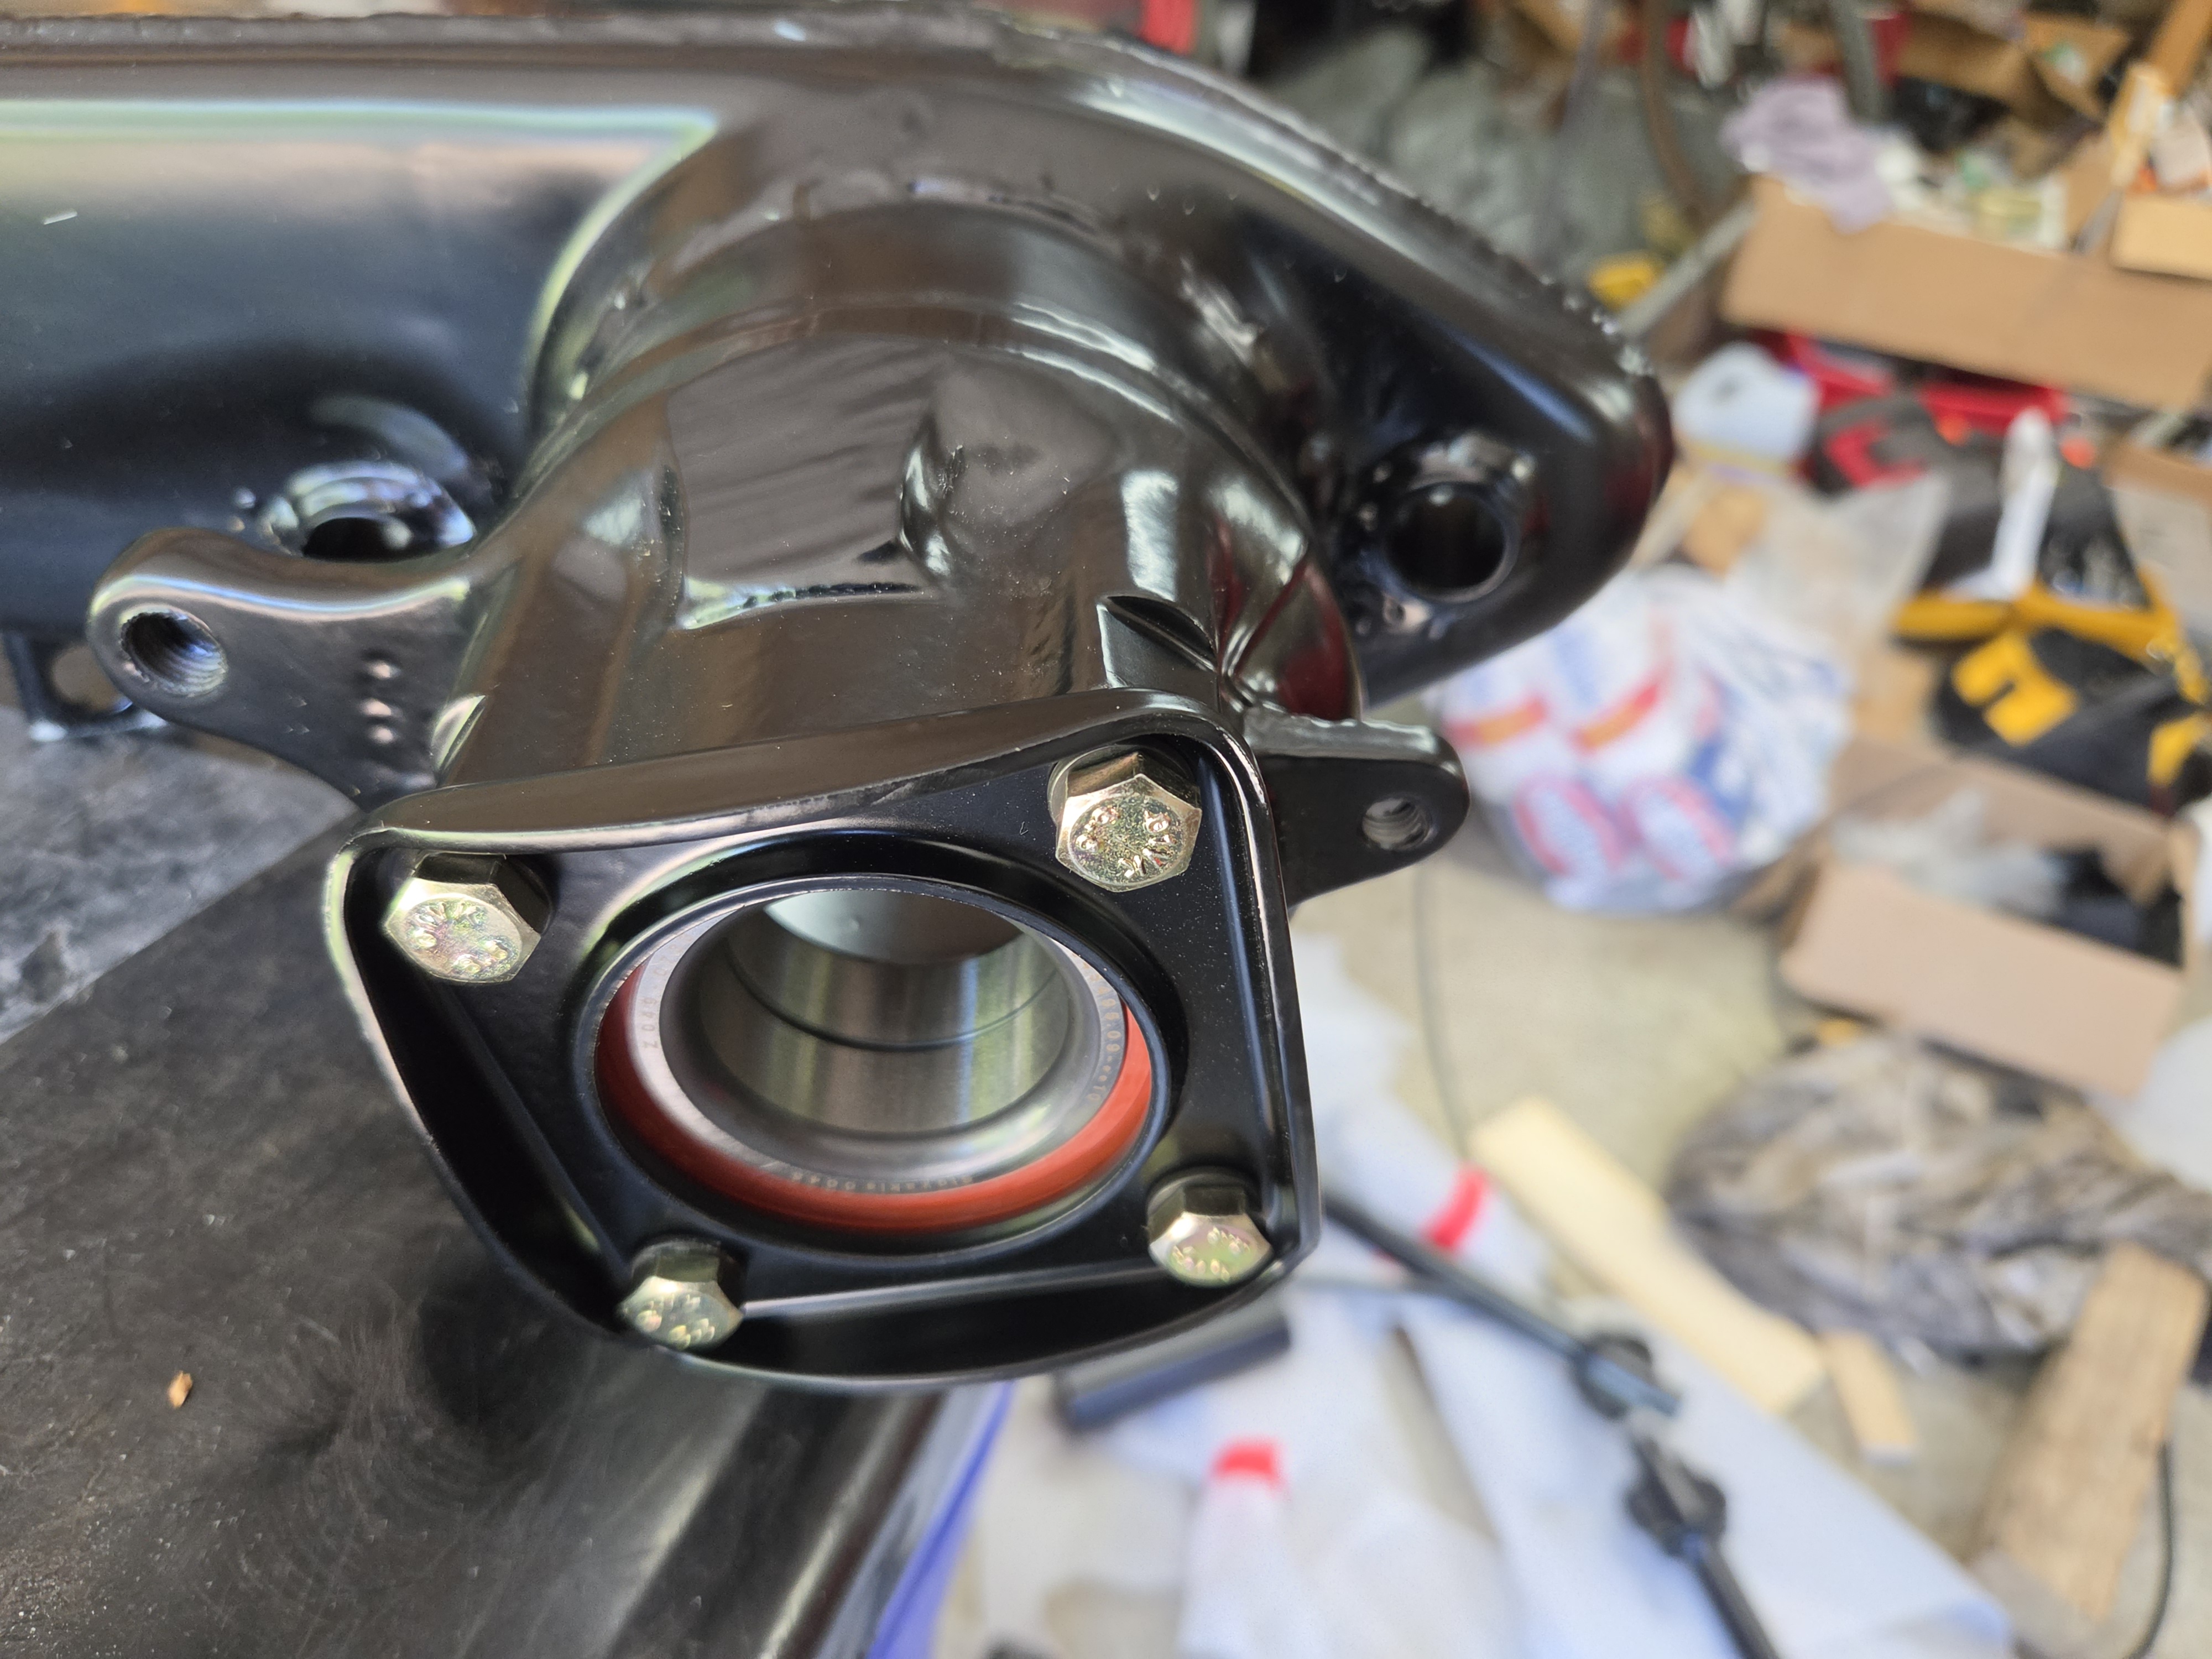
Alignment with a straight edge. But in reality, one you get the shocks on the trailing arm and then jack up the trailing arm to compress under body load, the alignment will be about the same. I tightened everything up once it had the trailing arms loaded and thus parallel to the ground.
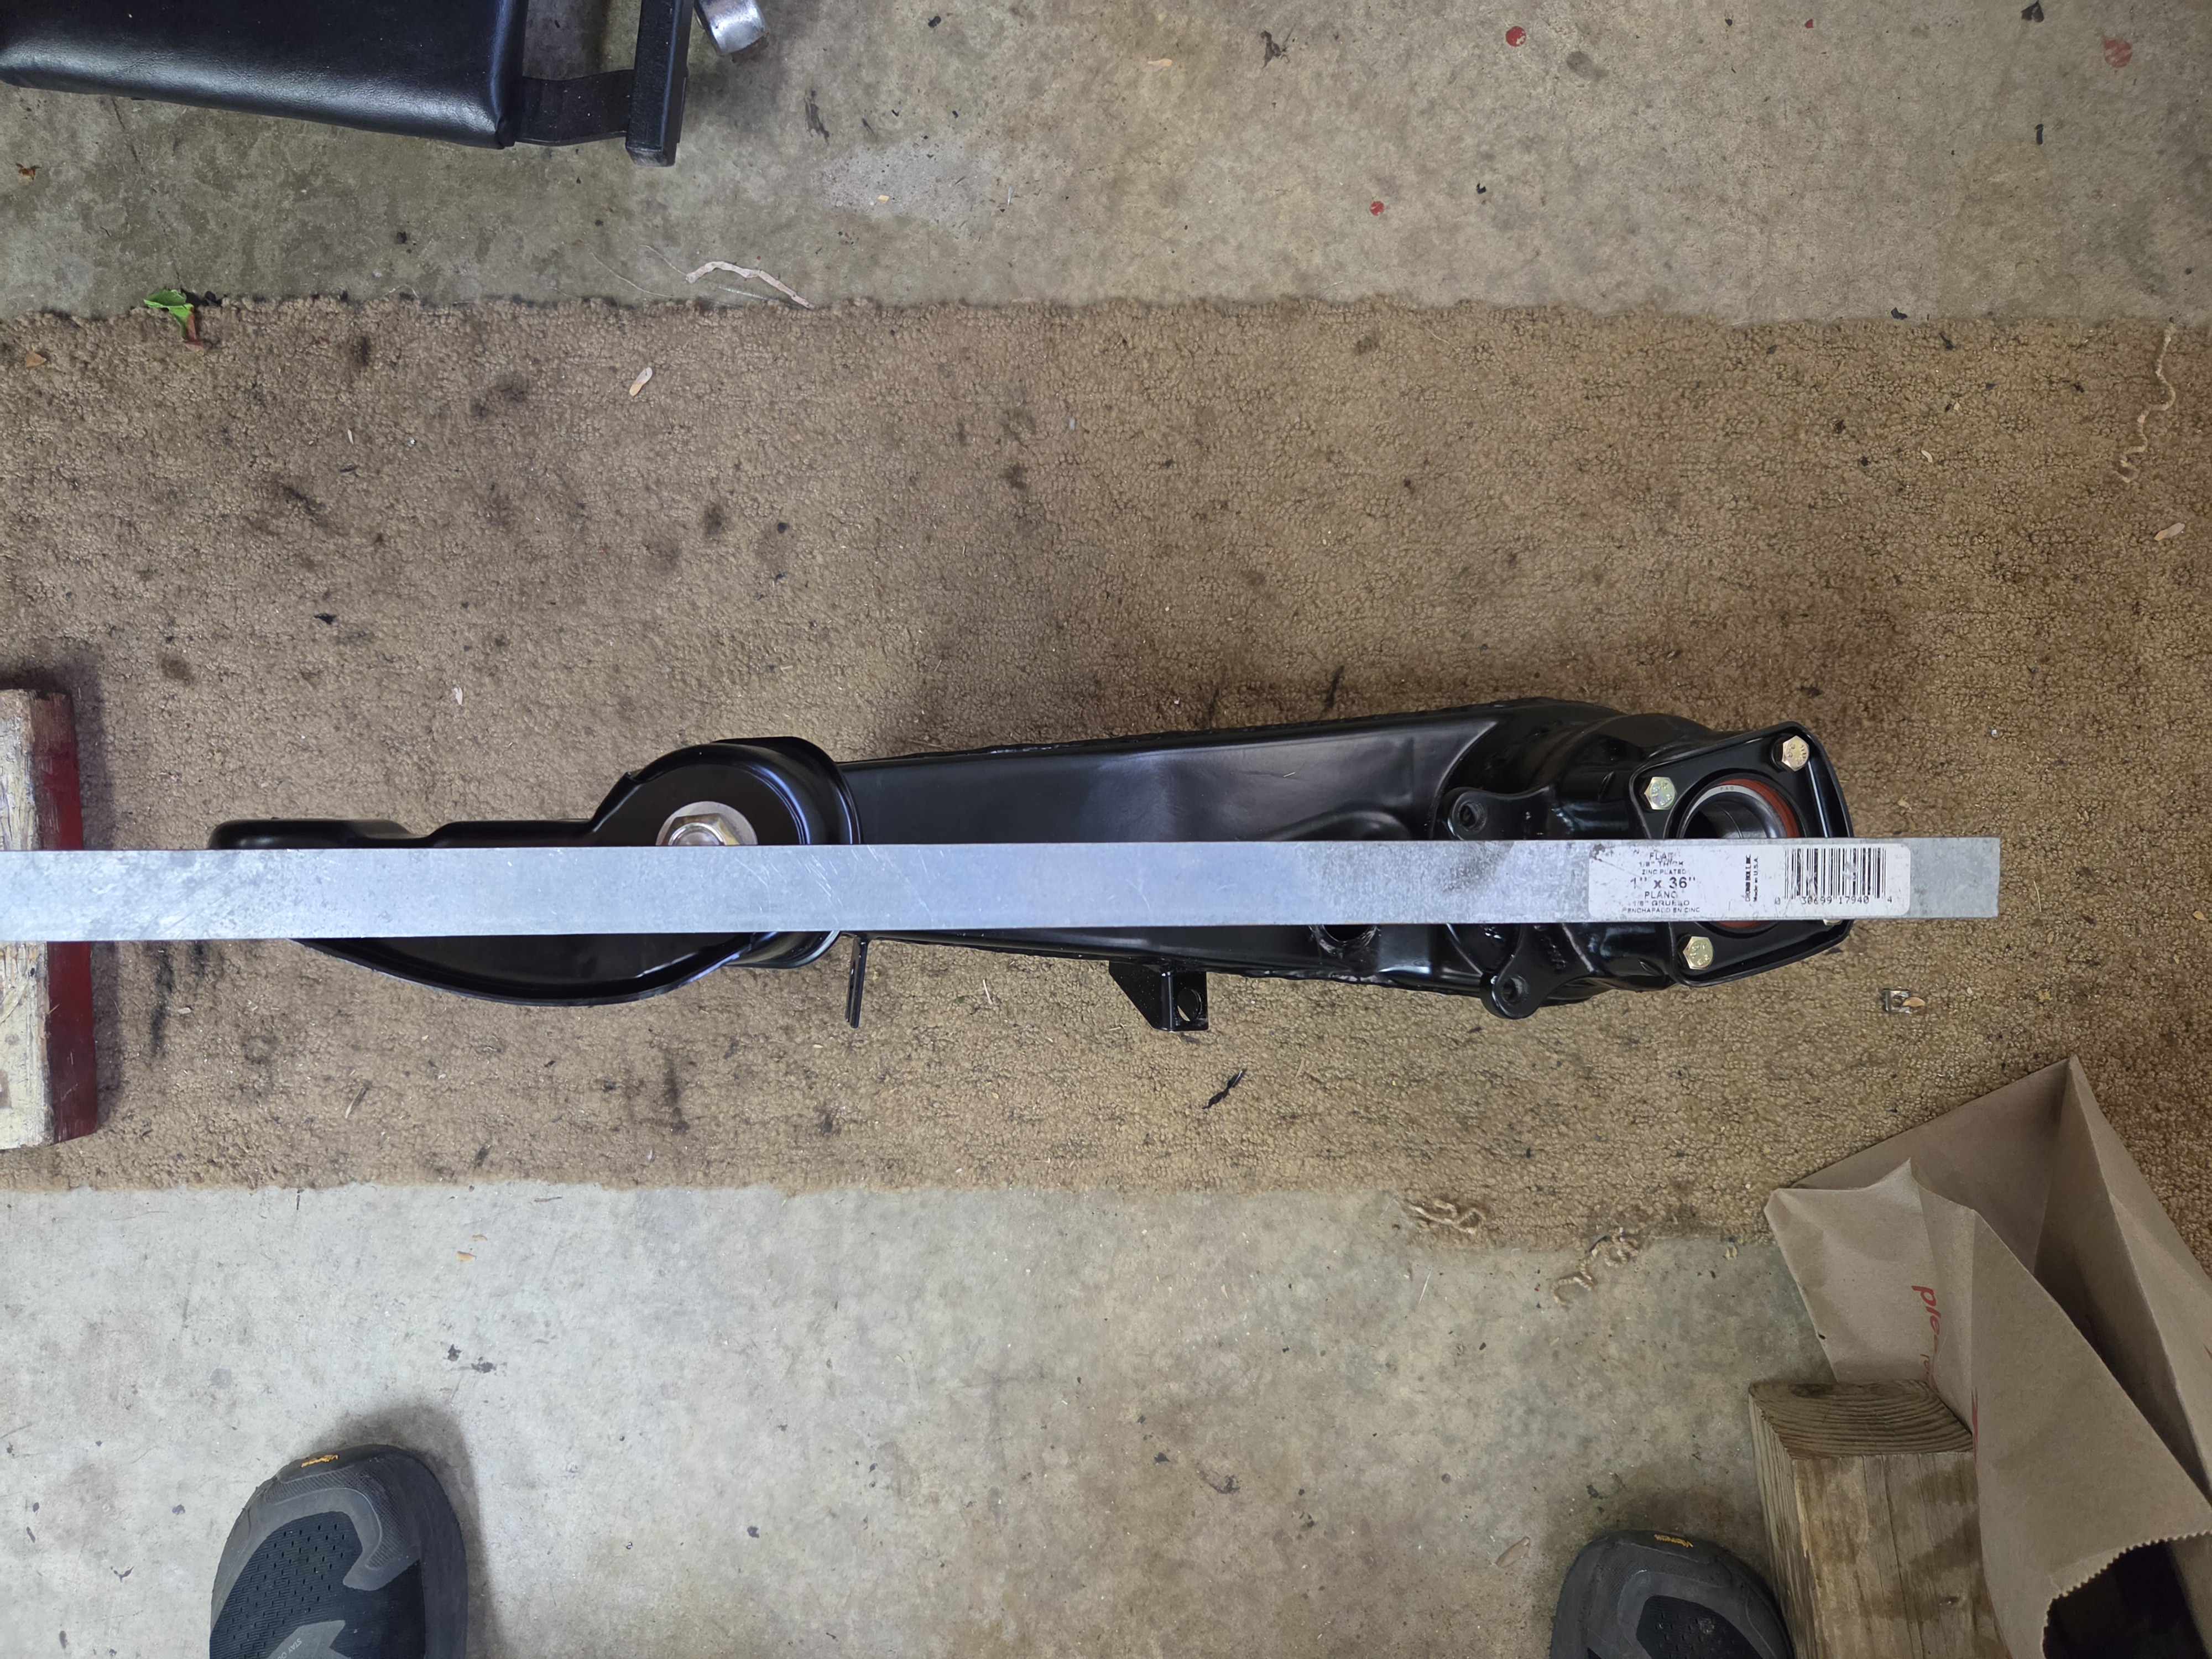
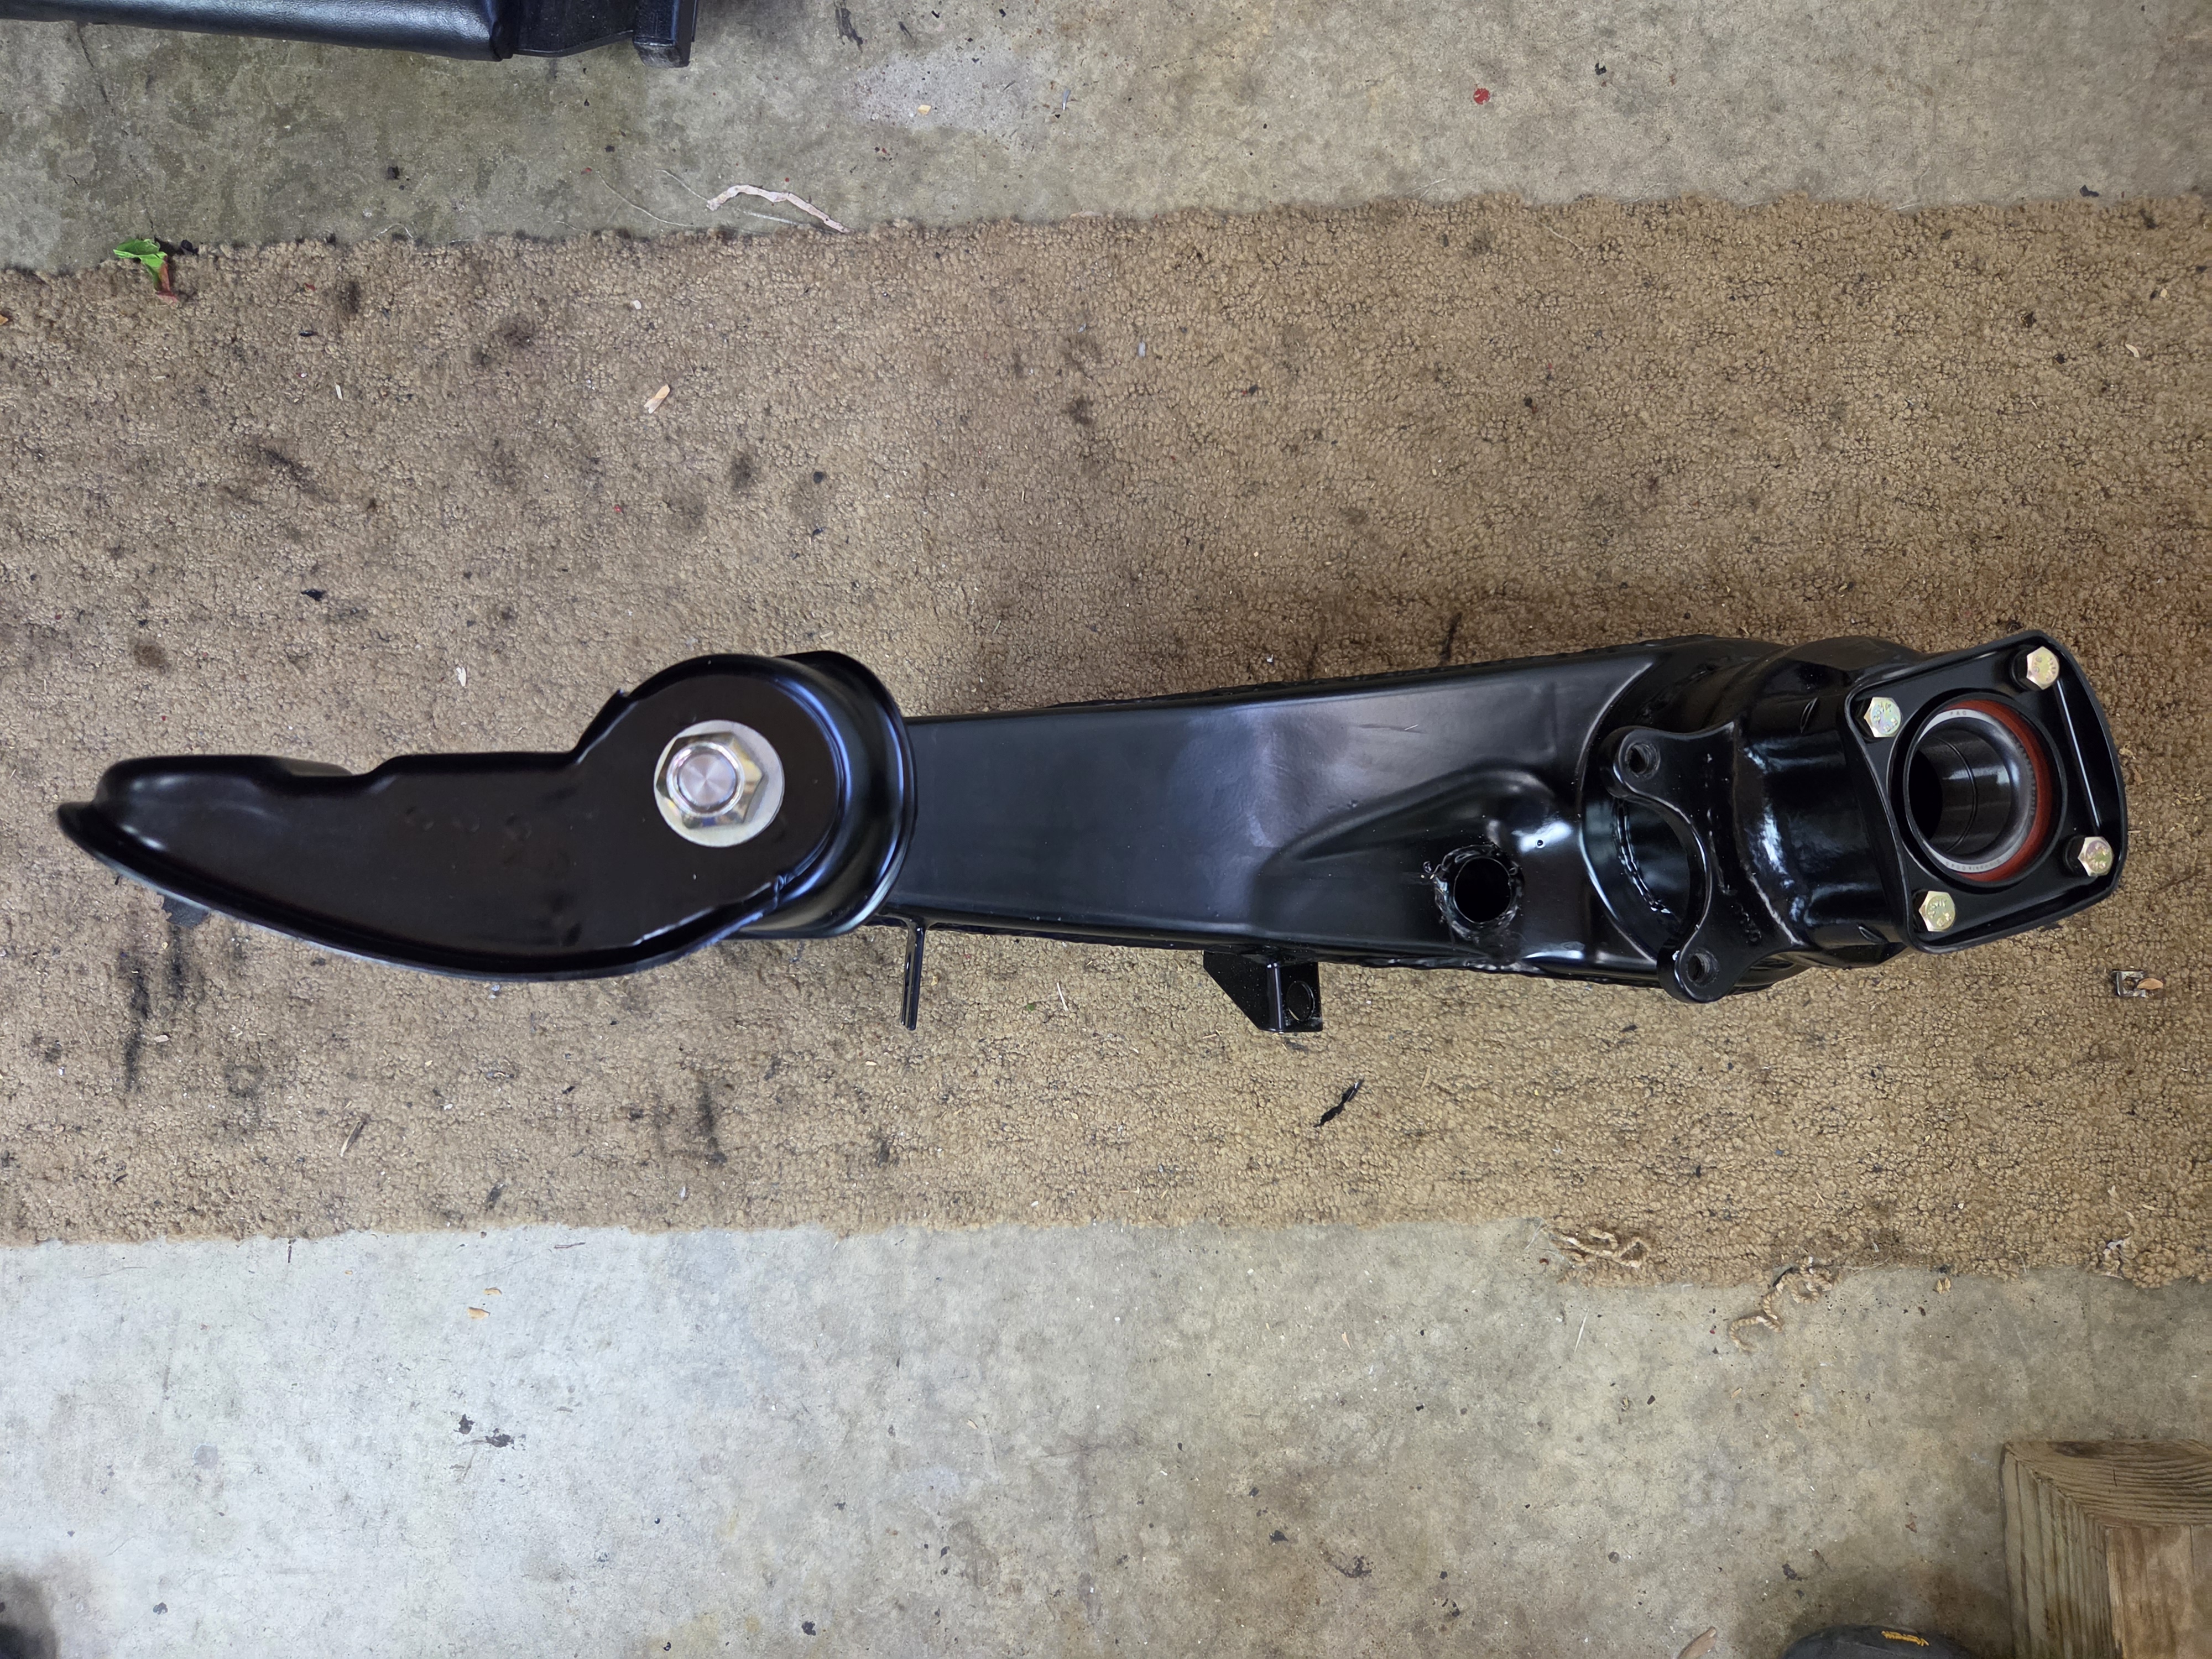
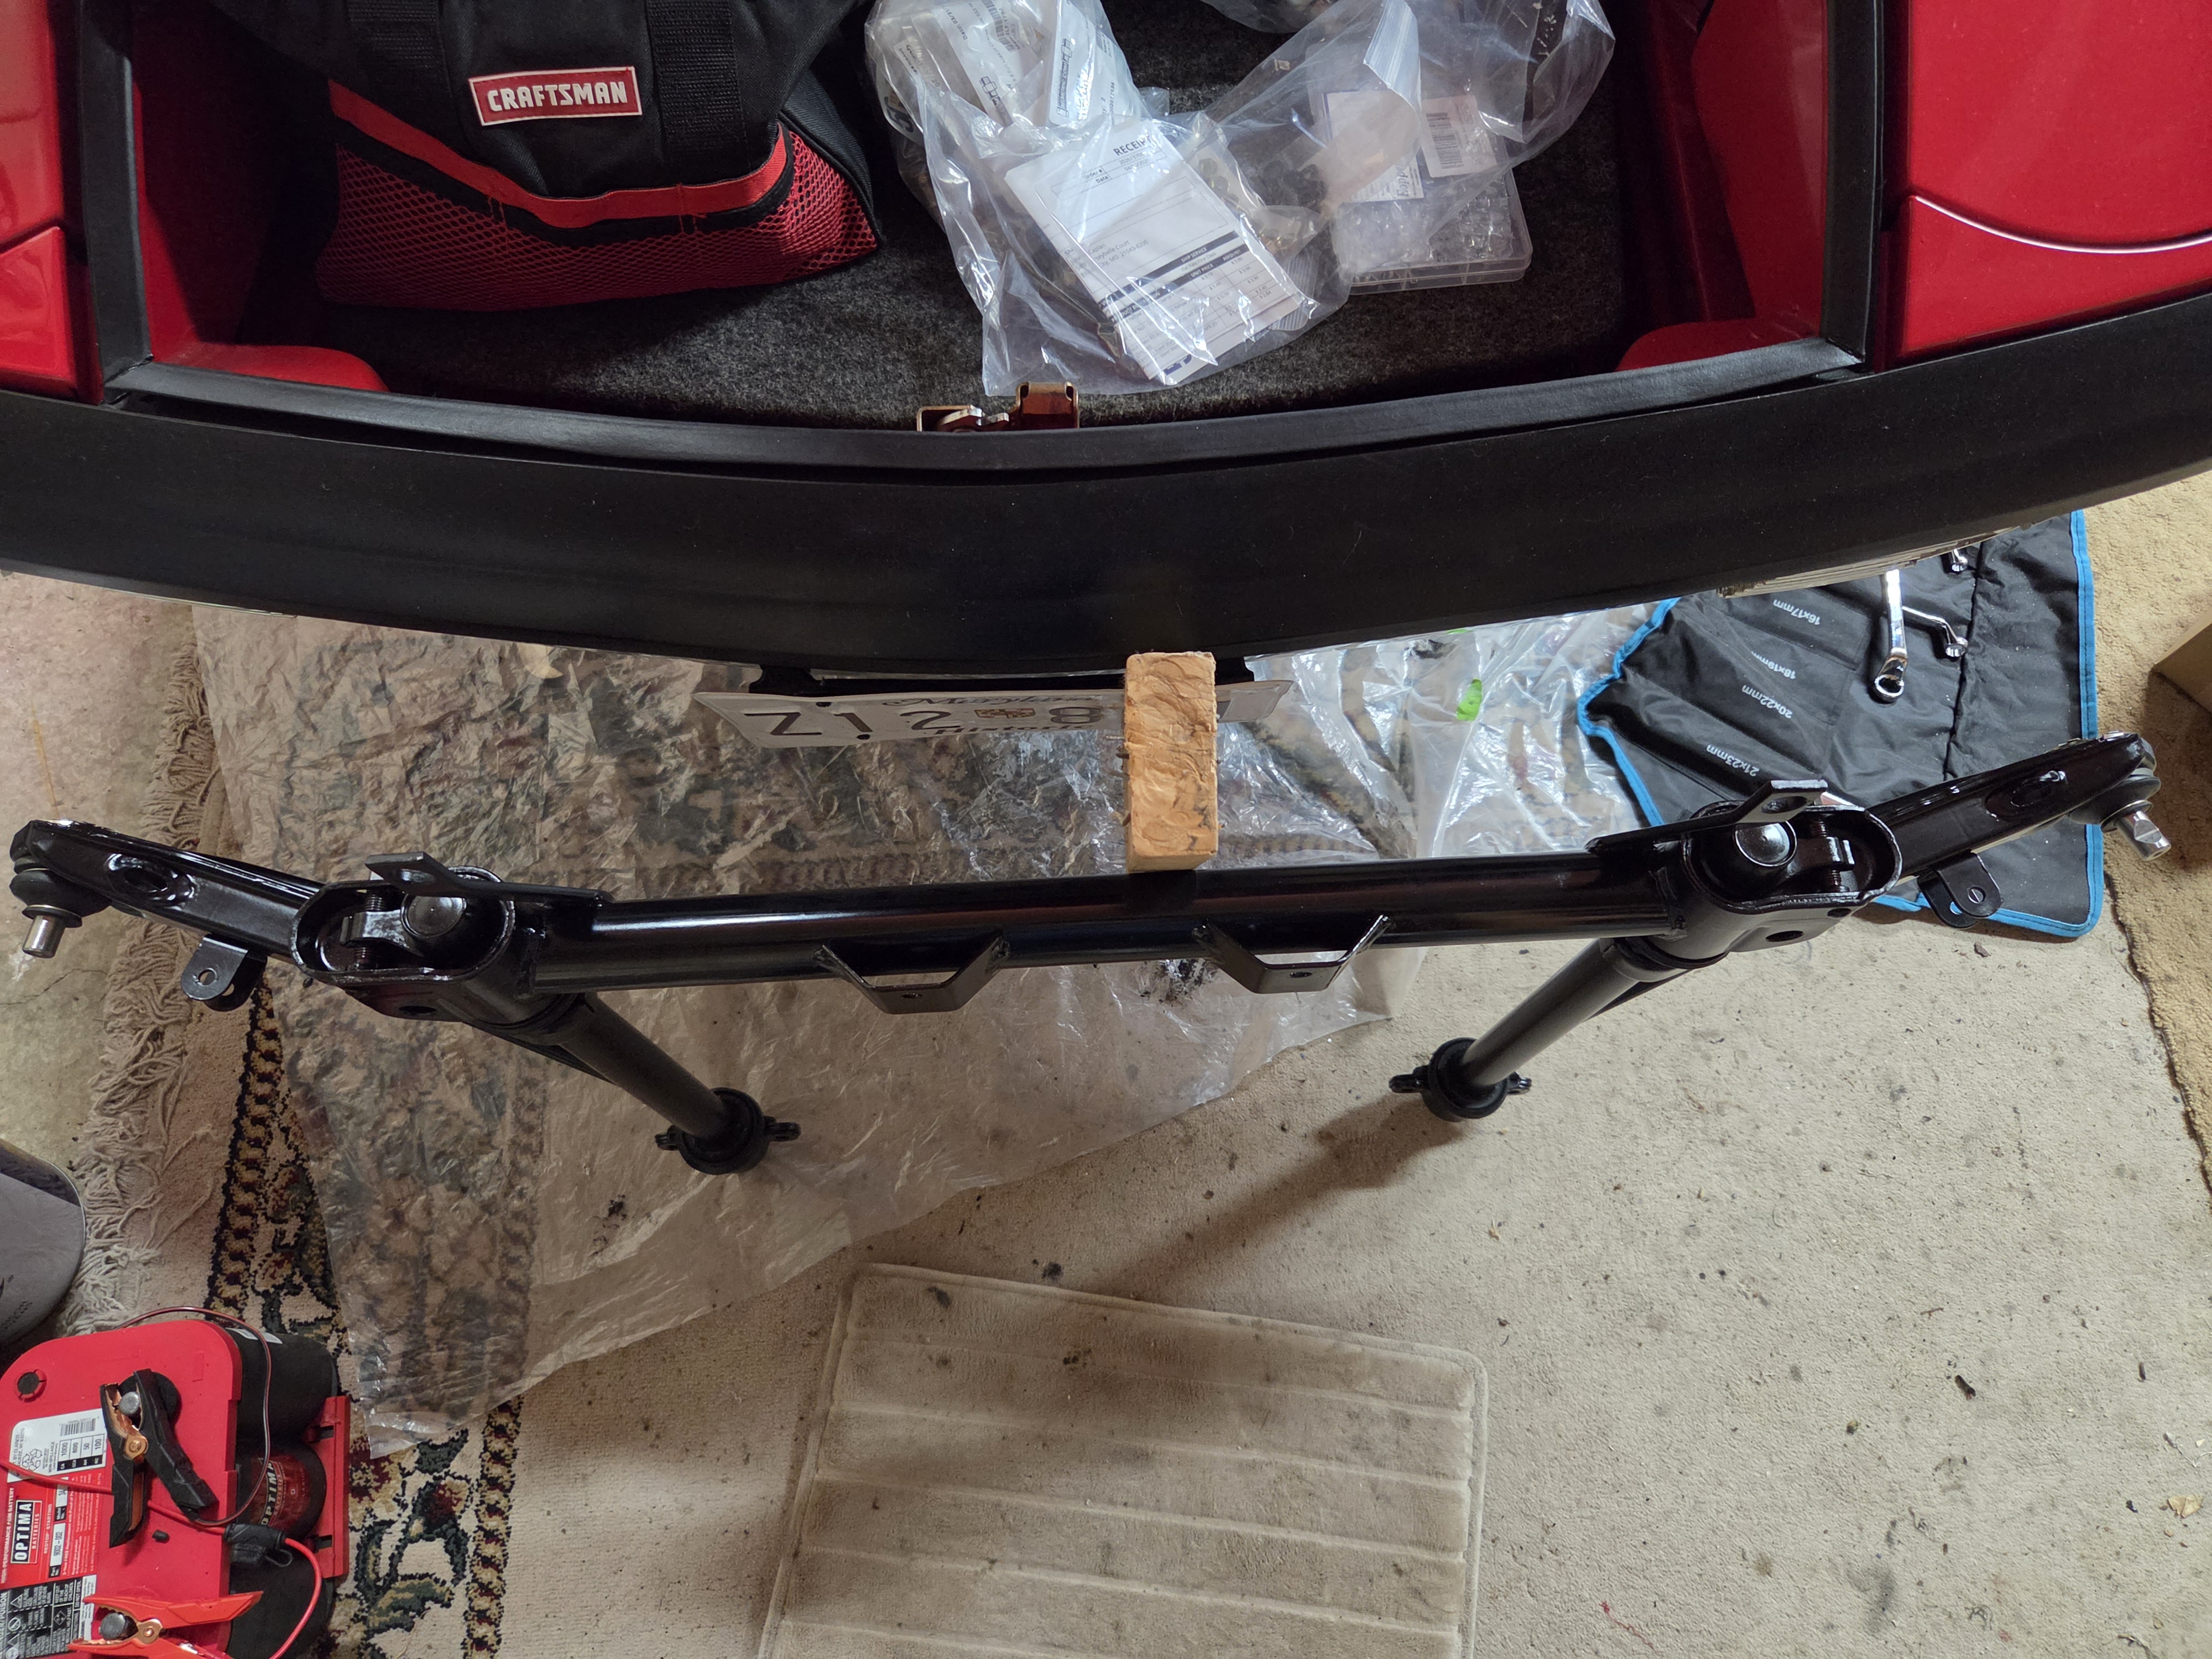
My local Porsche repair shop had the tool to torque the ball-joints down. The crossbar to chassis was painted with Seymour industrial semi-gloss and left to dry in the sun for a few days.
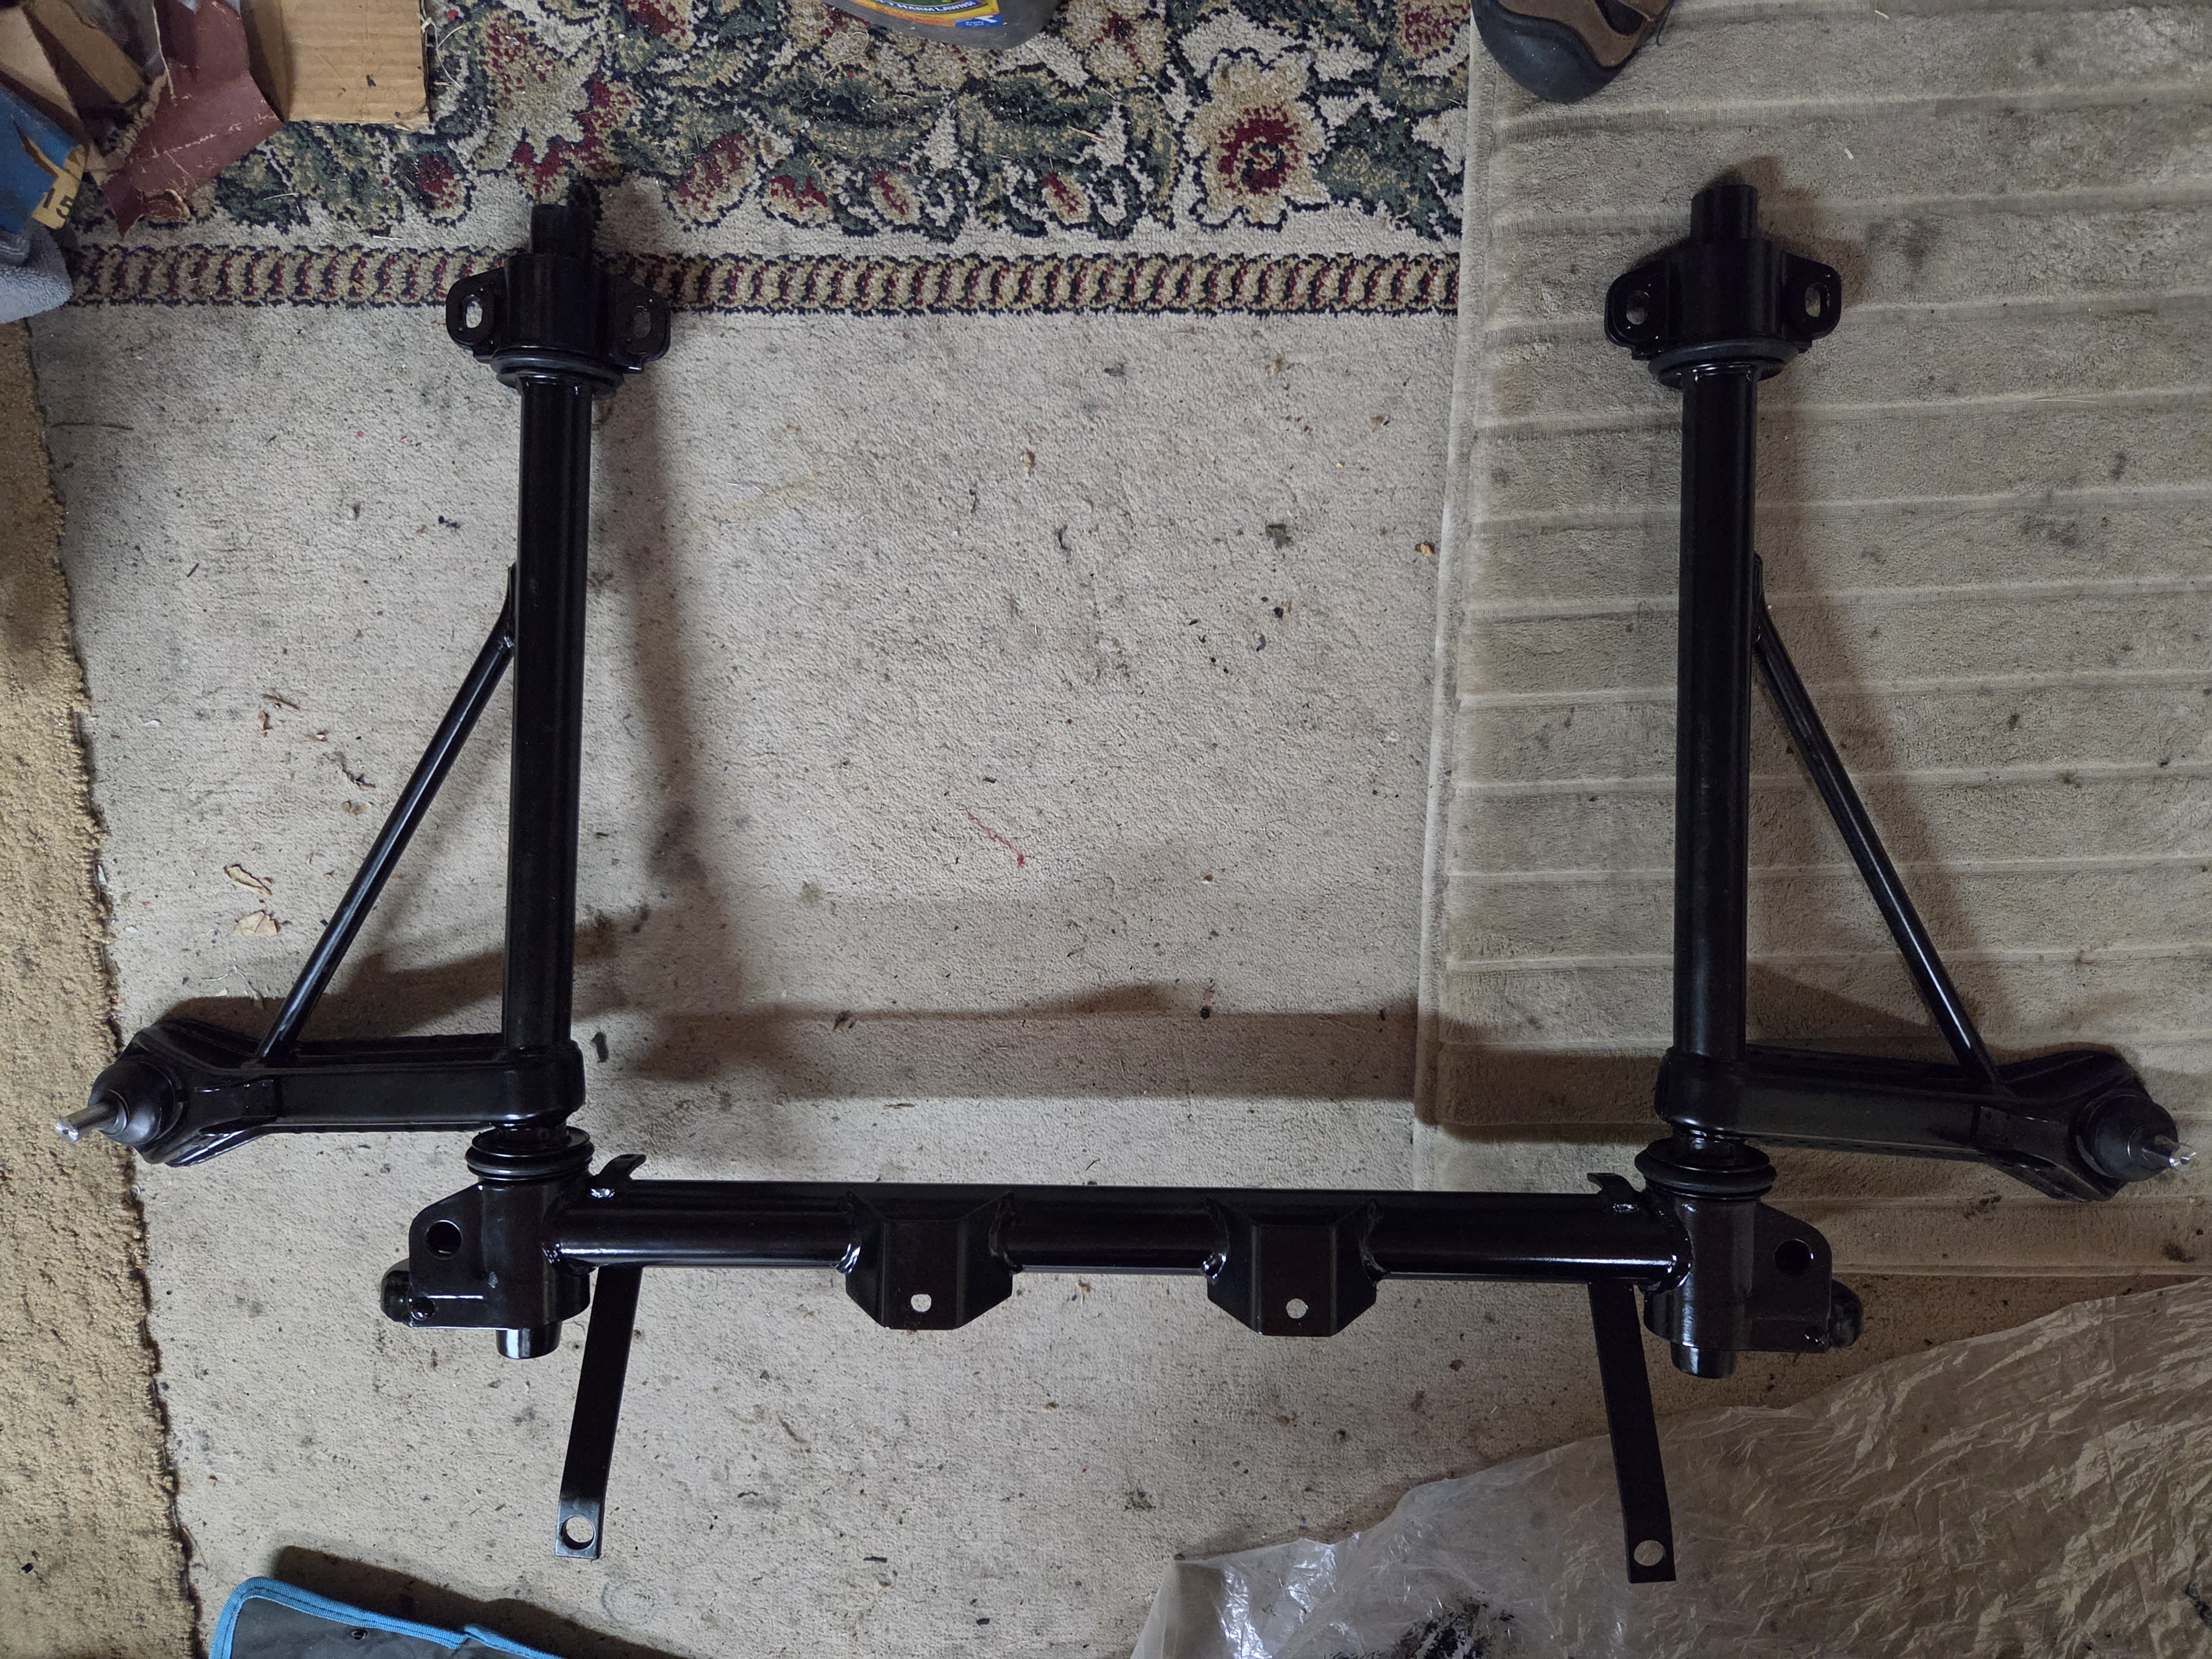
Standing the entire front-end assembly up let me attach the A-Arms and wiggle them in, square them up and get things ready to be lifted into place. It is actually easy to put this all under the car as one assembly. I used paint cans, 4"x4" scraps, 2"x4" scraps, etc. to gradually lift it into position.
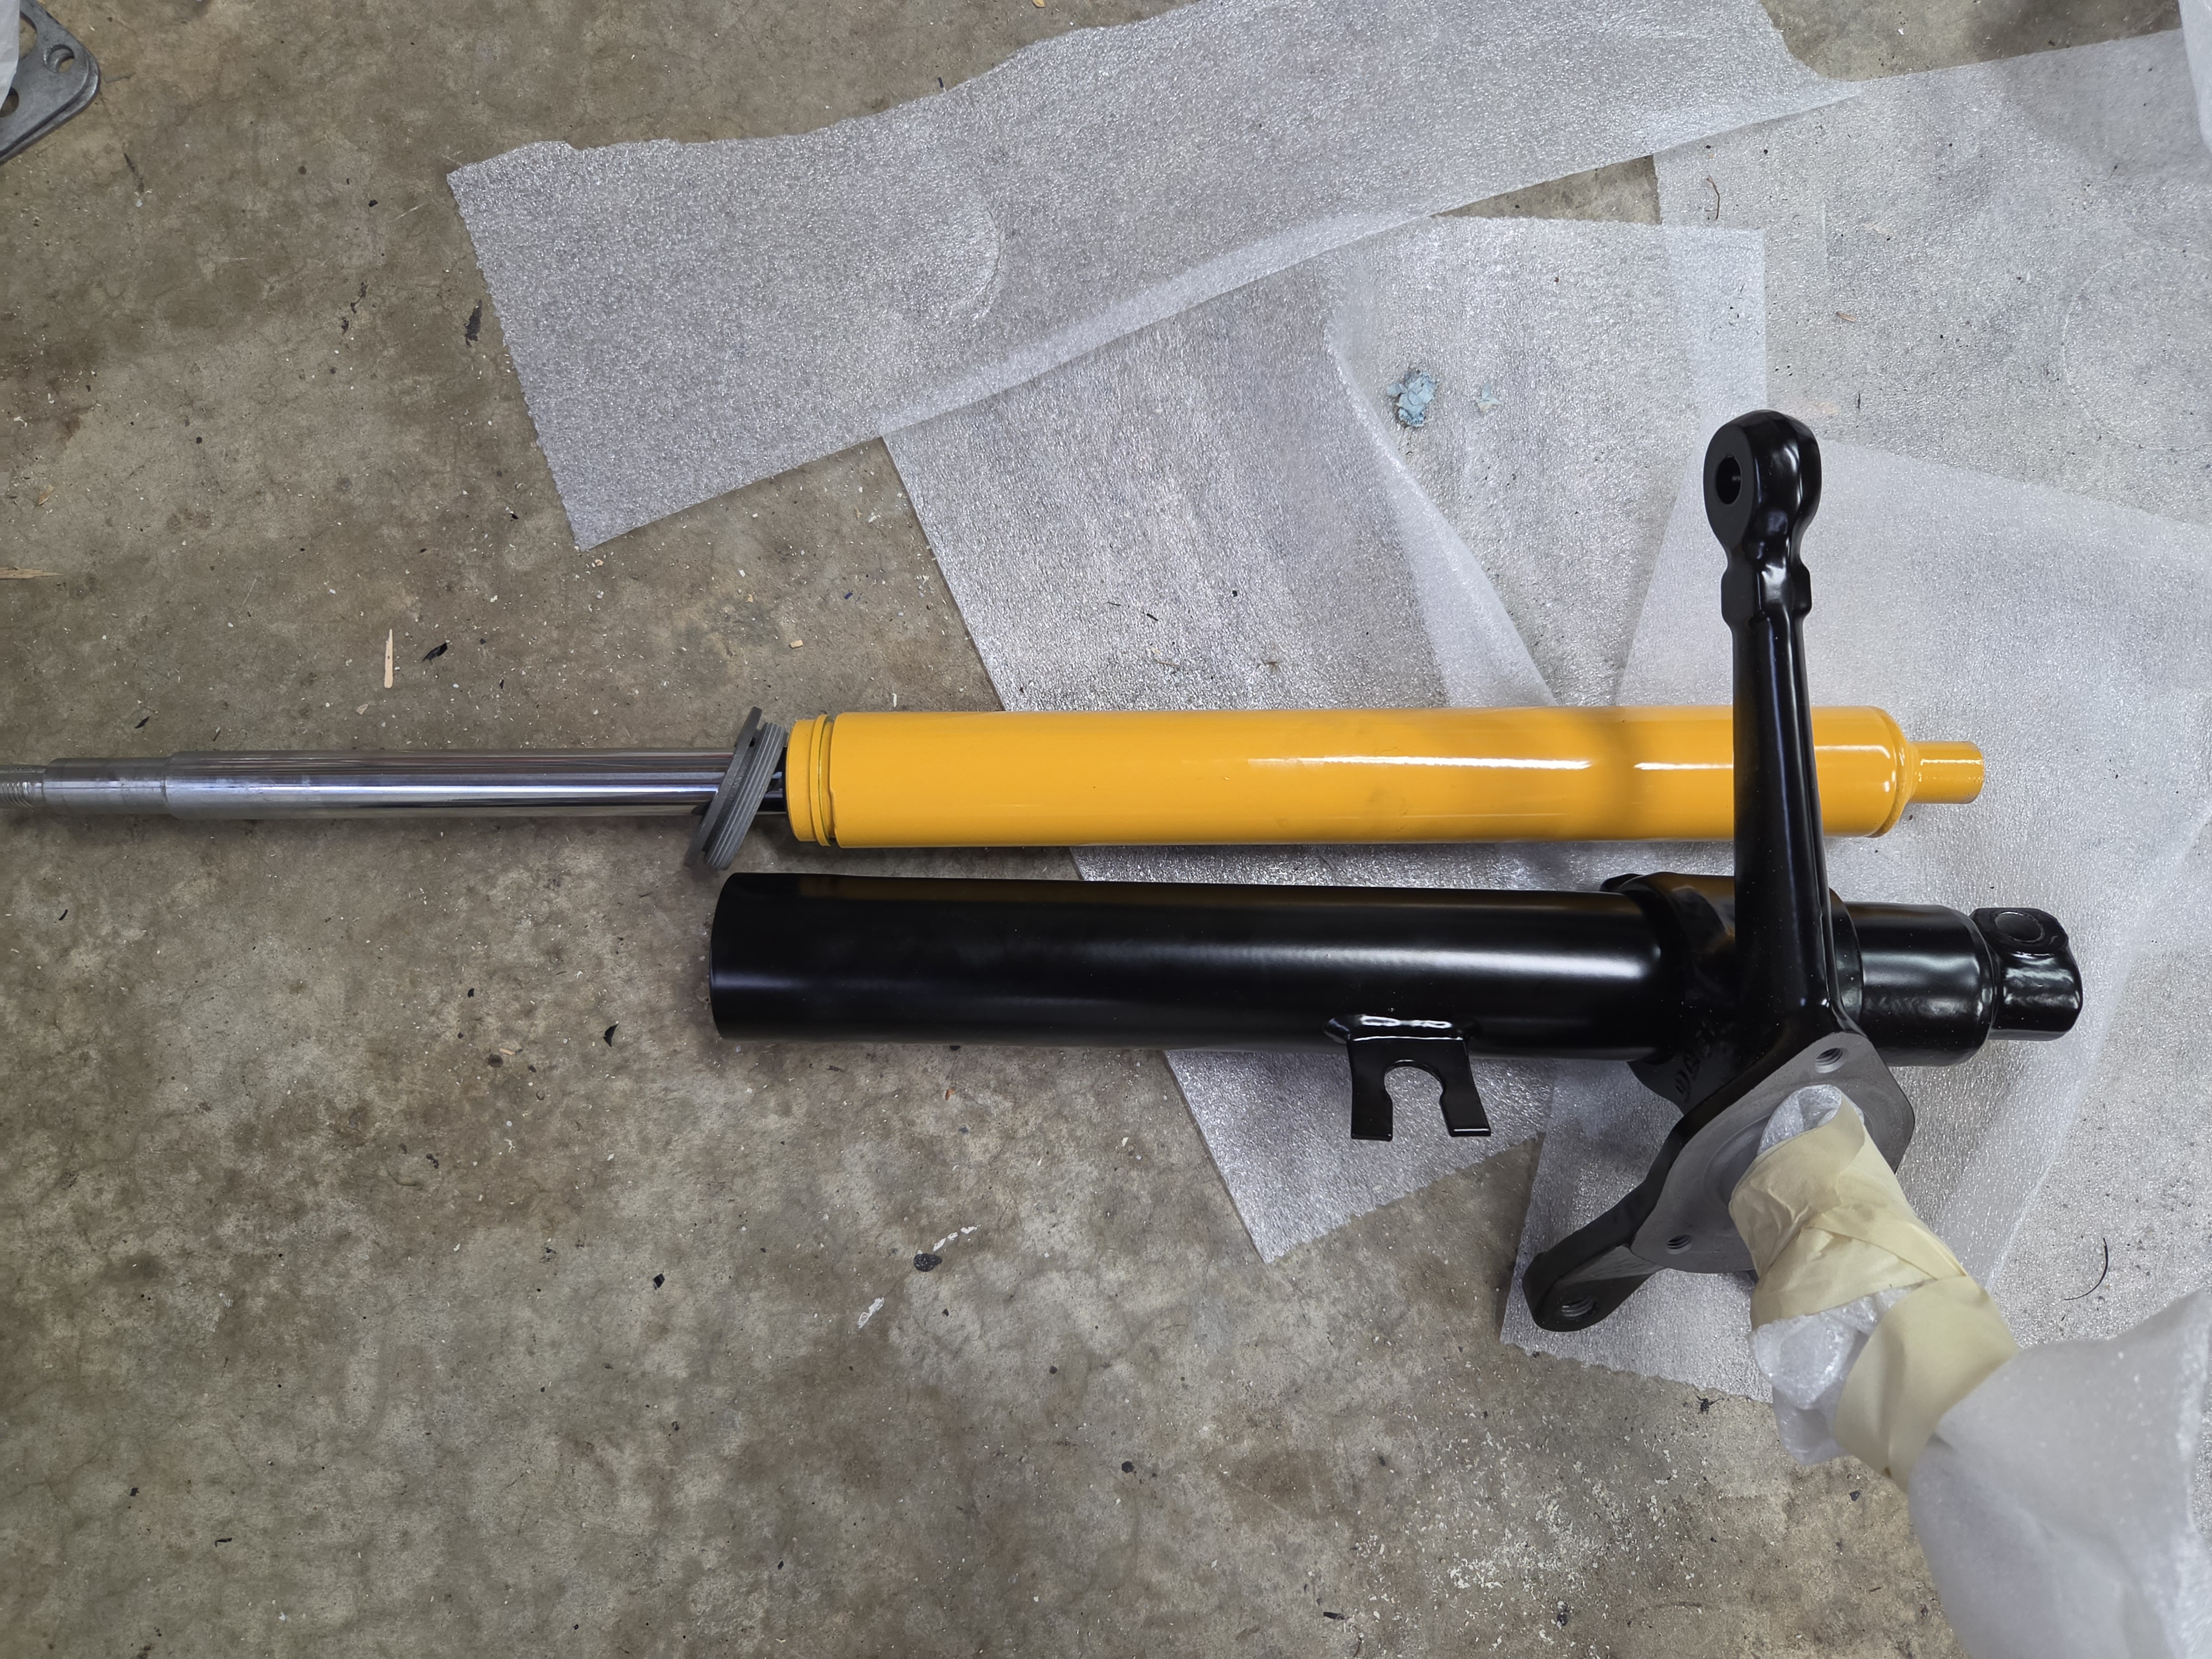
New Koni Sports. I had to trim about 1mm form the end-nose of the struts to get the lock-nut to sit flat. The amount to trim become evident when you see the space under the nut (second image below). Note the white packing wrap to protect the spindle until the brakes are mounted (after installing the entire front suspension and struts).
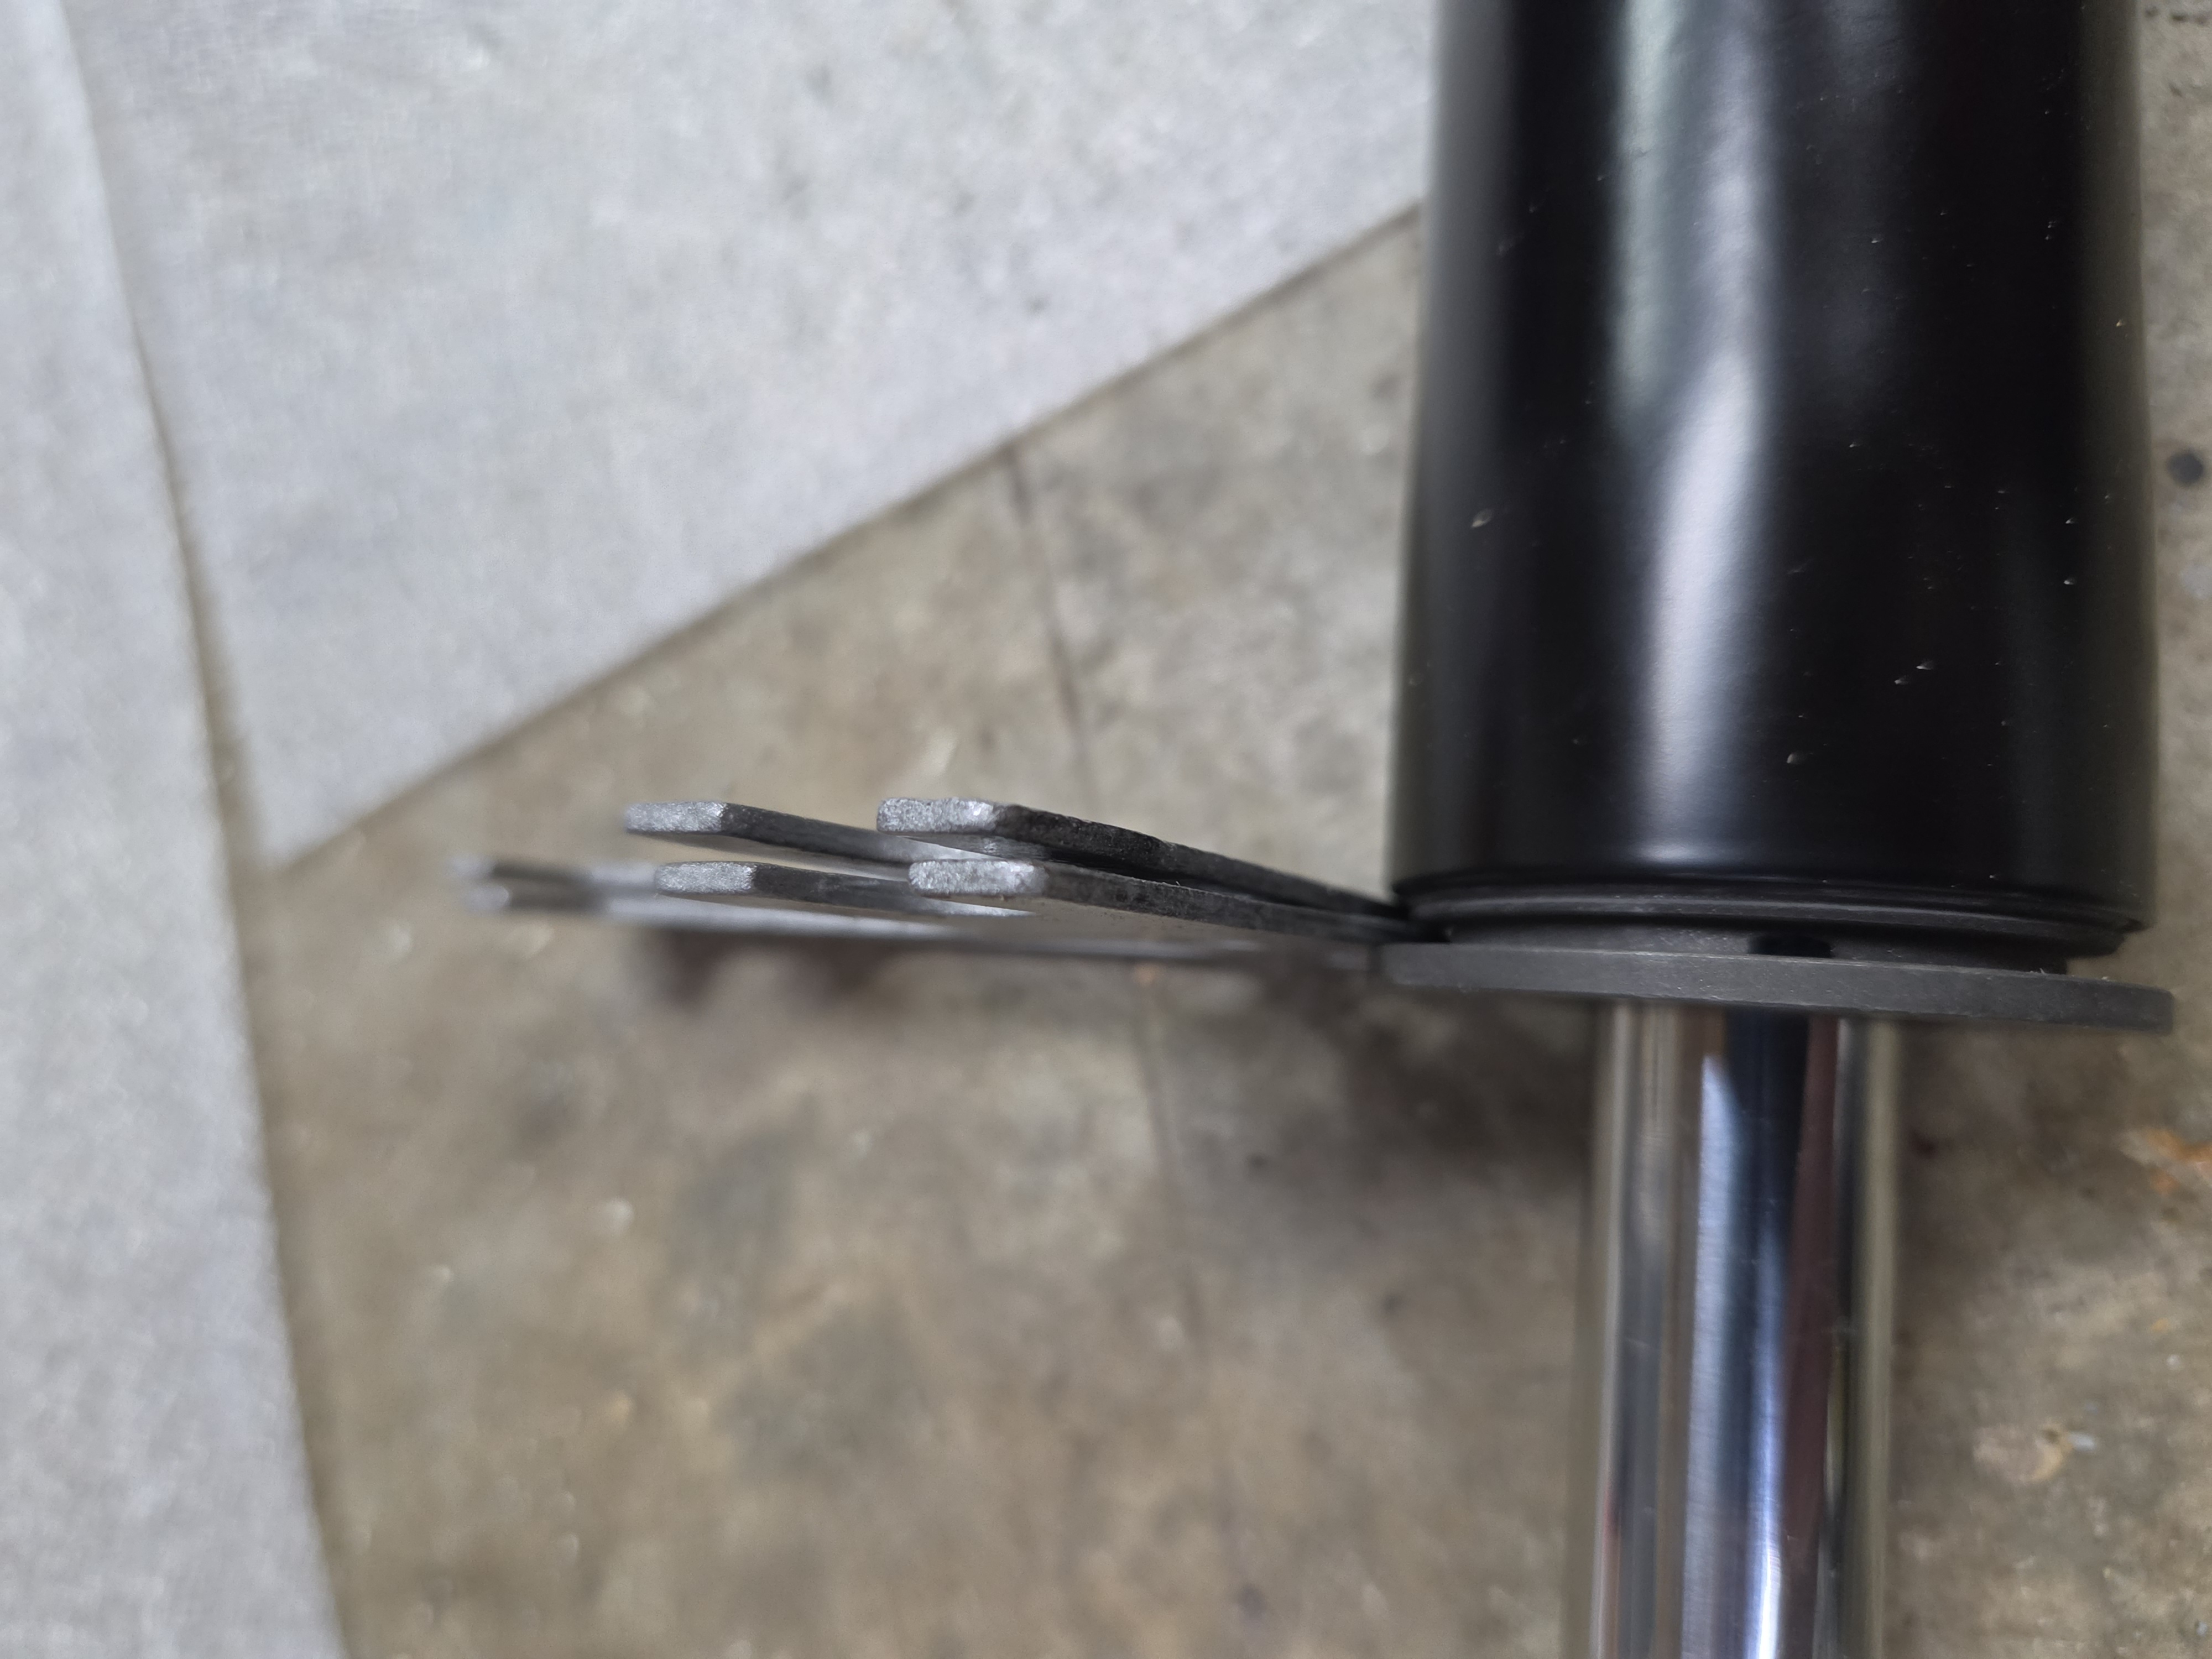
BE CAREFUL HERE: I used the rear suspension shims as my guide and the two seemed to be exactly the distance to remove on the nose of the Koni's... But, you should not cut off that much! You need about 1mm of extra length so that the retaining nut (Gland Nut) of the Koni will pres down on the top of the strut. If you screw this up, then the struts will rattle in the tubes and you will think you have loose Gland Nuts. If you do cut them too short, then add a 1/2 or 3/4" washer under the cutoff part (grease will hold it in place or just tack-weld a washer to the cutoff part of the Koni strut to correct your error. I used blue thread sealant on the gland nuts. While I do have a pin tool for the Kini gland nut, I also used a pipe wrench to make sure they were tight and I don't mind the mar-marks, they will never be seen.
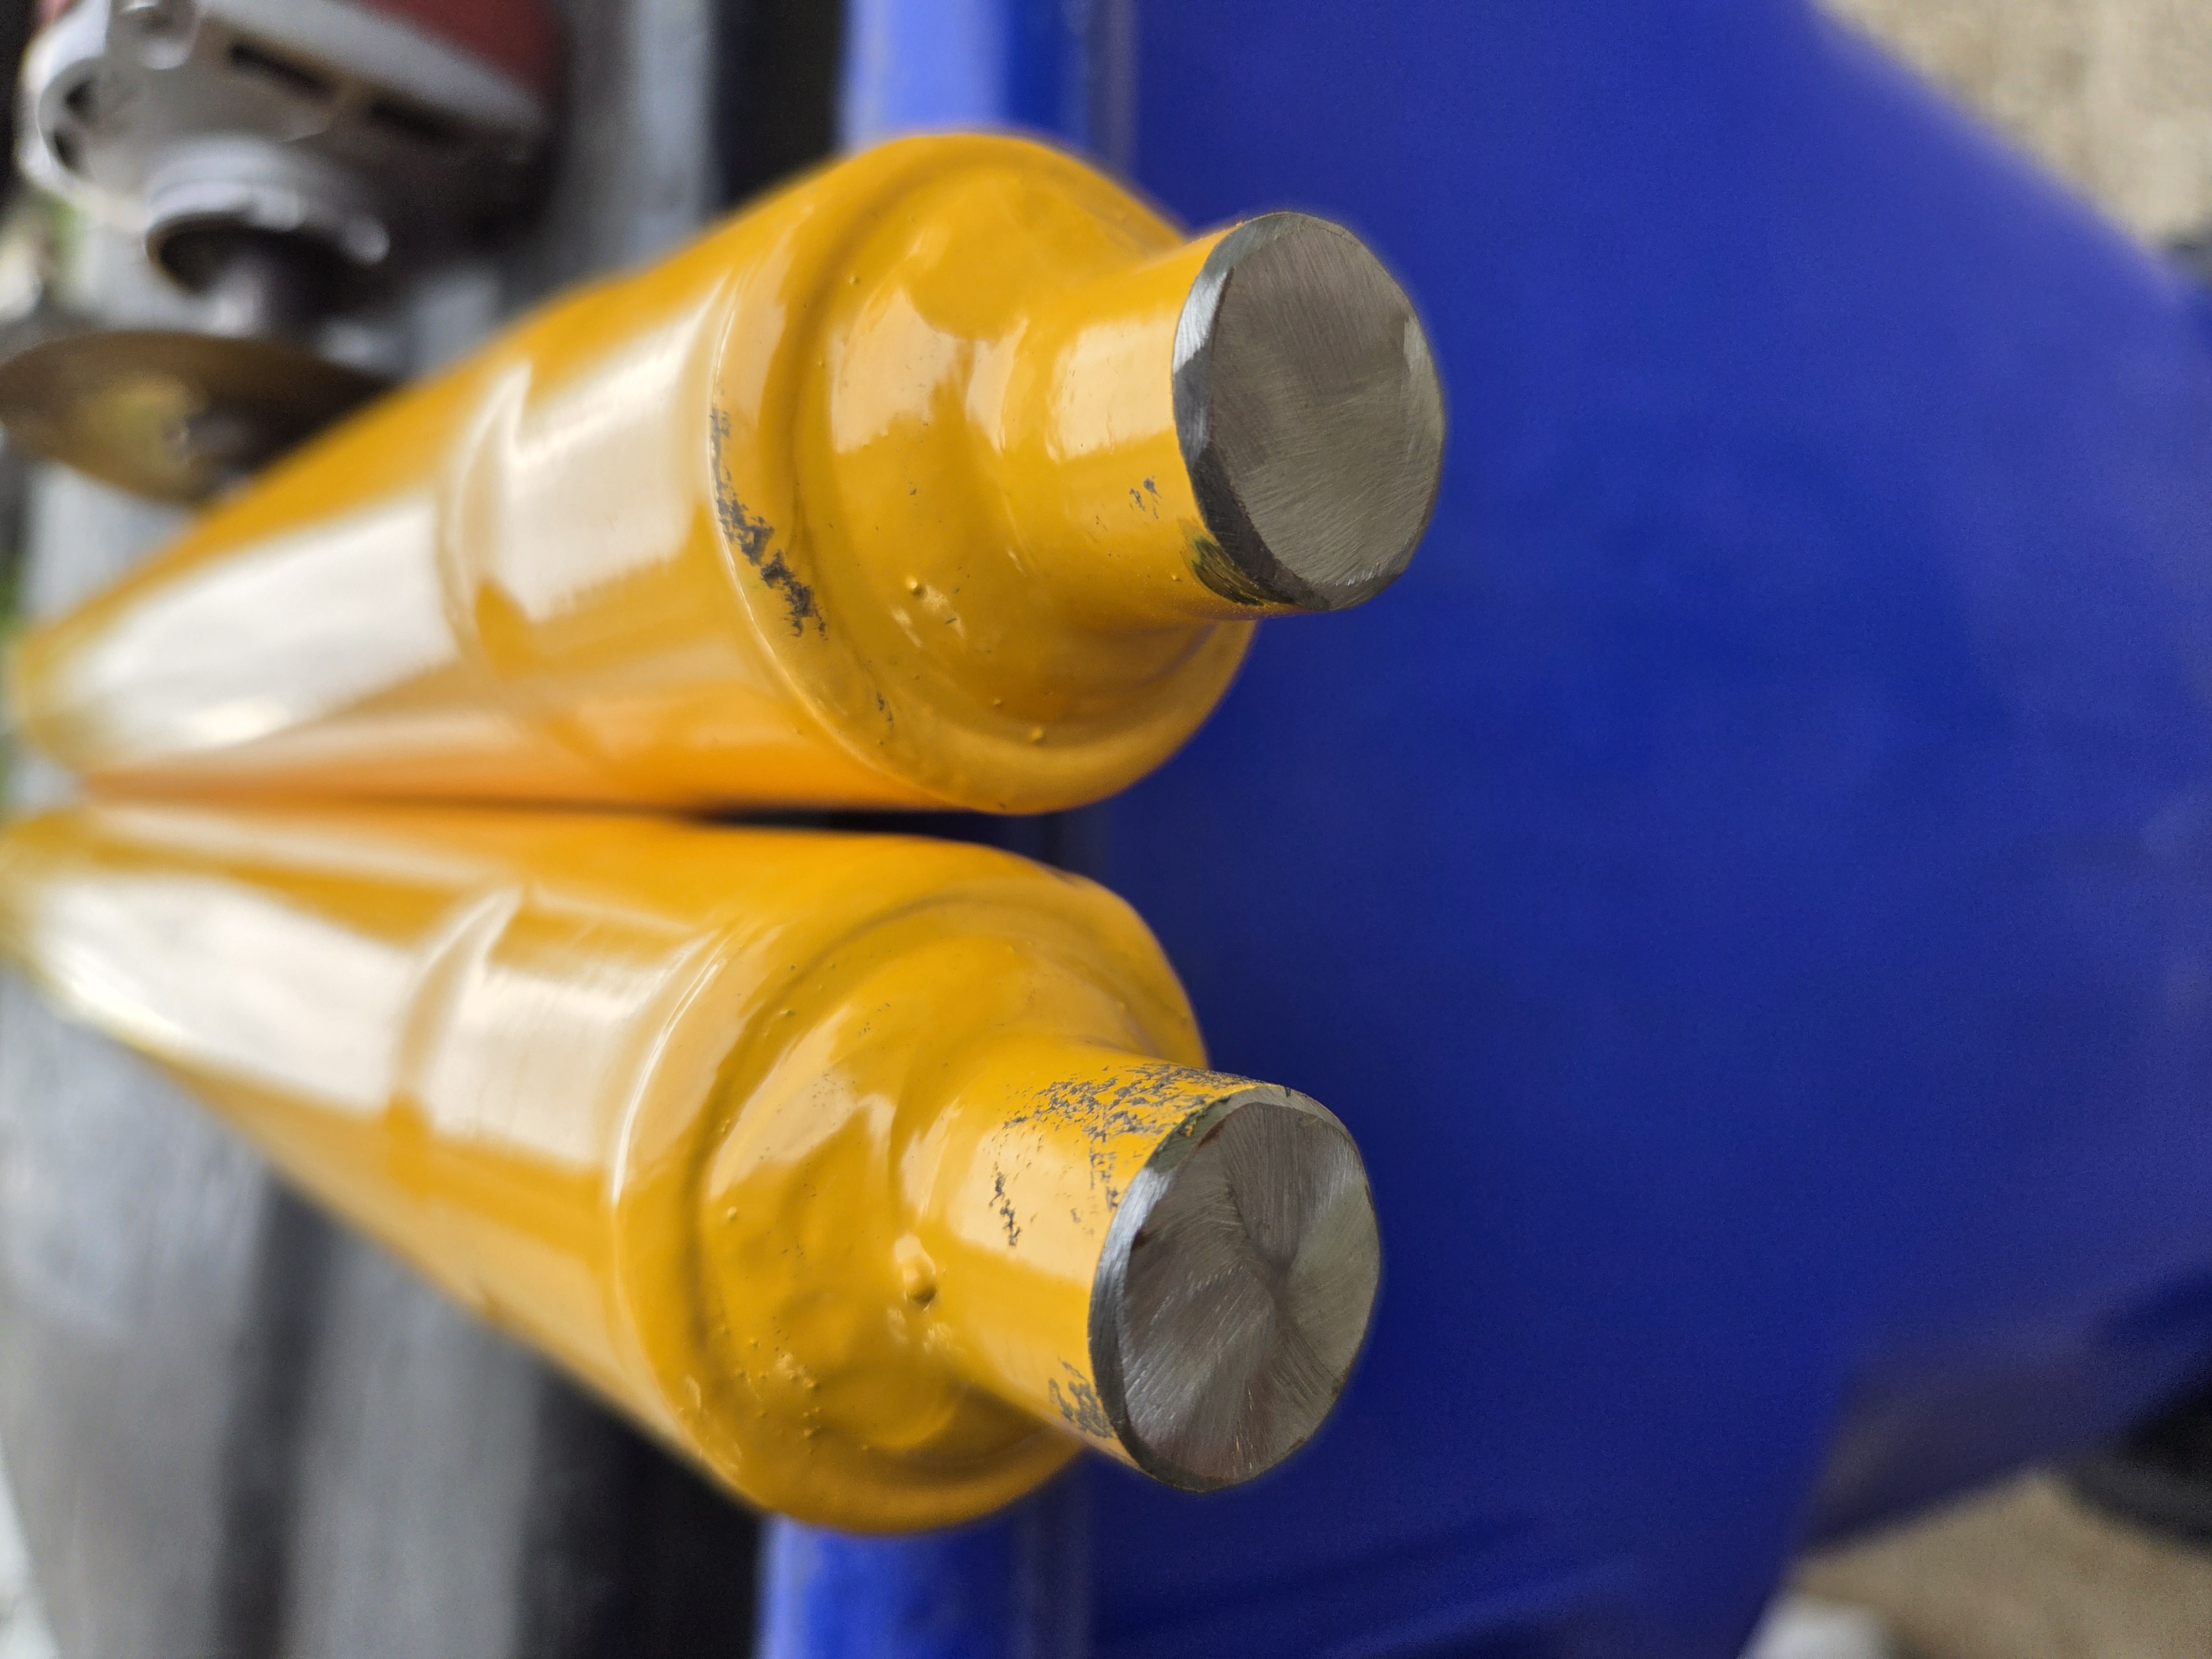
Cutoff wheel and a bit of sanding flap-disk work. On a 914, the Ball-Joint holes go through the strut tubes. They would leak oil if you filled them to Porsche specs for a few OZ of oil to dissipate the heat. I used blue high-heat grease in the lower strut housing for the heat transfer concept. I assume that someday it might help someone remove the struts from the ball-joints.
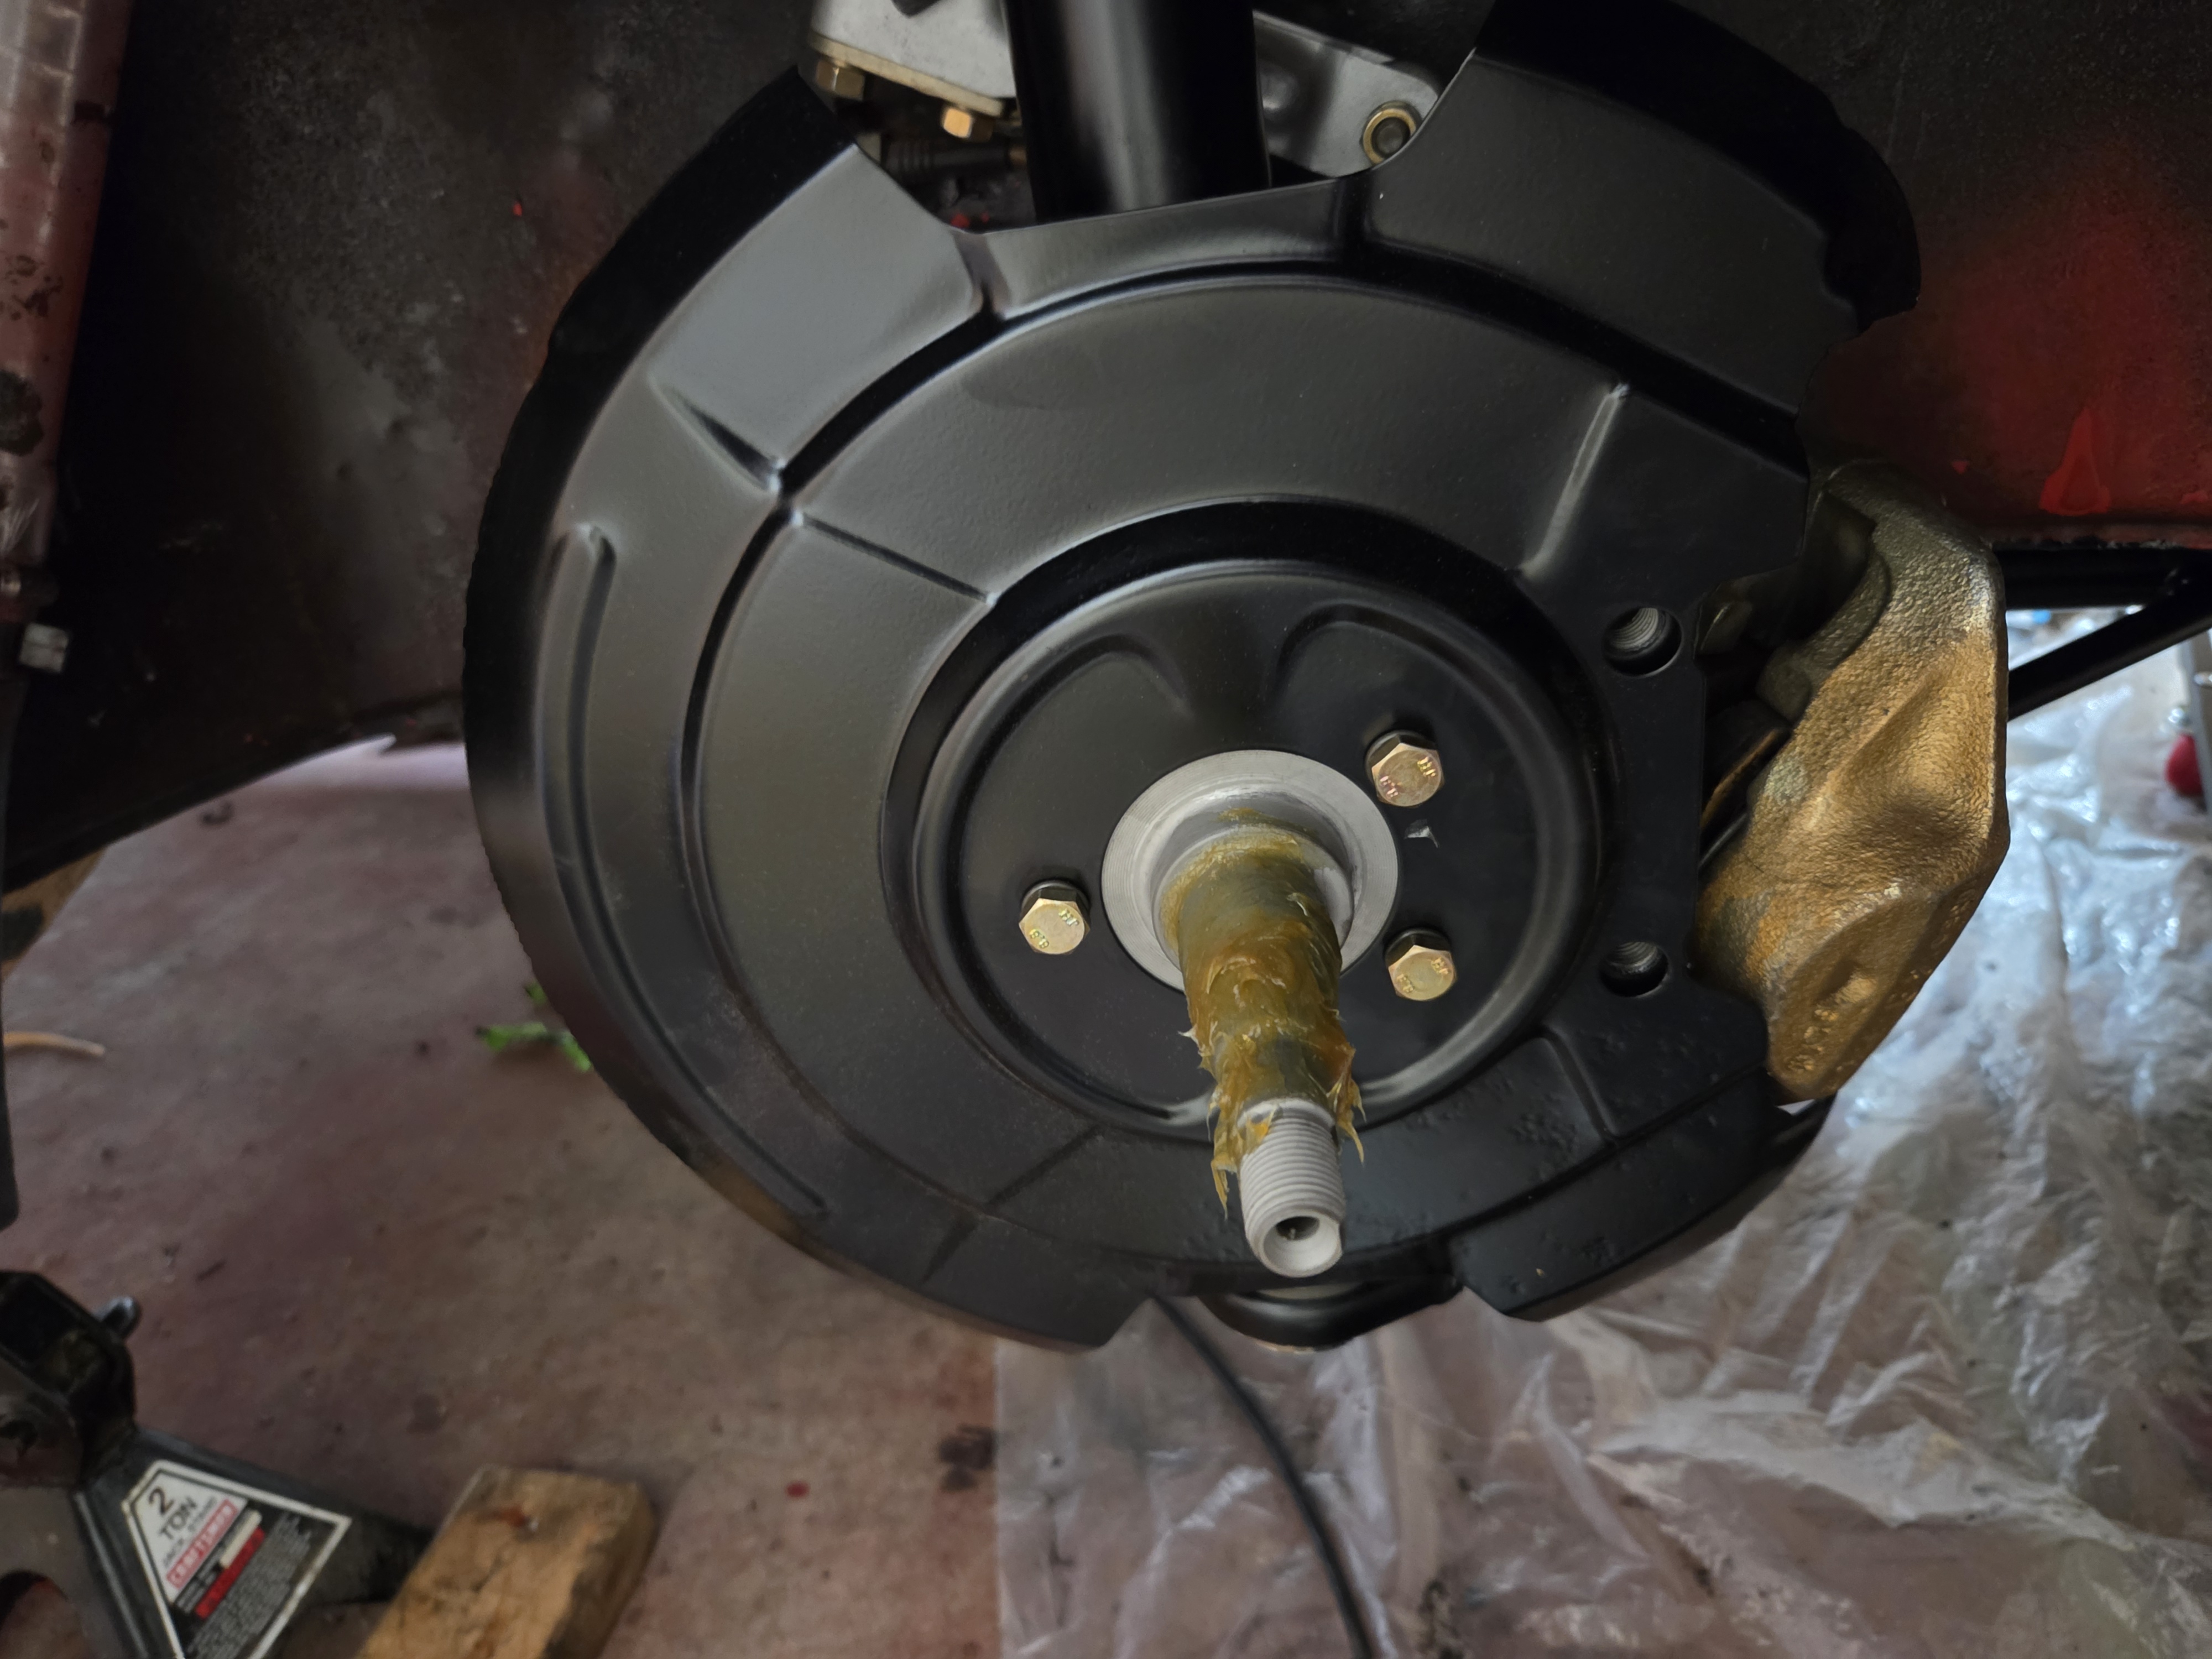
Powder coated front shields. Those brakes are BMW 320i brakes from 1979-ish. The mounting plate is trimmed 1/8" to get the center alignment on the disk. You need to trim these shields so that they don't touch the BMW 320i calipers. Here, they are bent instead of cutting them..