Joe's 914 Project
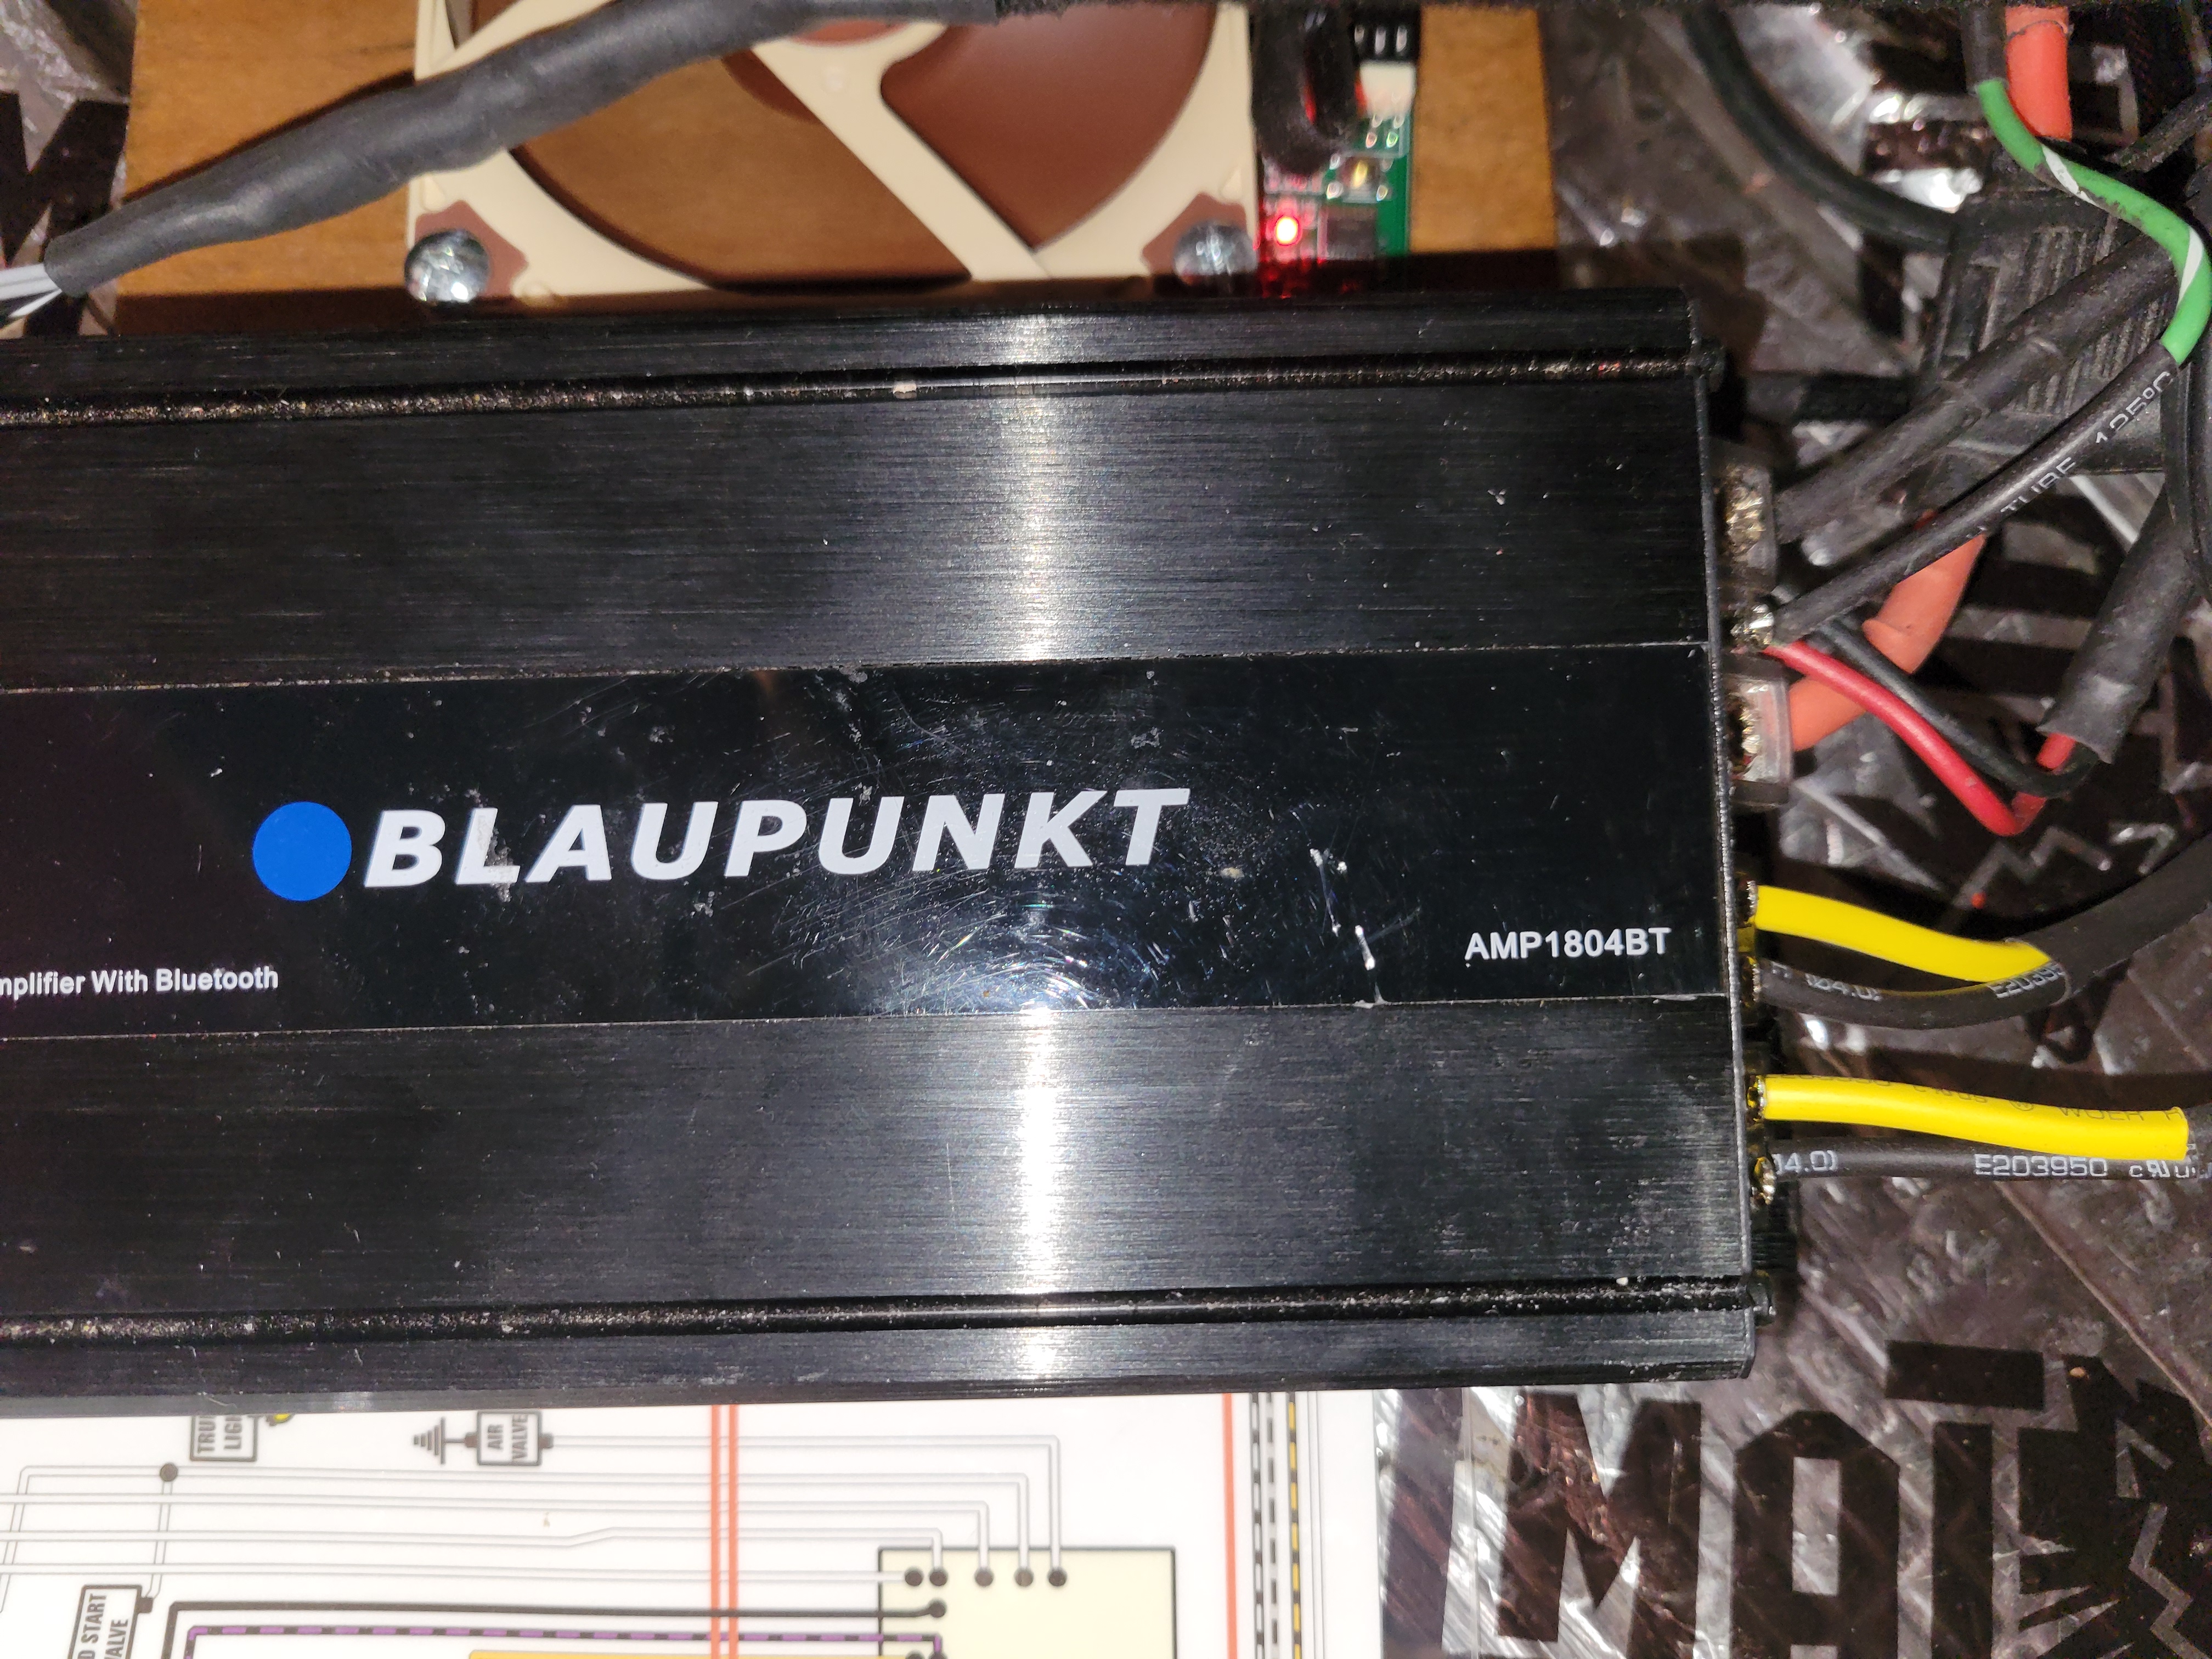
I got a nice used Blaupunkt car stereo and cassette player (Circa 1976) and wired it to a Blaupunkt high-gain enabled amp (Blue tooth enabled) that I put under the passenger floor board. Because I re-wrapped the entire harness in the car, all wiring was integrated as much as possible.
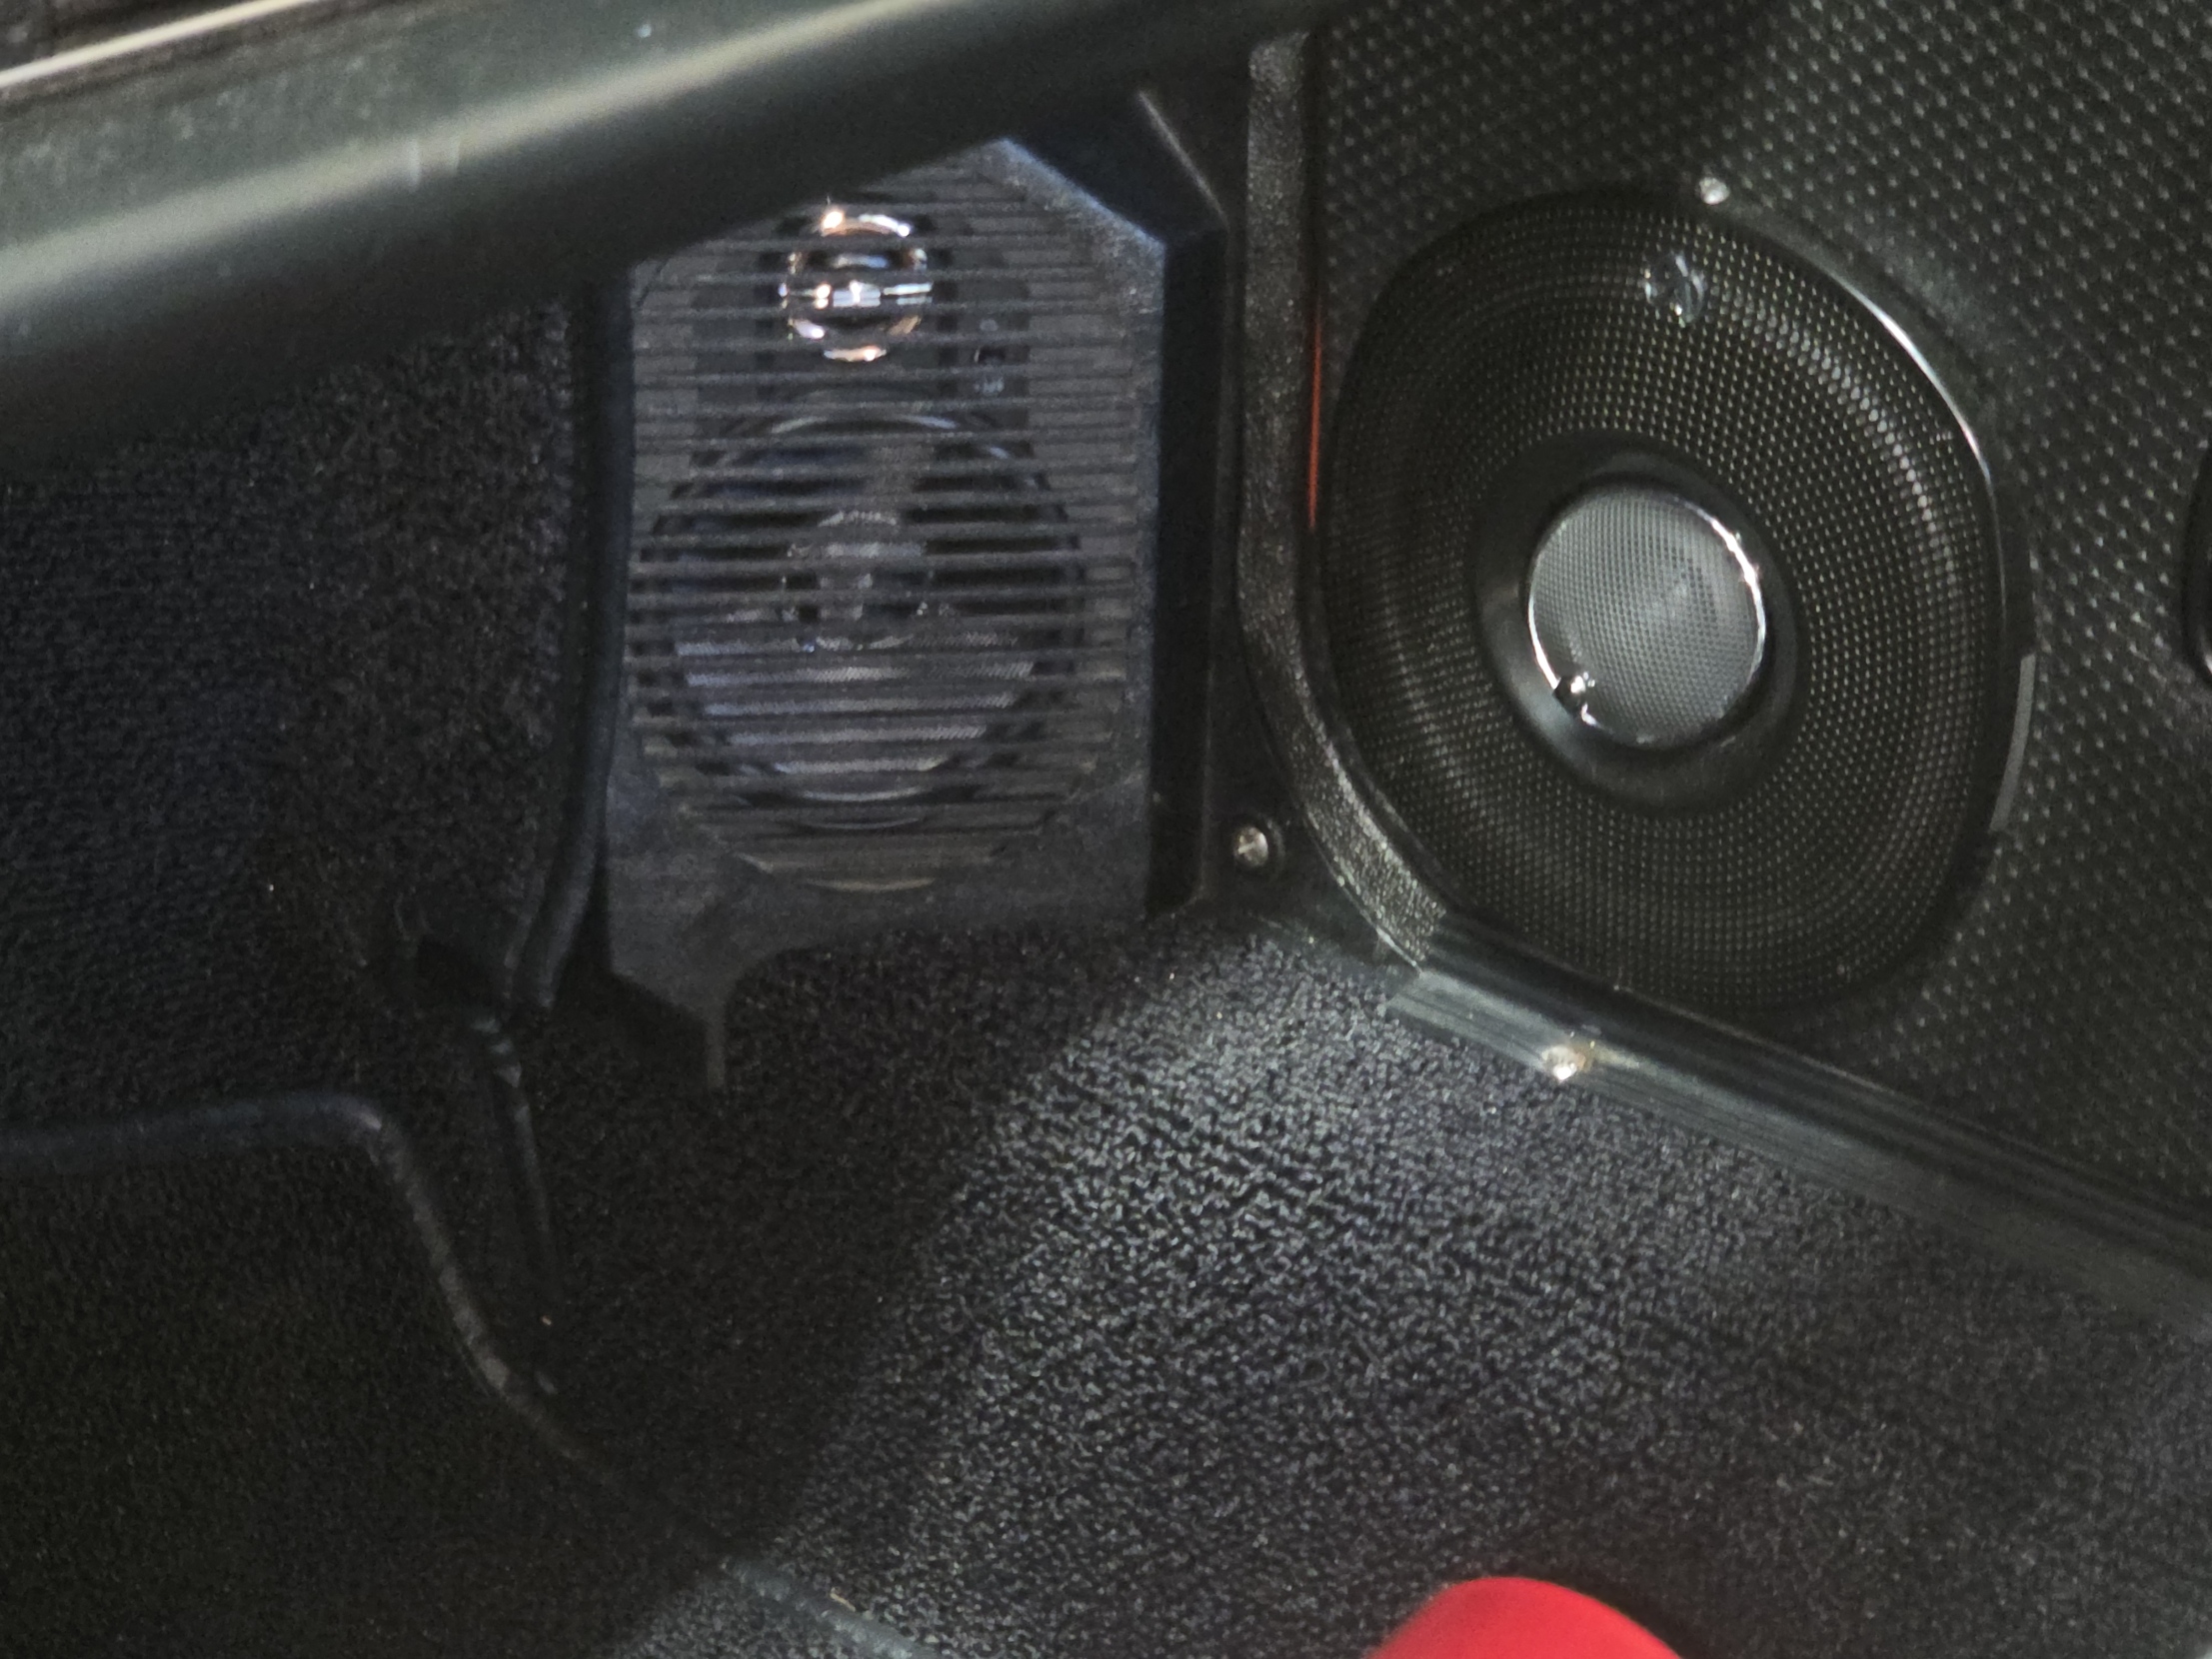
Speakers are in the stock mounts using Infinity Kappa plate speakers on my custom mounts and then Infinity Kappa 6.25" speakers in the doors. While lacking some bass, the clarity is there, the sound climbs the doors and seems to be all around me. Surprising!
Note the one screw on top of the door grill. There is another on the bottom. They popped off too easily and the 3/8" screws go into the plastic speaker edge, never touching the speaker cone.
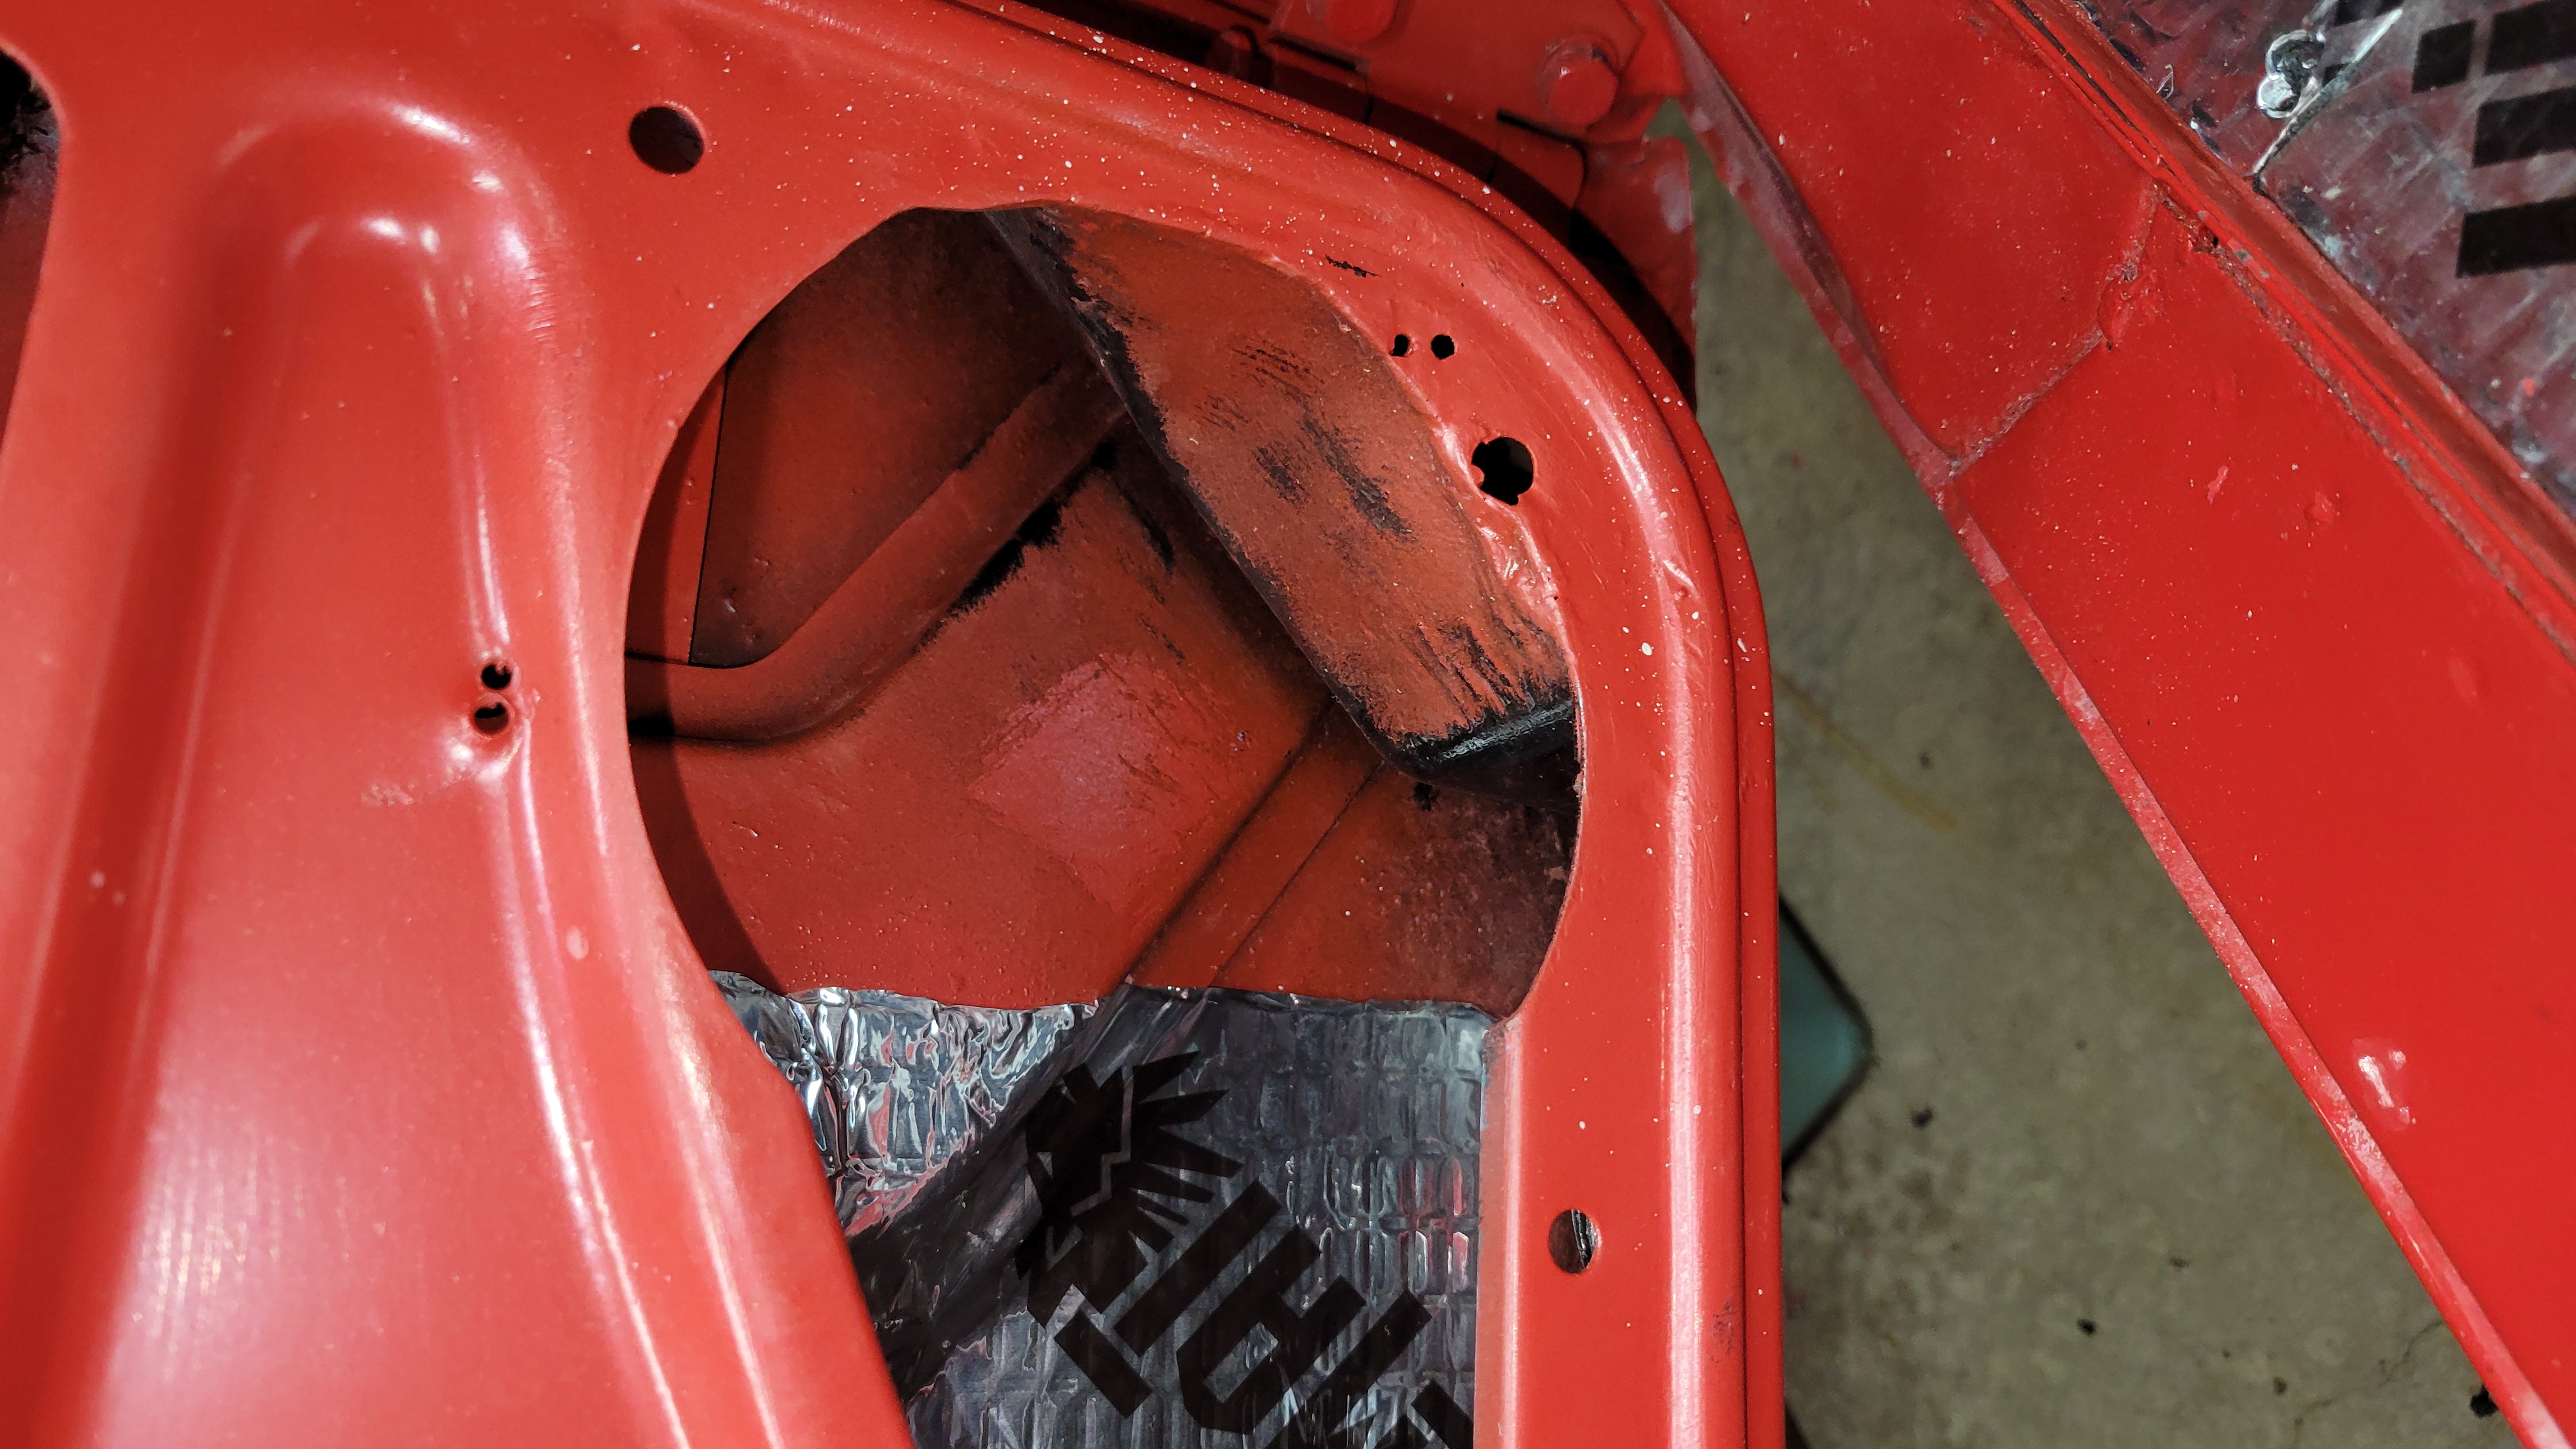
Notice the right edge of the speaker hole. The prior owner added some space for the speaker with a saw, but the metal was not welded to reinforce the door hinge plate area. Here you see it carefully welded tight. The sound mat covered about 3/4 of the interior of the door. It is important to orient the speaker holes to get purchase on the metal where possible. Test fit and take some pictures or make a template from a paper shopping bag to get that right.
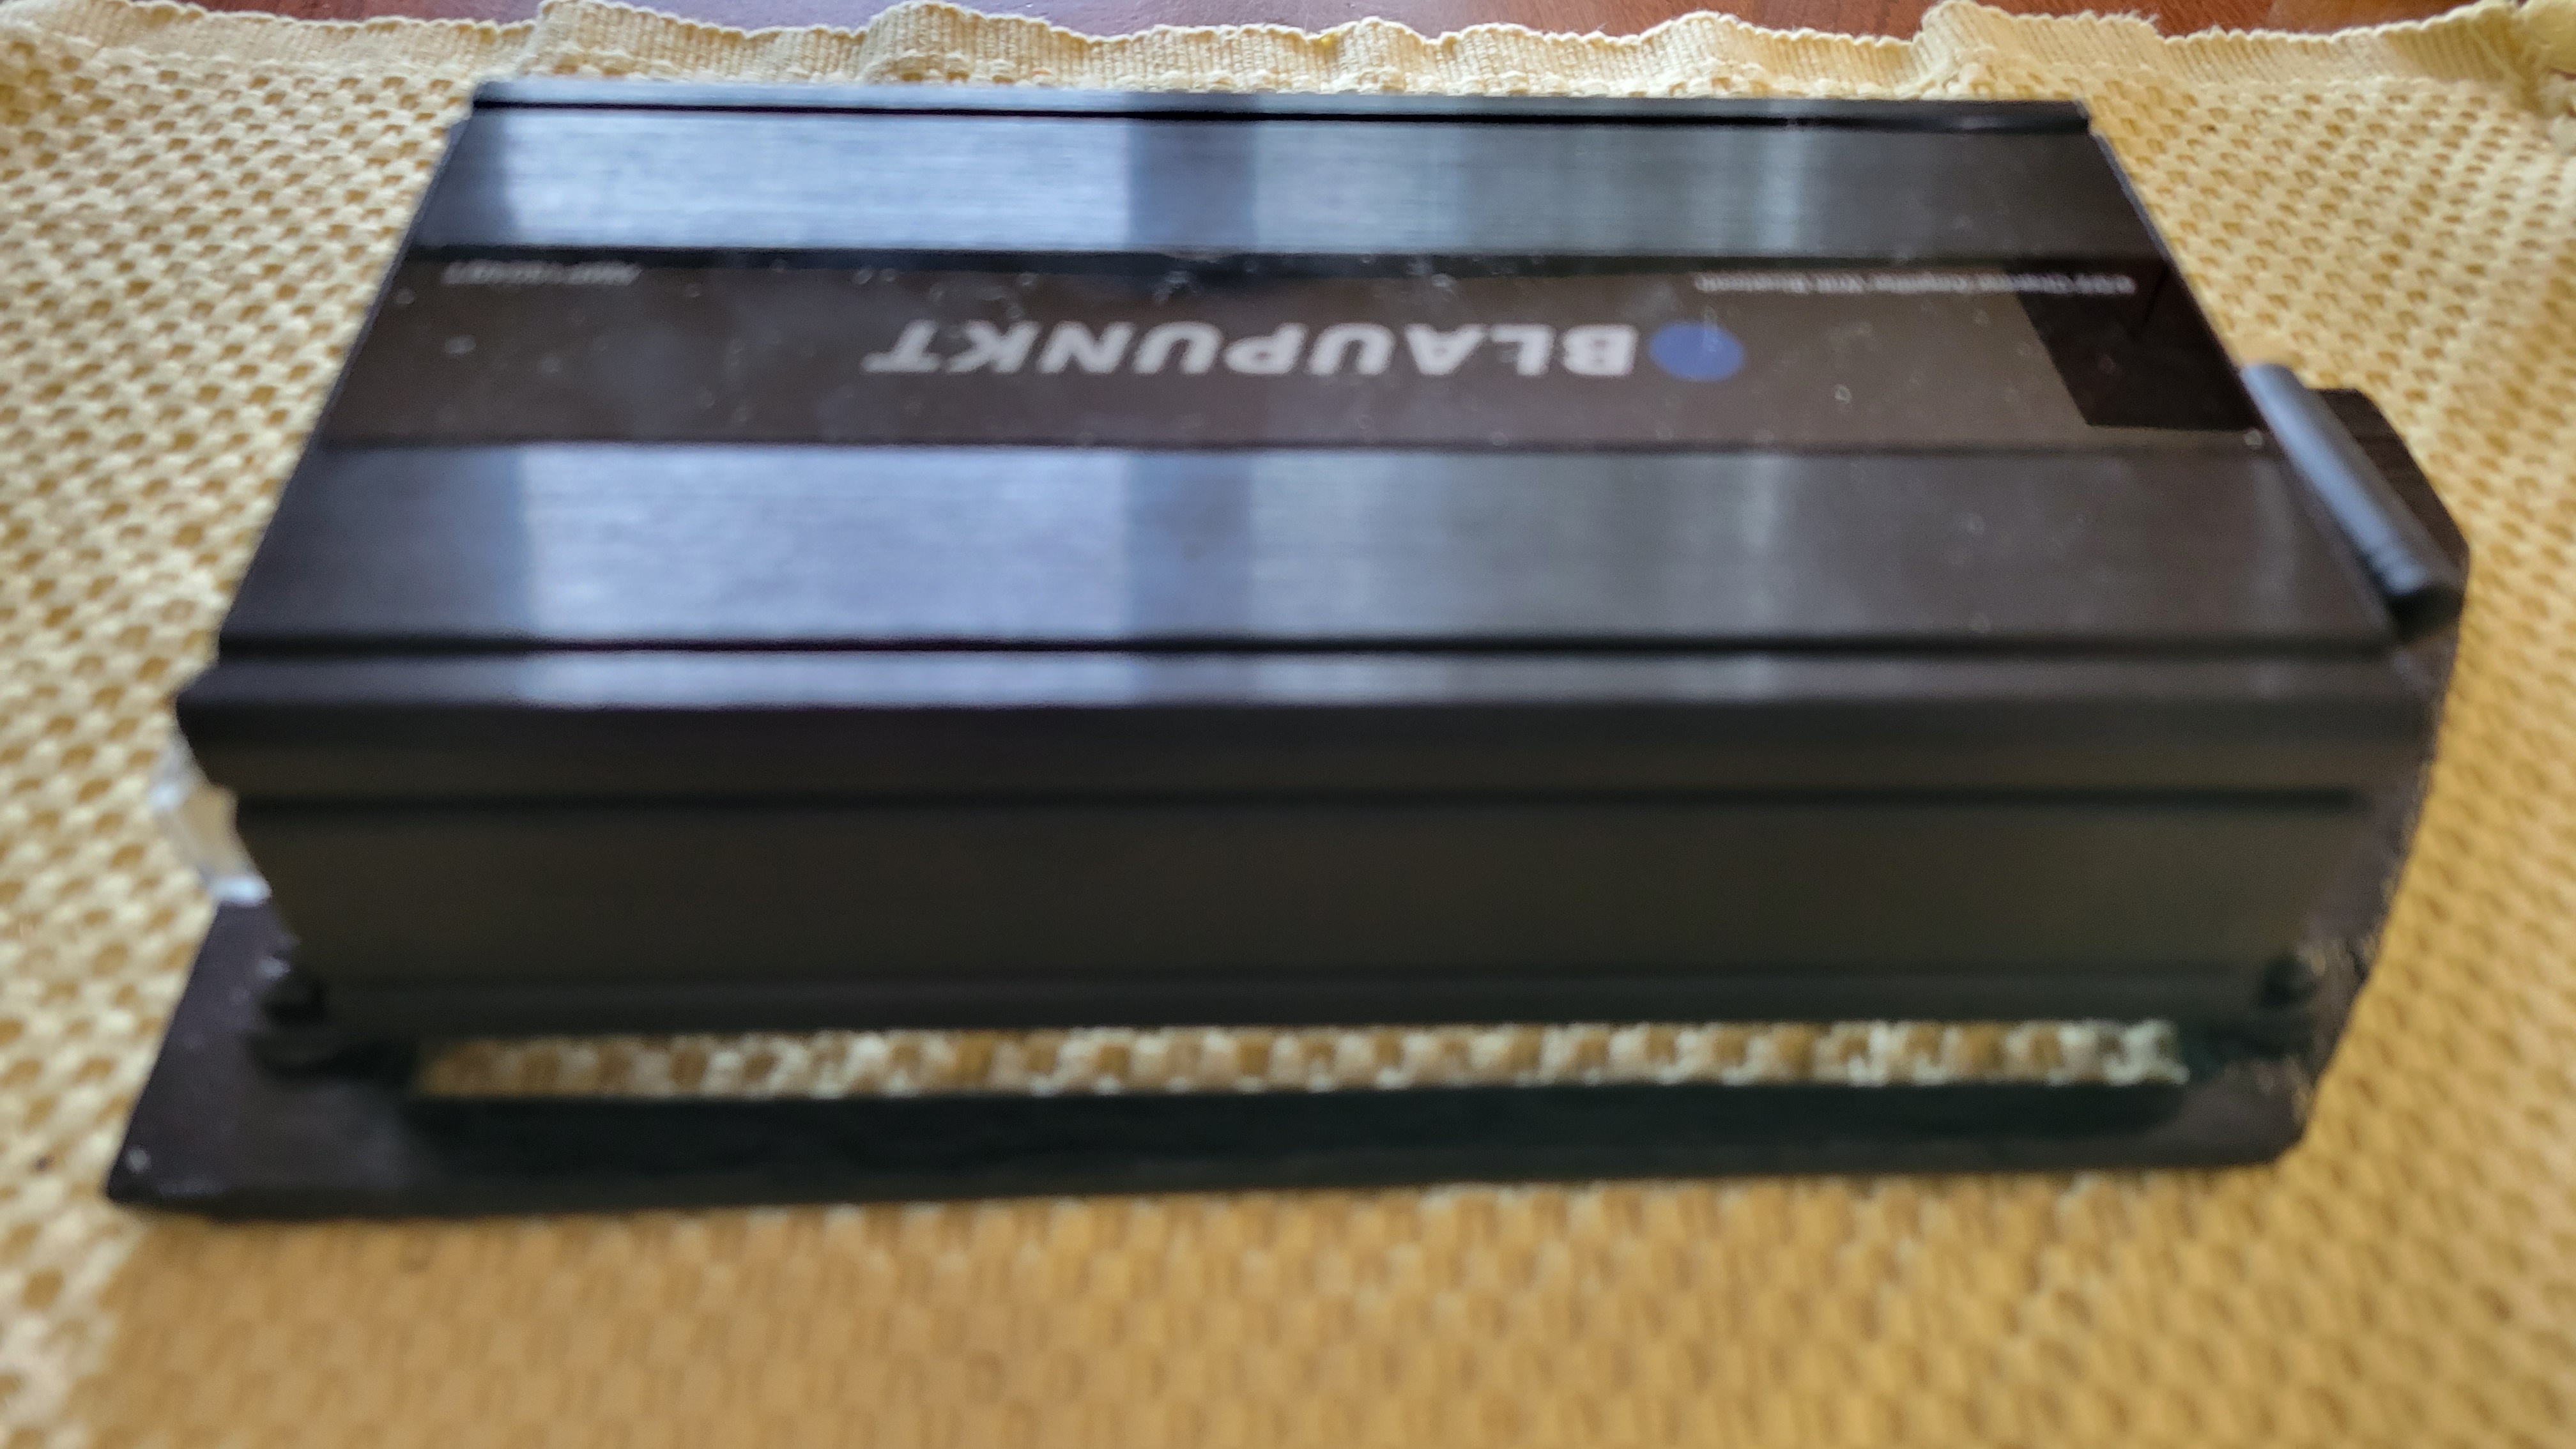
The bracket is just thin plywood painted black. That bracket goes into the foam foot-board. Washers are rubber on one side to prevent vibration noises and to cushion the amp a bit.
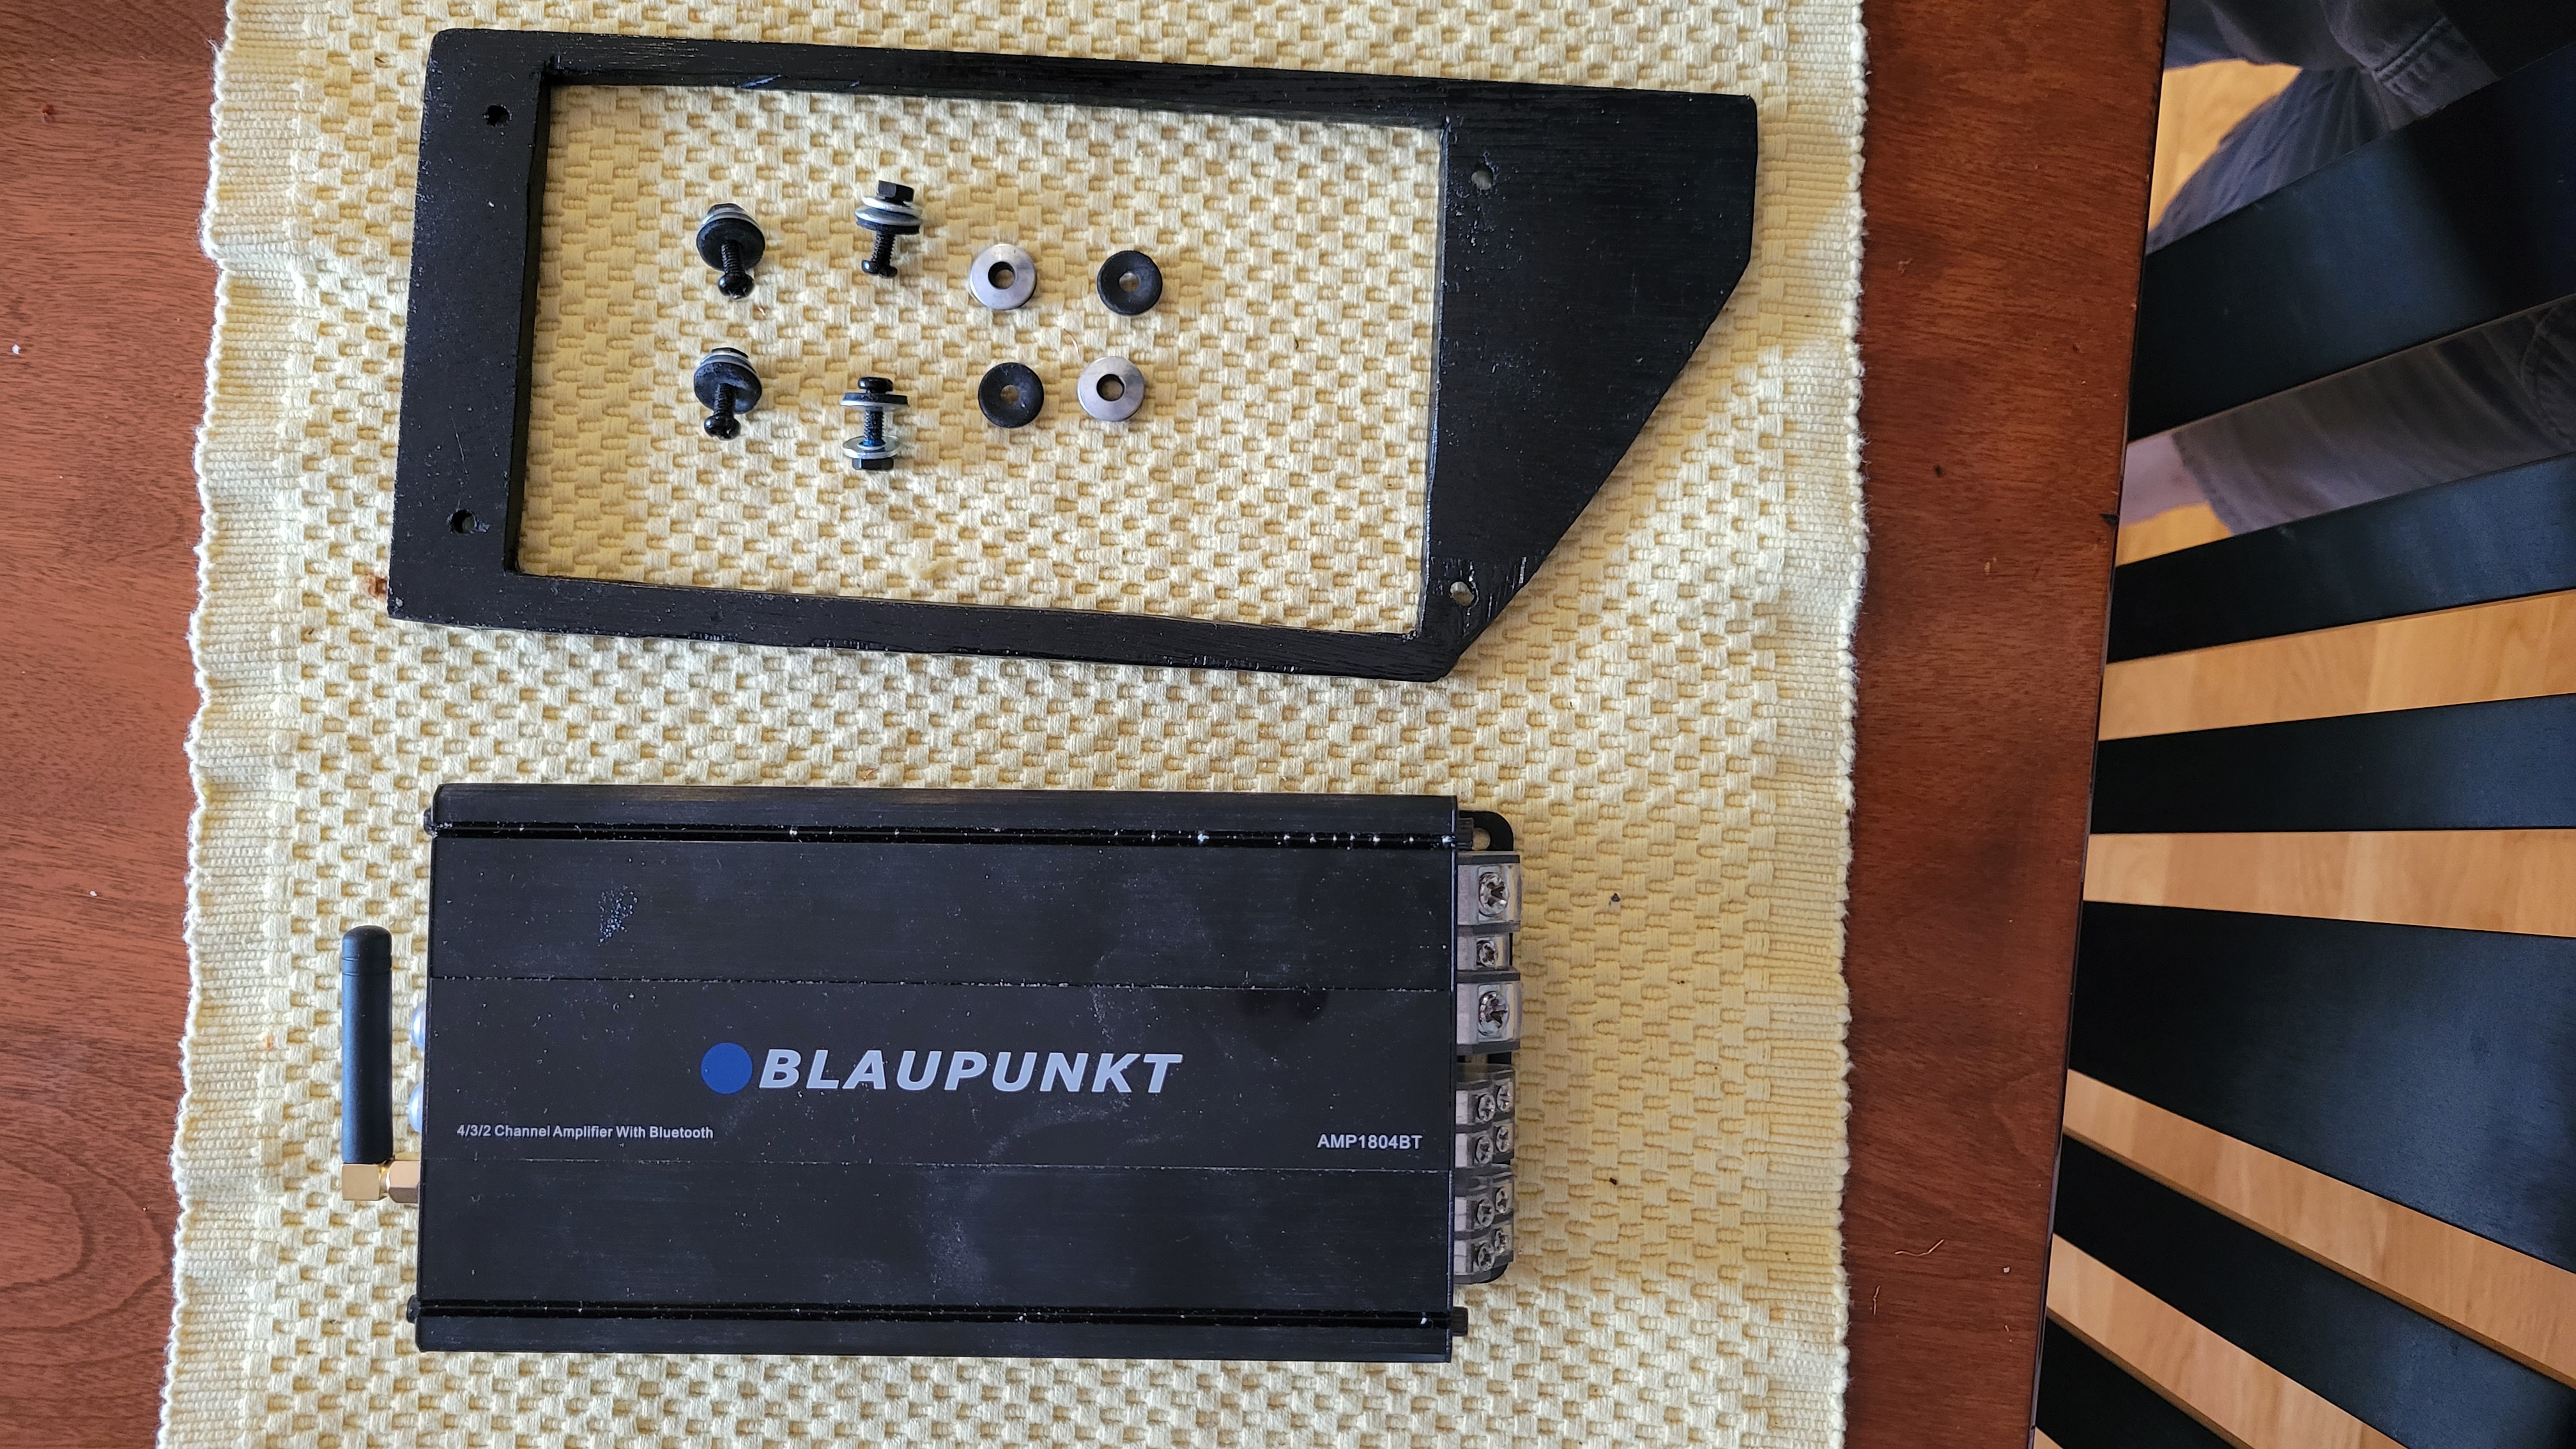
Mounted to the bracket.
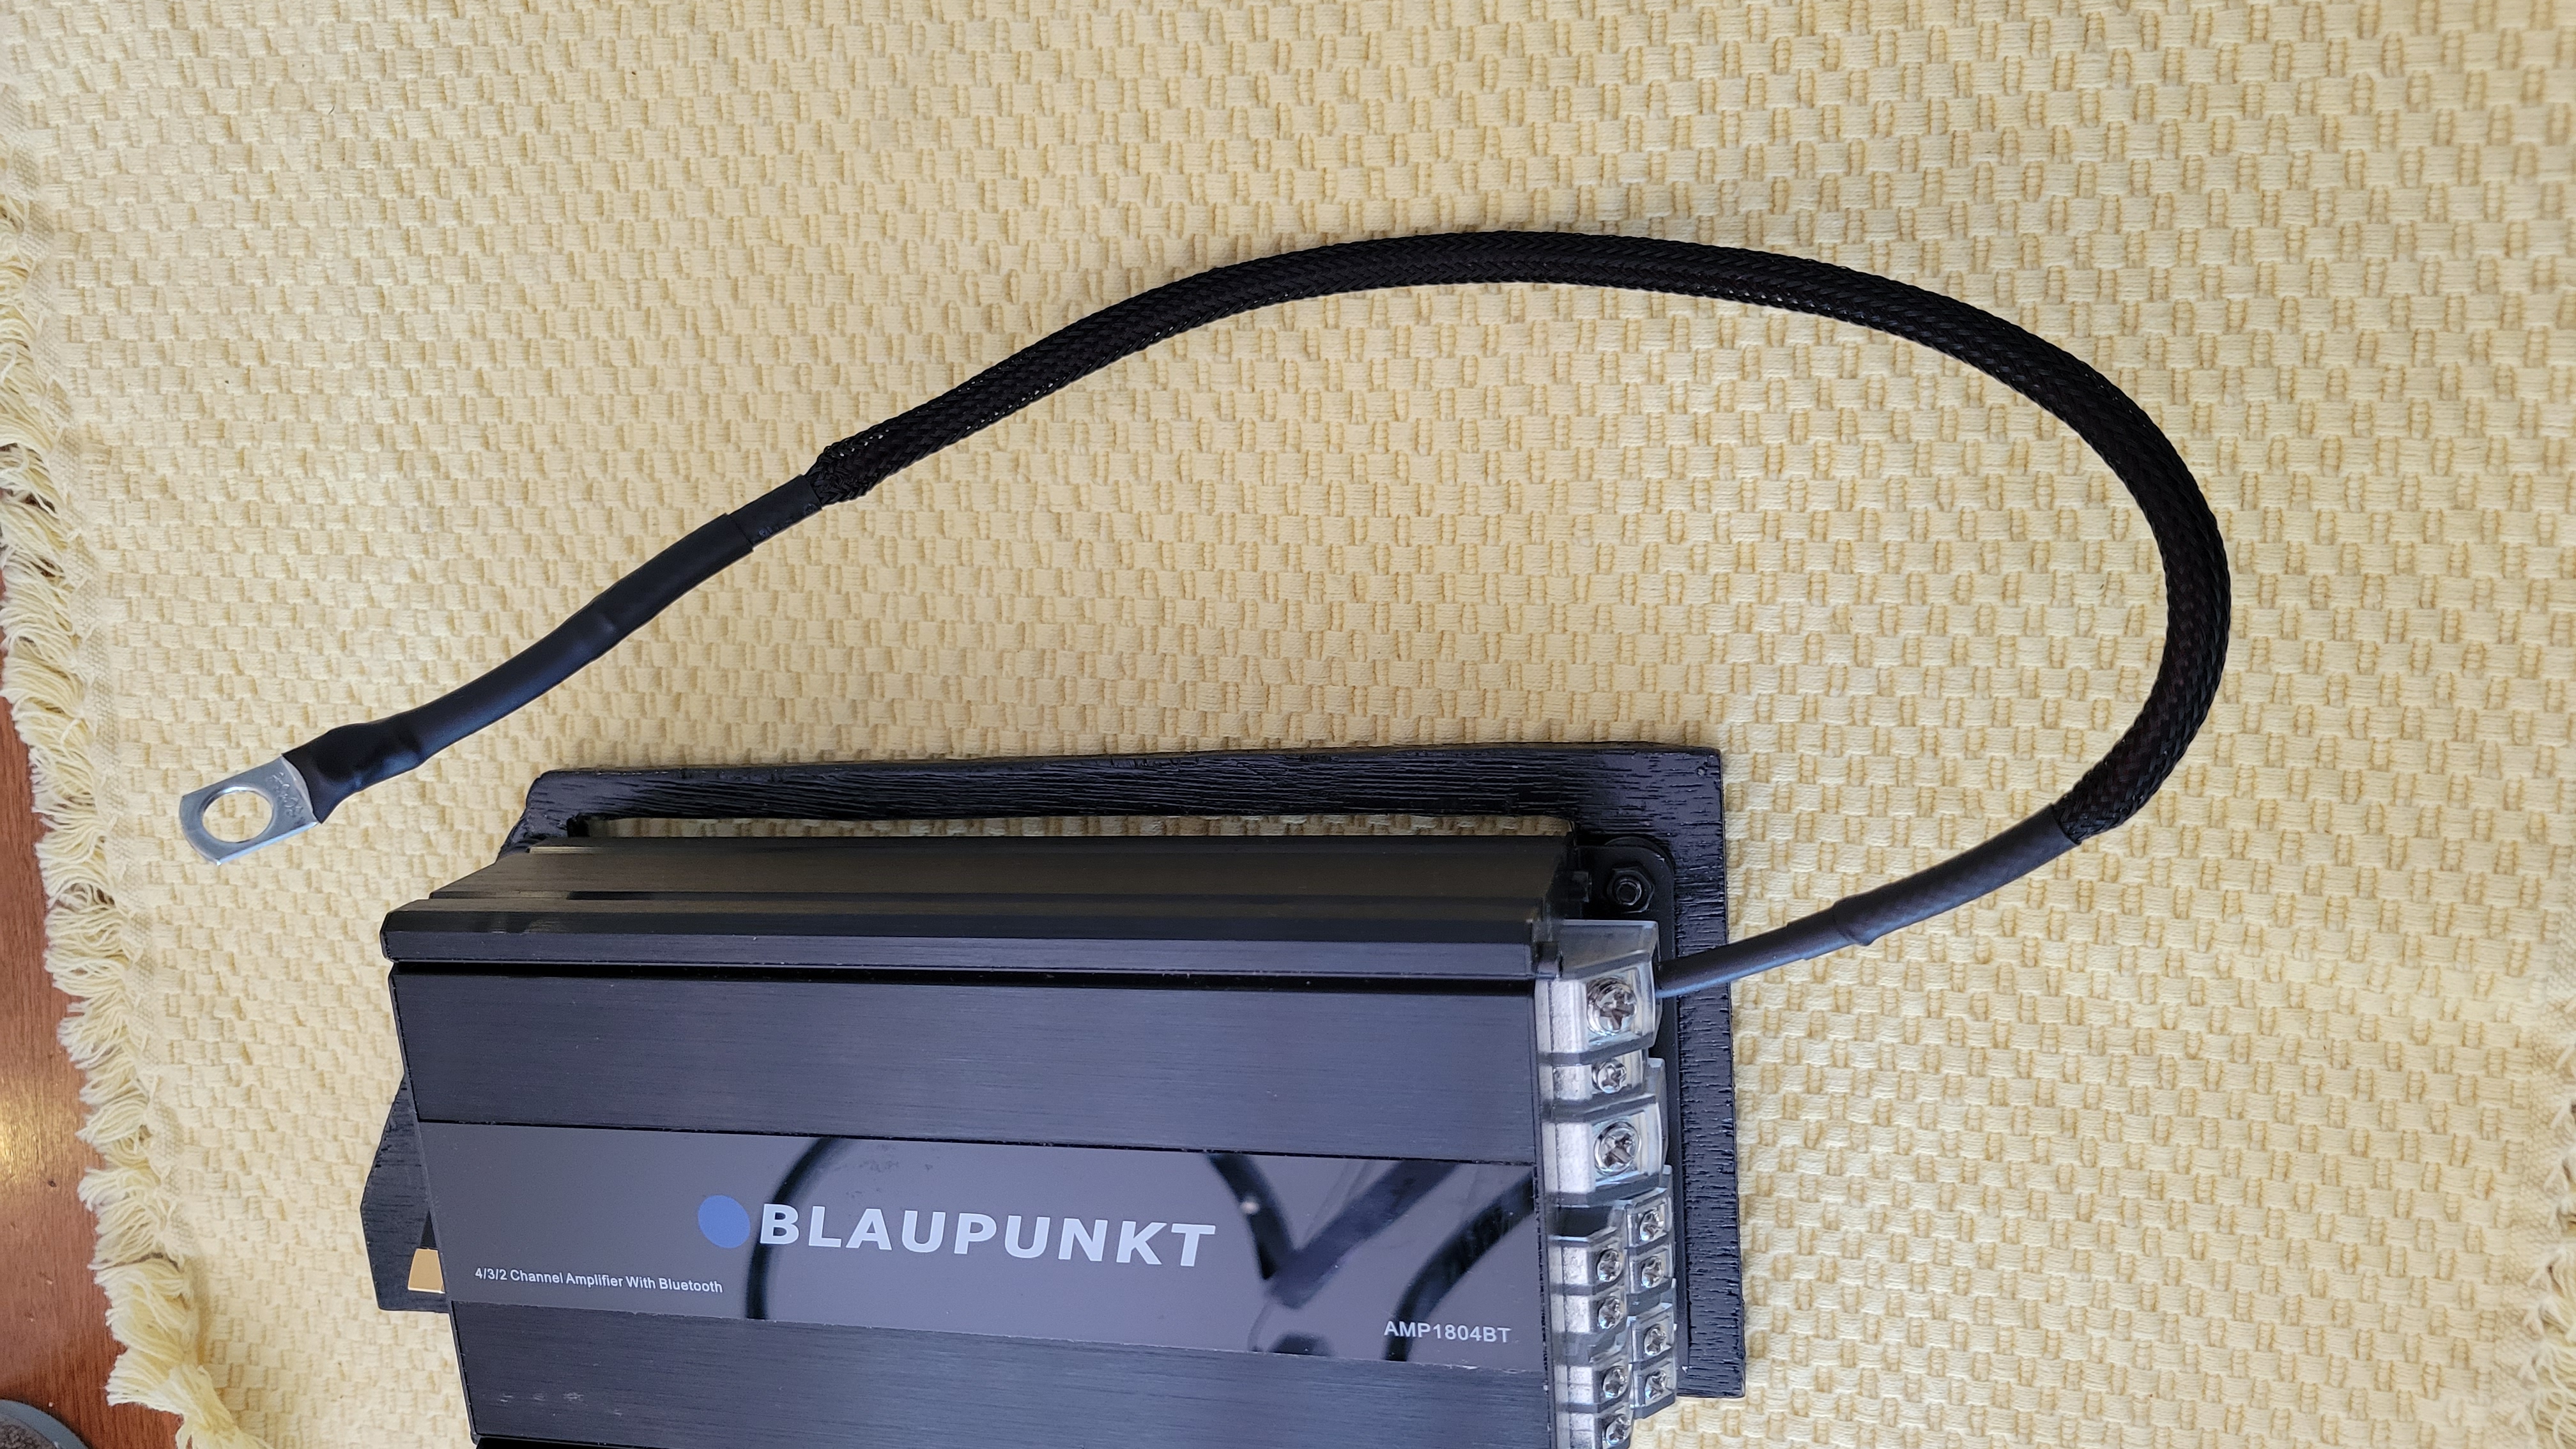
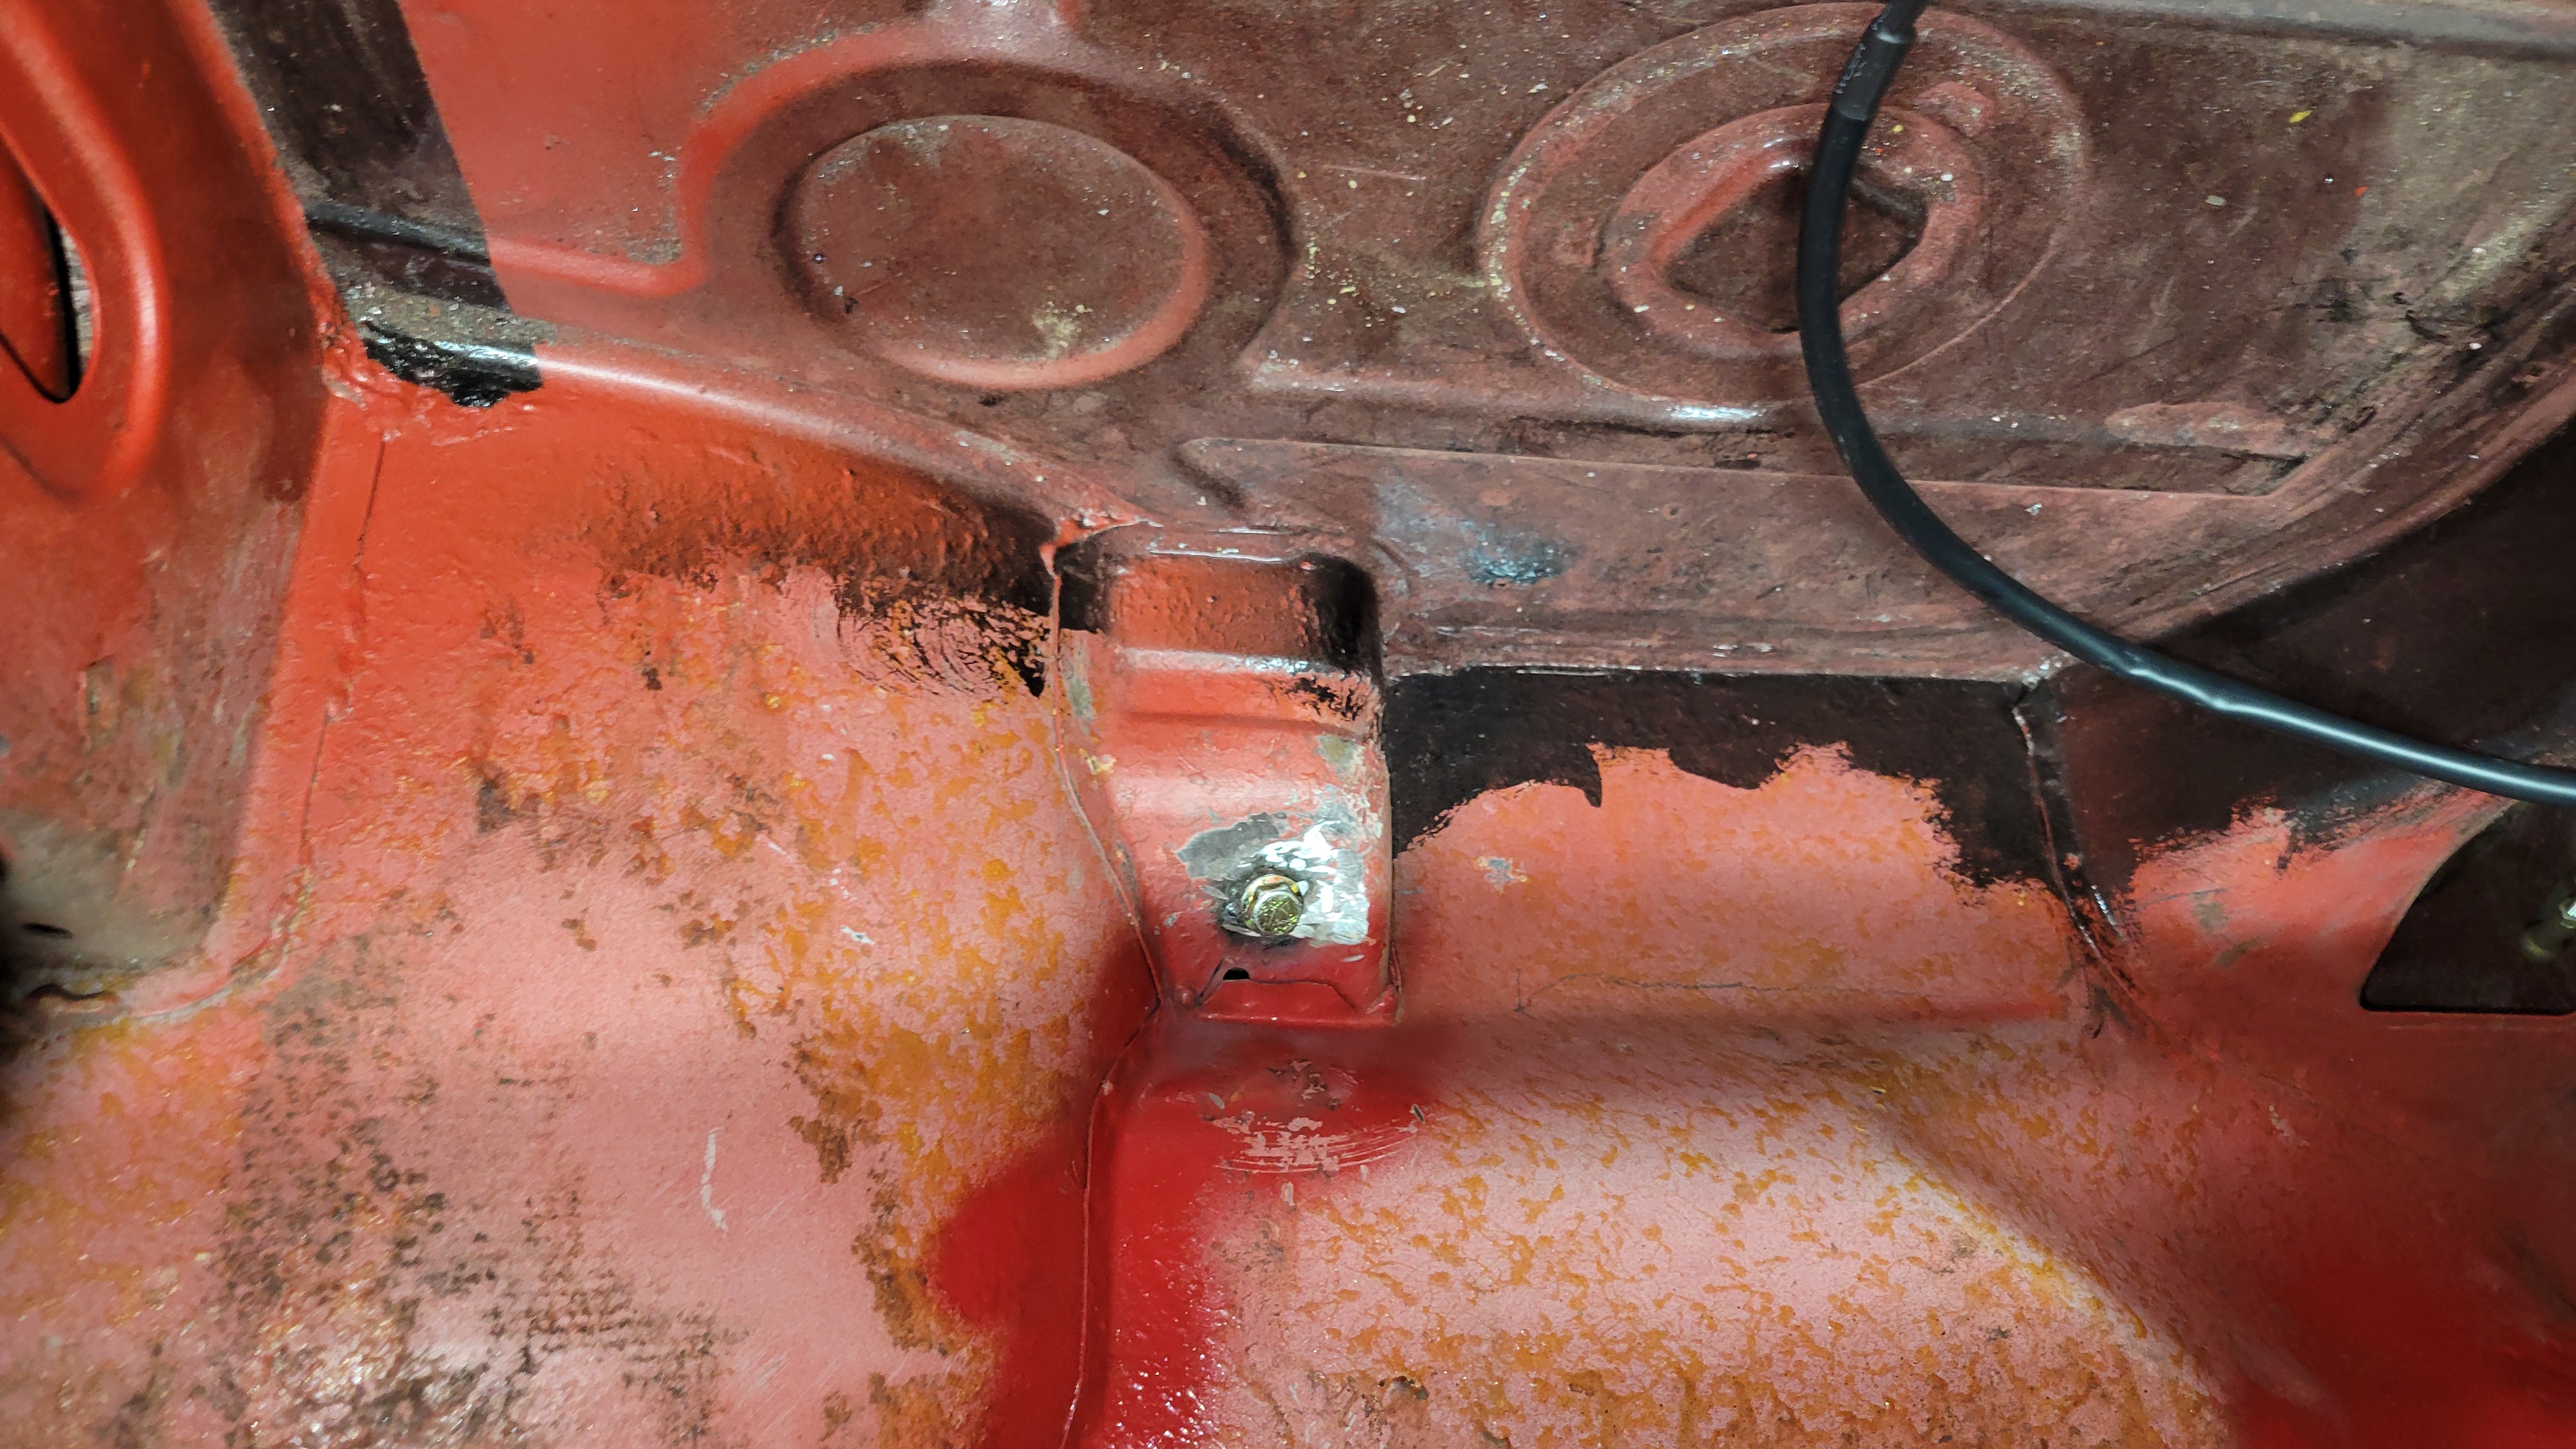
The ground is no compromise and I welded a Riv-Nut to the firewall. The wring is all nylon covered and shrink-wrapped.
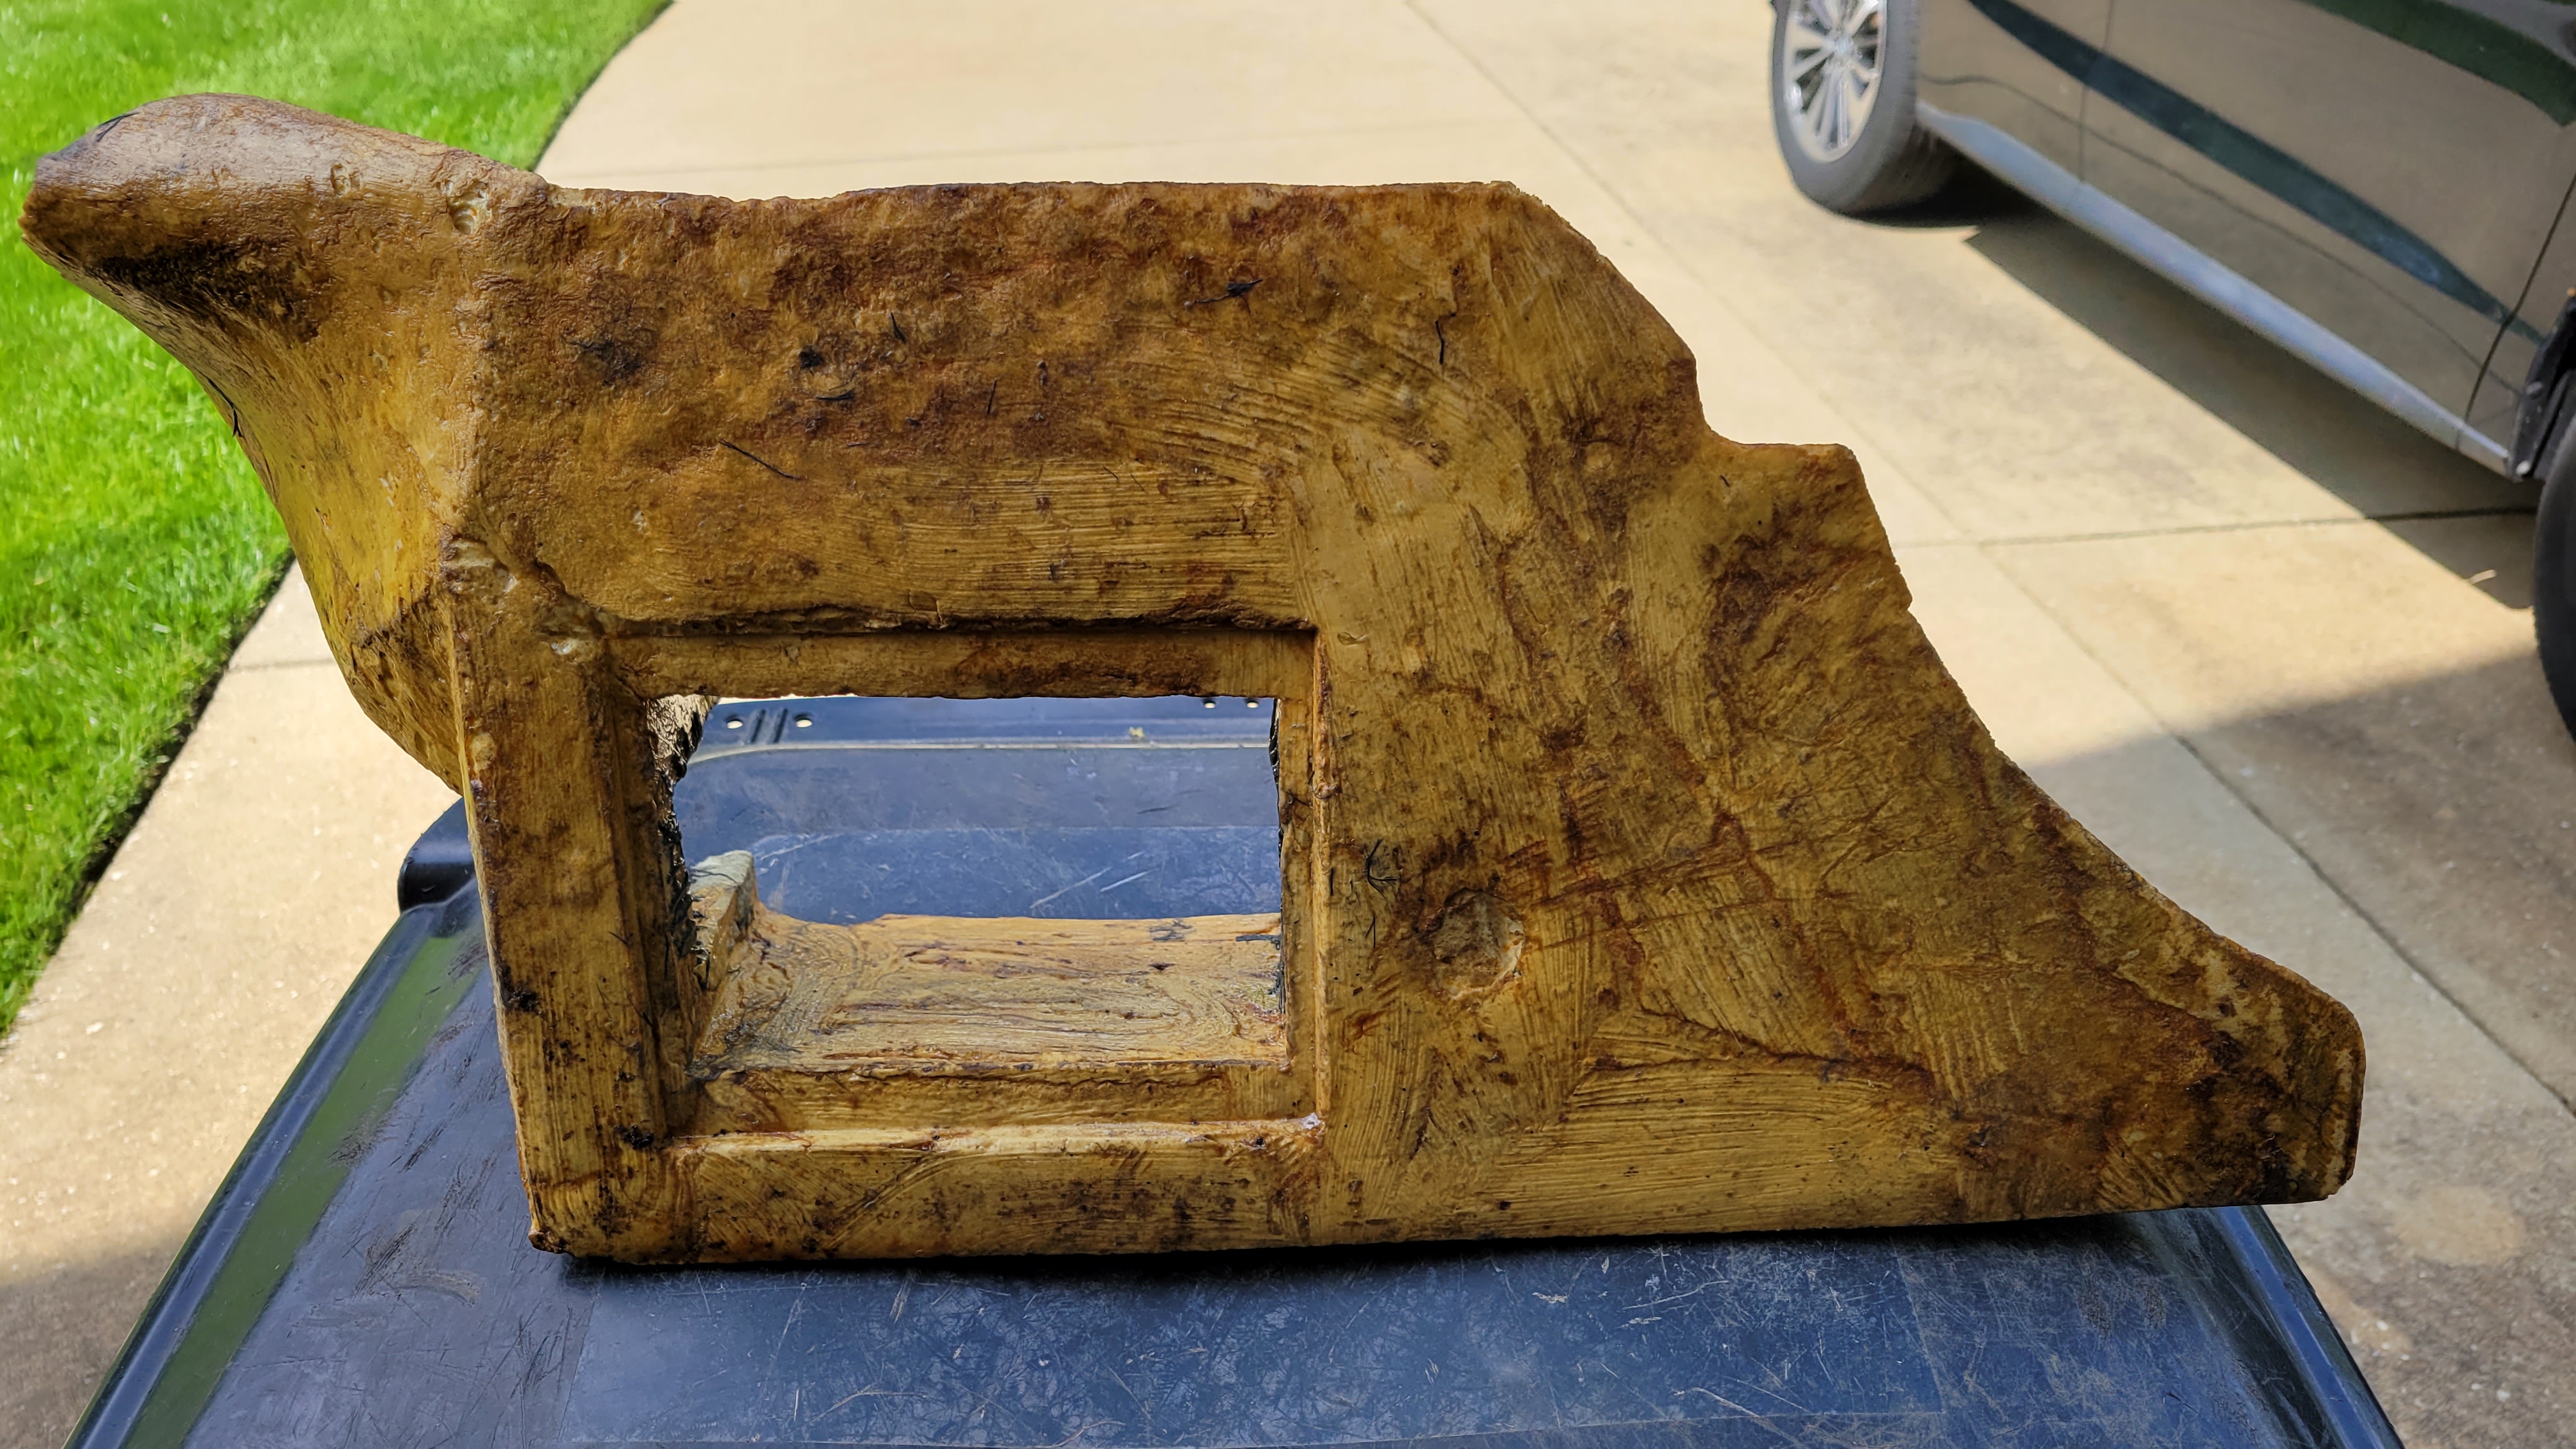
Under the mount again.

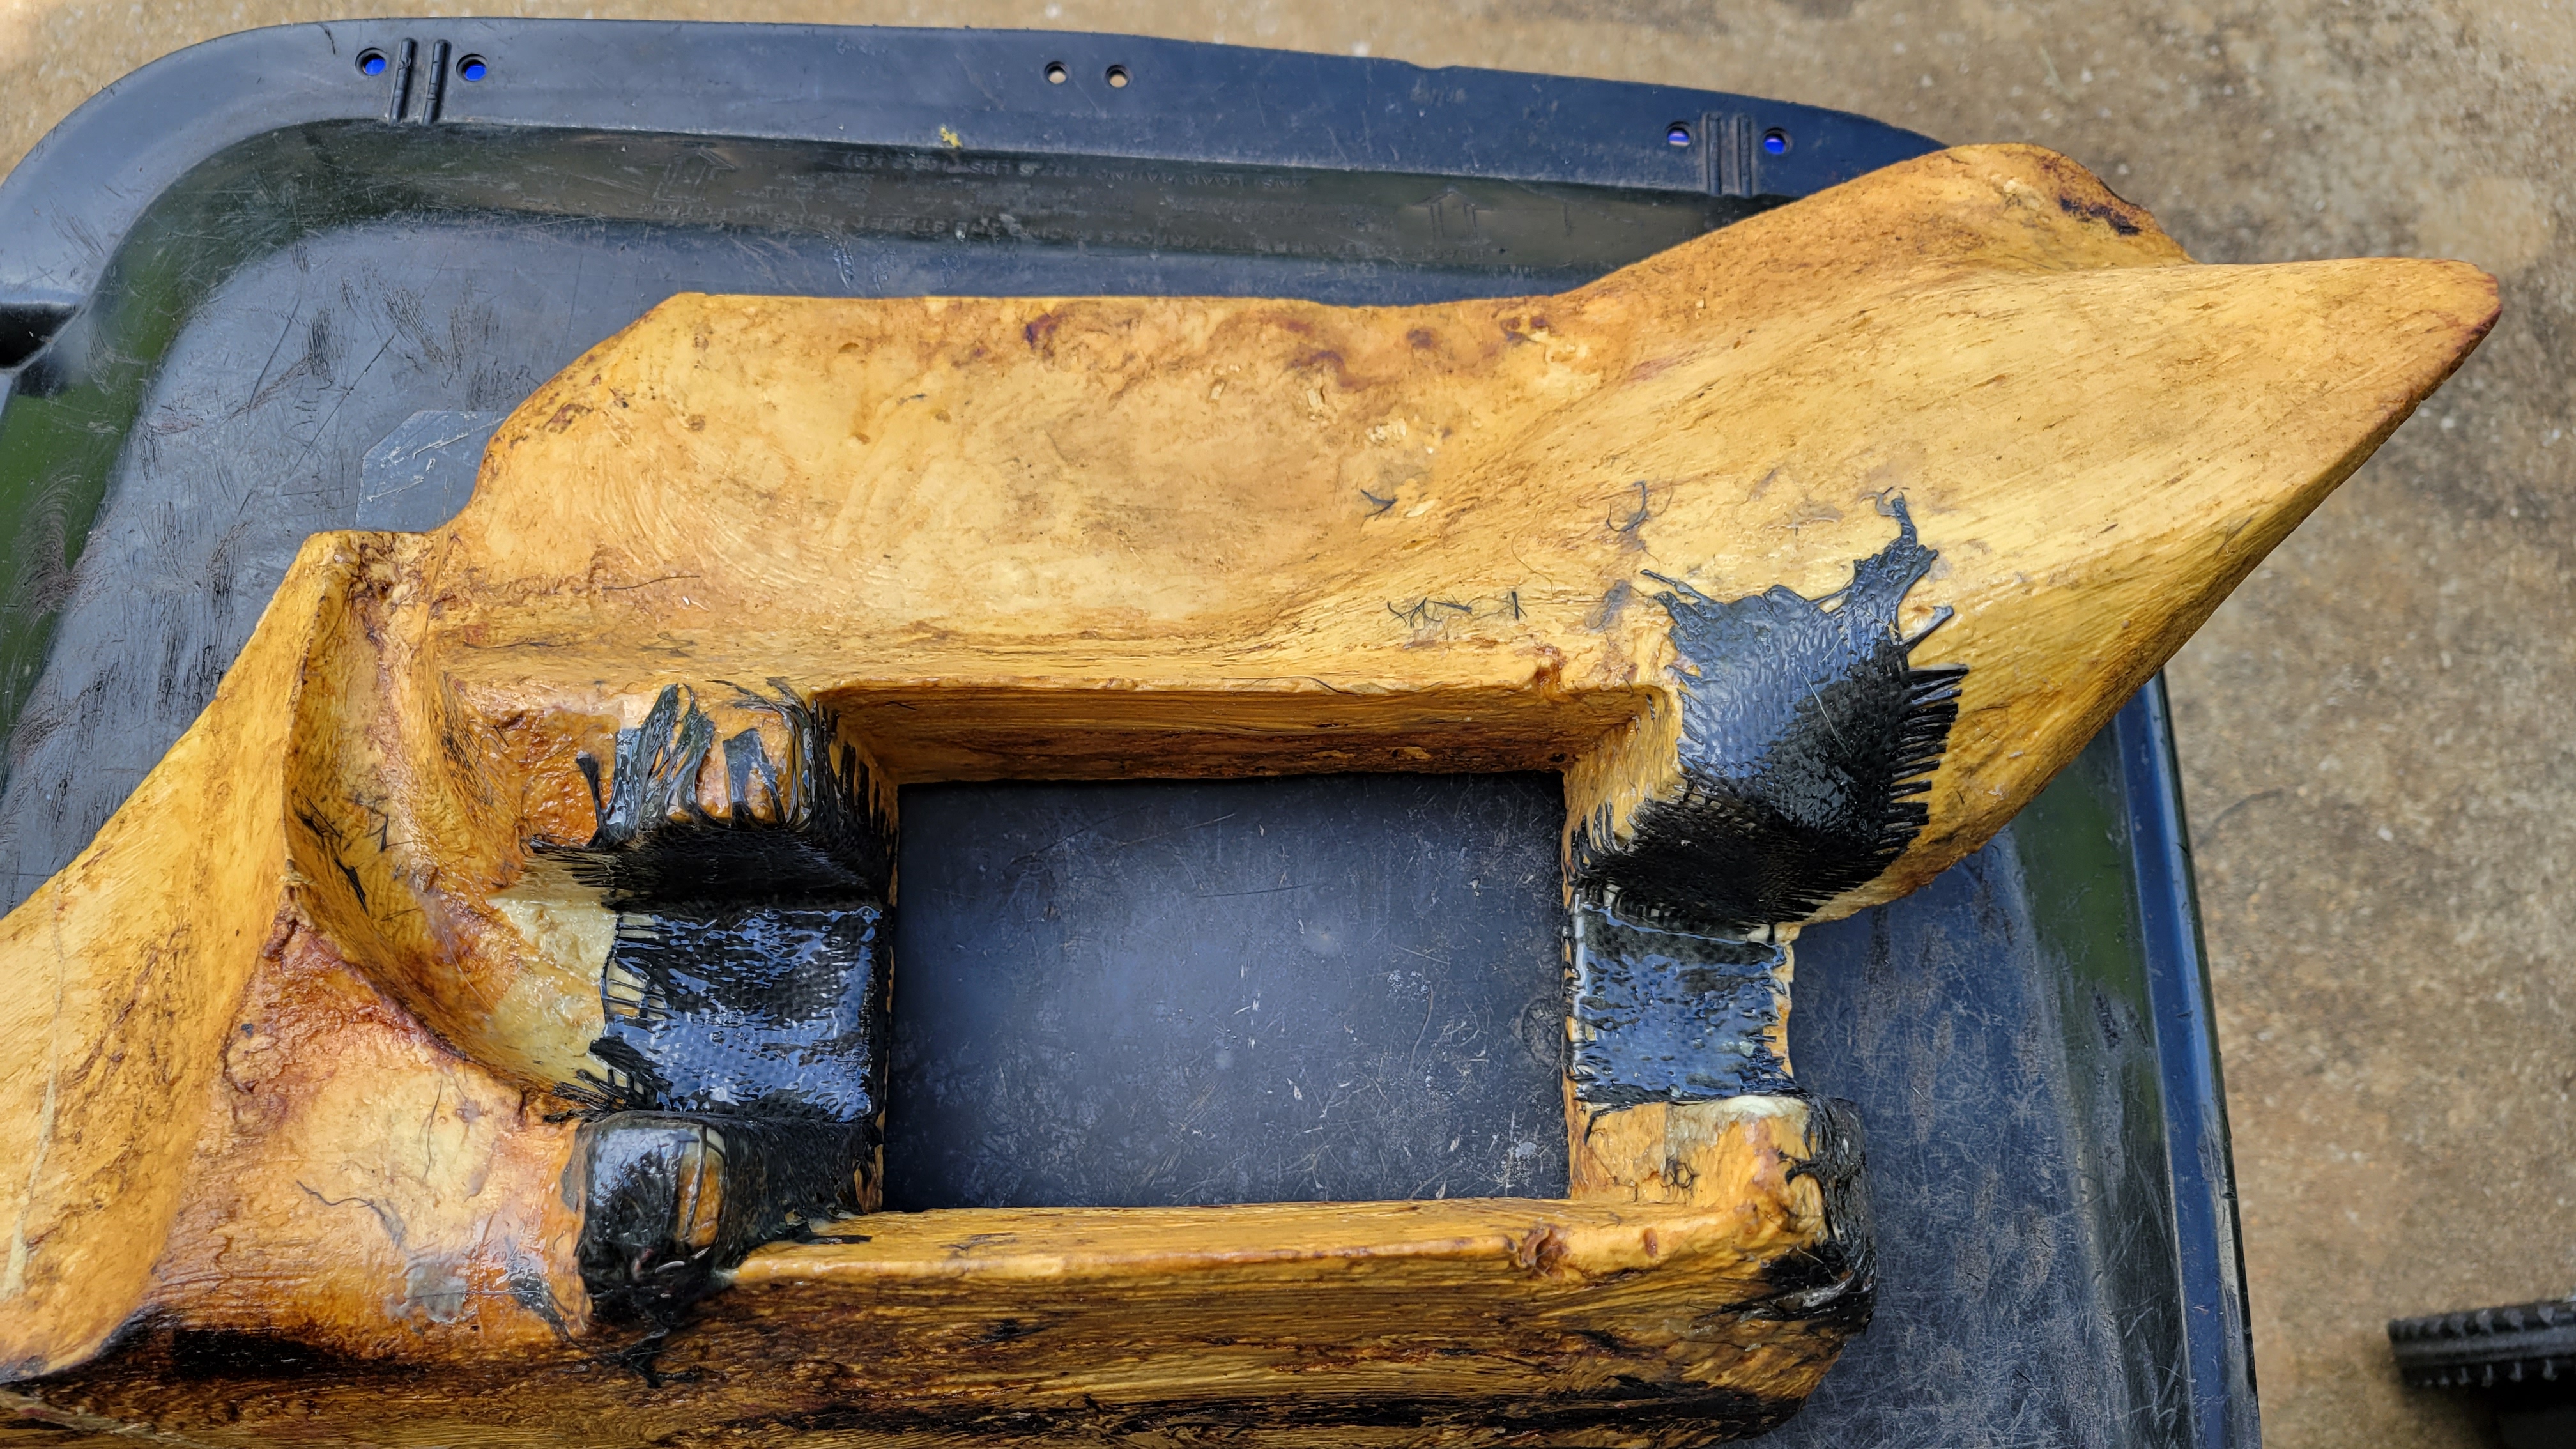
The foam was epoxy coated and reinforced with carbon fiber cloth where I thinned it a bit for the amp.
Ahhh, carbon fiber. I actually had this from repairing my mountain bike frame.
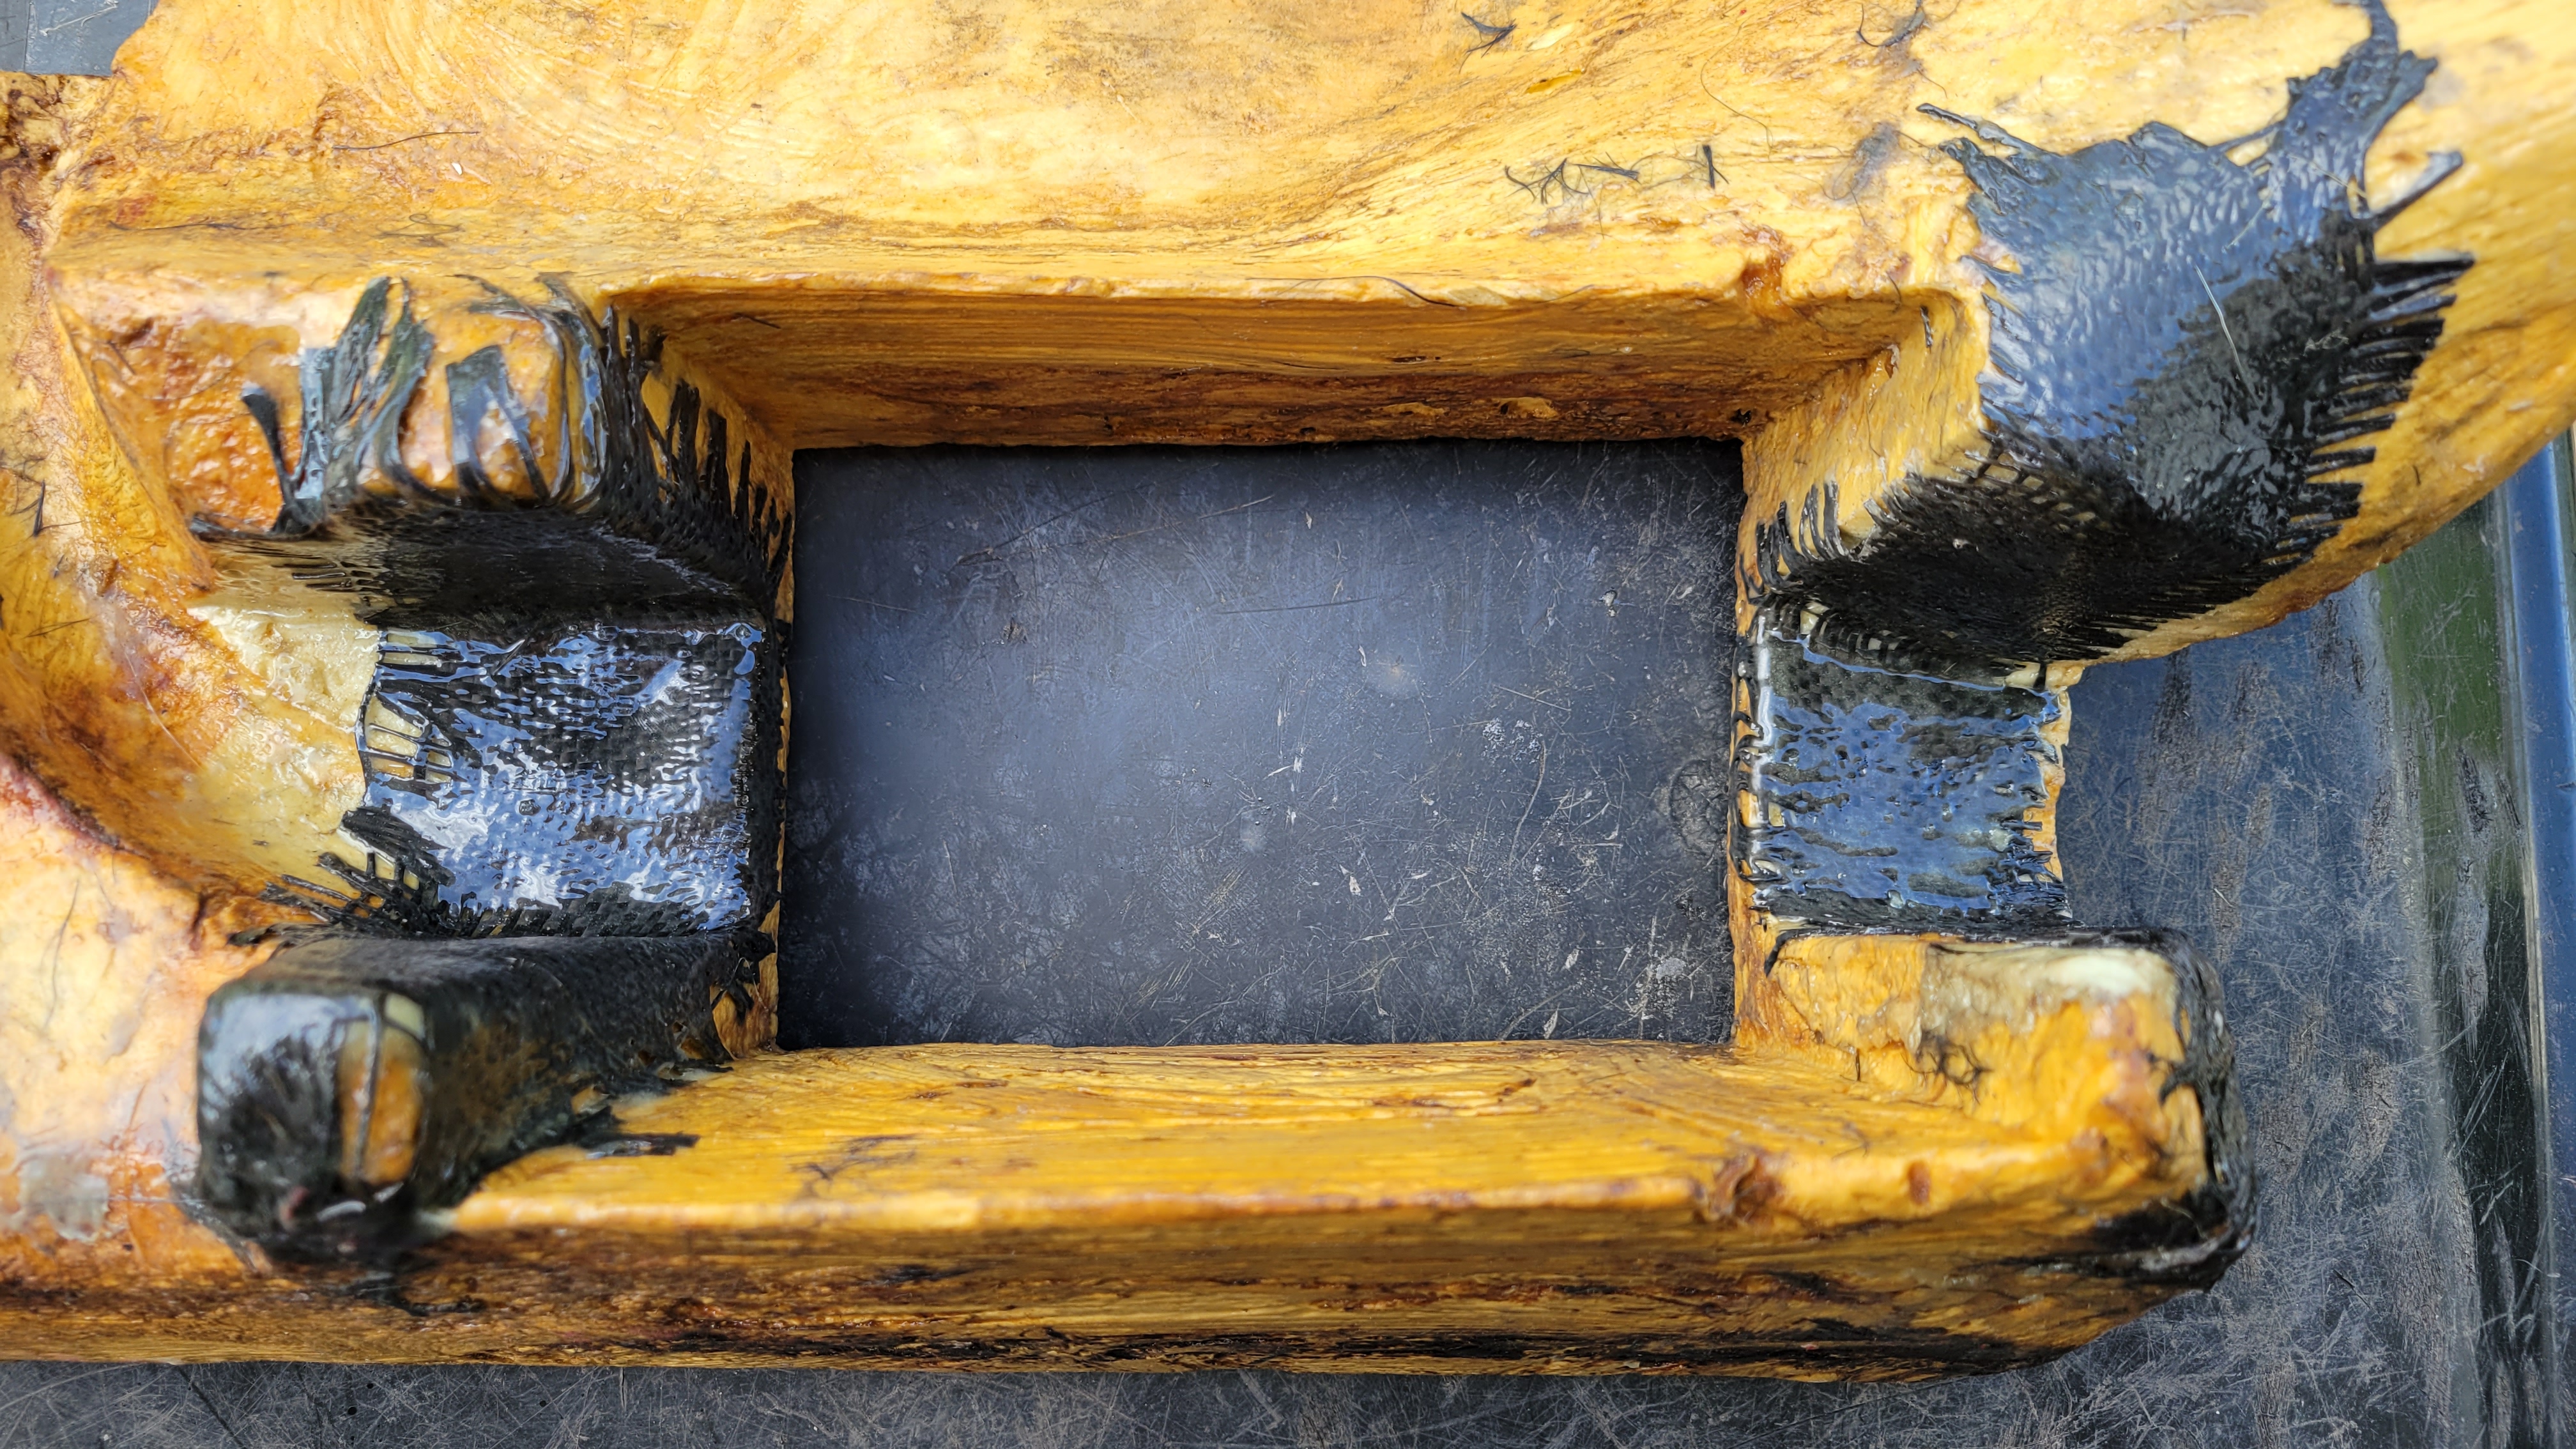
With the amp mounted in it.
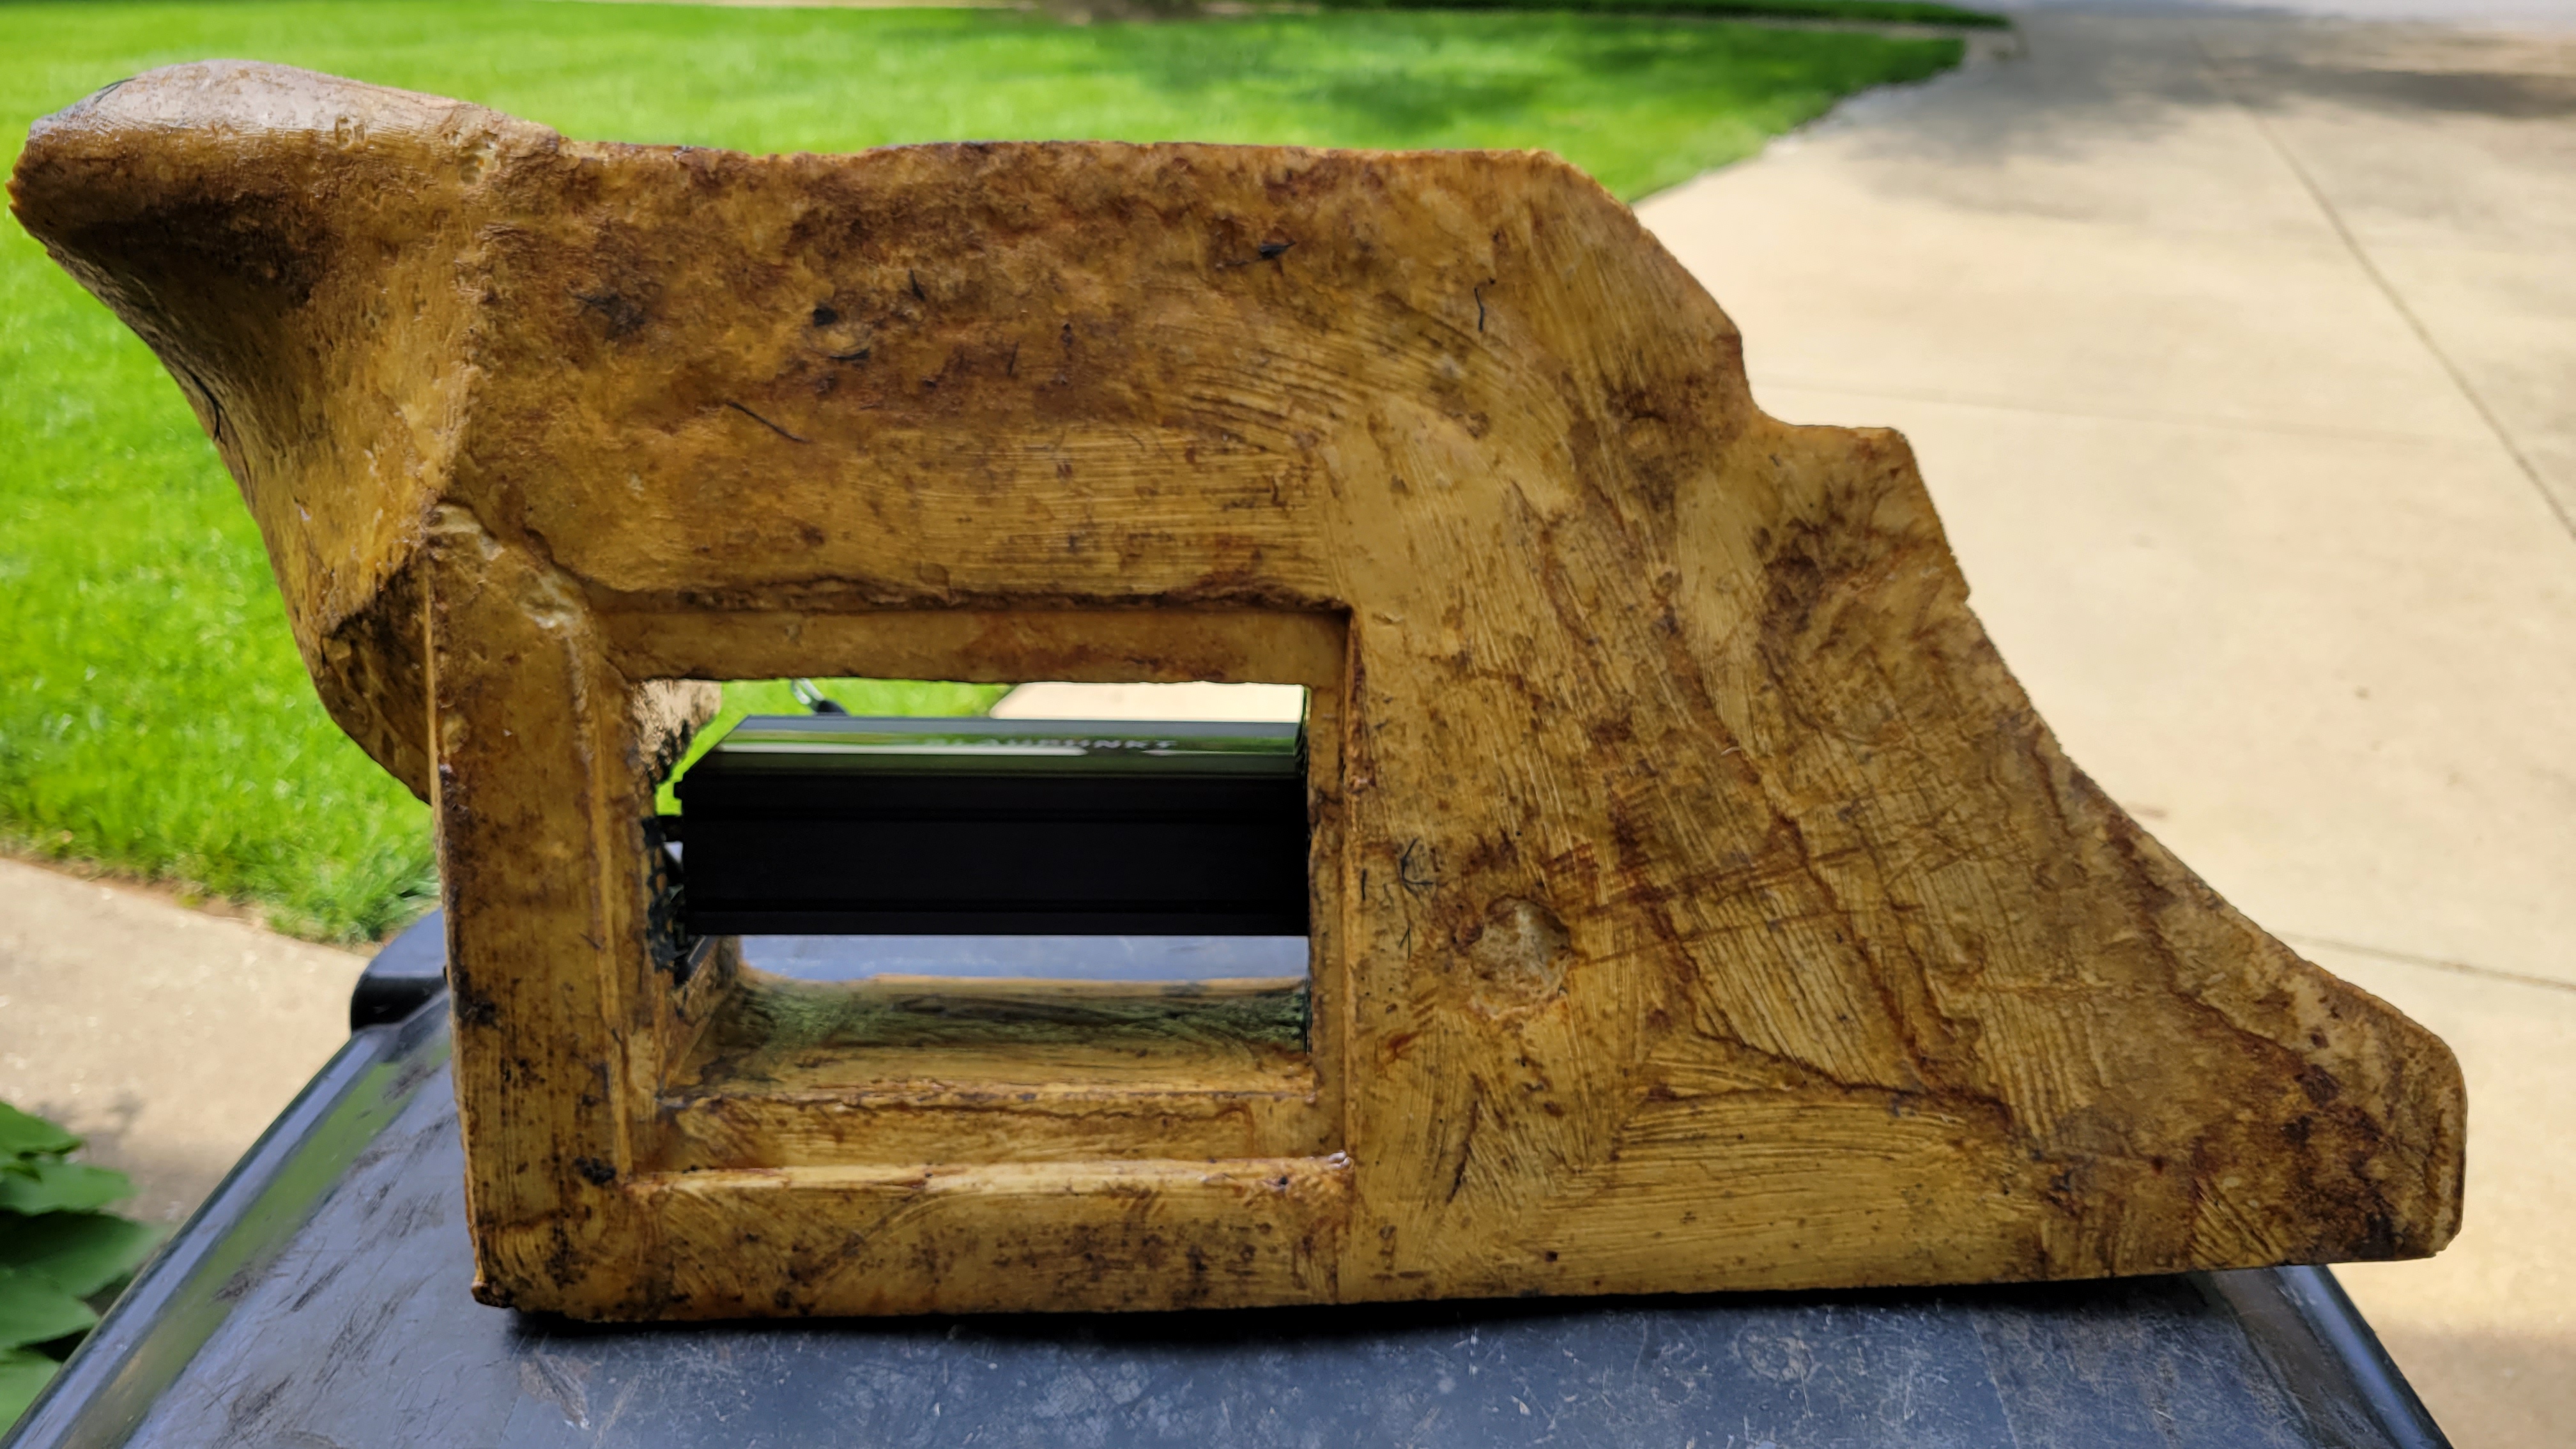
The back view.
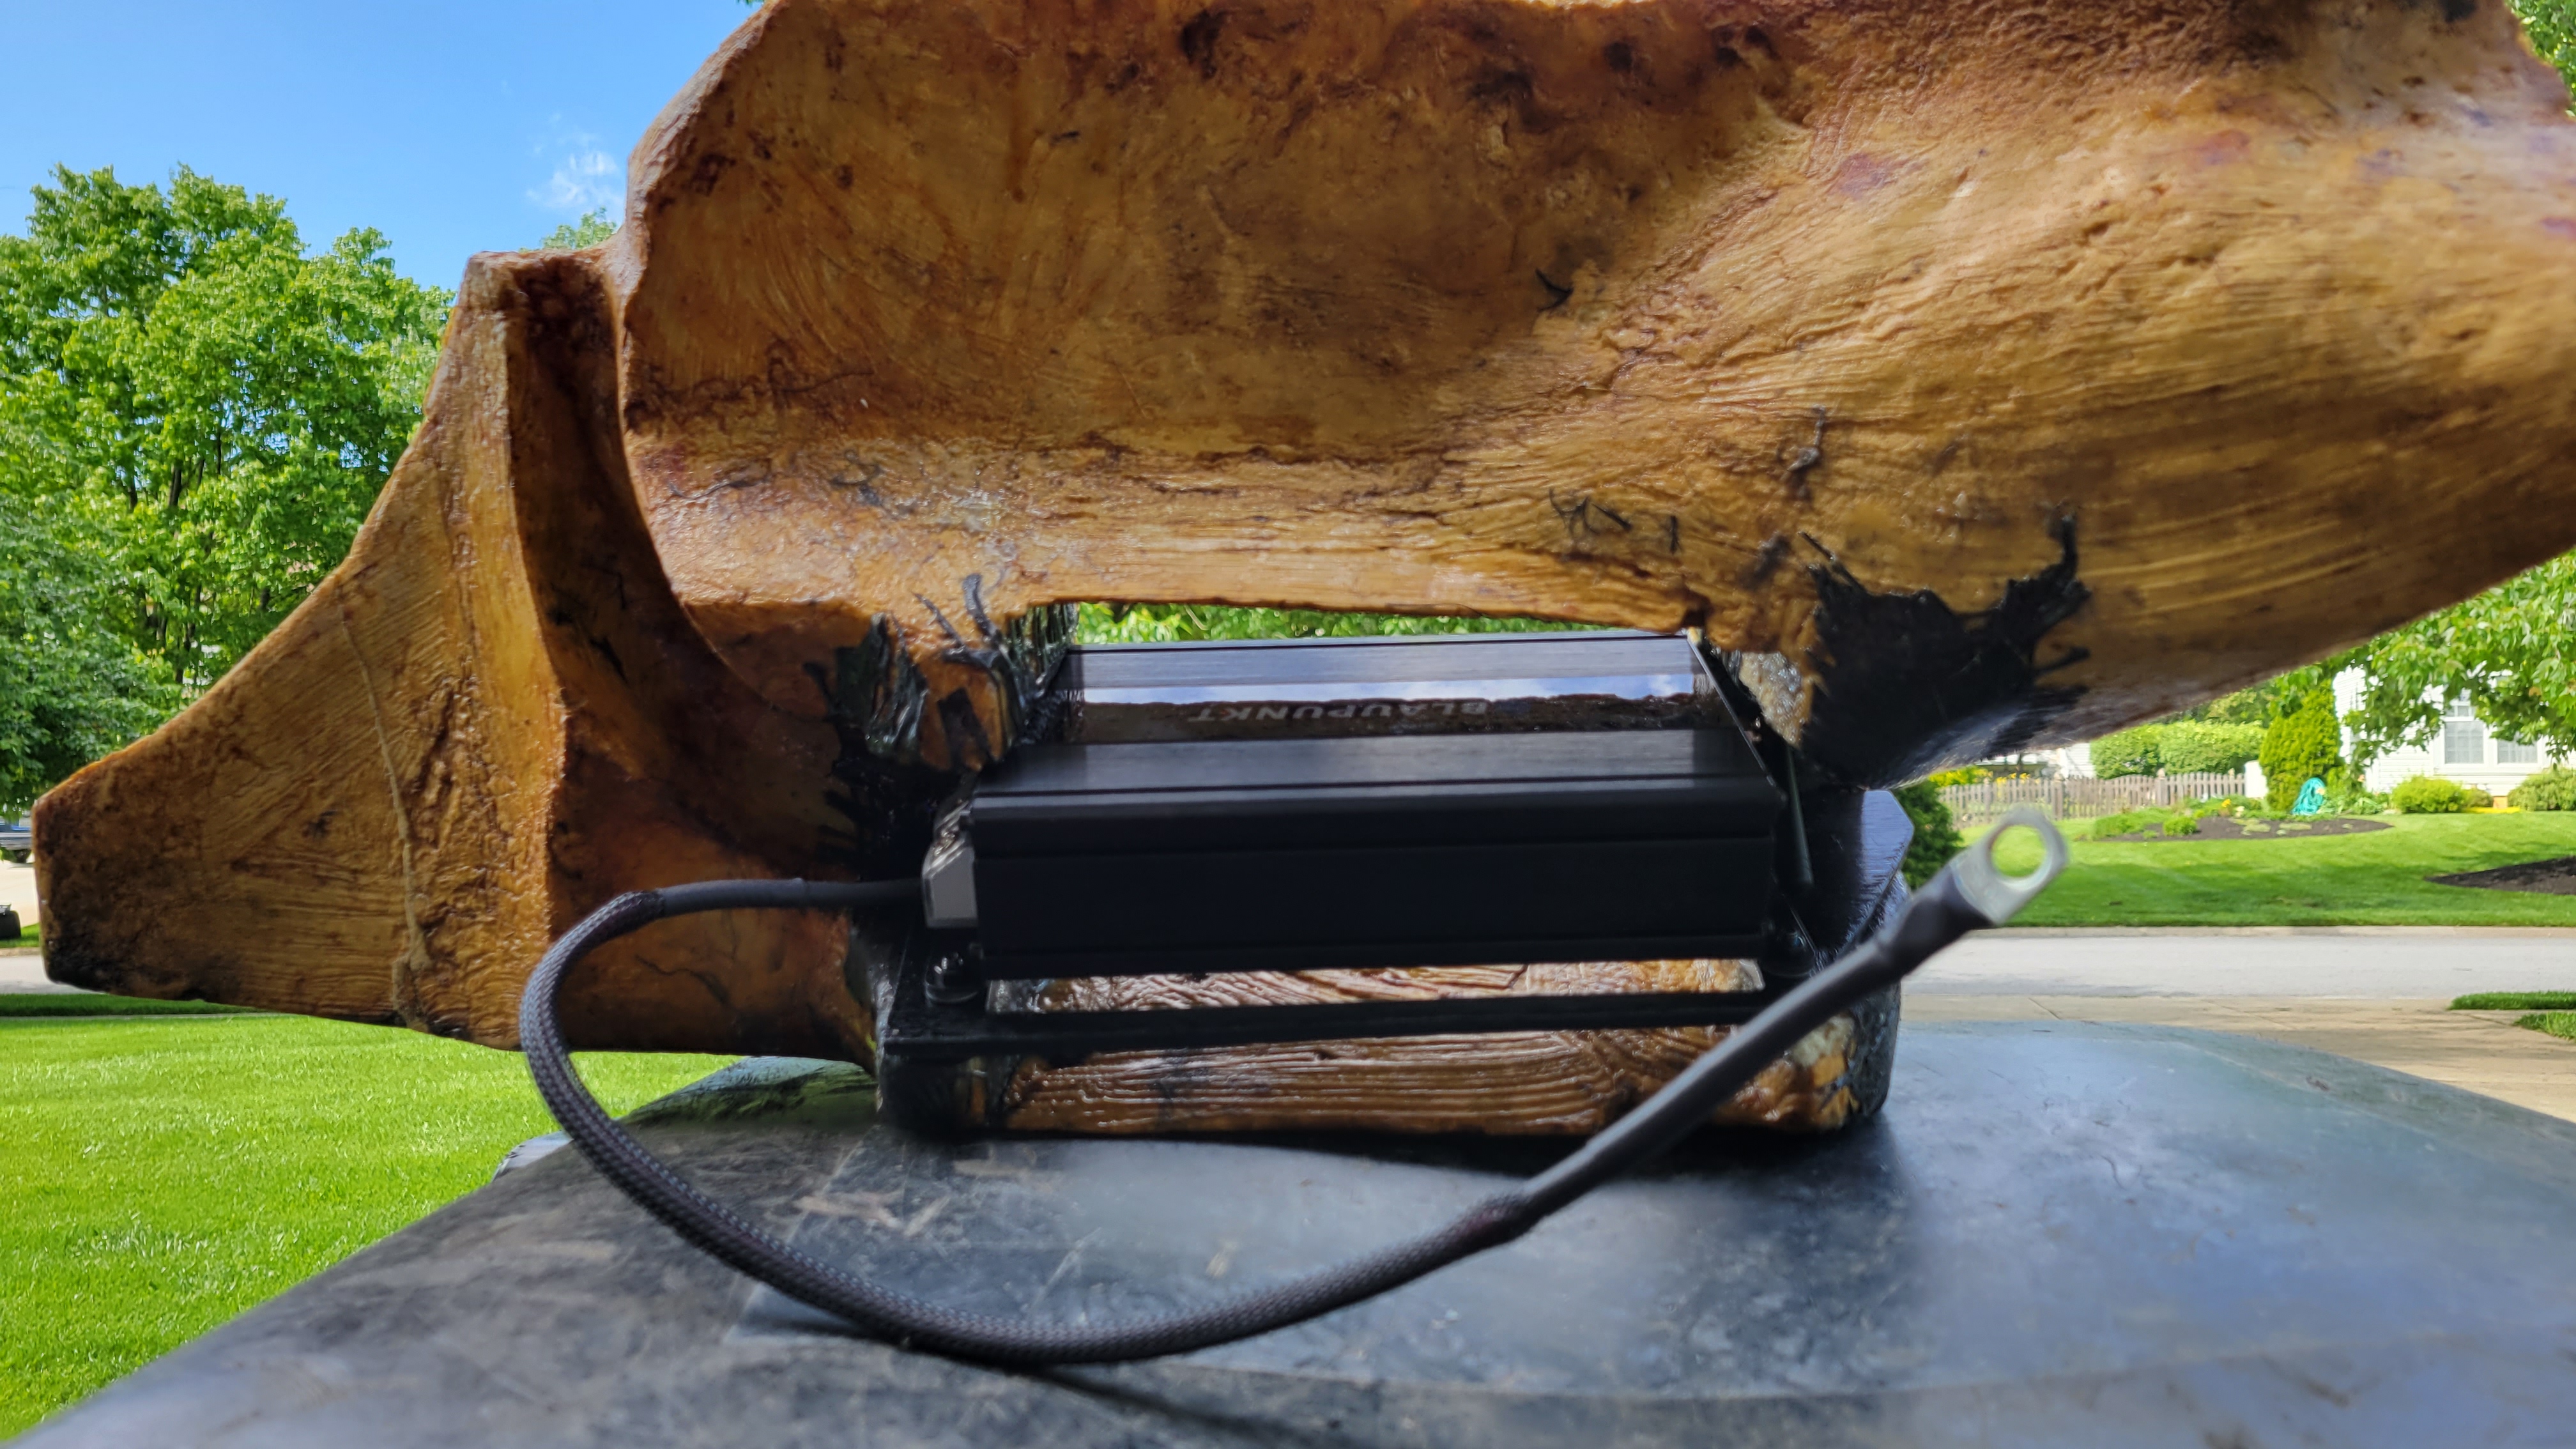
Test fit.
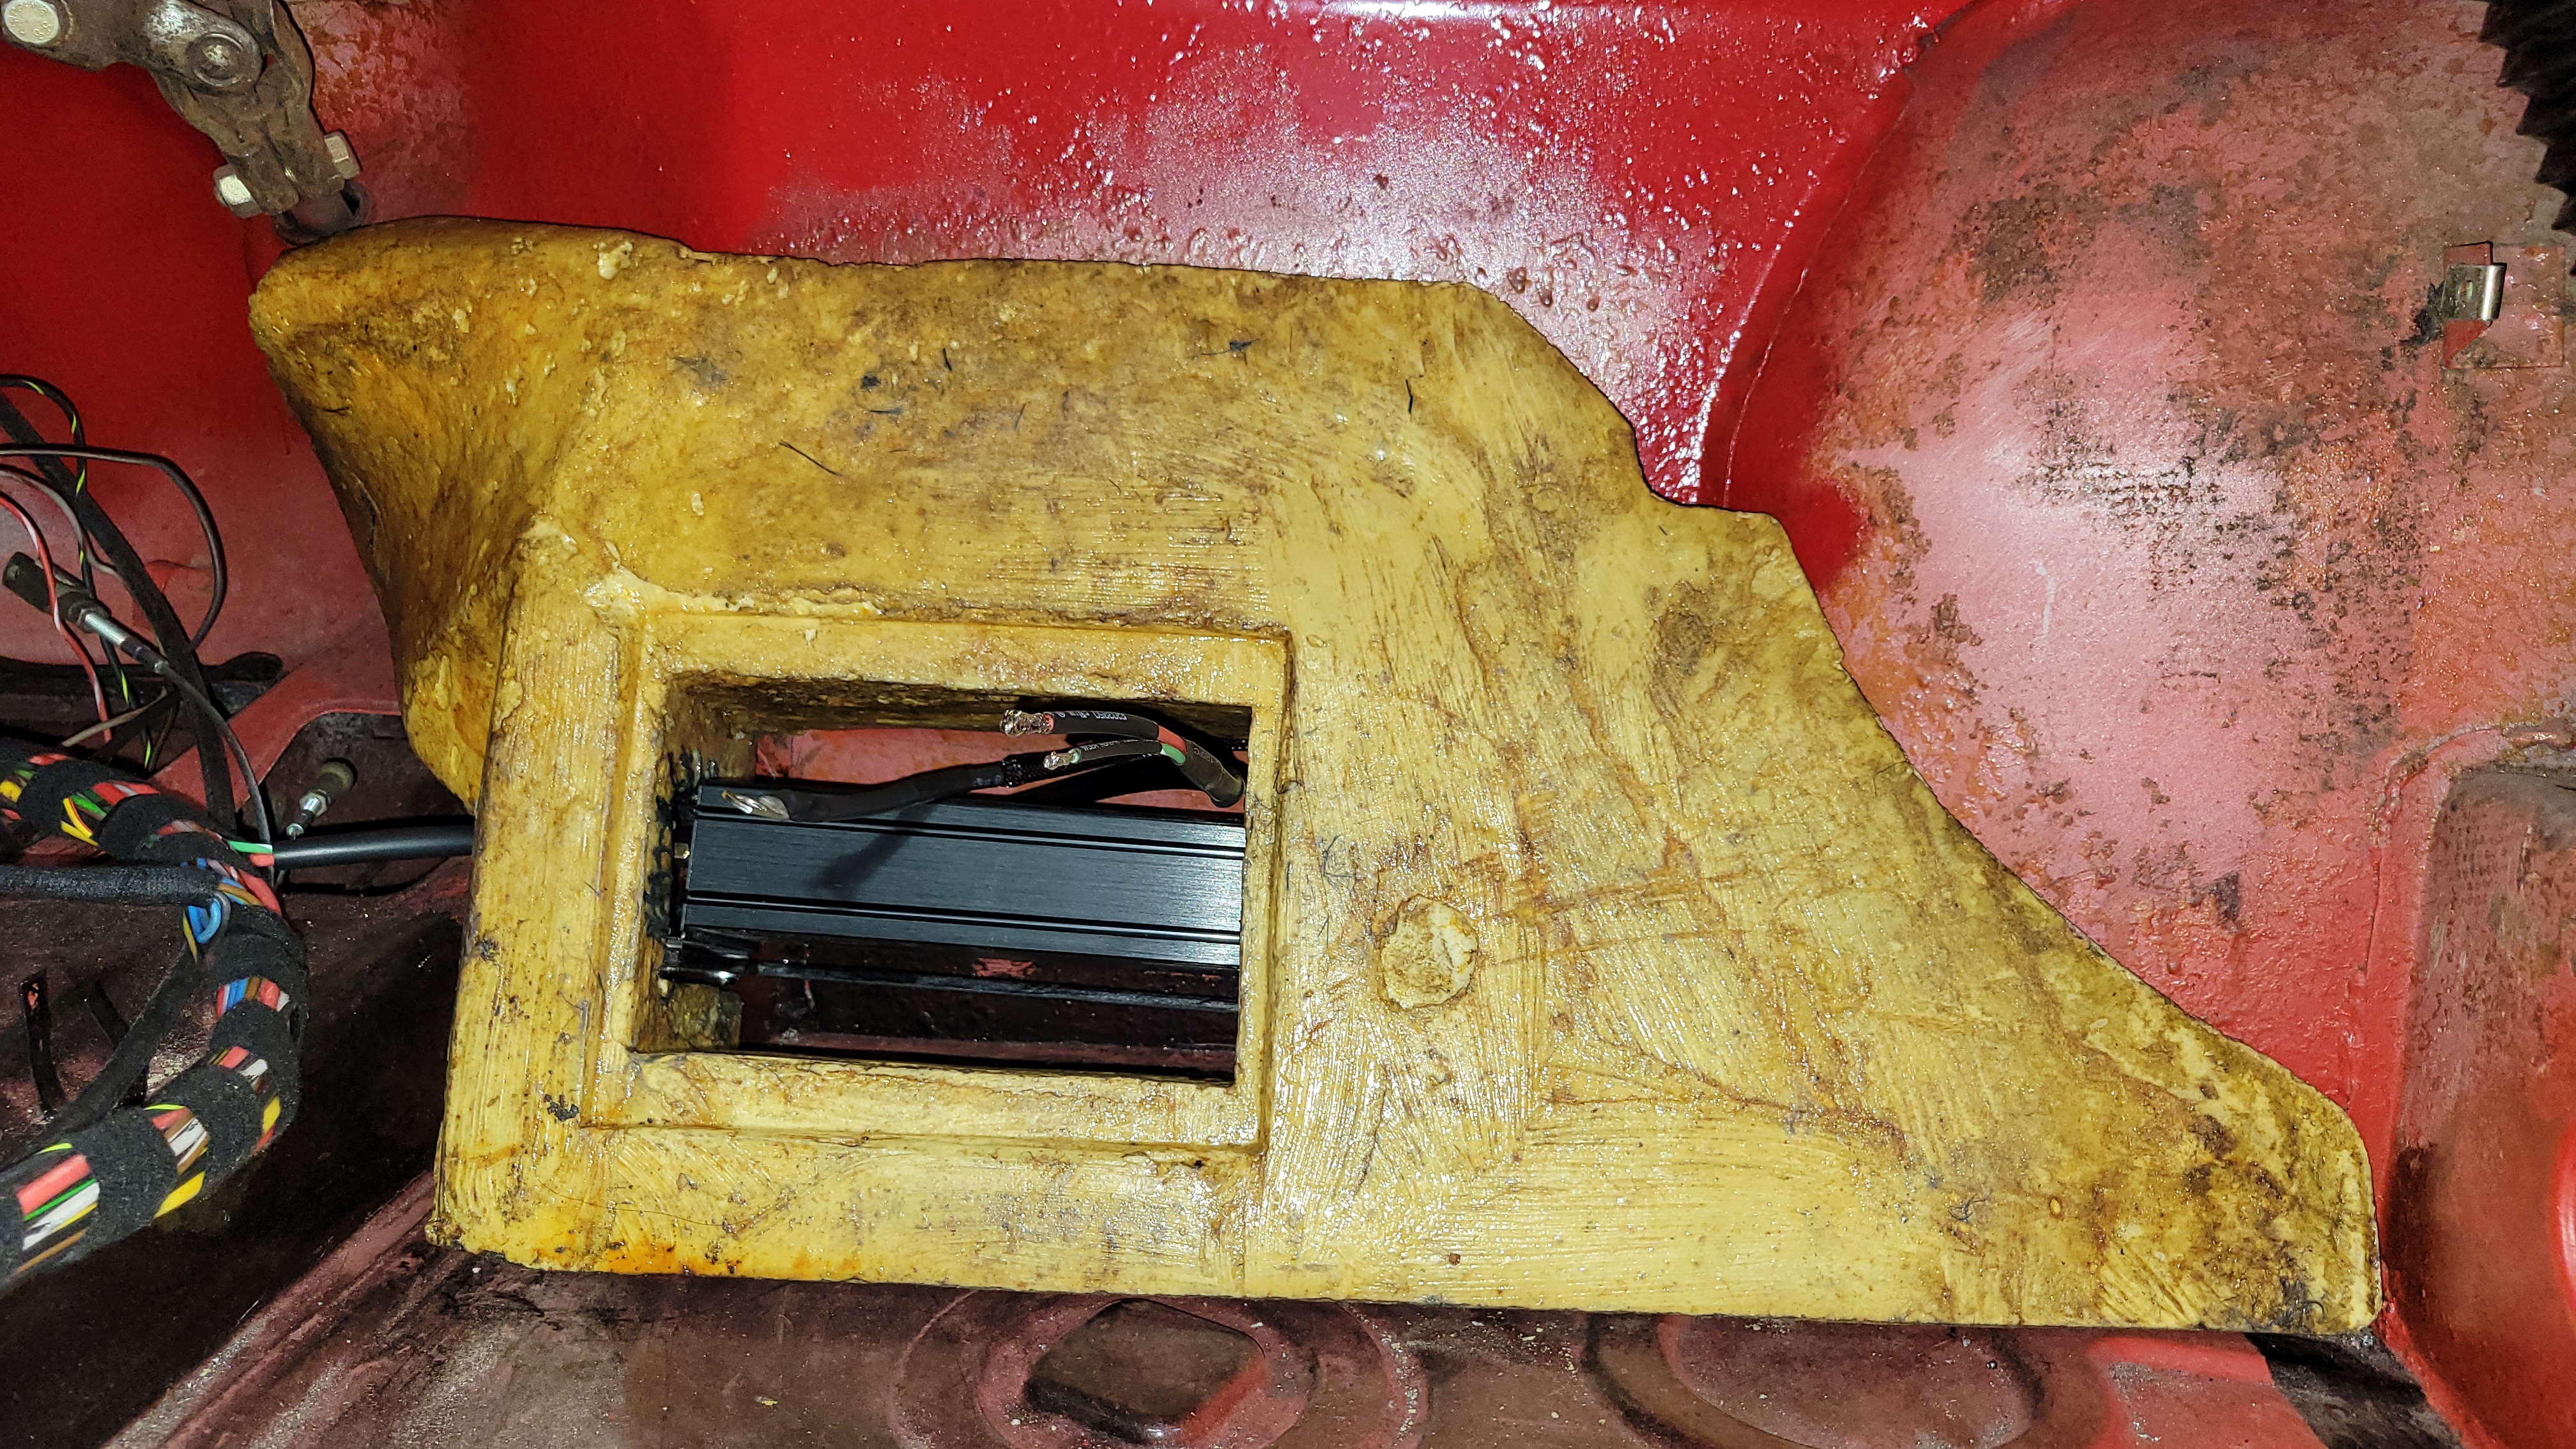
The welded Riv-Nut for a real ground.
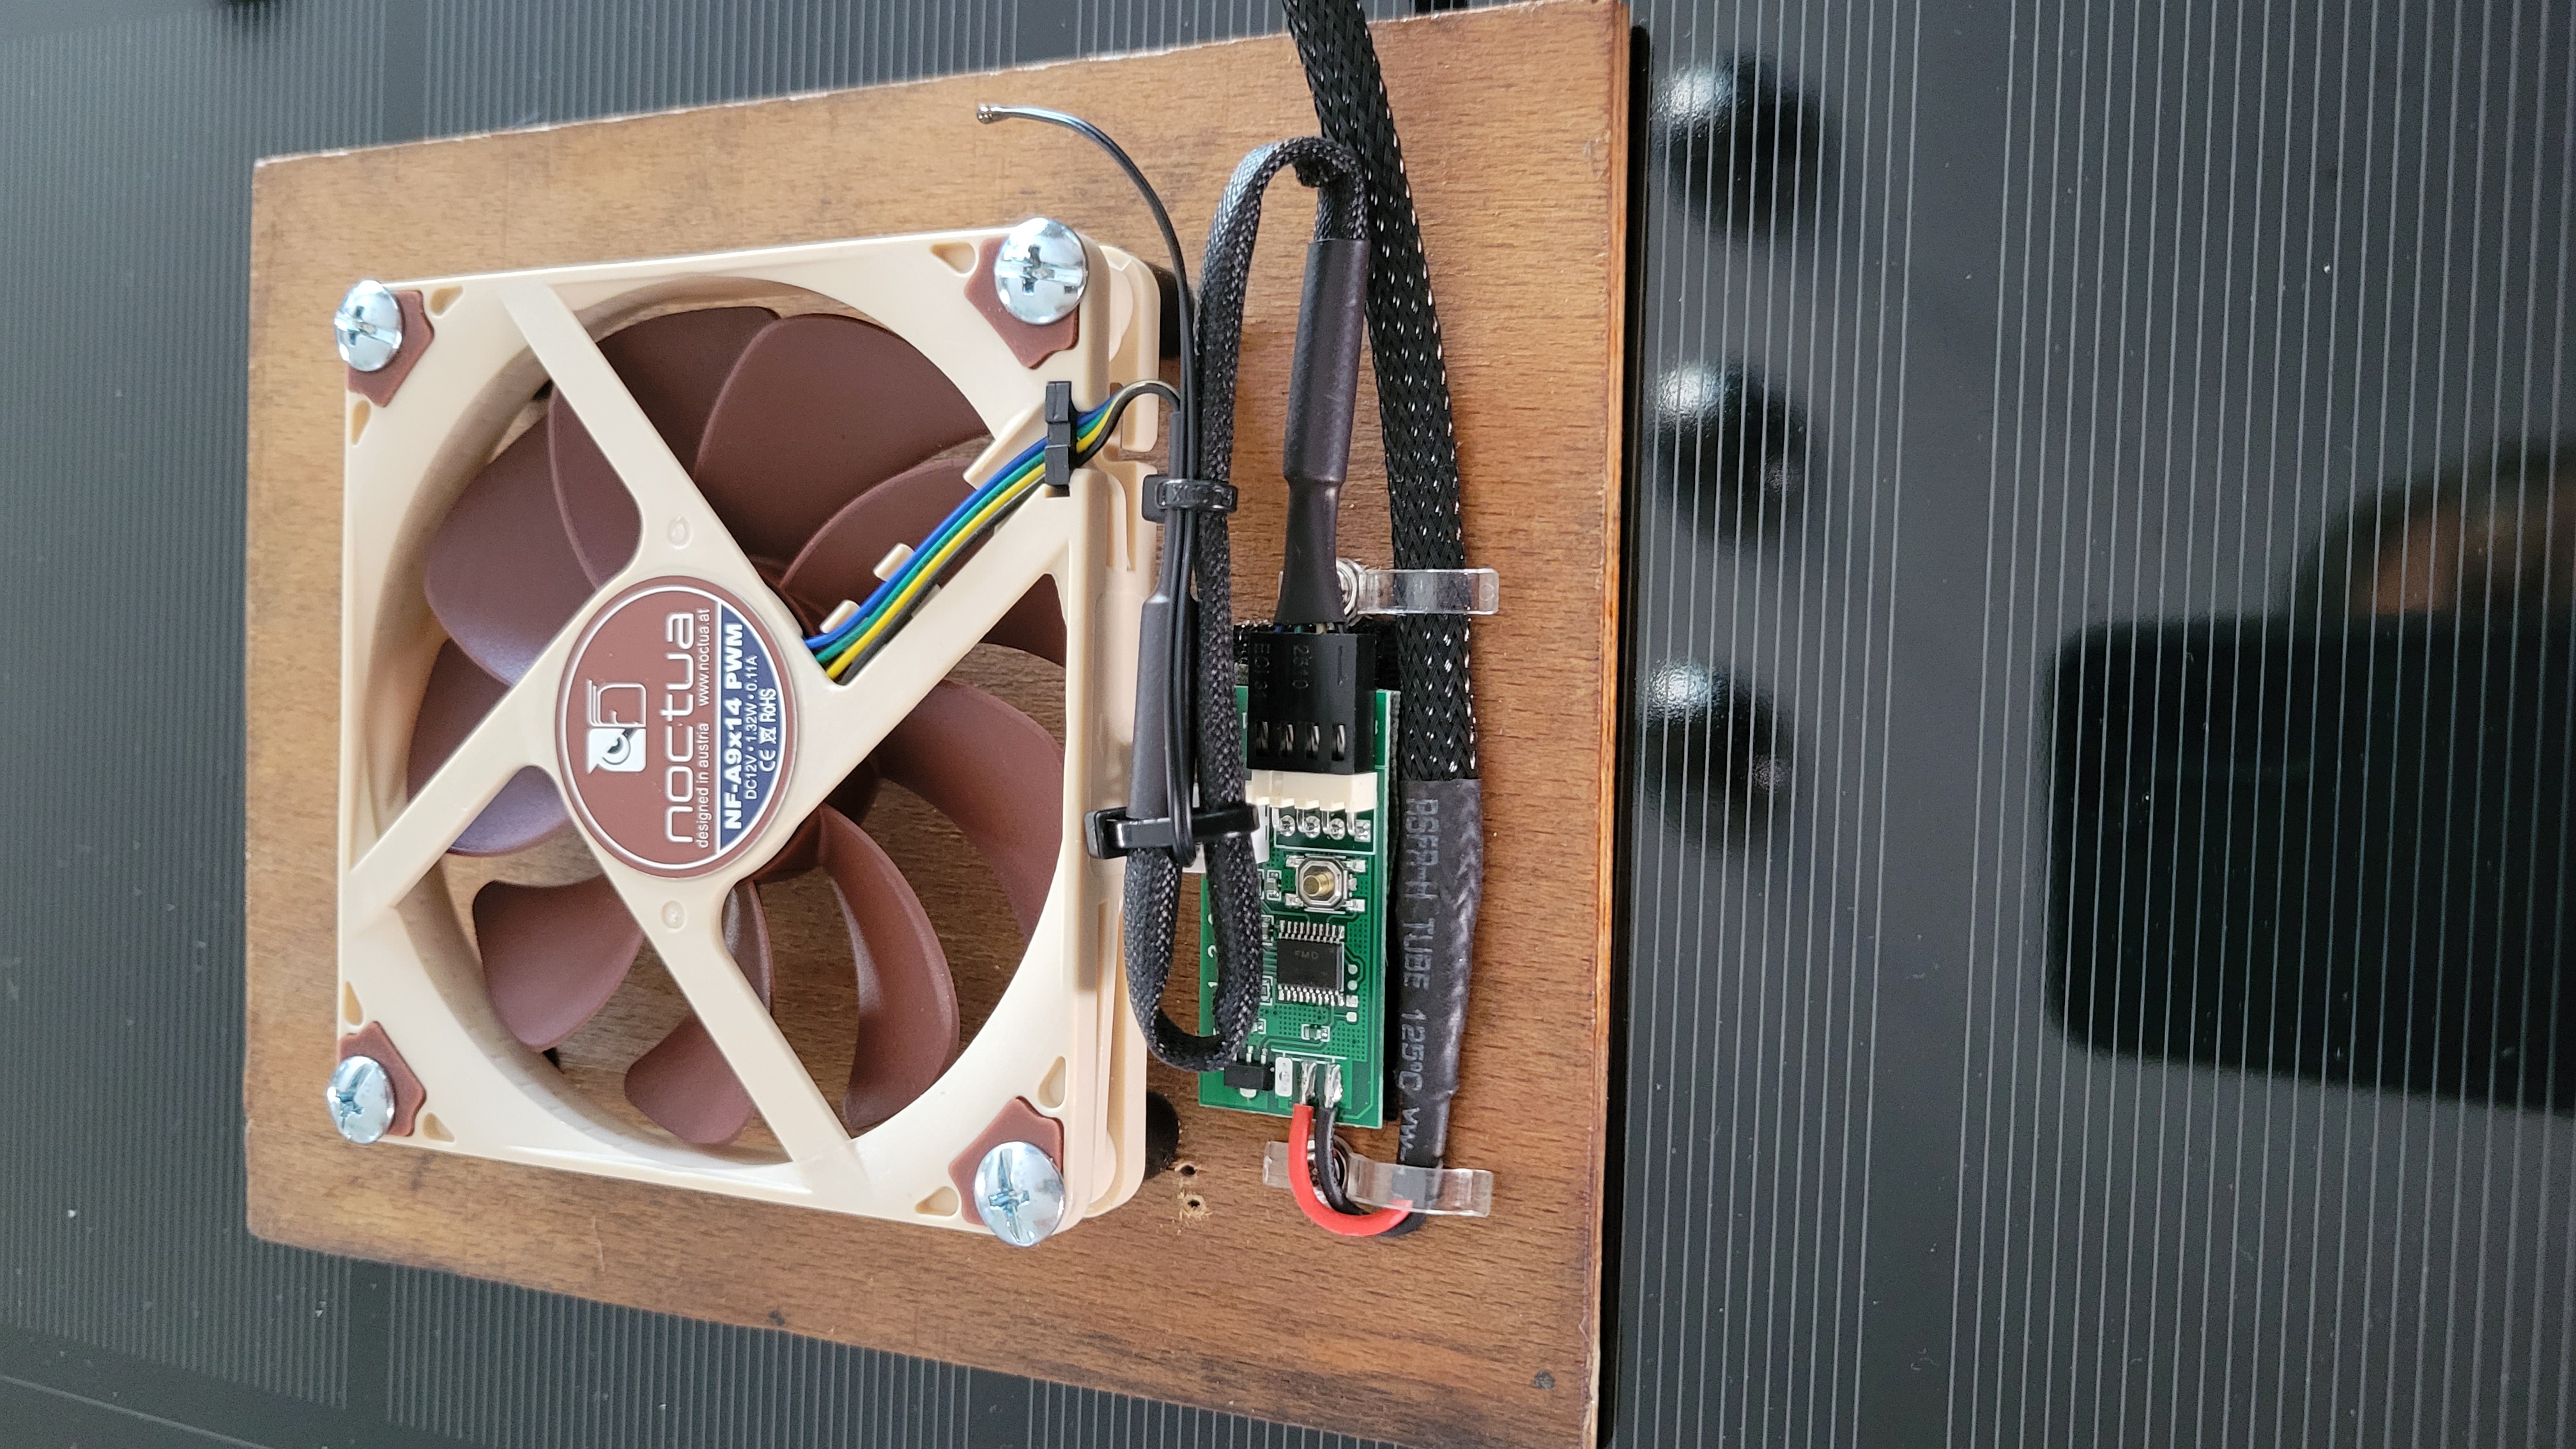
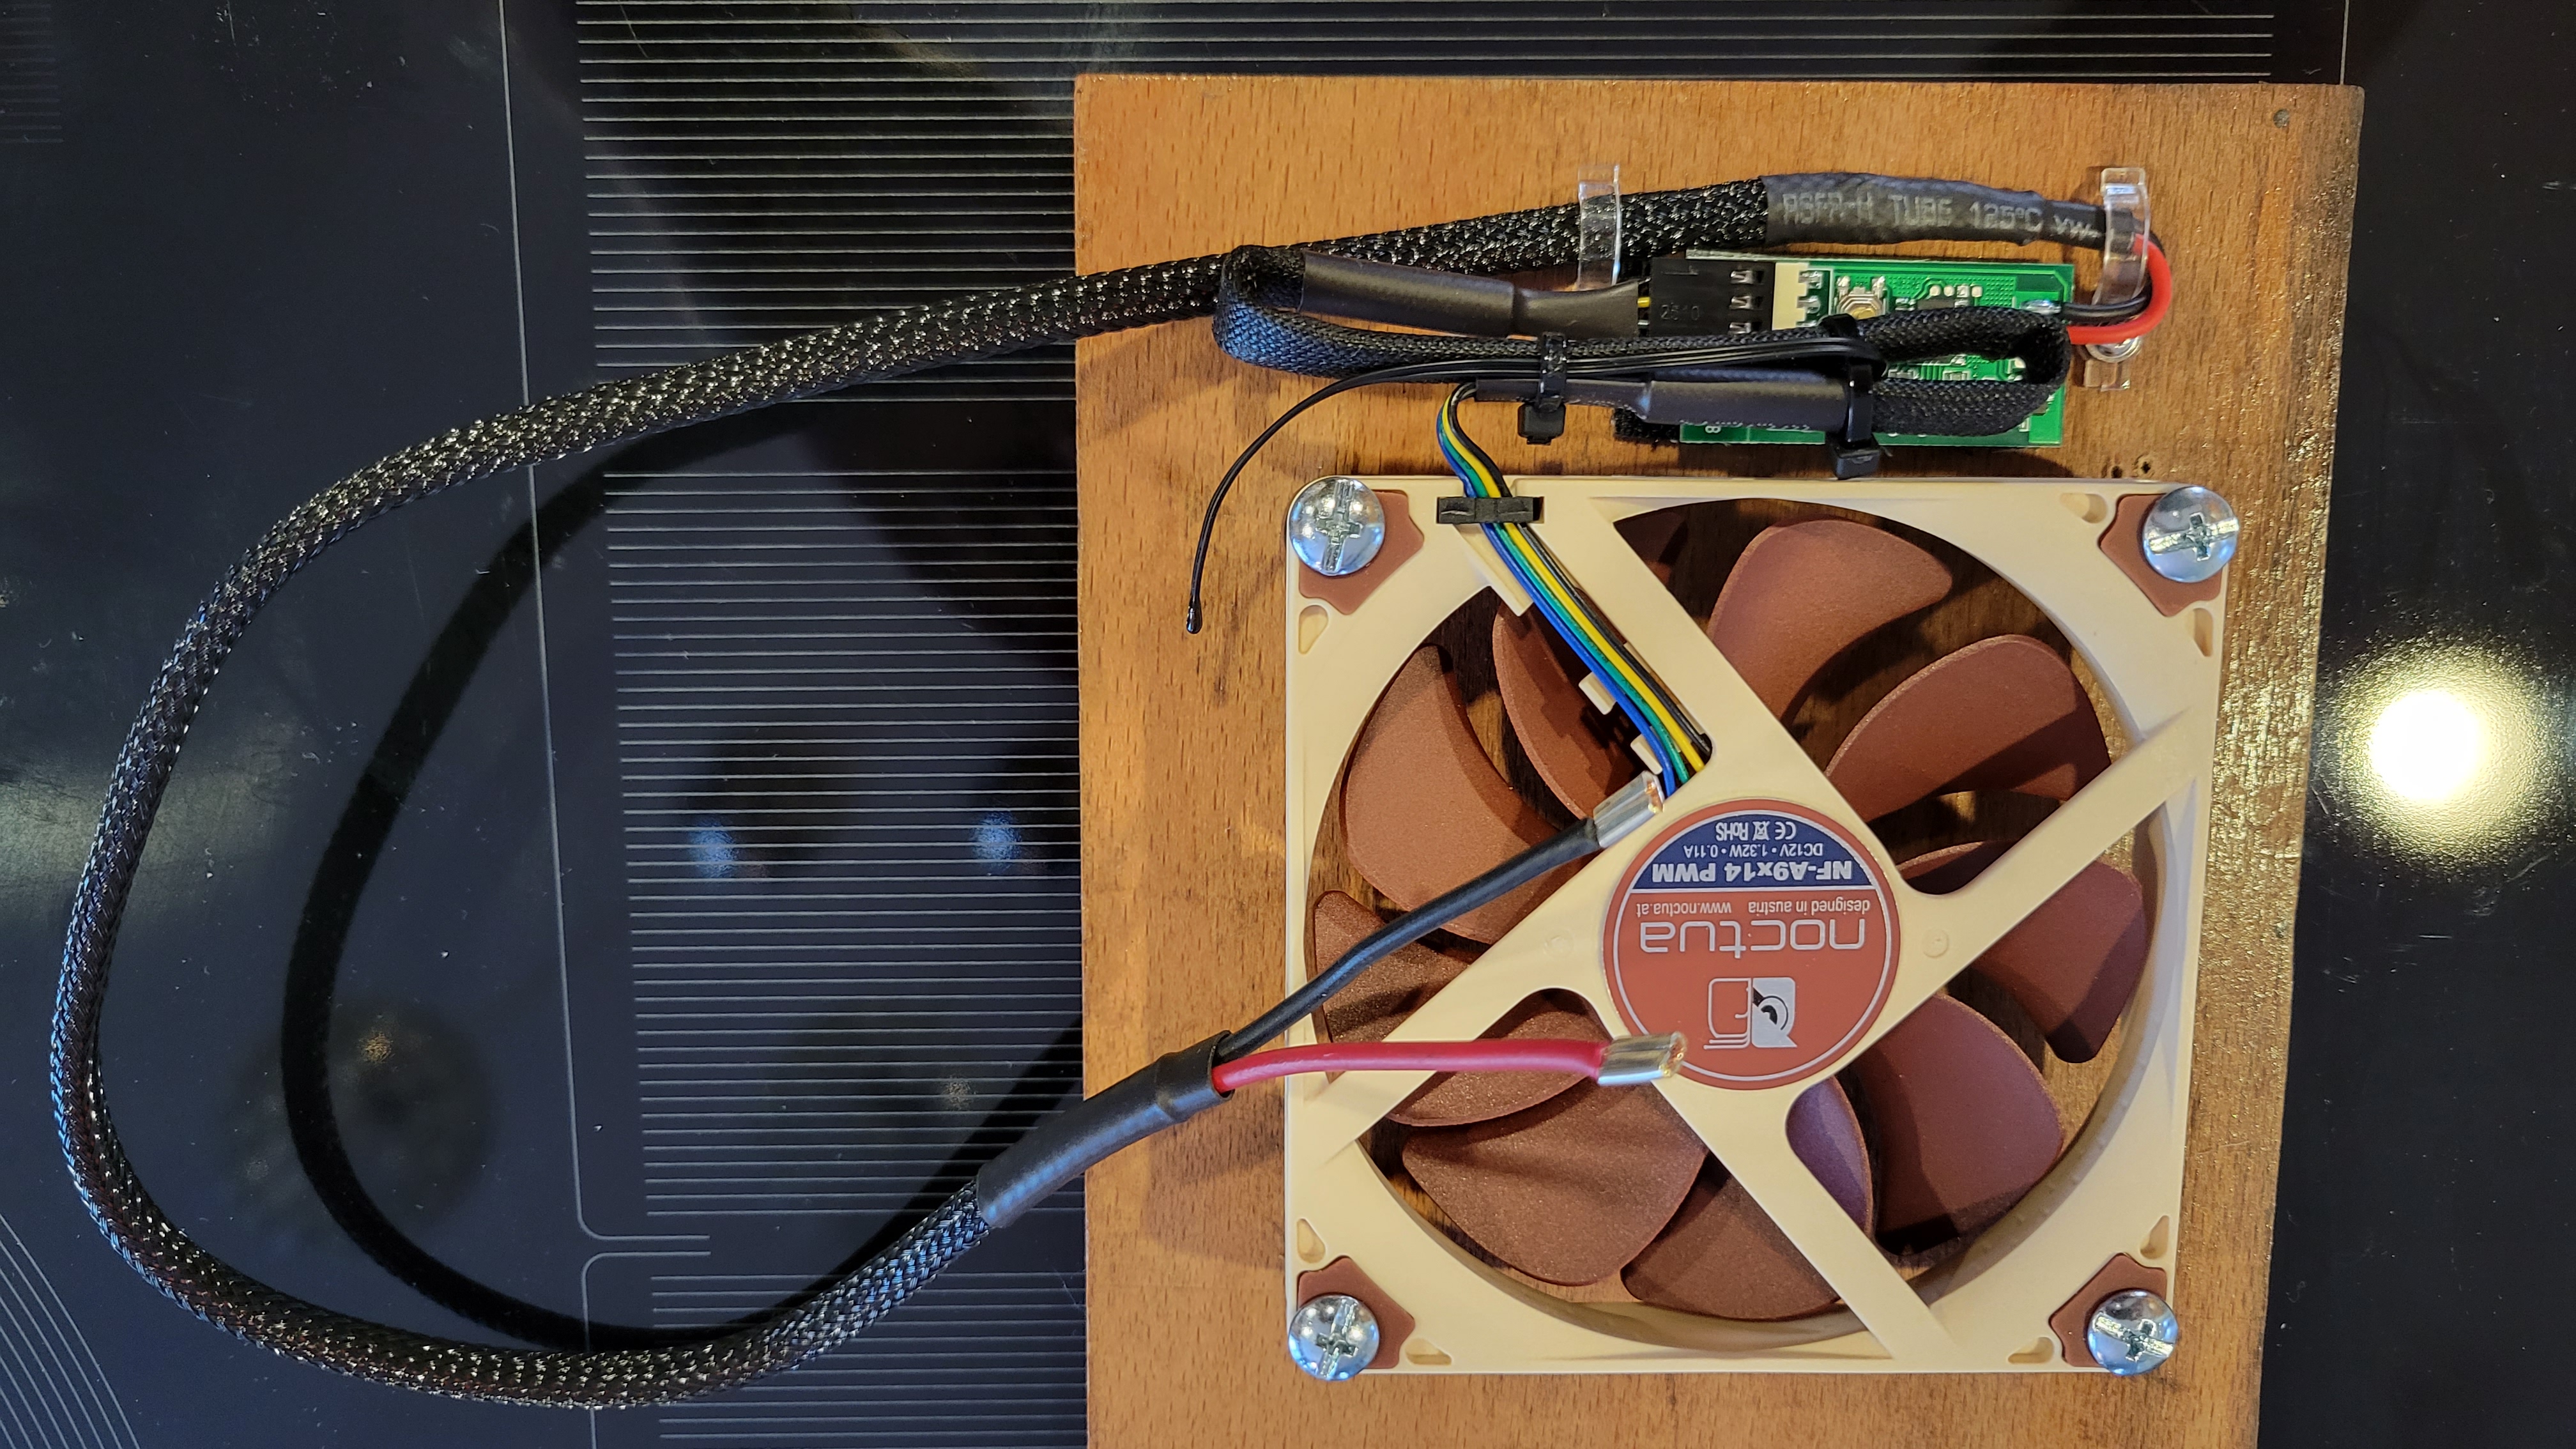
So WTF is this? This is a temperature sensor and a computer fan. Just a bit more airflow around the amp this way. The fan is on stand-offs to elevate it so that the air can flow. The little antenna on the left is the temp sensor for fan speed.
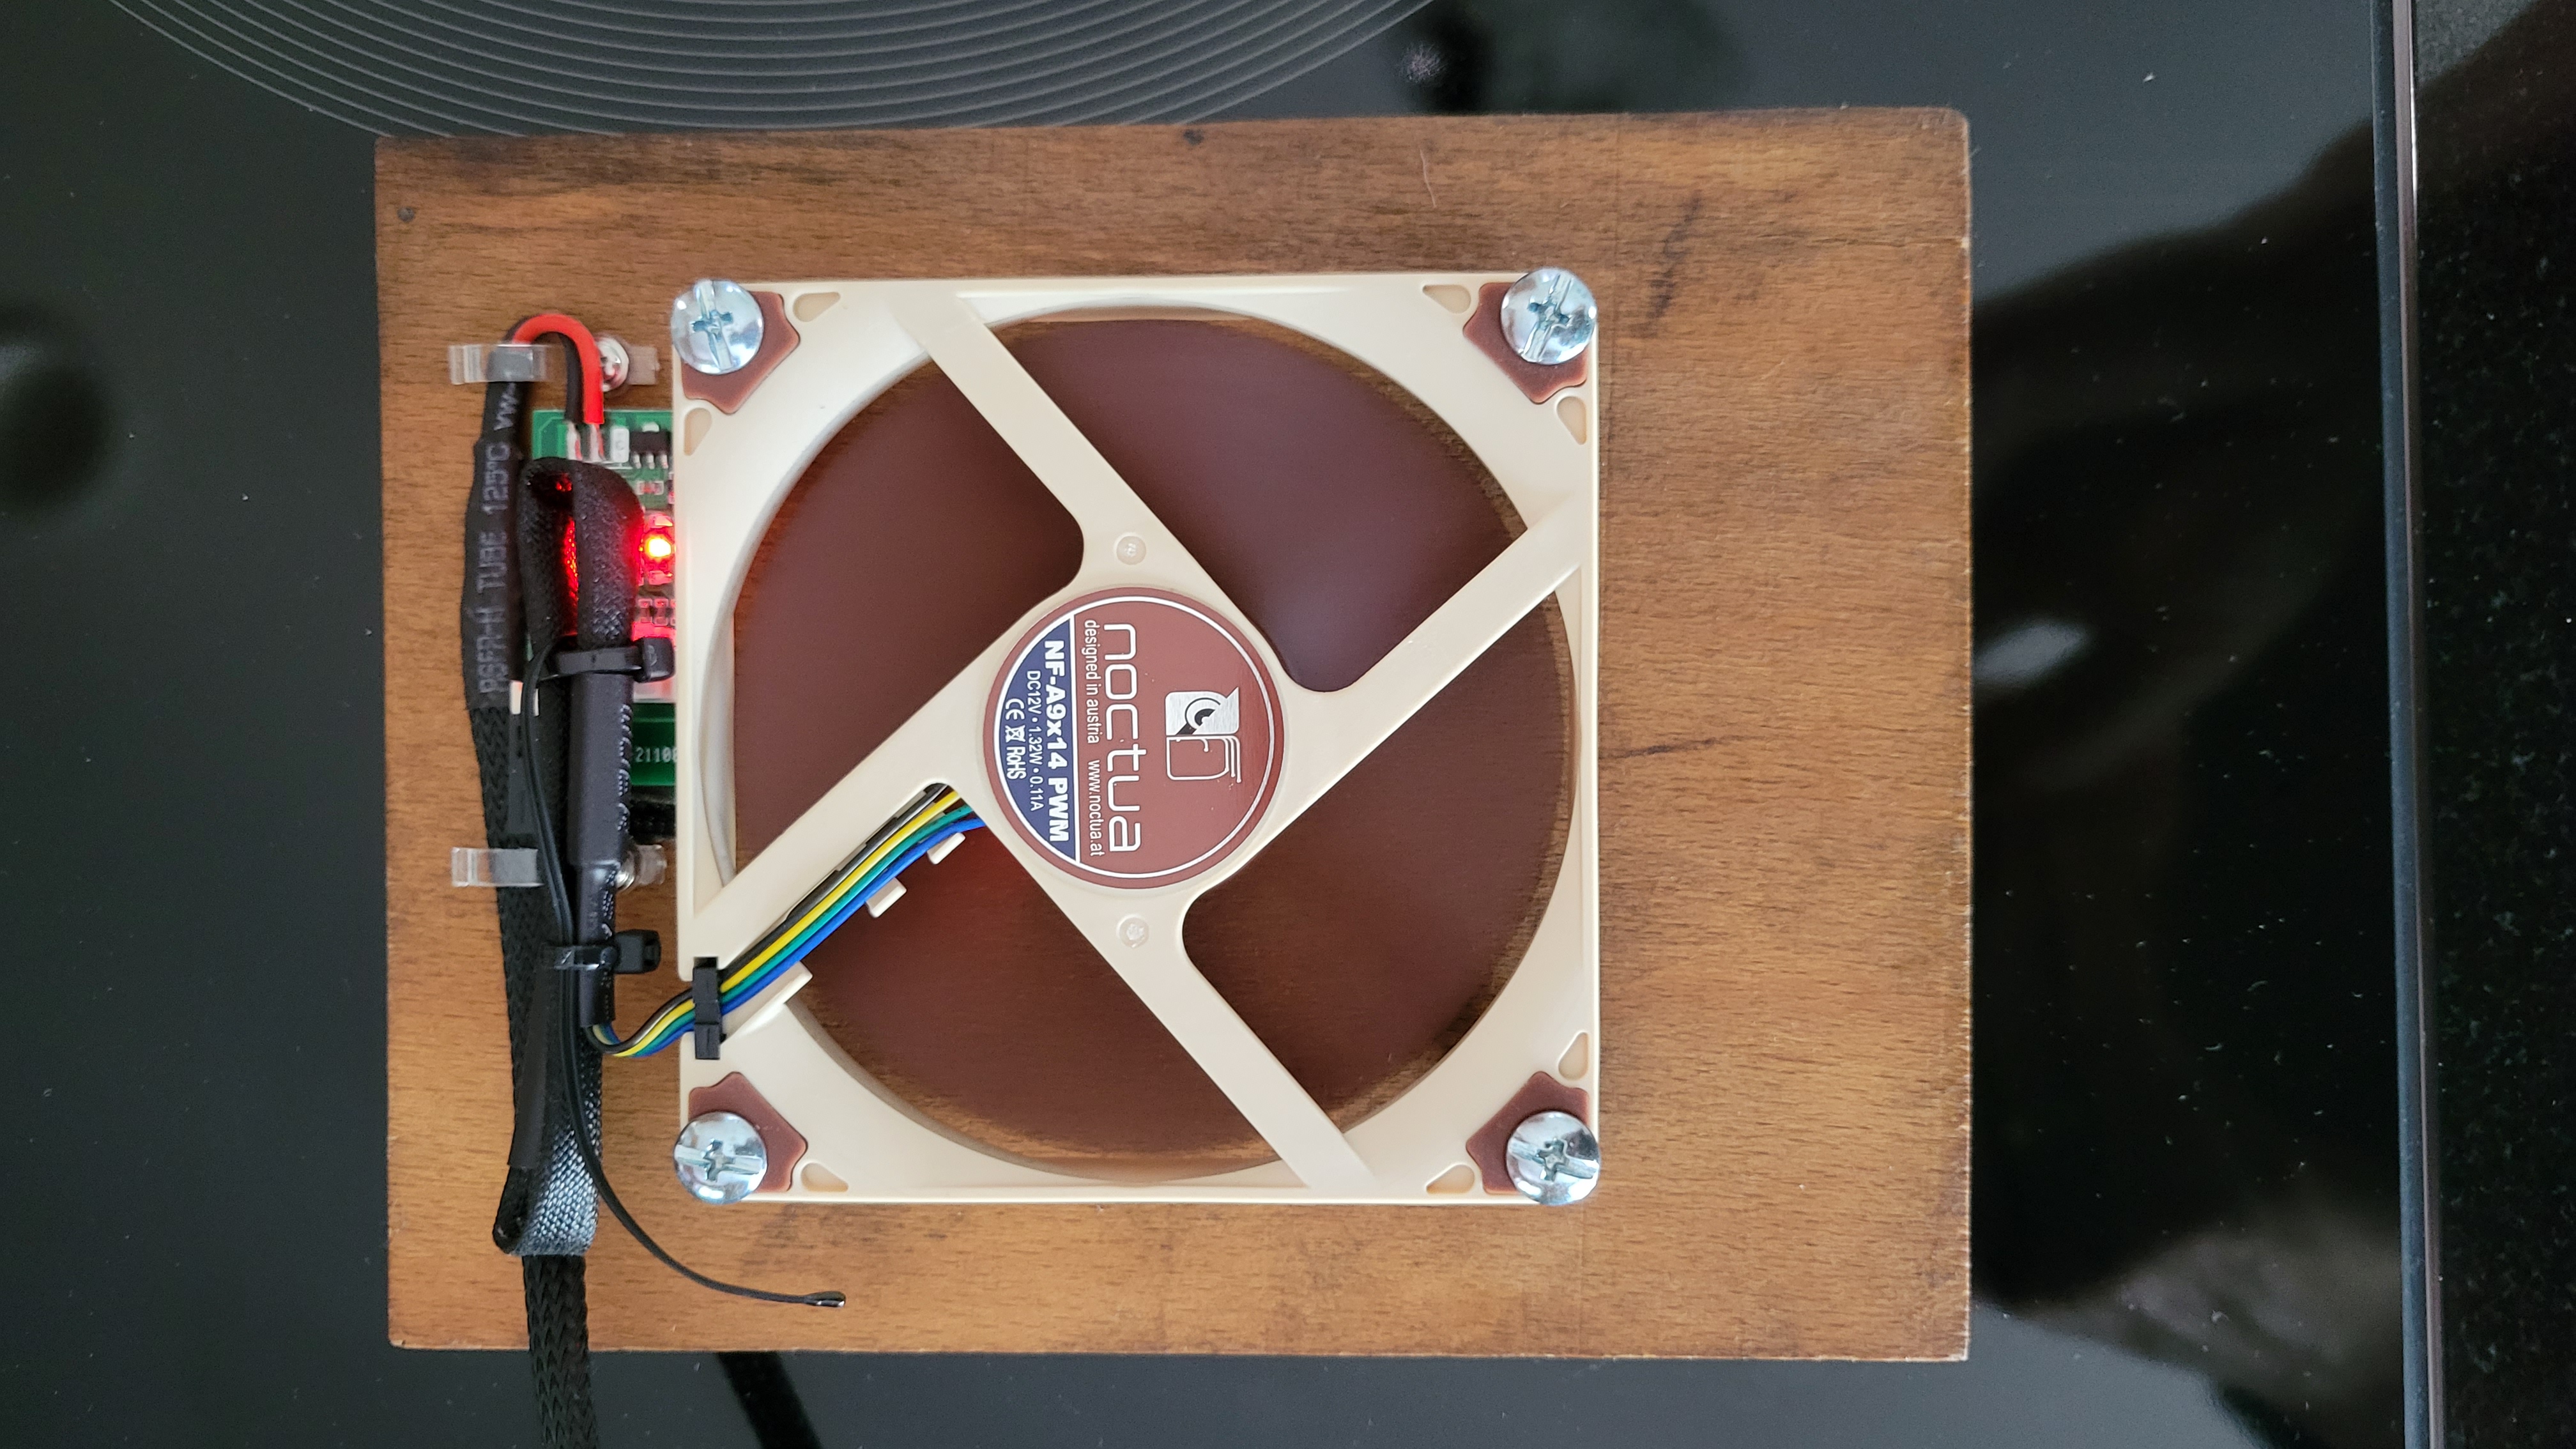
Bolted down with embedded nuts.
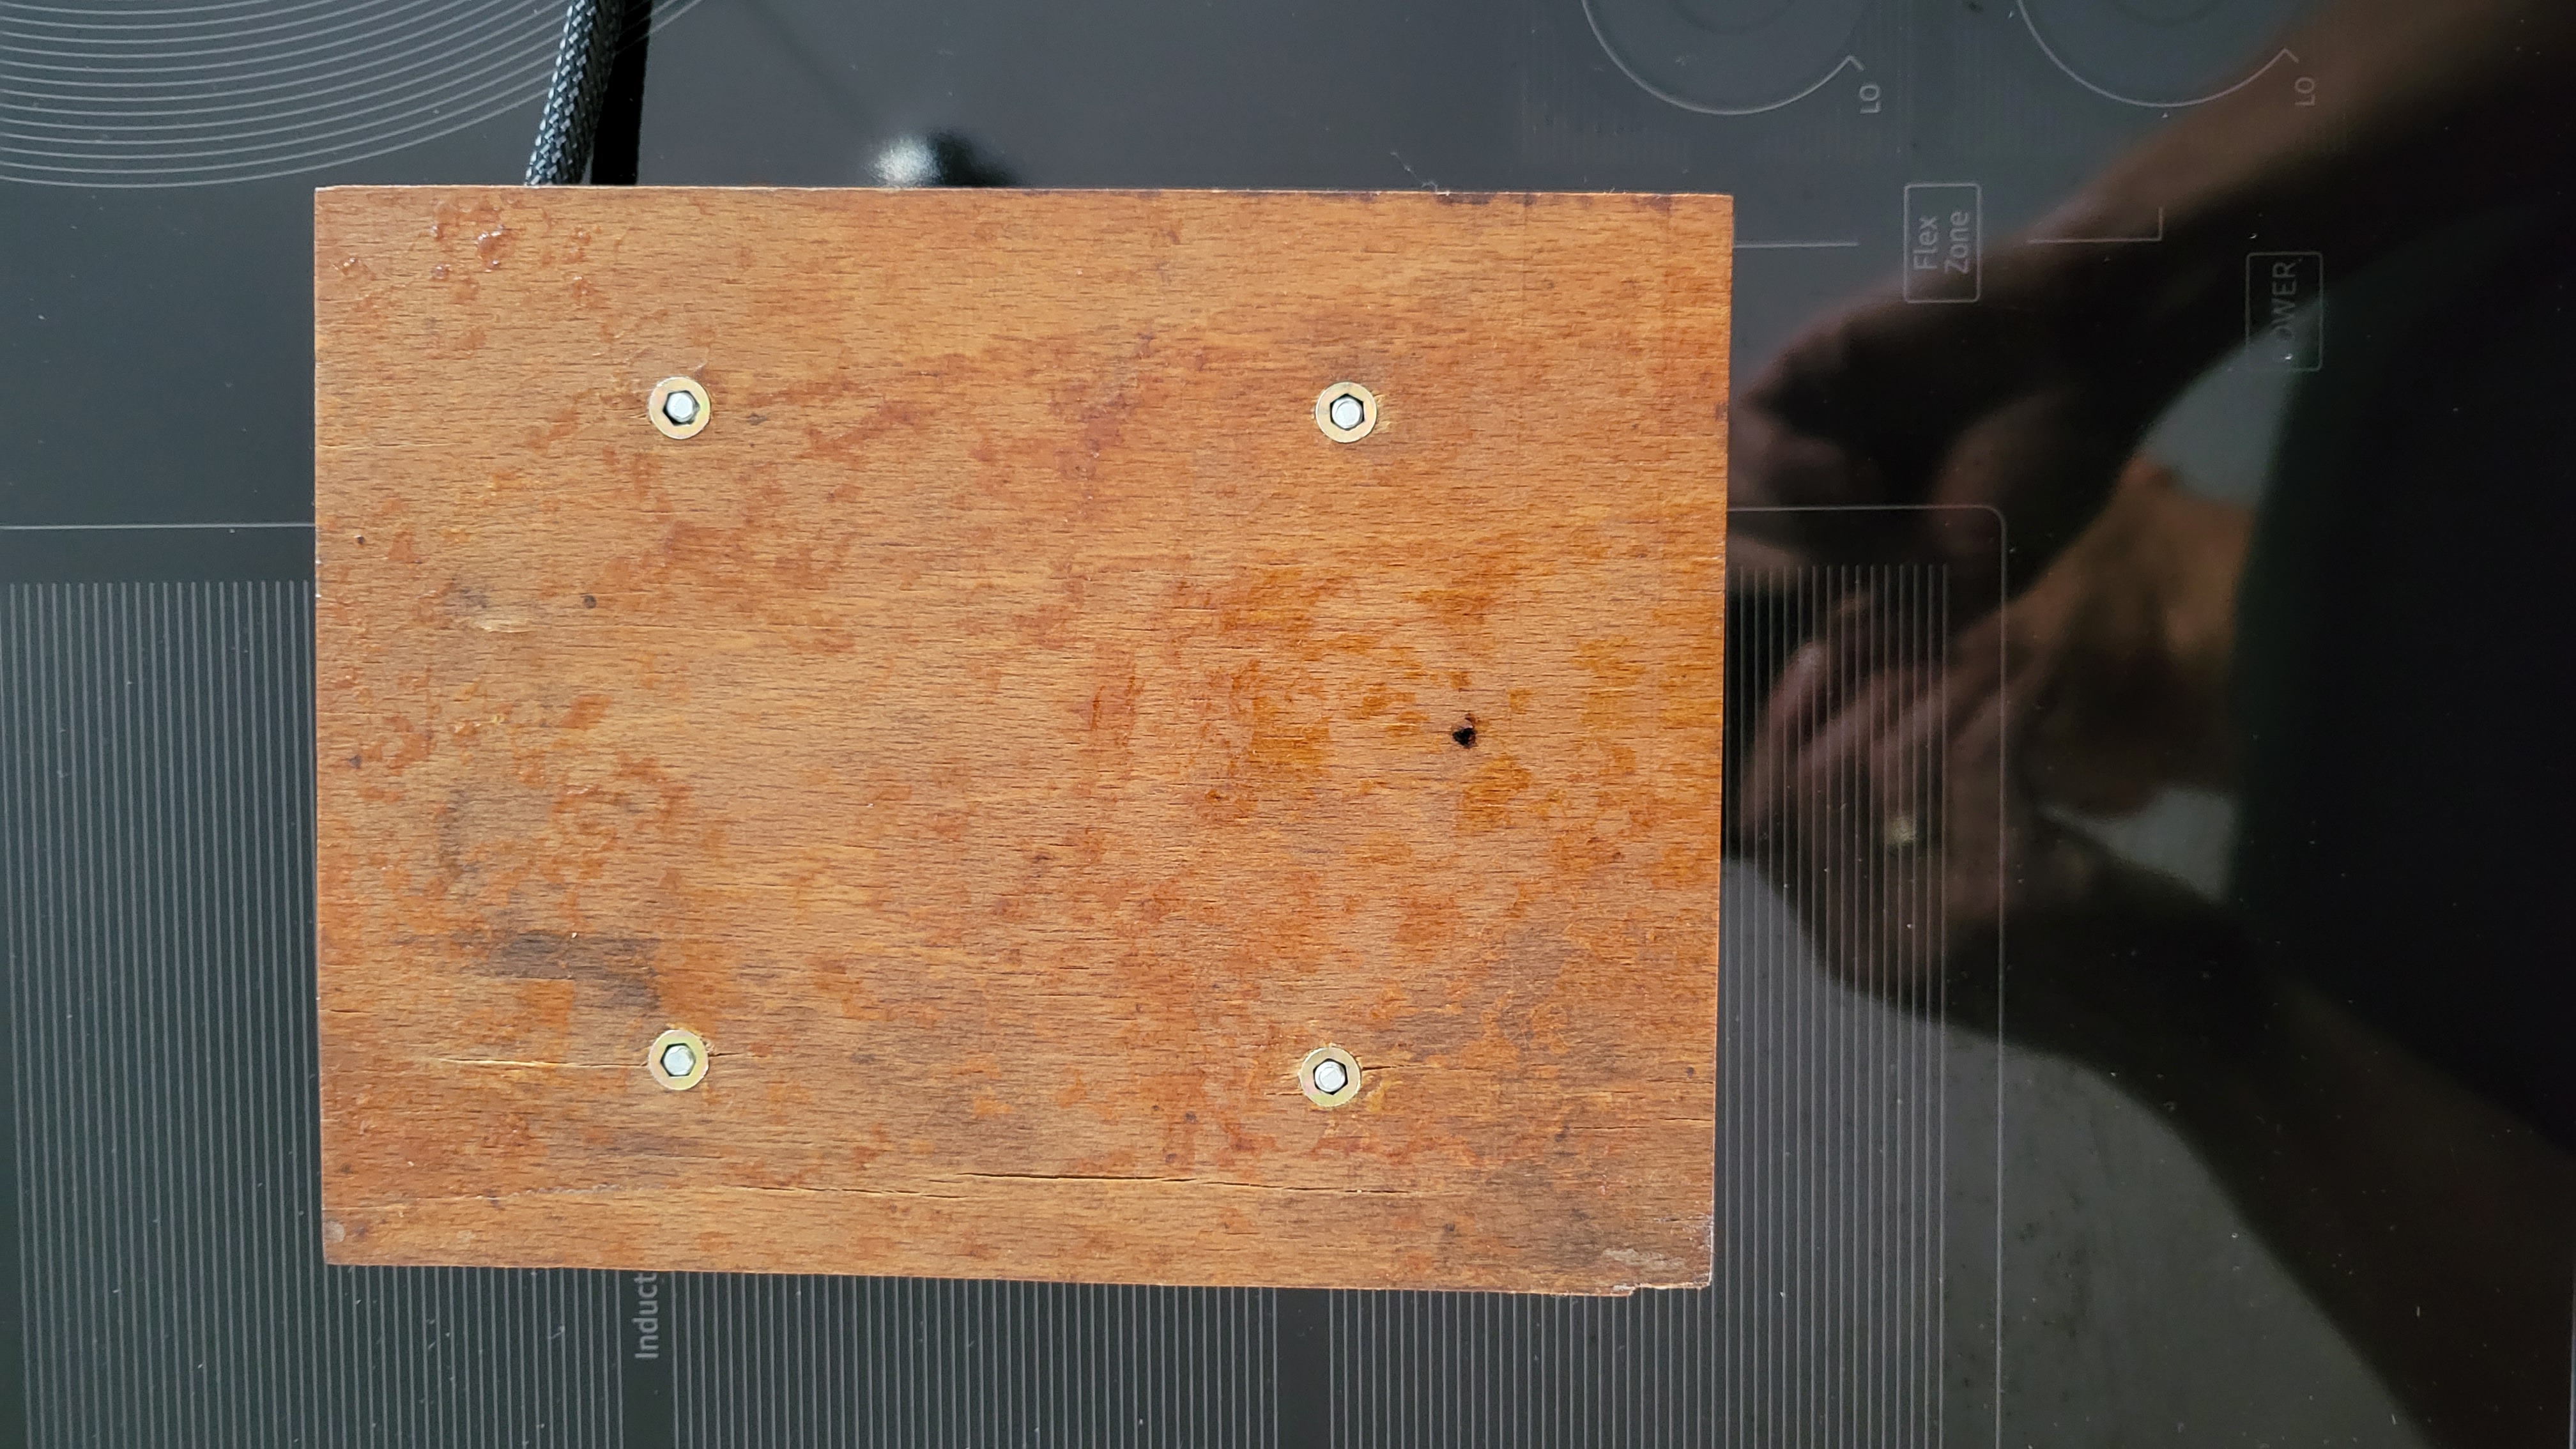
The bottom of the foot-board hole cover using countersunk self-tapping panel nuts .
Side-view
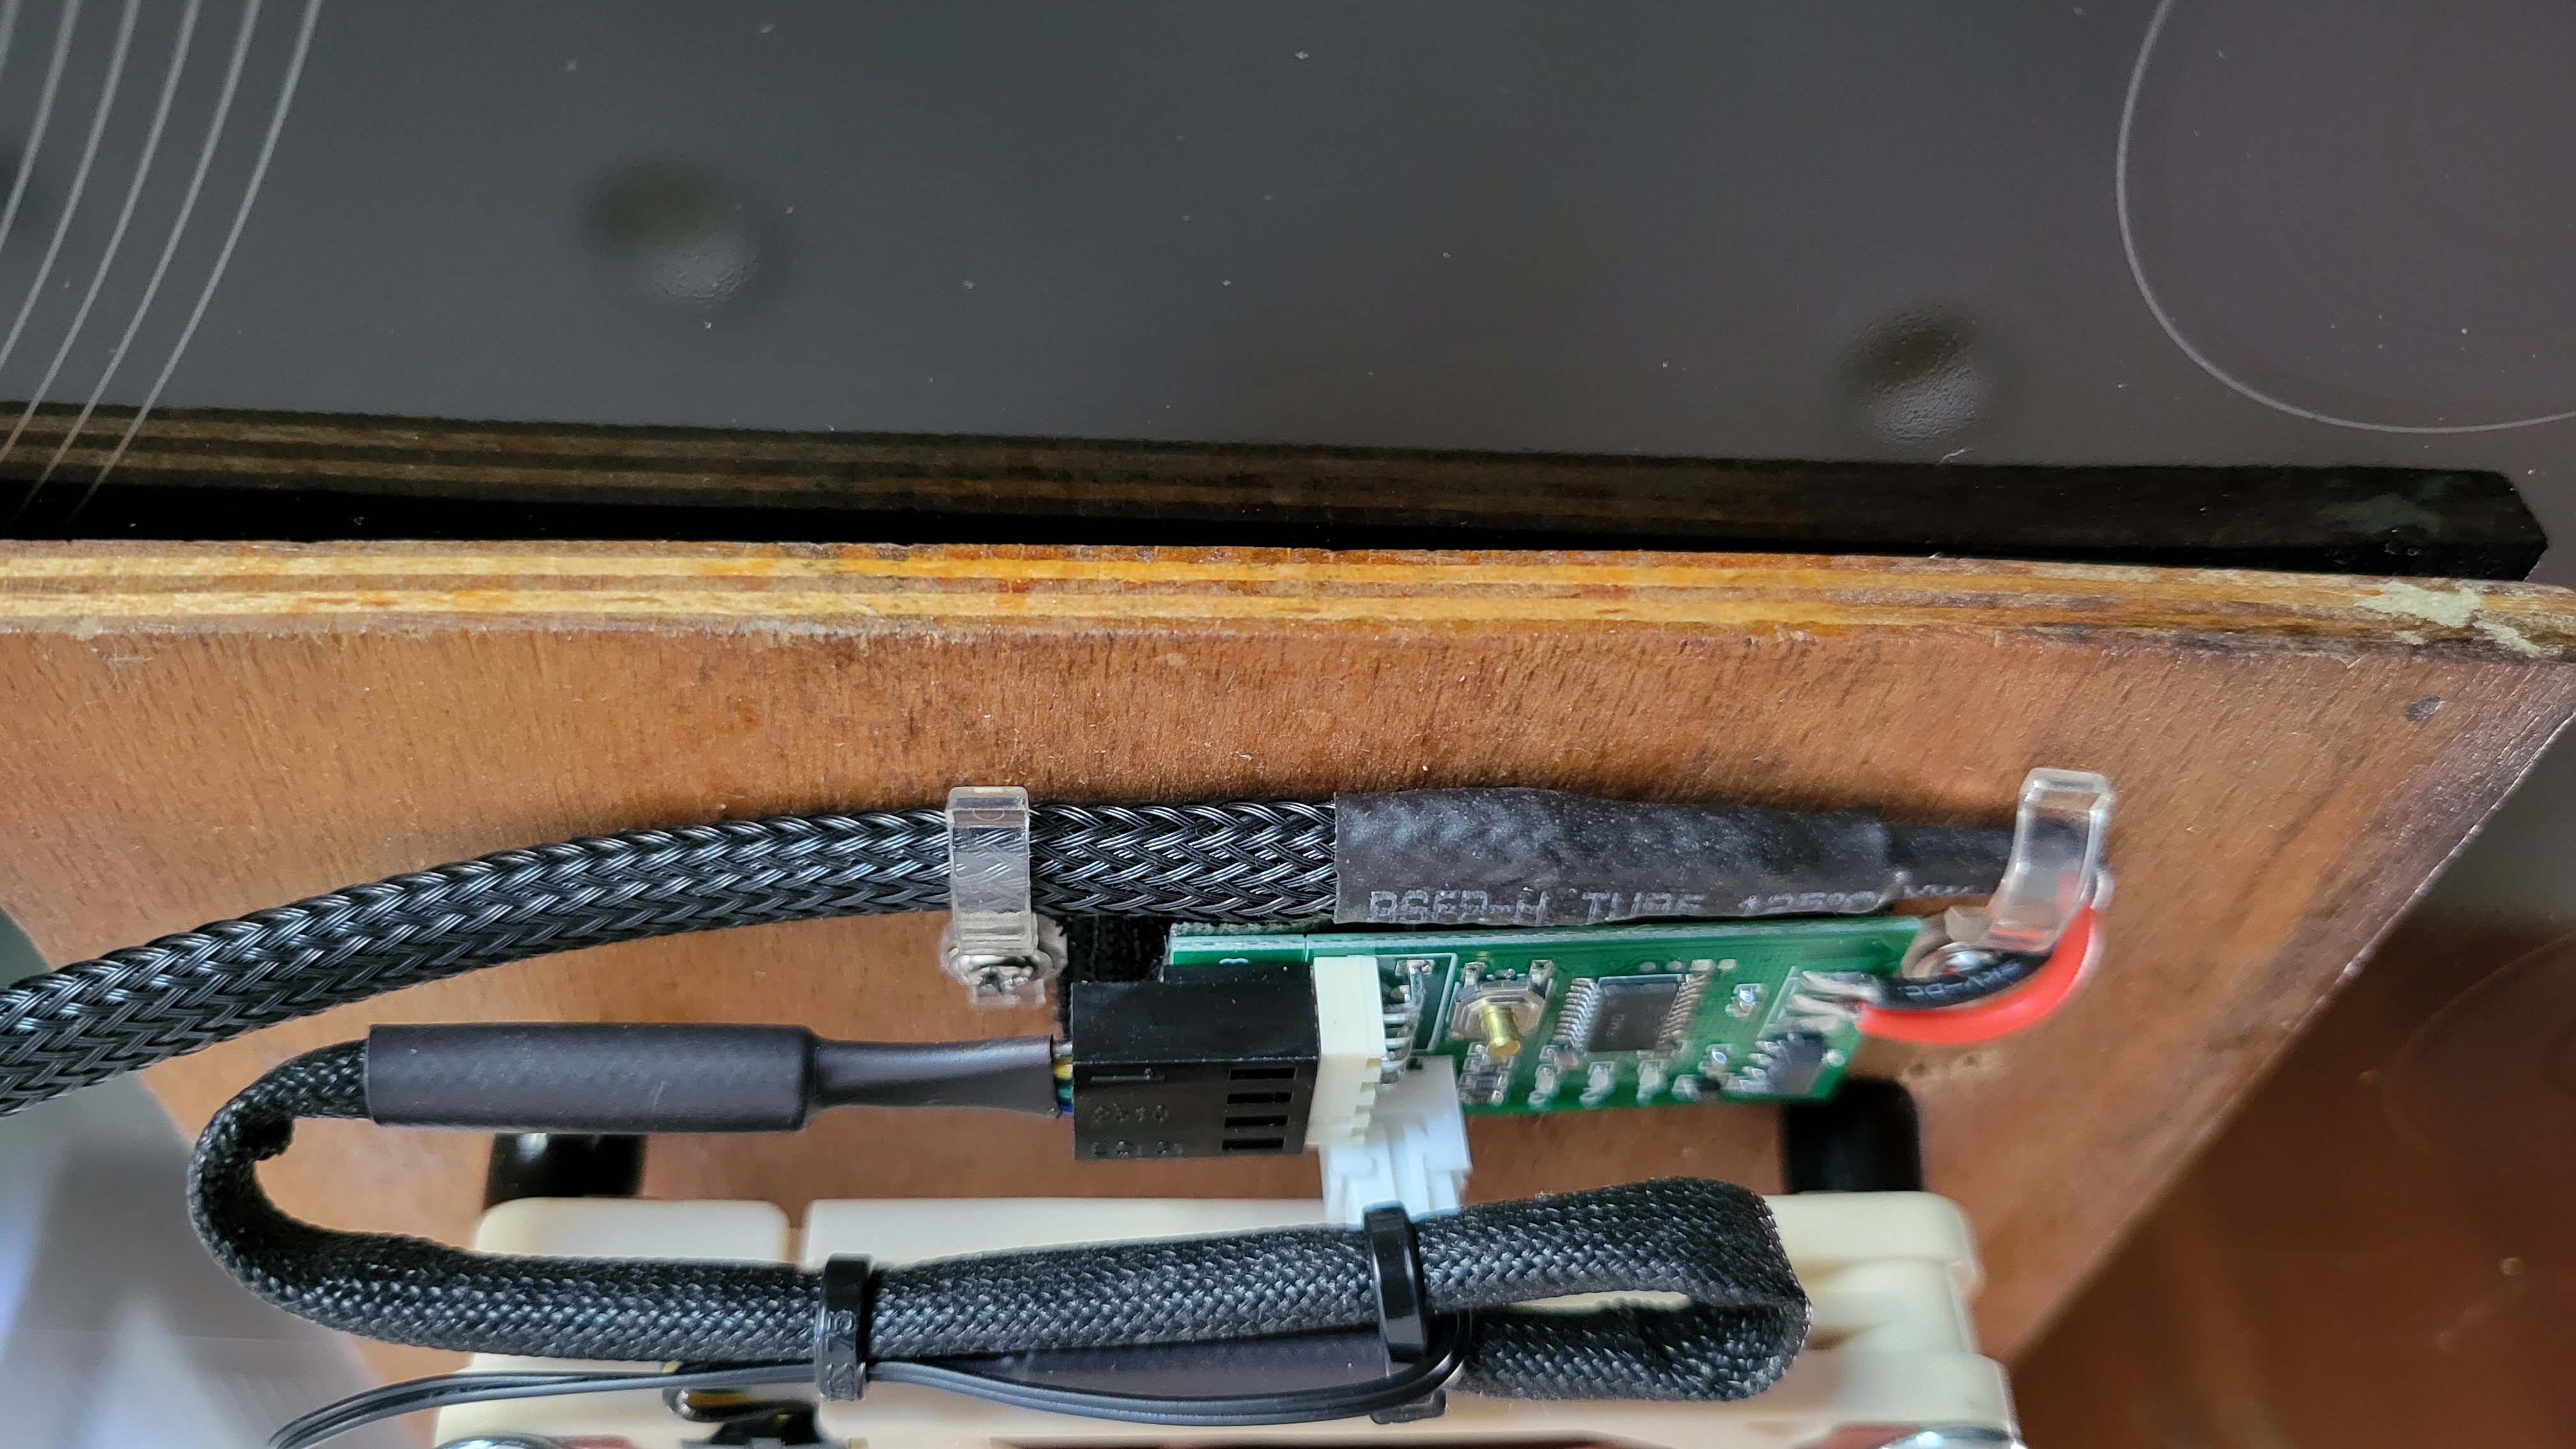
Shrink-wrapped, nylon sheathing and well crimped ends cut-off because those get screwed into the amp holes.
Notice the Blaupunkt speaker plugs.
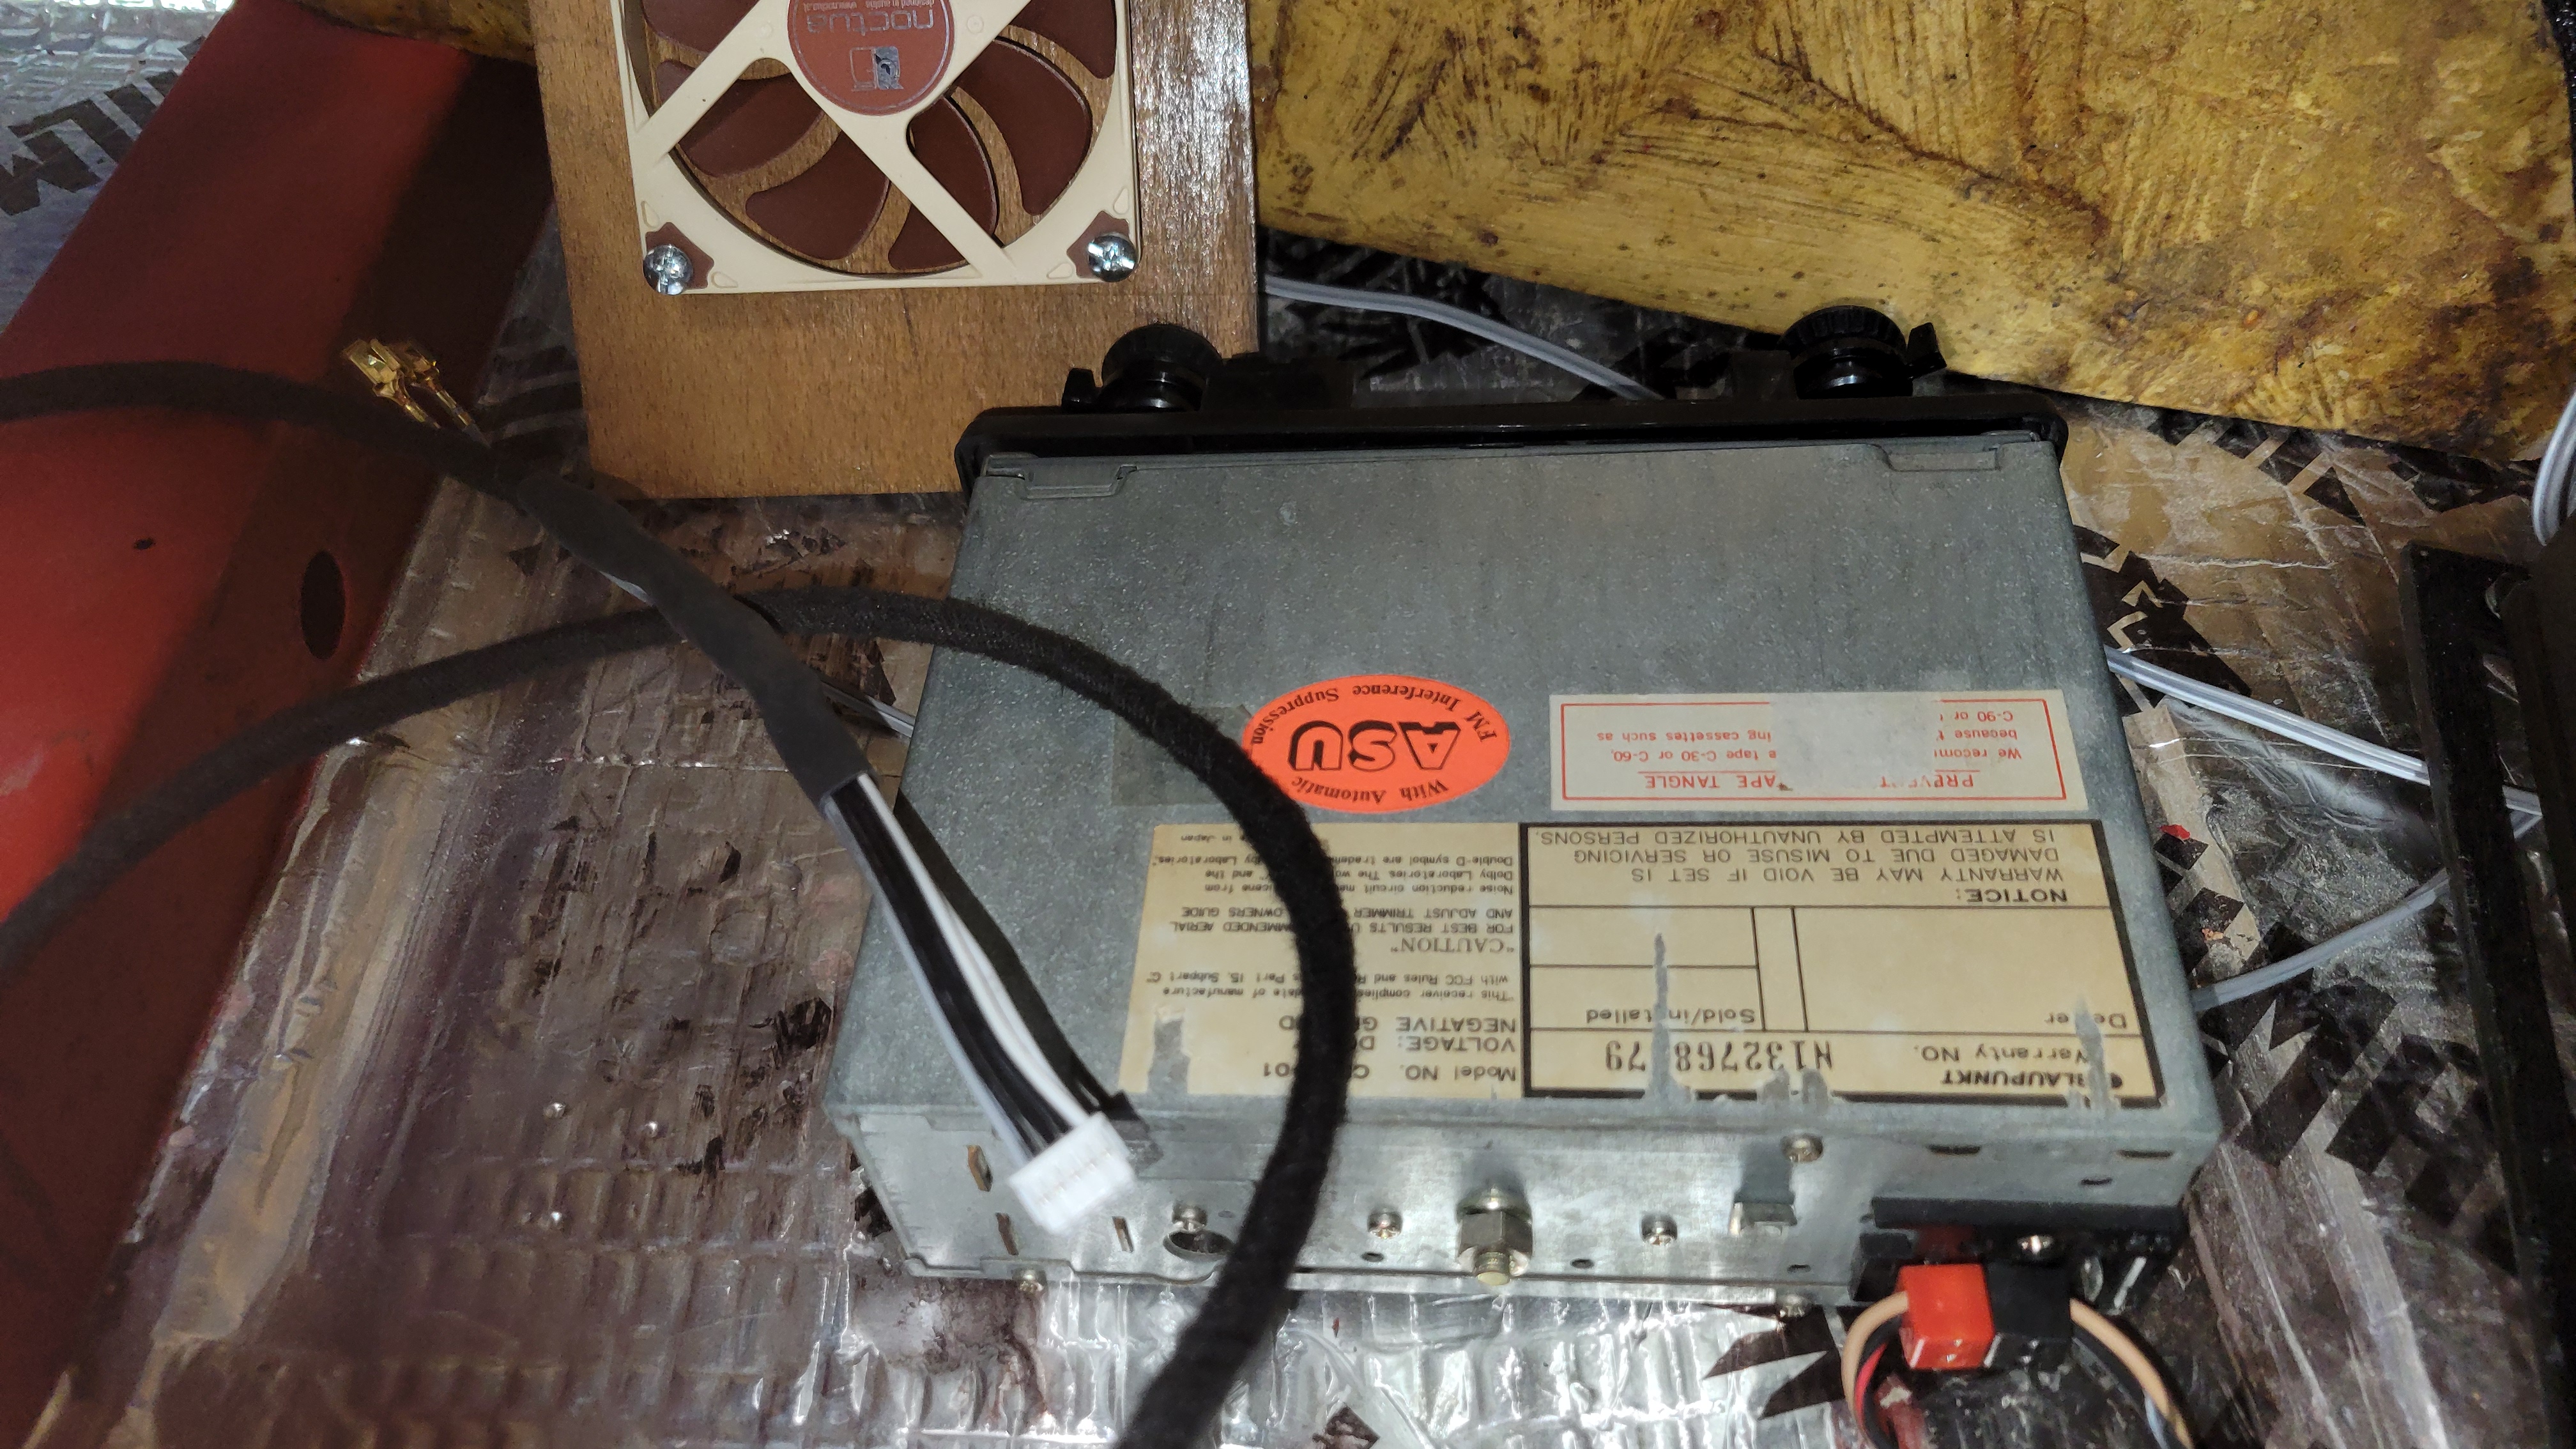
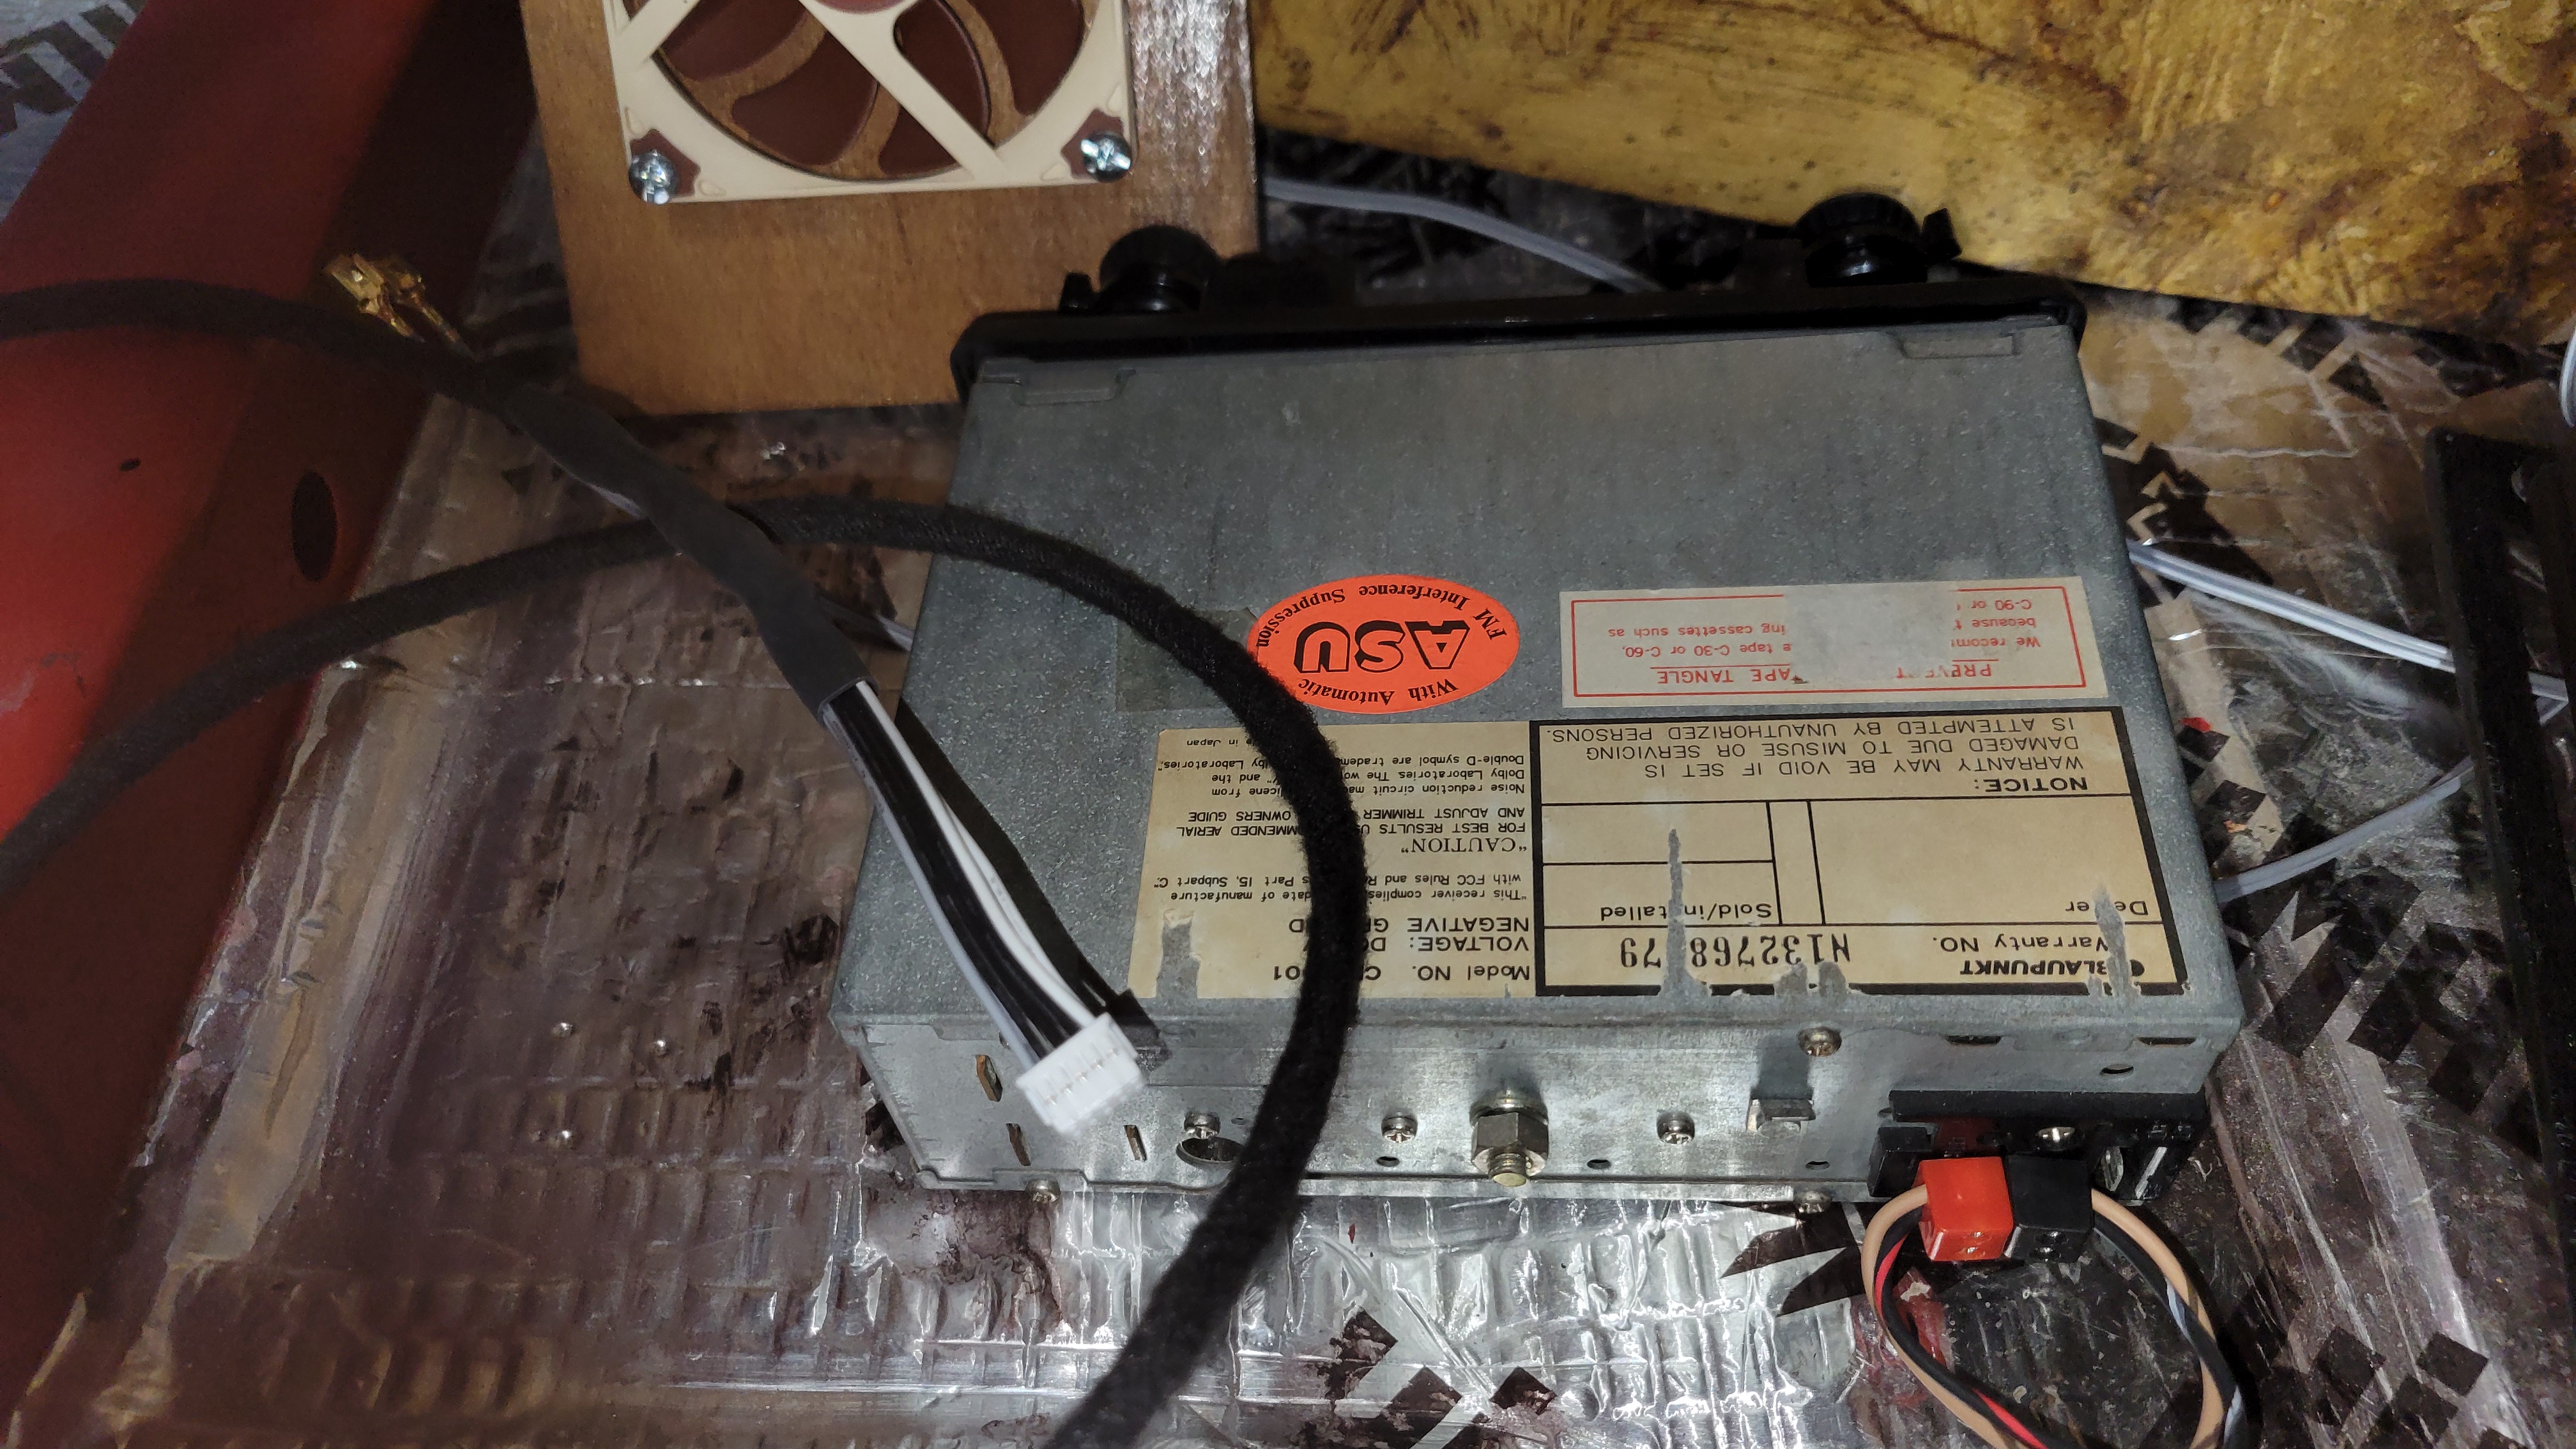
Preparing for install.
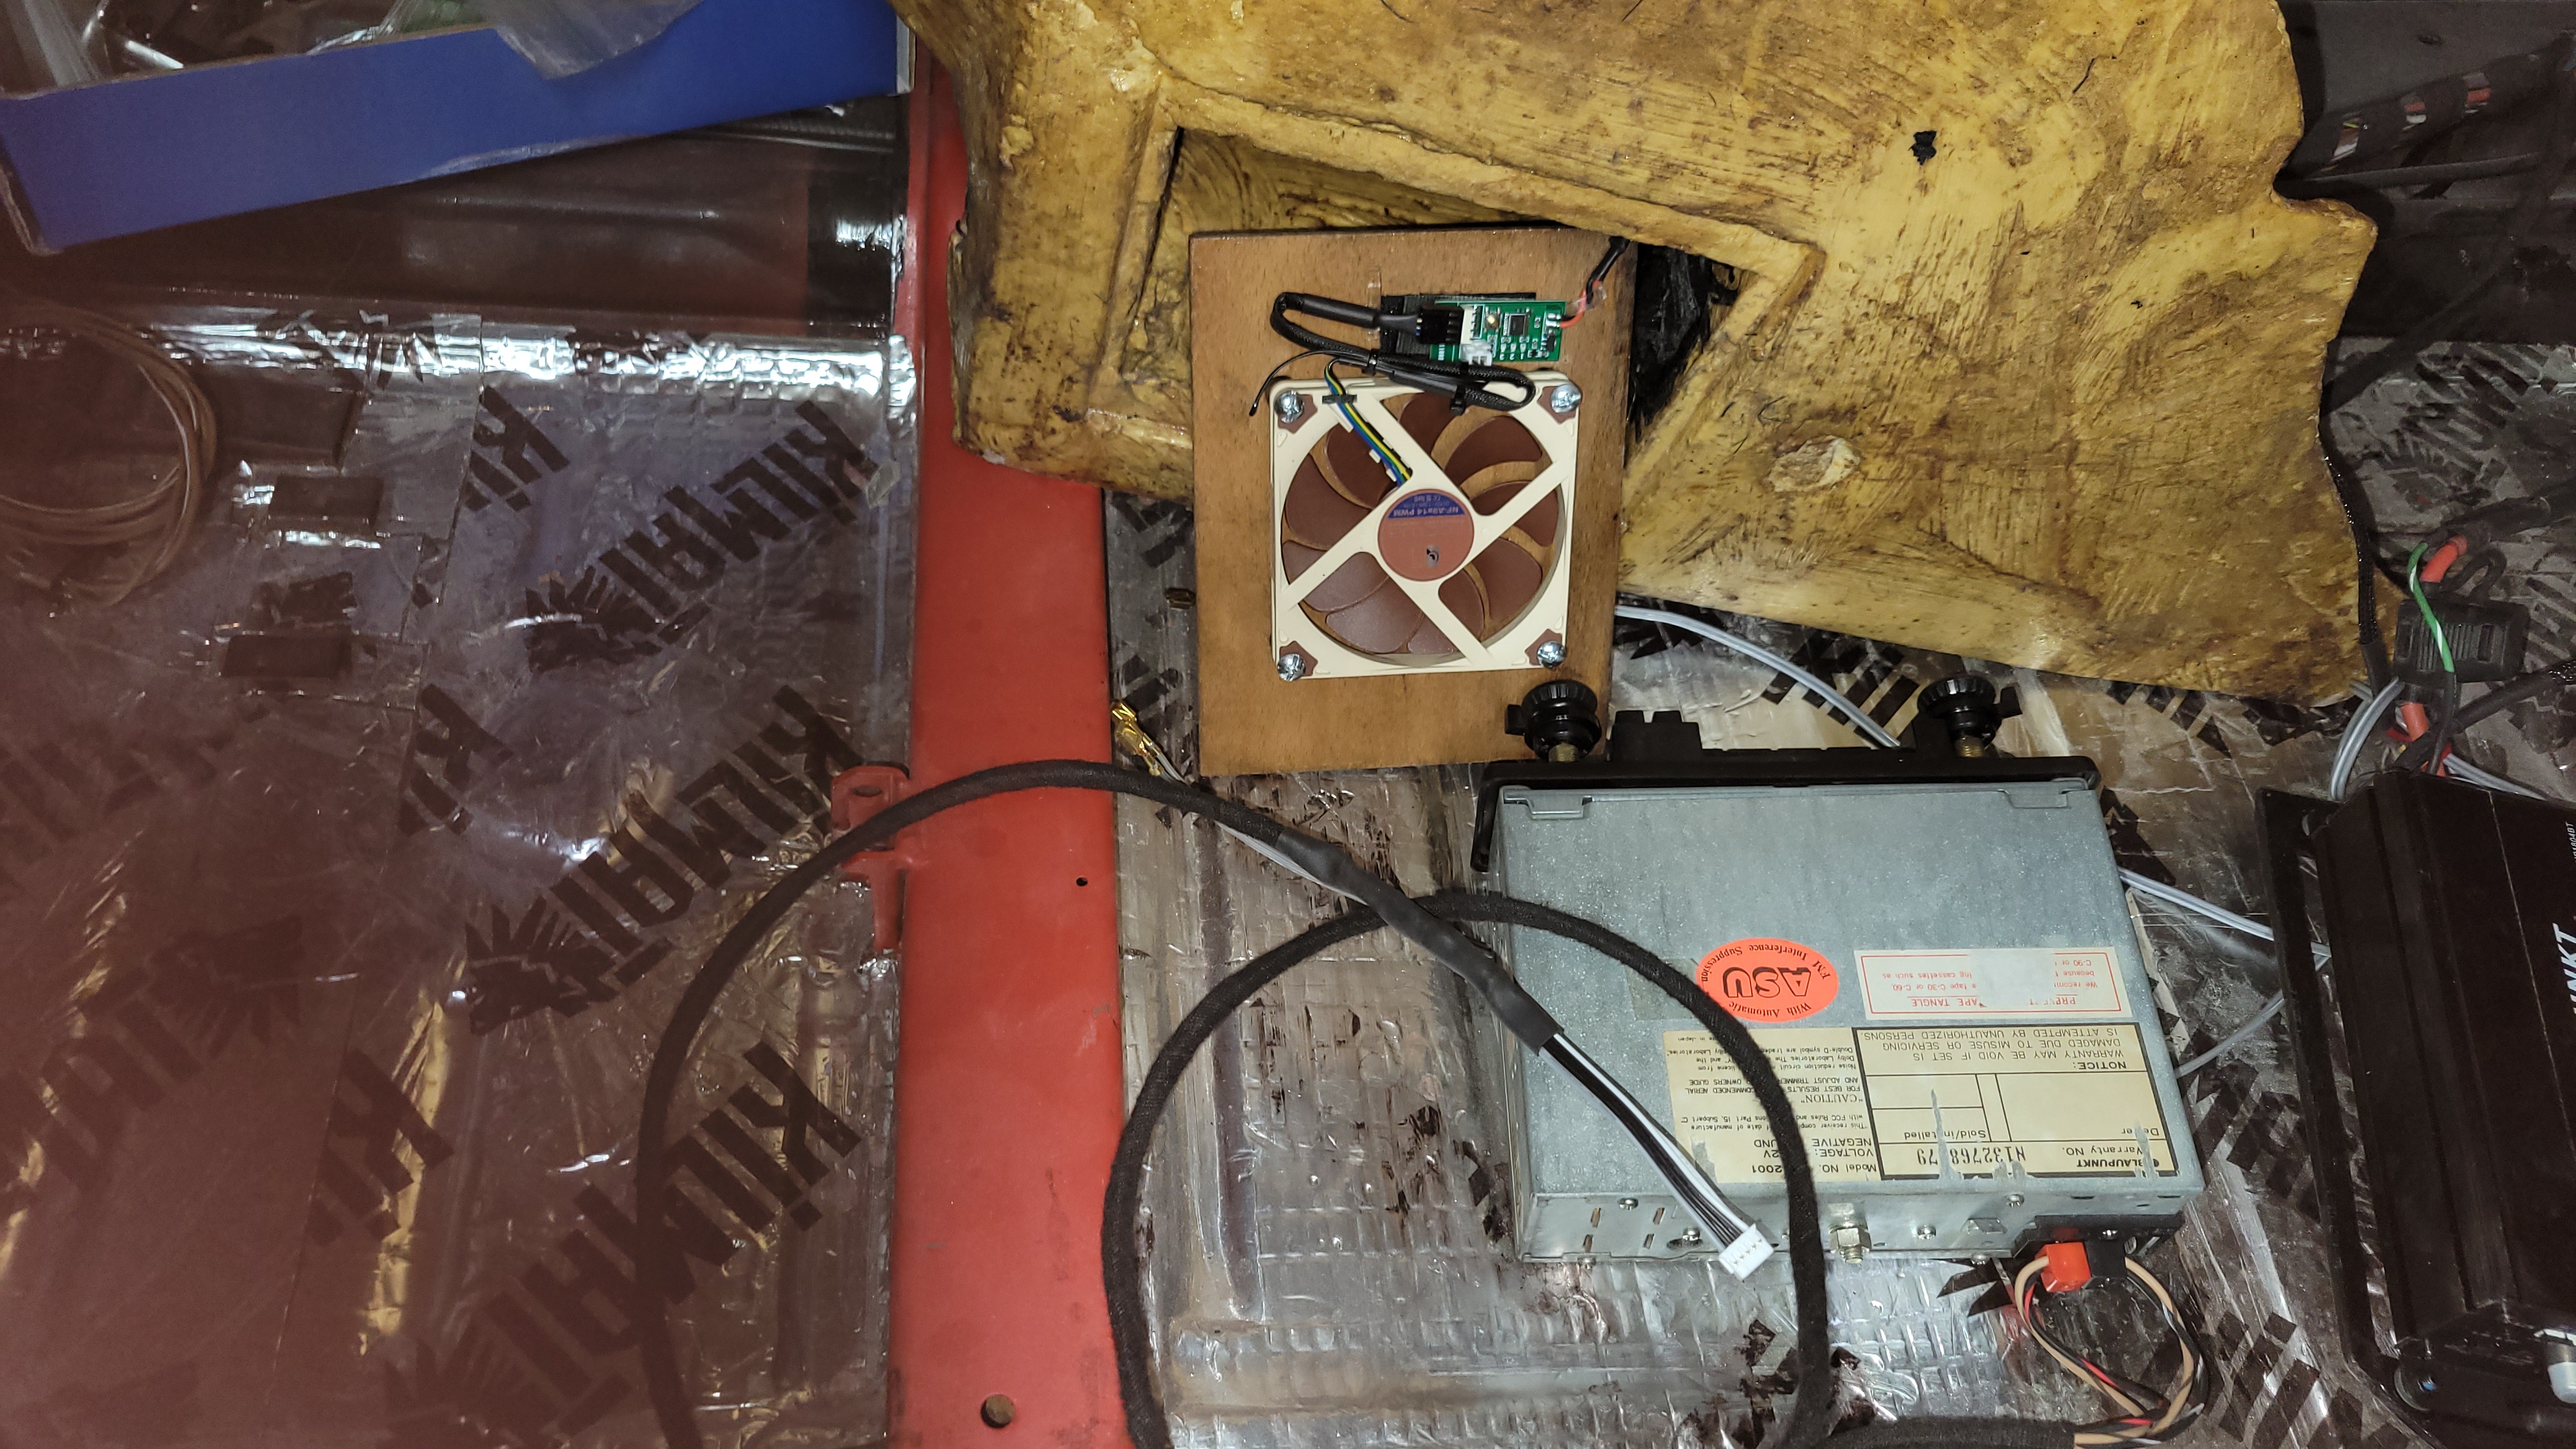
Wiring setup. The green wire goes to the cigarette lighter so that the amp gets a "Power-On" signal to the internal (relay) switch. Note the round plug from the original pollution control wiring.
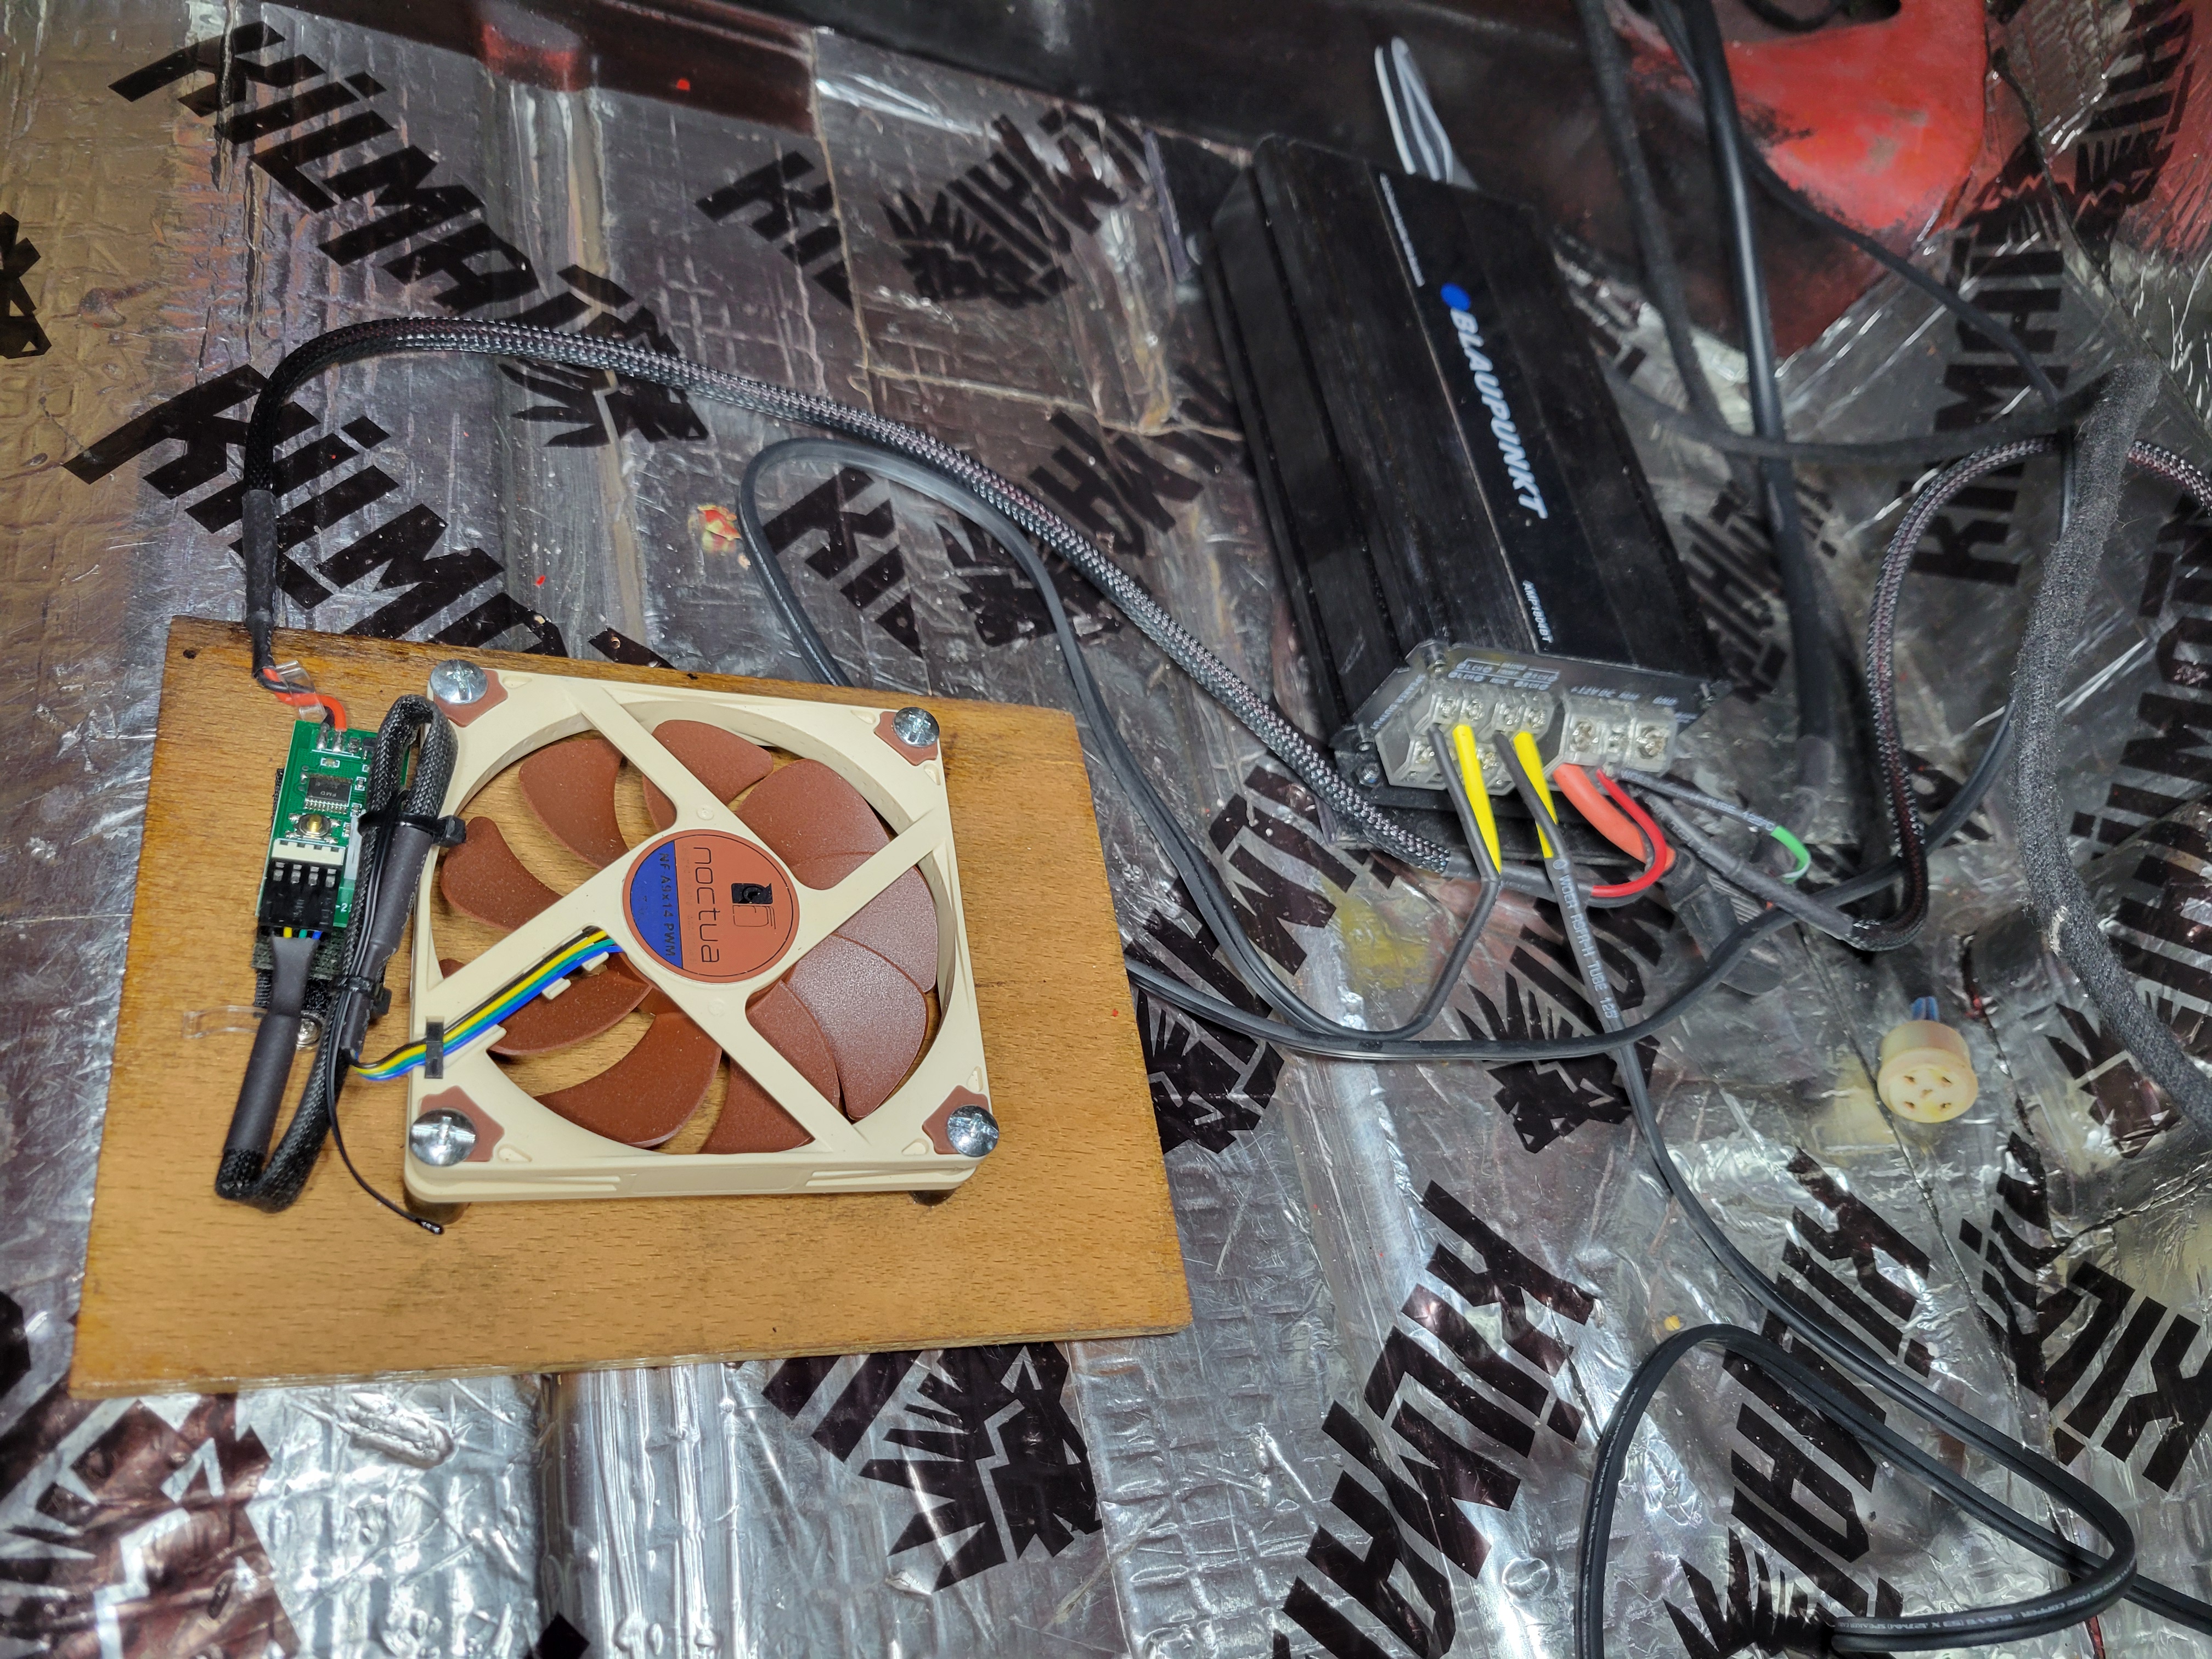

Wiring.
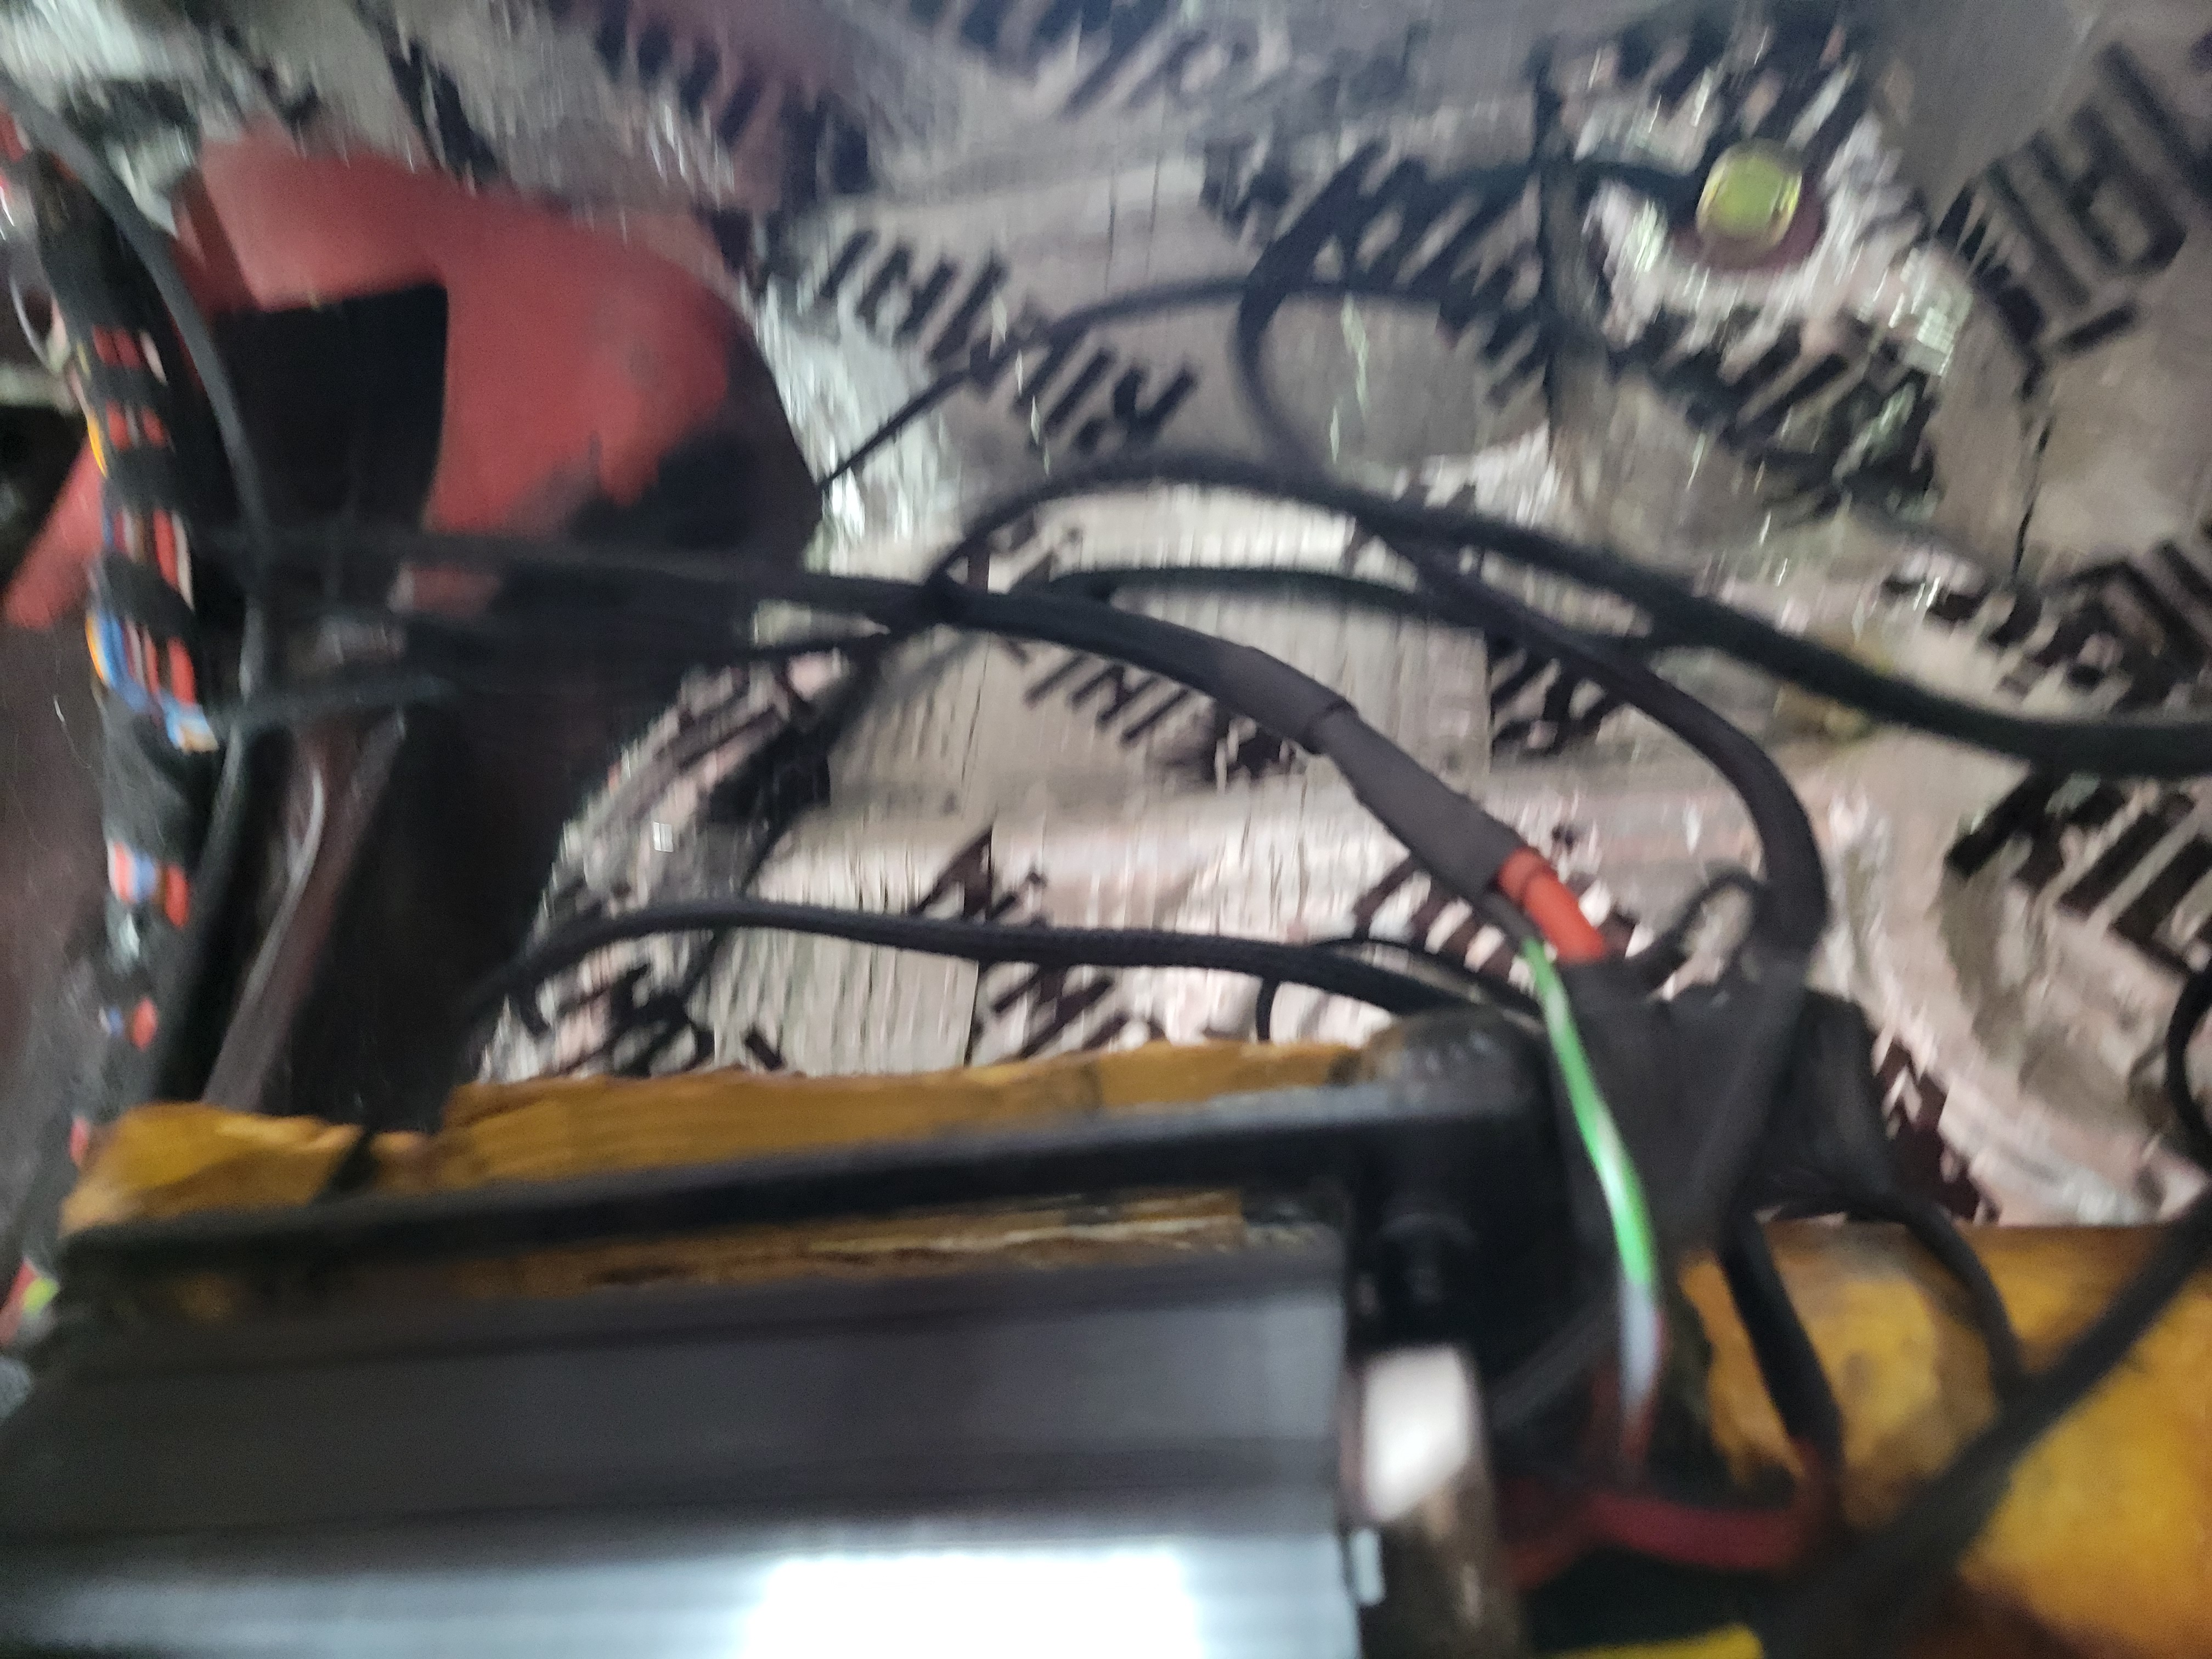
Pre-install setup.
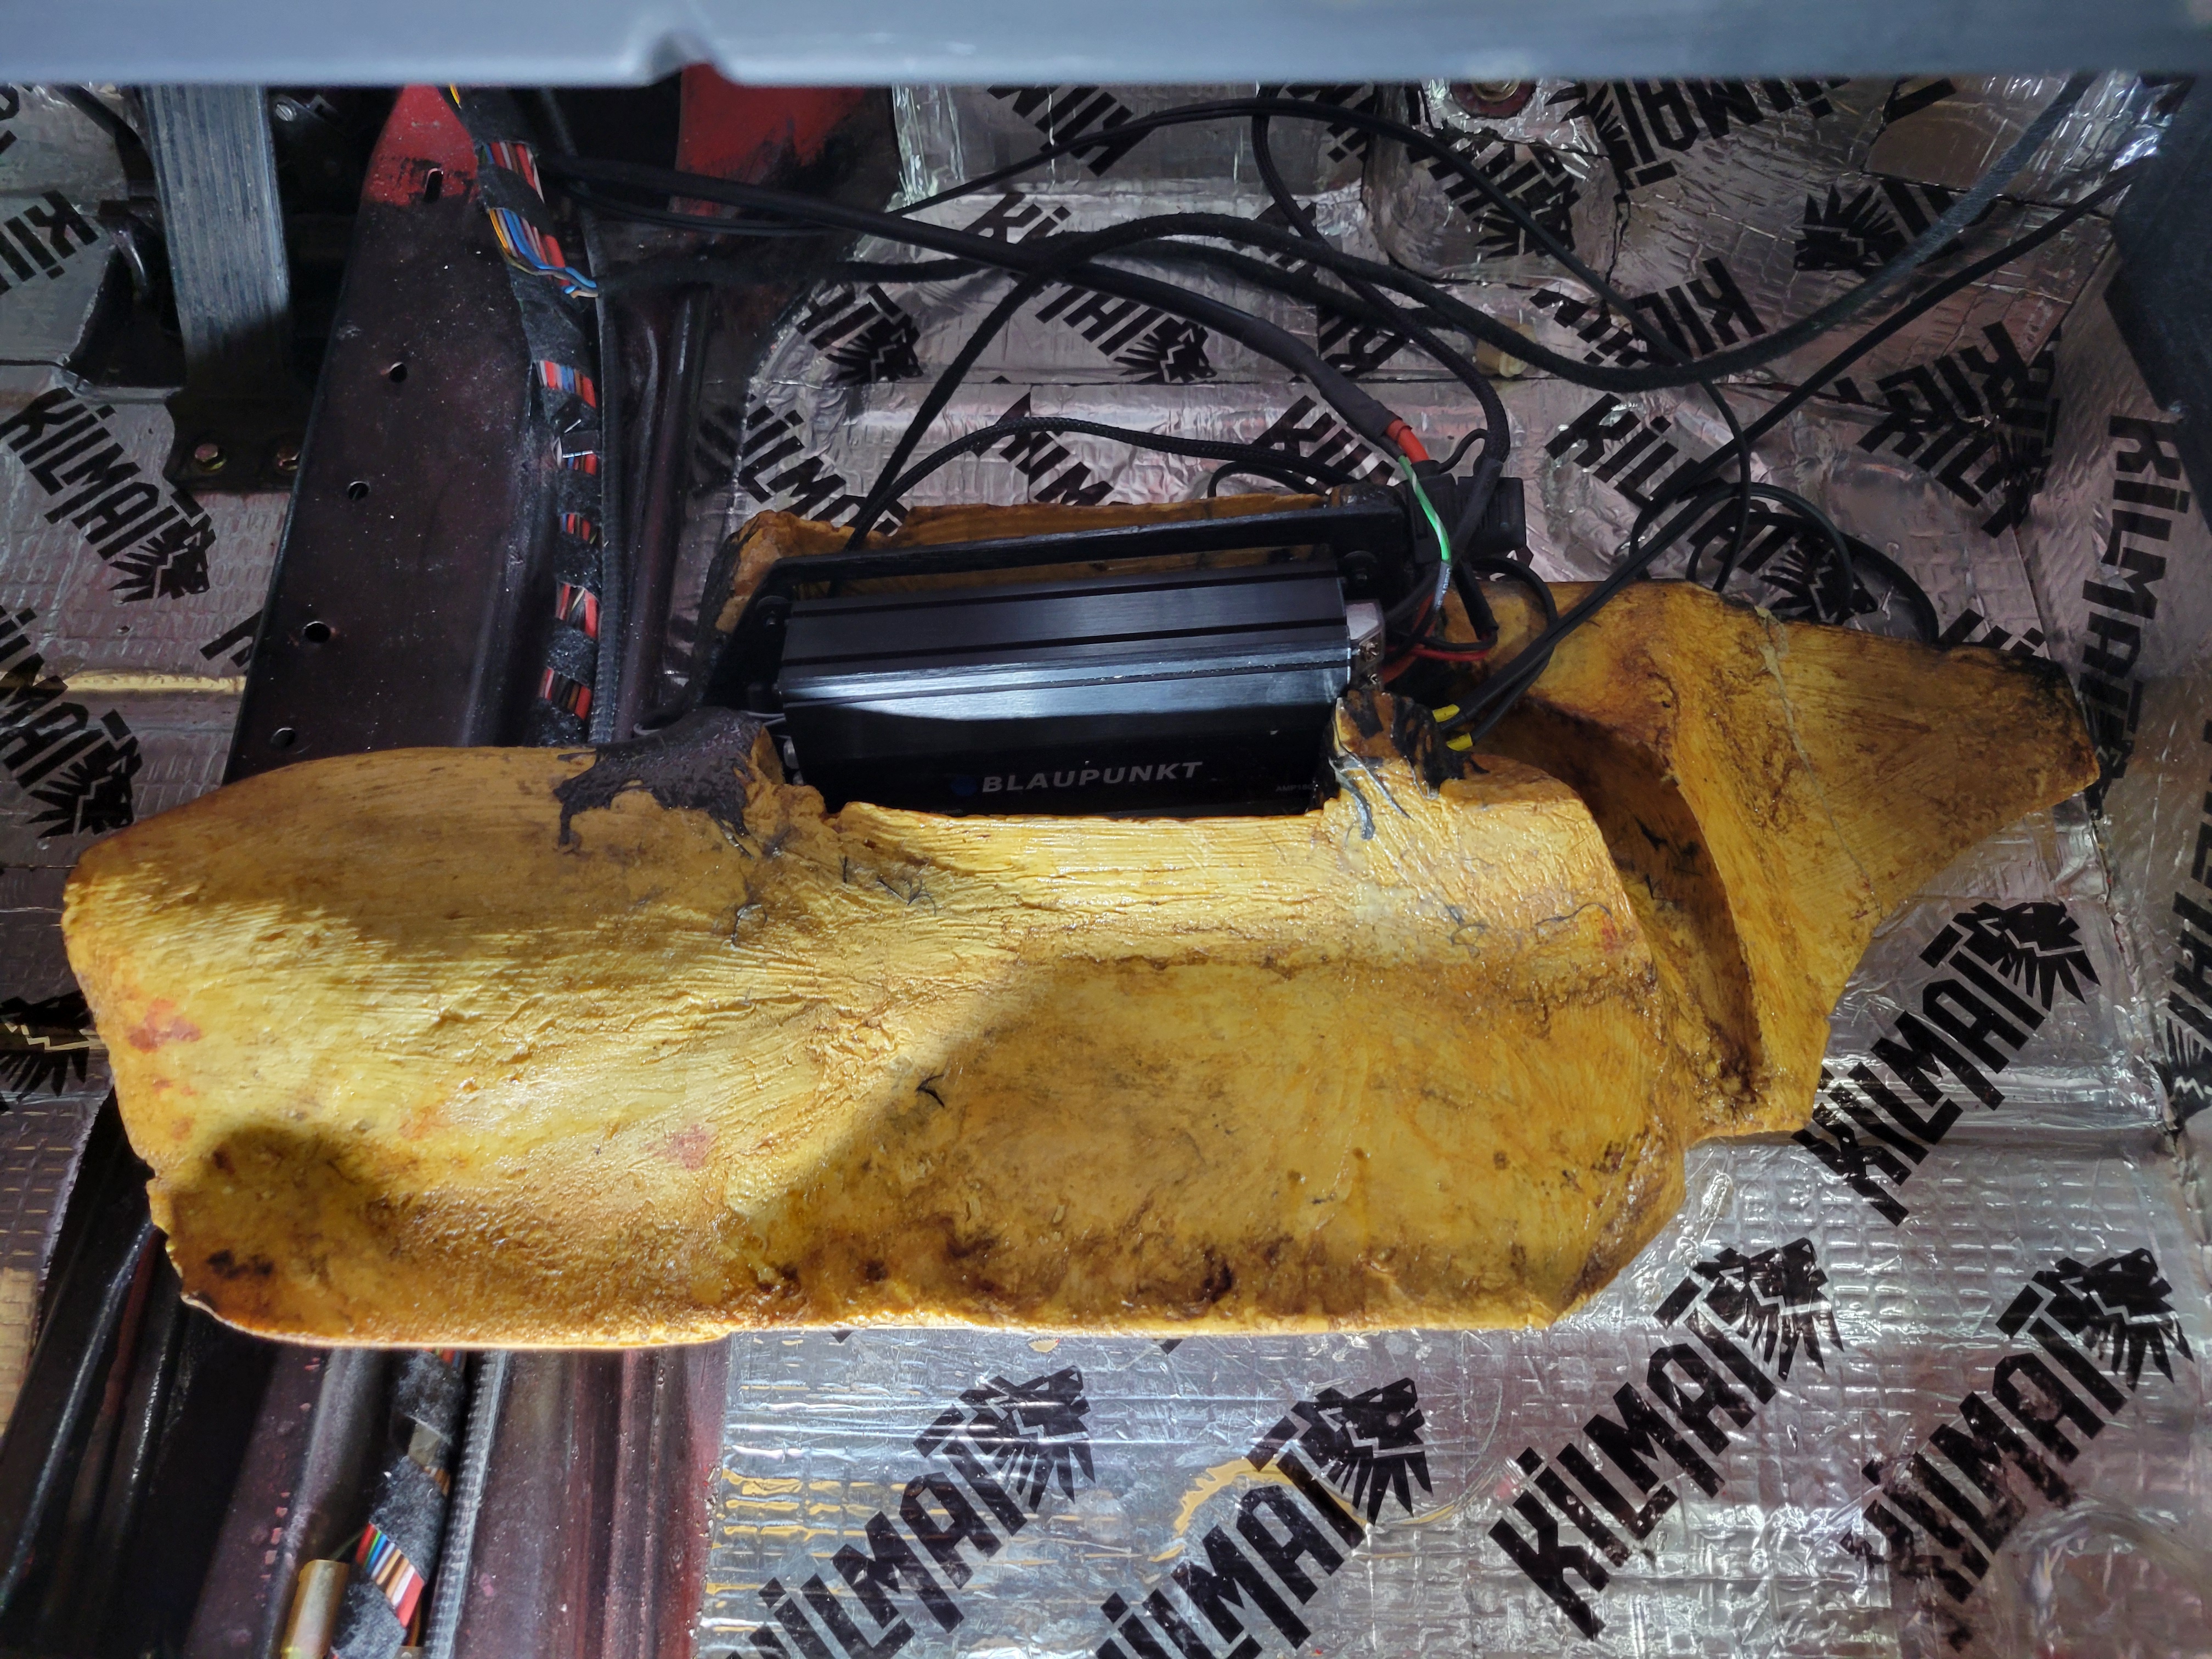
Light is on for the fan controller.
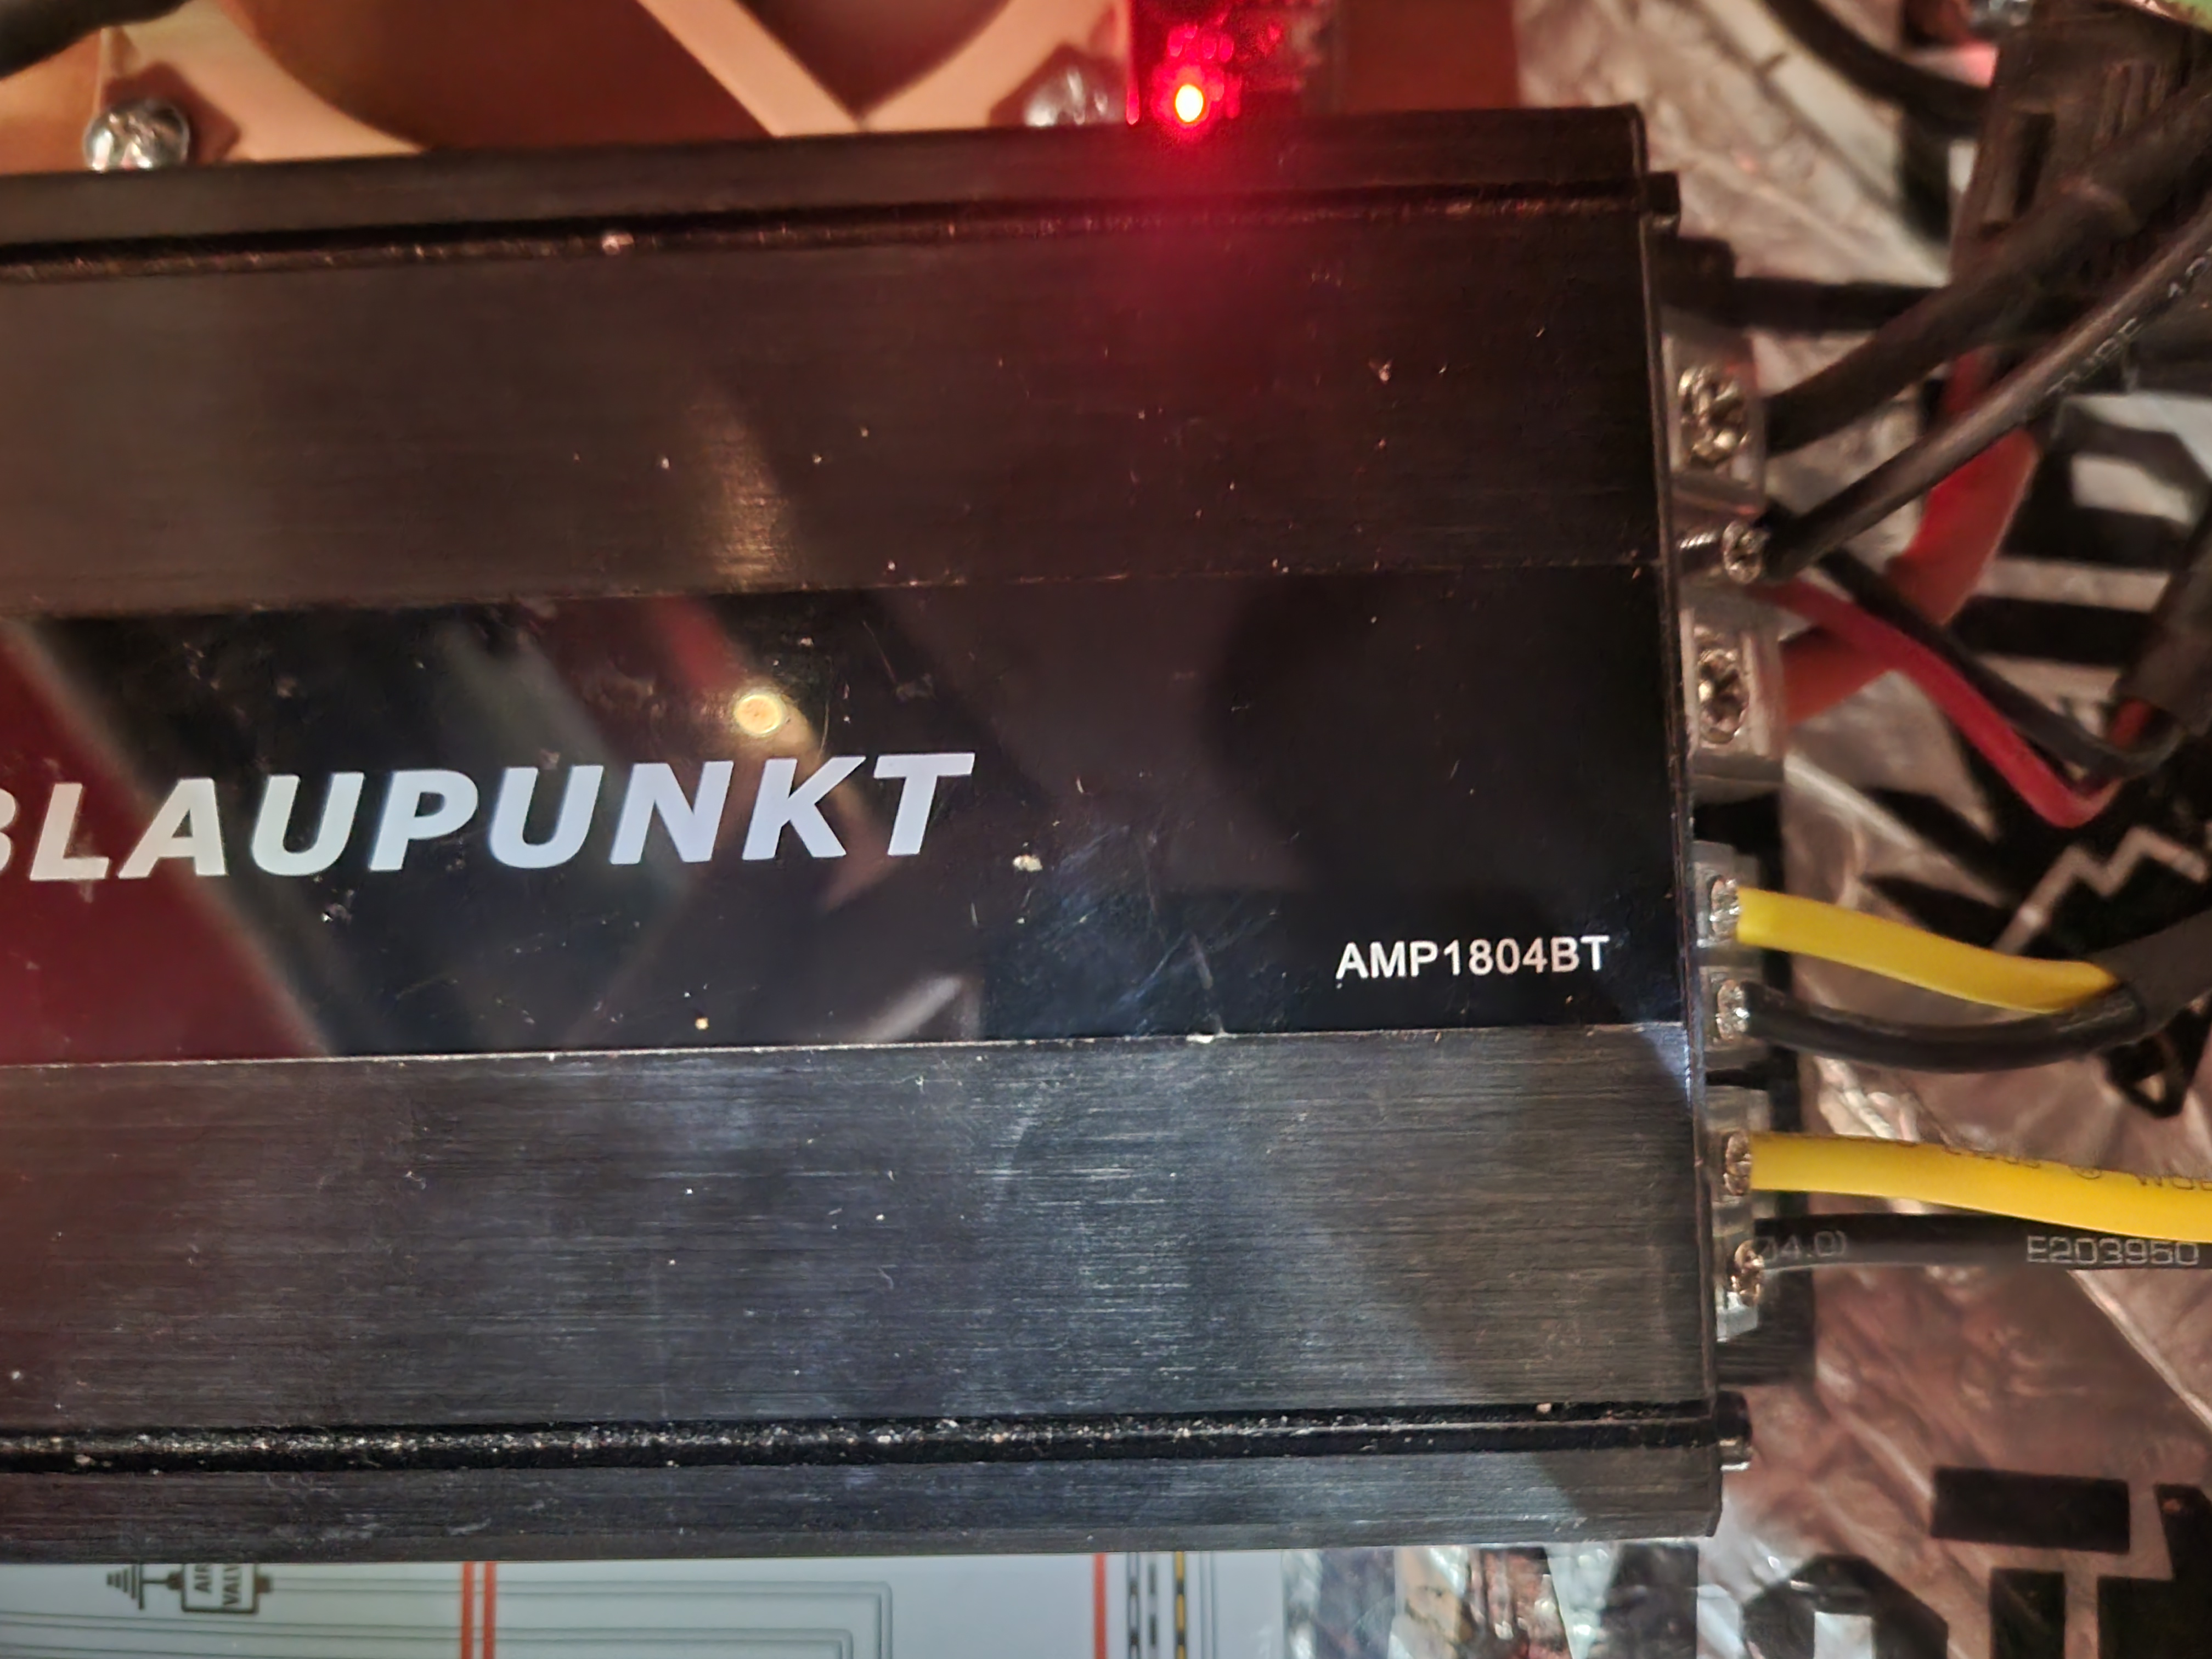
Yes, it is Blue tooth. I really like hearing WAZE tell me where to turn through the speakers. Nice and clear with the top off, windows down and engine humming.