Joe's 914 Project
I had a spare steering wheel that had bad leather like the one in the car. That let me drive while I recovered the steering wheel. I wanted the RSR look and got a kit that let me cover the wheel with a synthetic nylon felt and then the leather. Custom Restoration Leather provided the kit and I waited about three weeks to get it.
I painted the wheel, did the nylon padding material and then cross stitched the leather wheel. Total time for stripping the wheel, paint, base-layer and stitching was maybe 12 hours plus another 2 hours for the horn button repaint and cleanup and re-gluing.
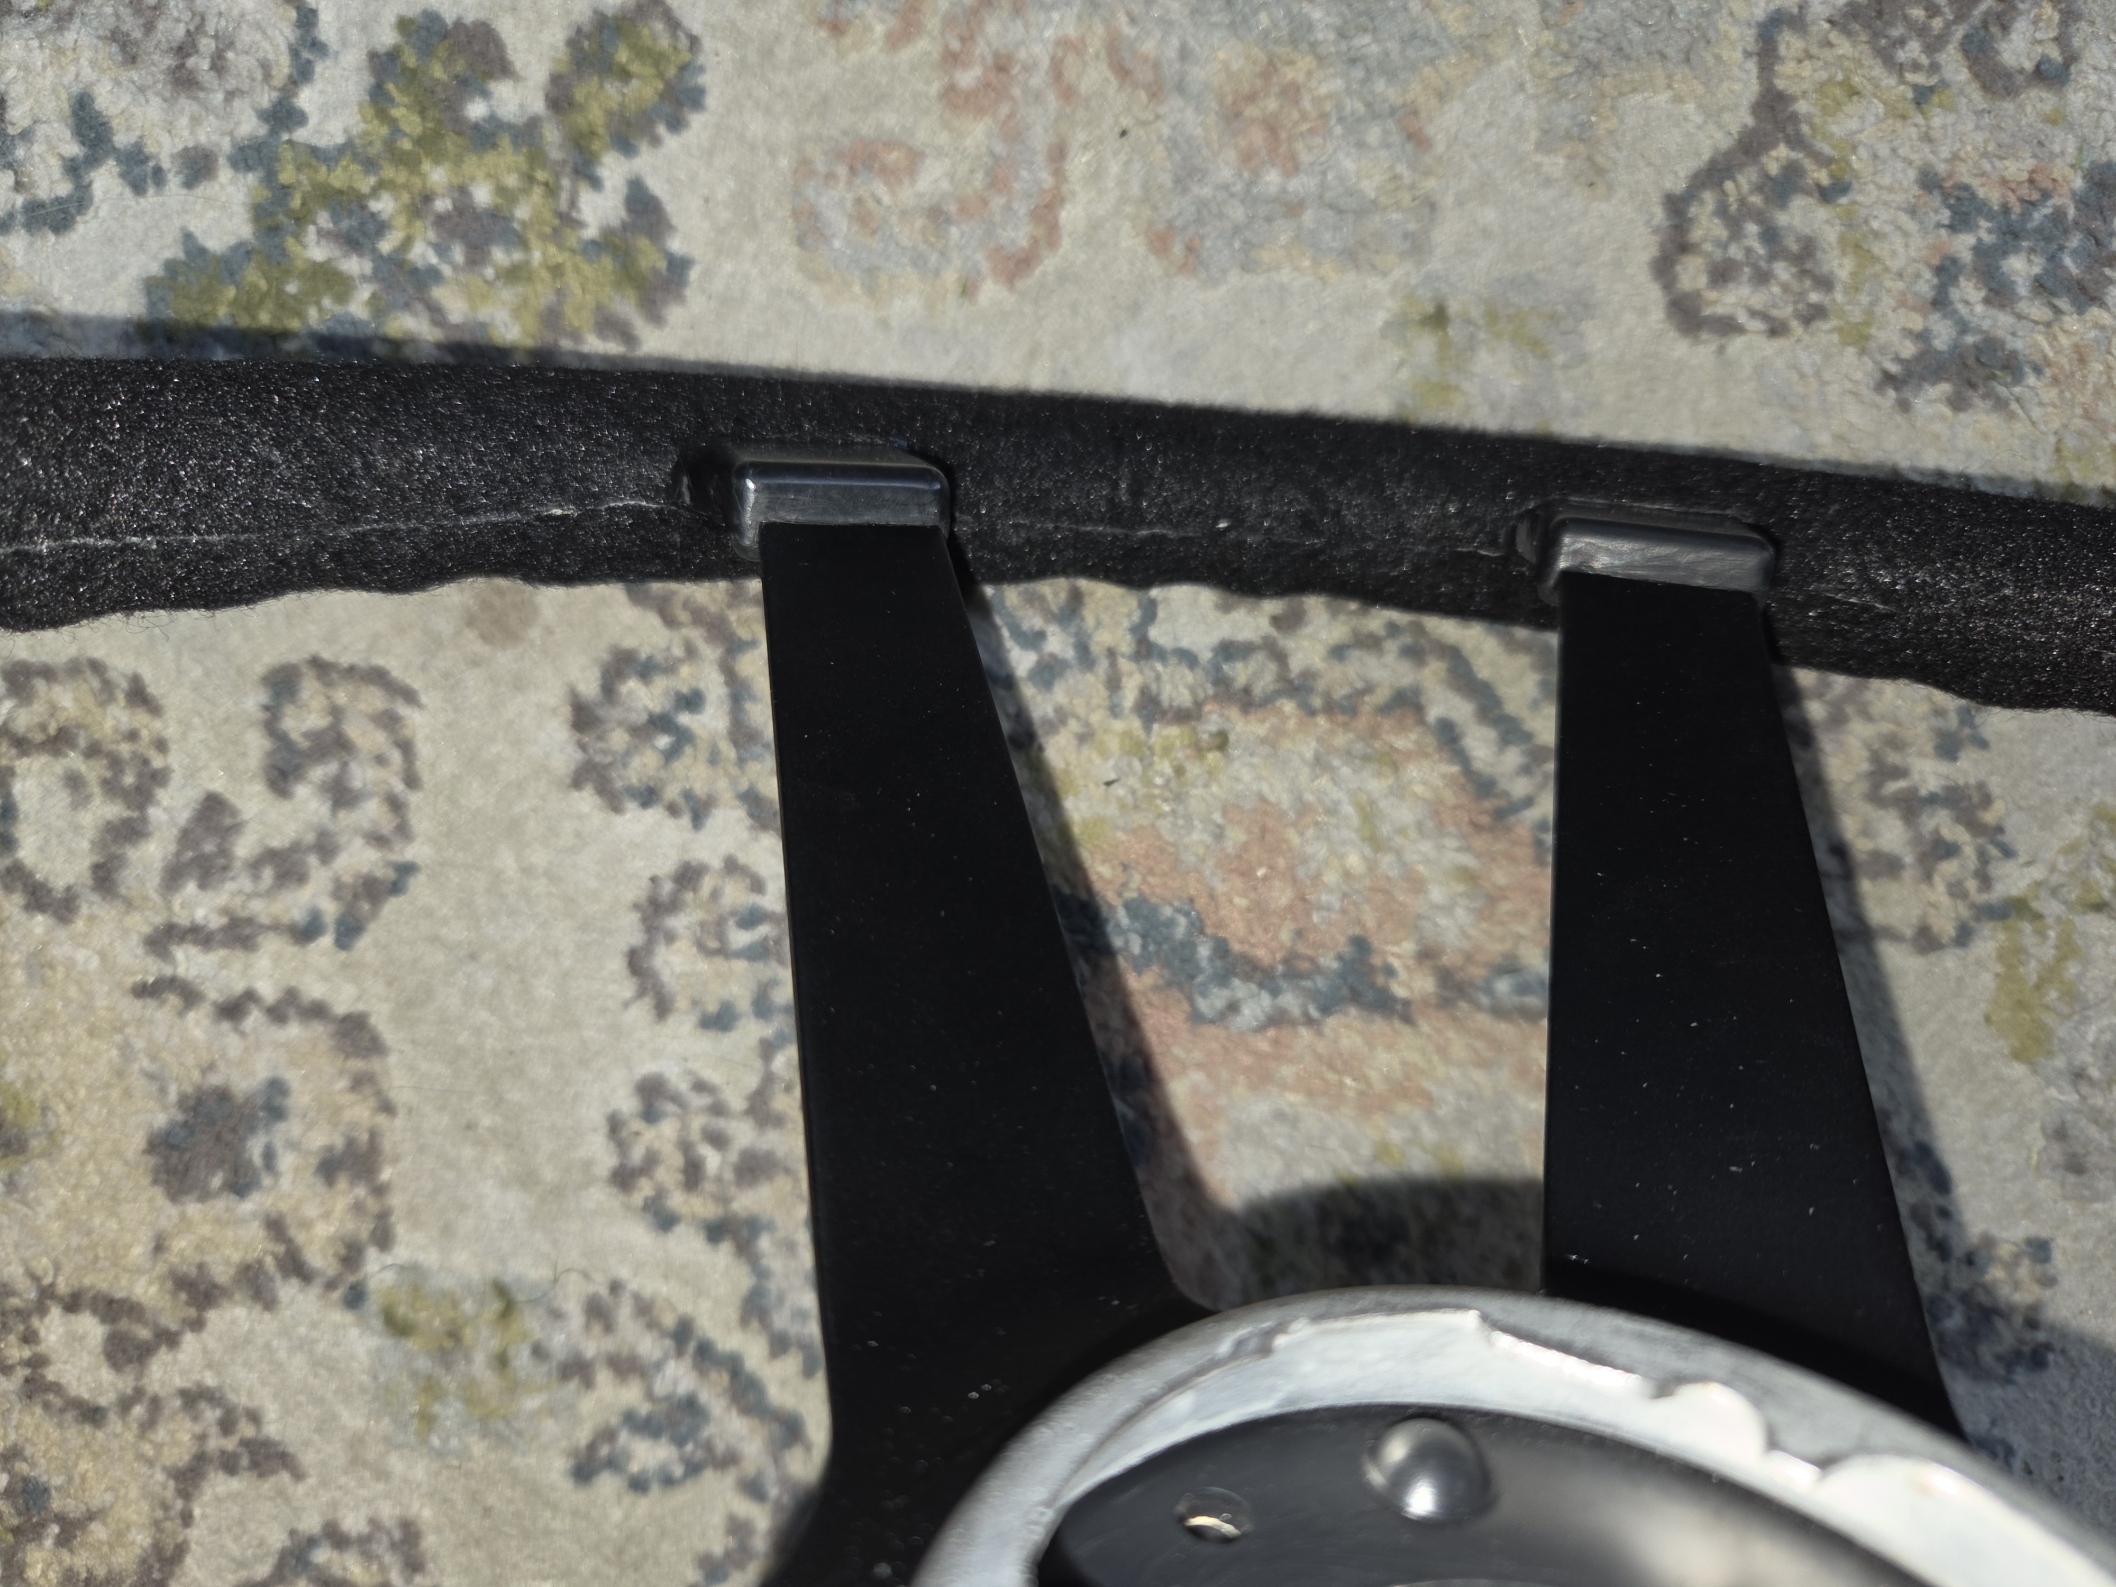
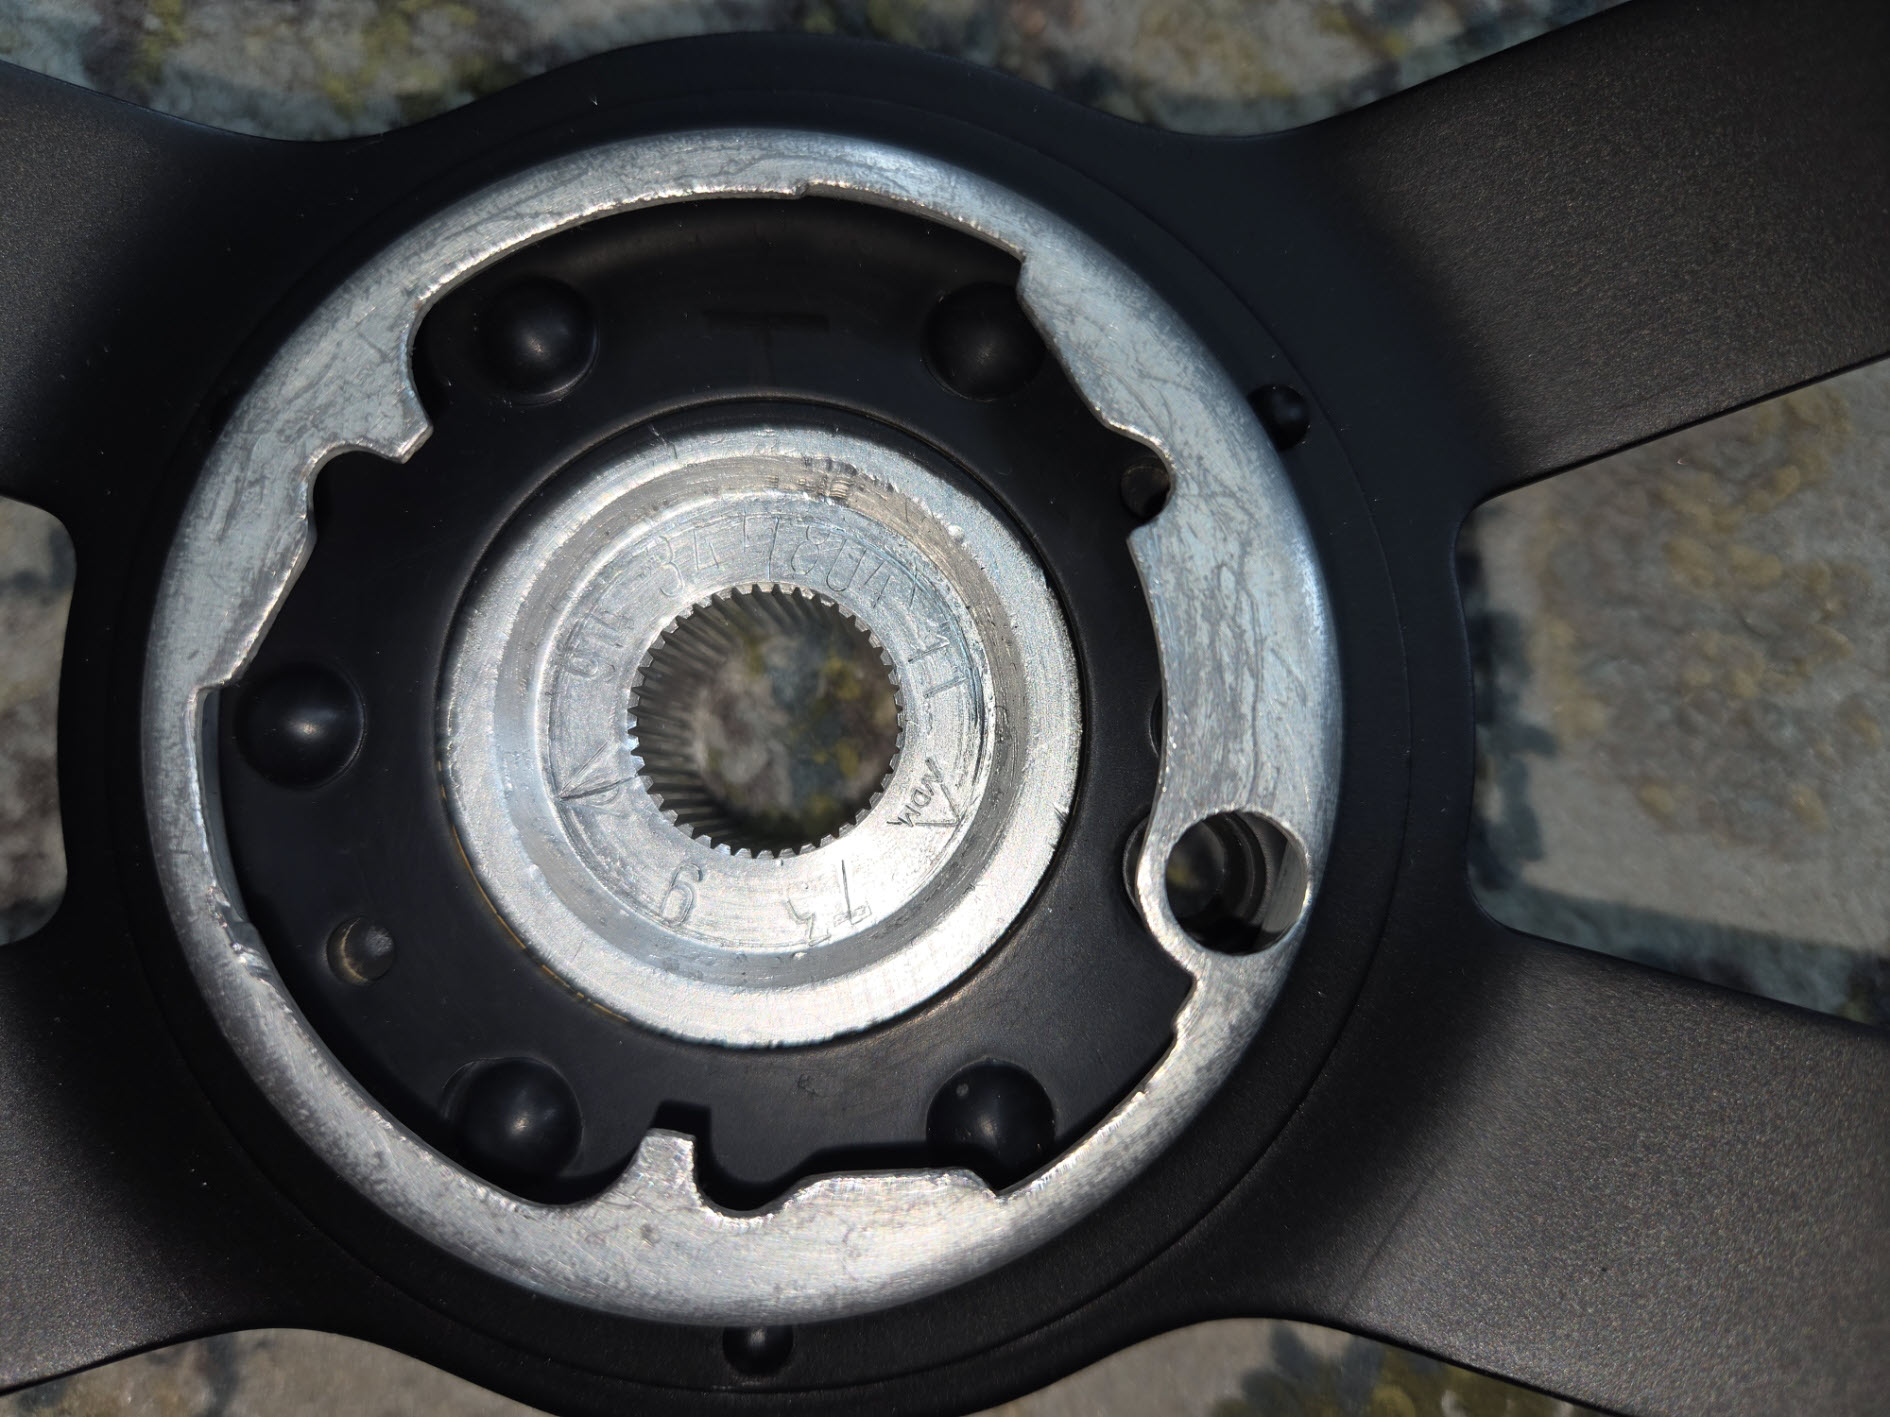
Steering wheel was sanded and painted for the spokes and then the horn button was disassembled, cleaned, sanded and painted. I used contact cement to put the rubber horn PORSCHE cover back on the bat-wing metal horn button.
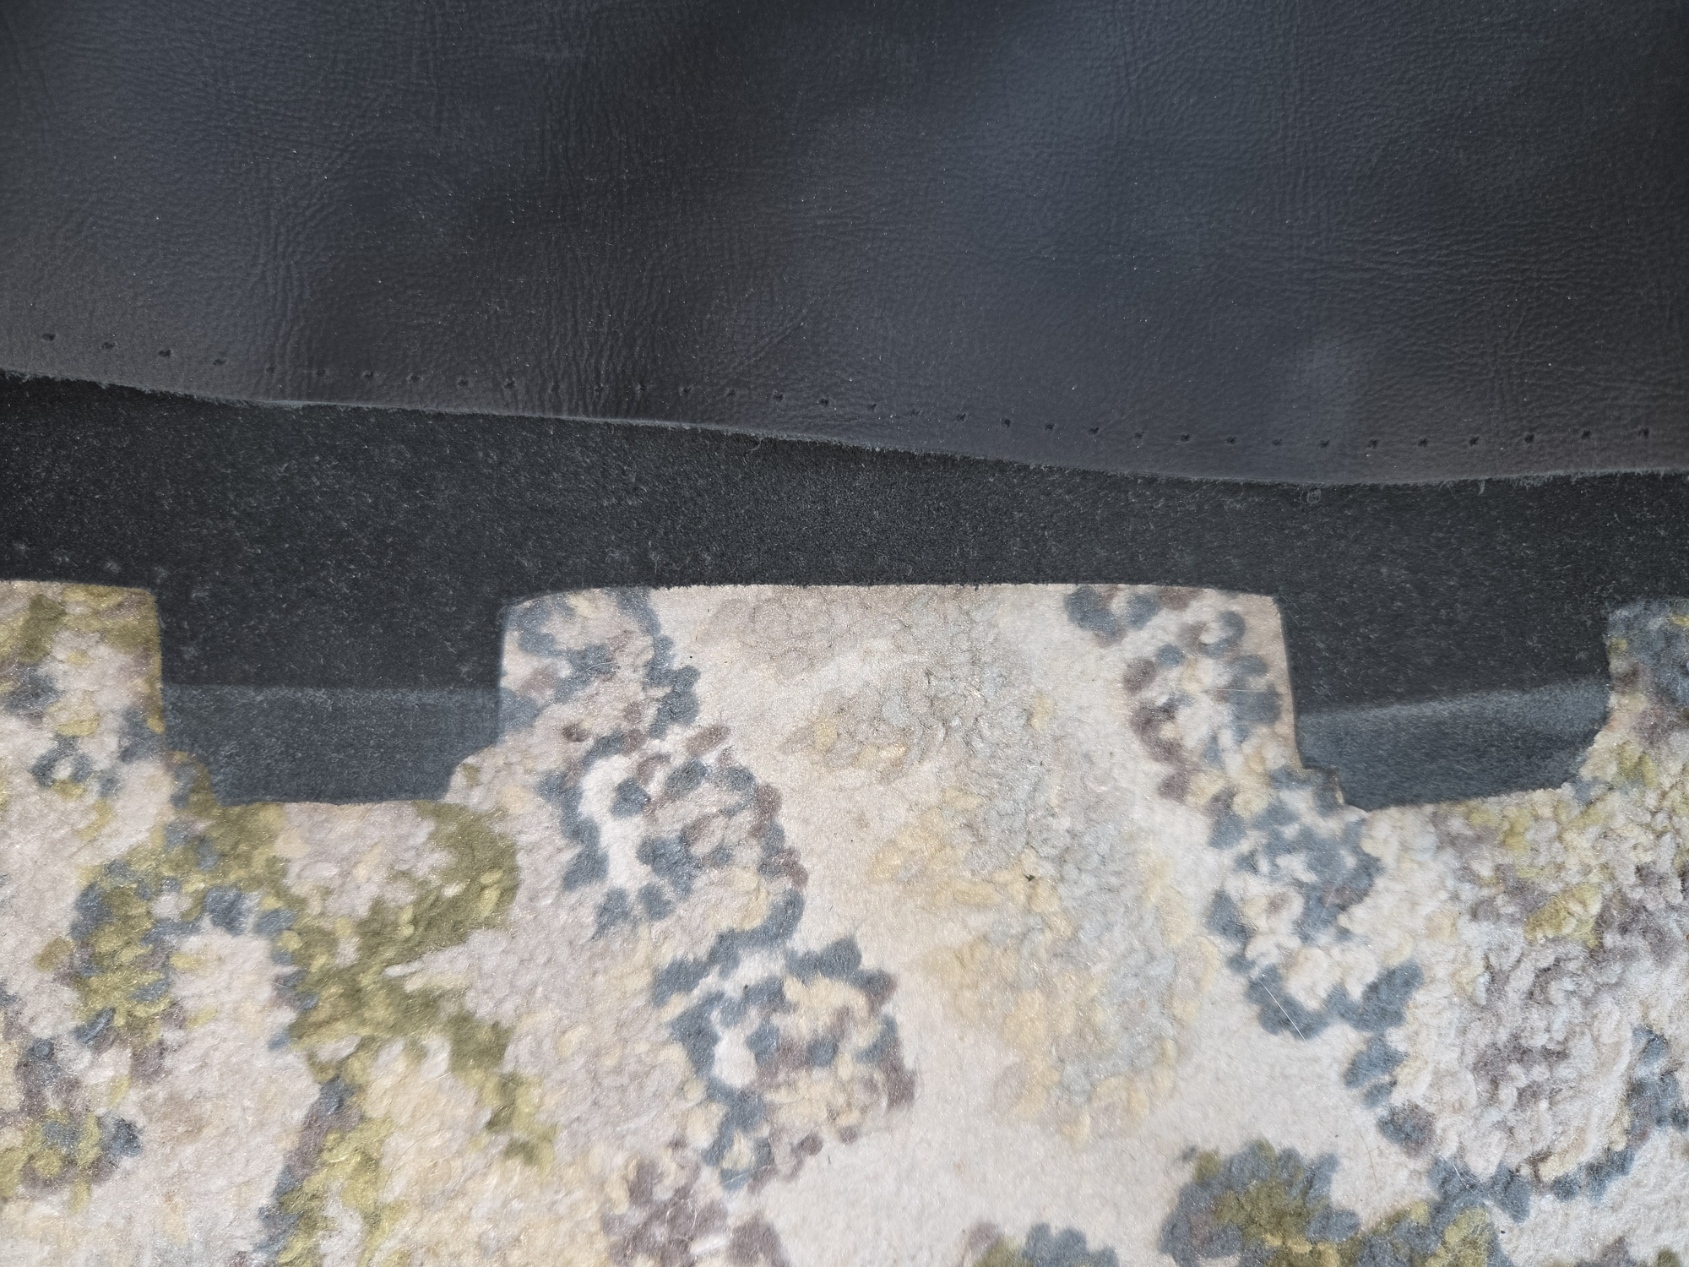
Notice the skiving of the folds with the rotary sanding bit so that the spokes are covered and terminated cleanly.
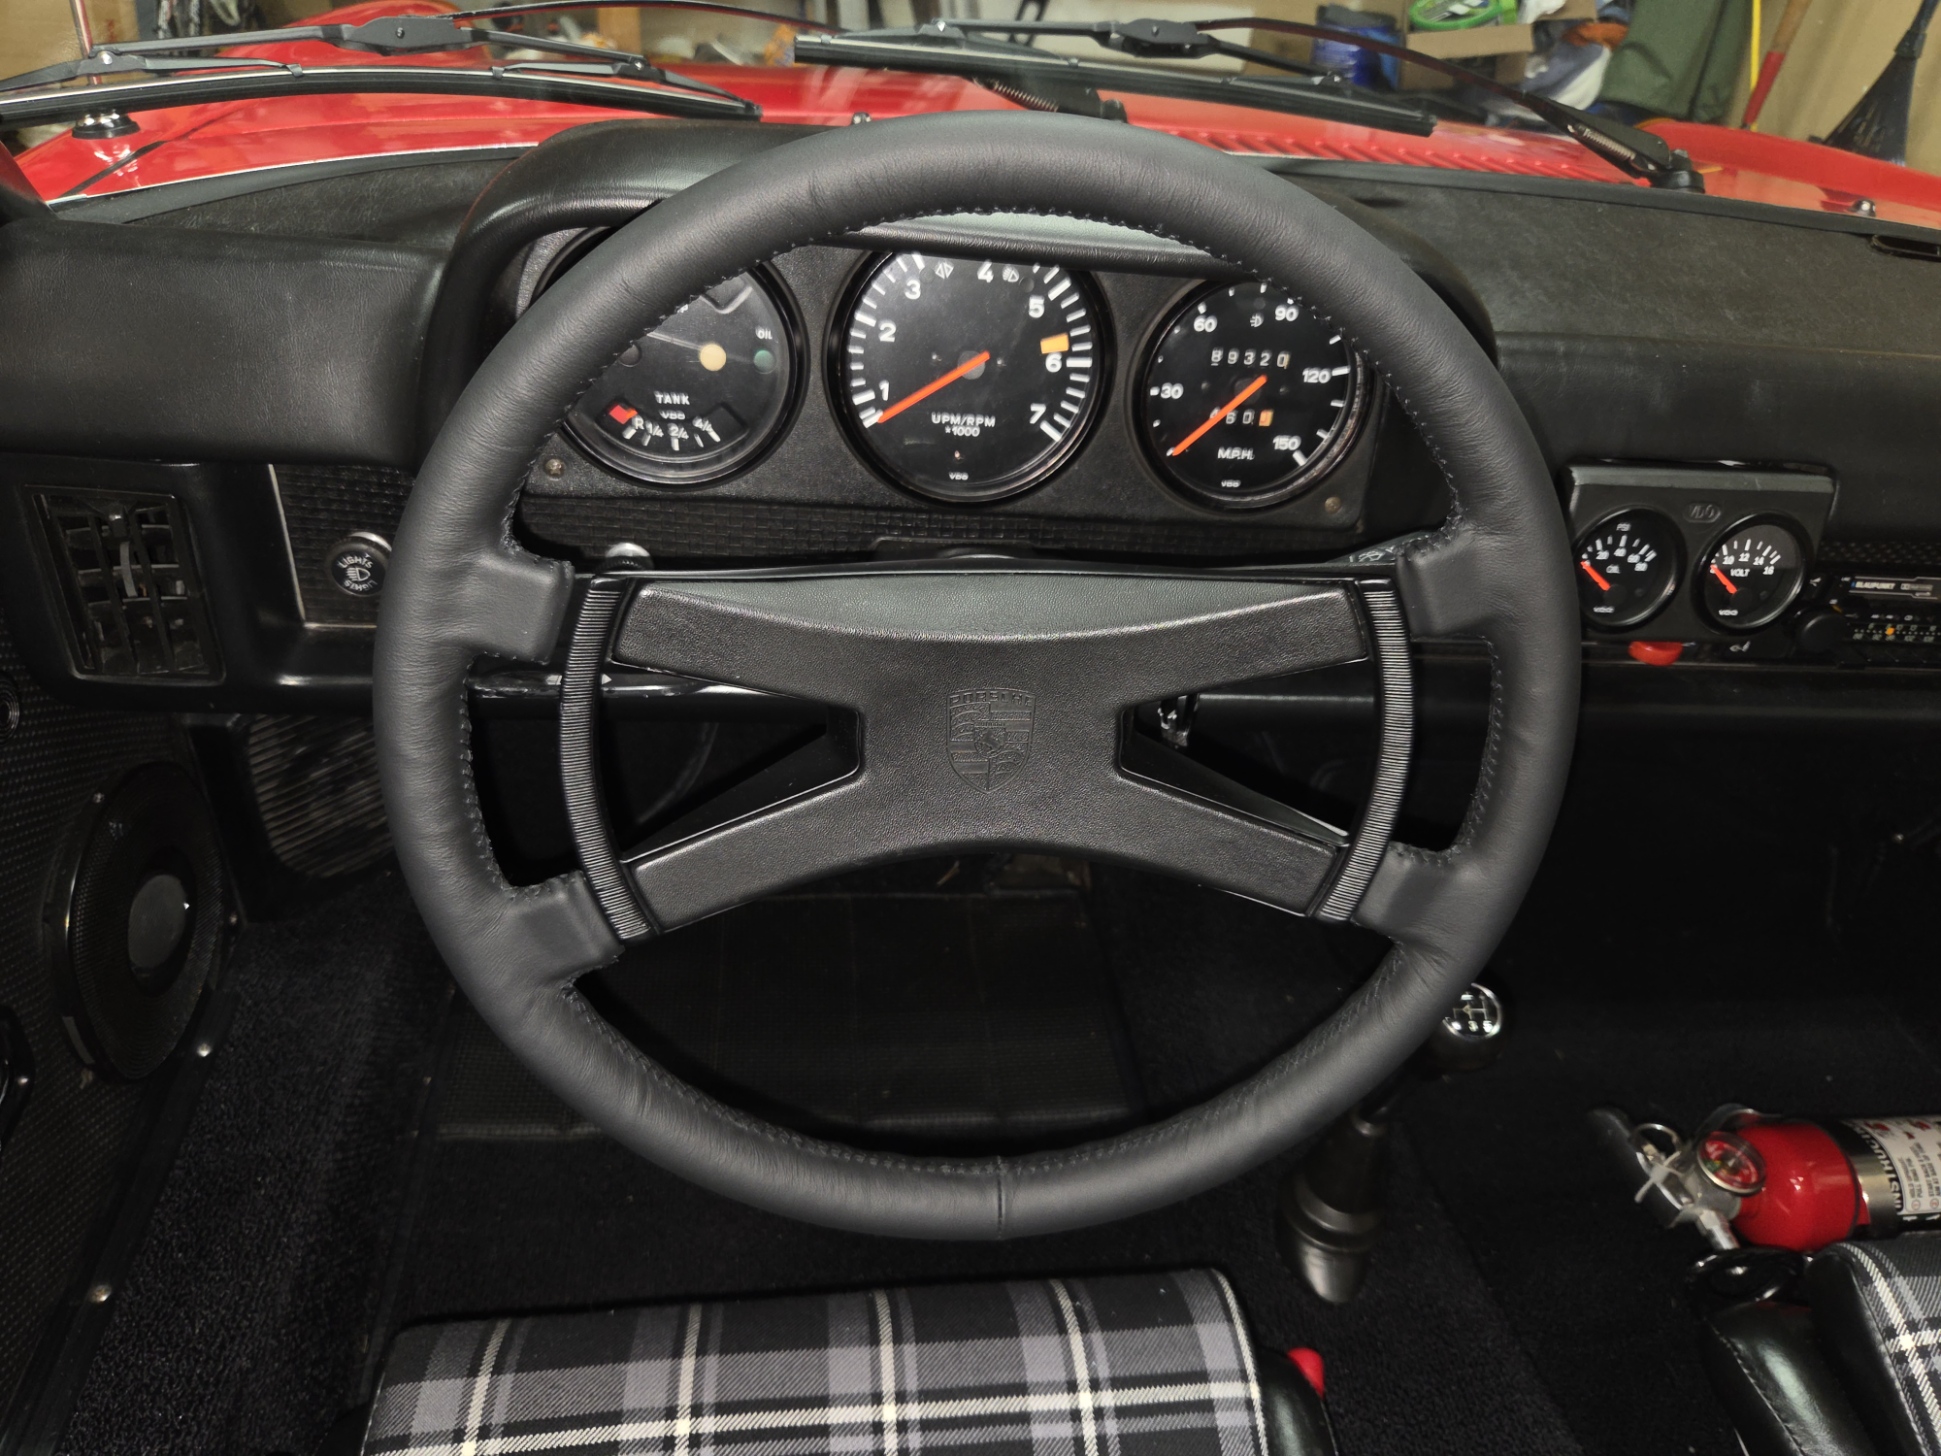
Here it is all done, top view.
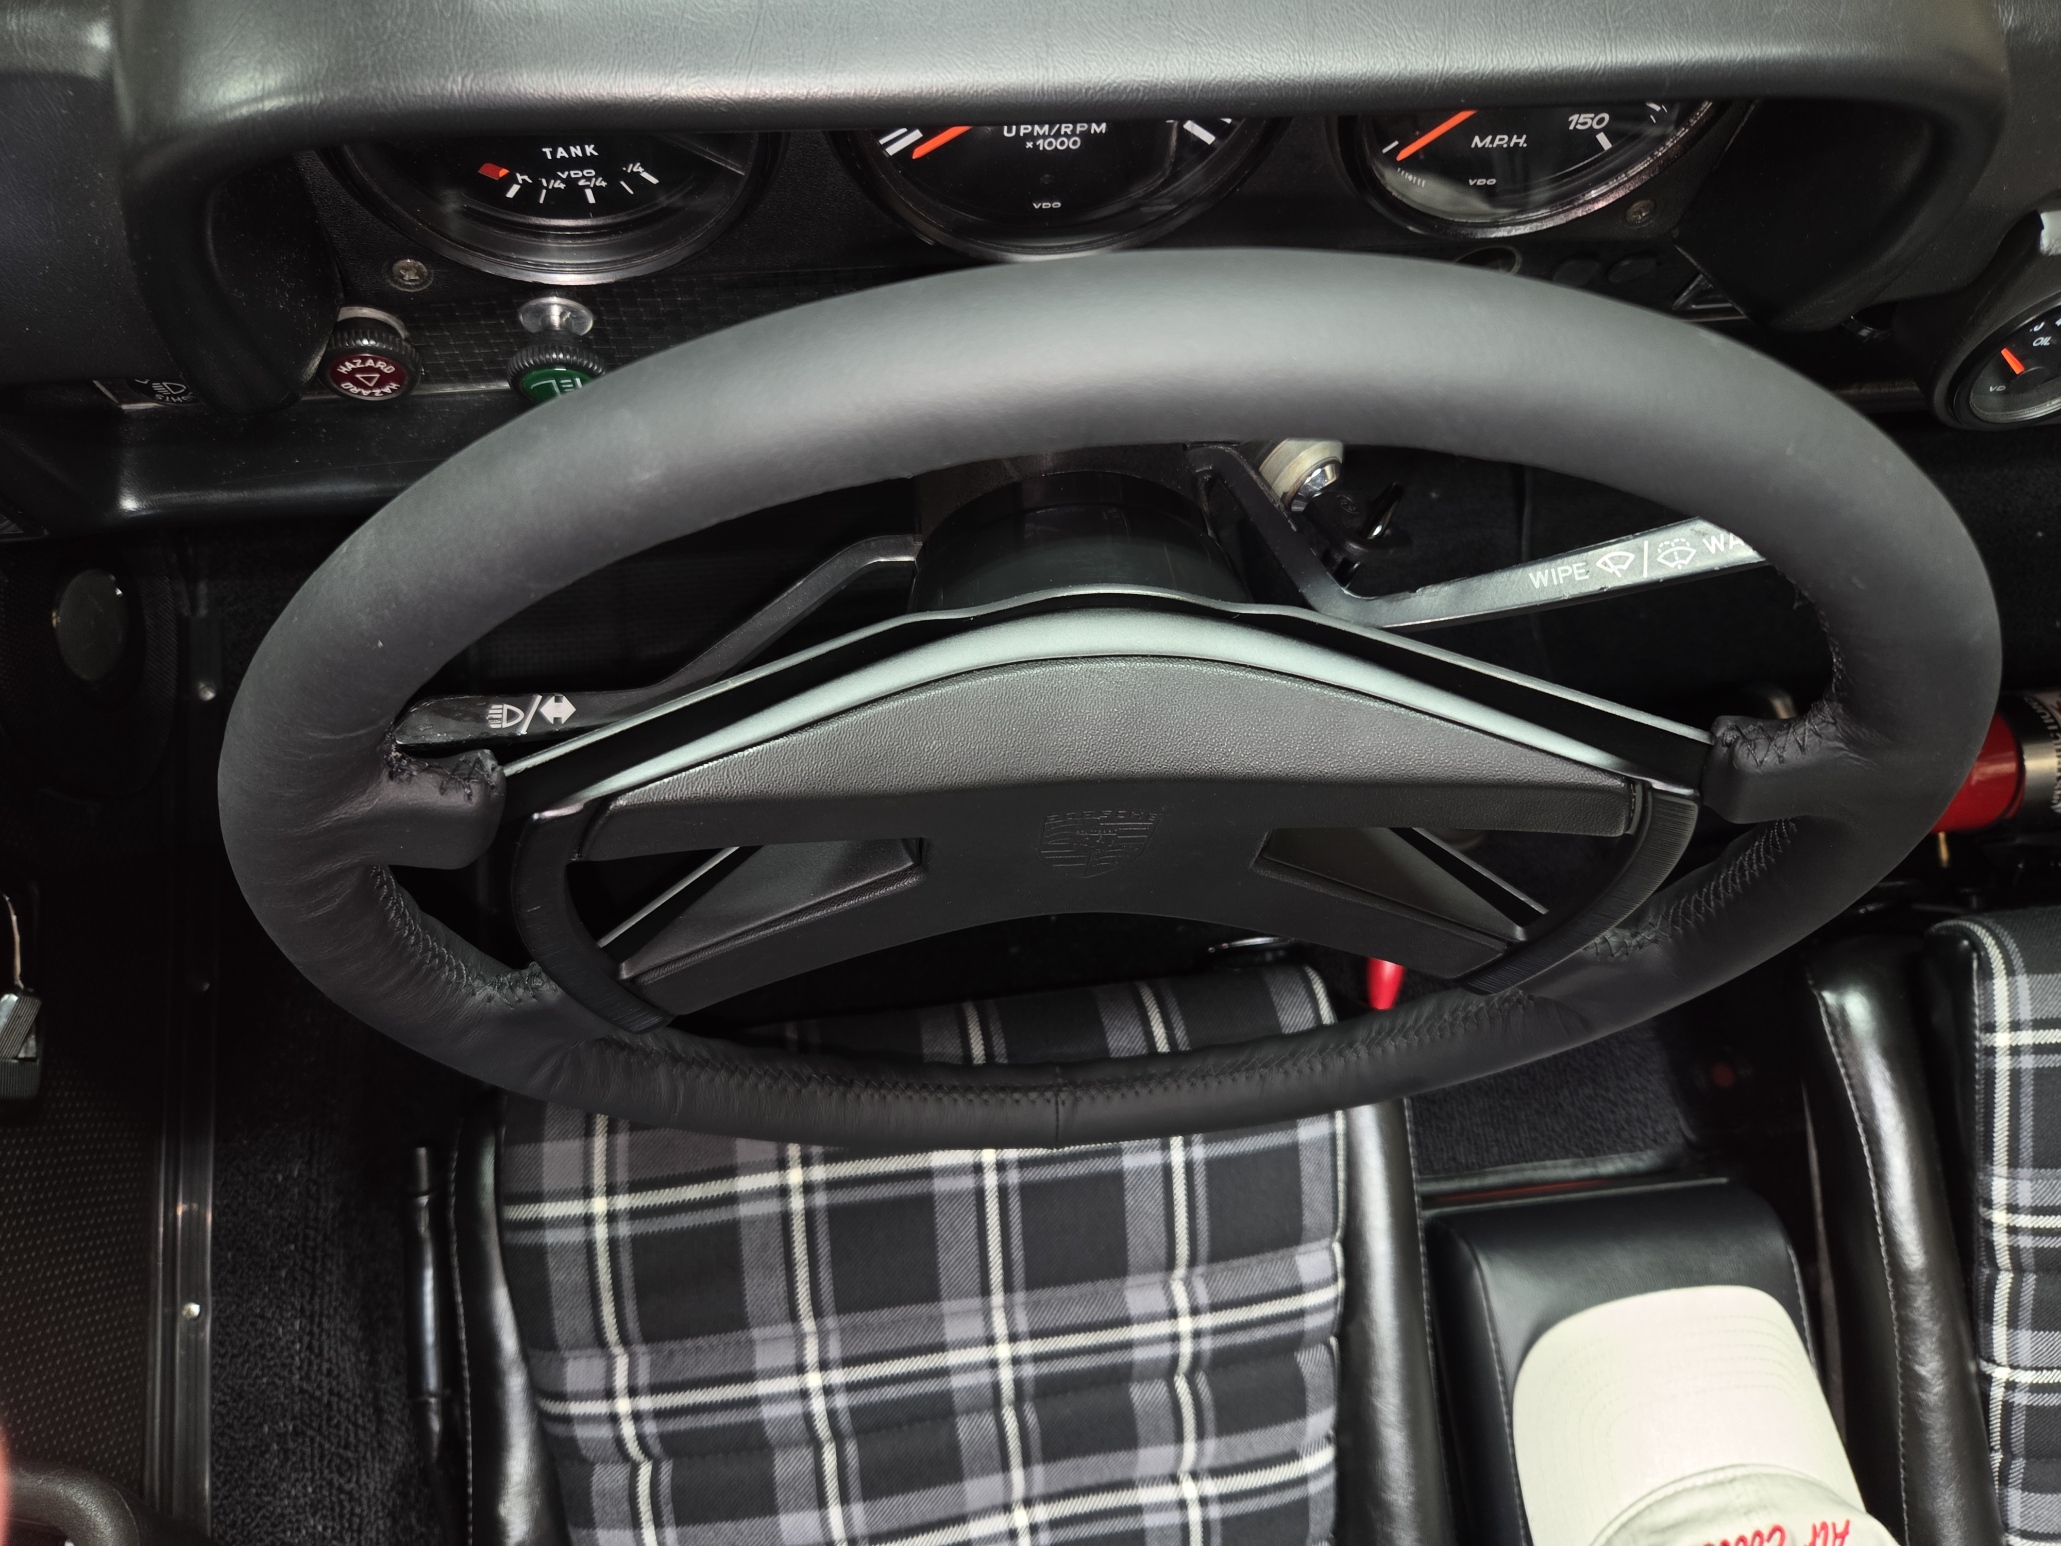
Cockpit view. This is before I wet , steamed, heat-gun de-wrinkled the leather to tighten it.
I used my bicycle wheel truing stand to hole it as I worked. Yes that is a Hozan Truing Stand and I restored this from complete rust when I was 16 years old. Note the safety pins every 10 holes to get this aligned. I removed them as I stitched the leather.
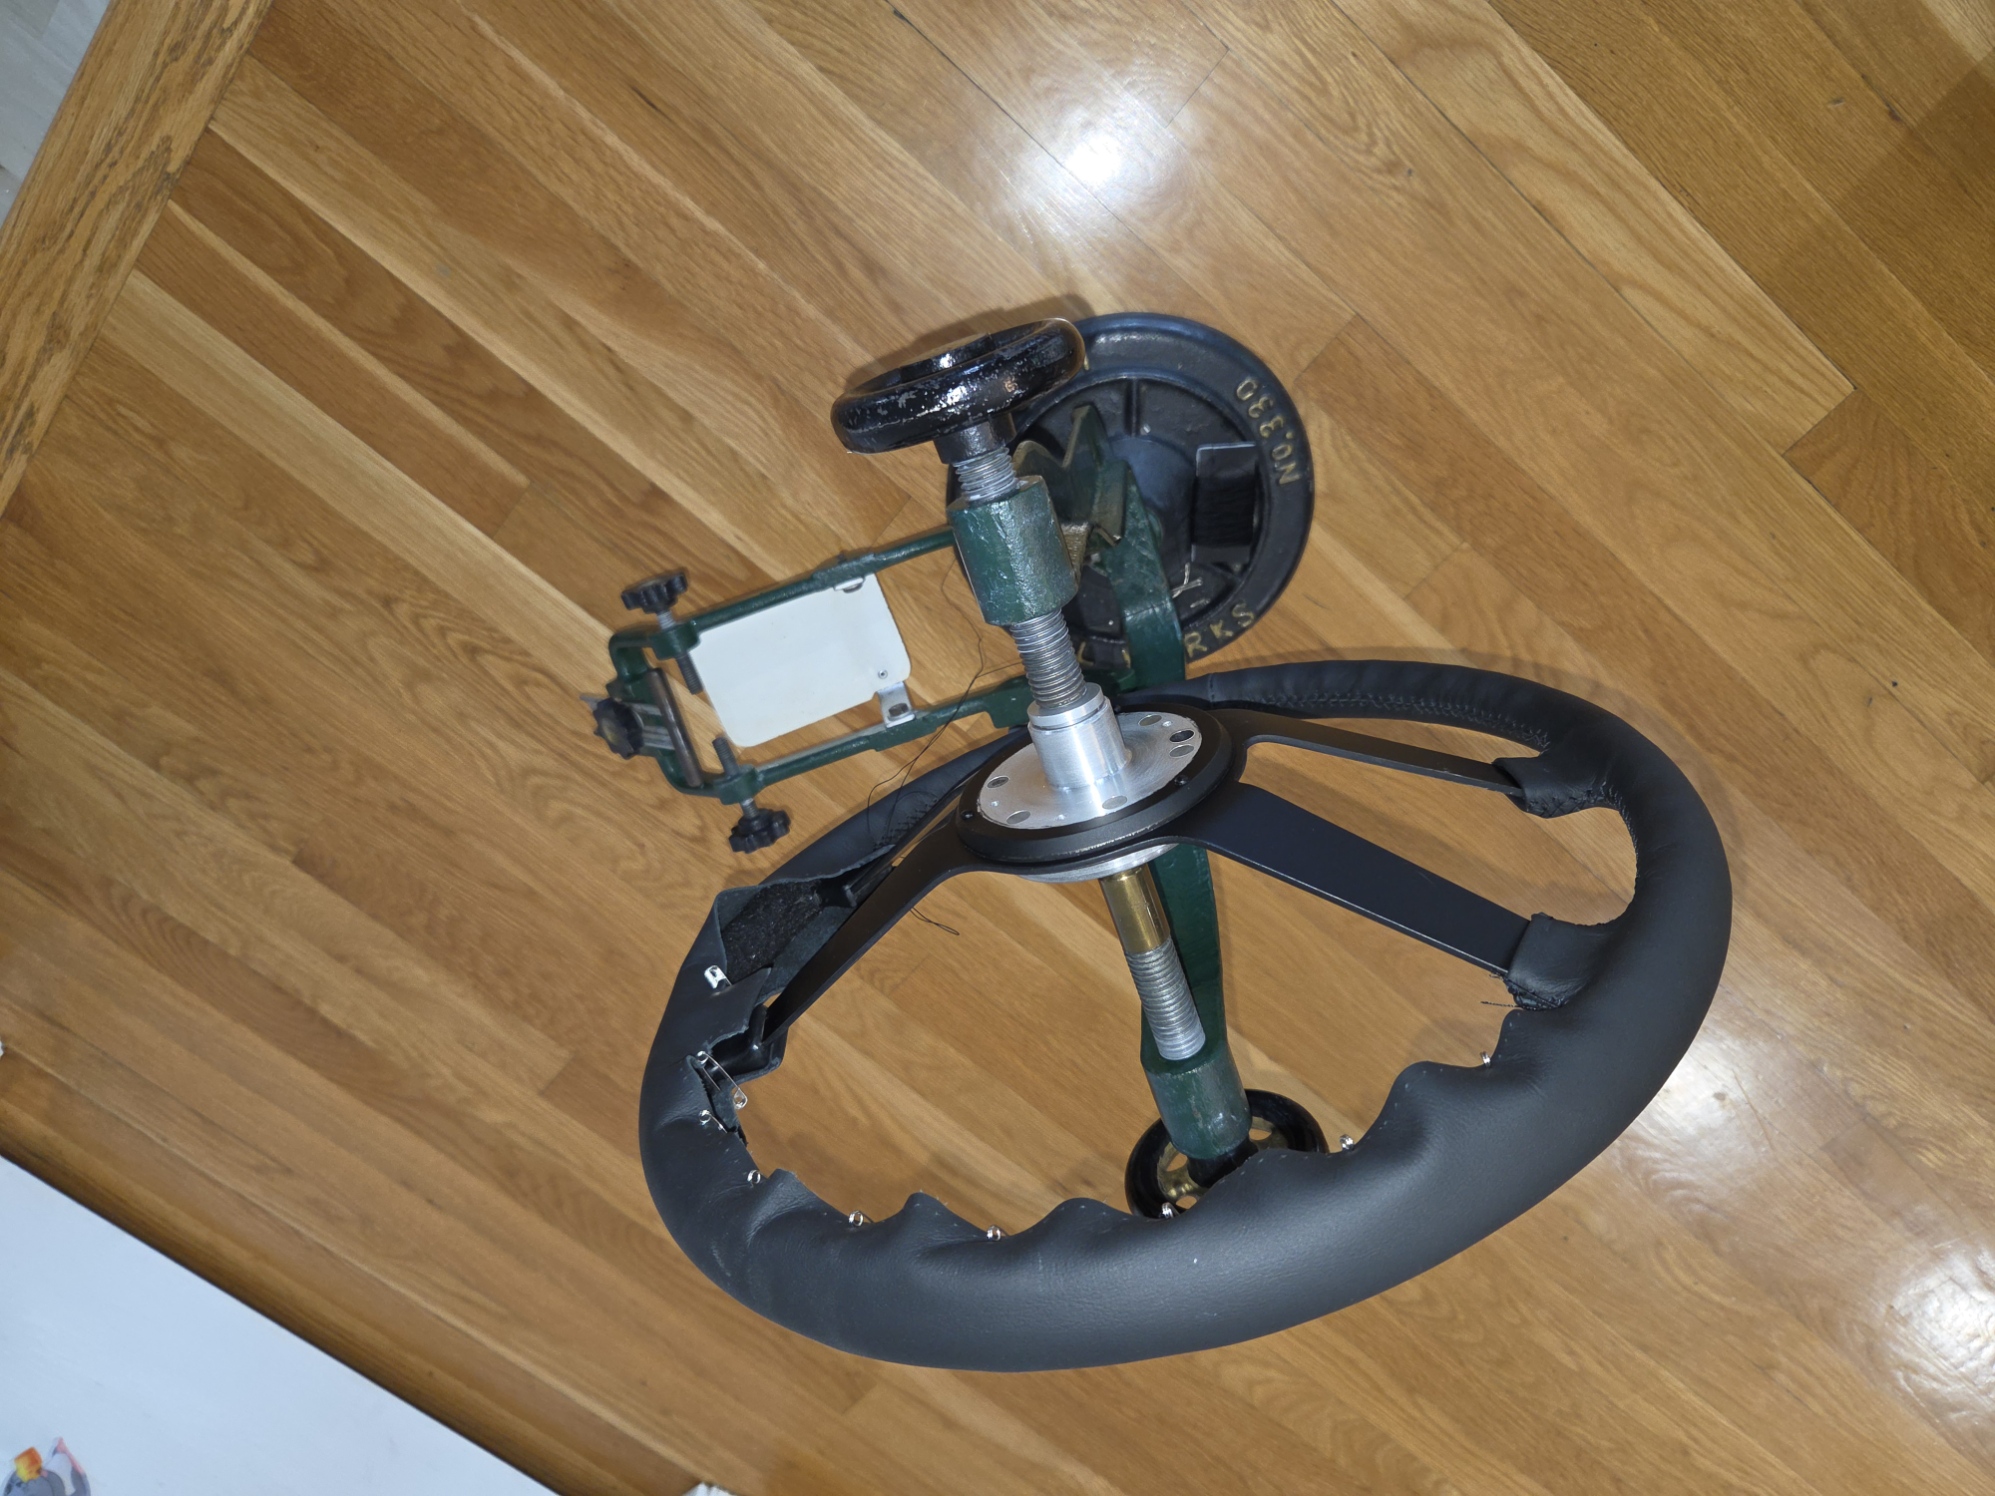
Thje safety pins help to align the holes and keep it in place as you work. I did put some additional holes in the leather to get the ends to align near the spokes because the count was off by 2 holes. Inspect the leather matchup of the holes and see if any are missed. Count the holes twice to be sure. I used safety pins every 10 holes, starting at TDC and BDC and then working towards the spokes.
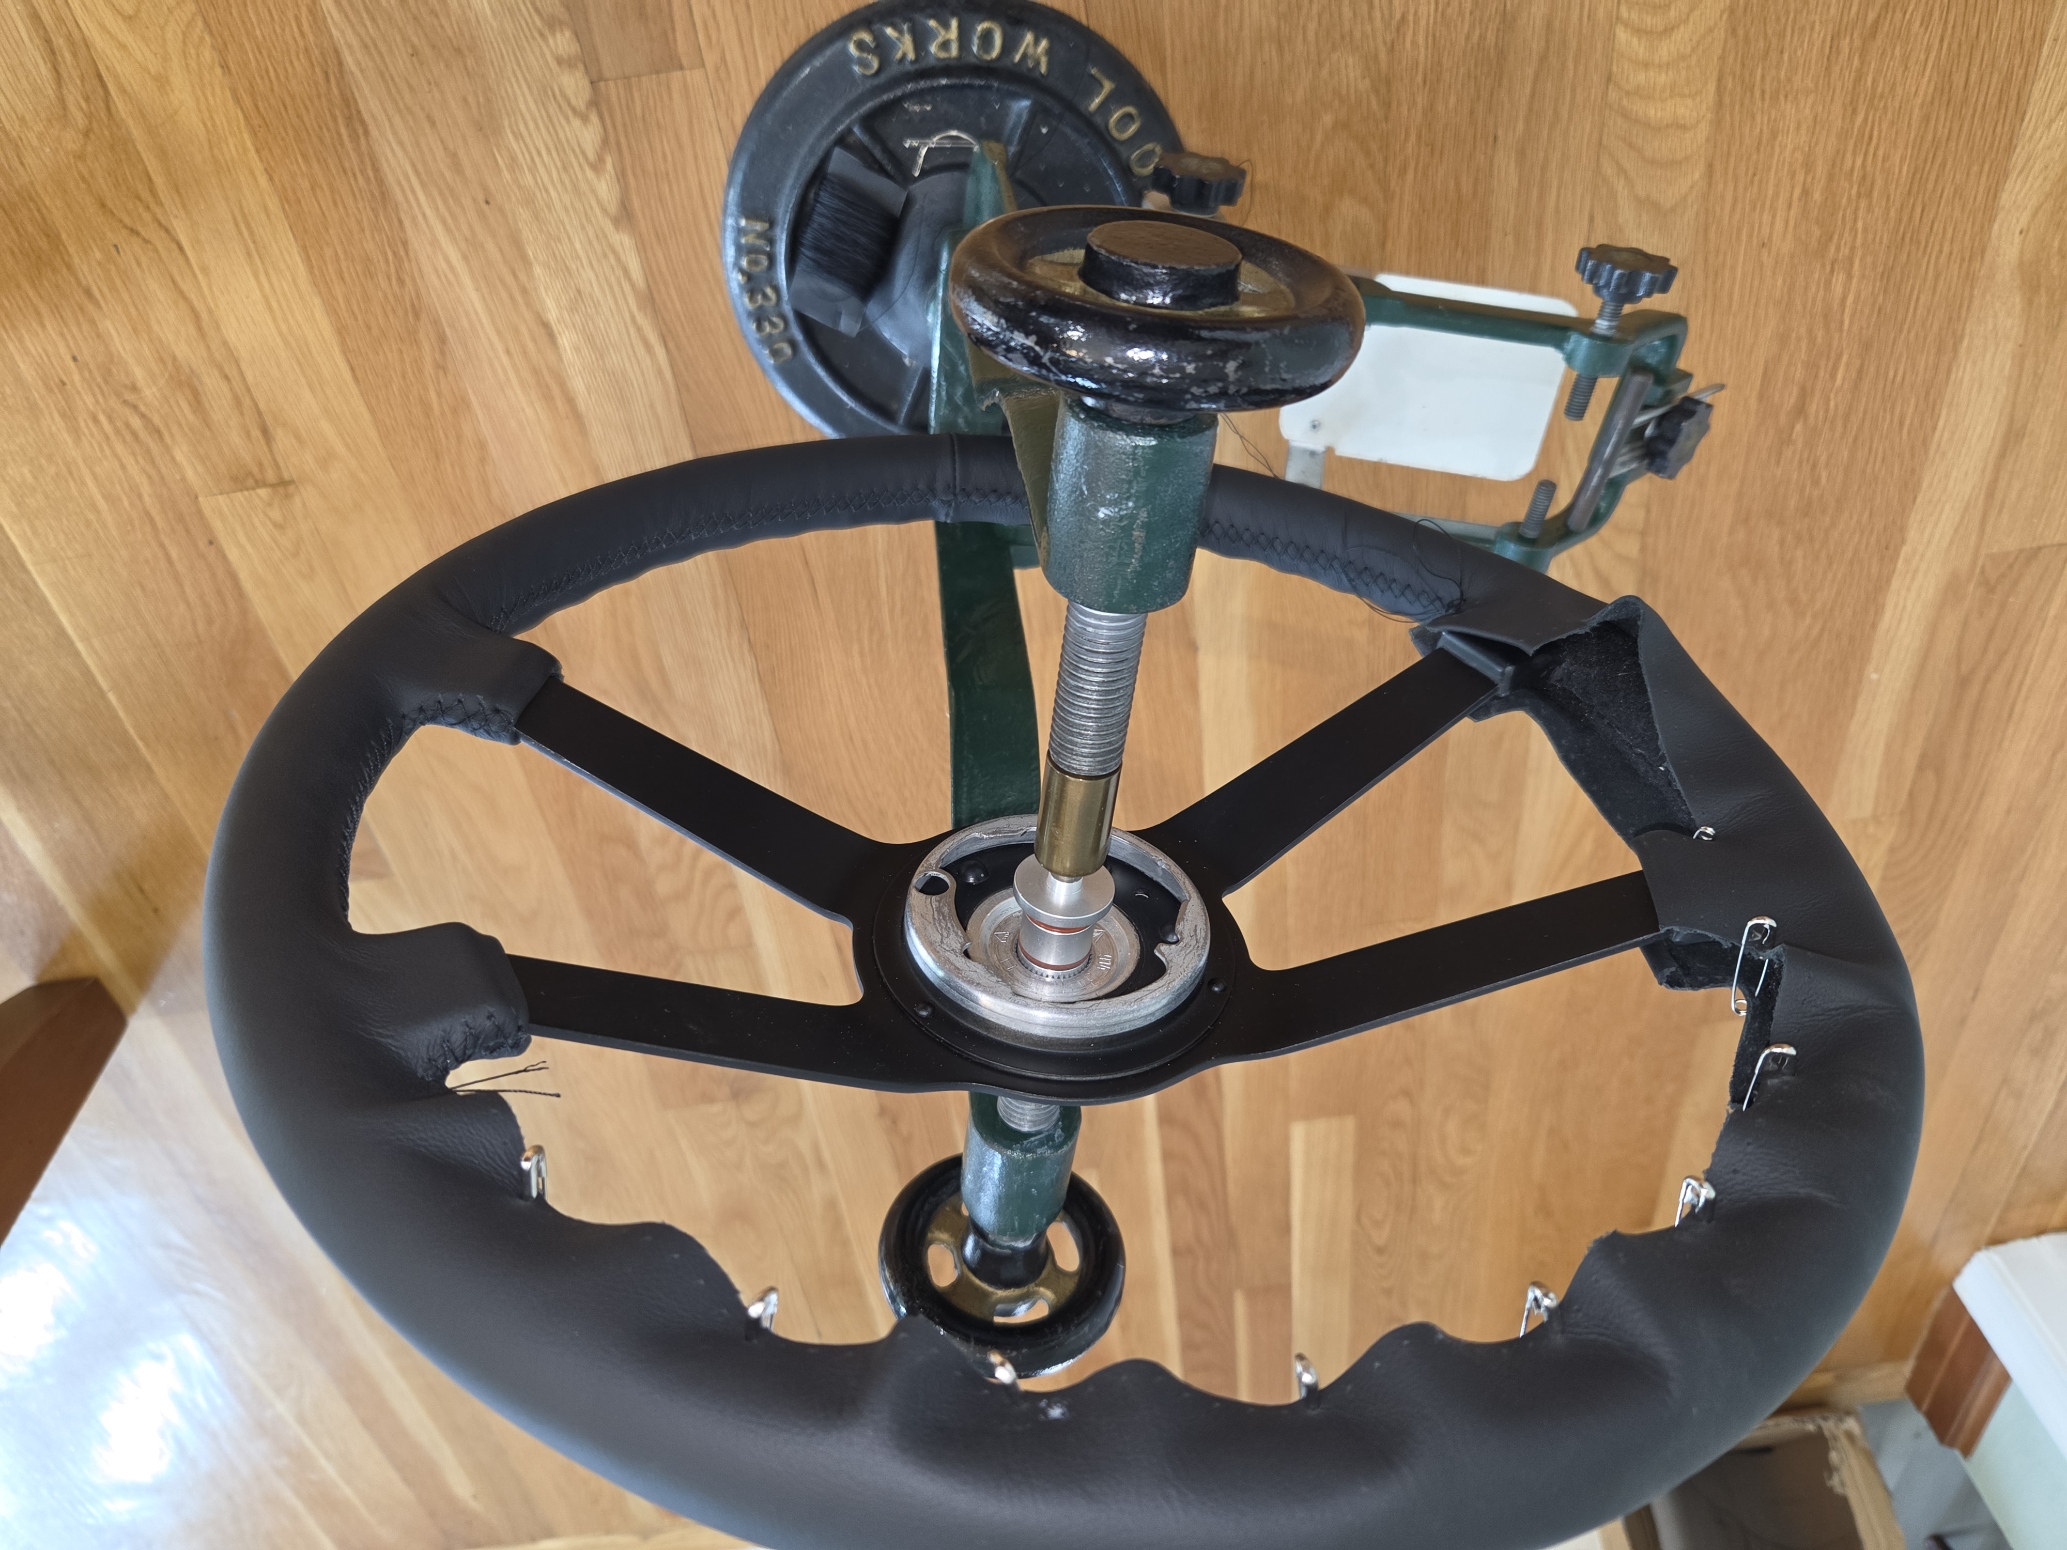
The stictchin at the spokes is not as hard as it seems. I found it easier to begin at spoke and then work towards the wheel. It is tough to terminate the stitching at the spoke-end, but not impossible and the horn will cover where it terminates on the metal spoke (see first image above).
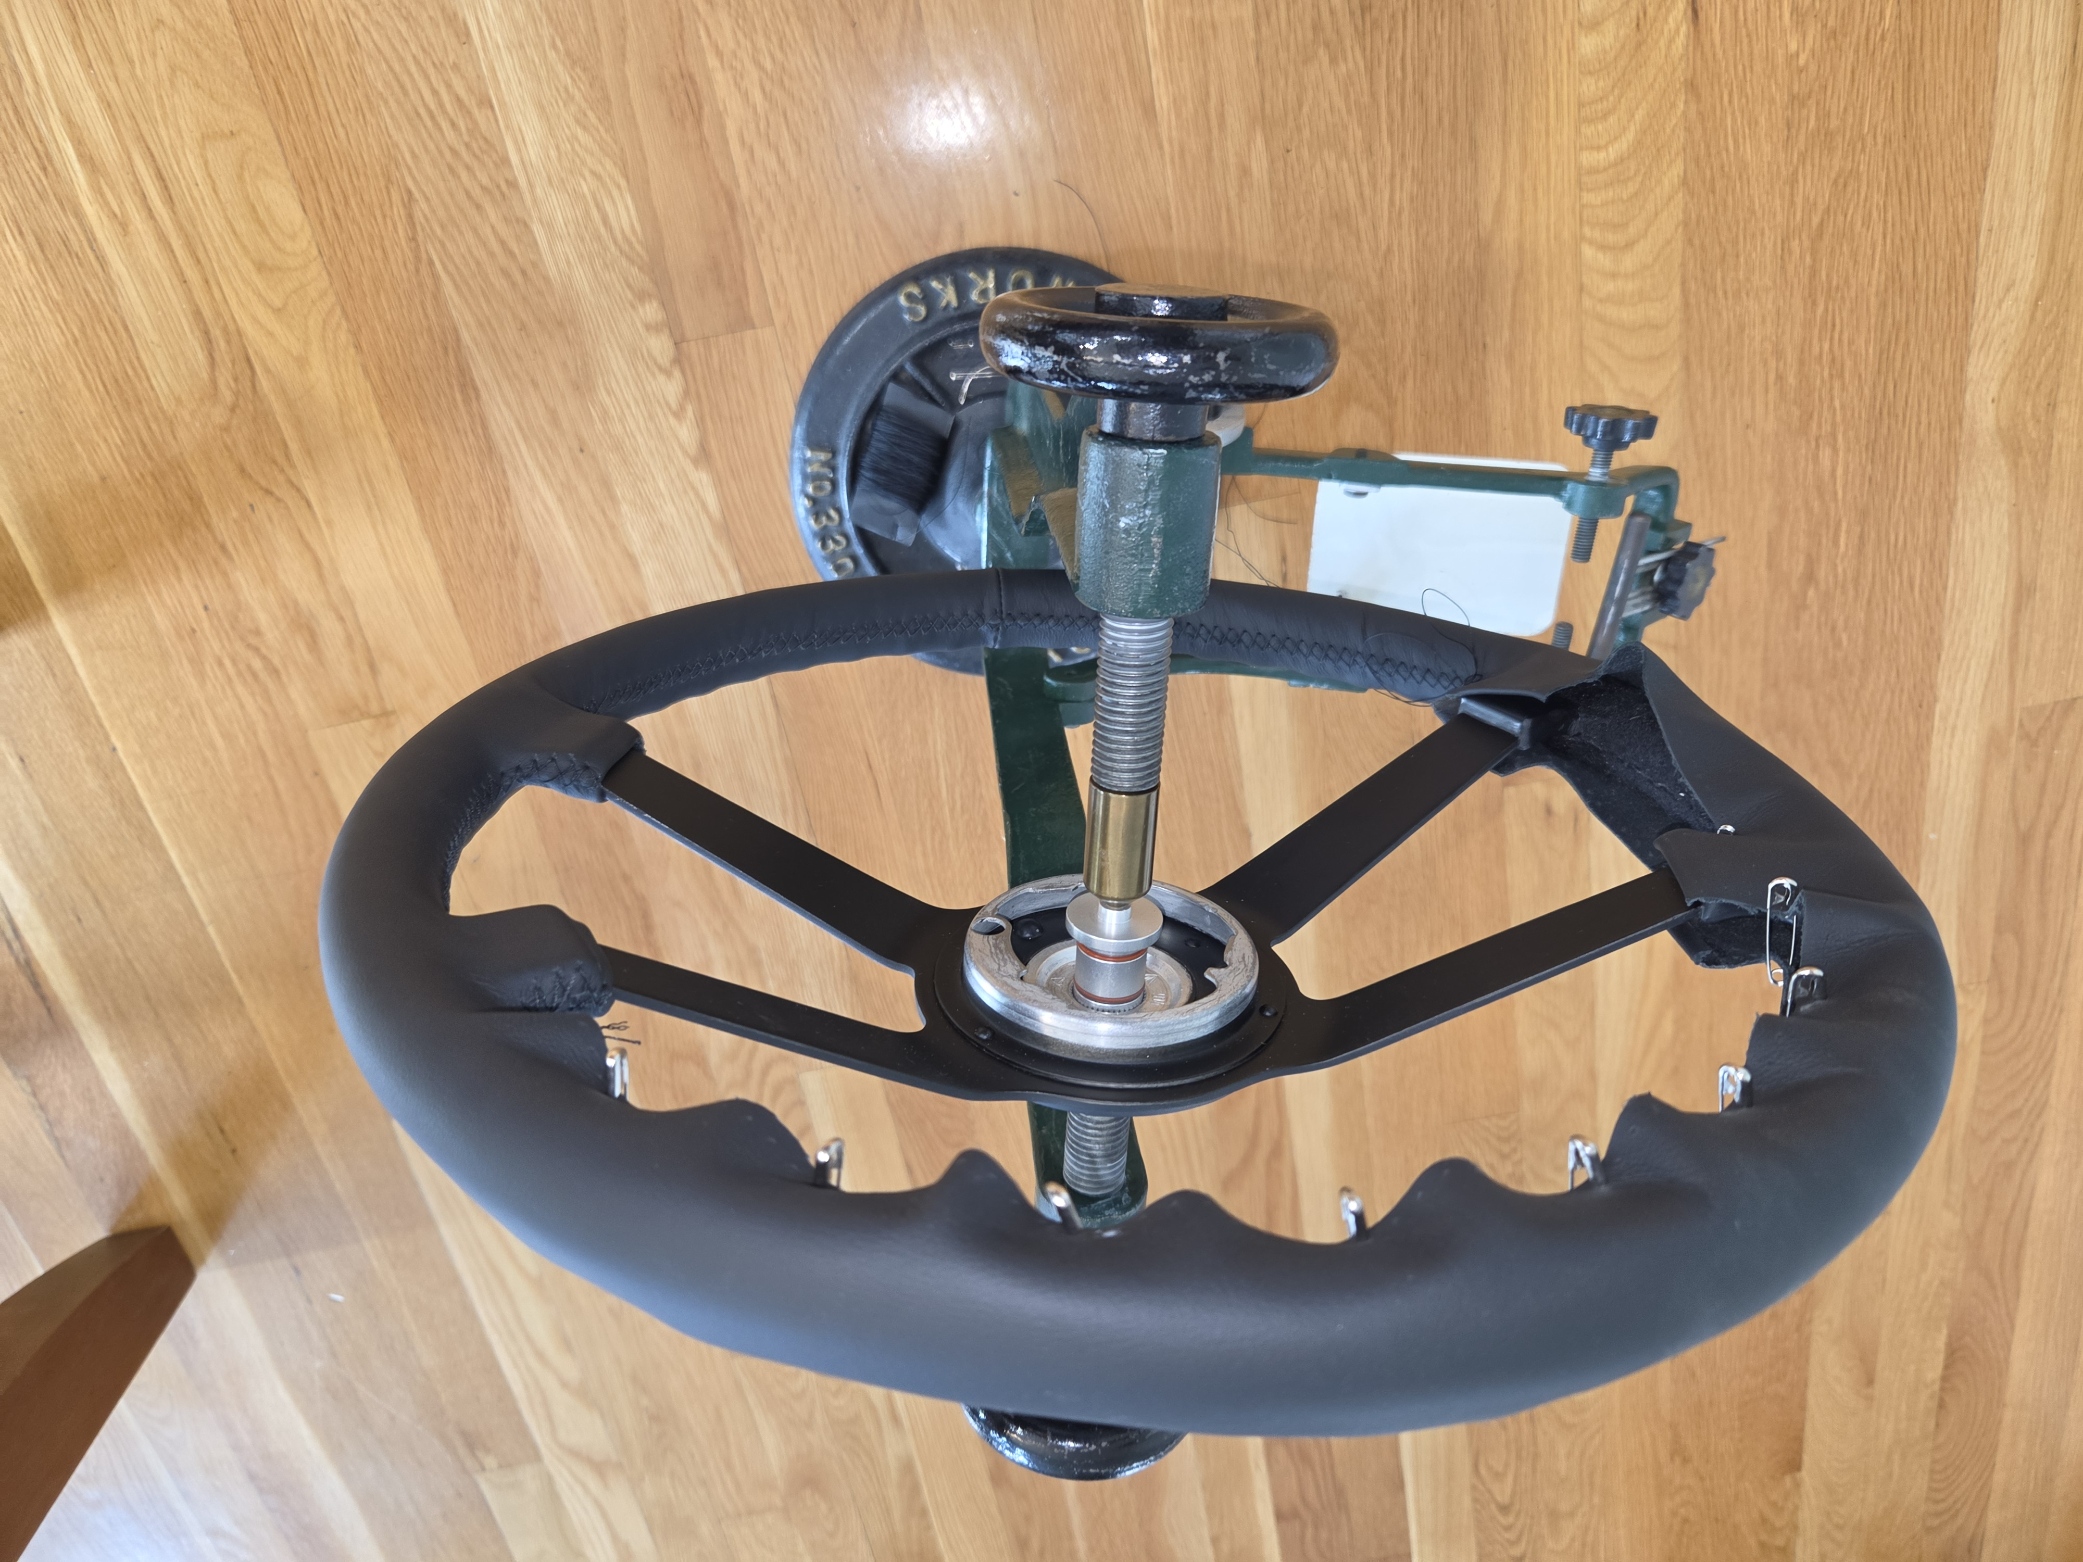
Here you see the leather skived and folded and glued with contact cement (I used chip clips to hold it for 10 minutes). These were all measured and cut before skiving and gluing.
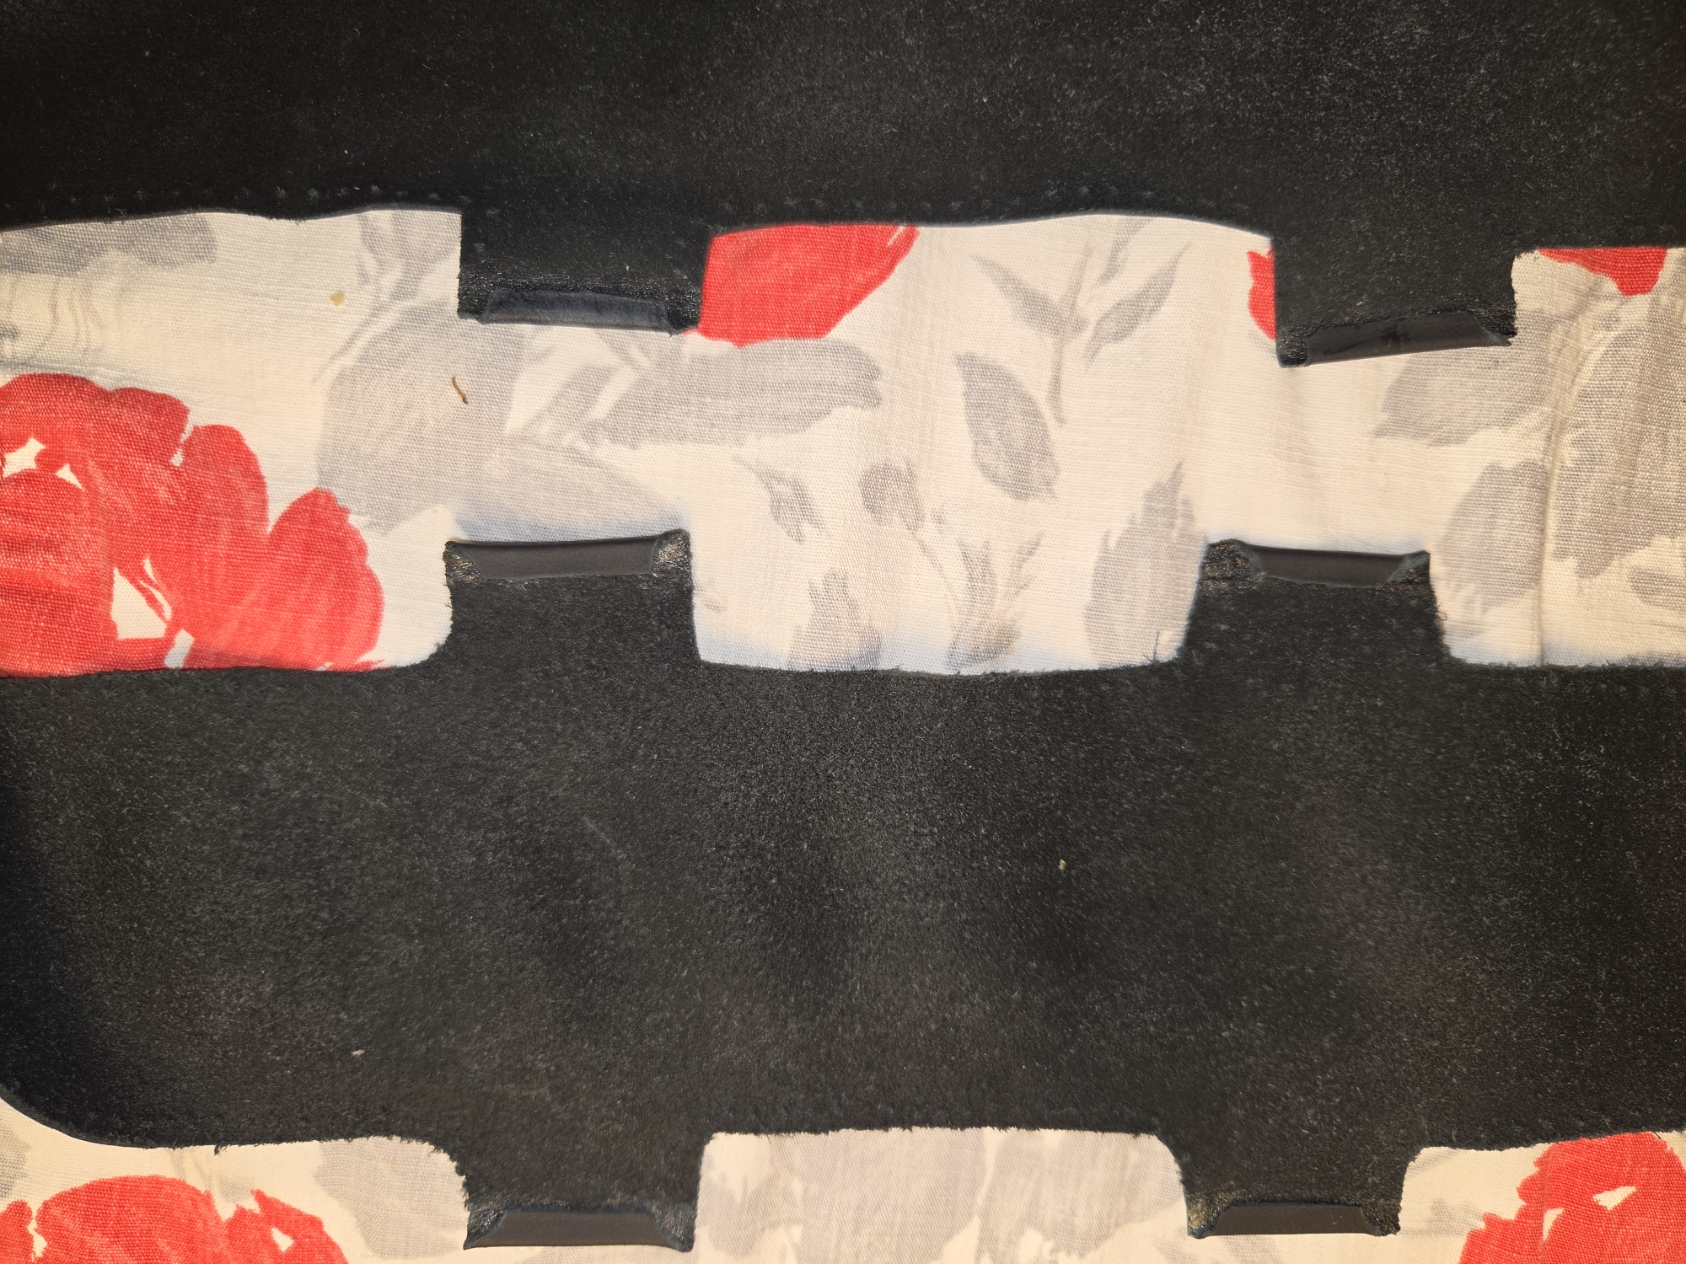
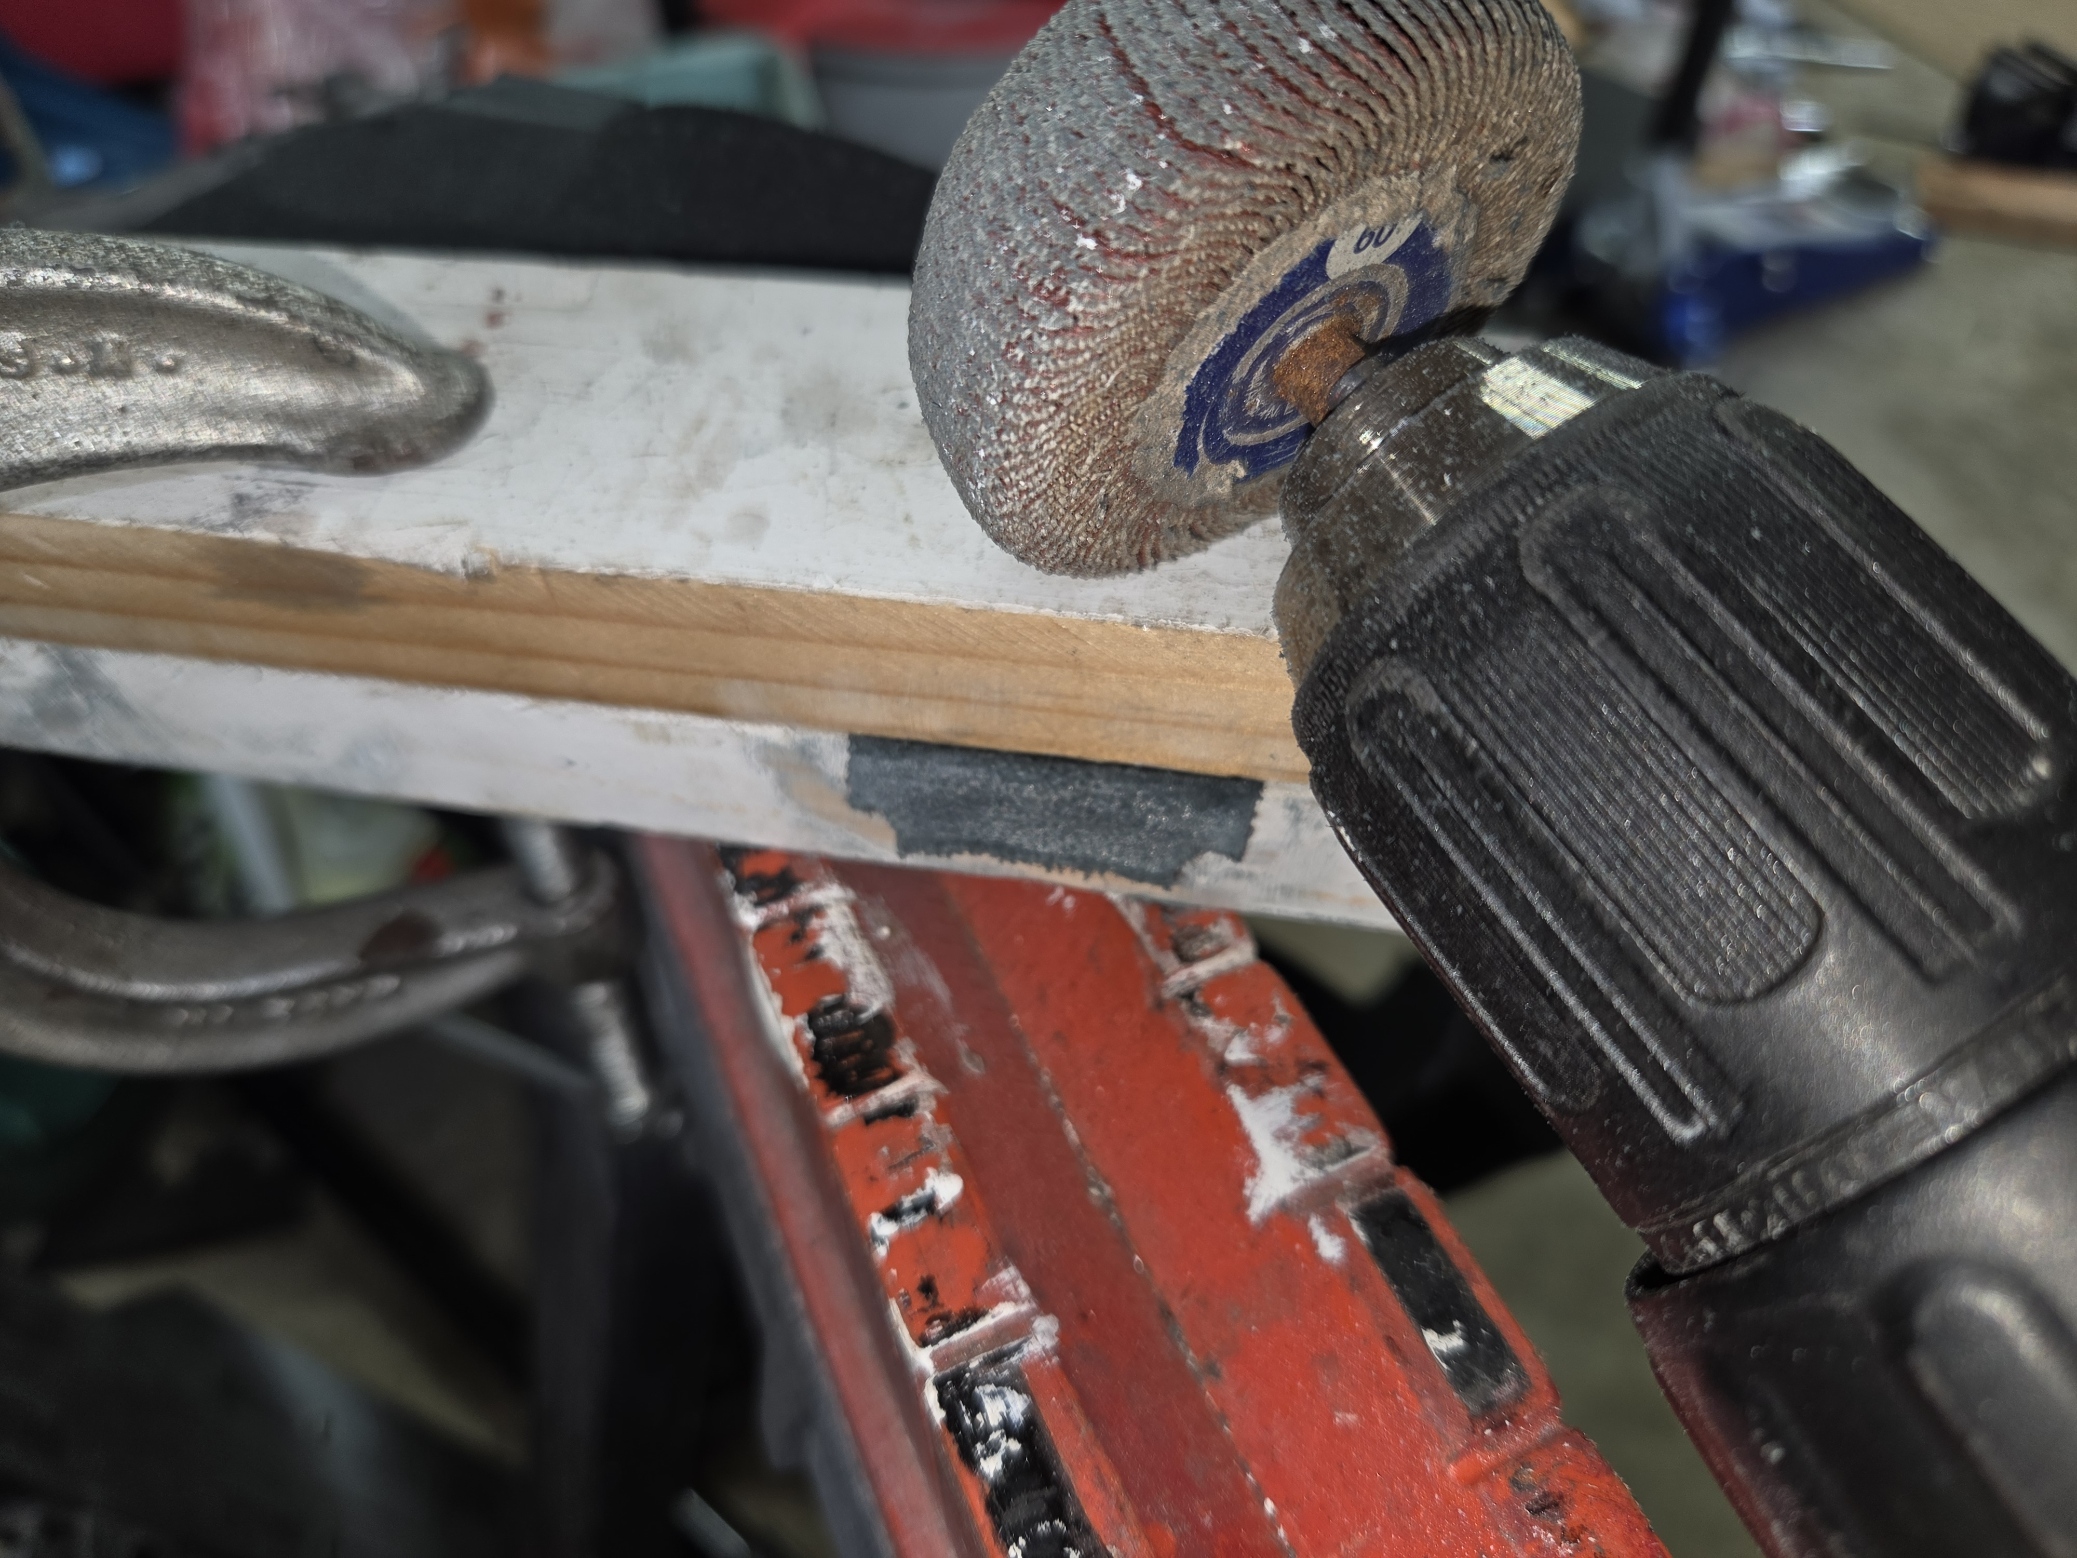
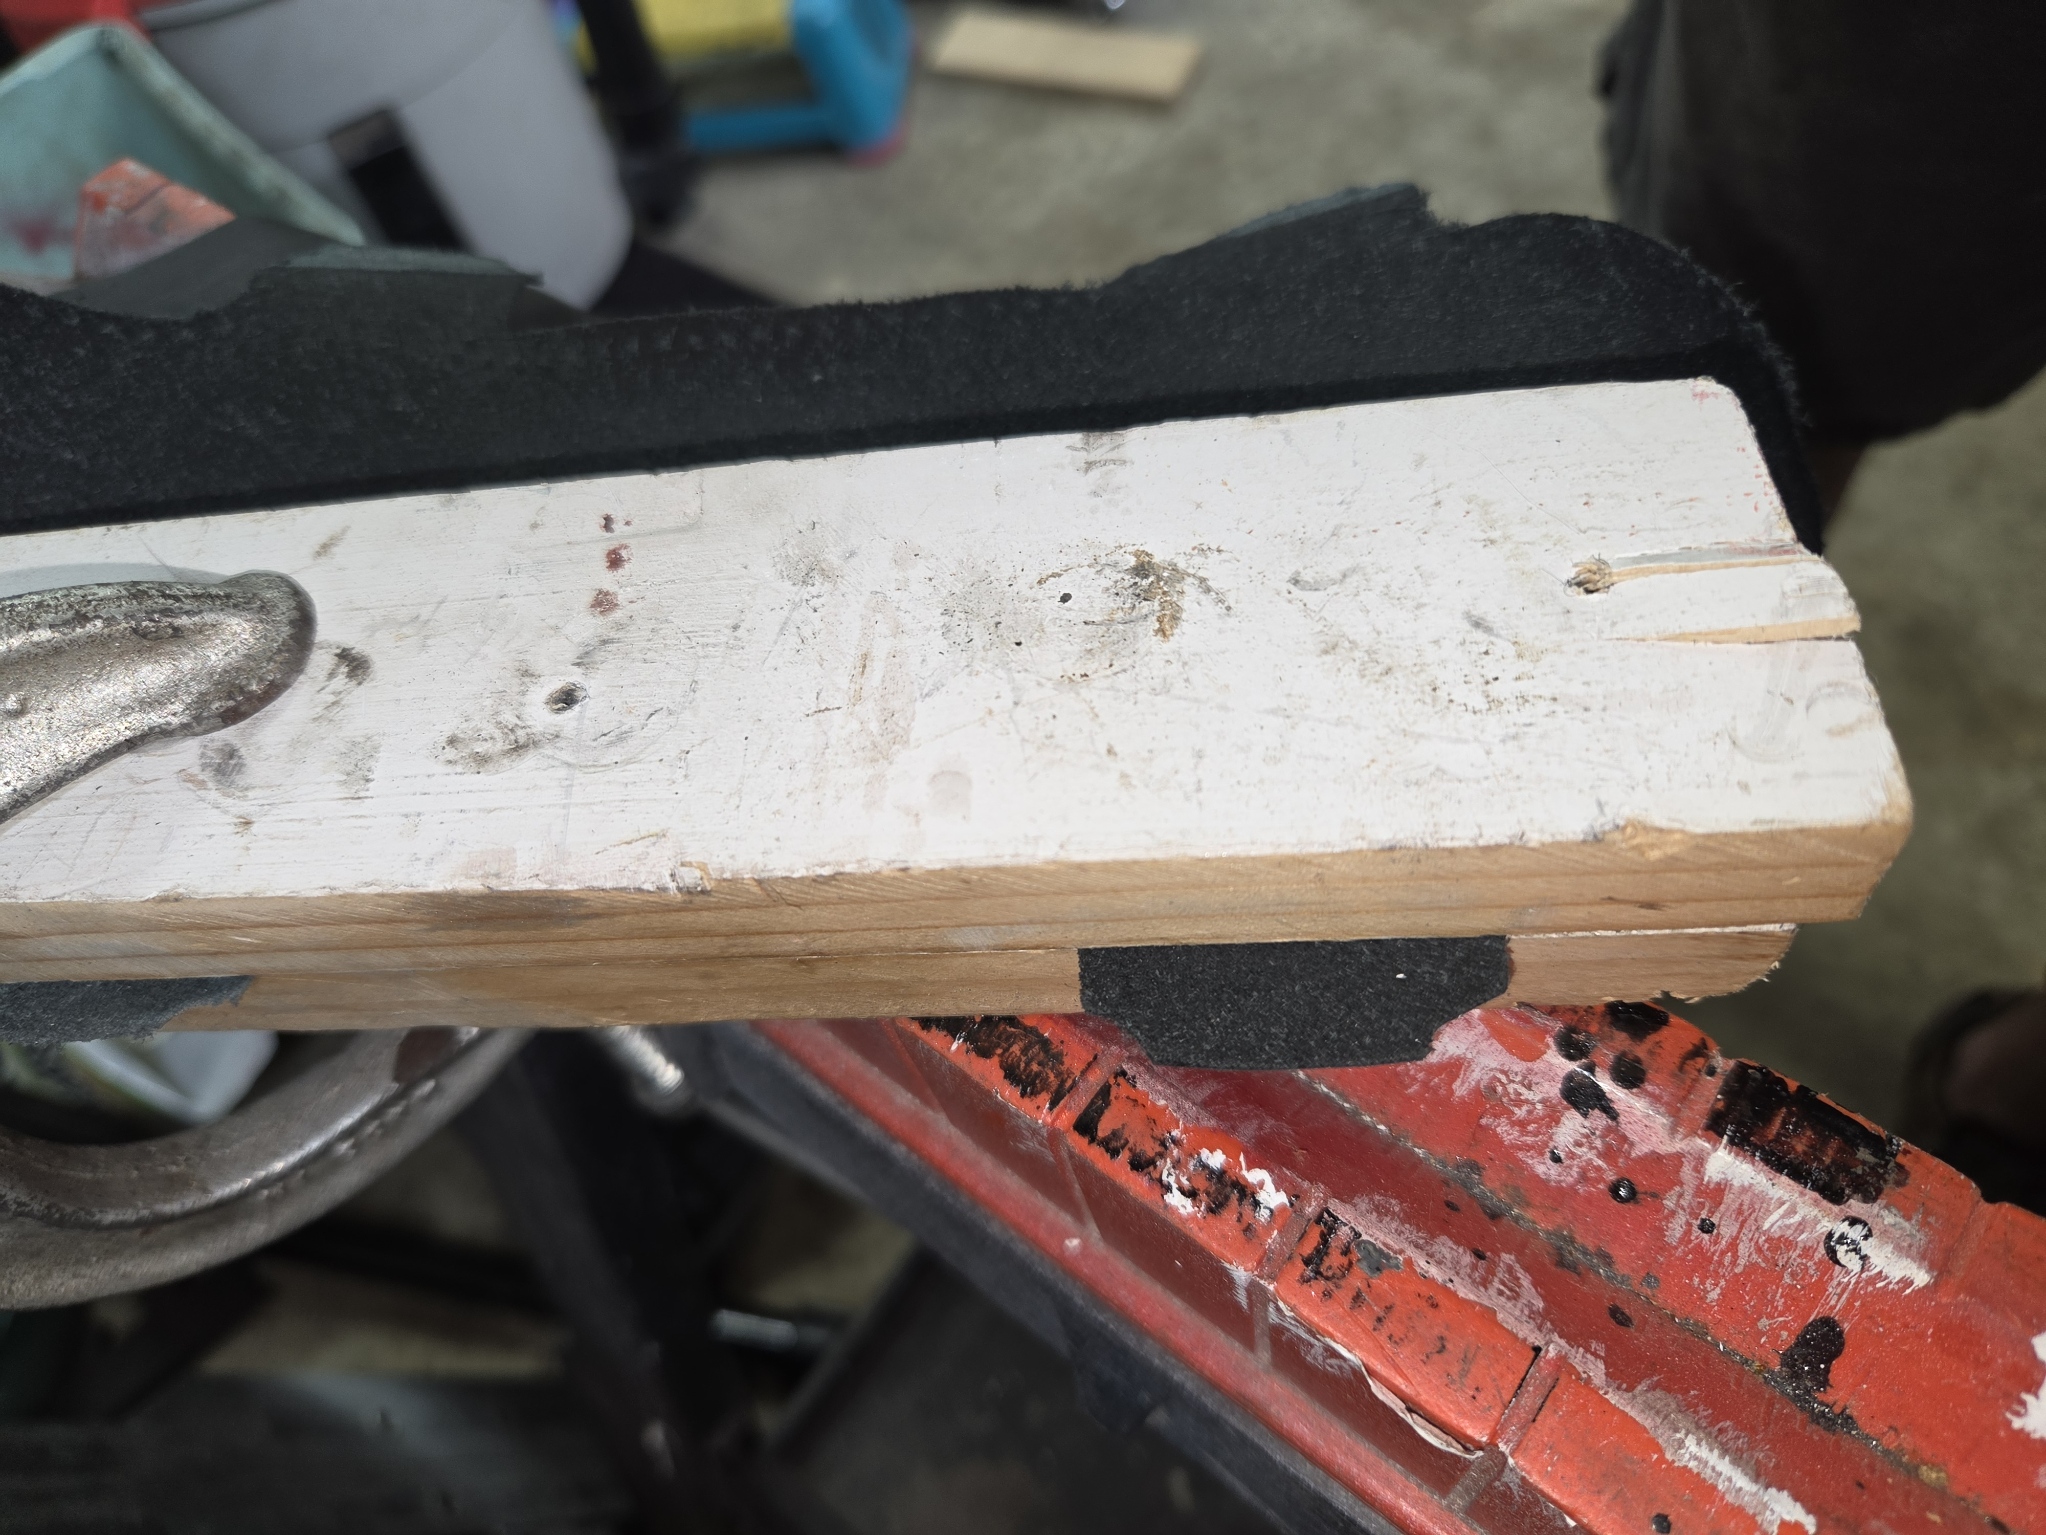
The rotary sanding disk to thin the leather. Note the two boards holding the leather spoke tabs and then I sanded-down the leather to thin it (skived it) for folding. I would say it was about 1/2 the thickness of the original leather at the fold. The sanding was the fold and the back of the fold that it glued onto.
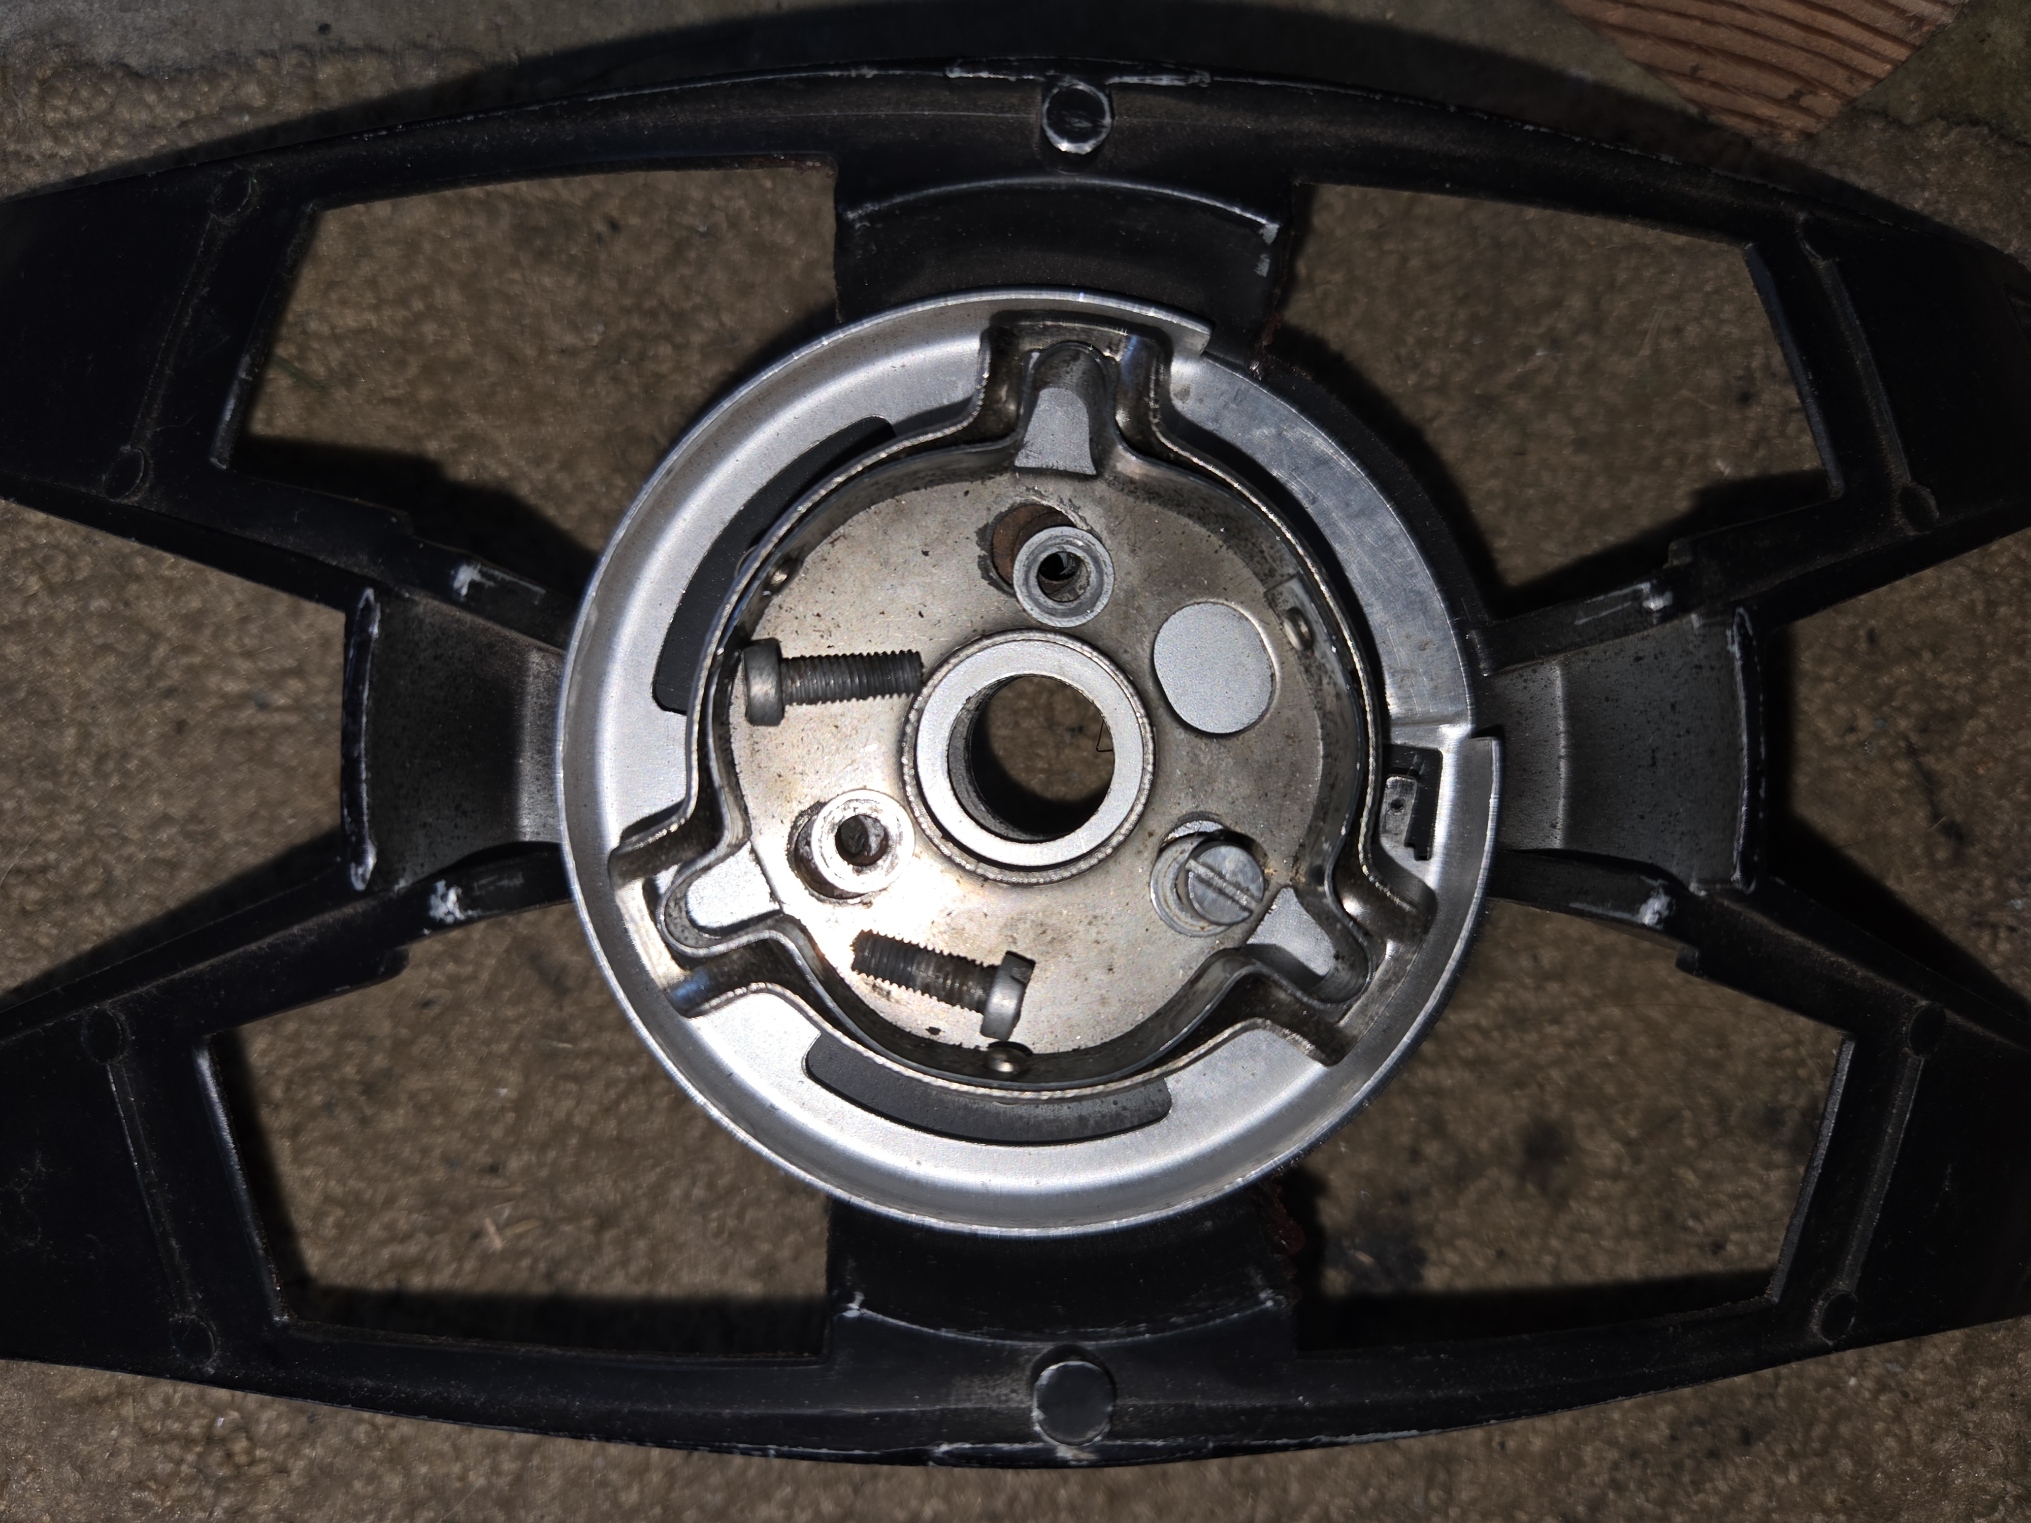
This is the back of the horn button. The rubber PORSCHE part will pry-out. I started with my thumbs and loosened one side of the top and one side of the bottom and then used a long putty knife to walk along that and split the rubber from the alloy horn (contact glue).
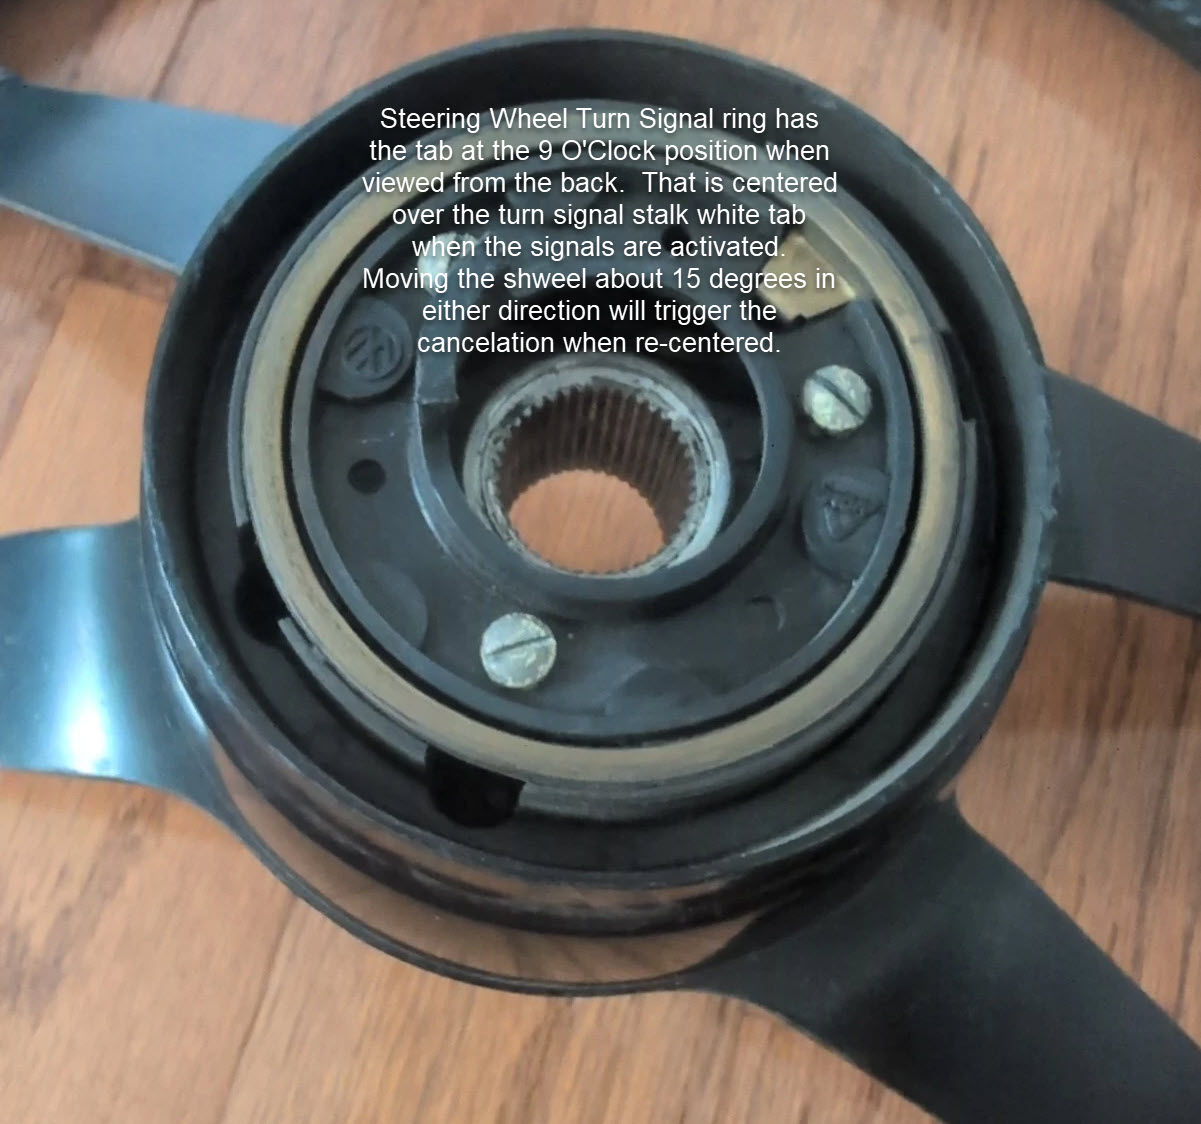
Classic Porsche Turn Signal Tab Orientation.
NOTE: Use some dielectric grease on the copper contact circle to keep the wheel quiet. Mine was shiny and polished with Brasso first on this wheel circle and then the contacts on the turn signal stalk too.
Painted center
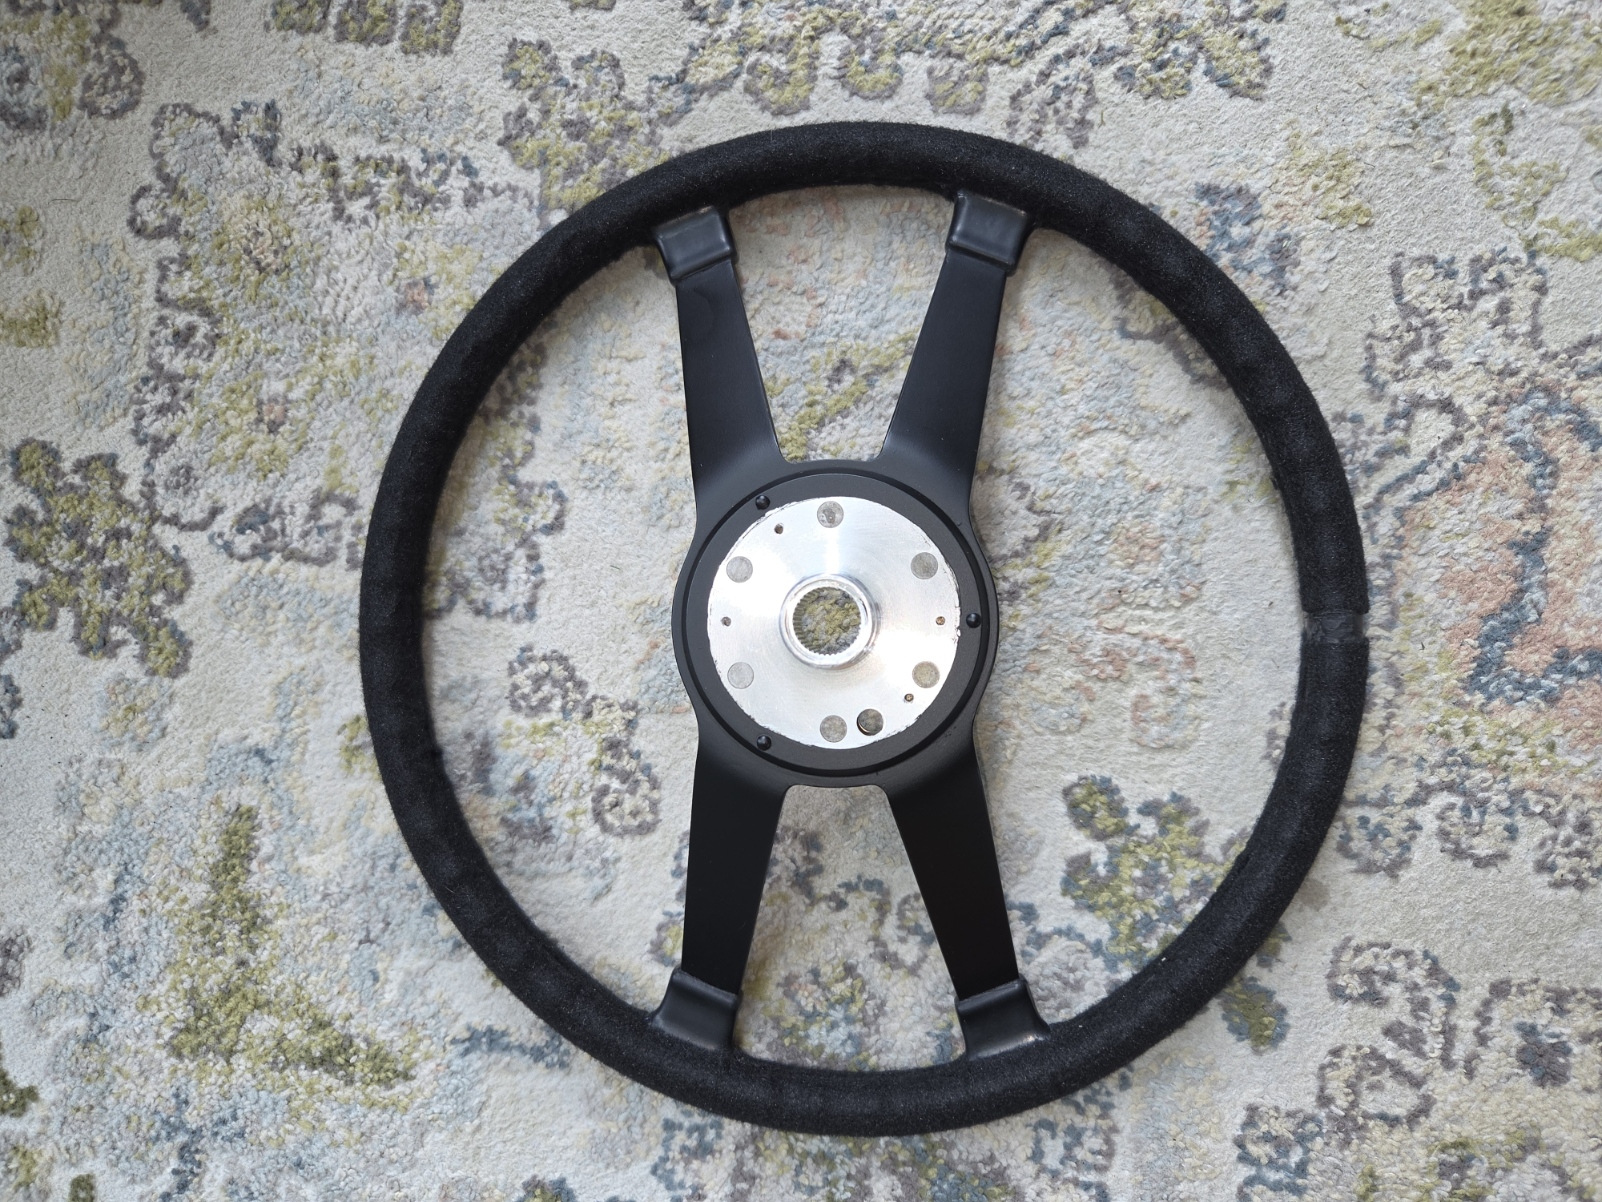
Painted and covered in the nylon felt material. That took some time and I used the back of a screwdriver handle to take out any wrinkles. Lots of contact cement applied smoothly. Note the notch for the bottom of the wheel where the leather joins. Just 3/16" and you can't feel an indent in the final assembled covering.
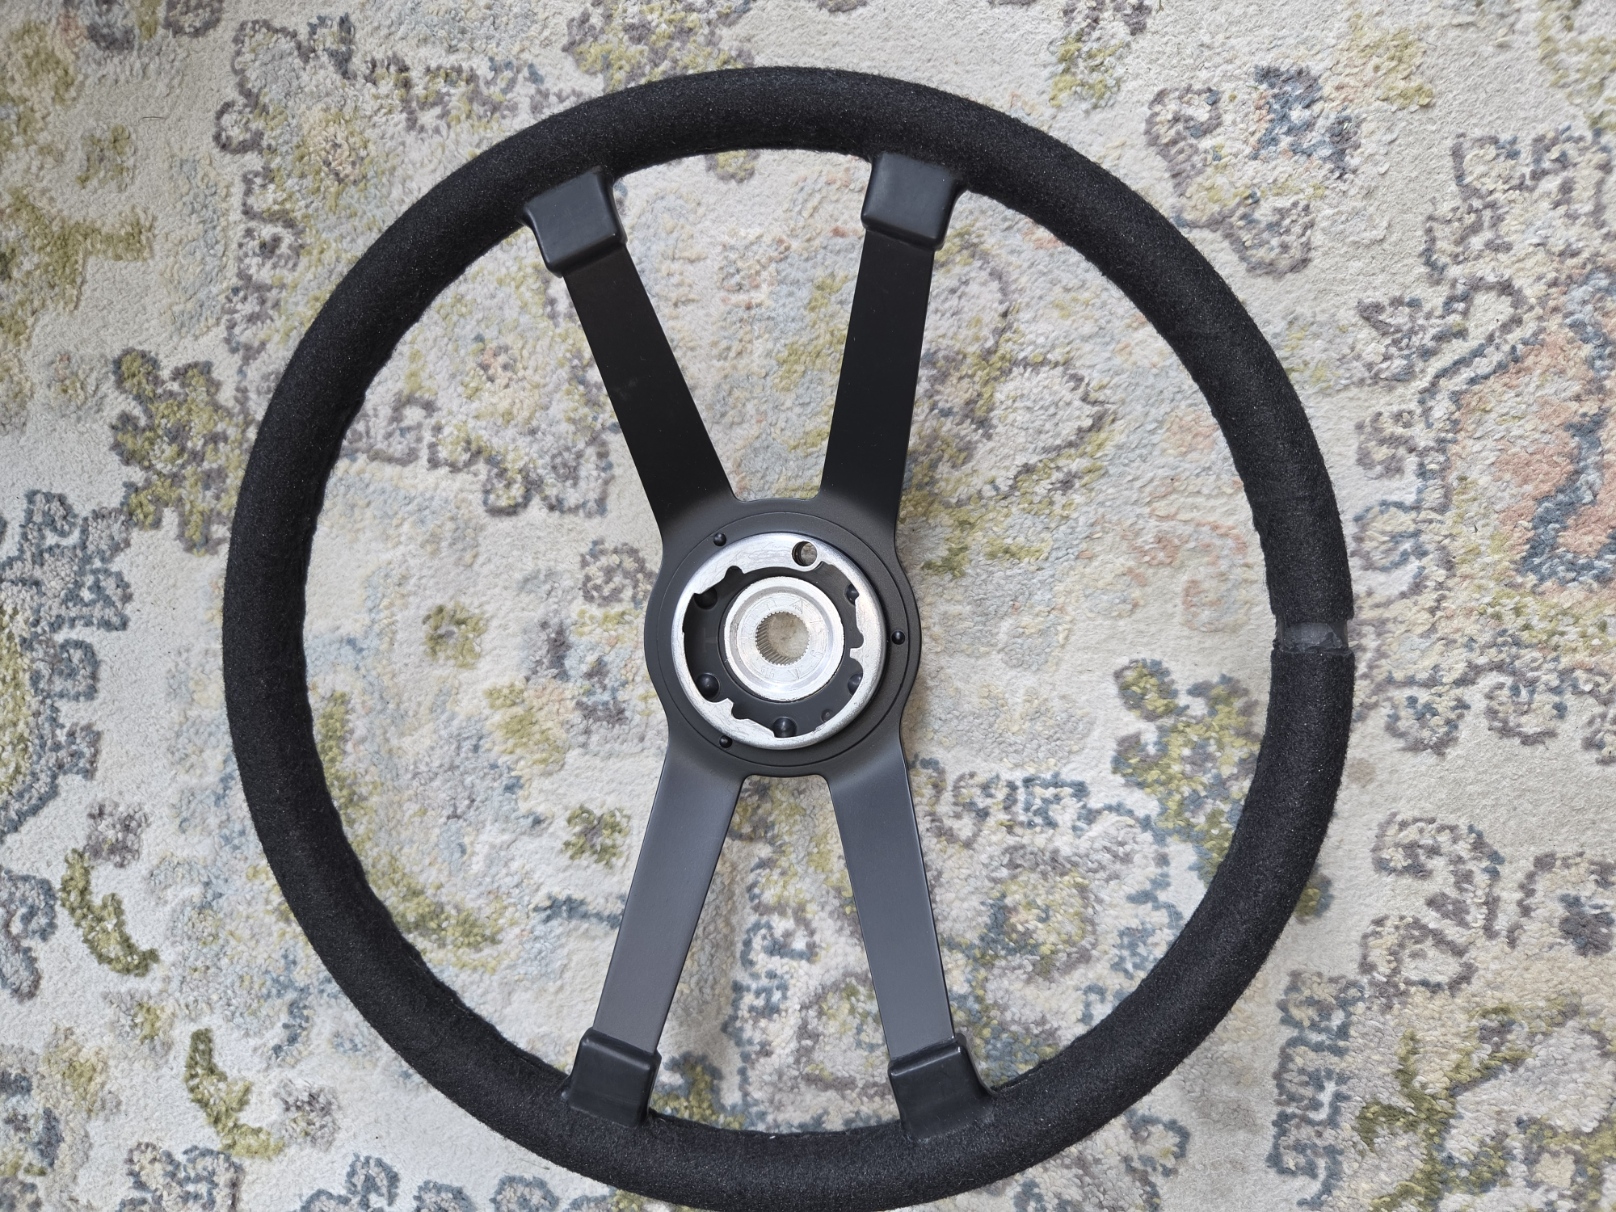
Front view before the leather.
Note the skived flaps on the spokes before I glued them up.
I wrapped the freshly painted wheel to protect it from excess glue before I applied the nylon felt material. I usually use Saran Wrap and aluminum foil for this sort of thing. No foil scratches on my new paint, I went with Saran Wrap for this one.
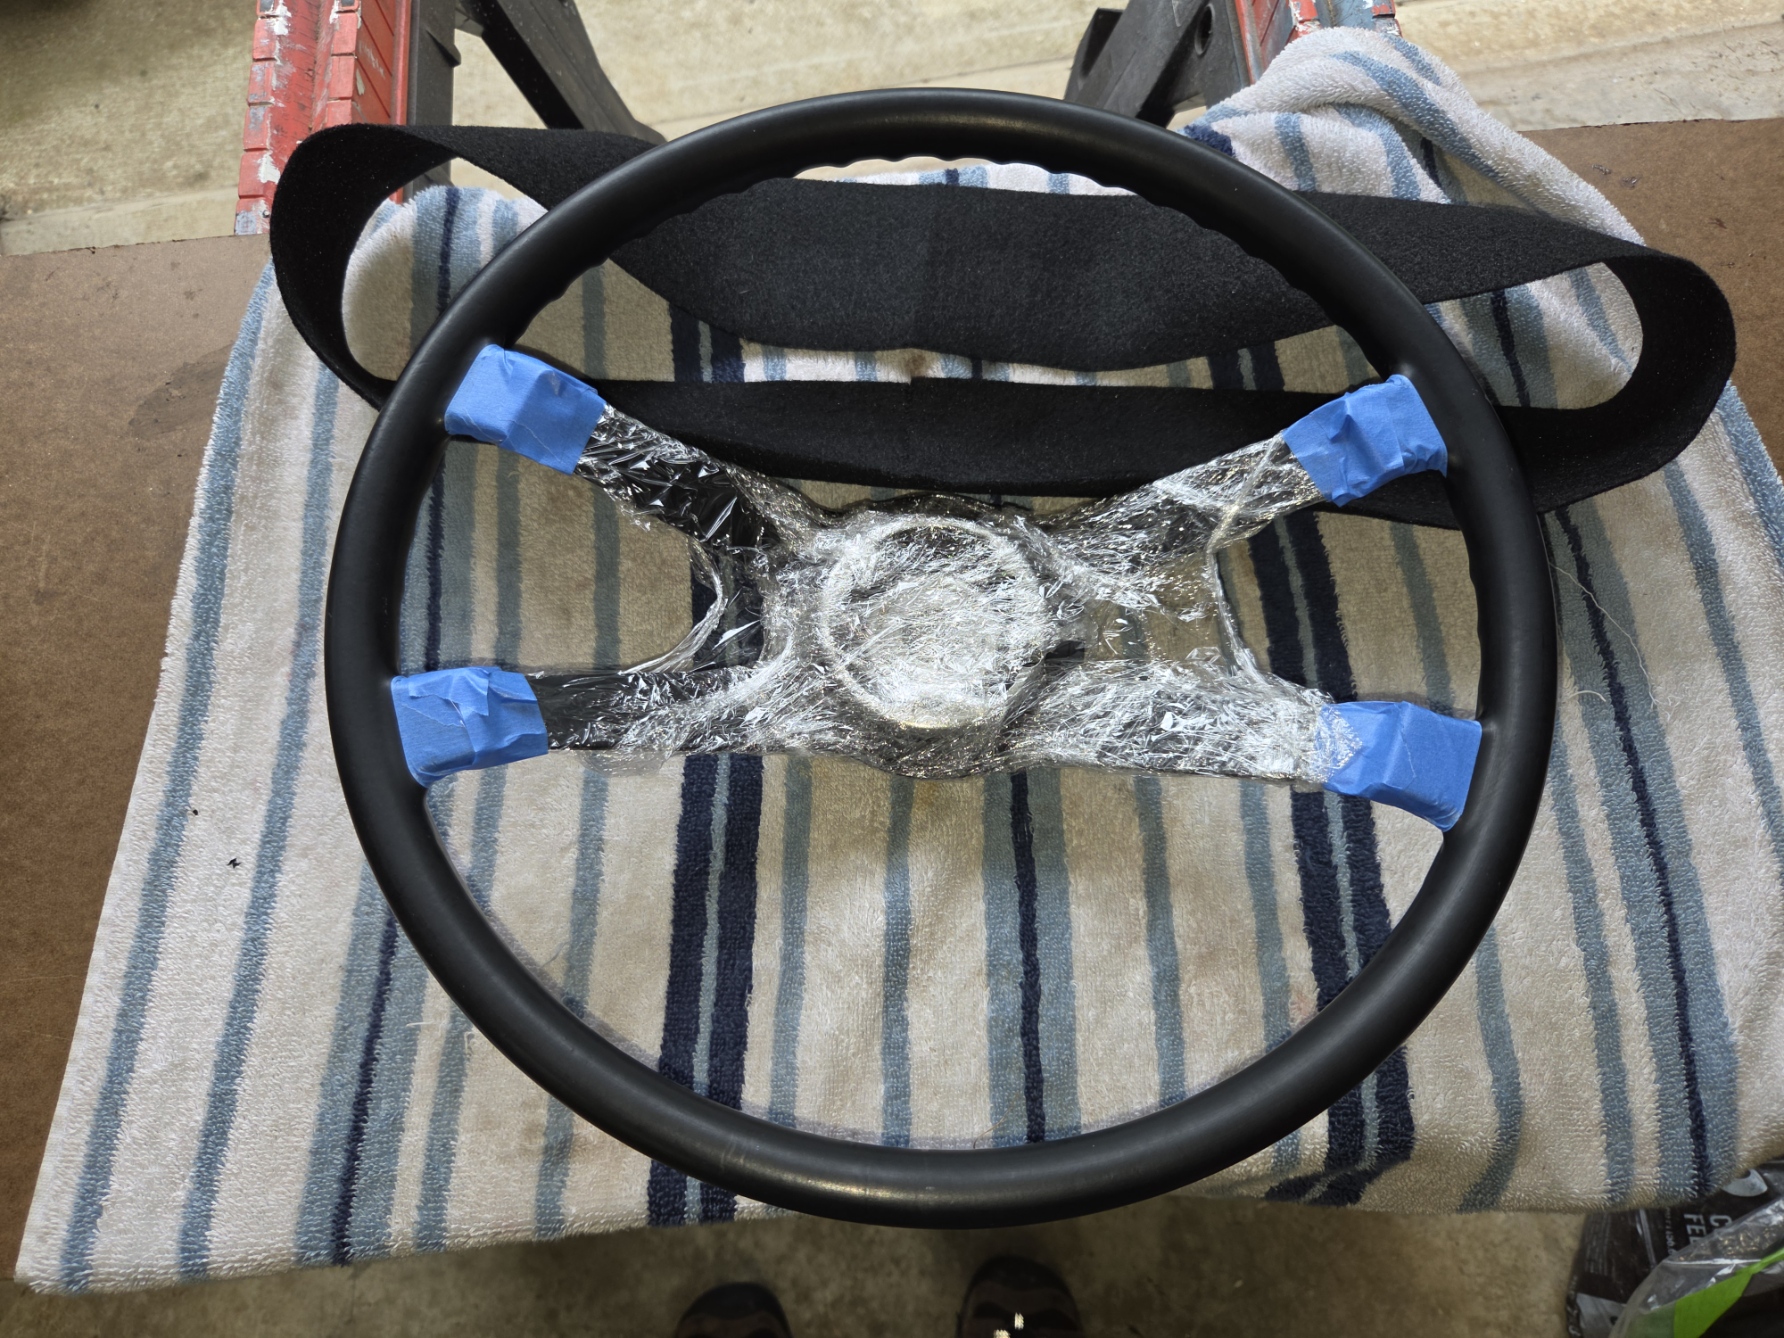
Contact cement is applied to the wheel and the inside of the nylon felt material. We used wax-paper strips taped to the wheel to prevent contact and removed those as we worked around the wheel. My daughter helped me center, stretch and kneed the material around the wheel with termination of the material at BDC. The BDC location was also filed-down (images above) to make room for the leather joining portion of the cover.