Joe's 914 Project
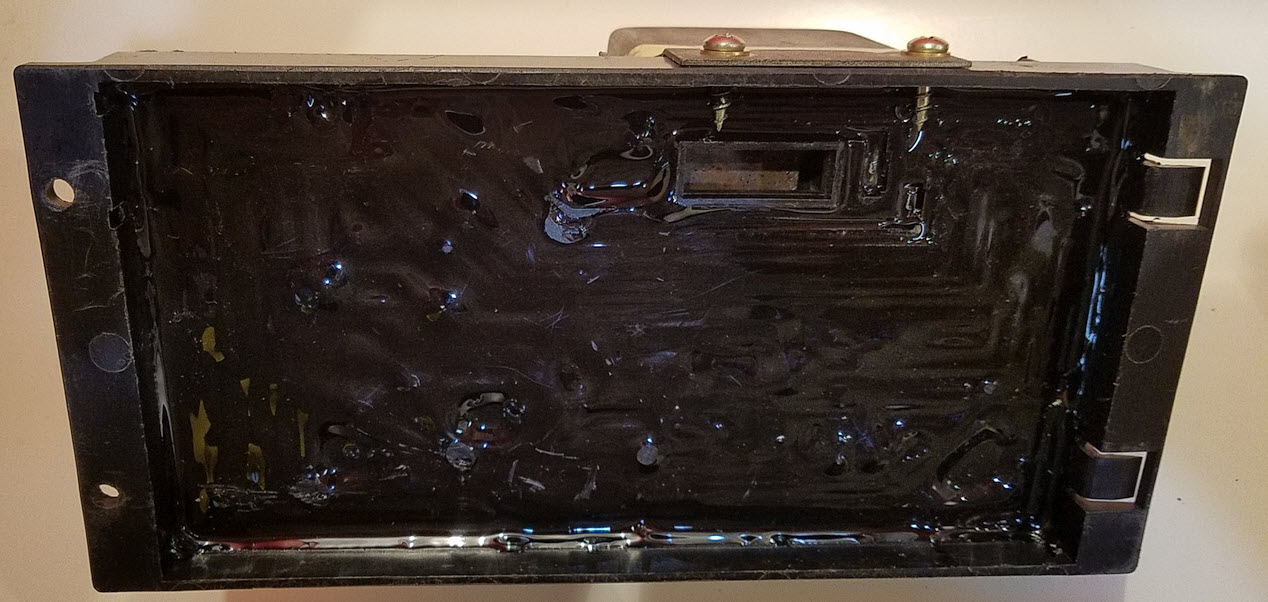
The main relay boards in the engine compartment all have cracked potting compound by now. The copper traces are riveted to the posts and the theory is that these could come loose and cause intermittent connections to occur. I had peeled off the old black potting compound years ago and soldered up the rivets, but I had not done the potting compound renewal until now.
Glue:
3M DP270 potting compound black epoxy (about $35.00 in 2020). Other epoxies or potting compounds will work fine. This stuff requires the gun or you can buy just the hand plunger. Other potting compounds are A+B mixes and are far more cost effective in bulk. This cartridge is 1.64OZ (48.5mL) and you'll need about 1.5OZ of it.
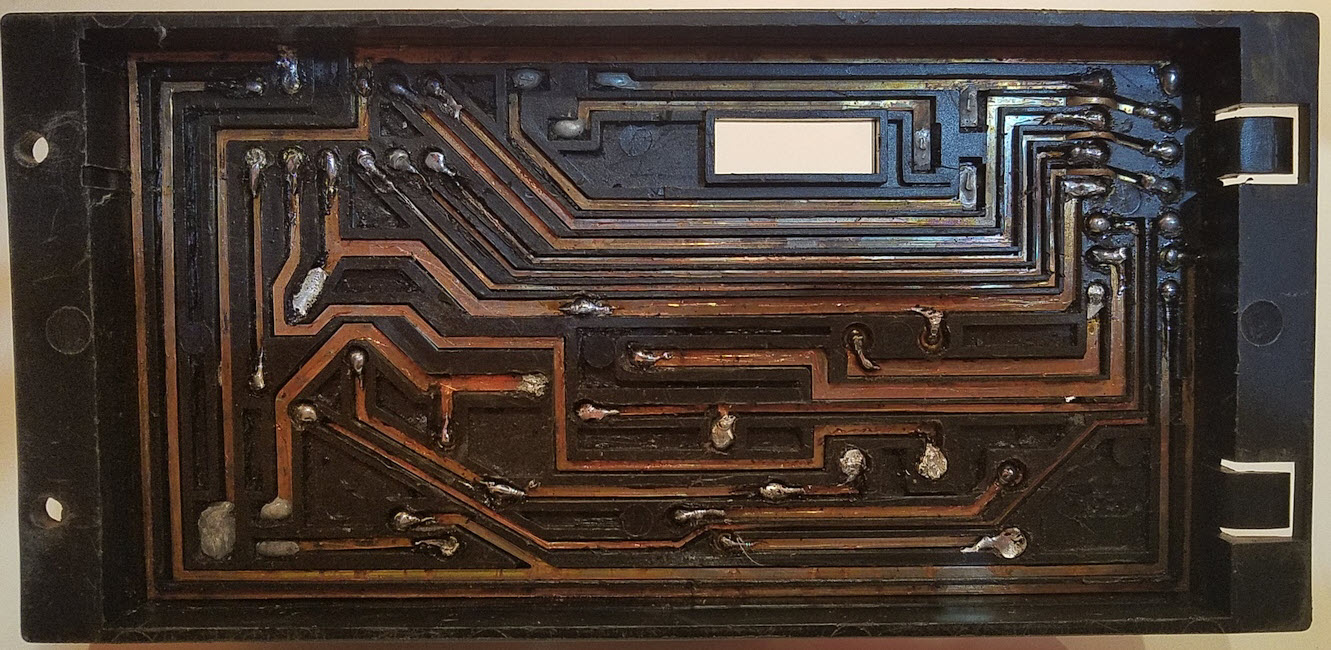
Here you can see the solder and copper traces.
WARNING - Hold the board up to a bright light and look for pin-holes. It could be age, it could be from somebody filing the plug sockets on the other side, etc. You MUST plug those holes. Use caulk, 5 minute epoxy, hot glue, etc. Notice the three vertical solder marks to the right of the vent hole in the image below; those are the three input (female spades) on the other side and these all had holes. DON"T let the epoxy get into any of these.
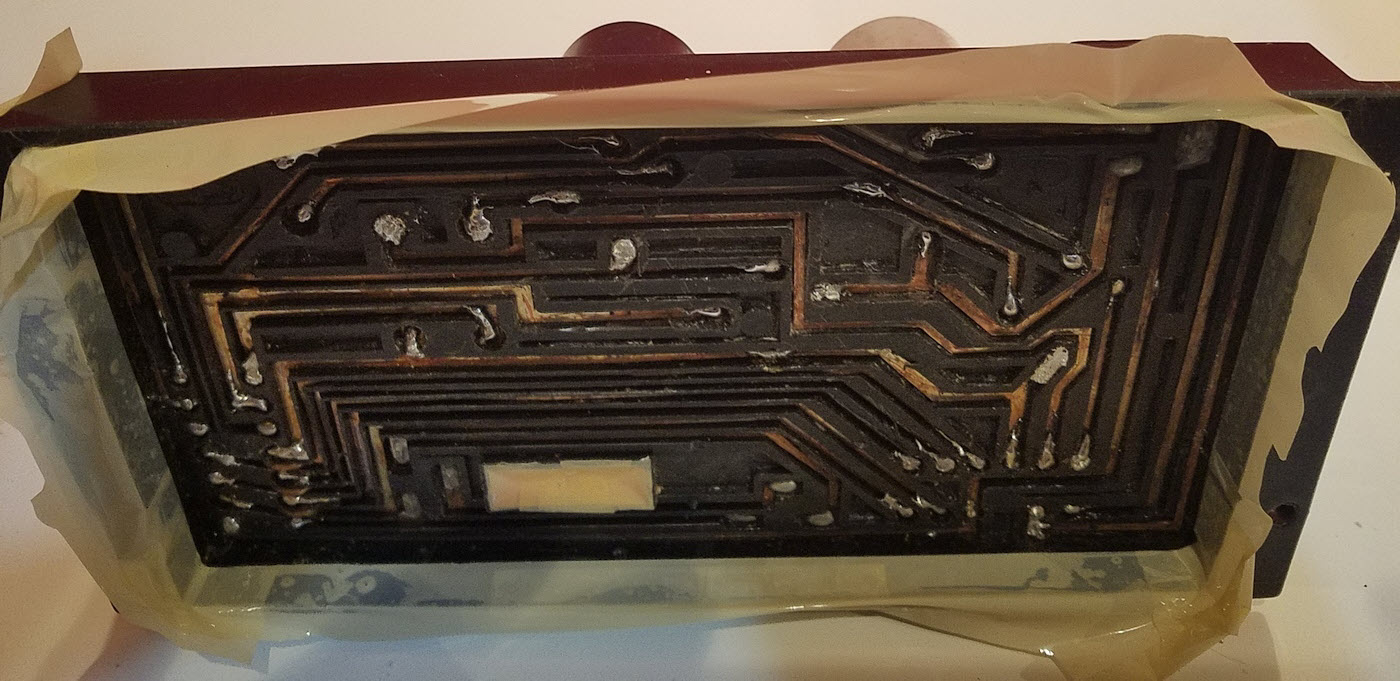
The taped-up board and vent hole. The tape line is easy to see on the inside of the board when you do this. In general, this is a very thin coat. I used packing tape because the plastic comes off of epoxy far better than masking tape.:
The finished product looks like this a few hours later.