Joe's 914 Project
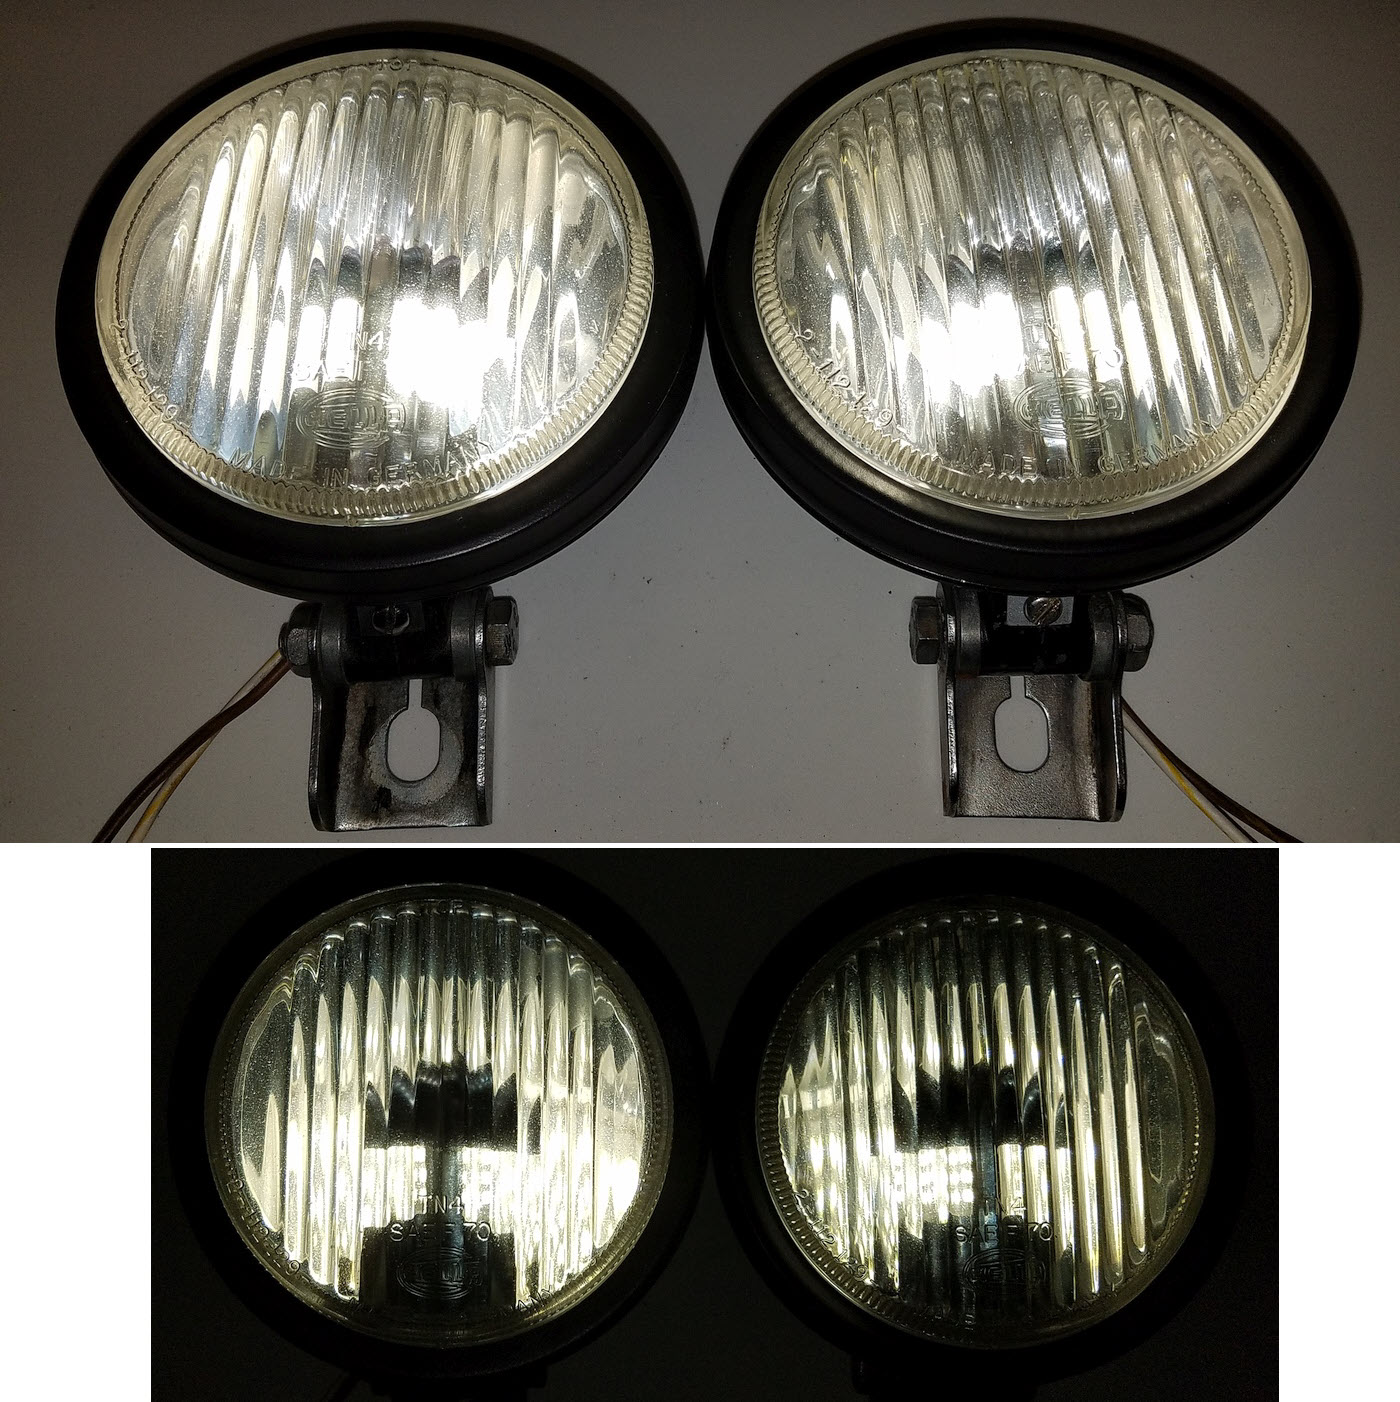
The fog lights were cleaned-up, sanded, sprayed and updated.
Basic Materials:
•Exterior - Gloss Black as done by the person that sold these to me.
•Interior - High-Heat Barbecue flat black
•Reflectors - Inside chrome was OK, the outer edges and internal reflector inserts were sprayed with Chrome Paint.
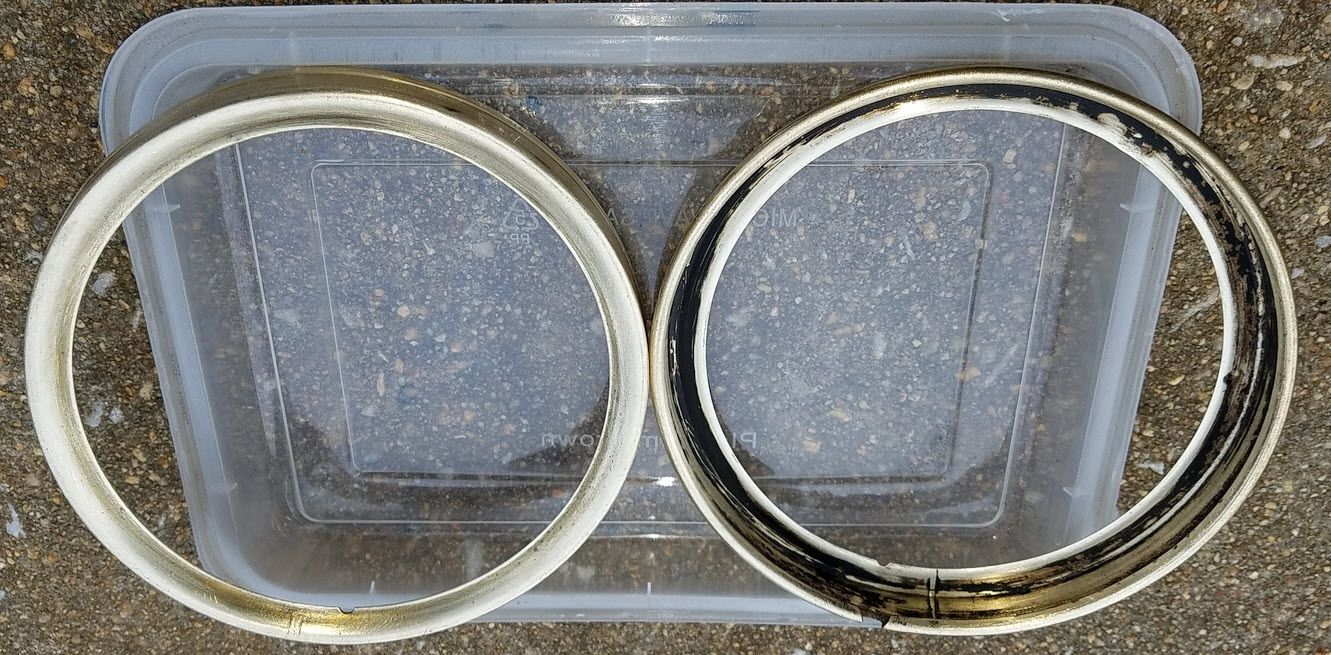
•Outer Trim Rings - Rust-Oleum Flat Black (Industrial Sized spray can)
•Internal Retaining Springs - Rust Converter soaked and then Rust-Oleum Cold Galvanizing spray paint.
•Wire - From 74' parts car using original White with Yellow Stripe and Brown Ground wires to match Frunk wiring.
See Also: Driving Light Bulbs
Outer trim rings are brass and clean-up well with 220 grit Emory paper. Sometimes German stuff is worthy of praise and making these from Brass is one such marvel.
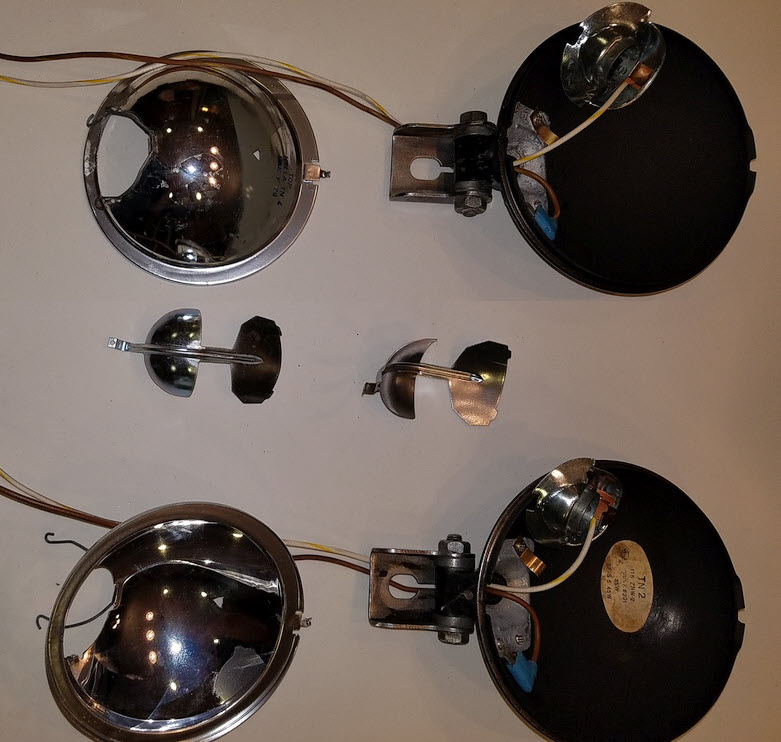
Reflector outer edges were sprayed with a Rust-Oleum chrome paint and it looks far better than I expected. Just tale your time masking the body on both sides. The inside of the cans were sprayed with flat-black high-heat barbecue paint. Again, mask the outer edges and alloy Ground area with some care. The original sticker remained in the one can and it came right off, so I glued it back-in once it was painted.
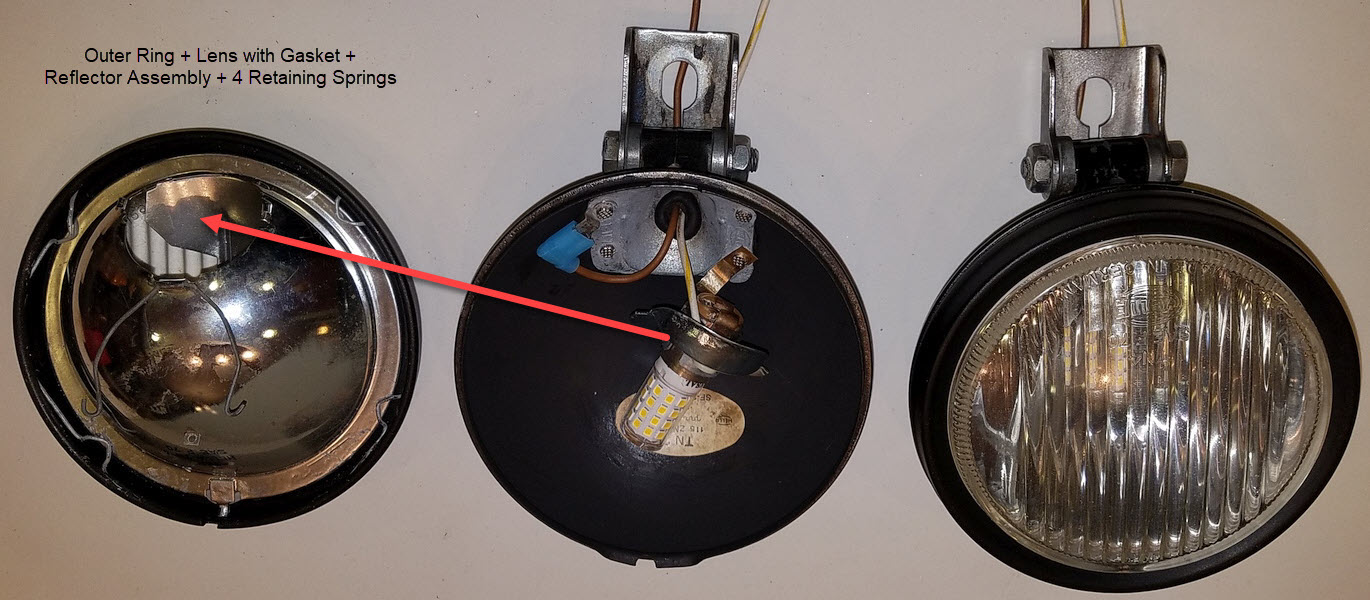
The center reflector inserts (middle of the picture below) were not chromed and were sort of flat silver. They were removed and sprayed with the chrome paint and look better that expected now.
HINT - When removing those inner reflectors, lift out the two tabs near the outer edge (slowly) and reassemble by putting those two tabs back in last.
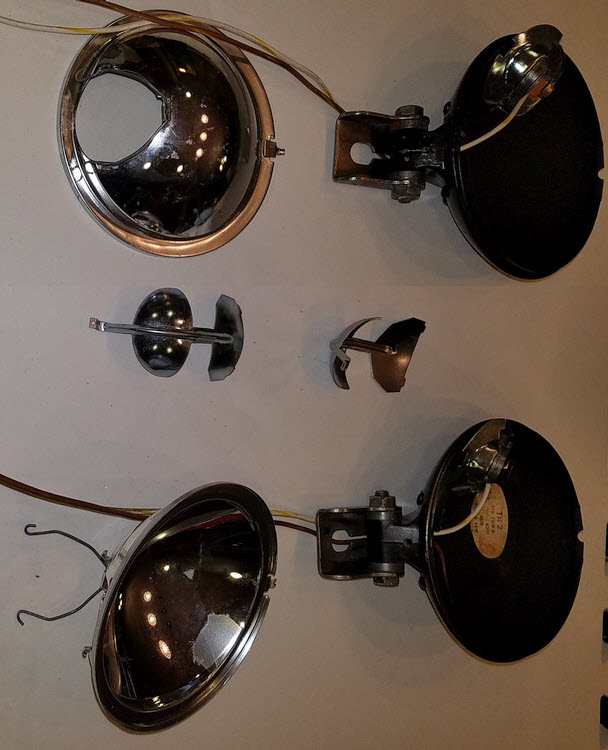
Same at another angle:
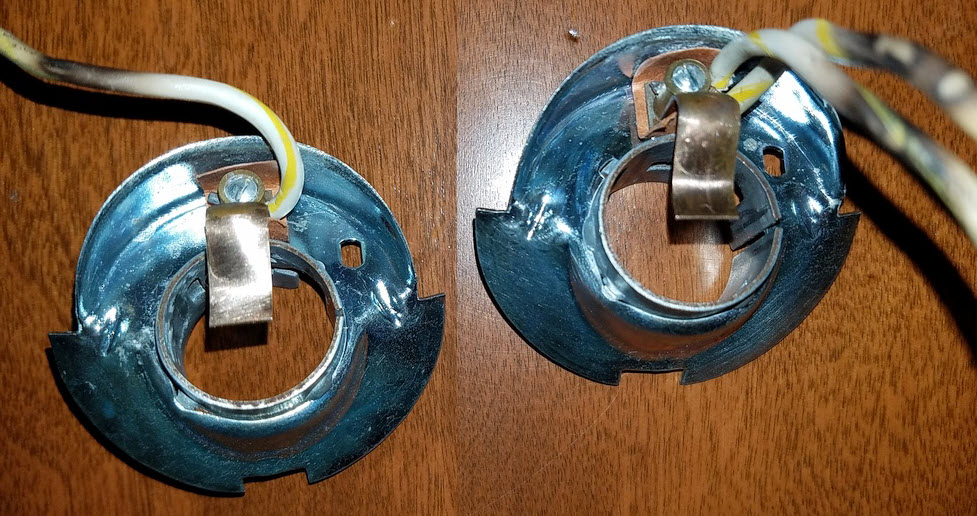
The bulb bases were in great shape. The set-screw is isolated from the base. Notice the old burnt wires; they were stiff too. New wires were solder-tinned before insertion into the set-screw and the Flag connector.
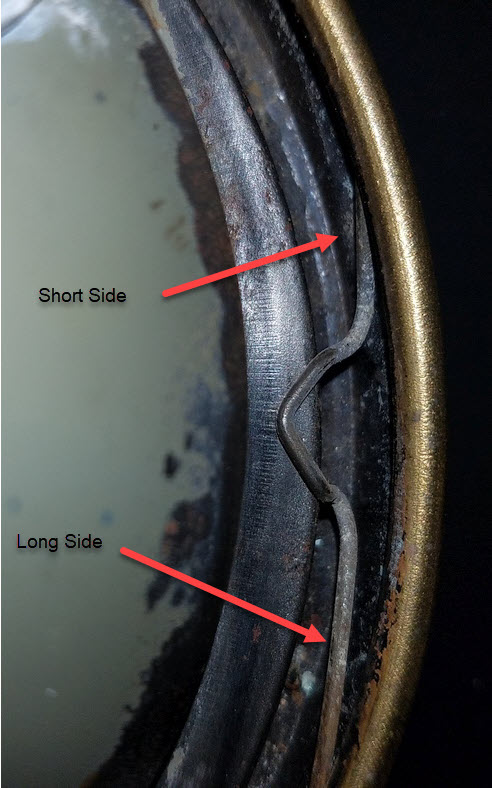
The lenses + Gasket + Reflector are held into the trim with four (4) spring retainers per side. One is shown here to illustrate the position. Insert short side first and then the longer side provides some leverage. Slide in and down with a #2 flat-head screwdriver or socket extension.
NOTE: These things will FLY if you slip-up on the in and down part, so work in a small space like a closet if you can. I wore a face shield and put a blanket over me and the work area and YES, two of them went flying. 914Rubber.com has these if you need them.
I positioned the retaining rings as shown so that there was no retainer at the bottom to sit in water and rust in the future if these fill up with water. The gasket around the lens is a very soft silicone and you MUST be sure that it is over the glass tip at the TOP and cleanly seated in the reflector before putting it into the trim-ring. The home-made LED Bulb conversion is covered in another subsection.
NOTE: The glass and brass tbs for the electrical base and the ground tabs were polished-up with Bar Keeps Friend. That soft-scrub cleanser is the recommended cleaner for acrylic tubs and it is safe on car headlight protectors, glass and stainless steel. A super-cheap and awesome product to have for your polishing needs in the kitchen or garage.
Pre-Assembly of the Trim piece, front and back:
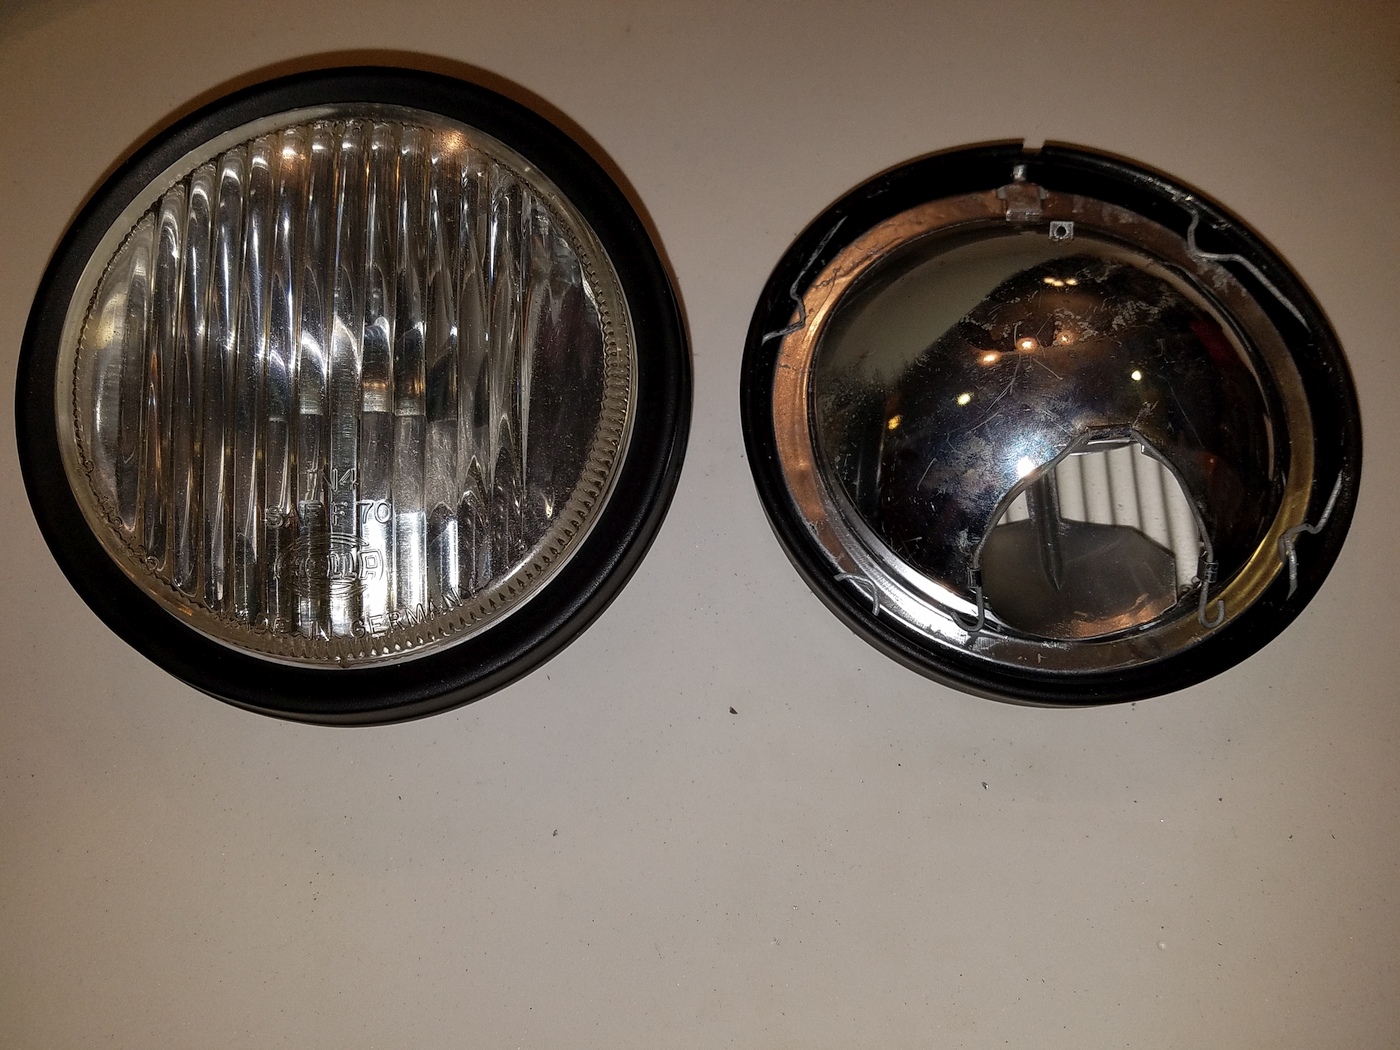
Assembled (final retaining tab and screw not yet installed). The wires will have 3/16" outer black PVC housings from inside the rubber grommet up into the Frunk. The flat-black paint on the trim-rings was two cots of Rust-Oleum flat black (industrial-sized) can spray and it came out "flawless." Wiring Harness items re covered in another sub-topic:
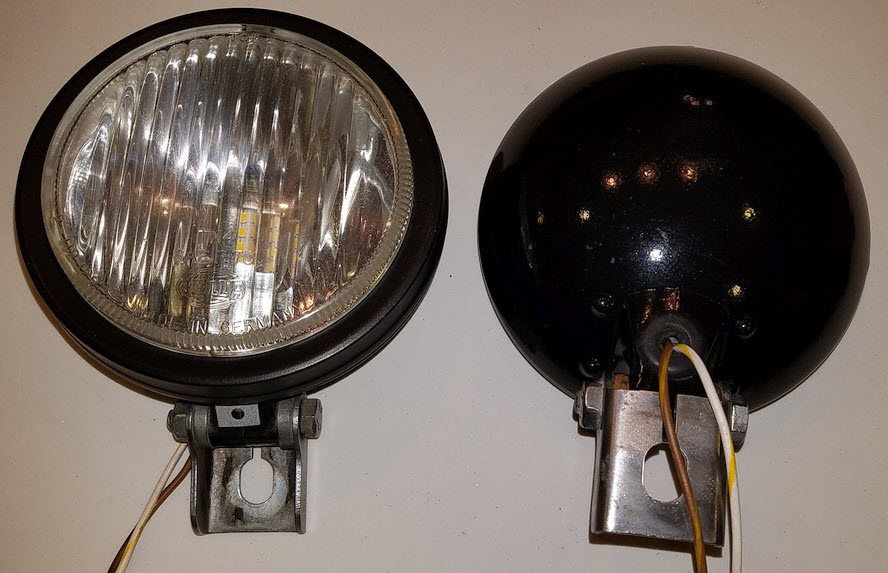
Illuminated with a 12V Wall-Wart Brick (much happiness and grinning not shown):