Joe's 914 Project
Driving Lights Restoration and Assembly
The pre-1975 car (red paint over bubble-bum blue) had mounts for the horns and driving lights. Not so in the 1975-1976 cars.
Markings are noted from the 1975 as a reference:
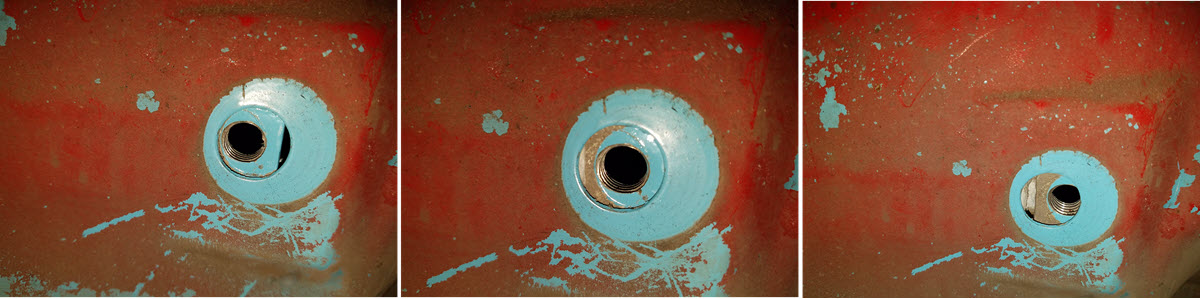
A view of the front bumper area of the 1974 car. Notice the highly rusted bumper mount dog-bone area. Blue bolt hole at the top is from the horn mount. Bolt on left is the horn. Bolt on right is the fog/driving light mount.
Horn Mount is M6 bolt.
Will use Panel Rivets (shown and discussed more below) to make the holes threaded.
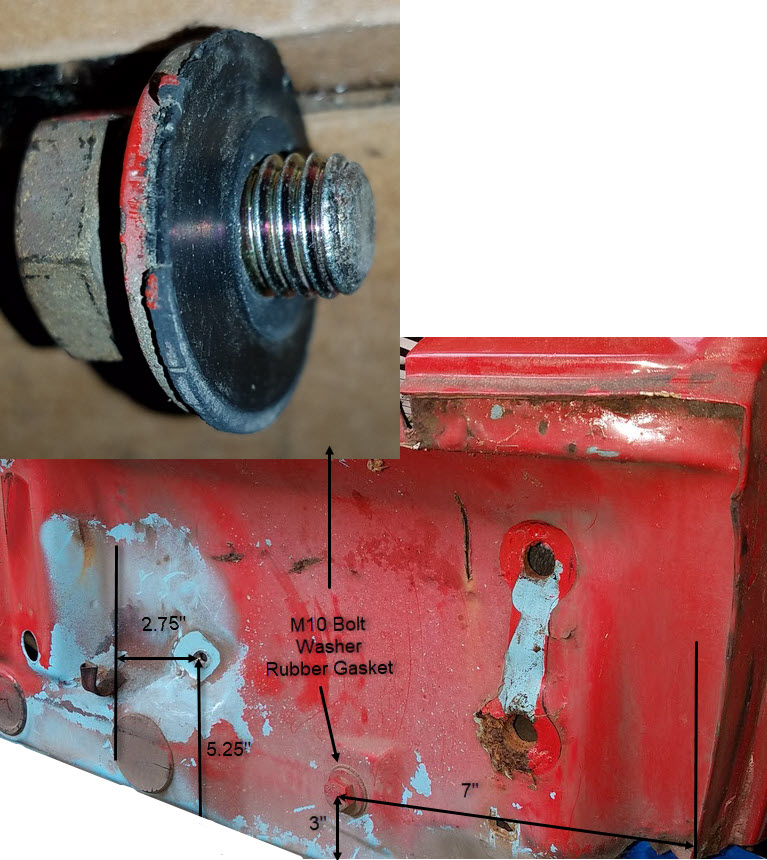
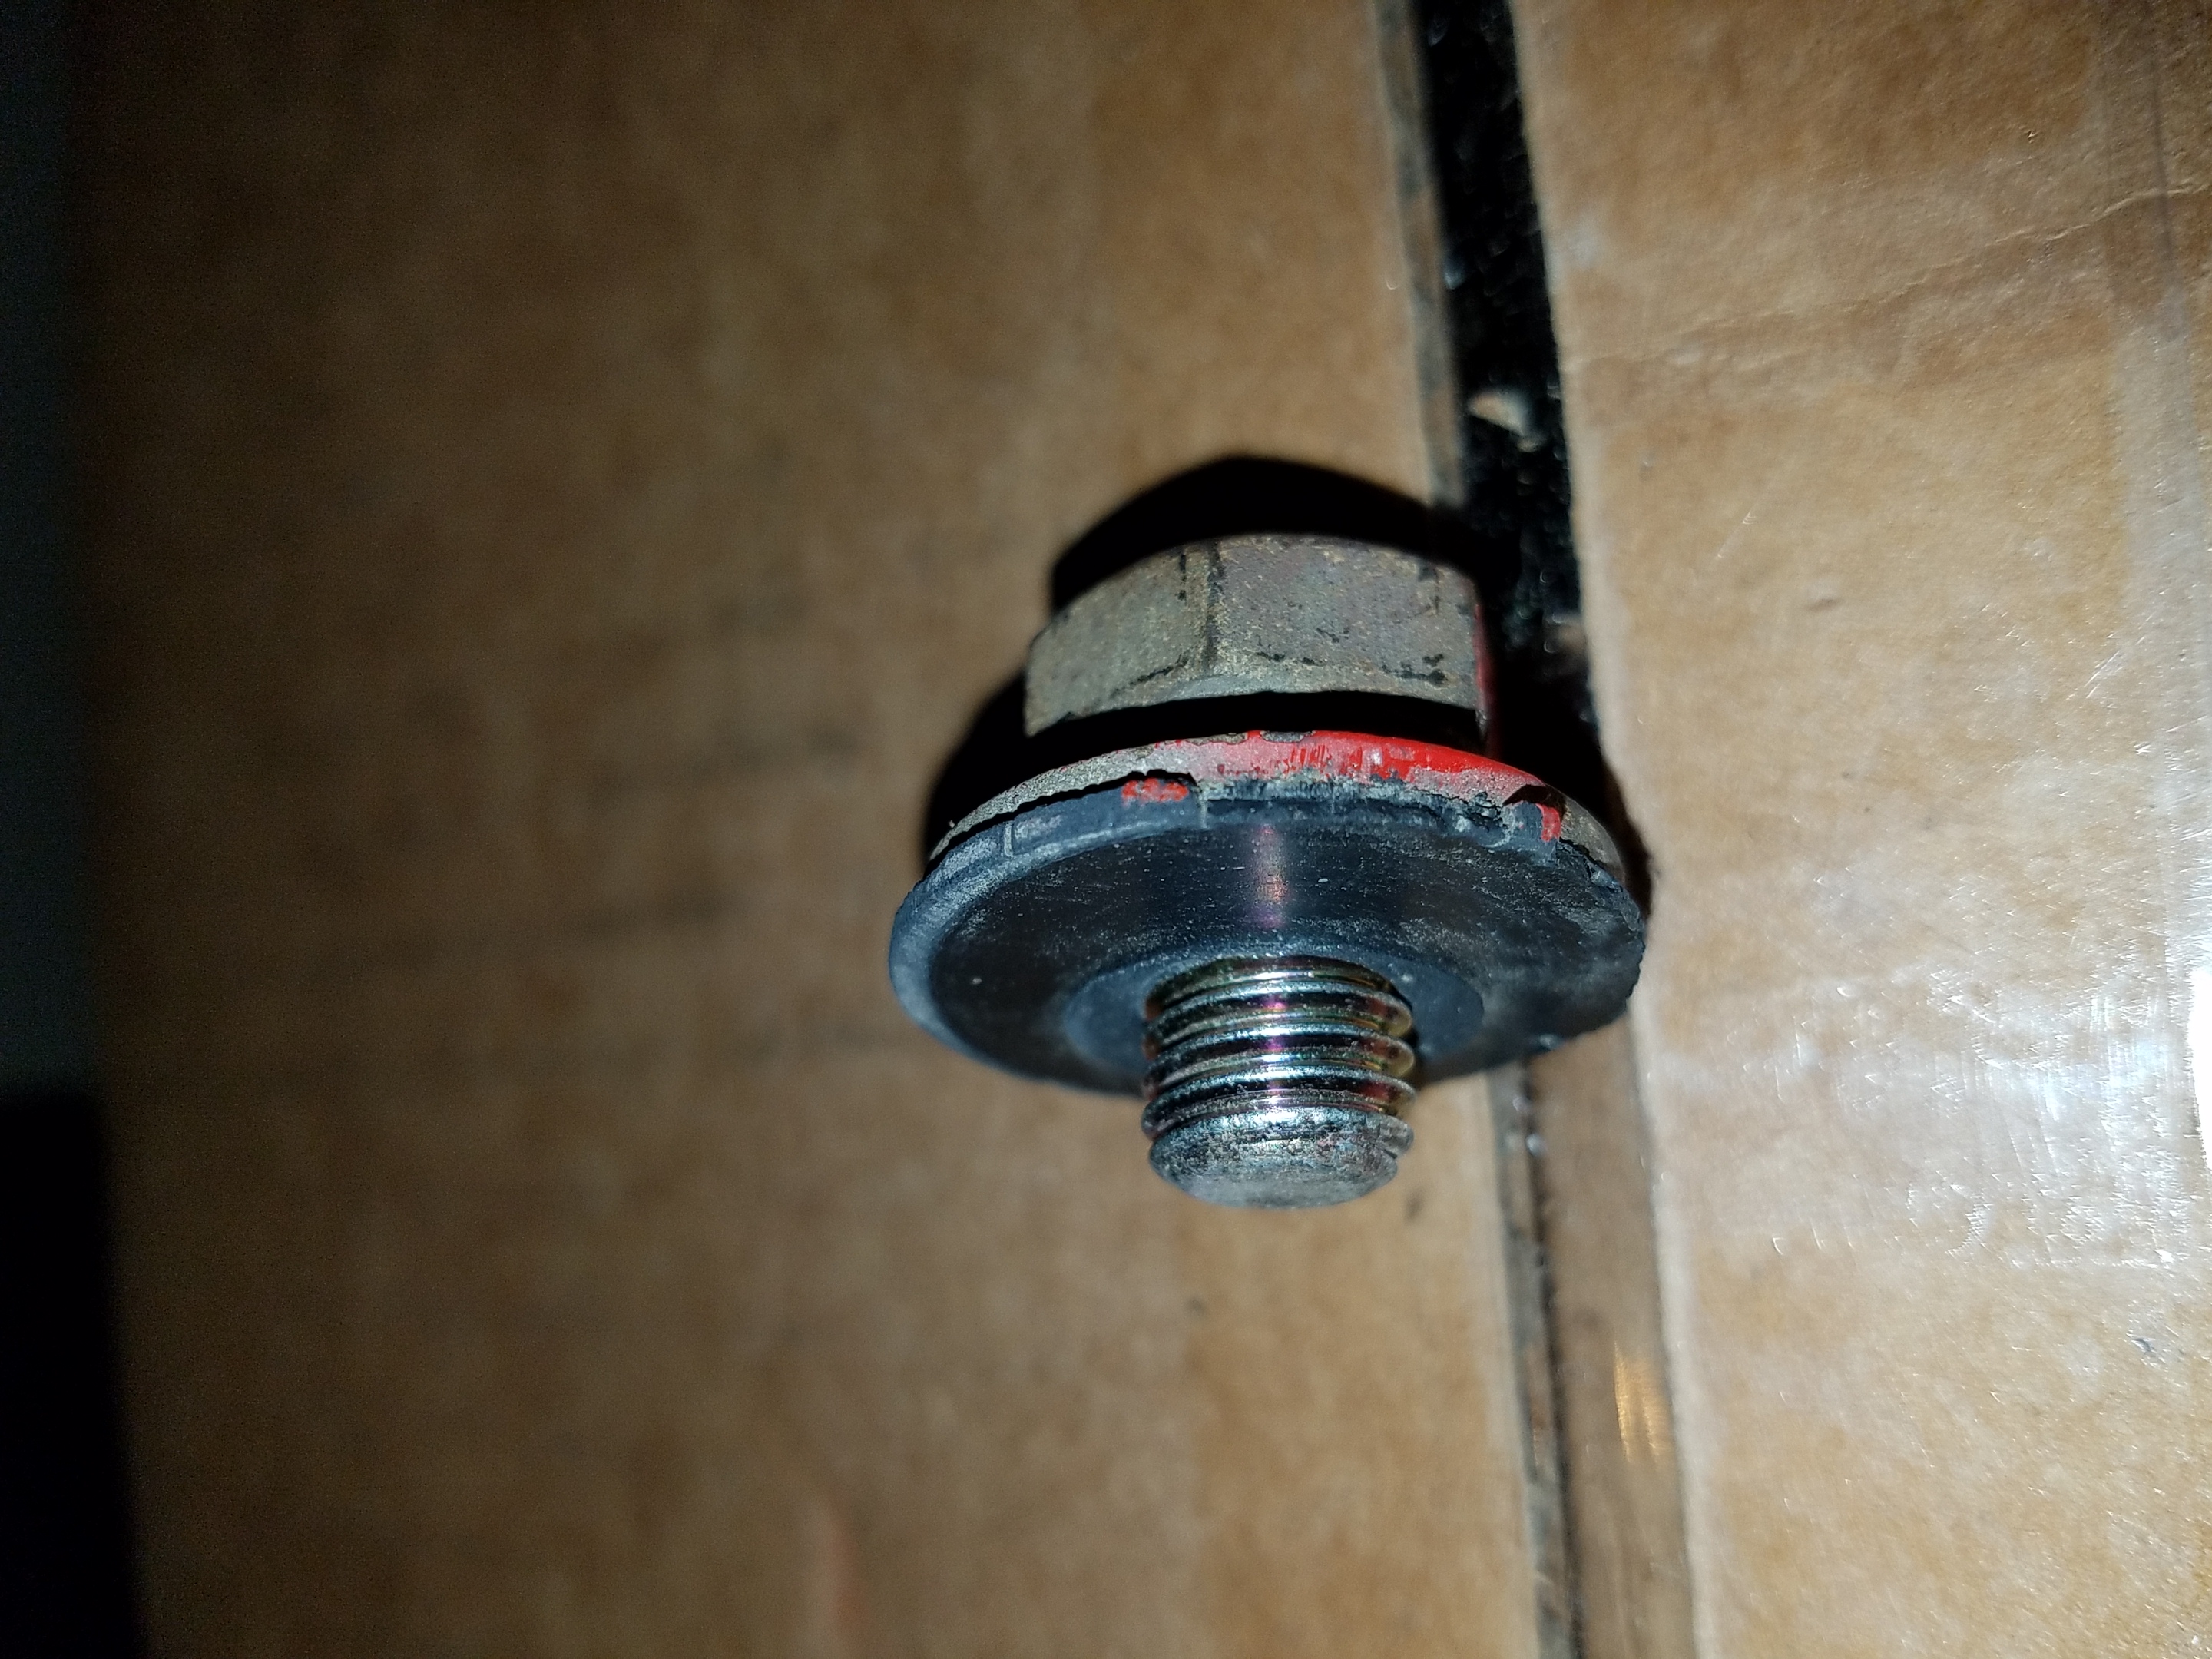
The clean blue hole below was form the horn mount. The bolt shown is for the fog/driving lights.
This is straight DOWN into the headlight bucket that has been cut-out and the main rust triangle shape is the floor pan. Except for using a cell phone to get into there, you're not going to be able to see this. The FRONT of the car is to the left and you can see the internal brackets that hold the nuts for the horn (lower square nut) and then the headlight (upper nut retaining pocket that allows some horizontal alignment -- see images of that below) for the driving/fog light. We can't get to this area in a 1975-1976 car and these nuts are not in the 1975-1976 cars. I'll be using Panel Rivets that are more or less the "Nut" version of a Molly bolt because they collapse and hold much like a Molly. Easy to get at supply houses like McMaster Carr, Fastenal or just grab some on eBay.

The 1974 and prior square nut mounts for the headlights slide left and right by a cm to center them with the driving light grill openings ...
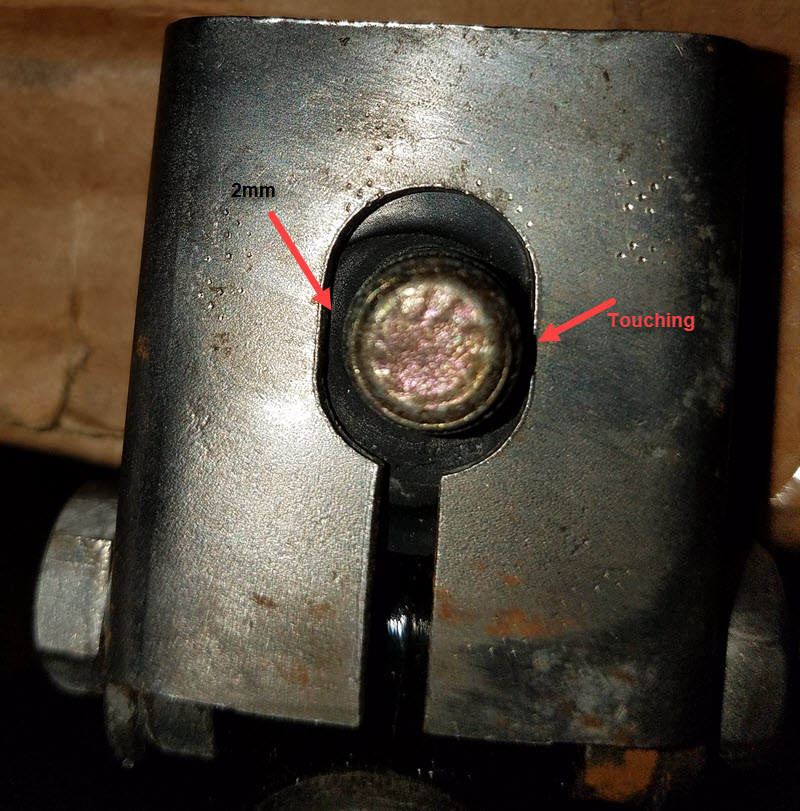
The driving light mounts have only 2mm of play as seen in the image below. Vertical alignment on the bracket oval hole is flexible. Based on the original sliding nut play and minimal play in the headlight mount, it is going to be best to mount the bumper and then drill the horizontally centered holes for the driving lights.