Joe's 914 Project
The 1975 car came with one key. It happens to work on the doors, trunks and glove box too, but the locks were stiff to turn. Black dust encrusted grease needed to be washed-out and refreshed.
The 914.com site has a few great posts on rebuilding / re-keying the locks and I had done that on the 1974 car. In this case, the tumbler combinations were OK, they just needed some cleaning and the doors and hoods were apart.
▪Electrical contact spray cleaned up the gunk. WD-40 does a nice job on grease removal too, but it is not a good lubricant and I do not own a can of that stuff.
▪TriFlow for the tumblers and springs (your local bike-shop has it).
▪White Teflon grease (your local bike-shop has it) for the spring end wit the screw and actuator end.
▪The inner "seal" of the lock cylinder to the door handle was disintegrated on both door handles.
•Some research uncovered that AA and 914Rubber.com have aluminum bushings to replace those or you can also find silicone band versions.
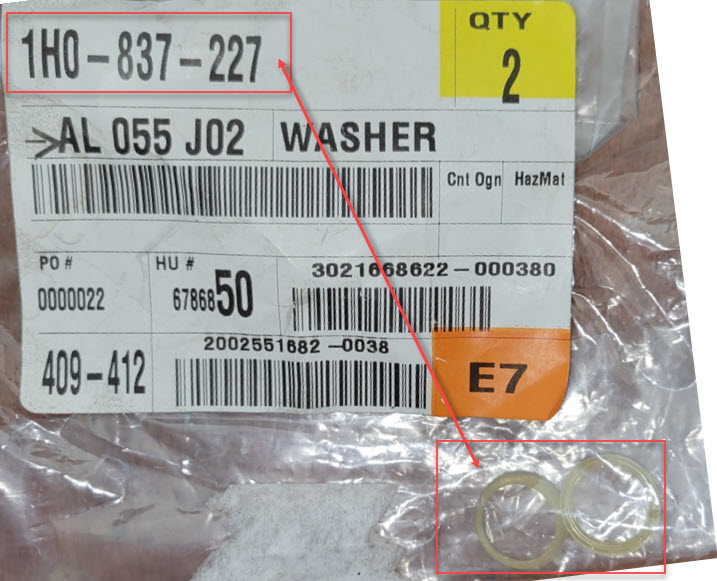
•I found a substitute for the original seal with VW part number 1H0837227 (VW Golf, Jetta, Cabrio - 1993-1999) and that part is NLA / Sold-out, toast. You can find them on eBay and I found two of them that way.
•You can also seek out the Door Lock Cylinder Repair Kit Front Left / Right Replacement Parts IV 4 Type 1J1 MK4 1997-2005, IV4 and find a kit that has the nylon sleeve on eBay or Amazon, etc. Install with some white Teflon (bike) grease to assist in the sealing.
The lock Seals:
I'll have more keys made, including a Red "Valet" key (the key has an extra slot in it and there is one lock wafer that allows that to pass-through for the ignition and doors, but not the glove-box or trunk locks). The Red or Black key cut patterns are identical. A local locksmith had a real shop and they cut my to blank keys for $10.00.
Setting-up Tumblers Using Just a Key as the Guide: If you have a good key and working locks, then you can re-key other locks to it with ease. For example, you might want to leave the ignition key alone so as to not need to remove the steering wheel, turn signals, harness connectors, etc. and then make all of the other locks work with that key.
The trick here is simple. Once you insert the key, the correct tumbler plates collapse into the cylinder body (this is how you should disassemble AND assemble the lock cylinders). But if the plates (1, 2, 3, 4 and the Valet plate) are not correct, they will not collapse. You can swap-in other plates until they all collapse and thus the desired key become the guide to do this. Once you have the plates collapsed, you should be able to get the plate numbers (1, 2,3 ,4 - if they are not worn-down) and replicate that pattern to the other locks, or continue with the trial and error method of what plates are not collapsed into the cylinder body.
▪Driver's door had stripped and drilled-out mounting holes and an after-market side view mirror with sheet-metal screws. Those sheet-metal screw holes were welded shut and then barrel nuts (Riv-nut ends) were welded to the inside of the door at the original locations.
▪Bottom of door had minor rust holes reamed-out and then welded up.
▪Inside of doors were hand sanded with Emory Cloth and then all seams treated with POR15.
Inner door before sanding and POR15. Note latch orientation. Put latches and door strap and inner door lock rod back in door first on reassembly. Left is the top of the door where the glass glides through and yet surface rust is across that. The C shape of the door top holds moisture. This was all sanded down and painted with POR15 to preserve the door for the future. The POR15 went cross the inside of the door on all sides and the top and bottom were treated to the beams (about 4-6" ). In the two pictures below you can see the reinforcing beams that became part of the doors after 1972.
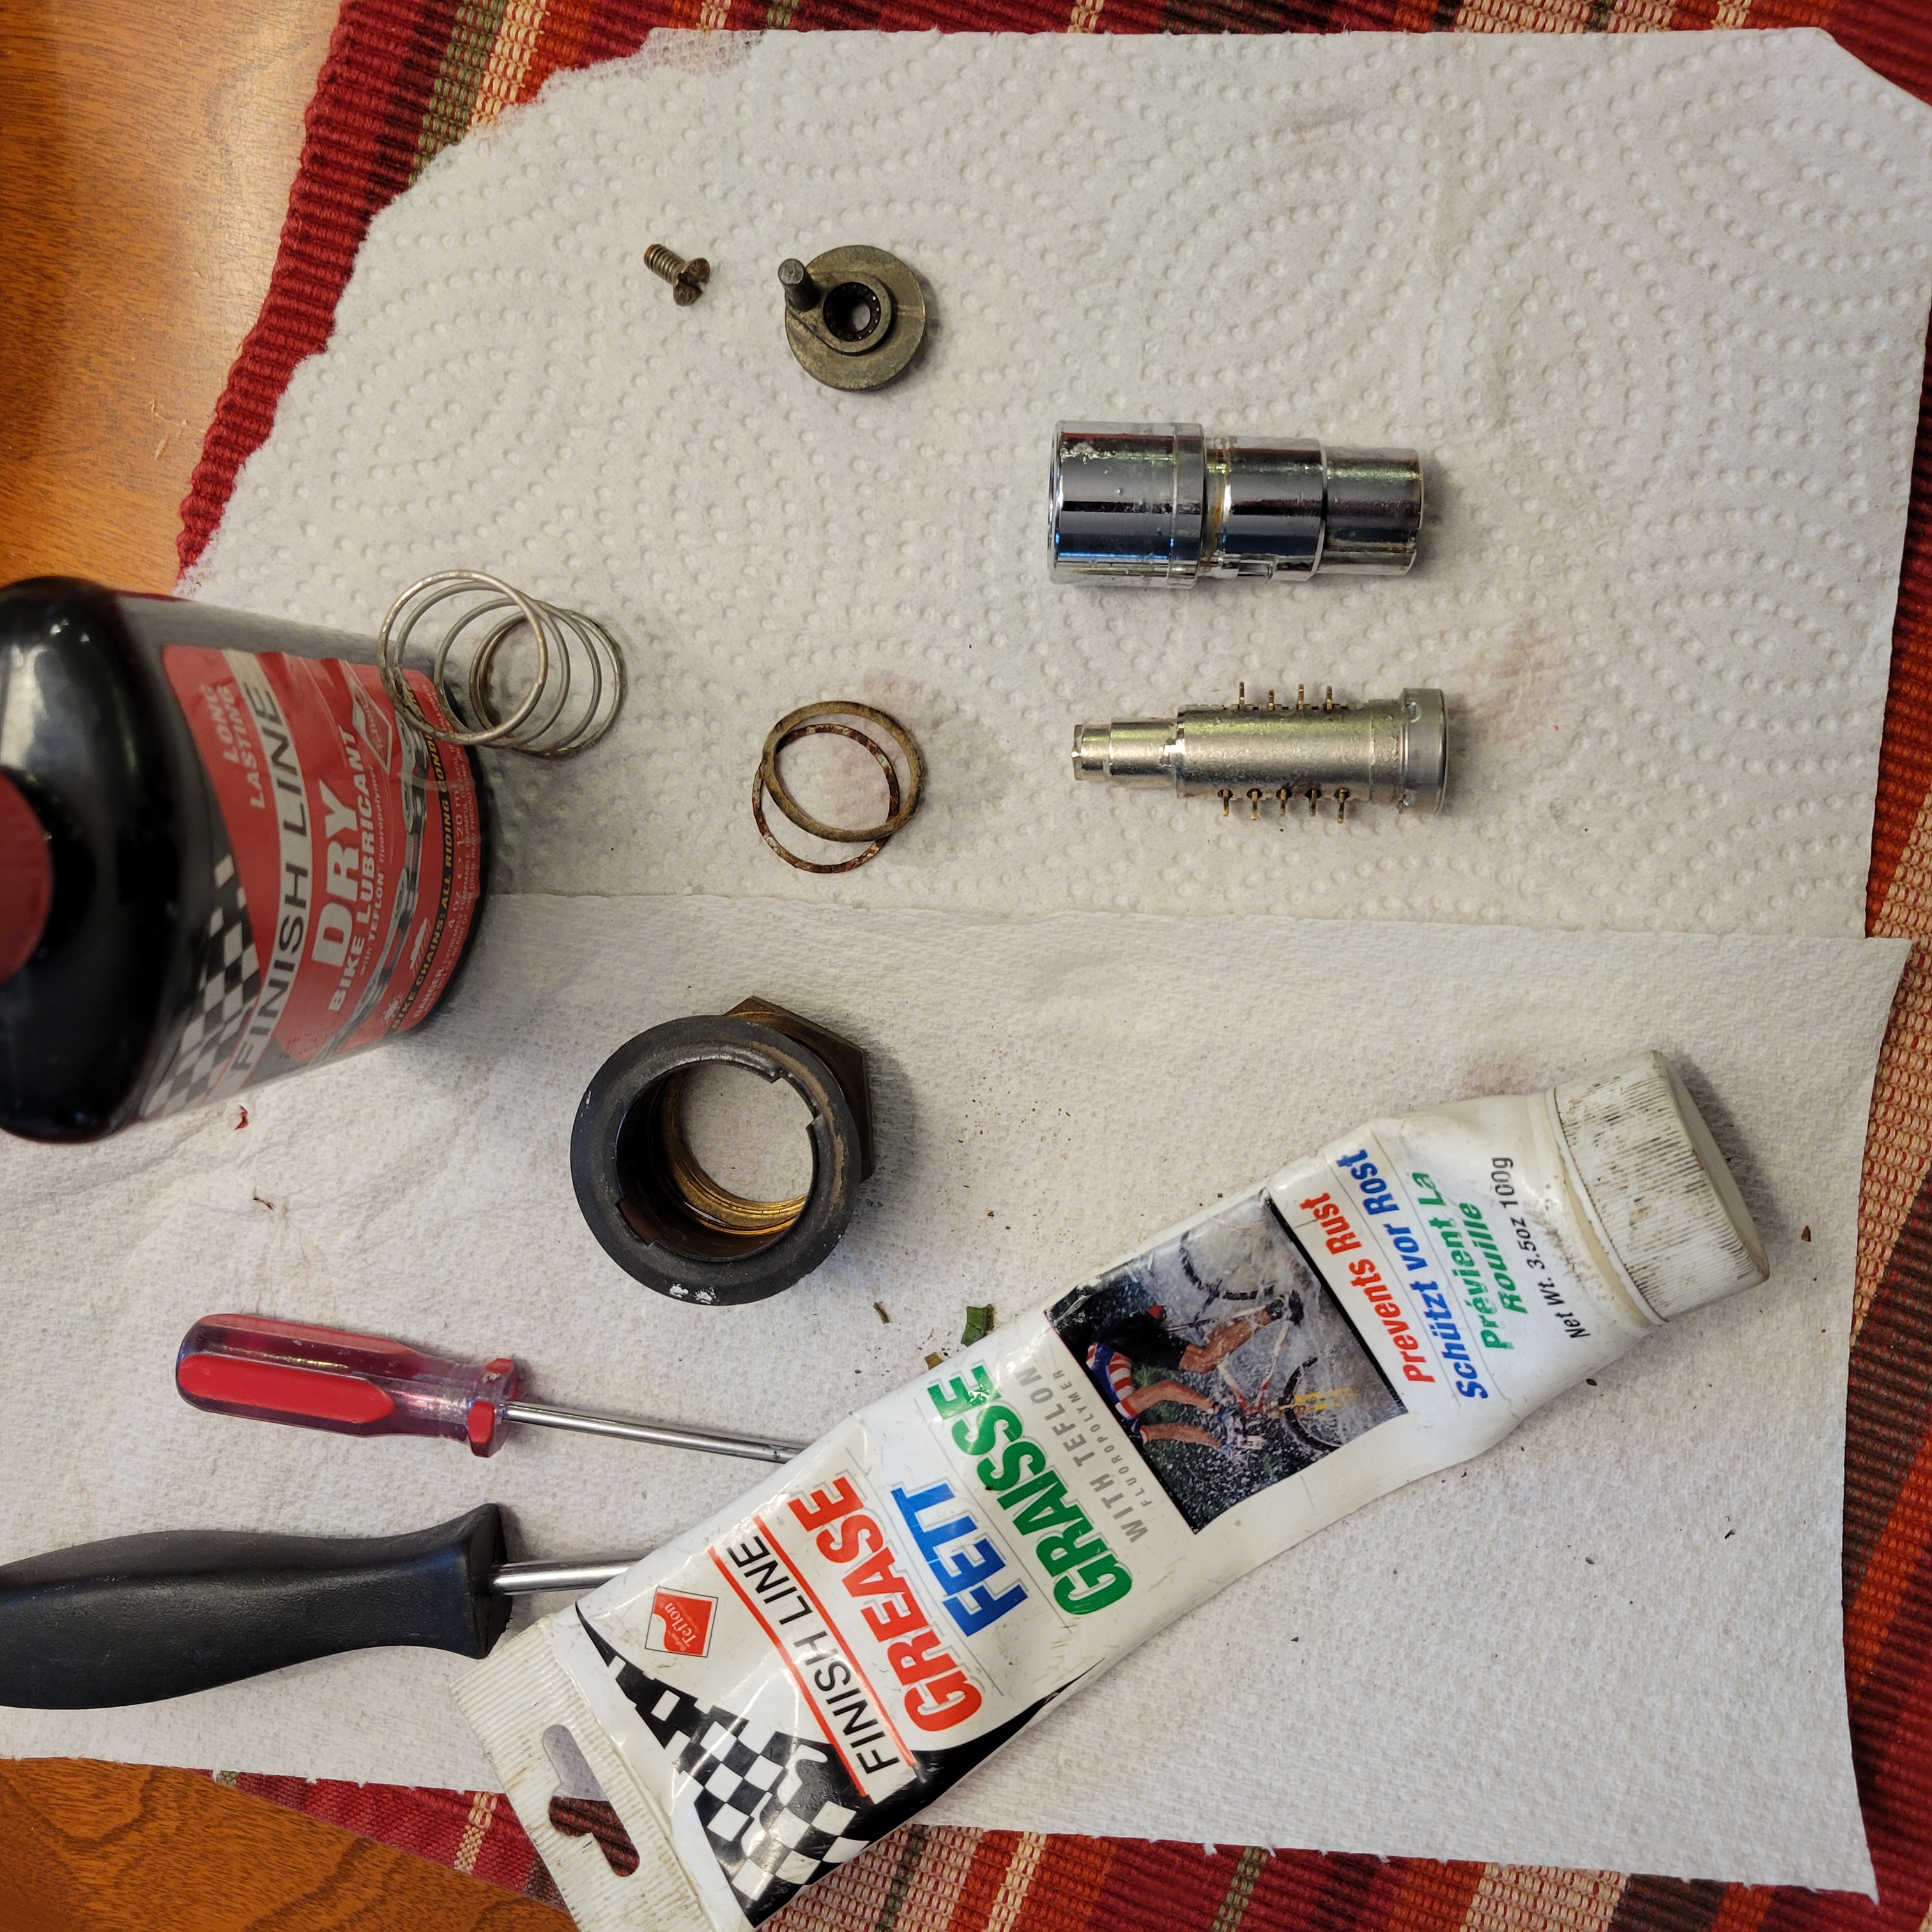
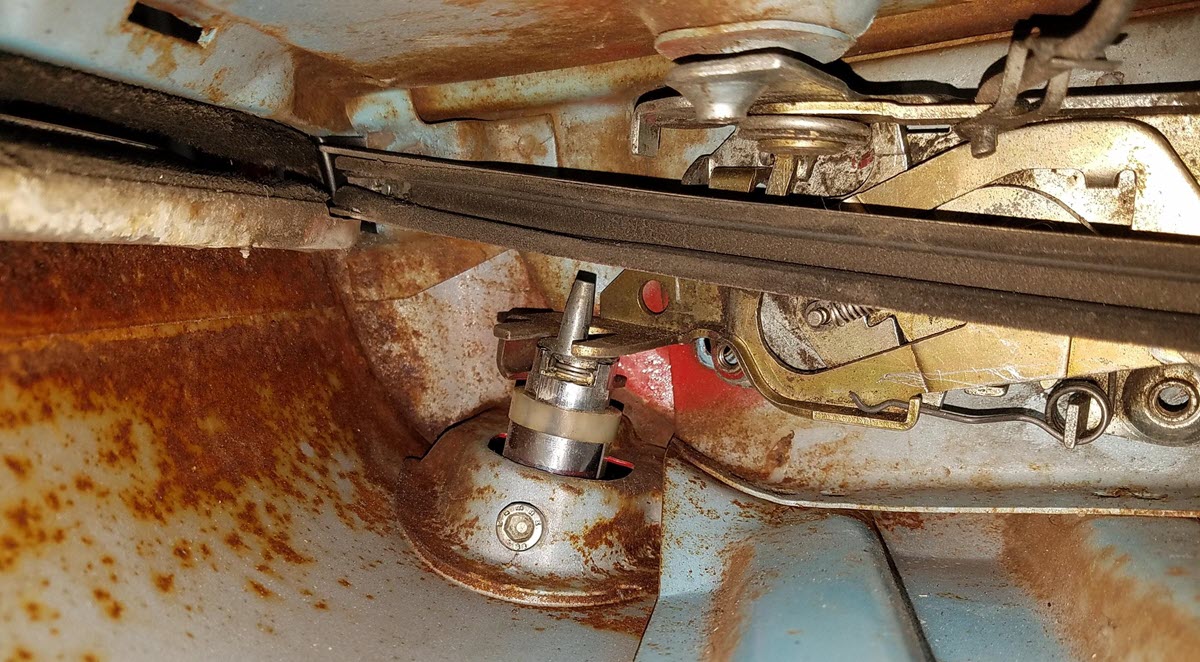
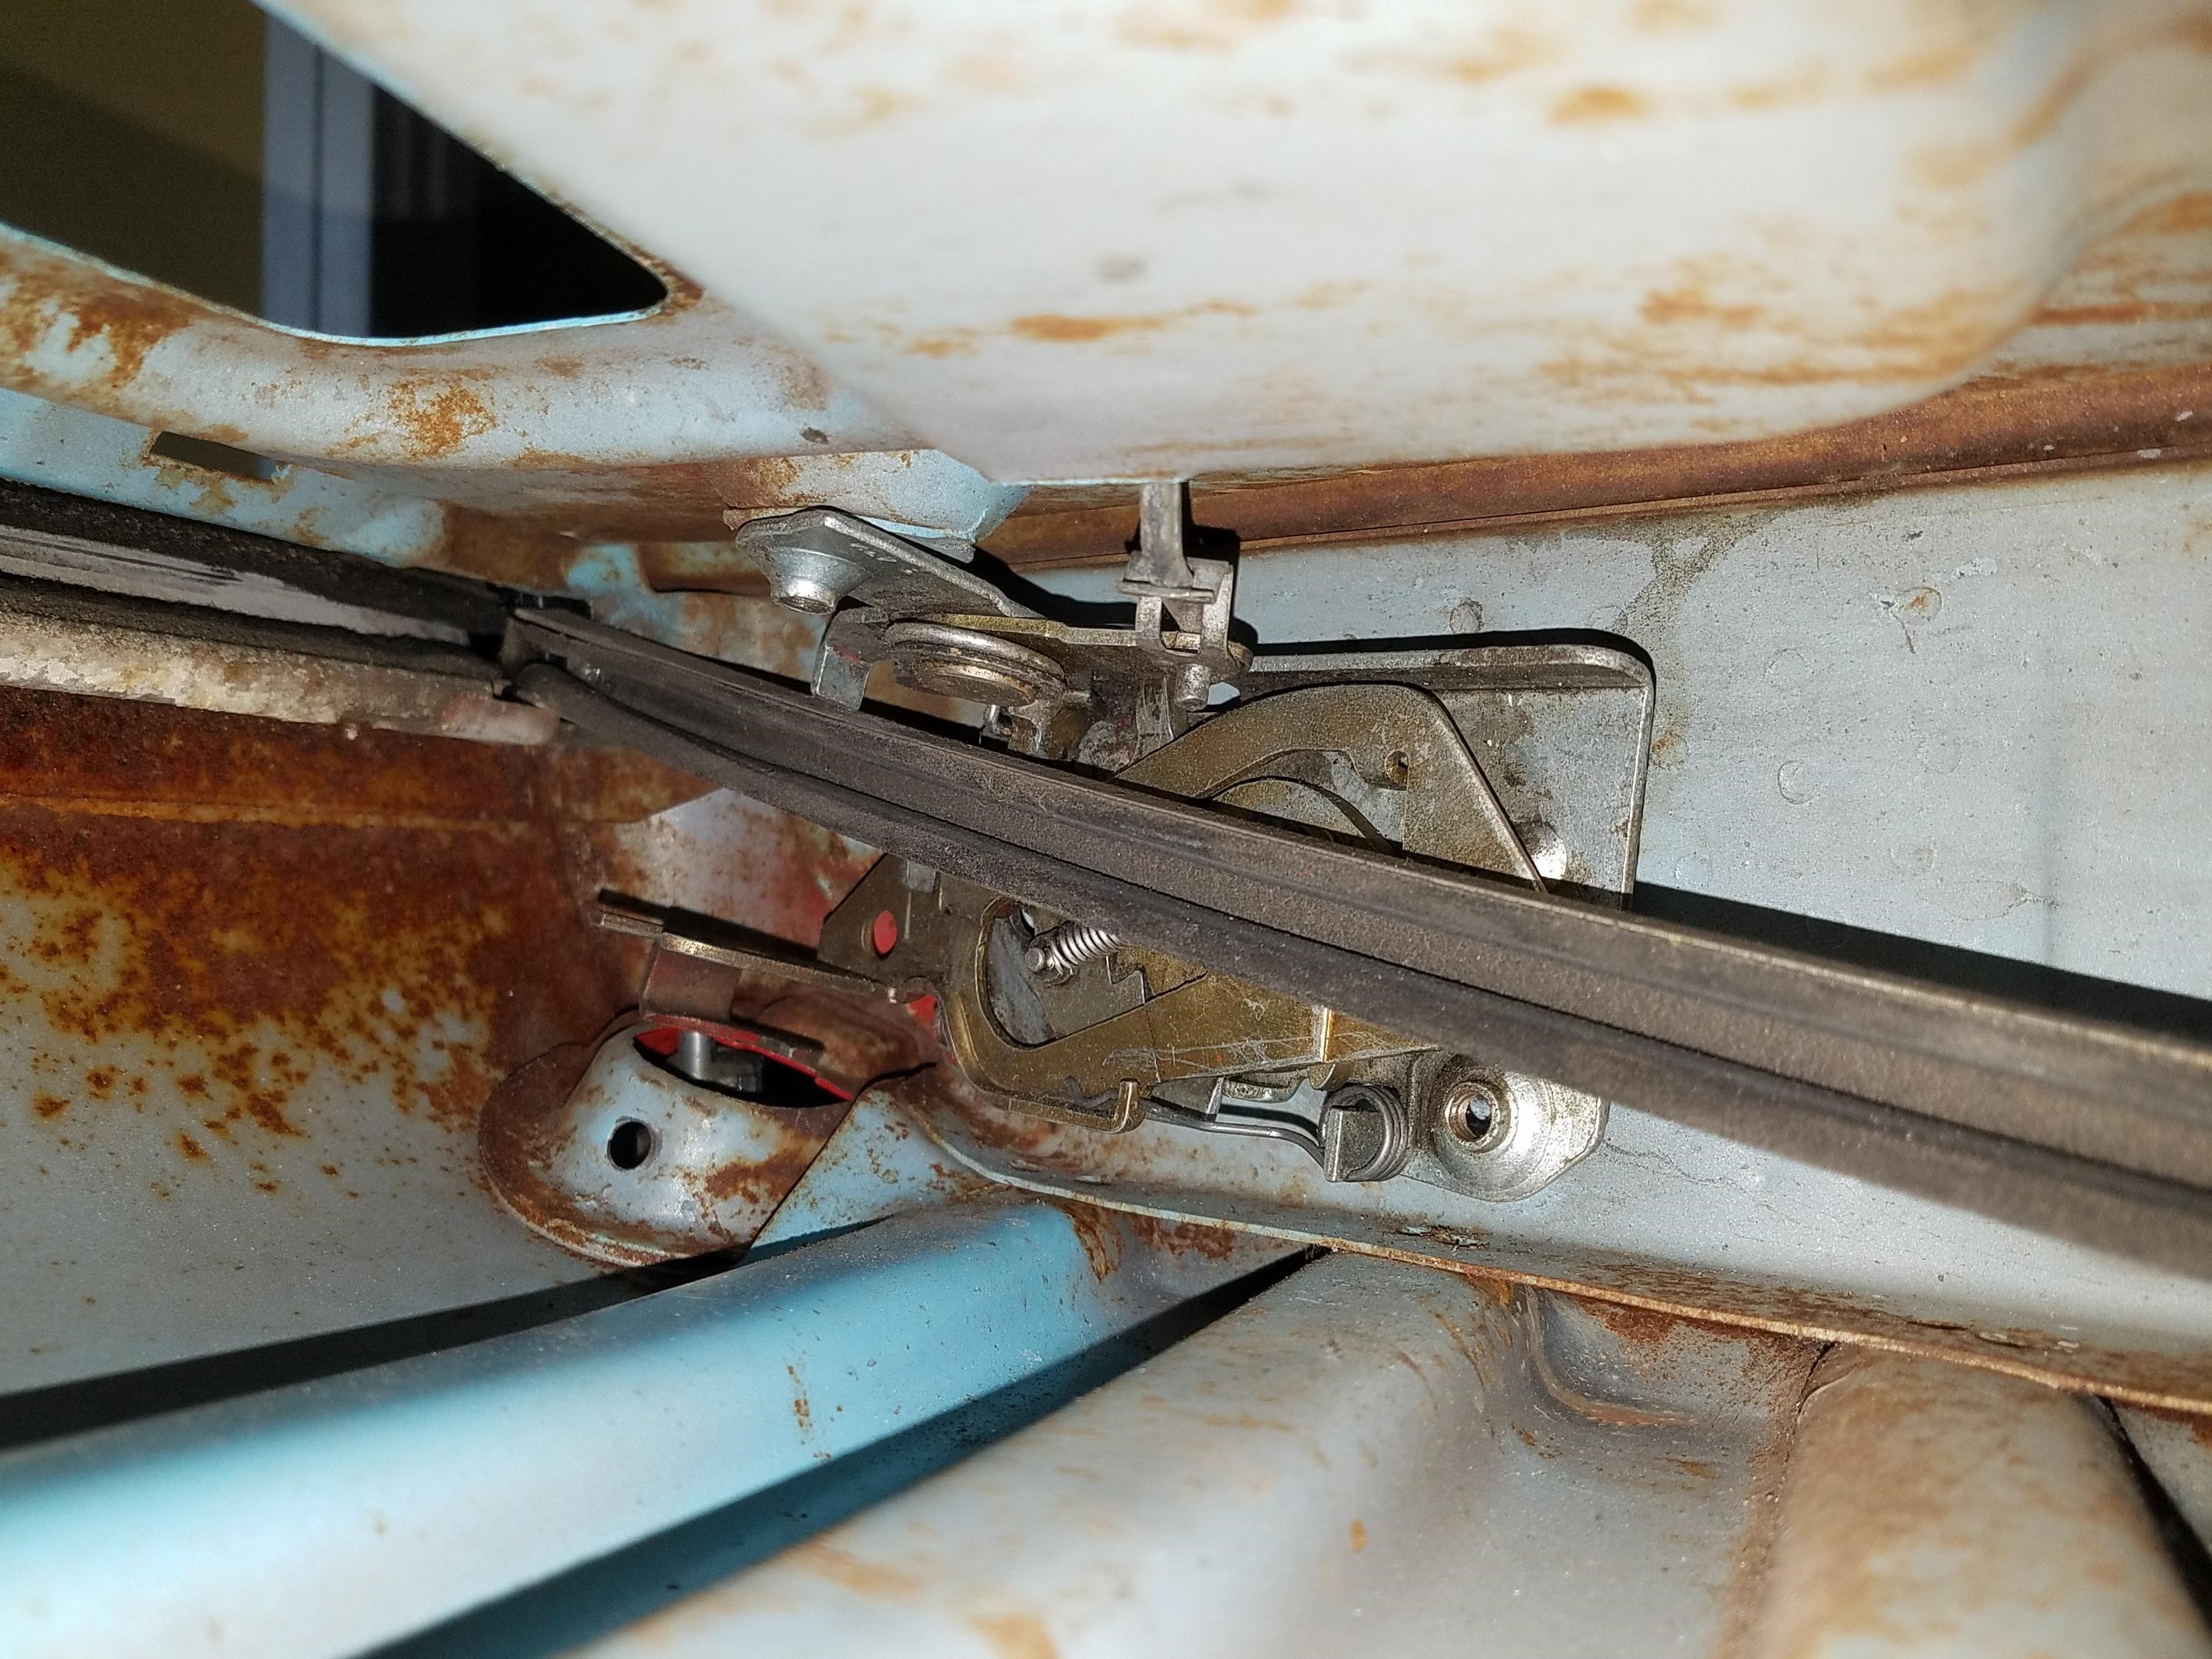
Locks were updated with a complete cleaning, lubrication and new nylon seals from a stealthy Jetta part. This shows the rear-trunk setup and this process was done for all locks (front hood, glove-box, doors, rear trunk shown below):
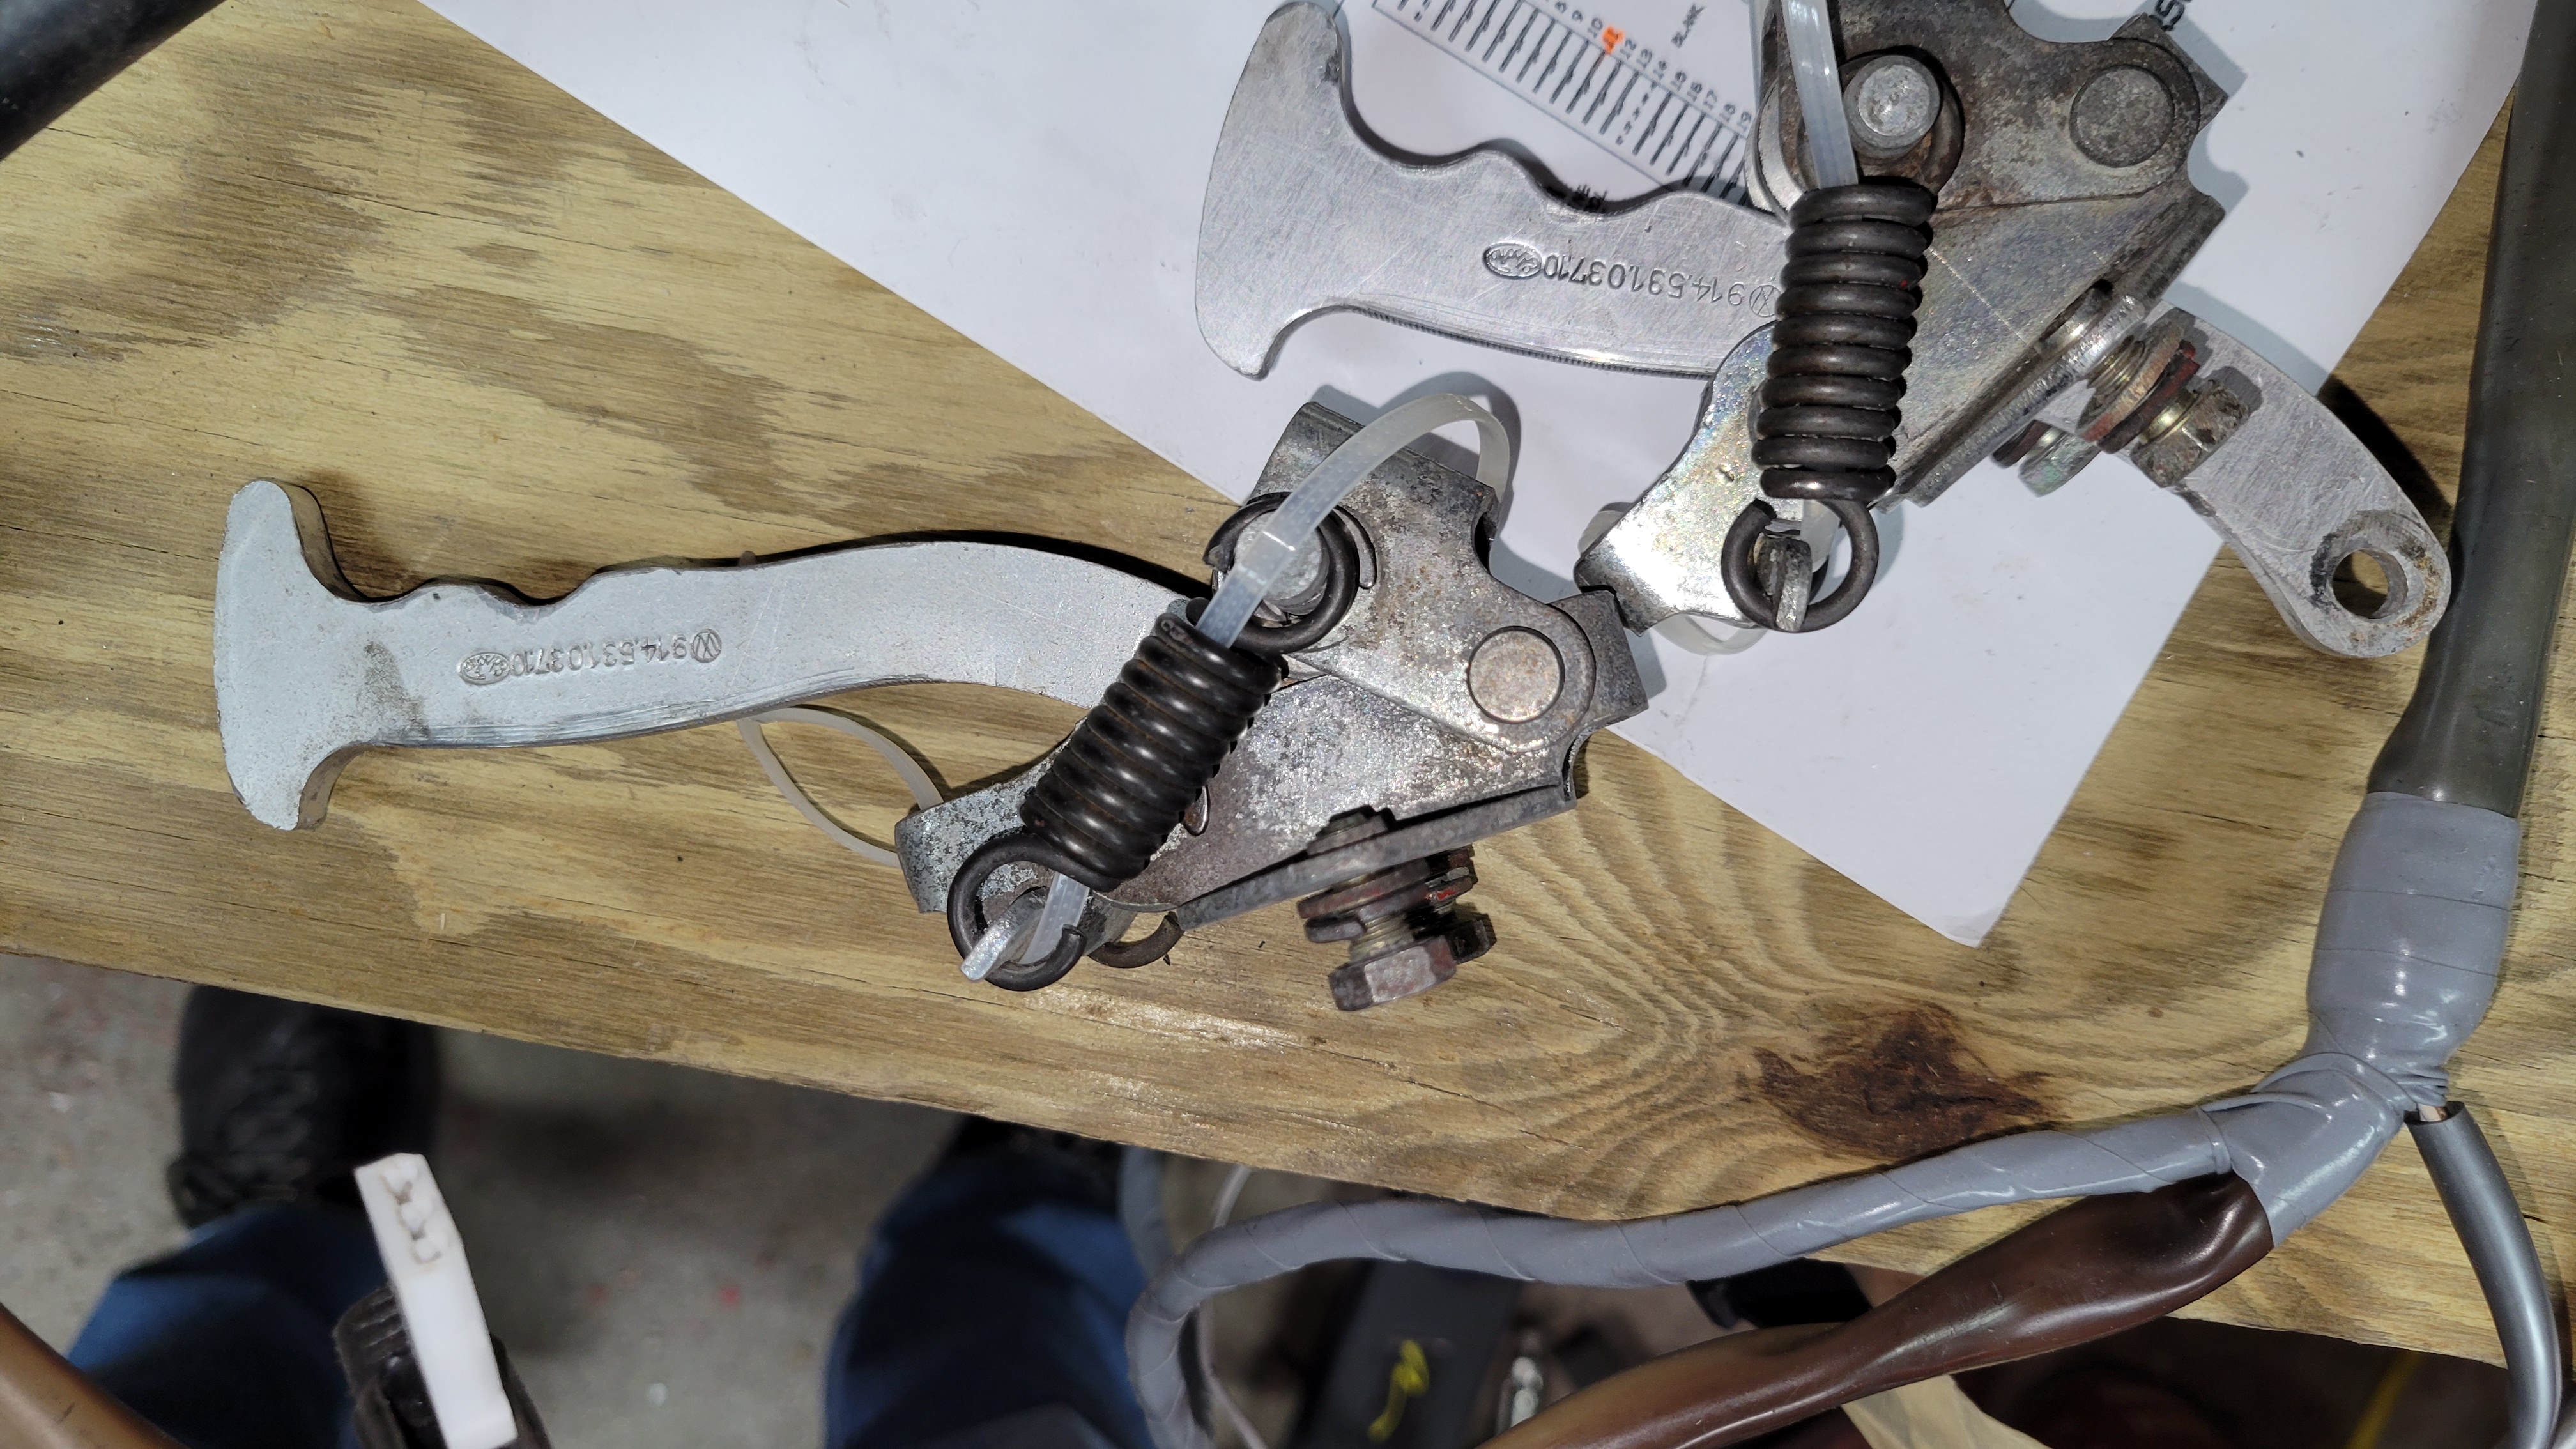
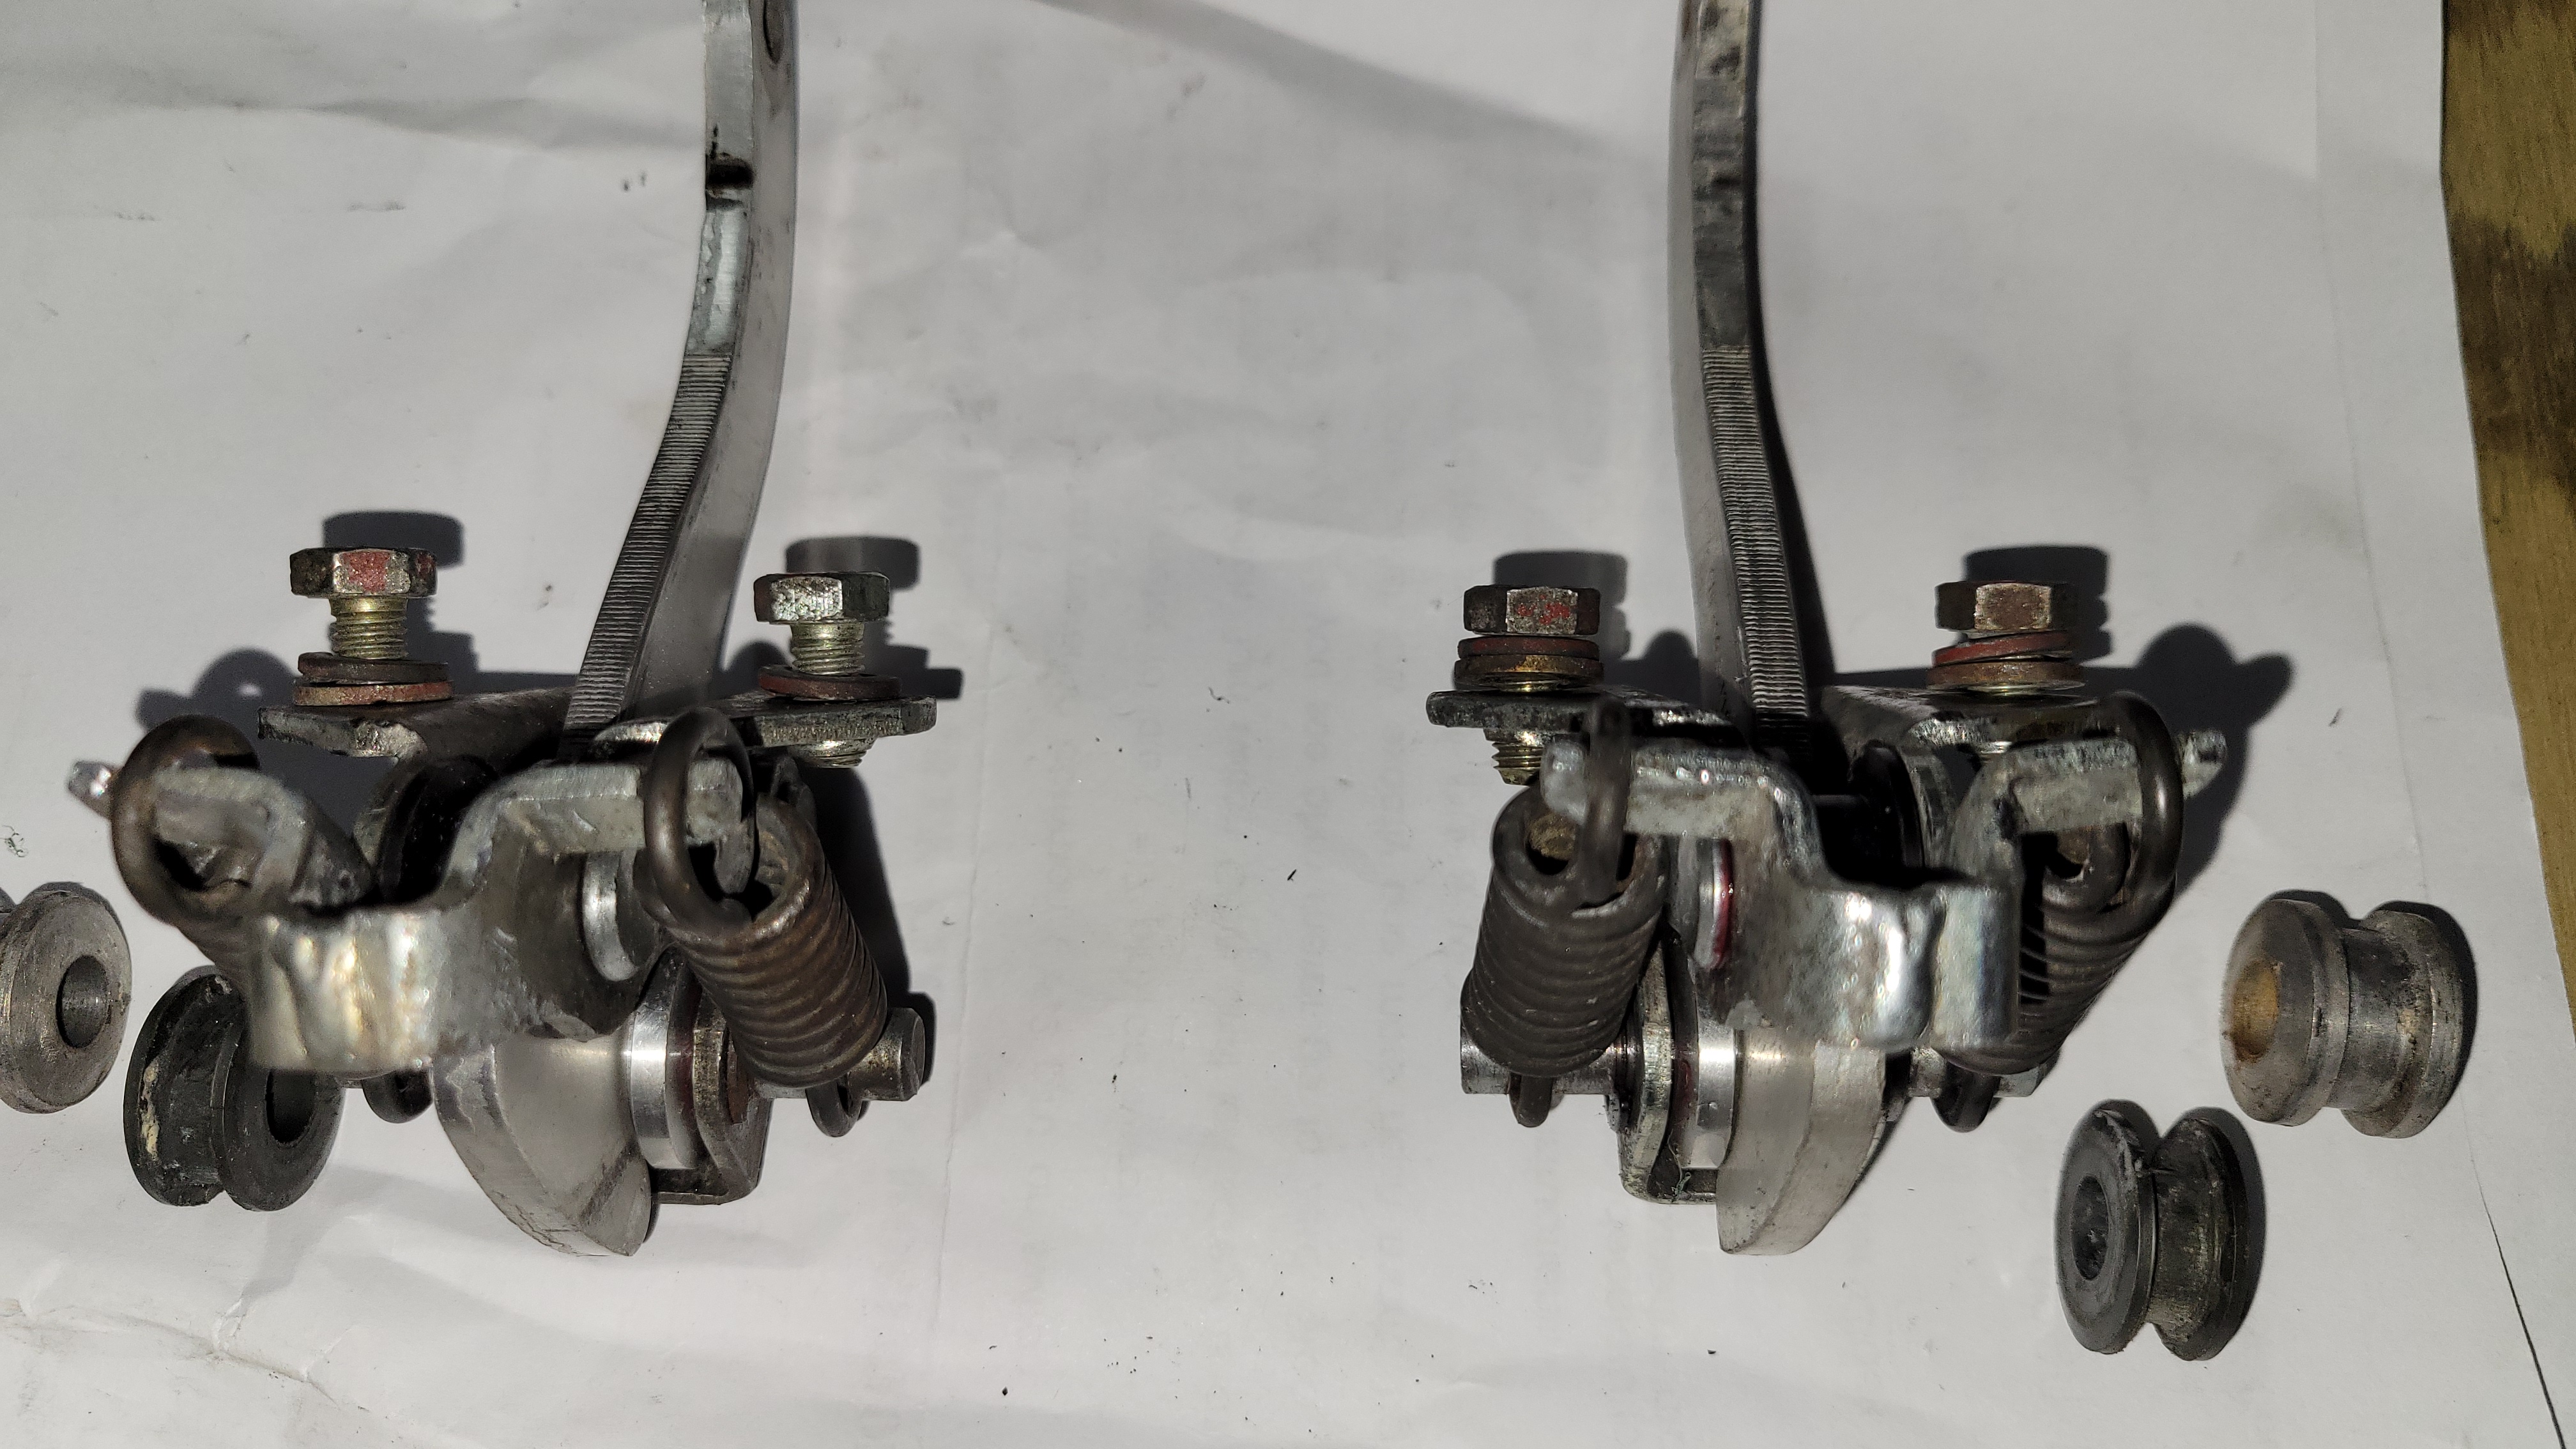
The Door straps needed to be rebuilt and I sourced only what was needed. For safety, I used zip ties when prying these off. It was really not had to do and the zip ties prevented flying springs more than injury. The straps needed to have the aluminum ground-down a bit (lip removal).
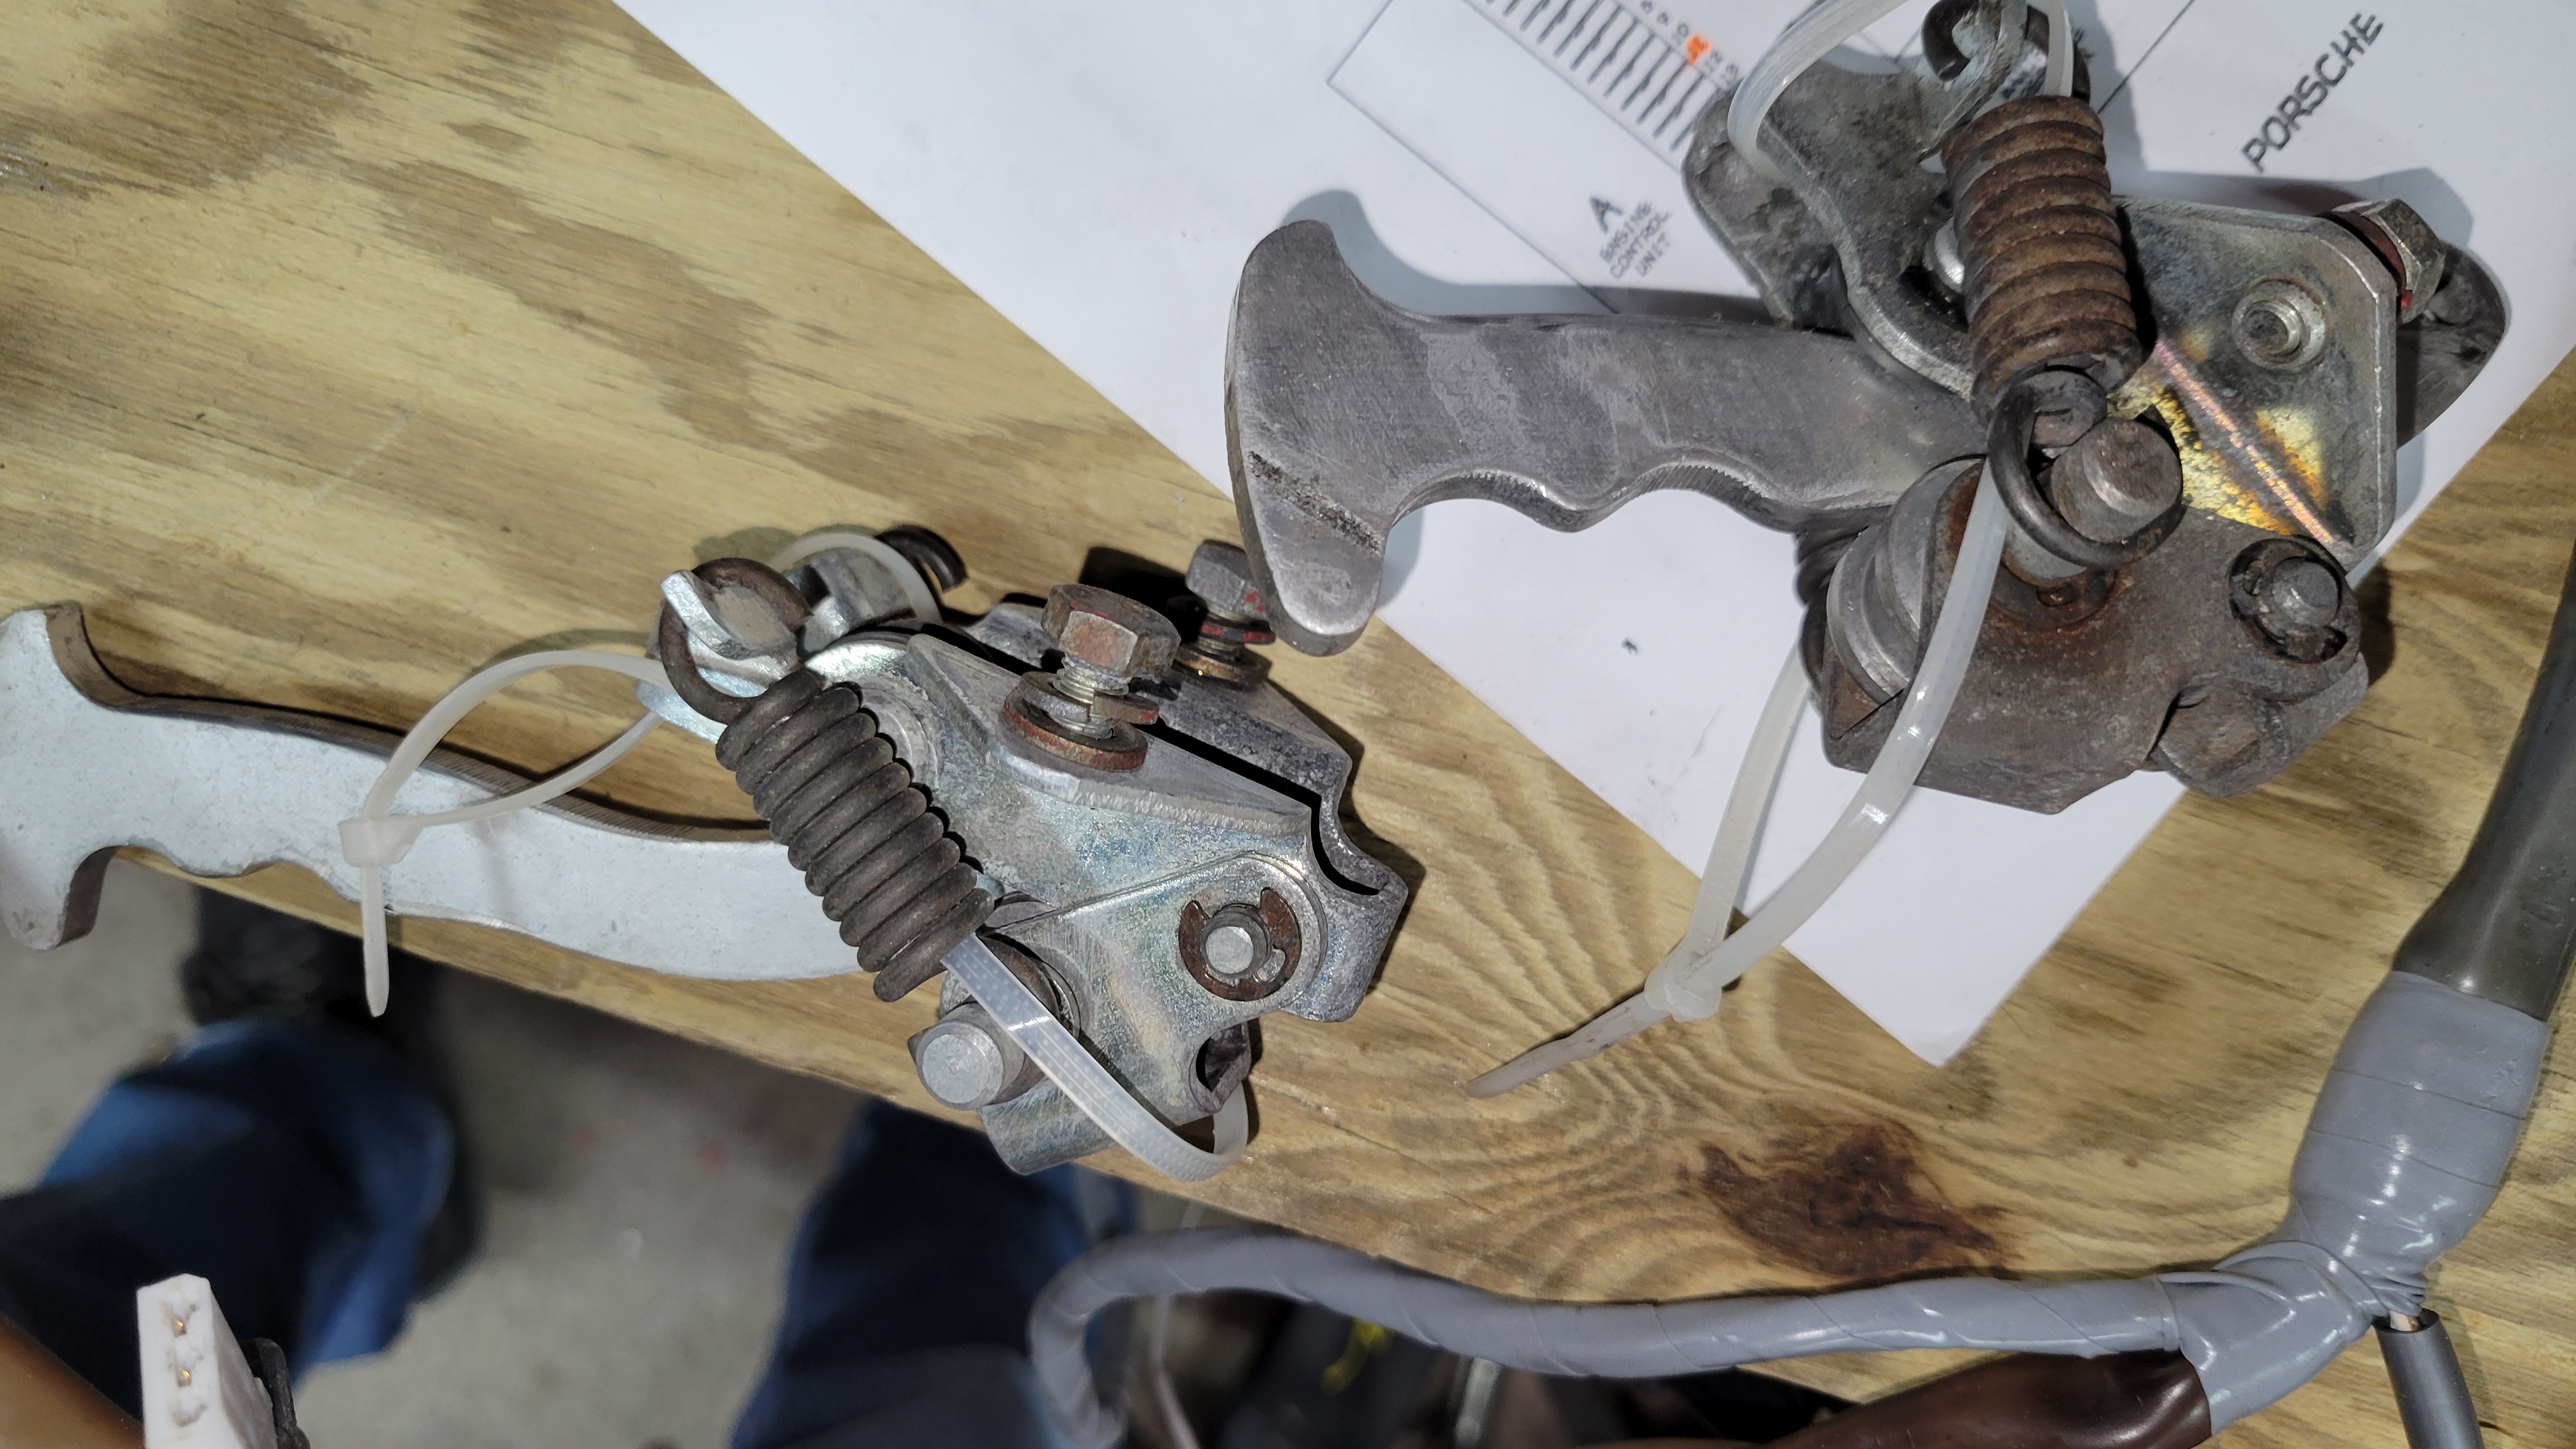
You can see the flat spots on the black nylon rollers.
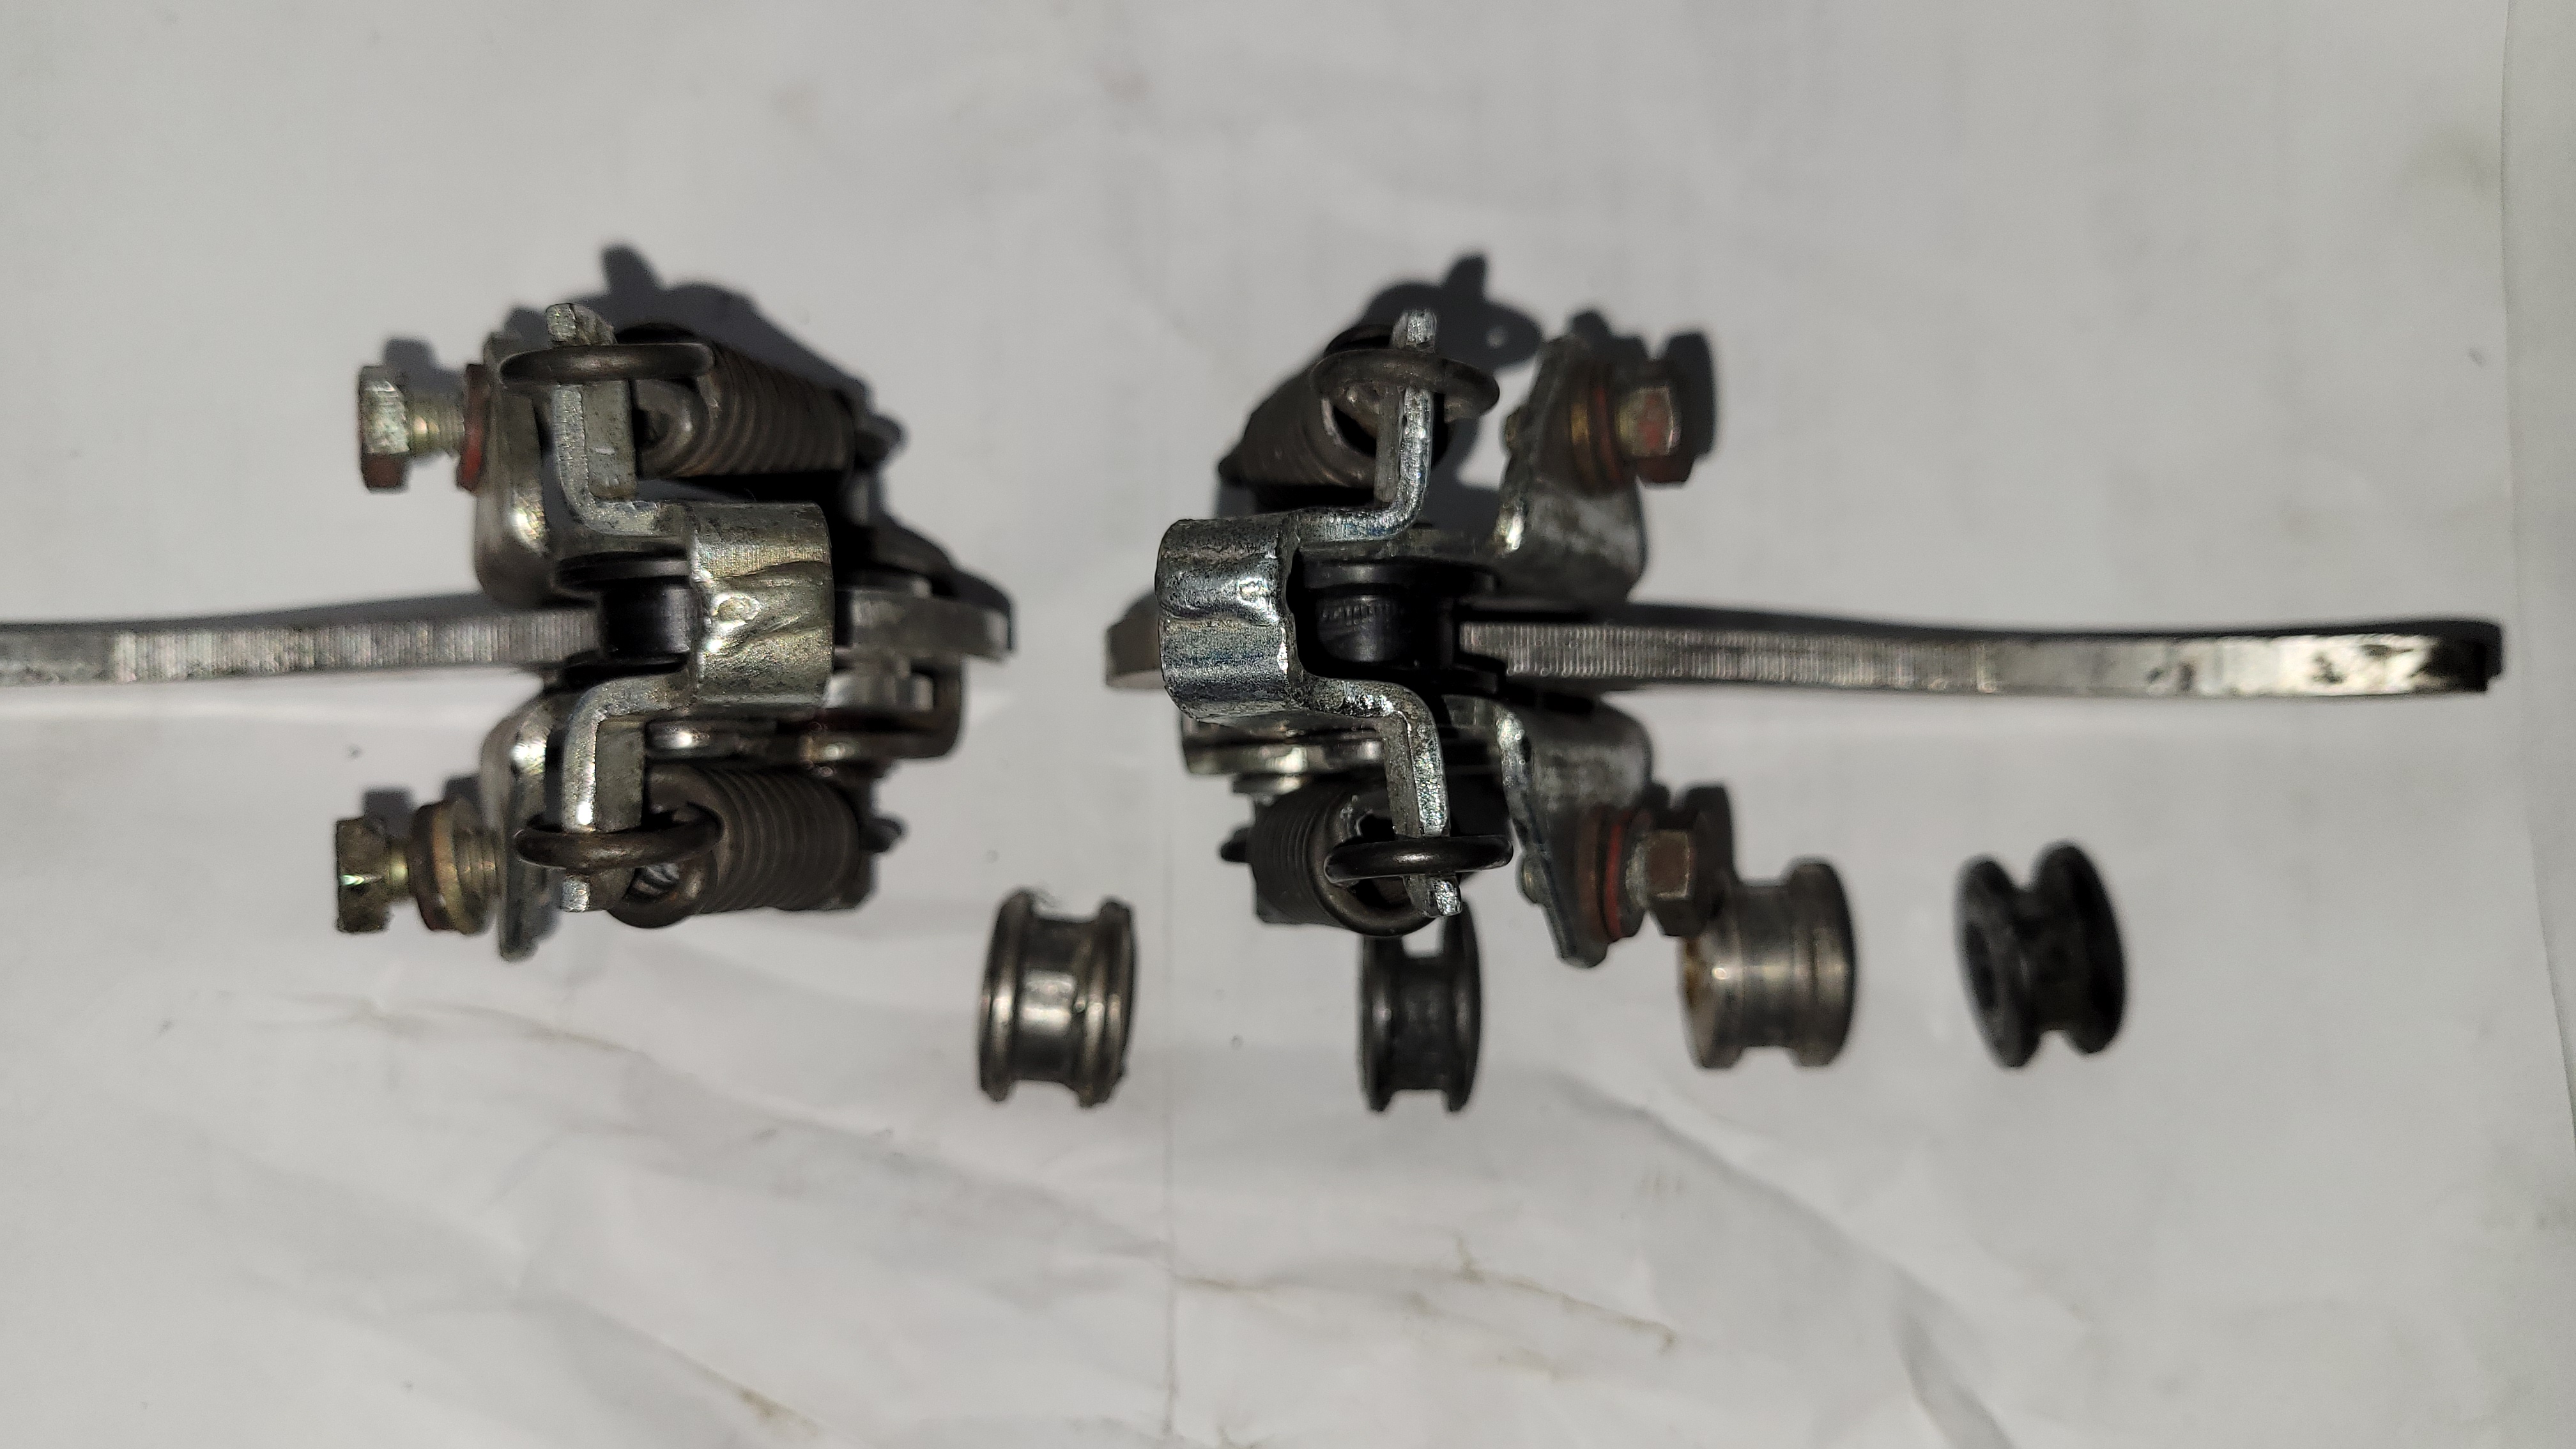
More of the rollers.
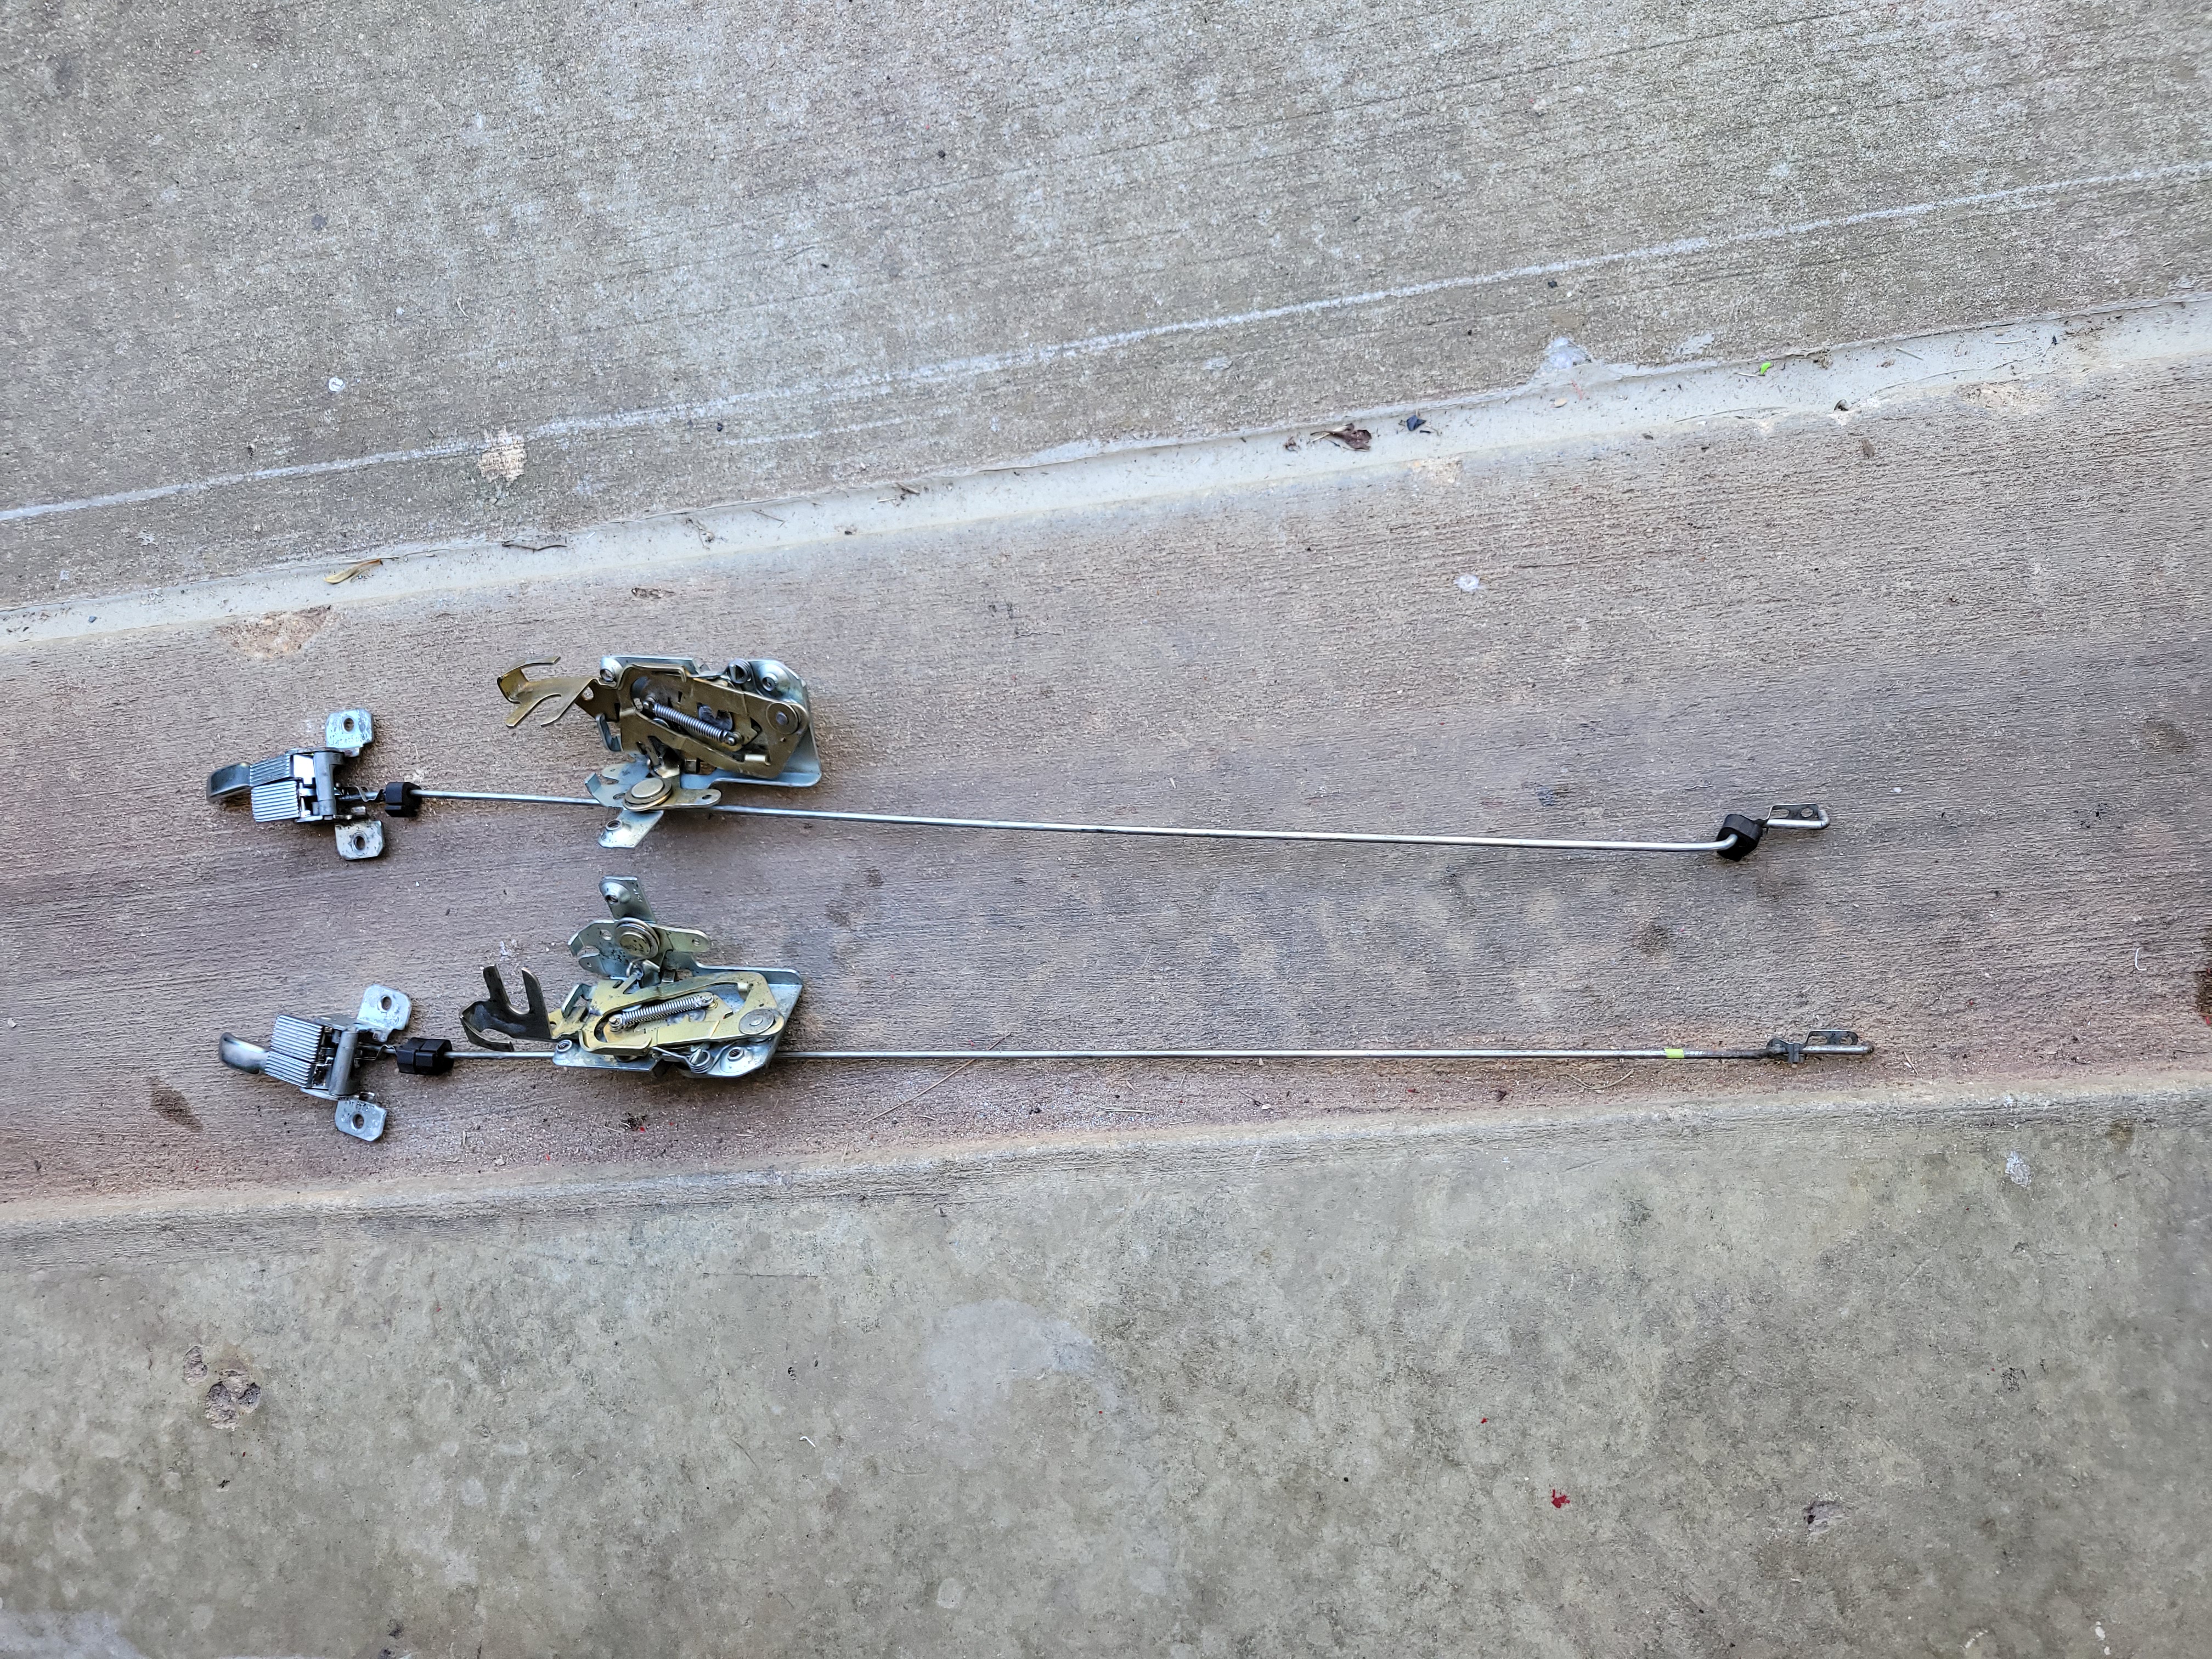
The inside door handles and latches inside of the doors got cleaned up before installation.
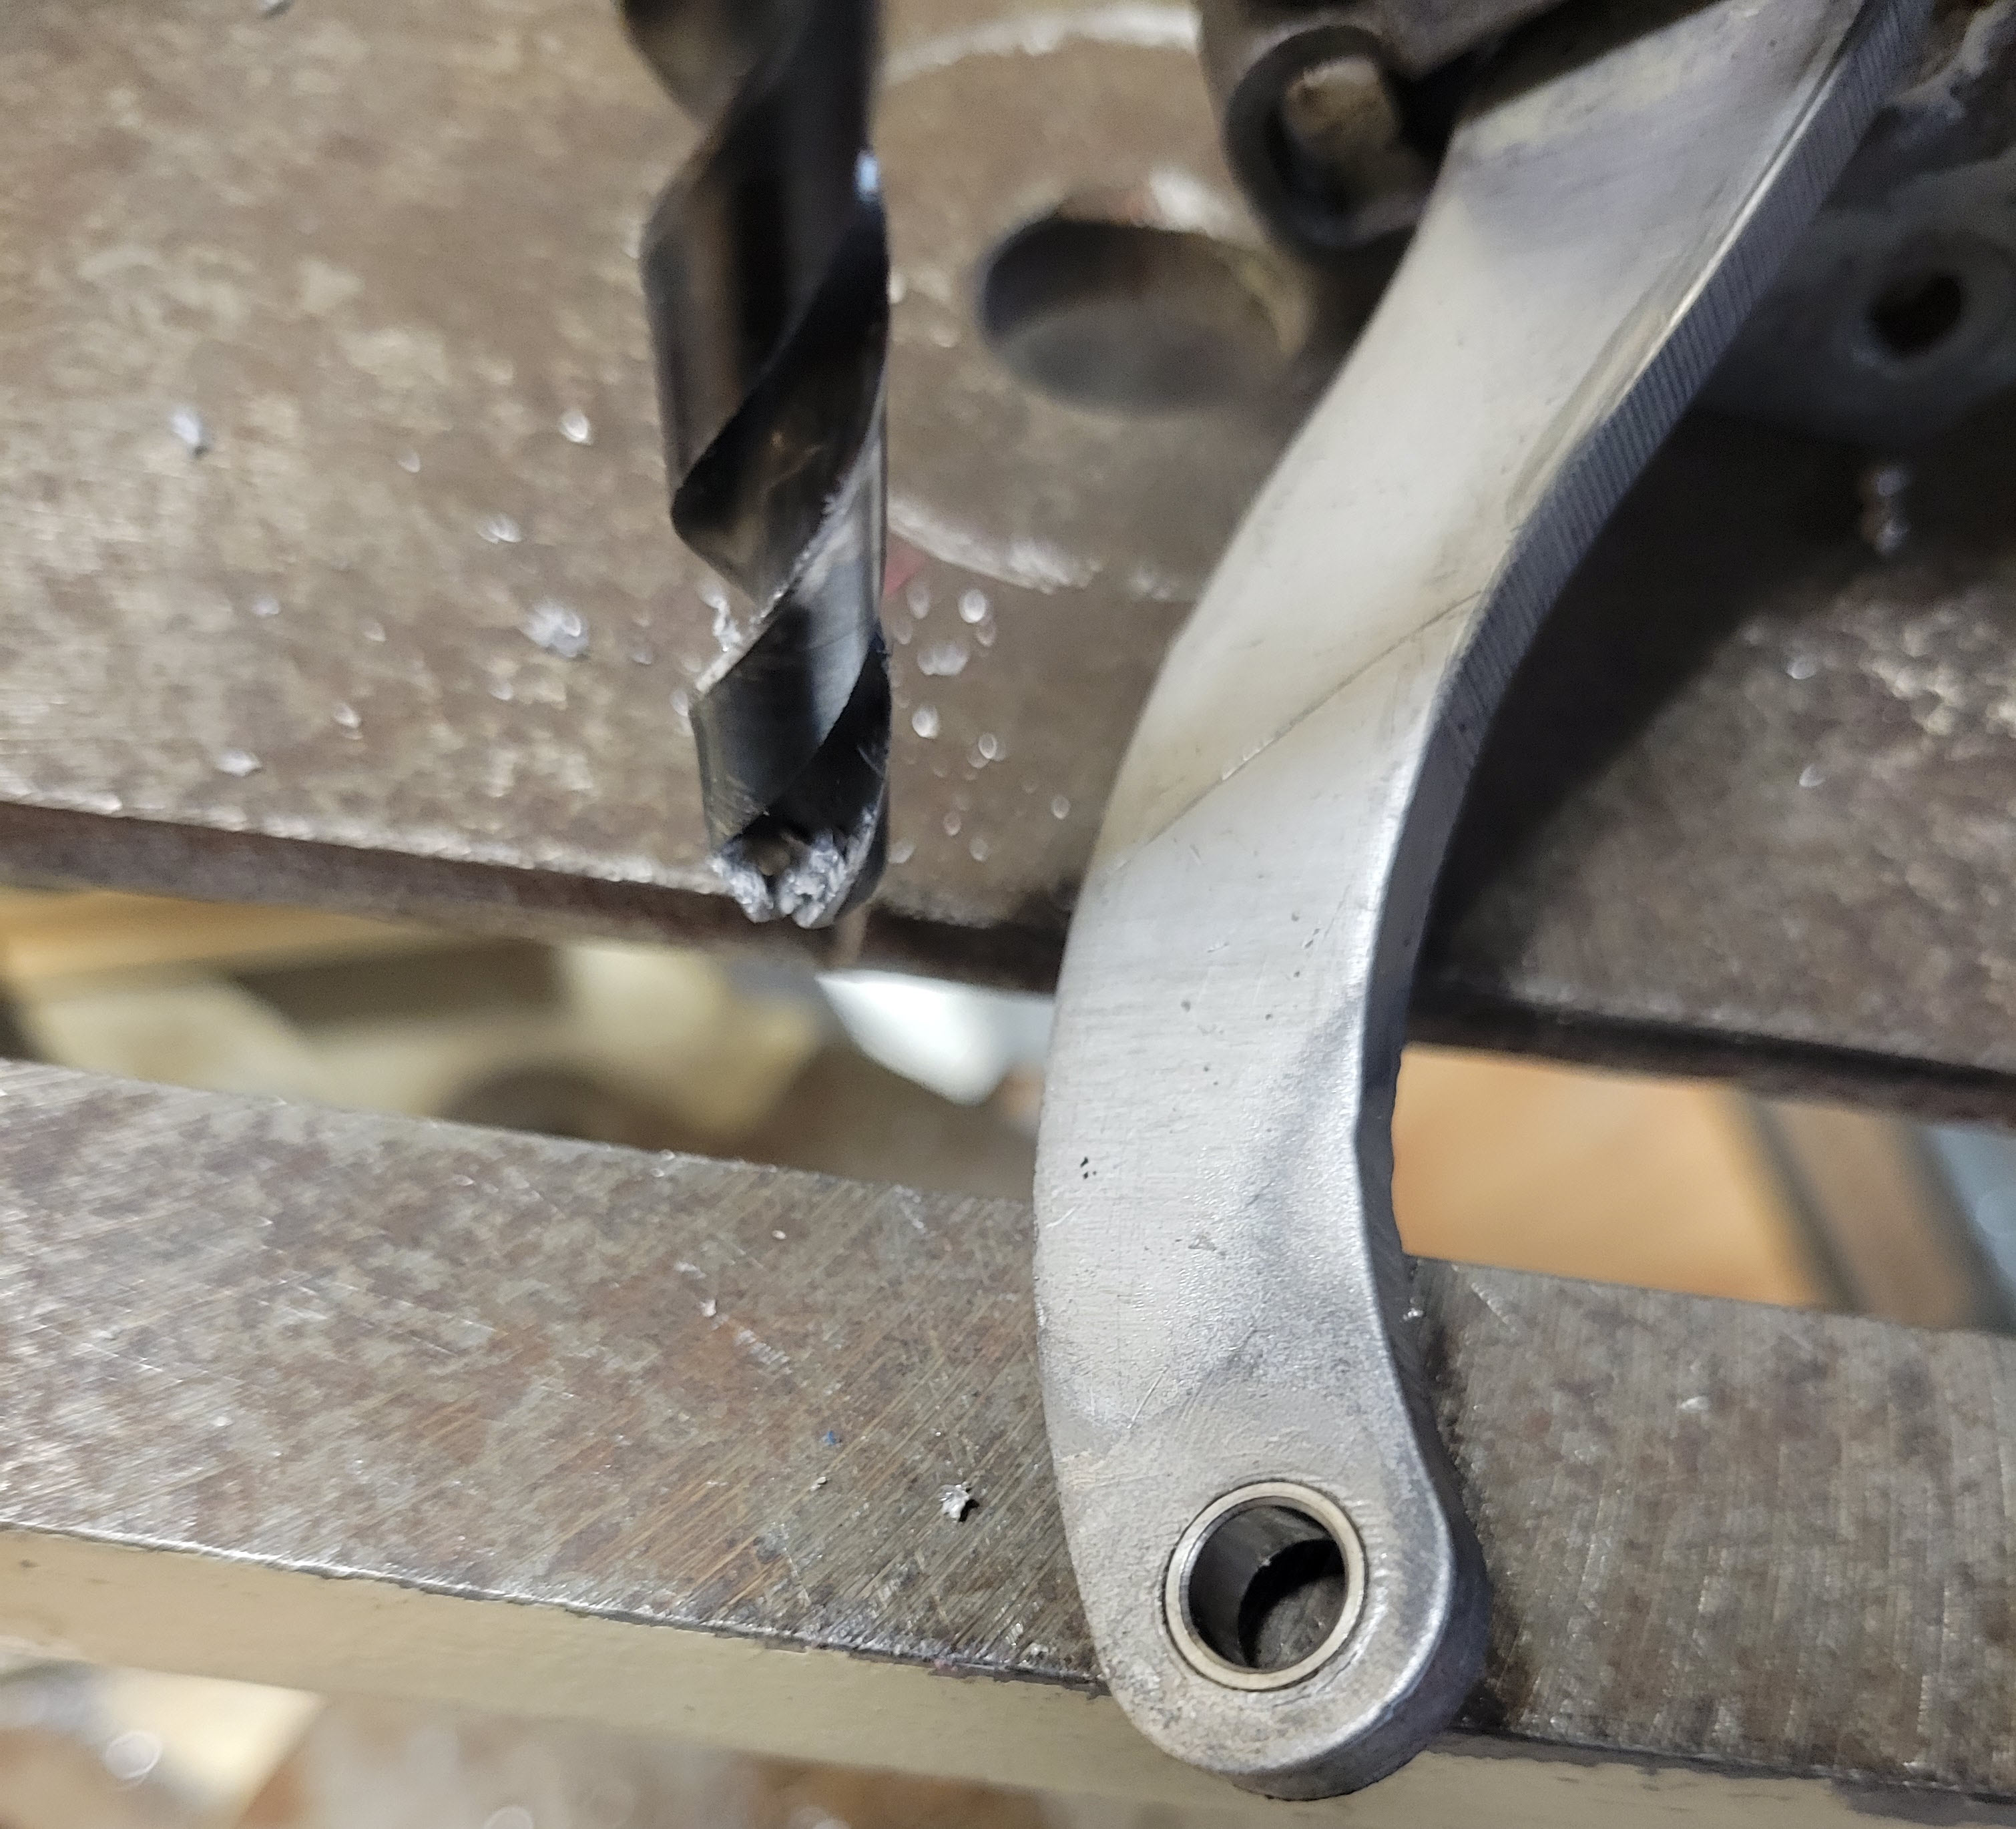
The pin-side was egg shaped and not round. That causes the doors to click when opened or closed. Note the bushing.
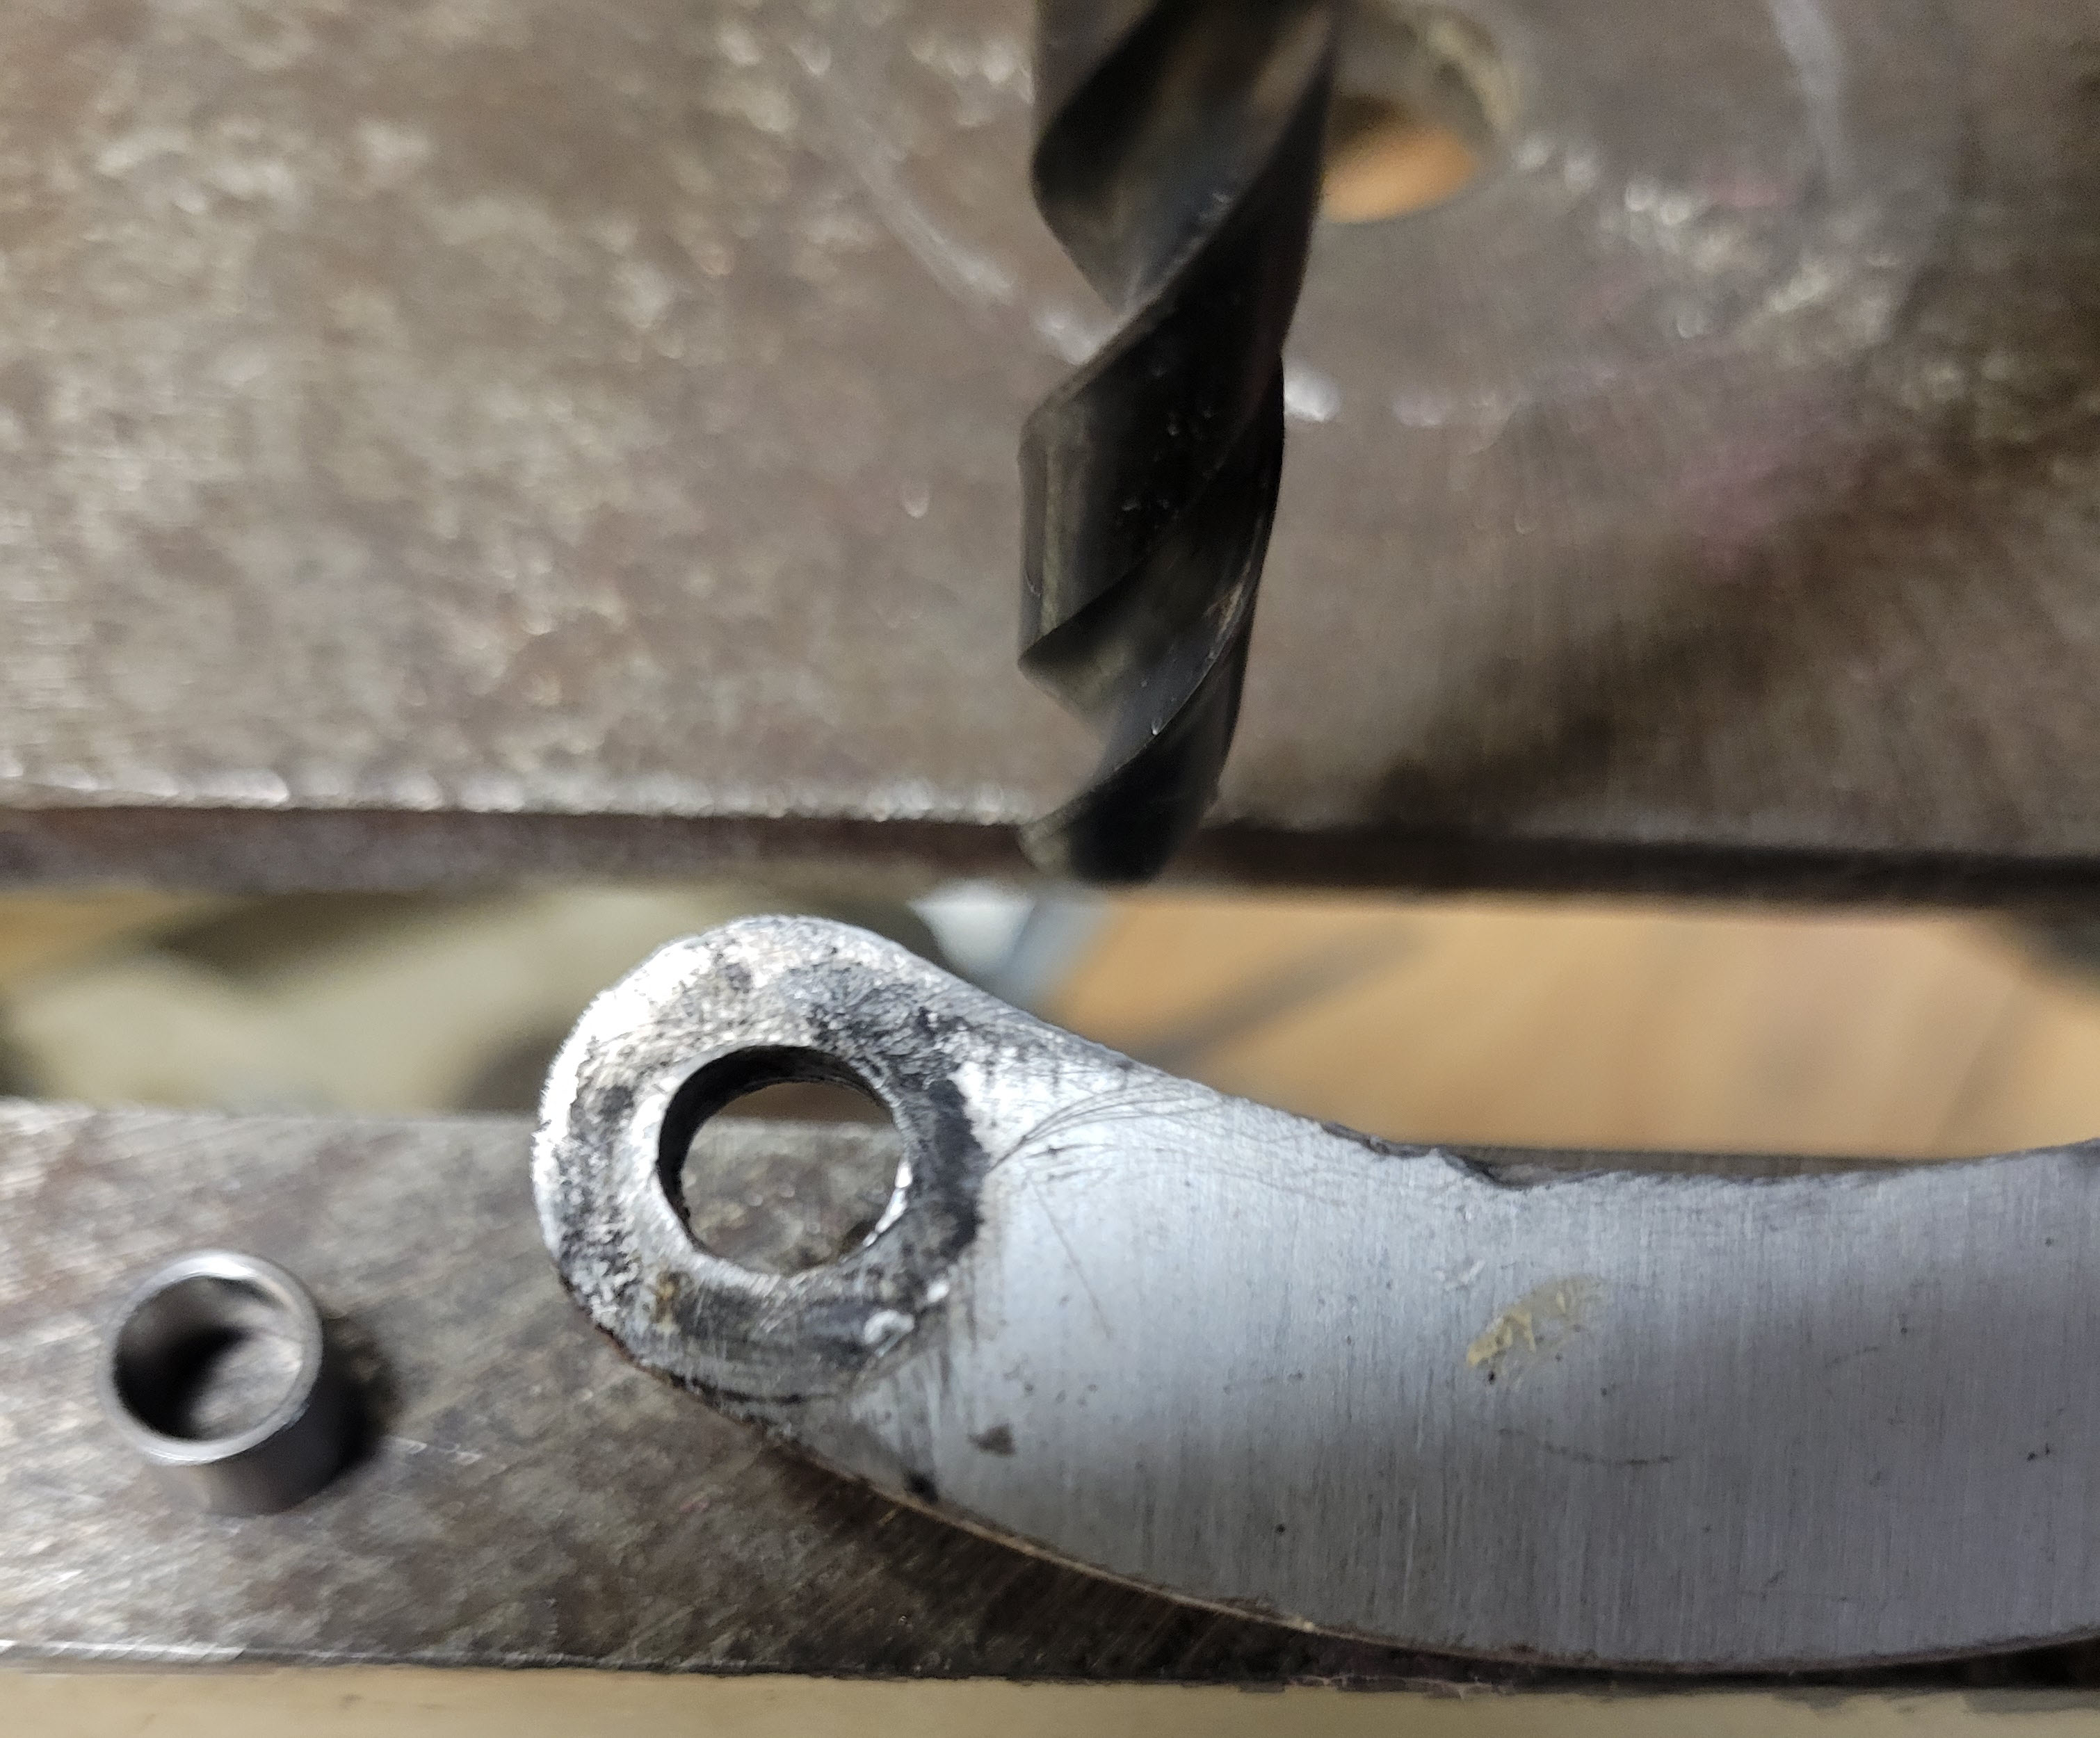
The solution was to re-bush them. Stainless pars from Amazon and a drill did the trick.
Amazon part: PATIKIL M6 measuring 6.1mm ID x 8mm OD x 5mm L Stainless Steel Spacers, 10 Pcs (5/16" drill bit was used).
Amazon part: Uxcell 8Pcs 1/4" x 13/16" Single Hole Clevis Pins, 304 Stainless Steel Flat Head - A bit longer than stock, but 1/2" long will not allow the cotter pin to go in.
YES, it works, no more clicking sounds.
Inside before disassemble and rust treatment and paint. Notice the top of the doors (left in this image). That surface rust is from normal condensation and probably thin factory paint. It was all cleaned up and sealed before painting.
Outer door handle removed:
Orientation of window mechanism. This will be cleaned up, rust proofed, etc.
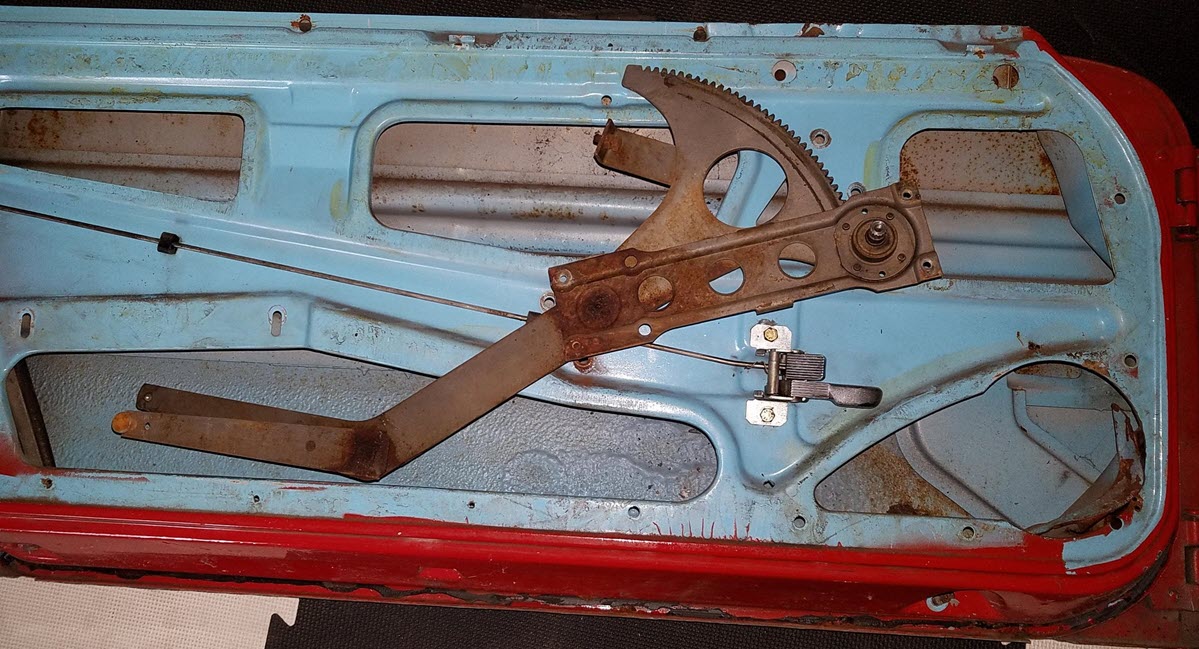
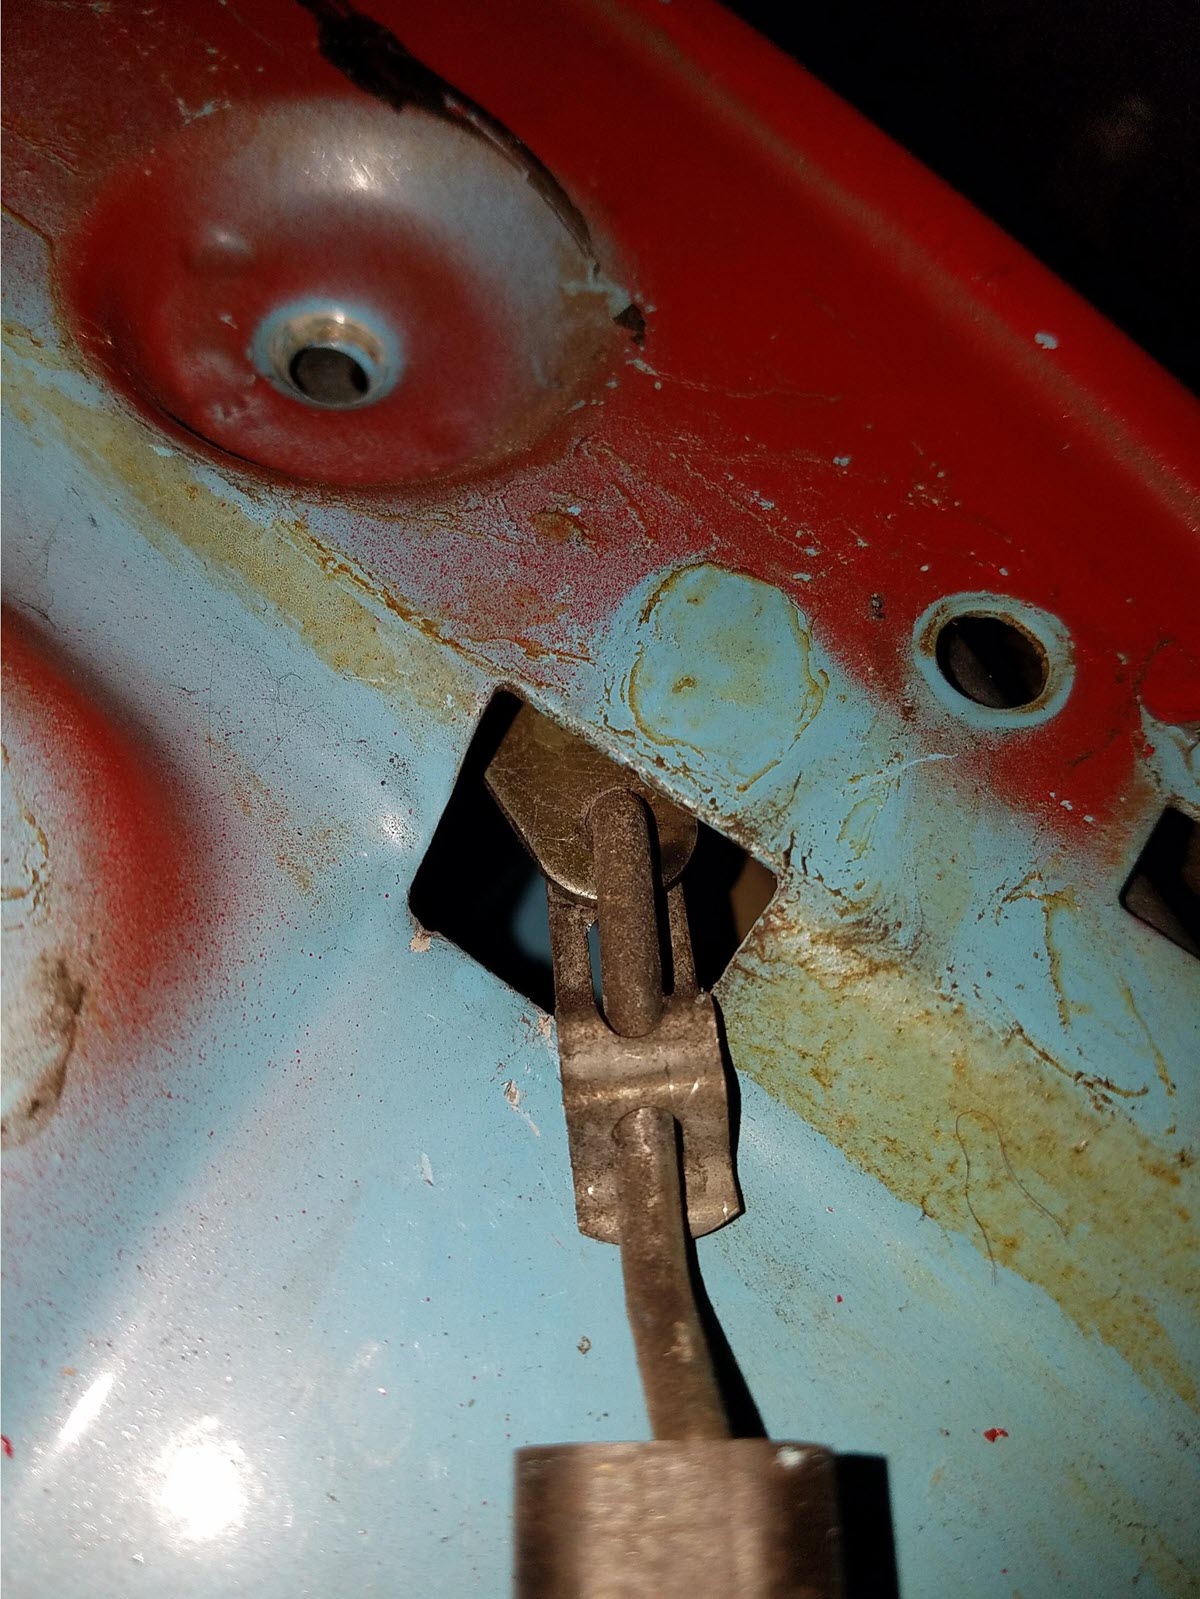
The door lock rod has a retainer clip that can be pulled out a bit to remove the clip and position it on the door-lock mechanism:
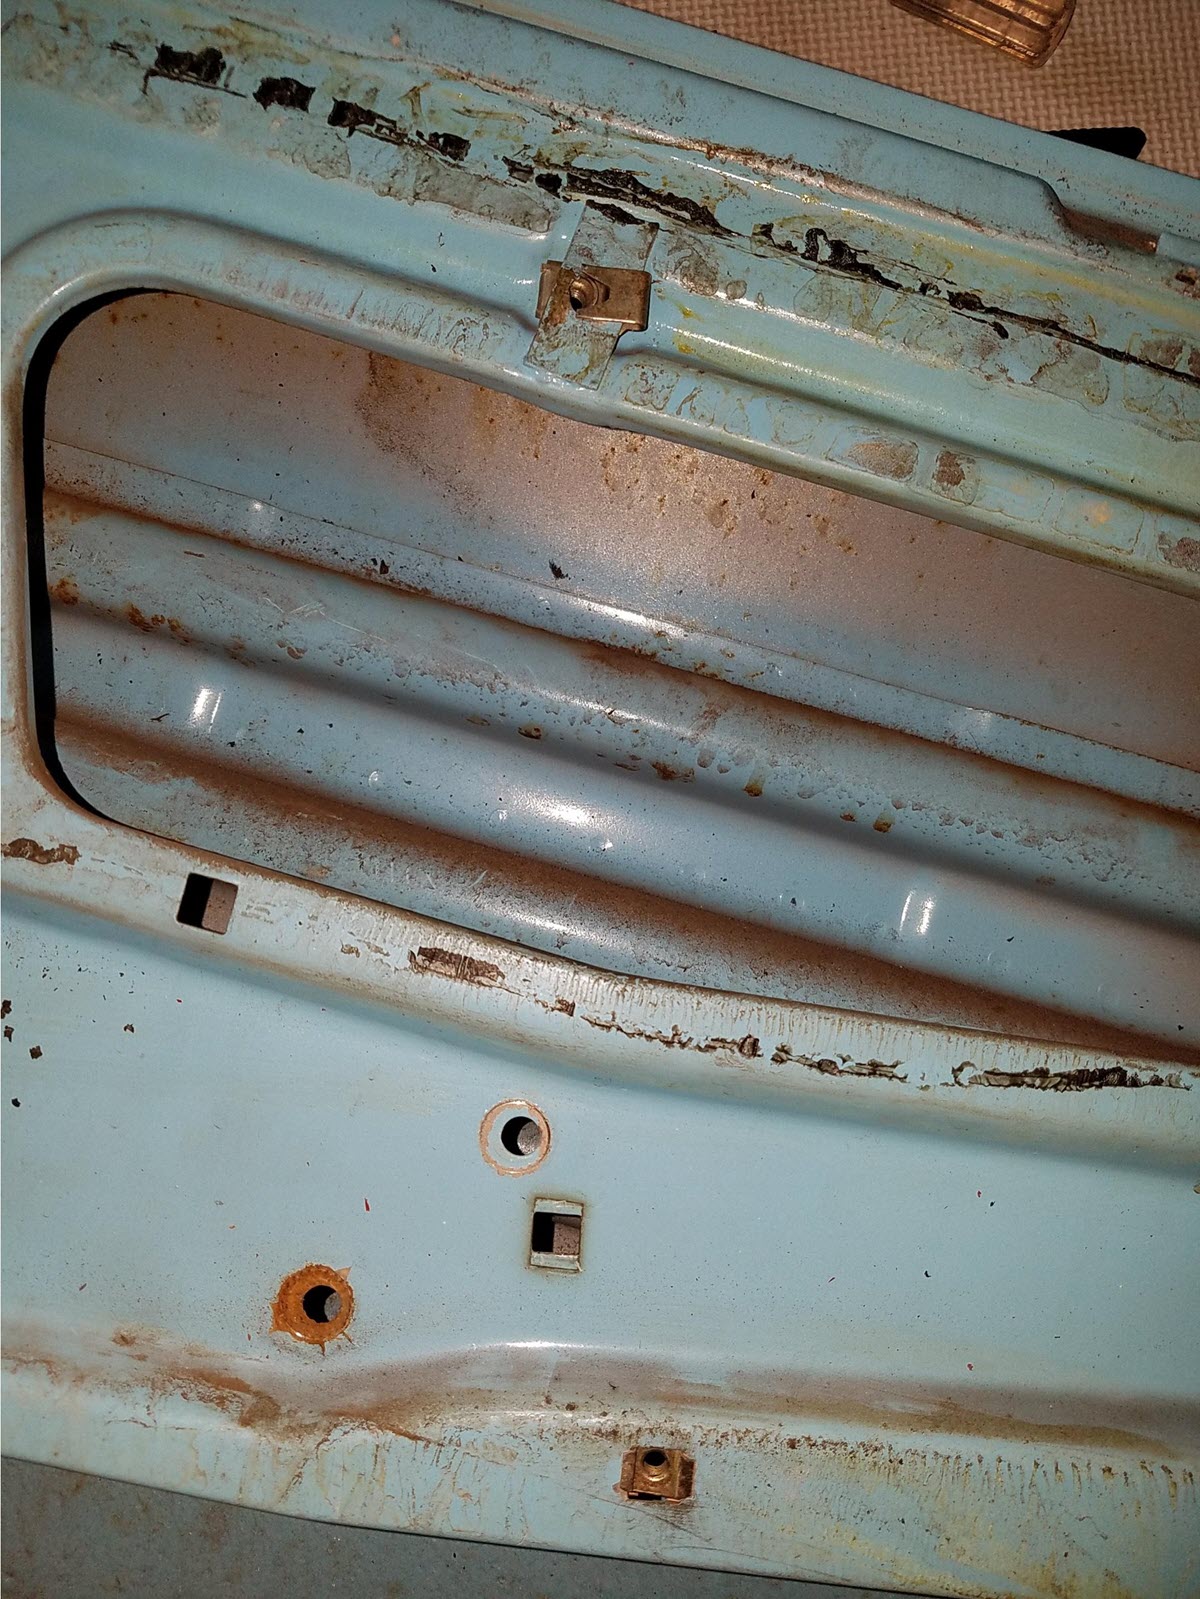
Retaining Nut on the driver-s door. Note the other retaining nut in the bottom of the image:
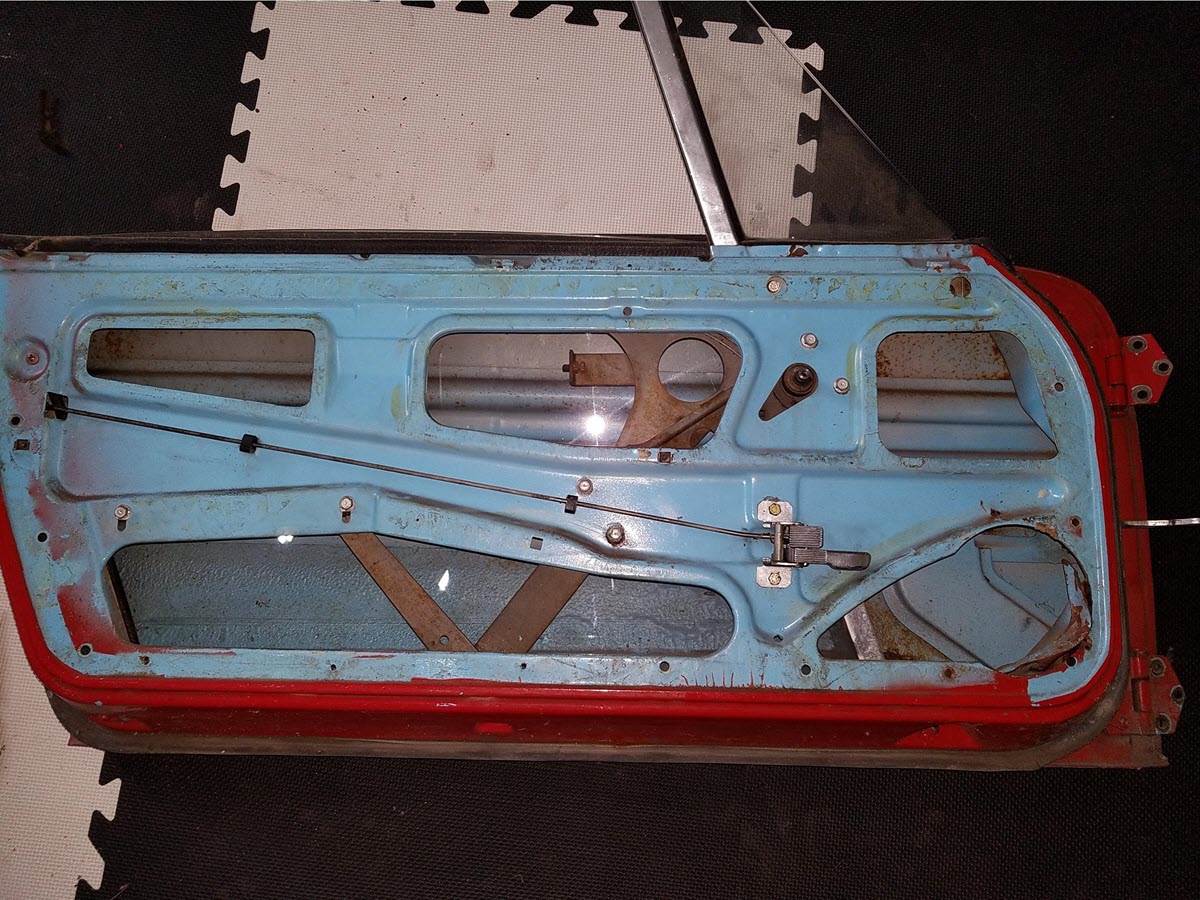
The whole door before removing stuff.
TIP - Put the glass in first, before the mechanism and you will do the job twice as fast and not worry about scratching the paint.:
Glass Lift Bolt:
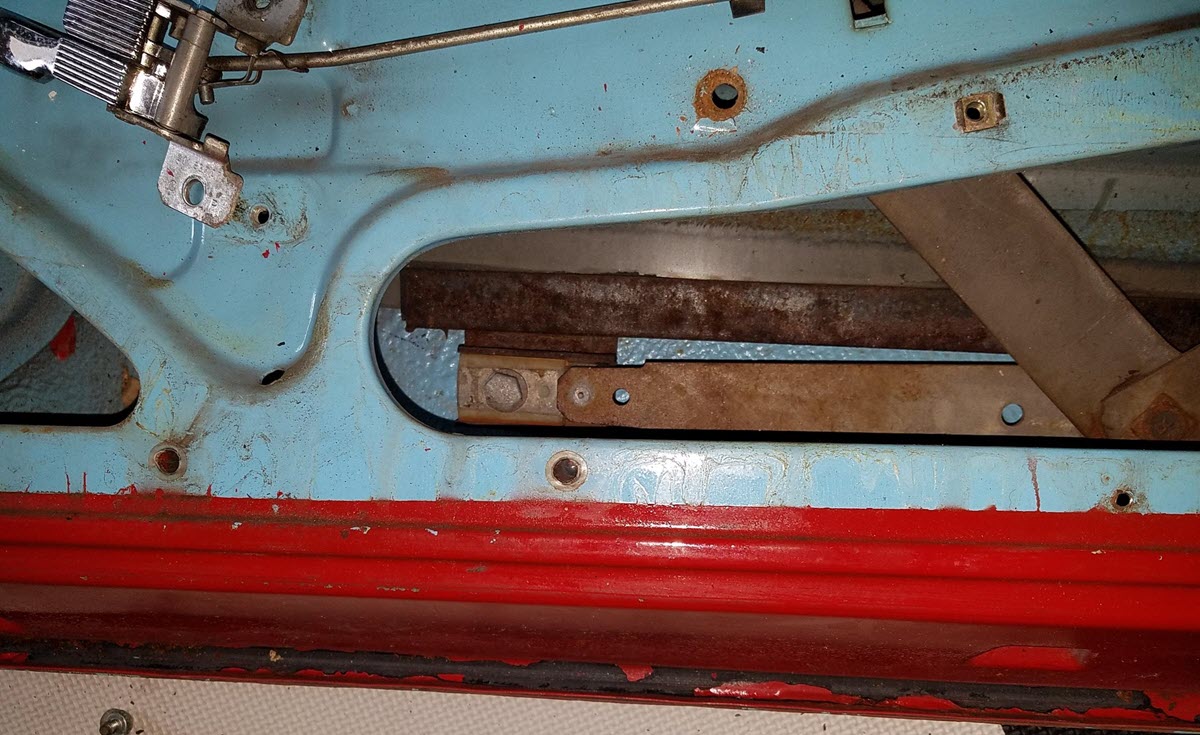
Bolt holding window-glass list
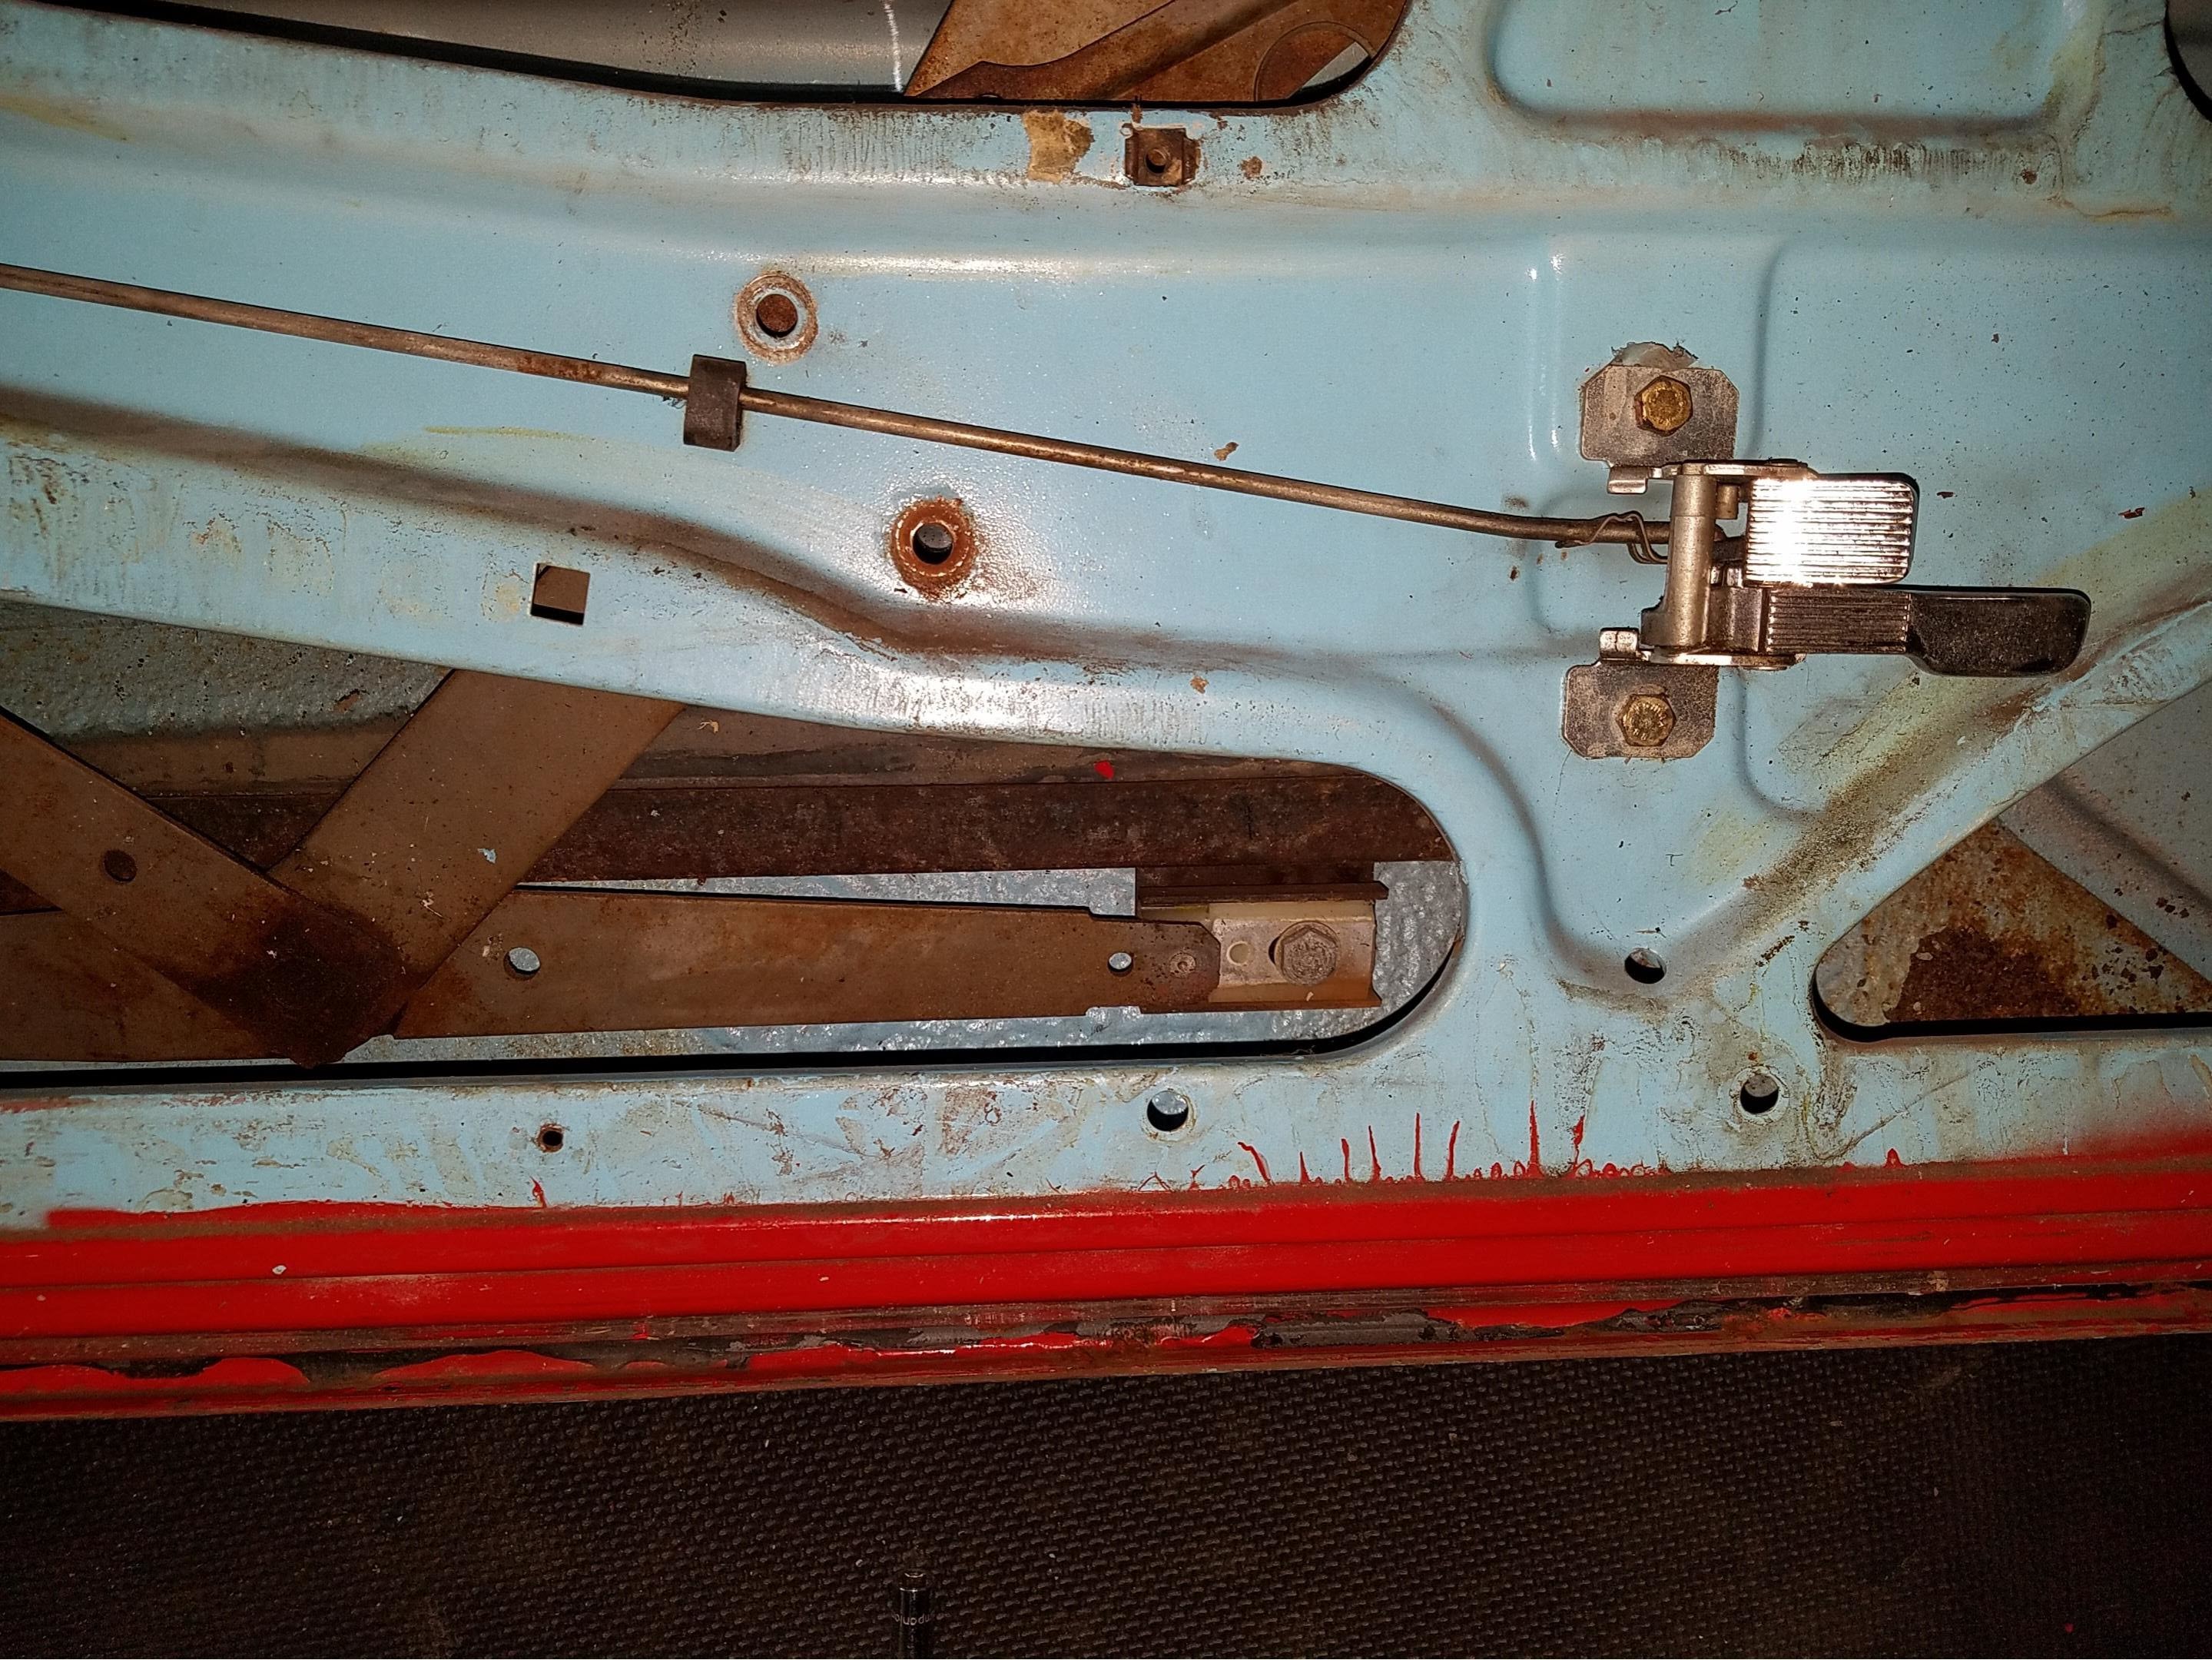
Orientation of the mount for the slider of other door:
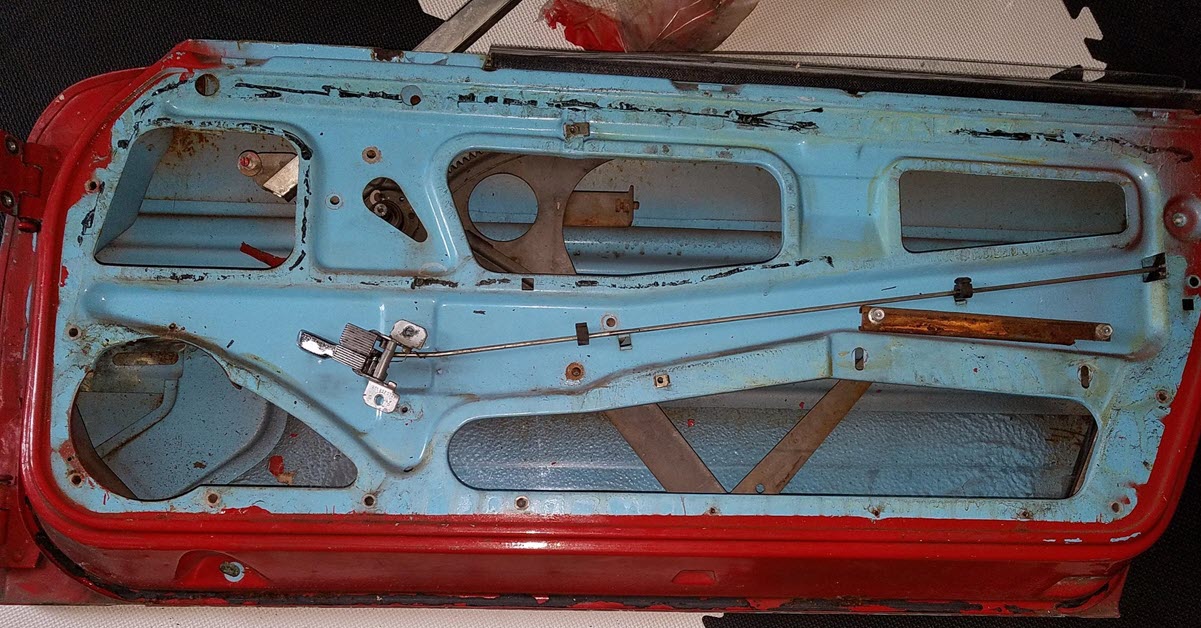
Left middle below is the two--bolt channel for the window roller to glide on and it is positioned where it goes on the inside of the door (note the two holes):
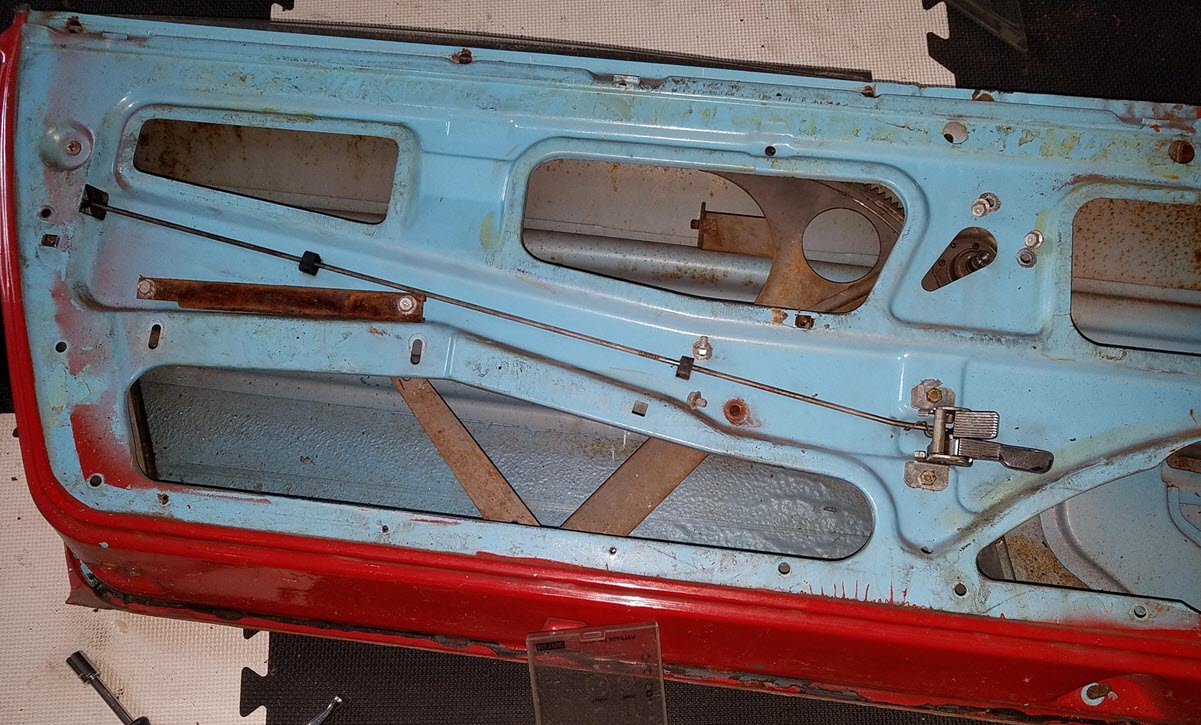
Plastic can be a cheap painter's drop-cloth cut to size and glued-in with 3M spray adhesive:
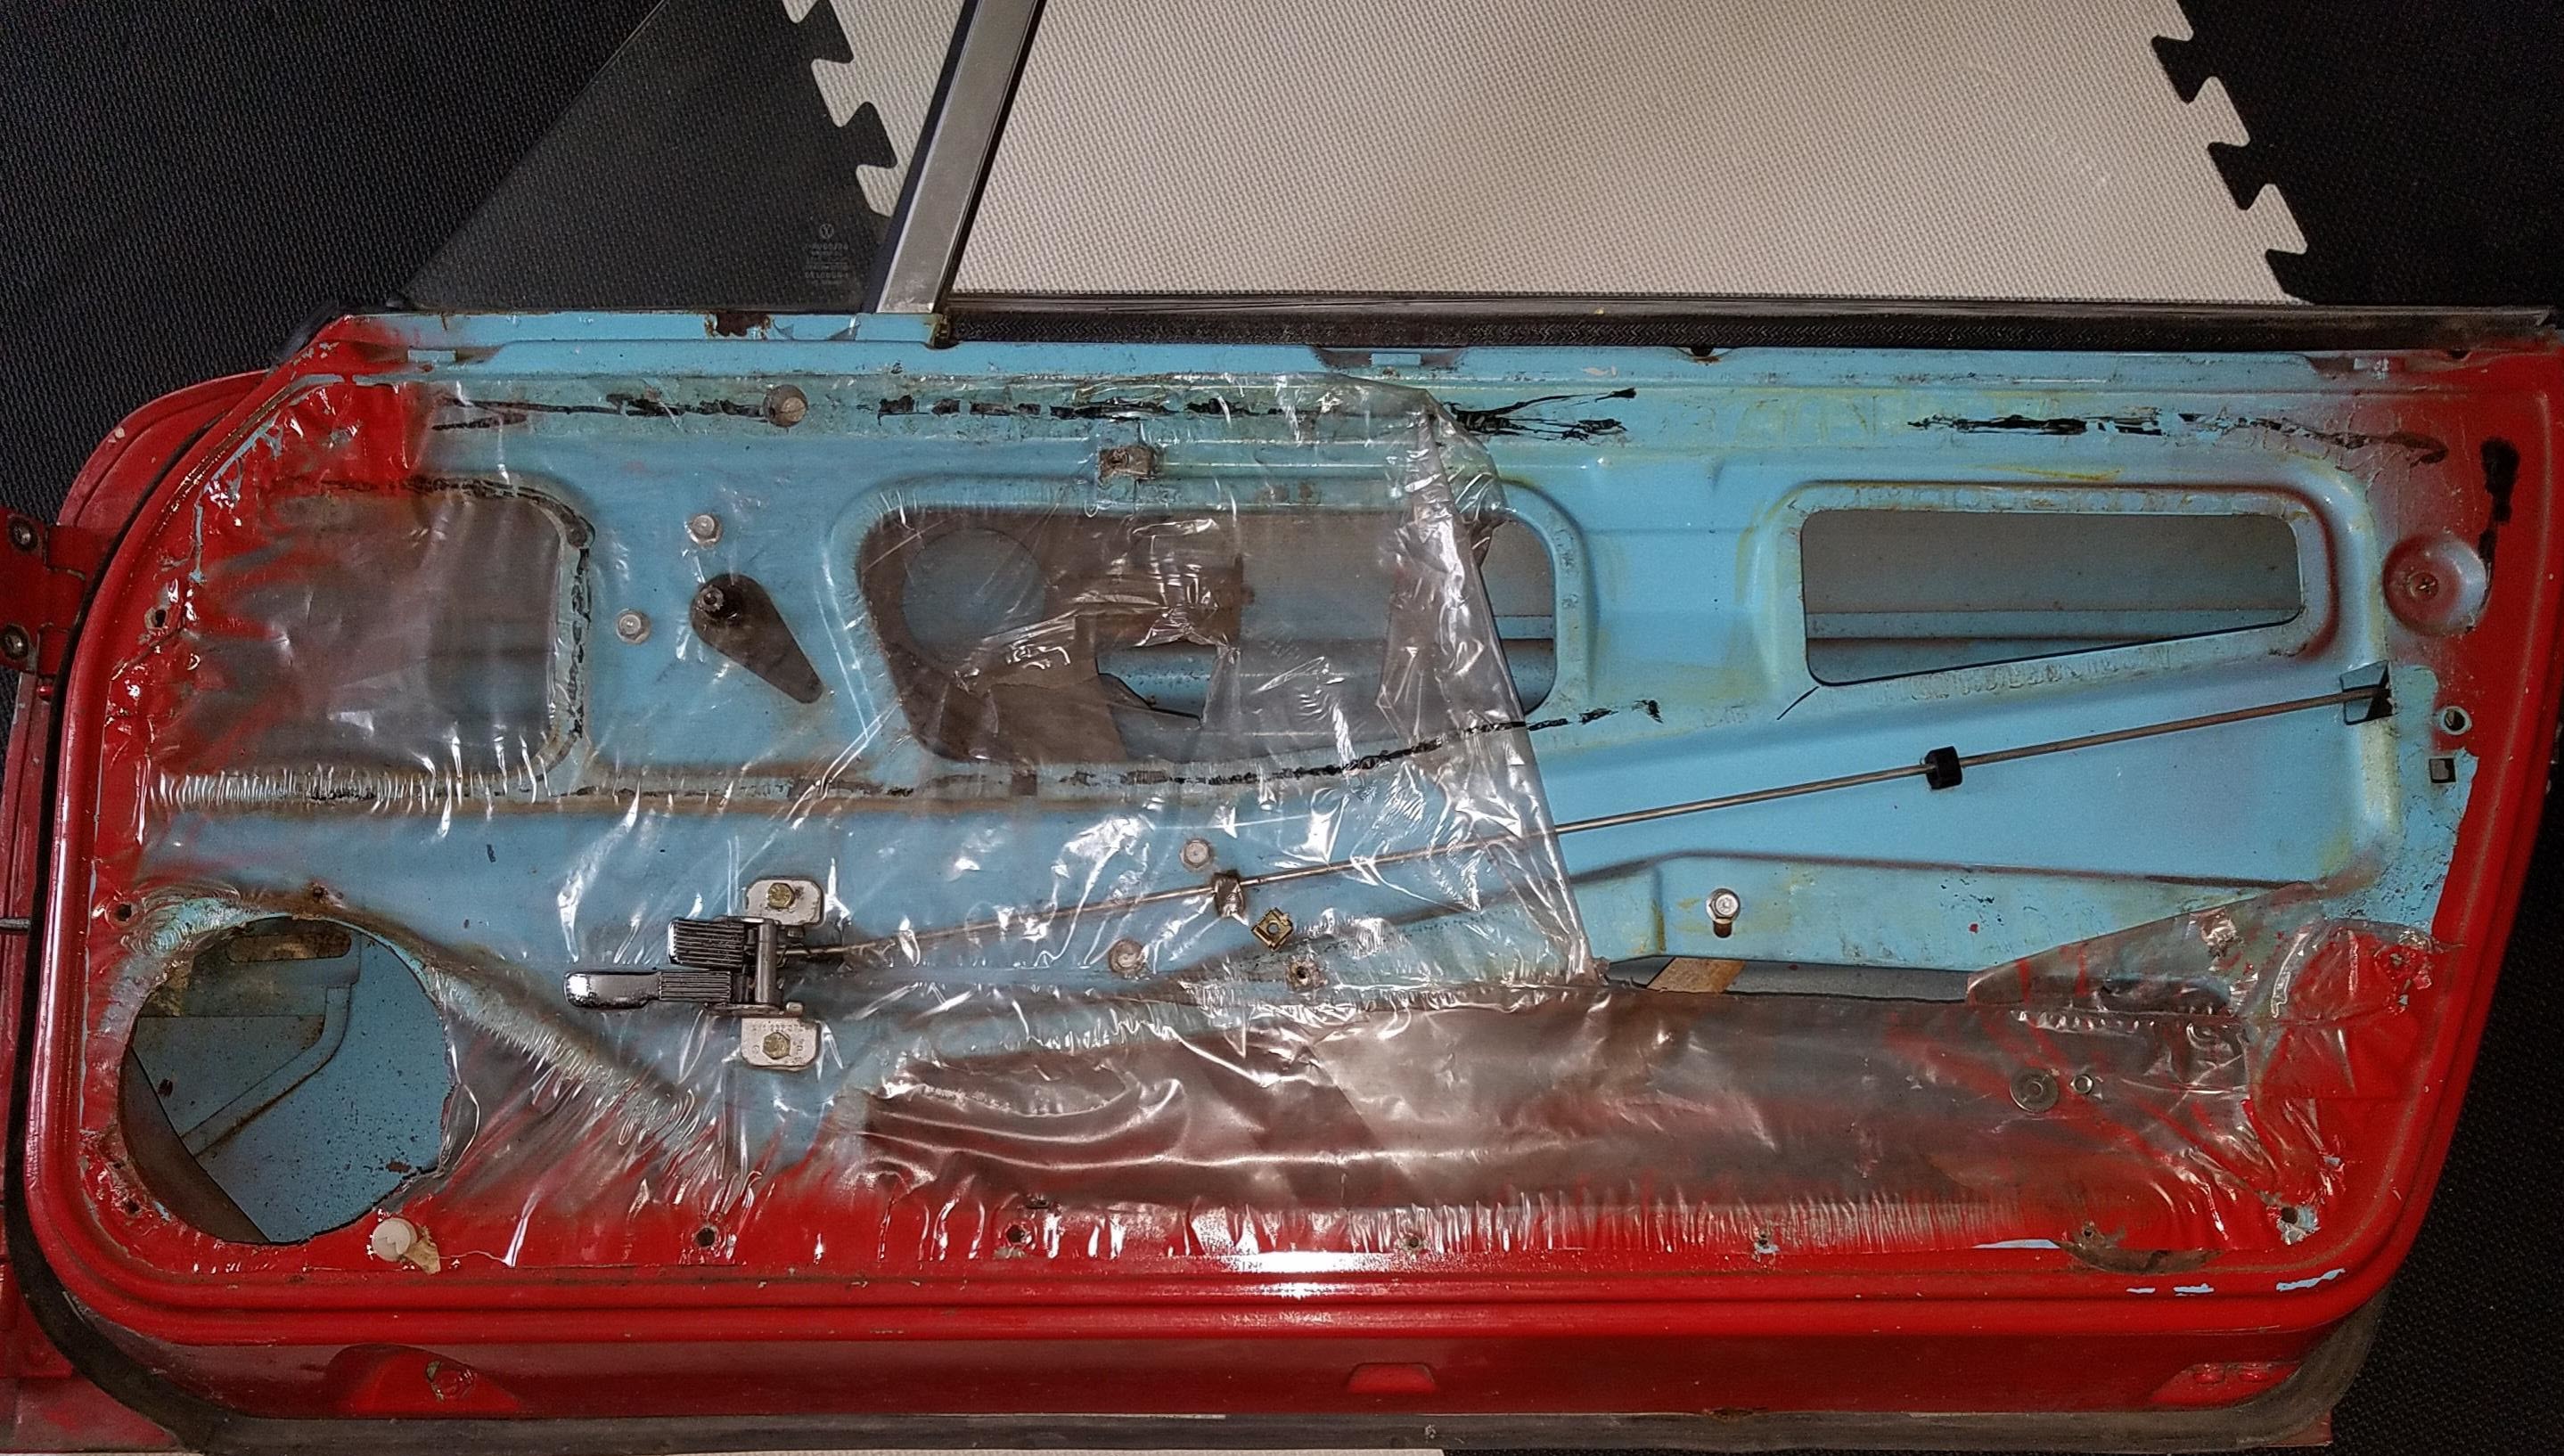
Upside-down door (not used because the rubber seal channels were rusted-out) to show door pocket and two screws that hold the vent-window: