Joe's 914 Project
The headlight assemblies had just surface rust. If you have heavily rusted units, go to eBay and get something better. I soaked these for 24 hours in Harbor Freight rust converter after a minor wire-wheel treatment on the rust spots. I then hand sanded these to my liking but could have used the blast cabinet too.
Lenses were Japanese E2 and the bulbs are H4s. I changed the bulbs to LED and it was a massive improvement once properly aimed.
NOTE: When aiming the headlights, make sure that the headlights are fully elevated by turning the black dials on the motors. This is critical to get the aim right. Lower and raise them a few times to make sure they are fully extended after the manual adjustments. Then it is time to do the aiming from 25' away on a flat surface, etc. For E2 bulbs, you get a check mark angle and the elbow of the check mark it the center position.
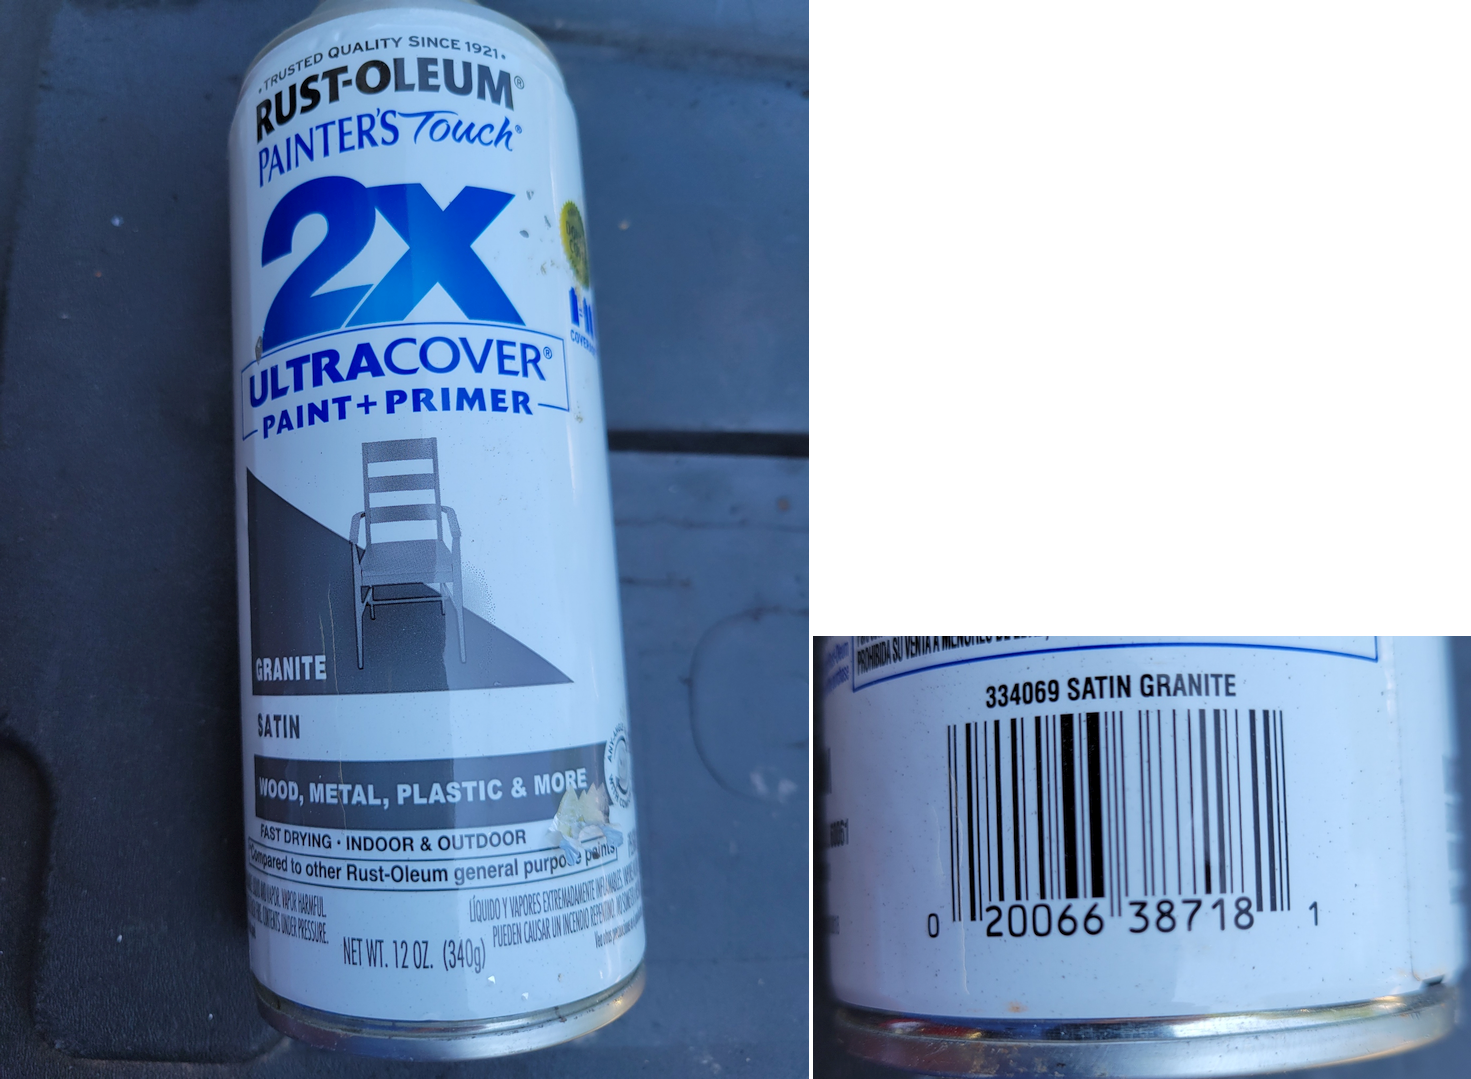
For paint, I used Painter's Touch from Rust-Oleum (Target has this paint) in the Slate Gray noted in the images below. It looks fantastic to me.
They looked ratty wen I got to this phase of the cleanup:
Cleaned-up before painting them:
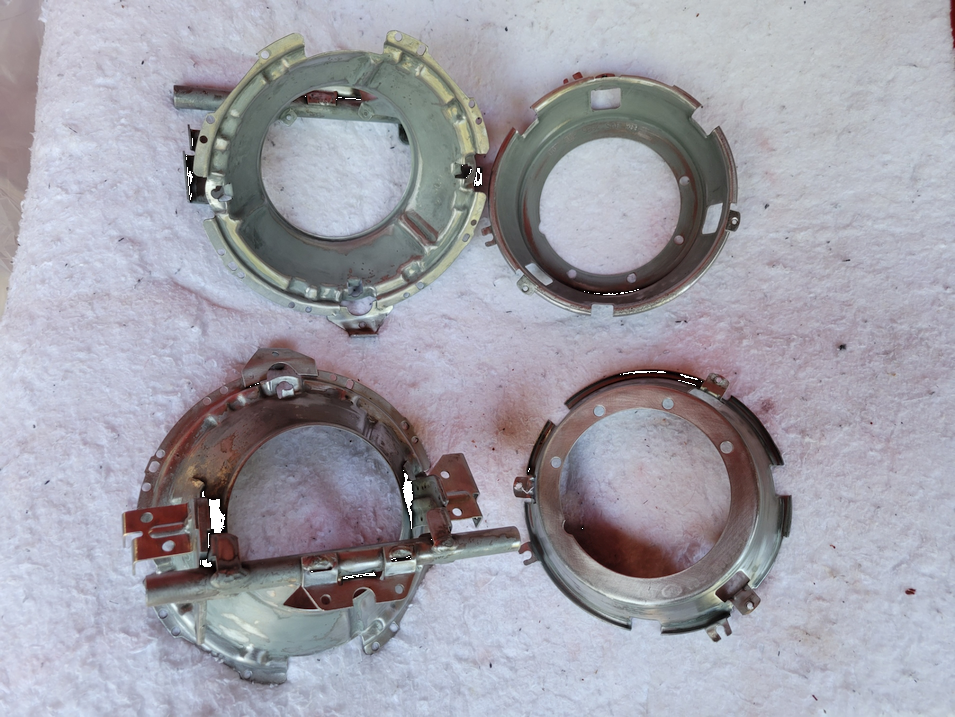
Painted, they came out nice. You can see the rust pitting in the top edge of the upper image below. I could have given it 2-3 more coats and sanded in-between, but this will never be seen by the eye and it is all rustproofed now.
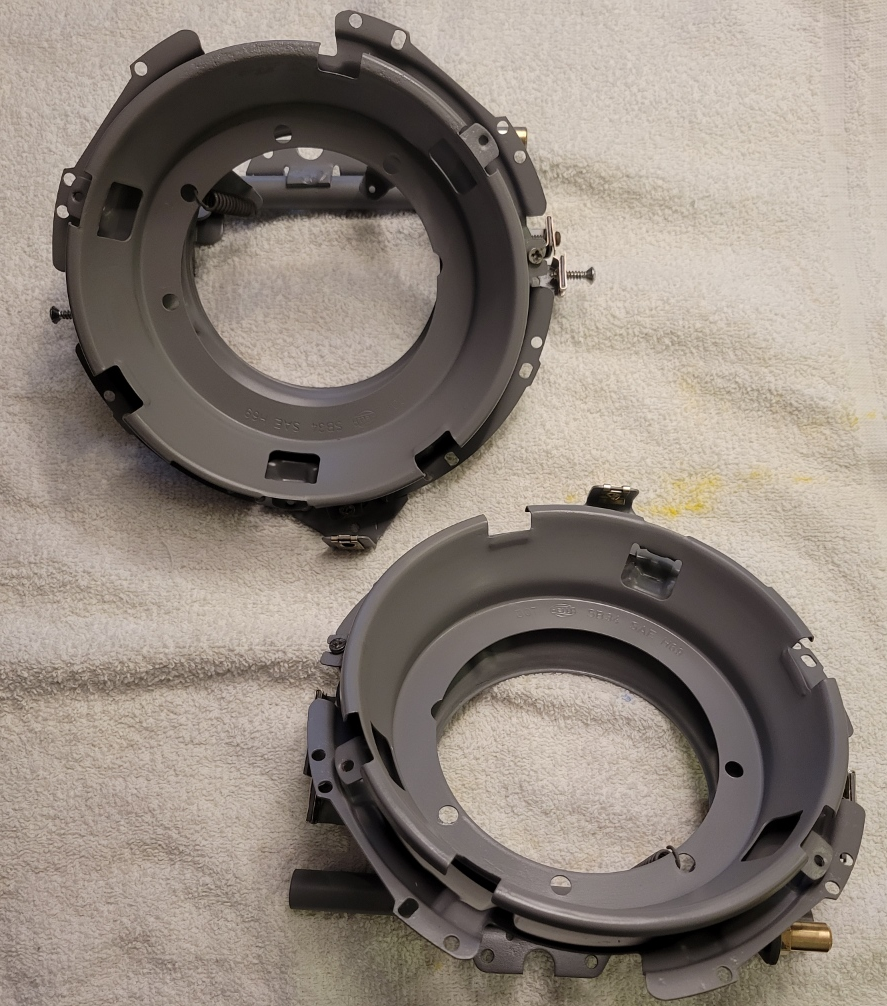
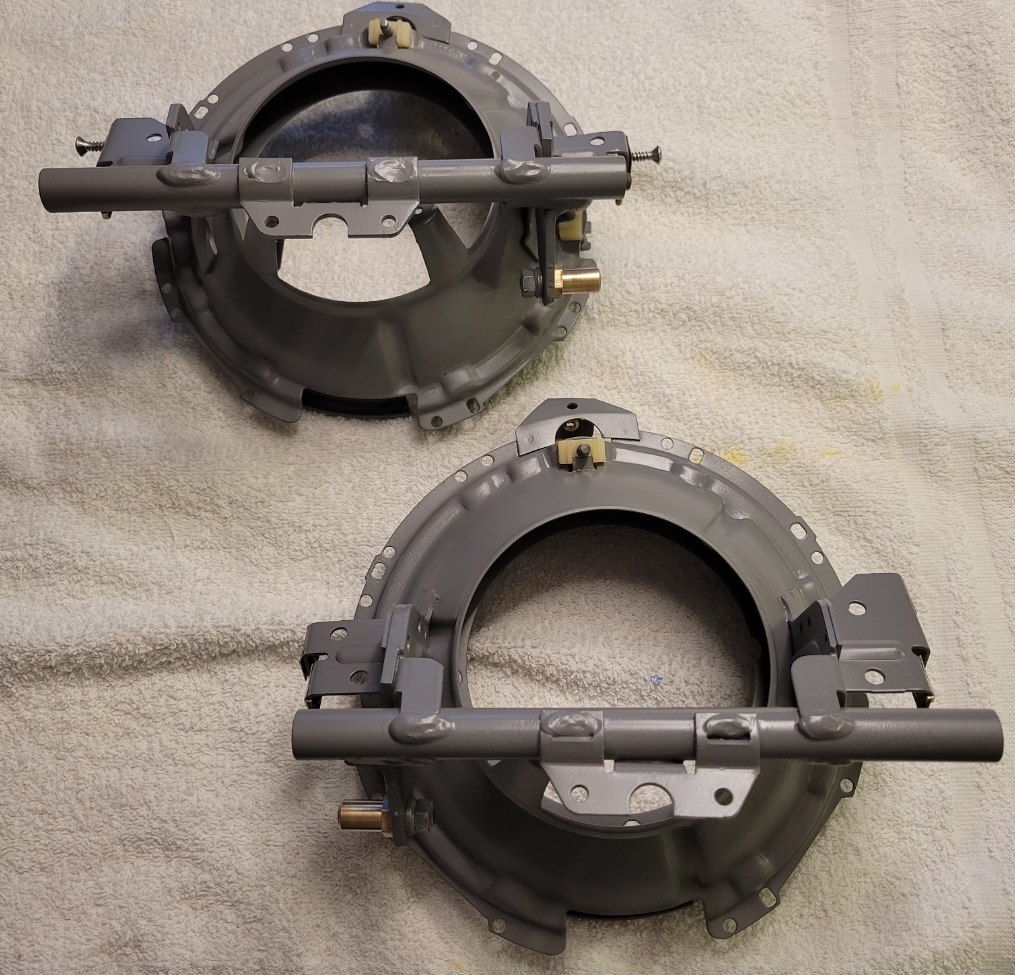
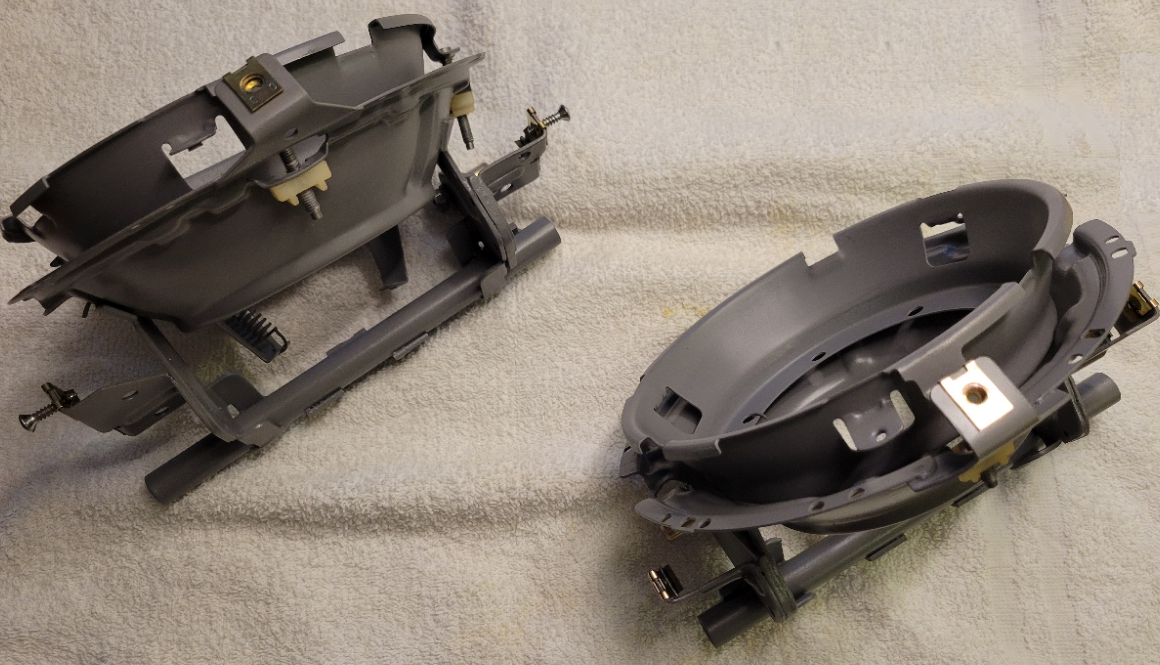
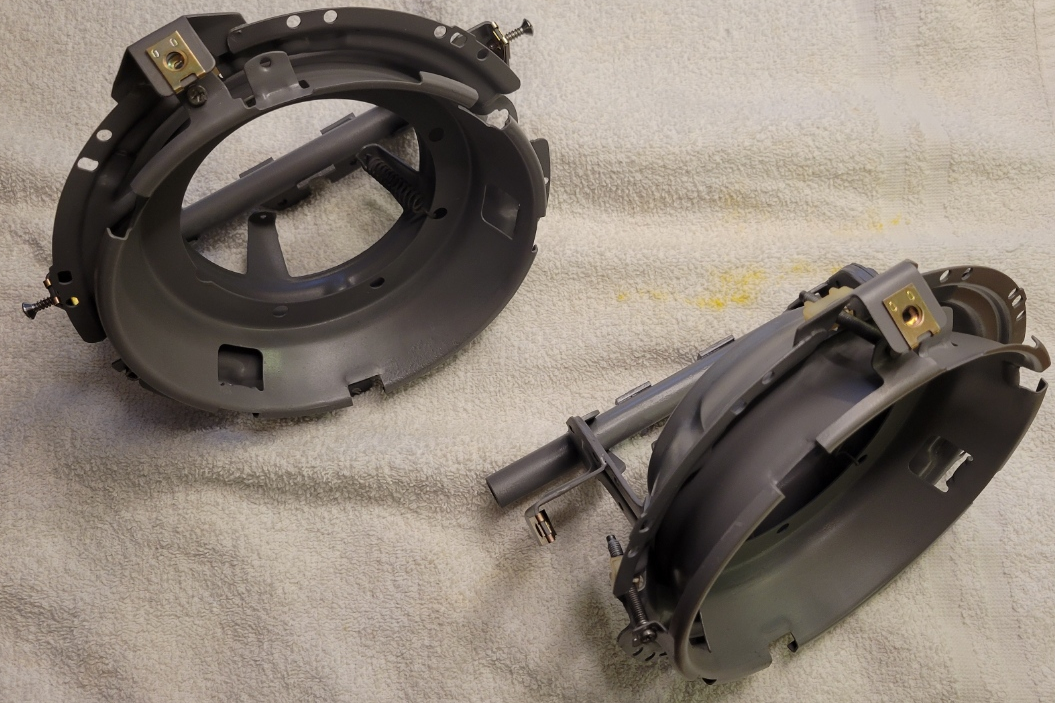
Ready for reassembly:
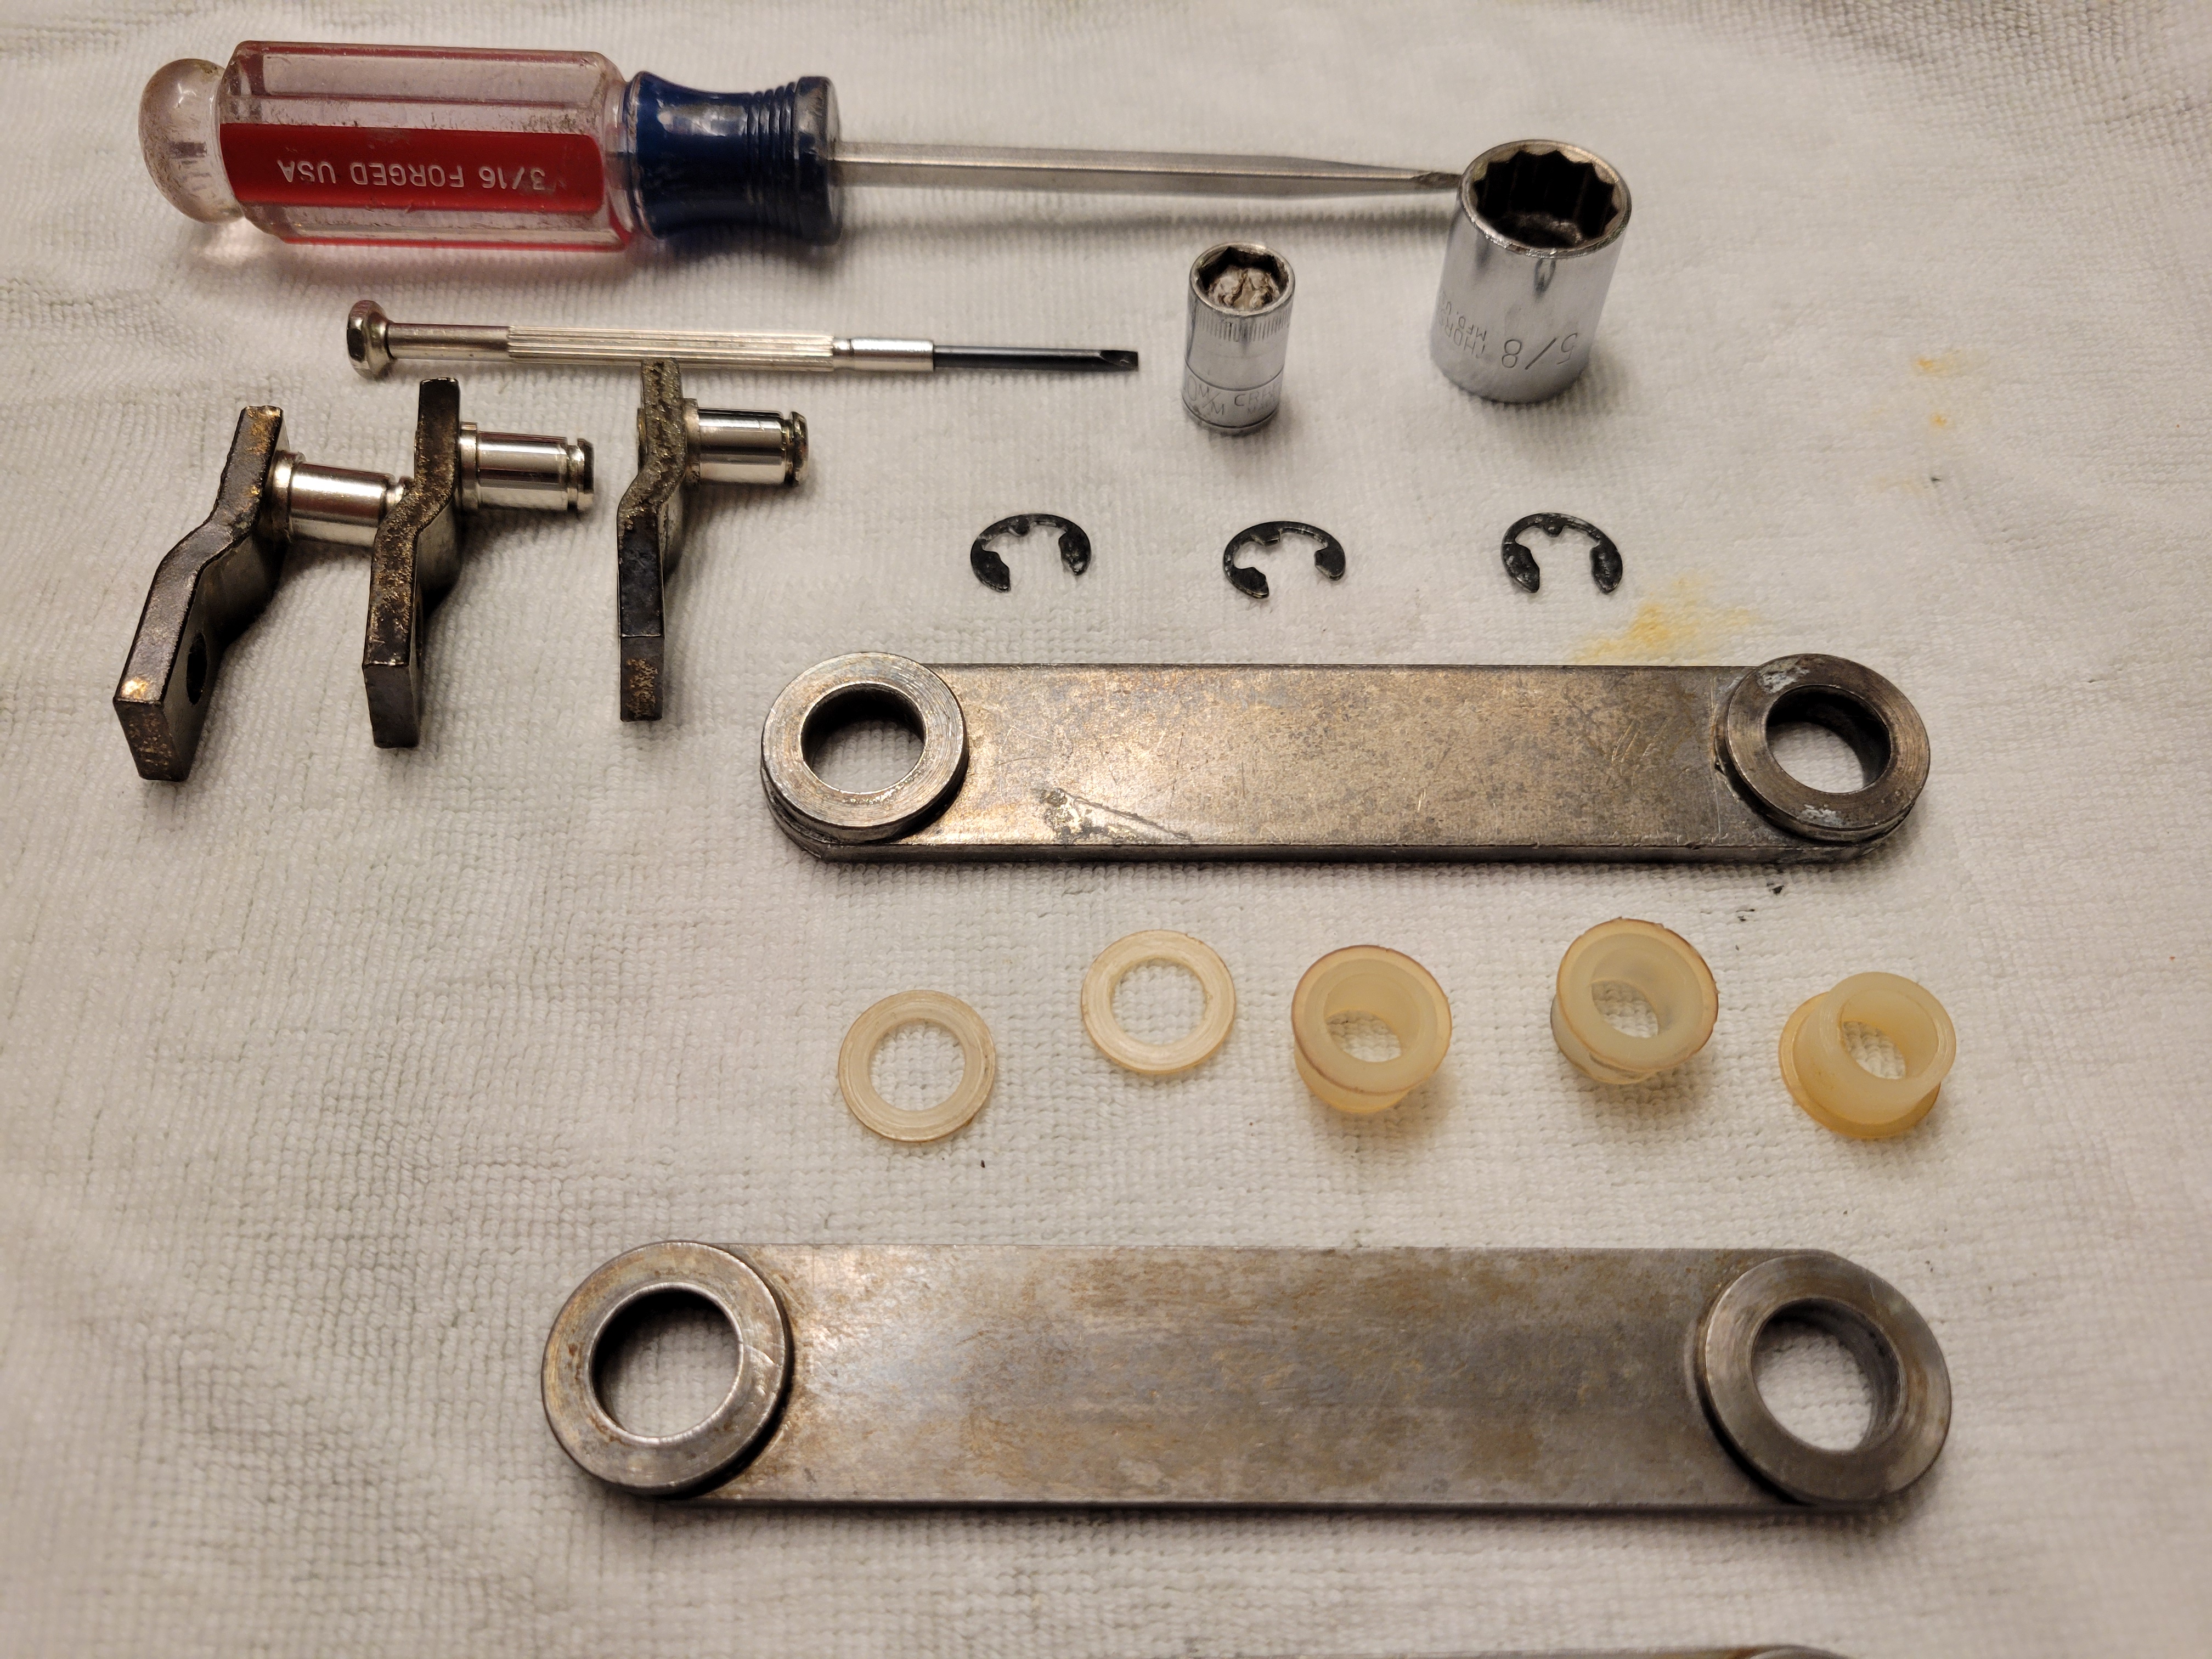
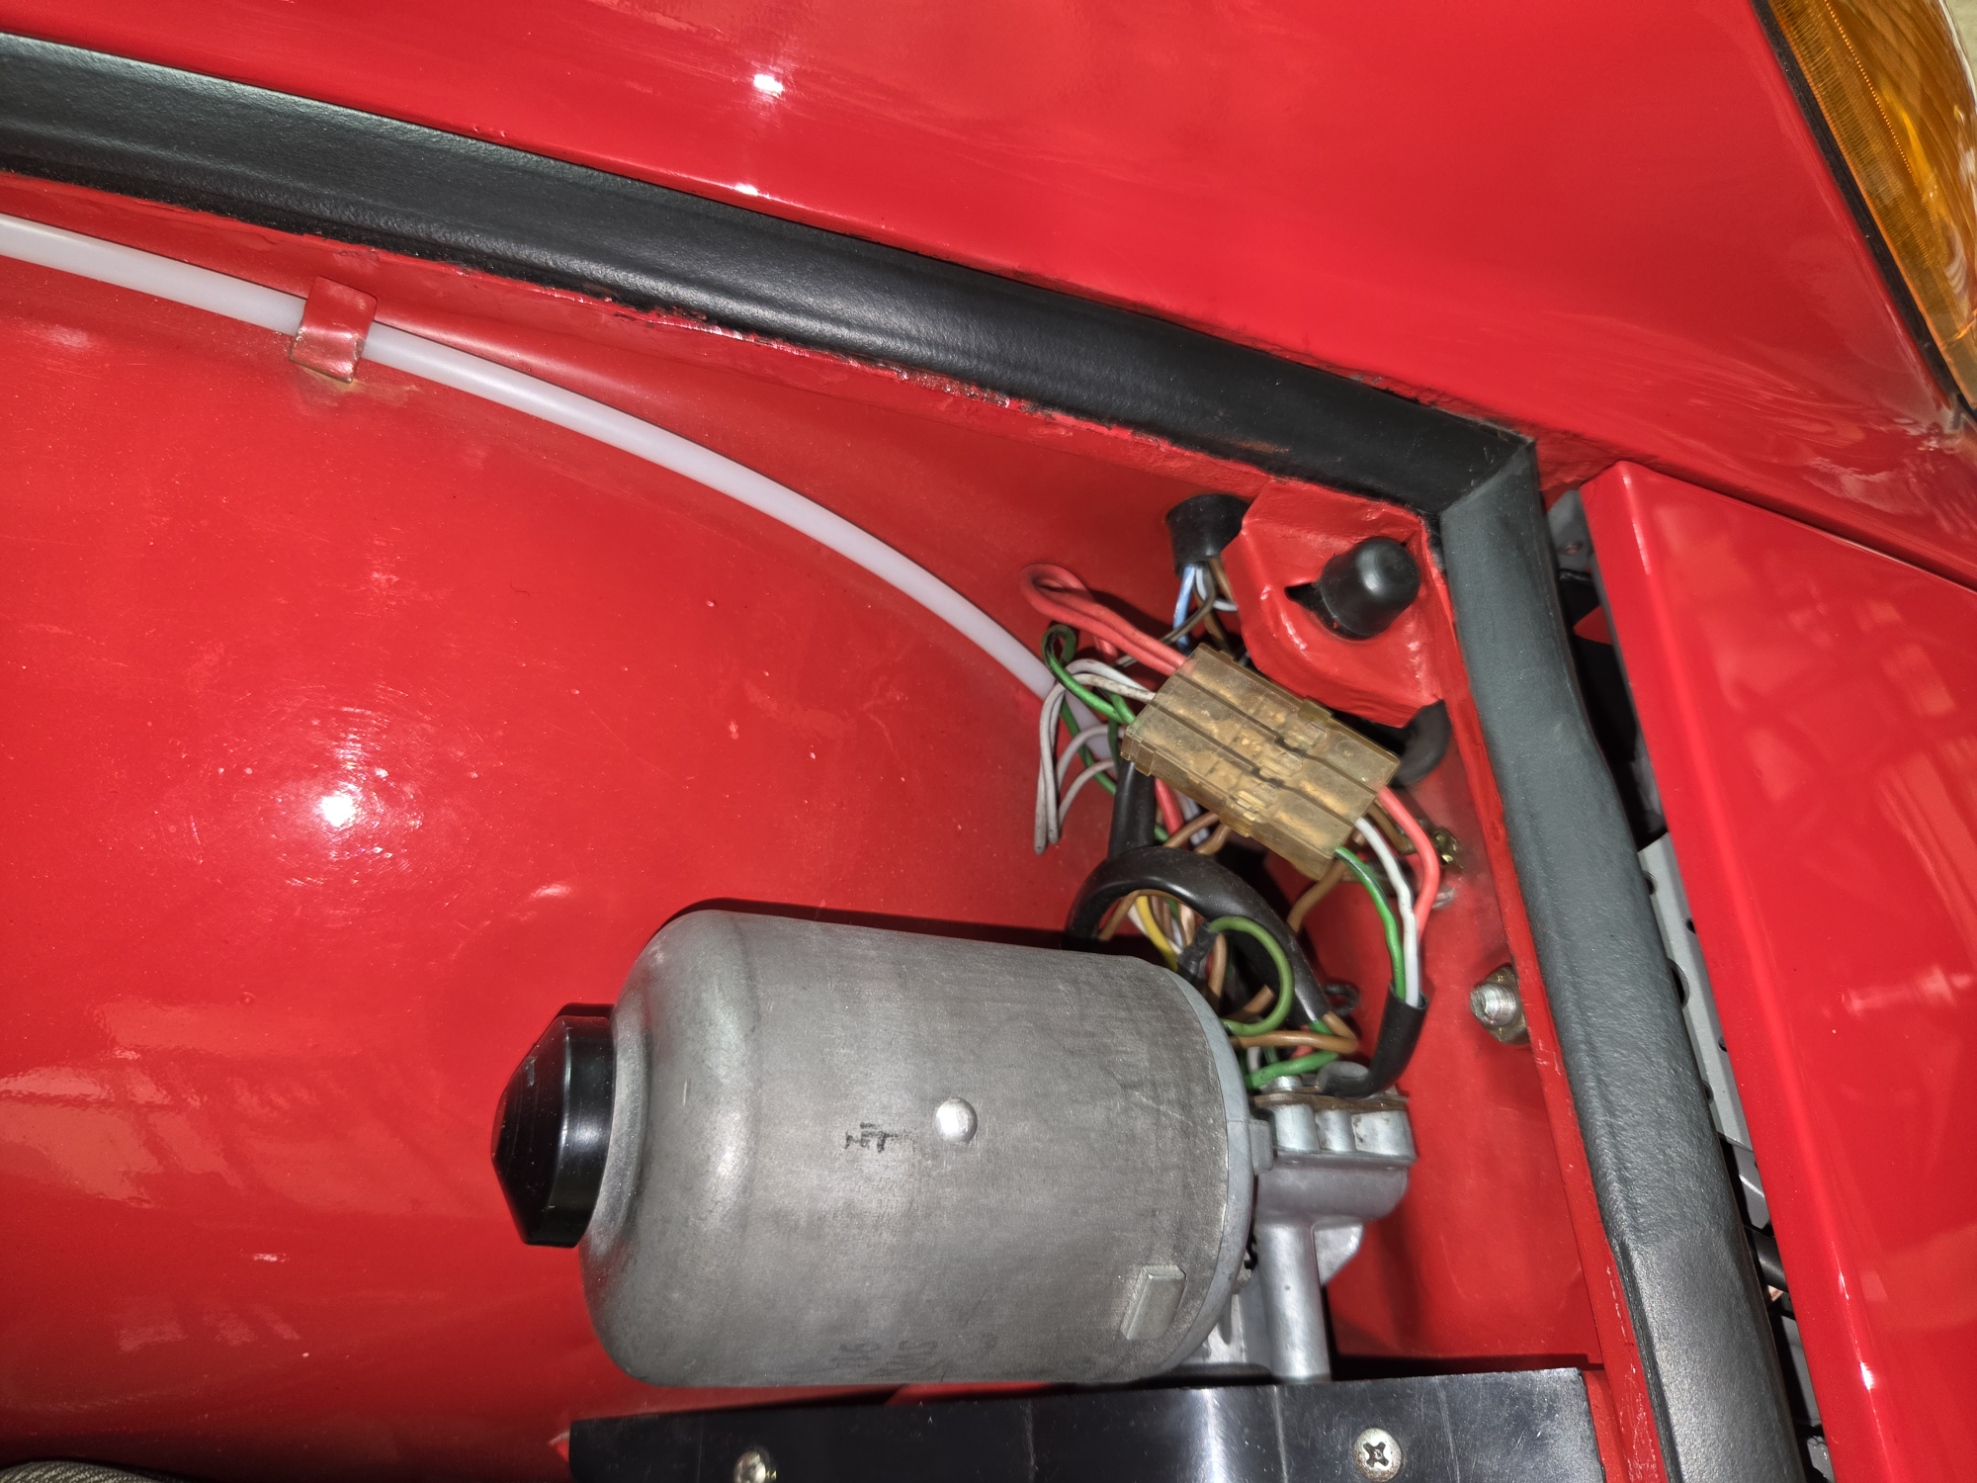
Passenger-side headlight motor. Note the cleaned-up wiring and wire connector sheathing: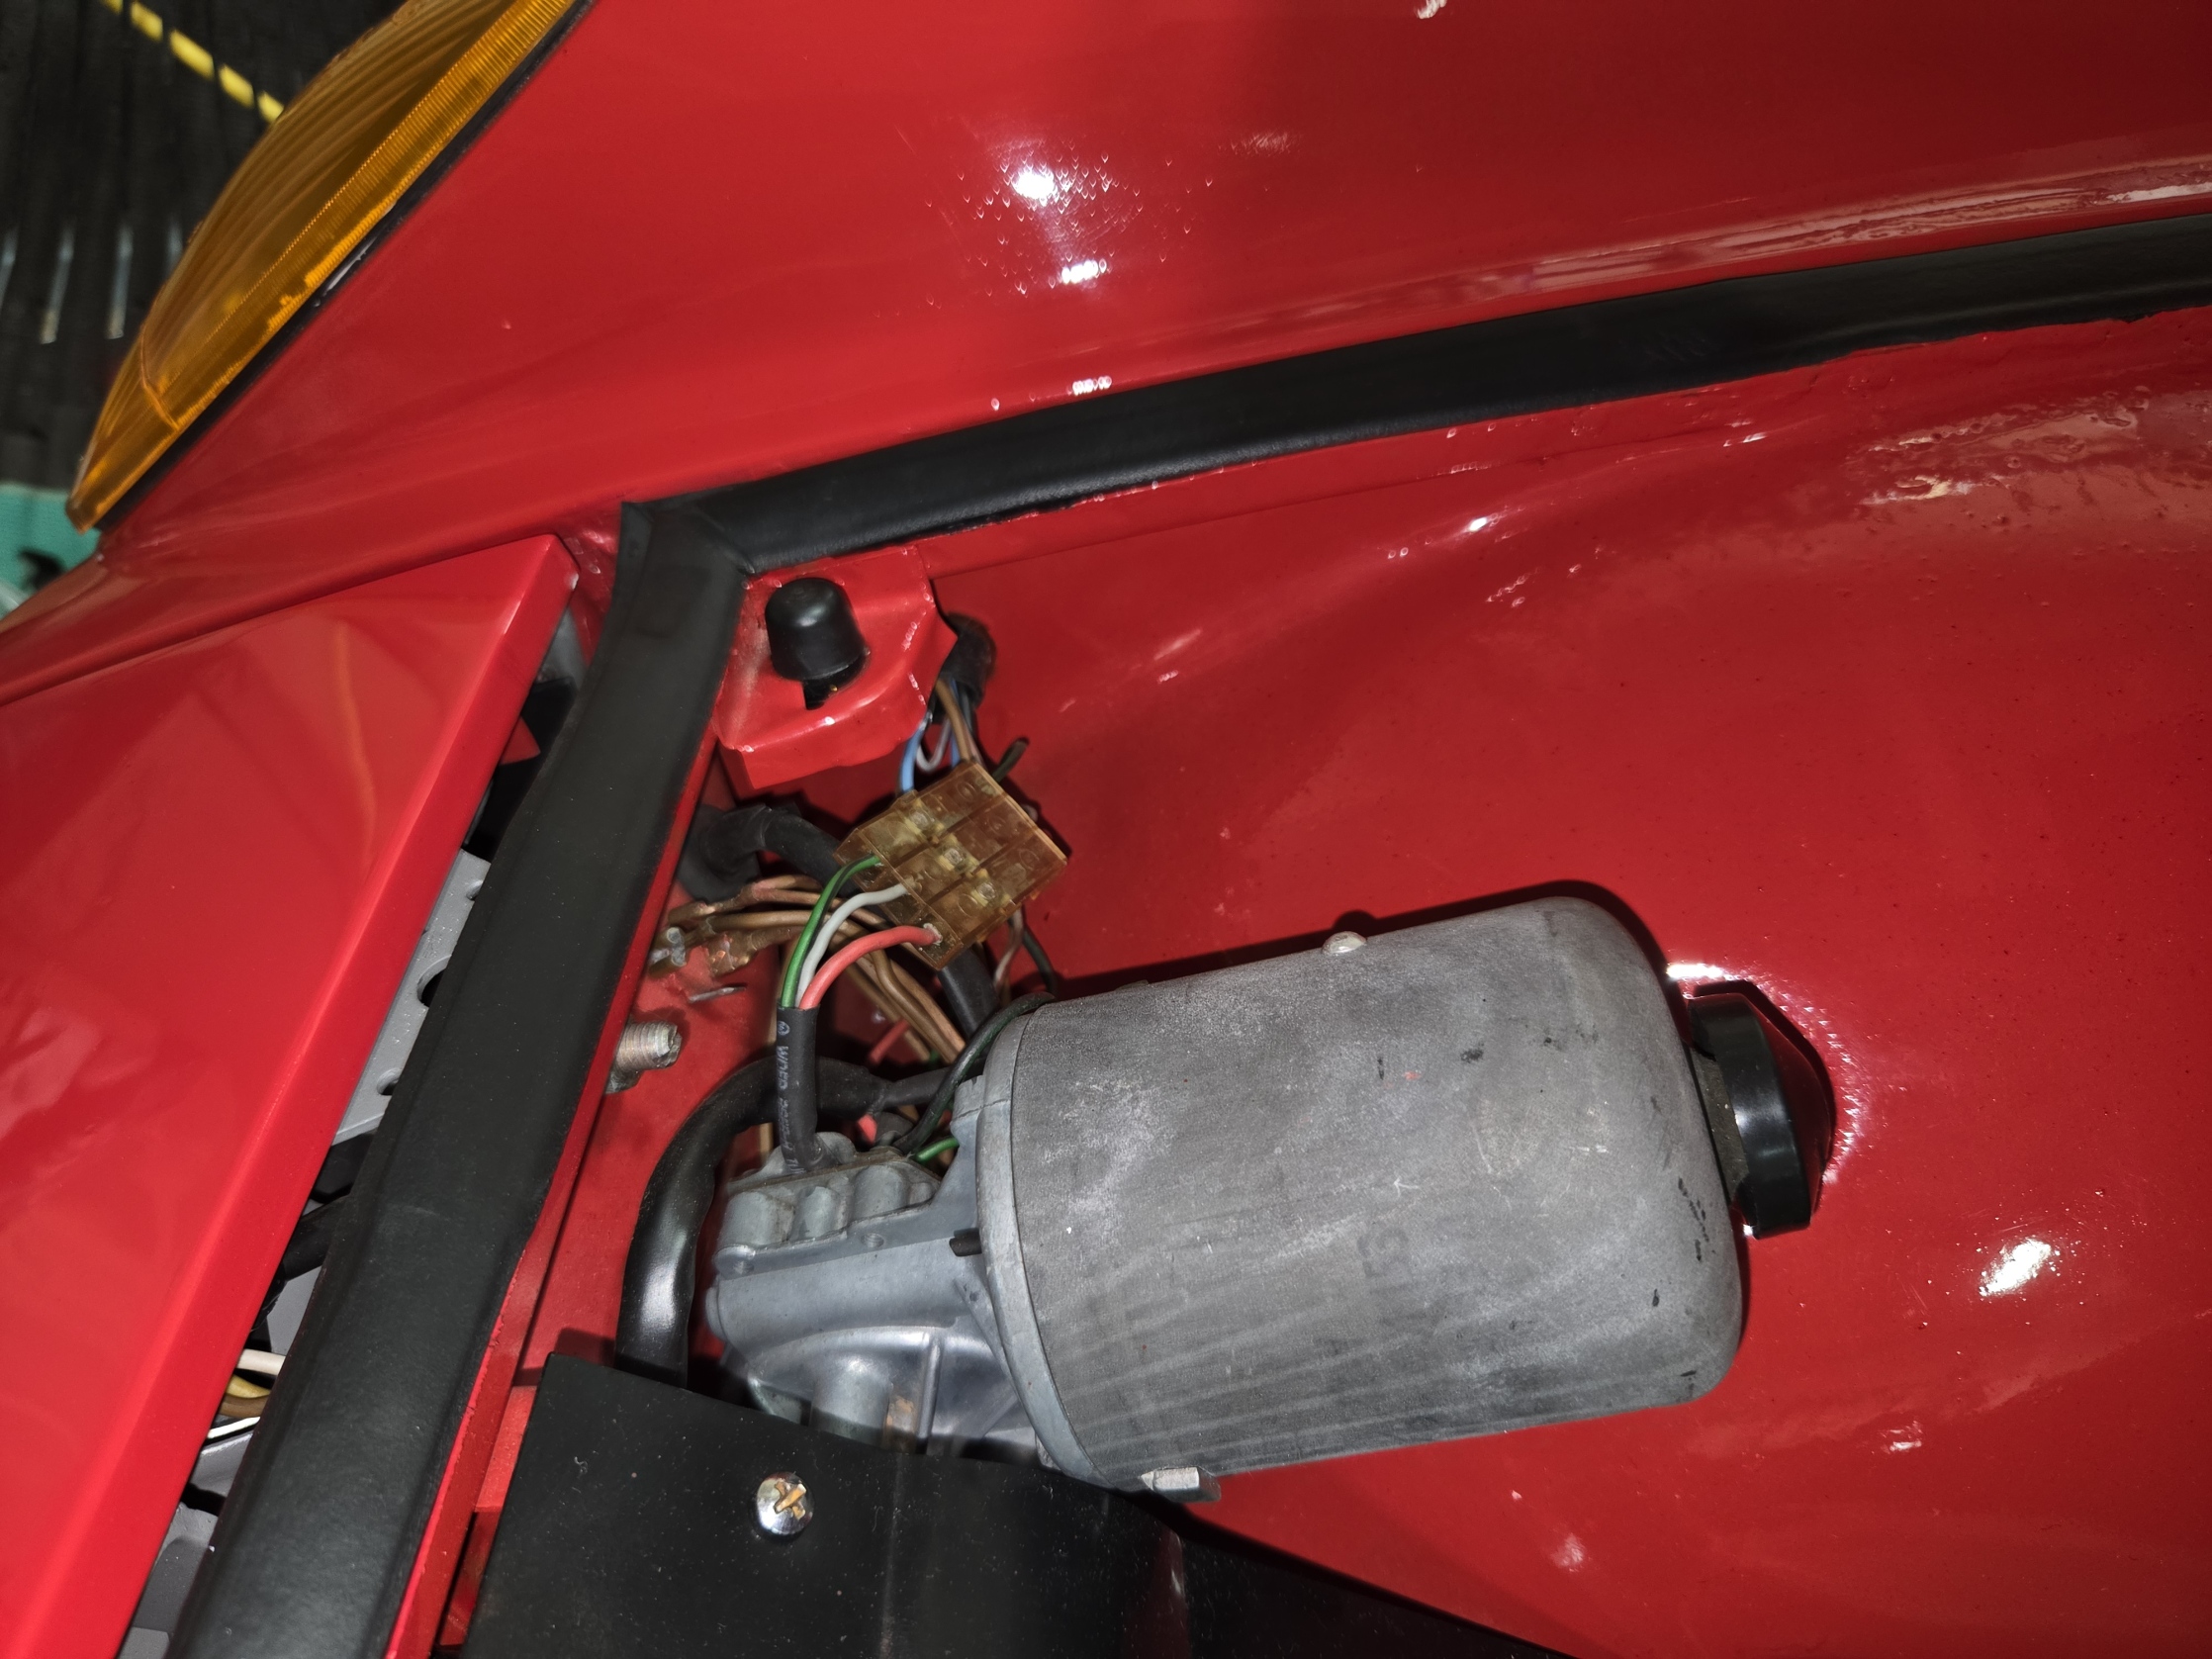
Driver's side headlight motor. Note the cleaned-up wiring and wire connector sheathing: