Joe's 914 Project
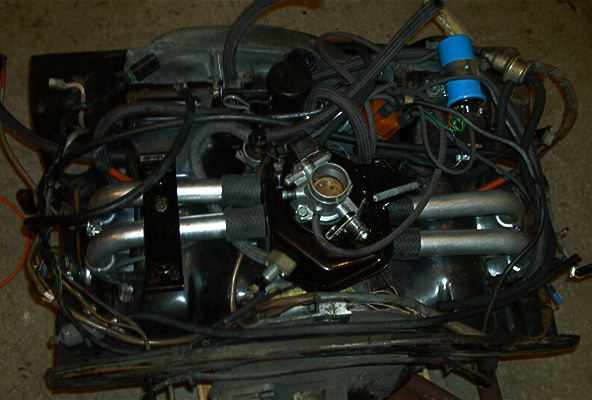
I cleaned the entire tin and removed all of the paint. POR15 was too sloppy and that was later stripped off and I ended up using Eastwood 2K Rat Rod paint. GREAT STUFF!!!
The tin was carefully hammed back into shape. I used 2"X4" and 4"x4" boards to serve as an anvil to hammer against as I tightened the fitment between the pieces.
The spark plug holes were a mess on the driver's side and I had to weld-in some metal to fix them. The holes were reshaped with a grinding cylinder bit mounted to a conventional electric drill.
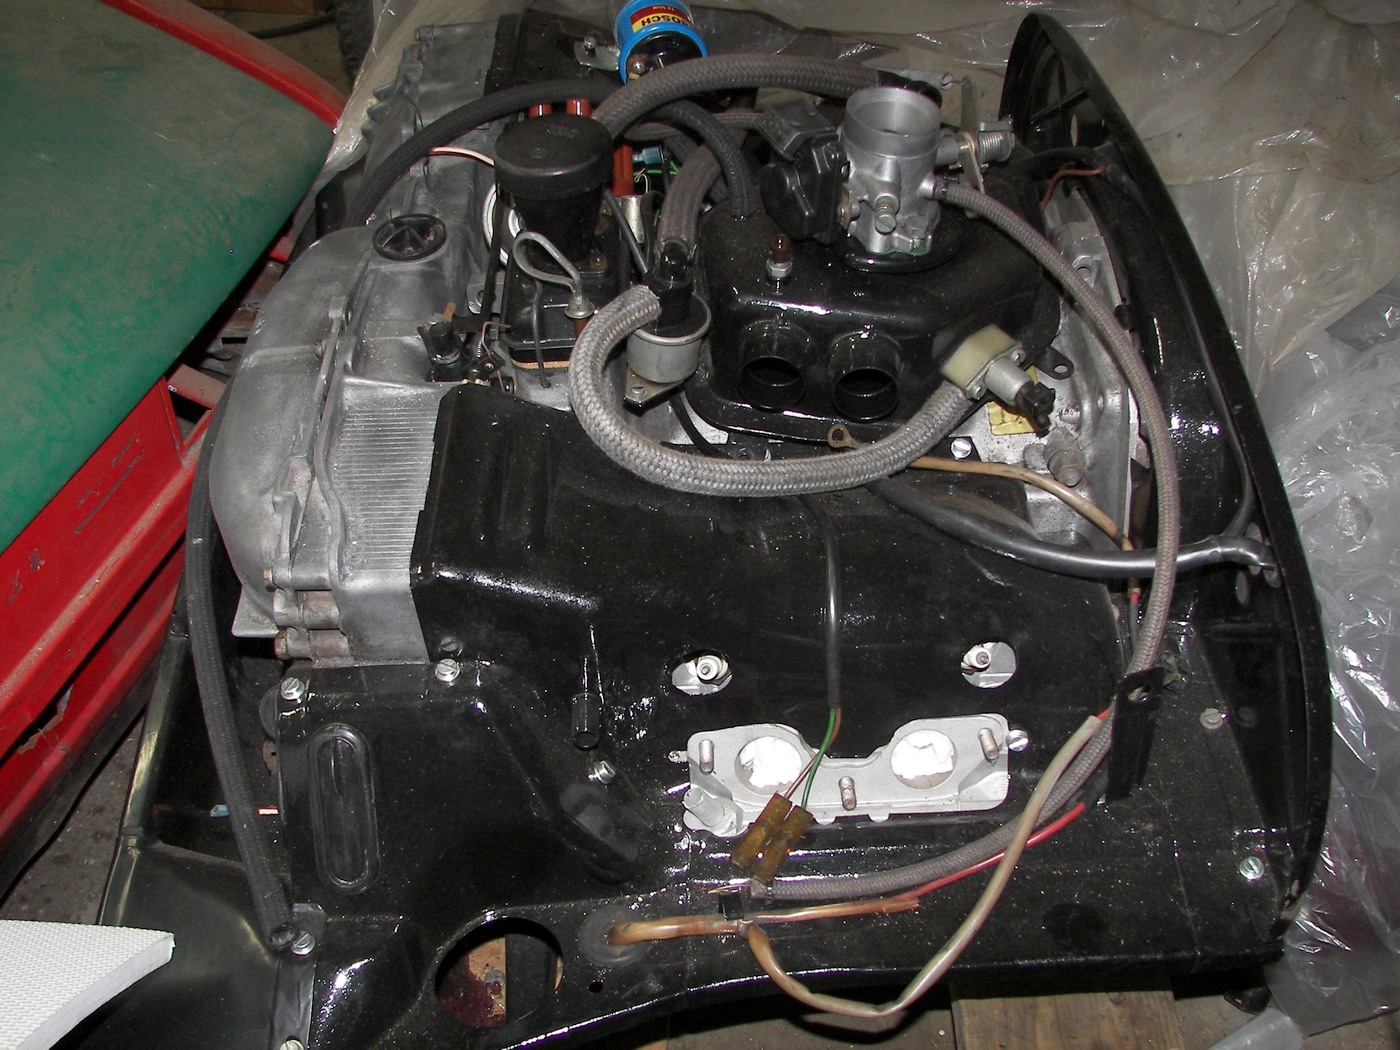
Repainted tin below. I redid the intake runners in 2026:
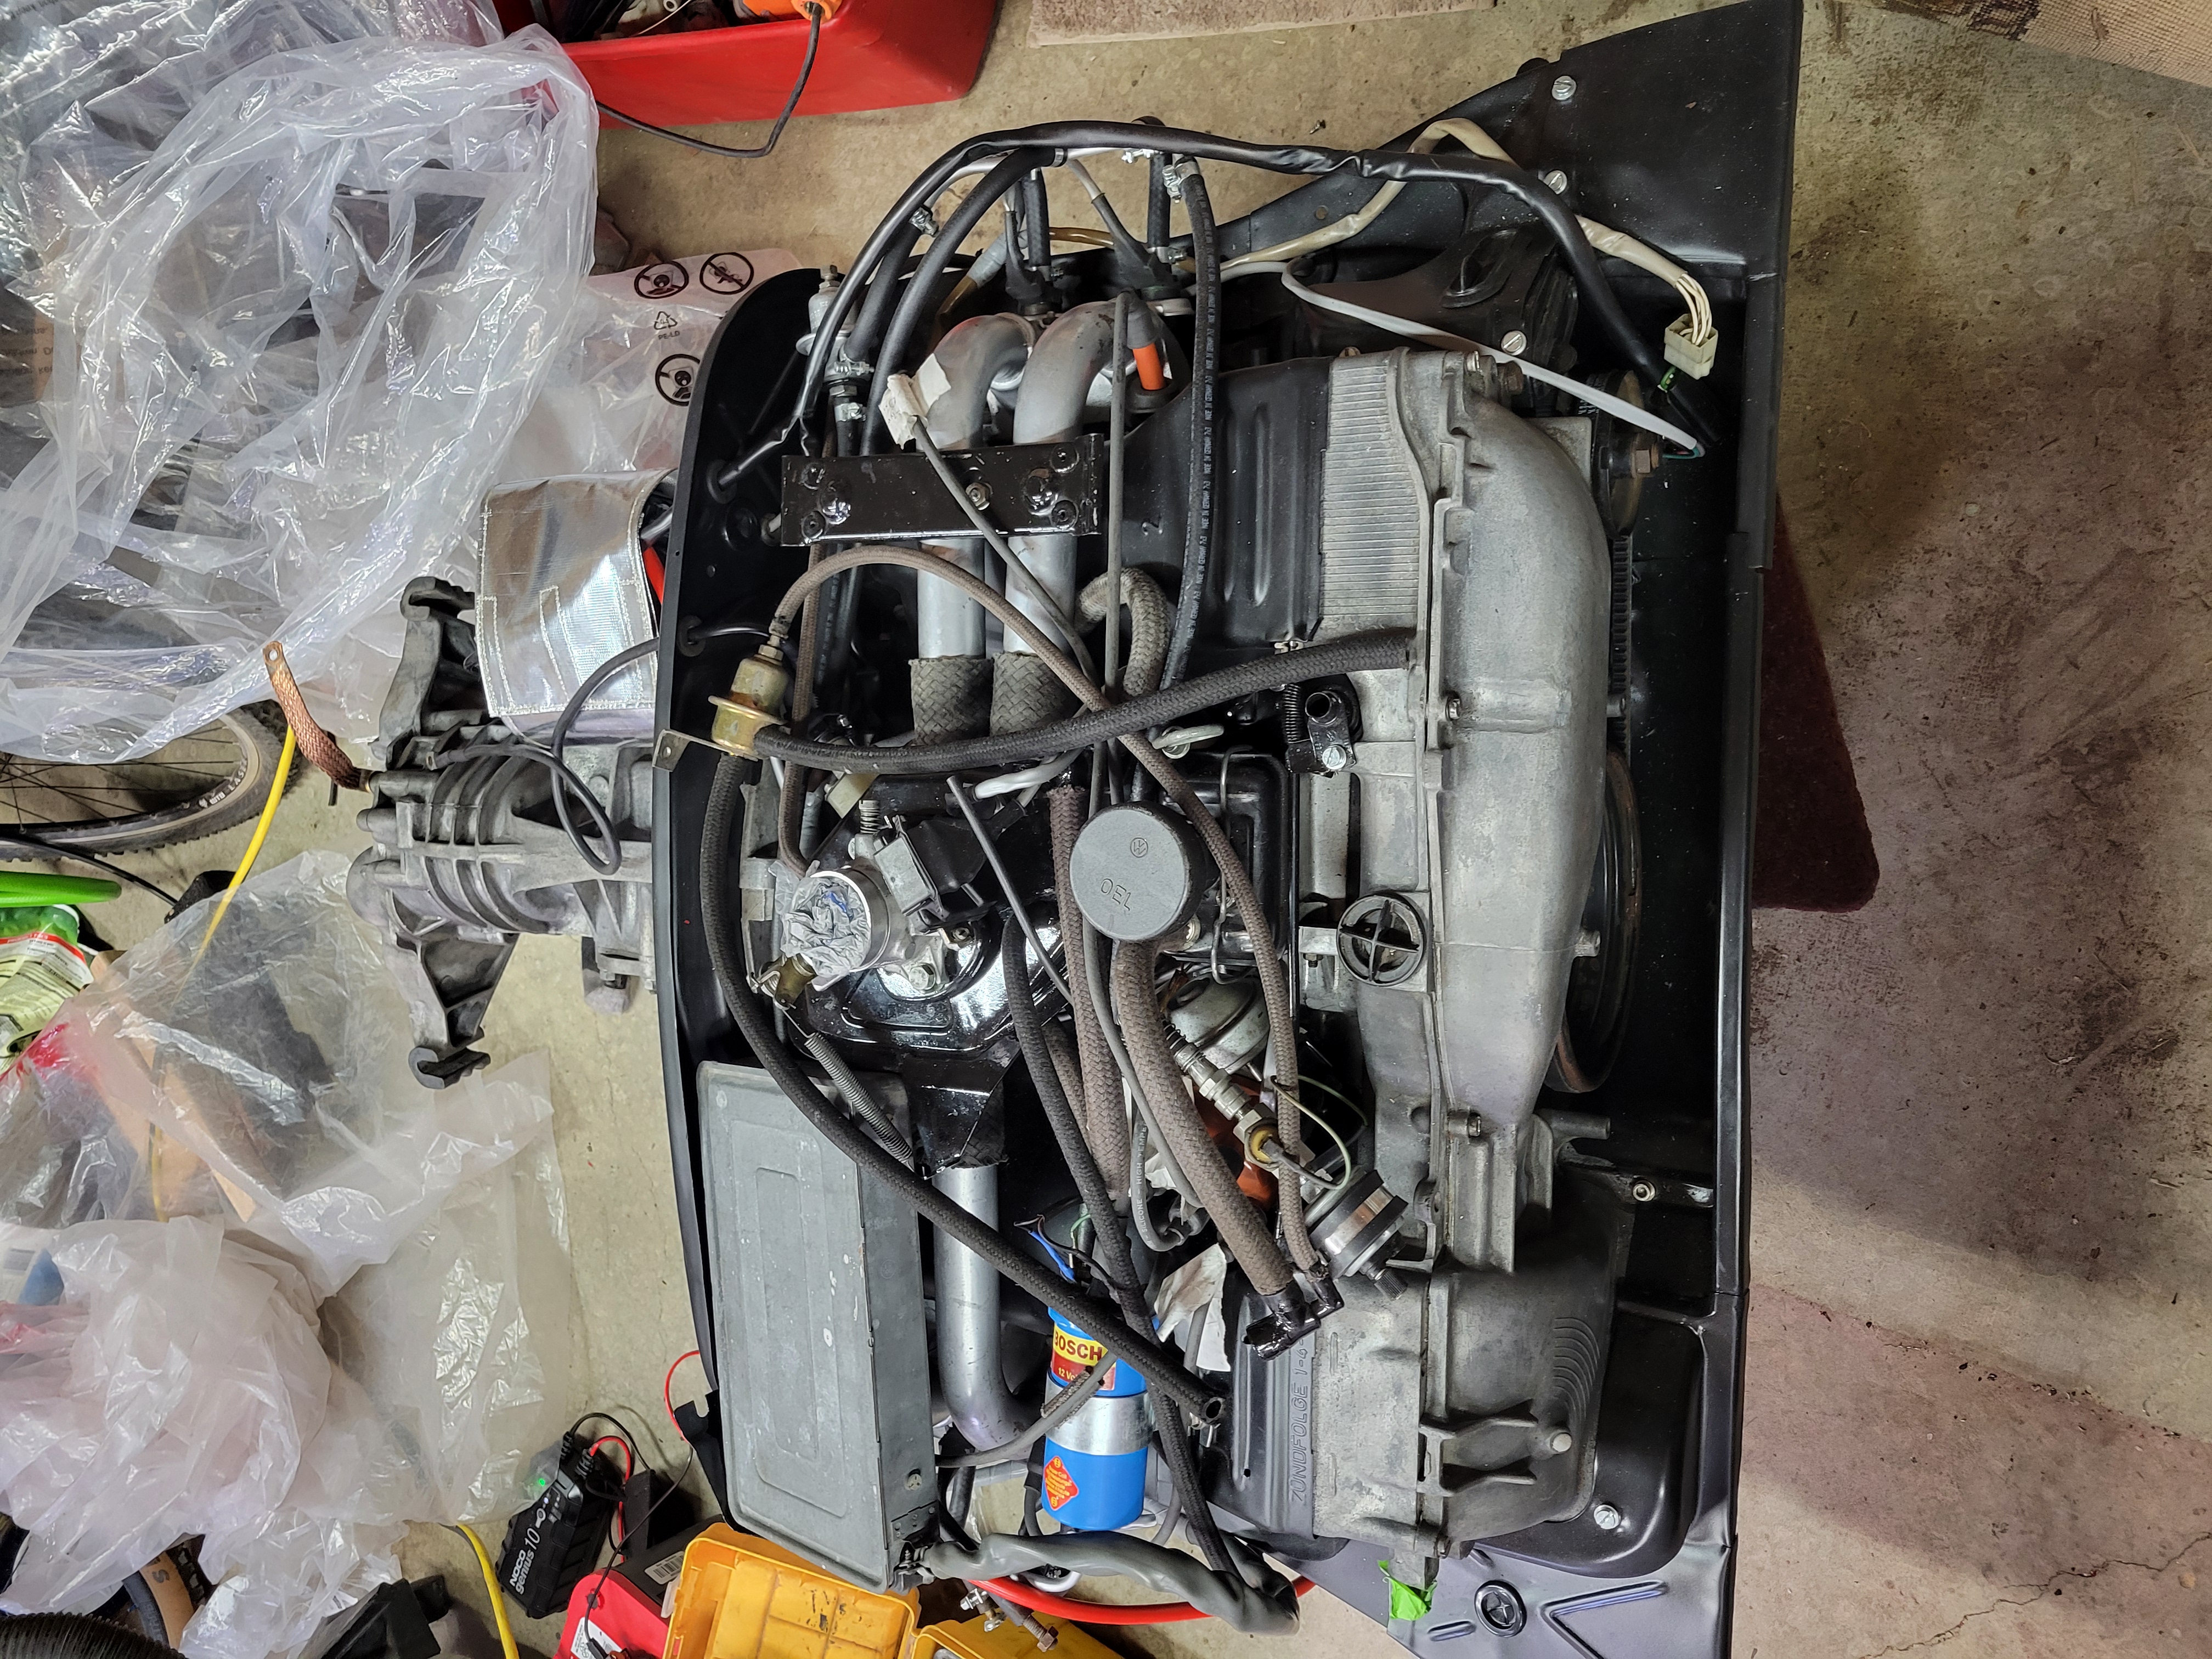
Another view with the fan pulley repainted:
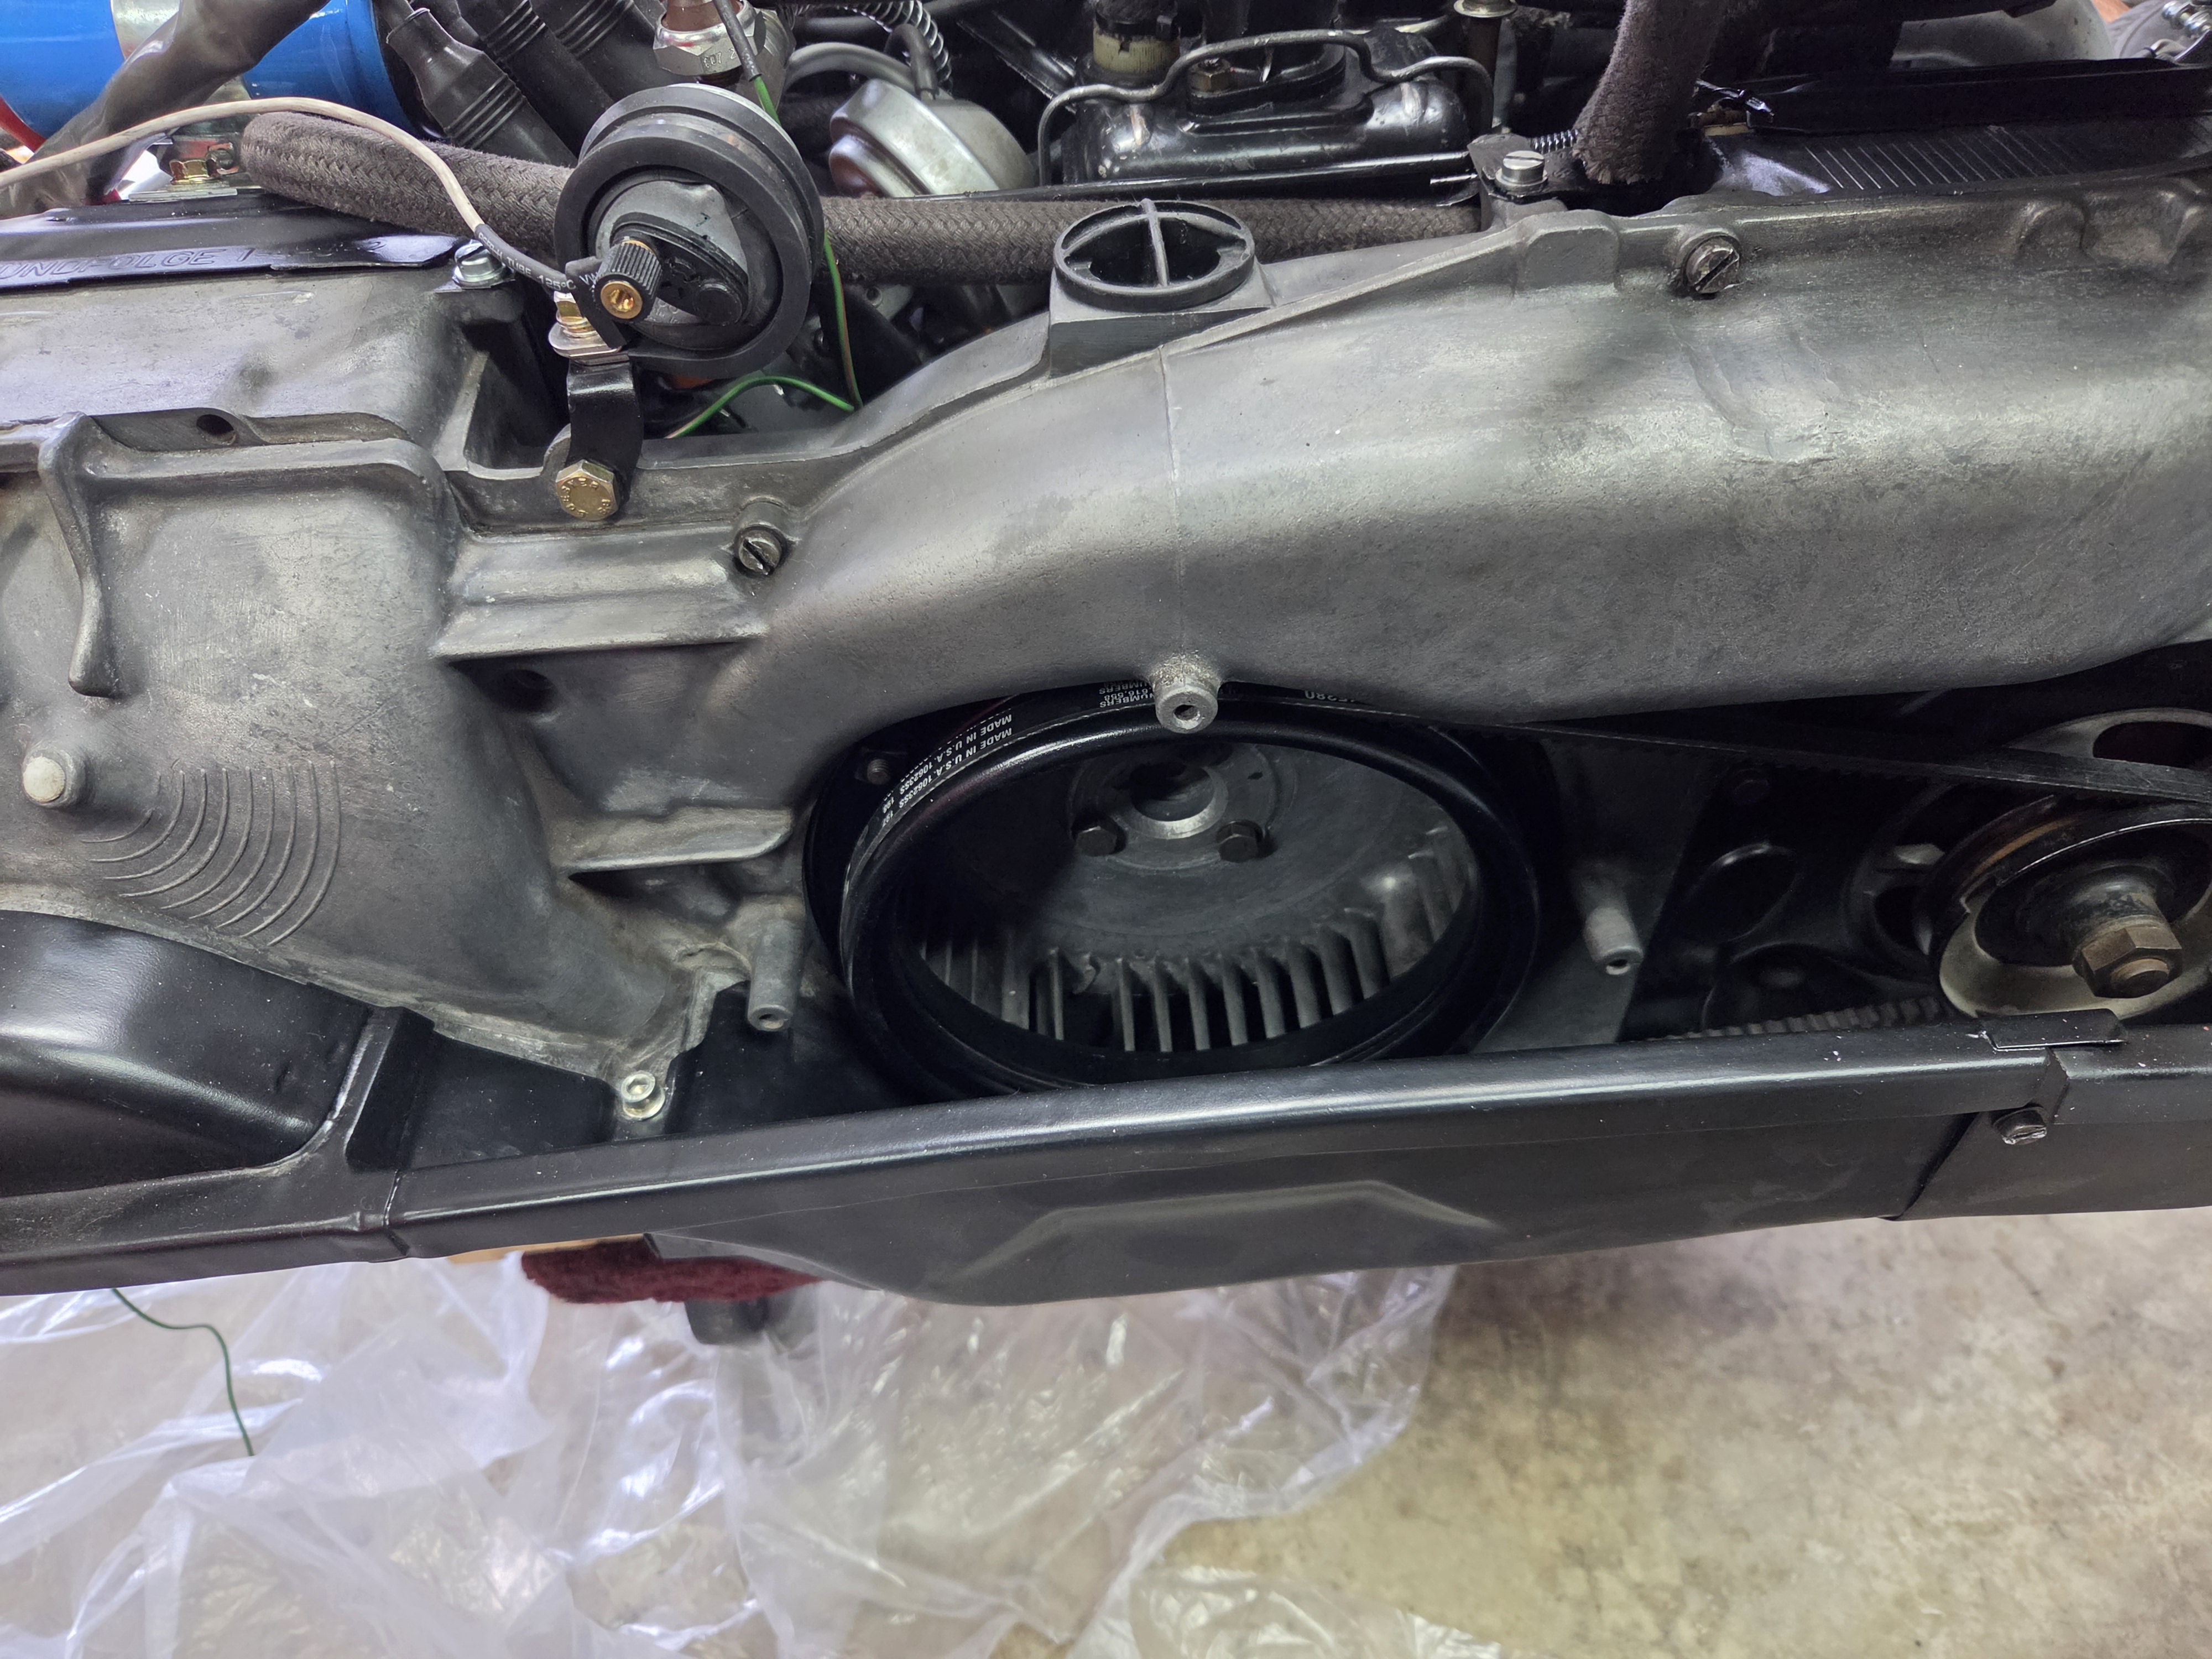
The POR-15 was not good.
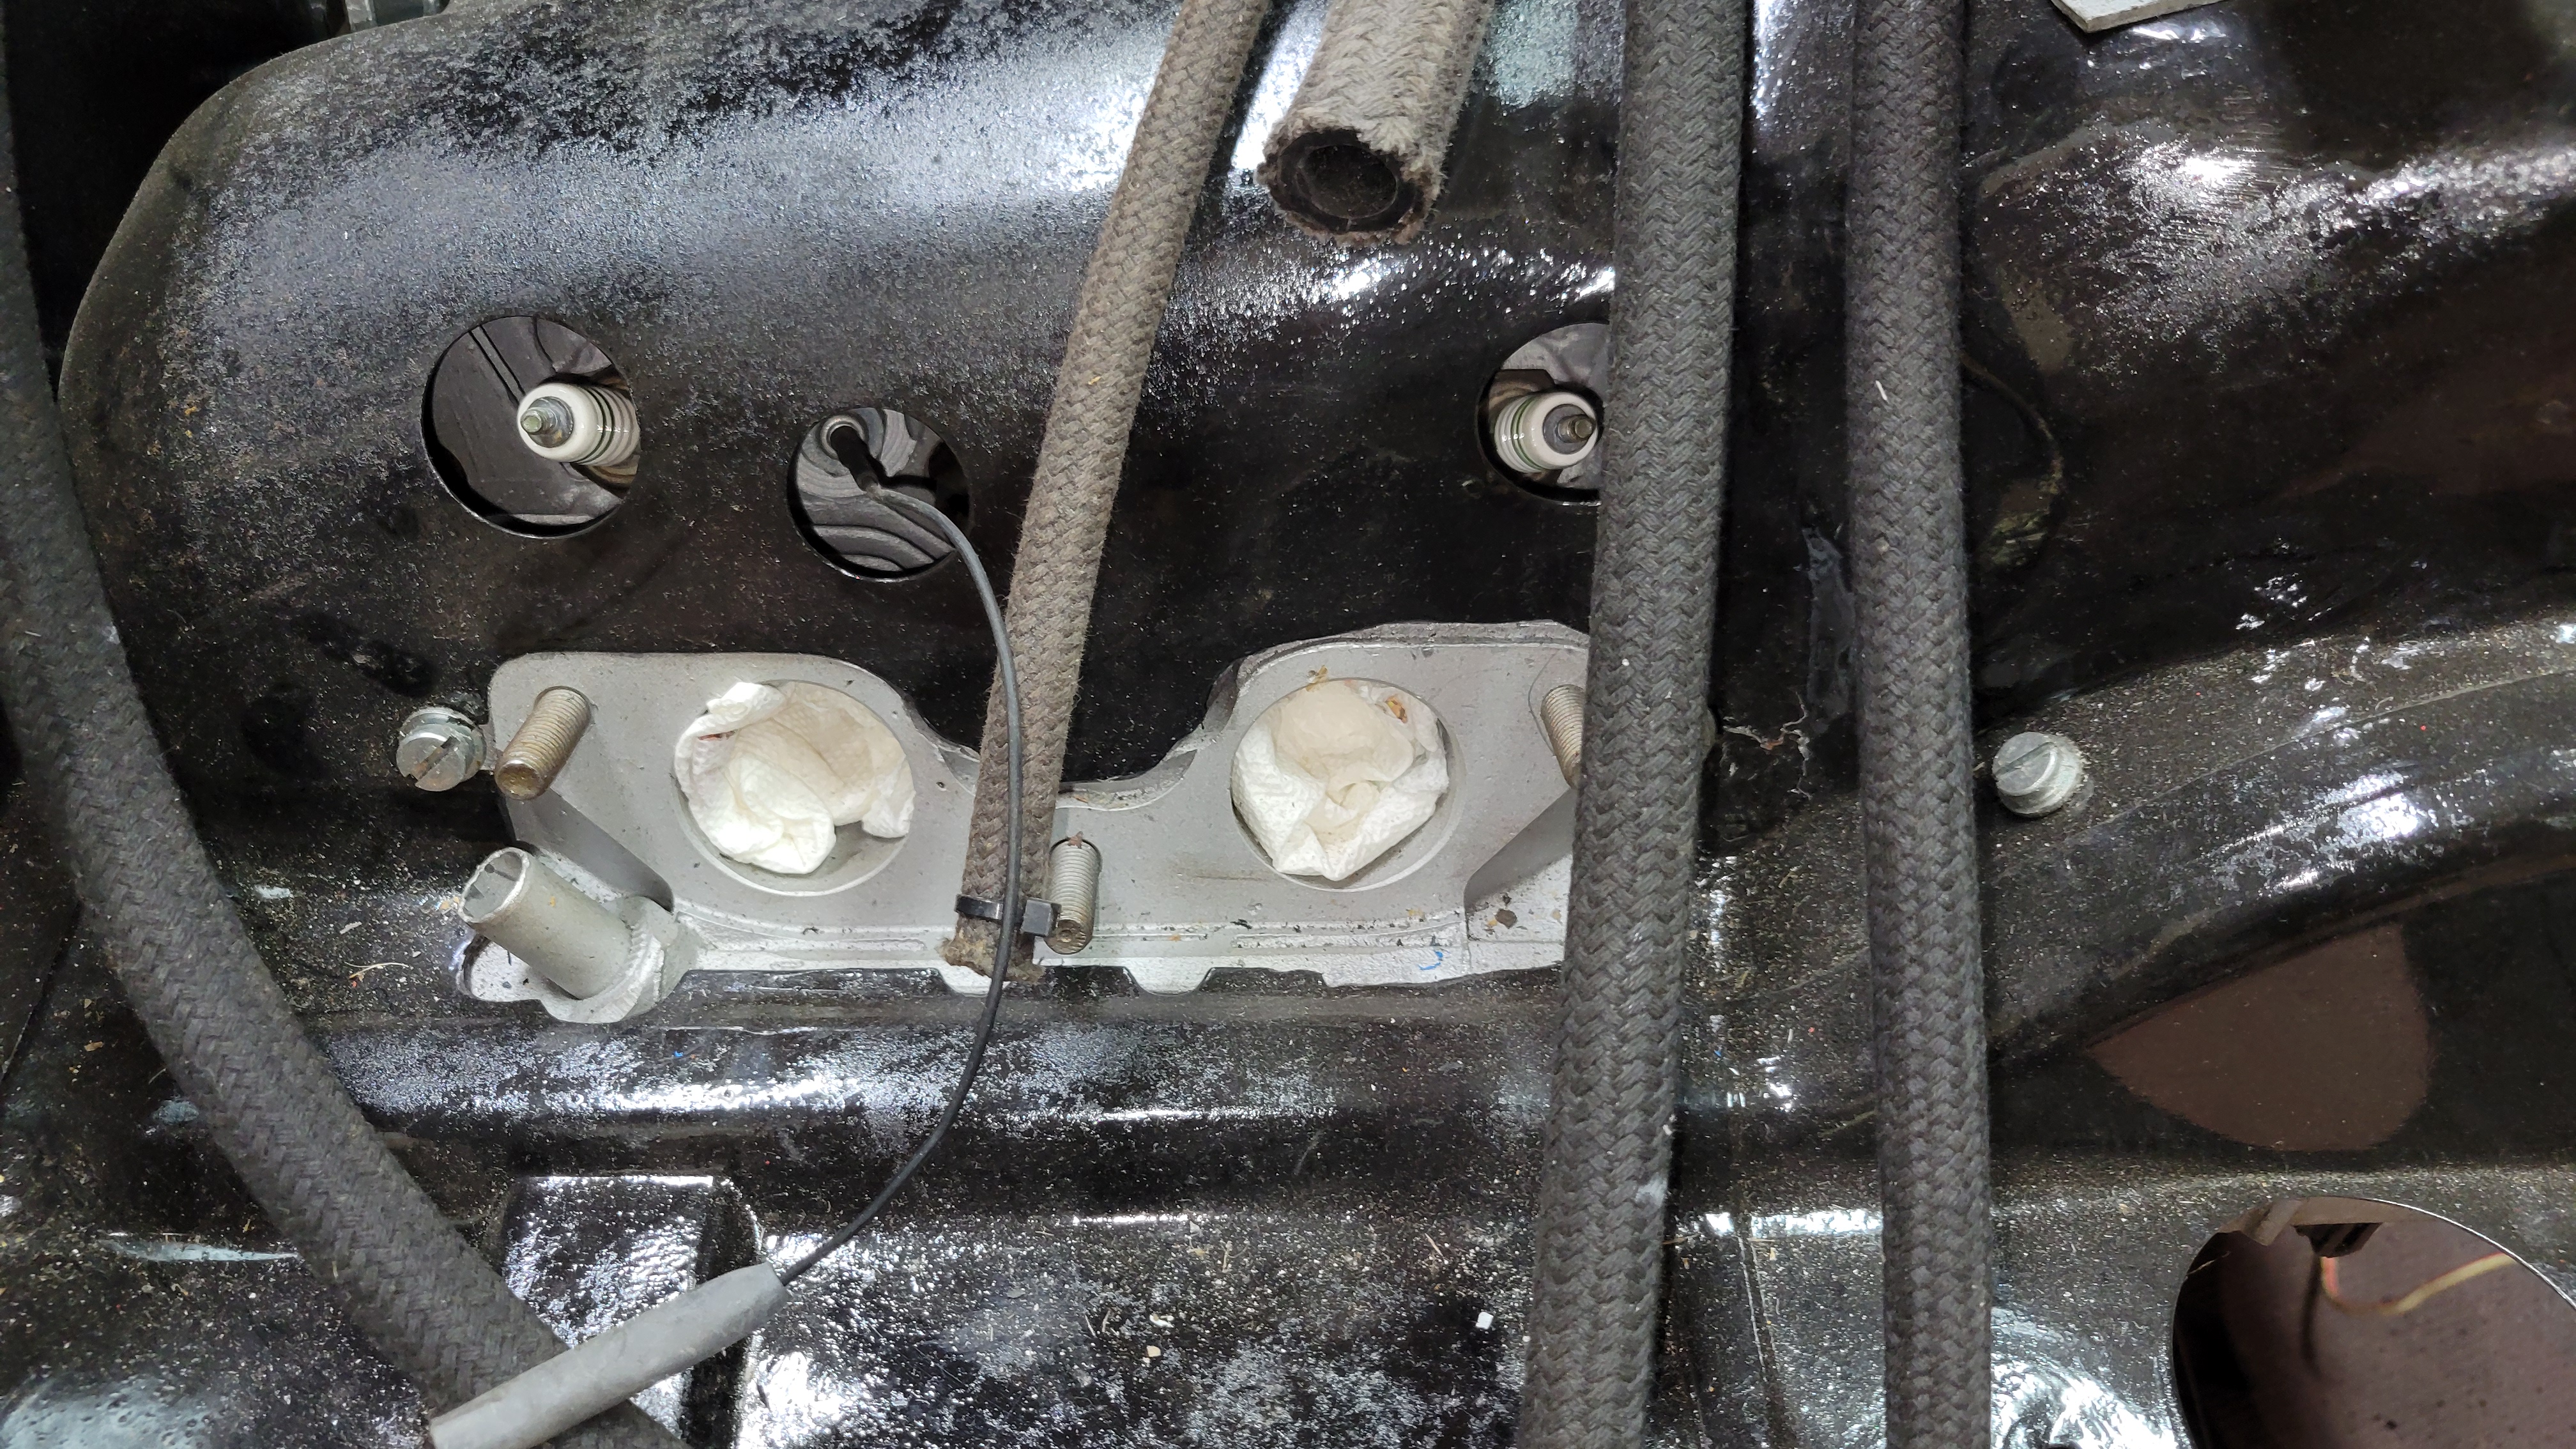
The air-inlet box was also repainted after this image was taken.
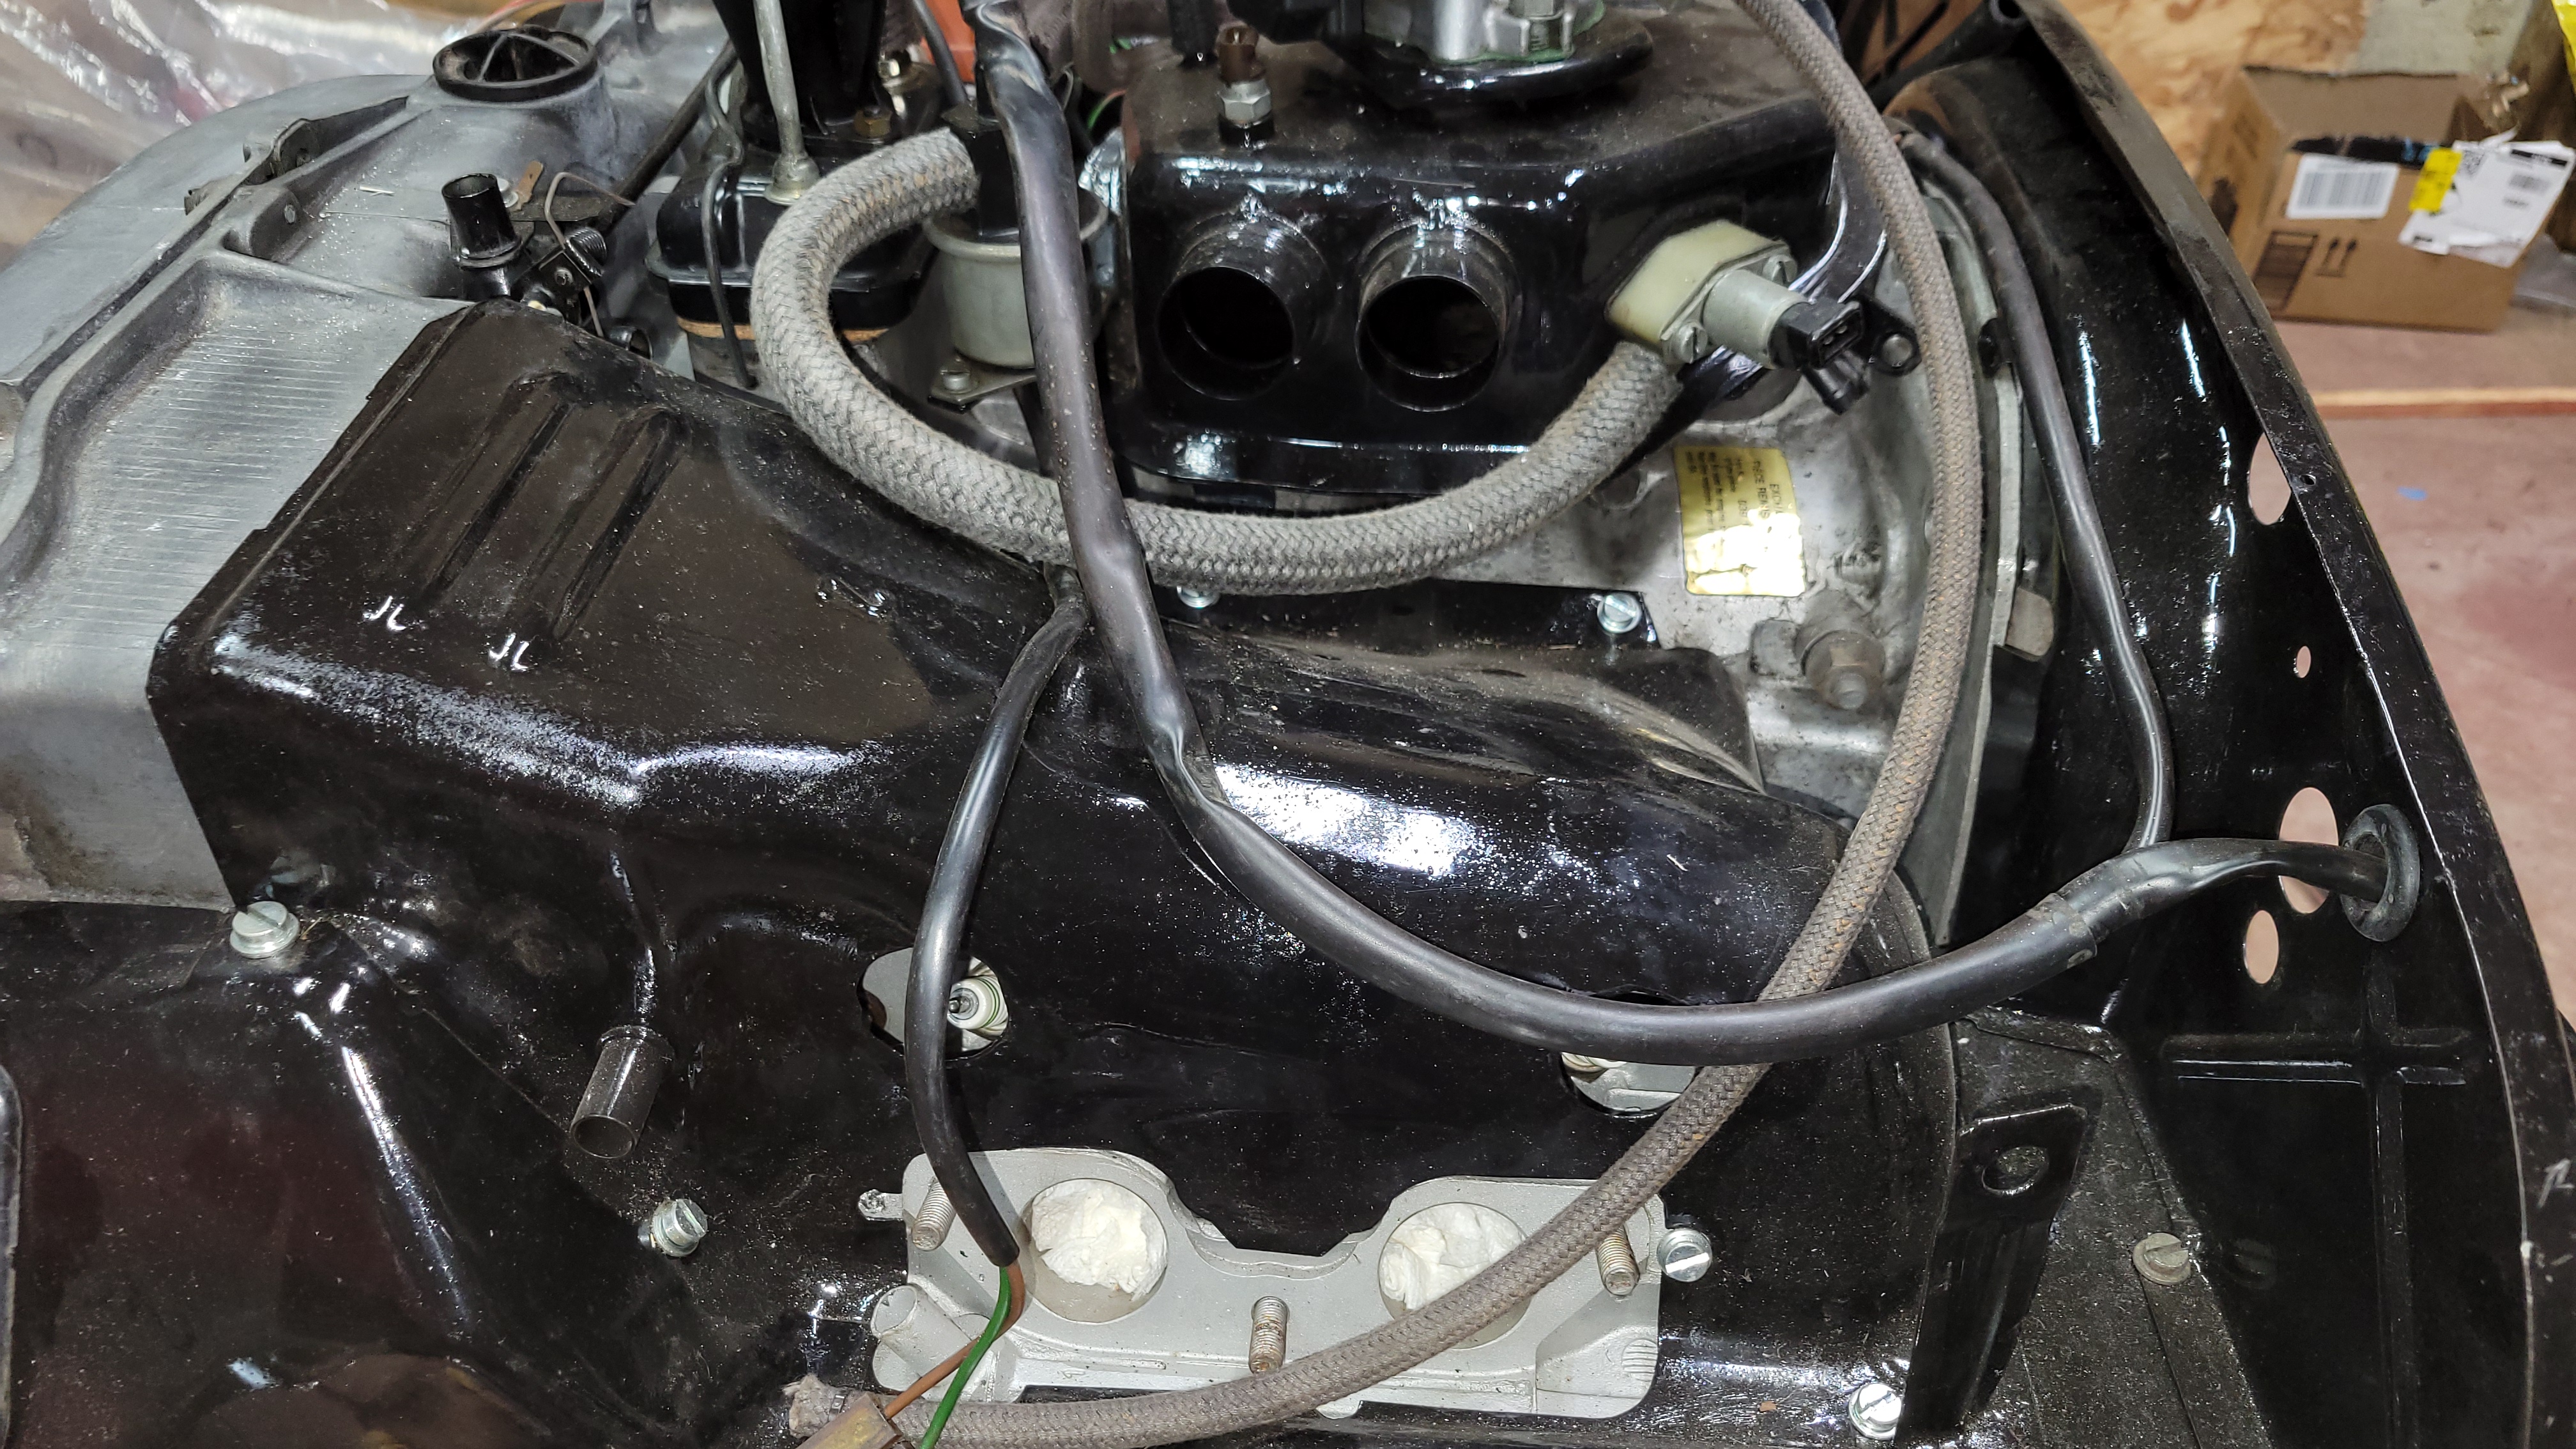
This is also before I replaced the distributor wiring that goes to the starter.
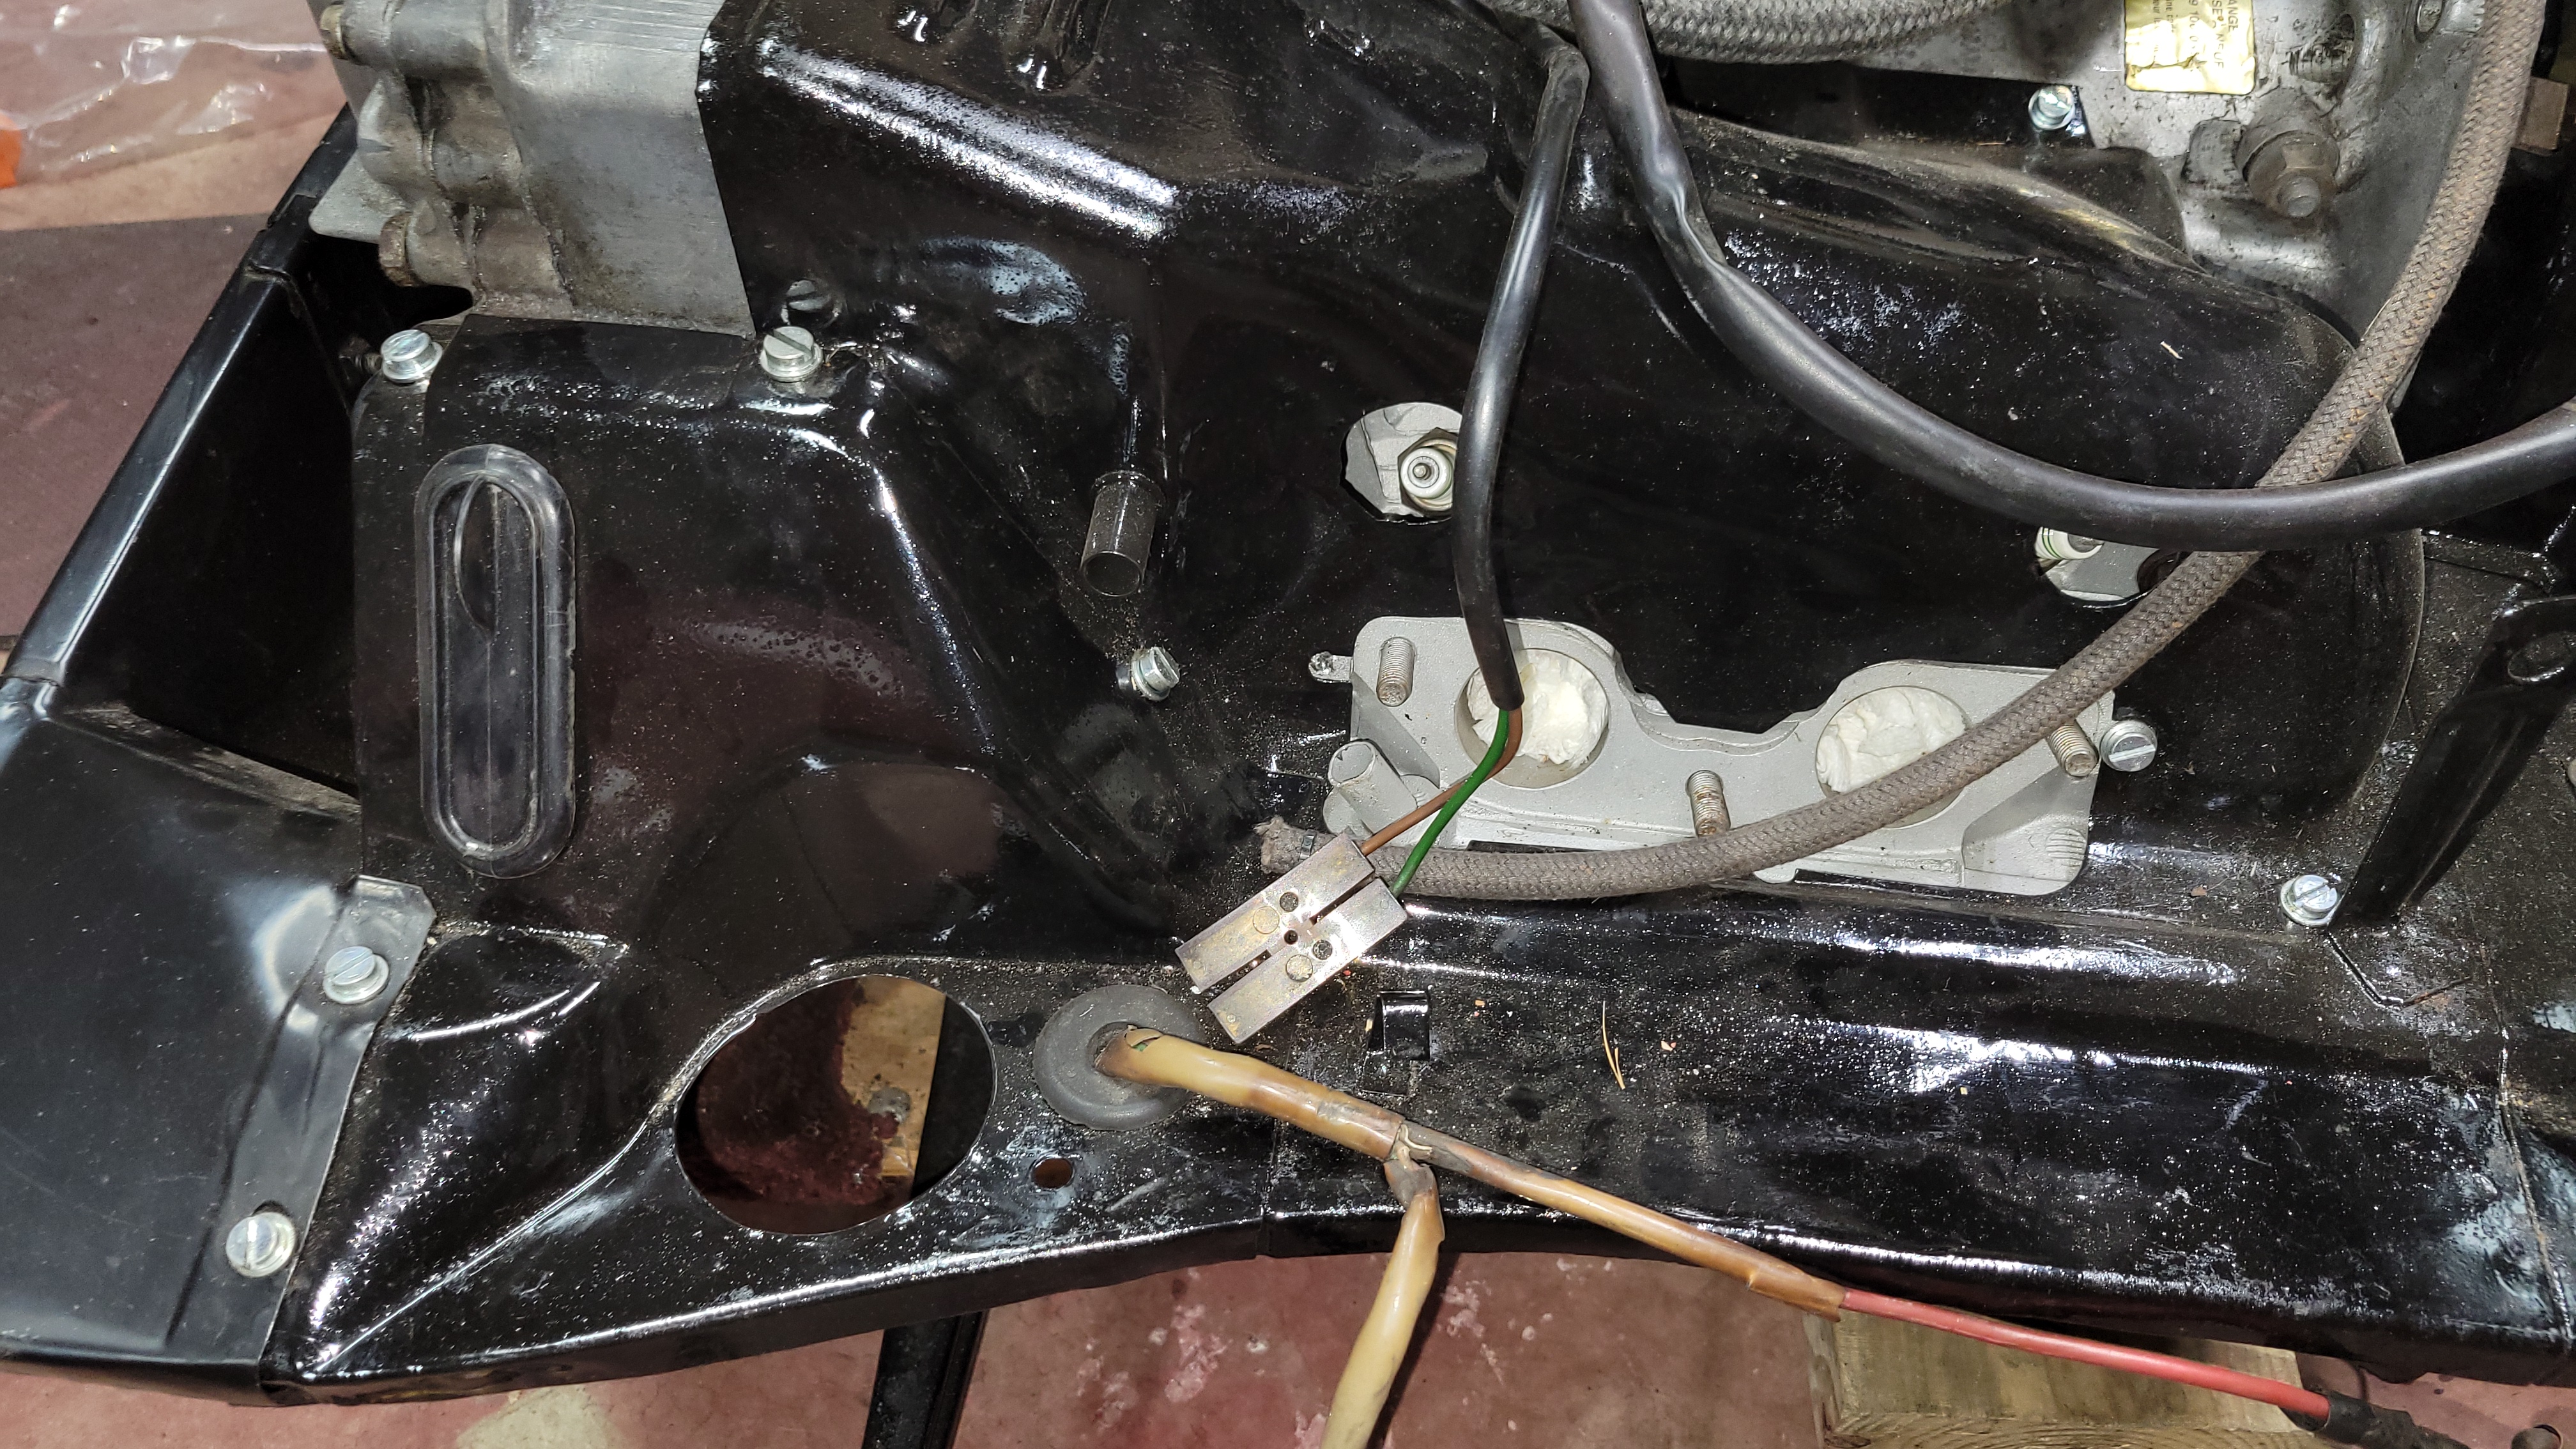
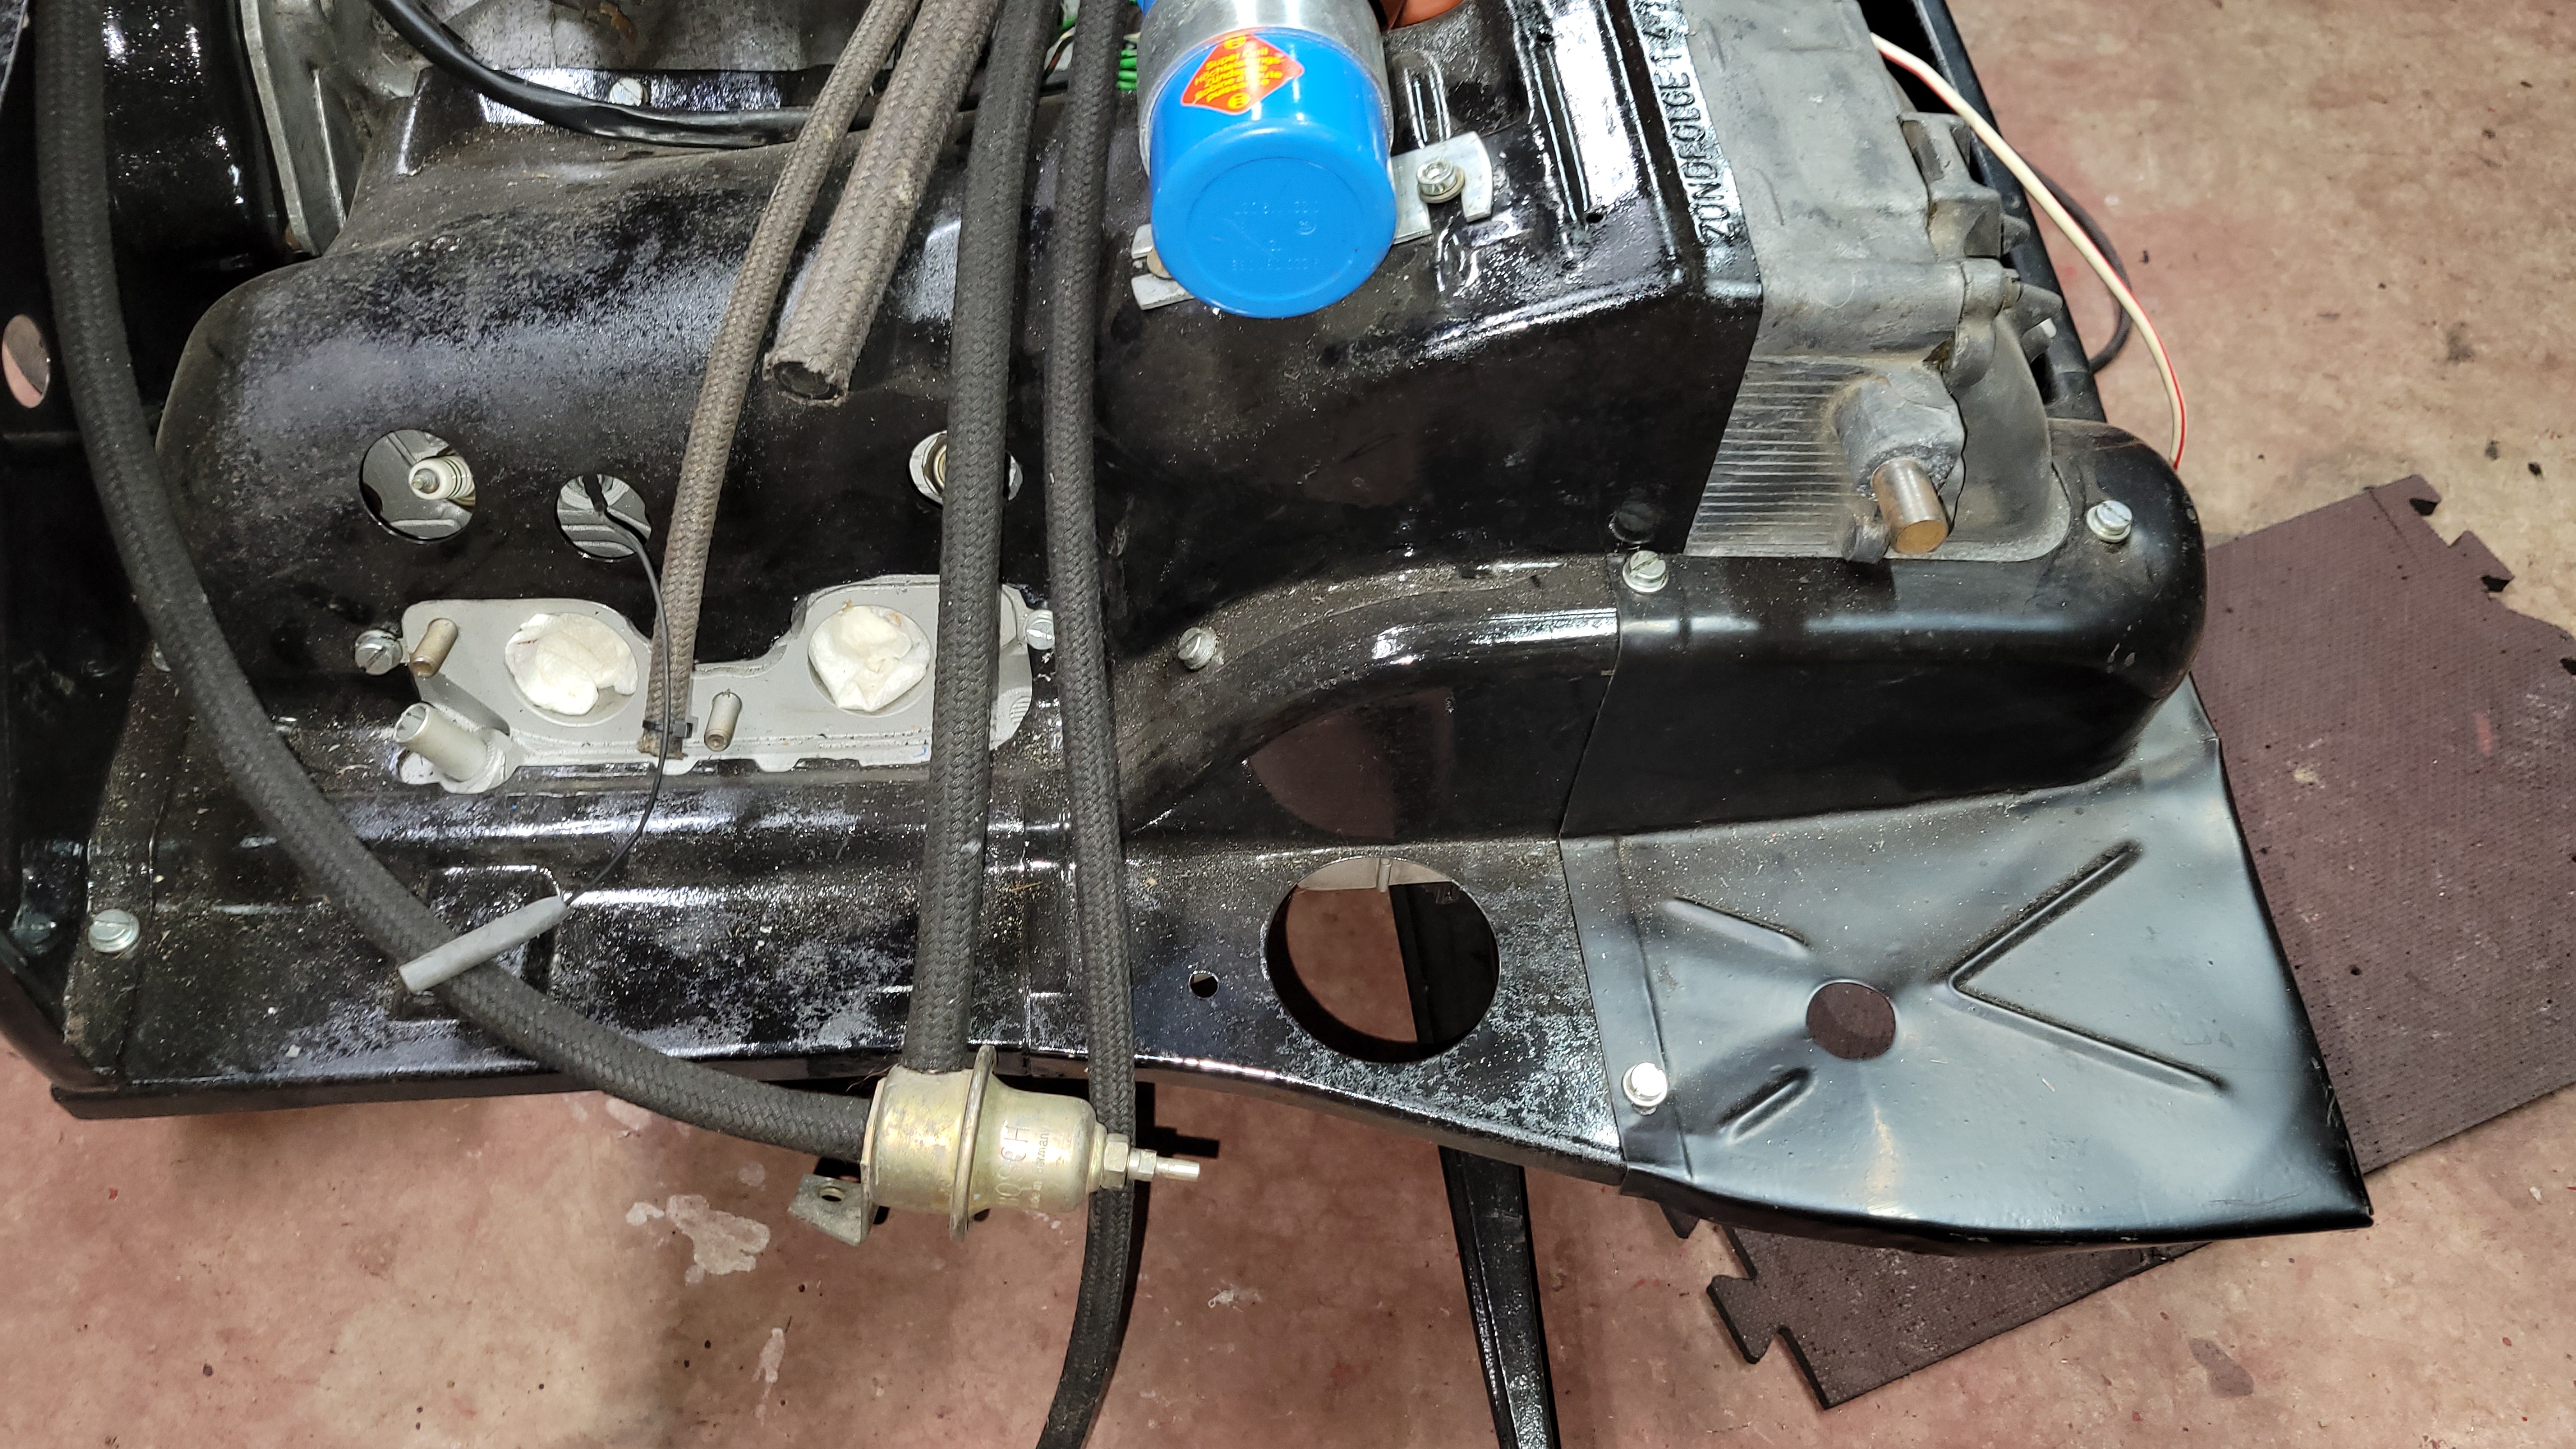
Note that the coil mount was also ripped out of the tin. I welded in two nuts on the underside. I do recommend pulling the blue coil outwards away from the distributor a bit more than you see here. It makes for easier distributor cap and points work.
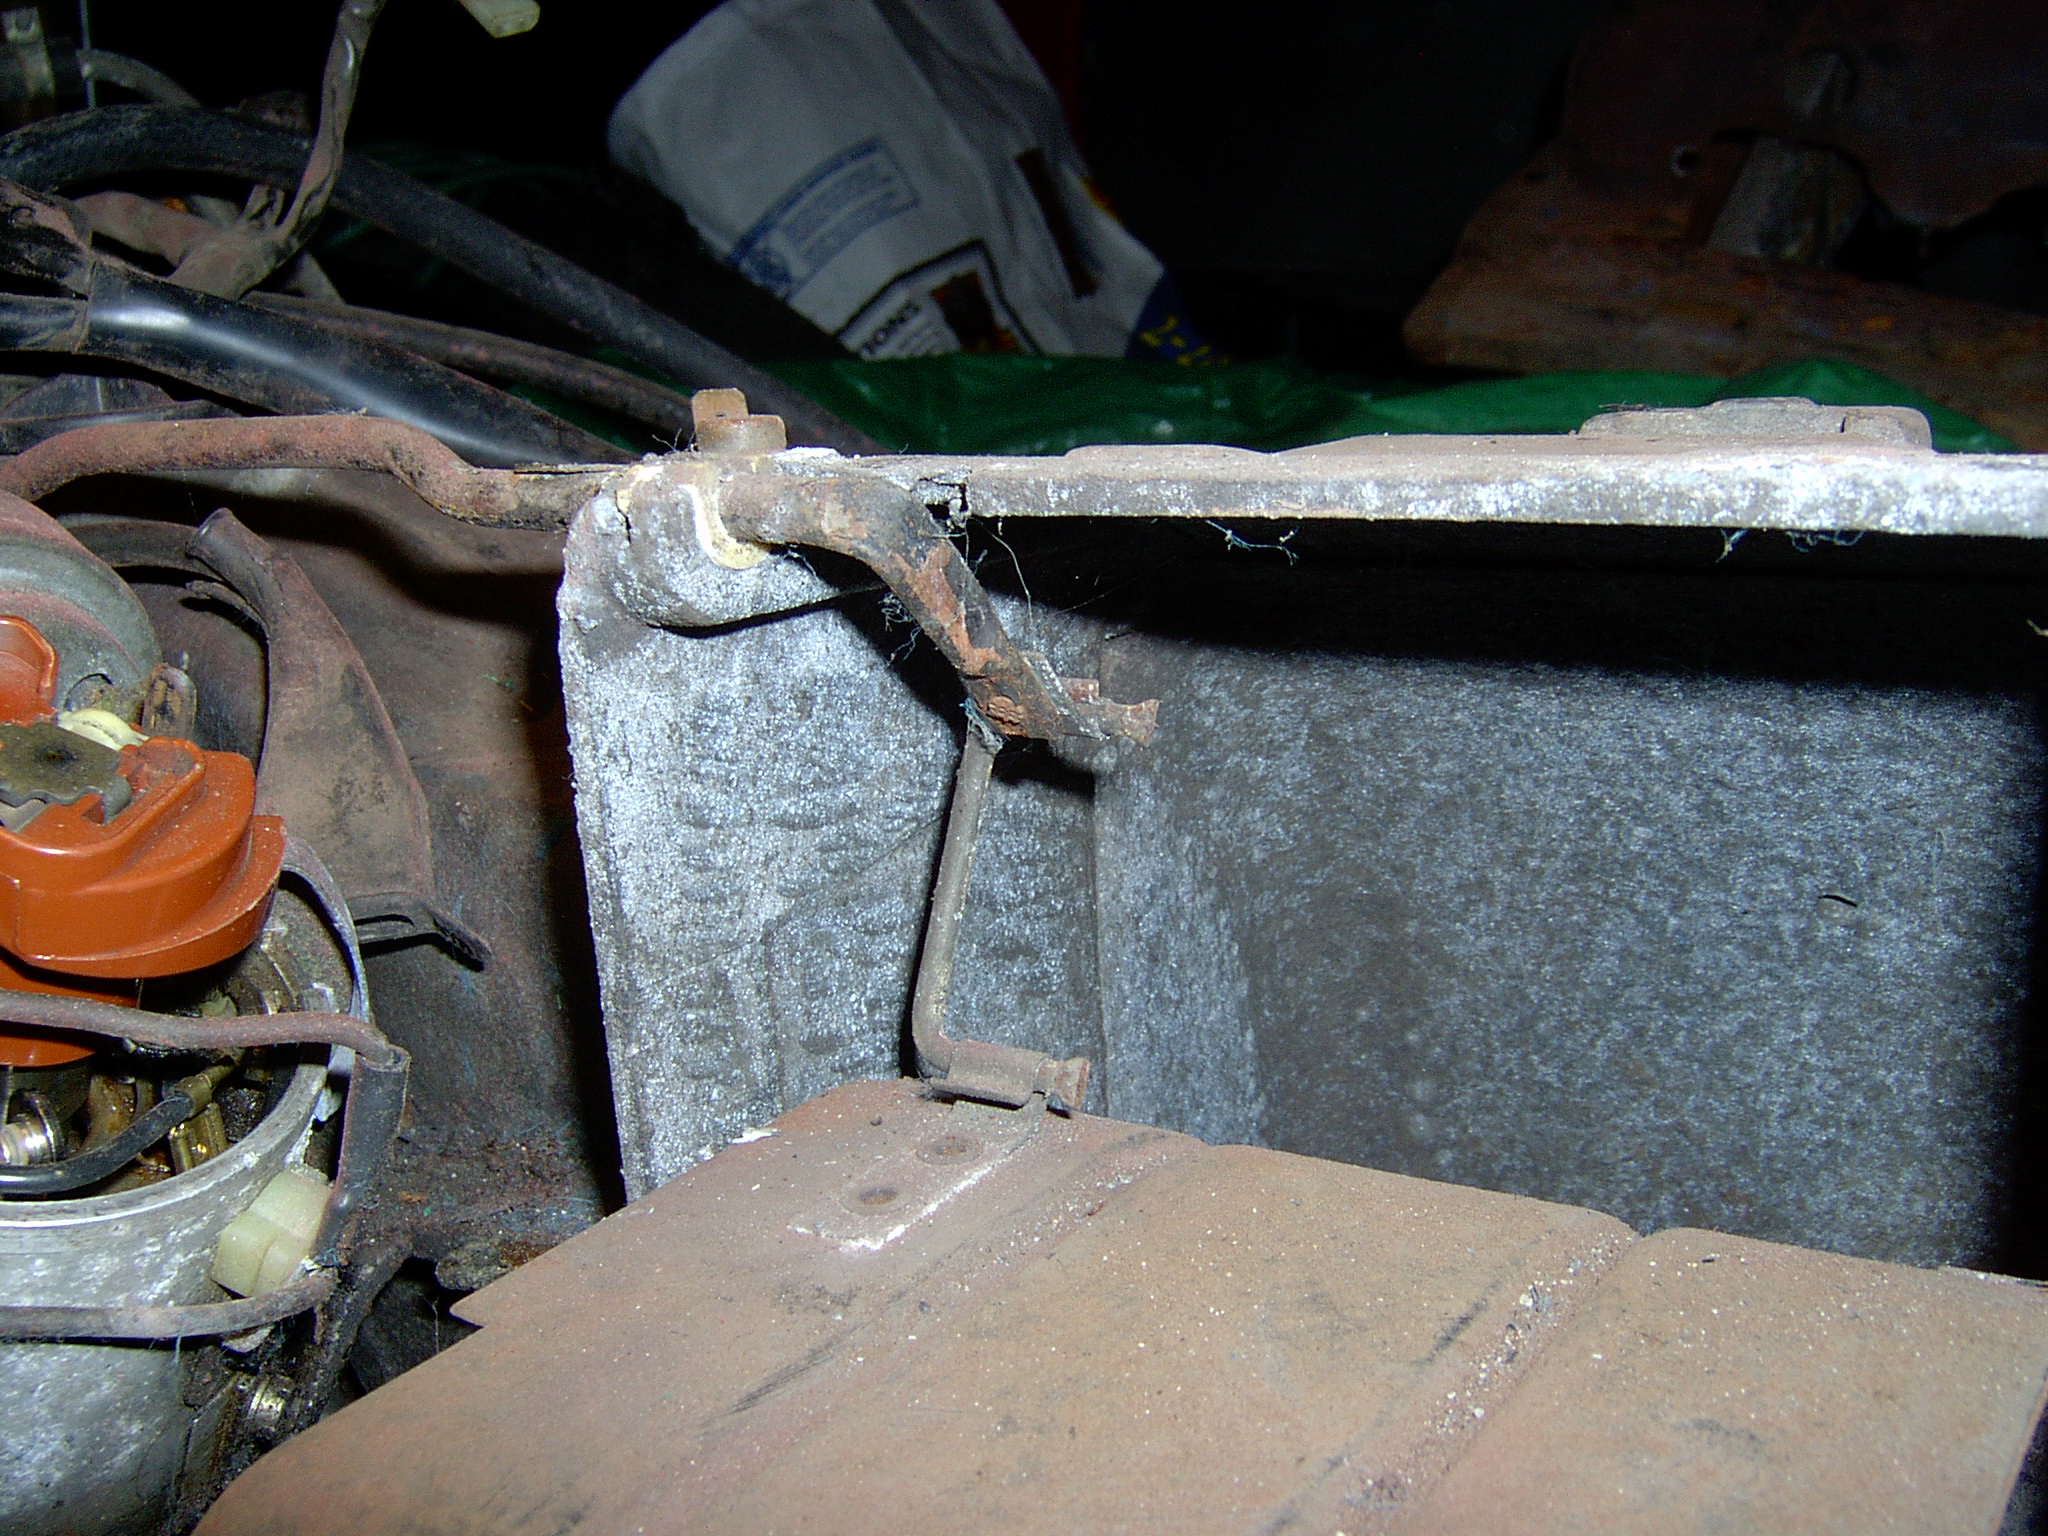
The rod for the cooling system flap is shown. I did not need that ground tab and it was removed on reassembly.
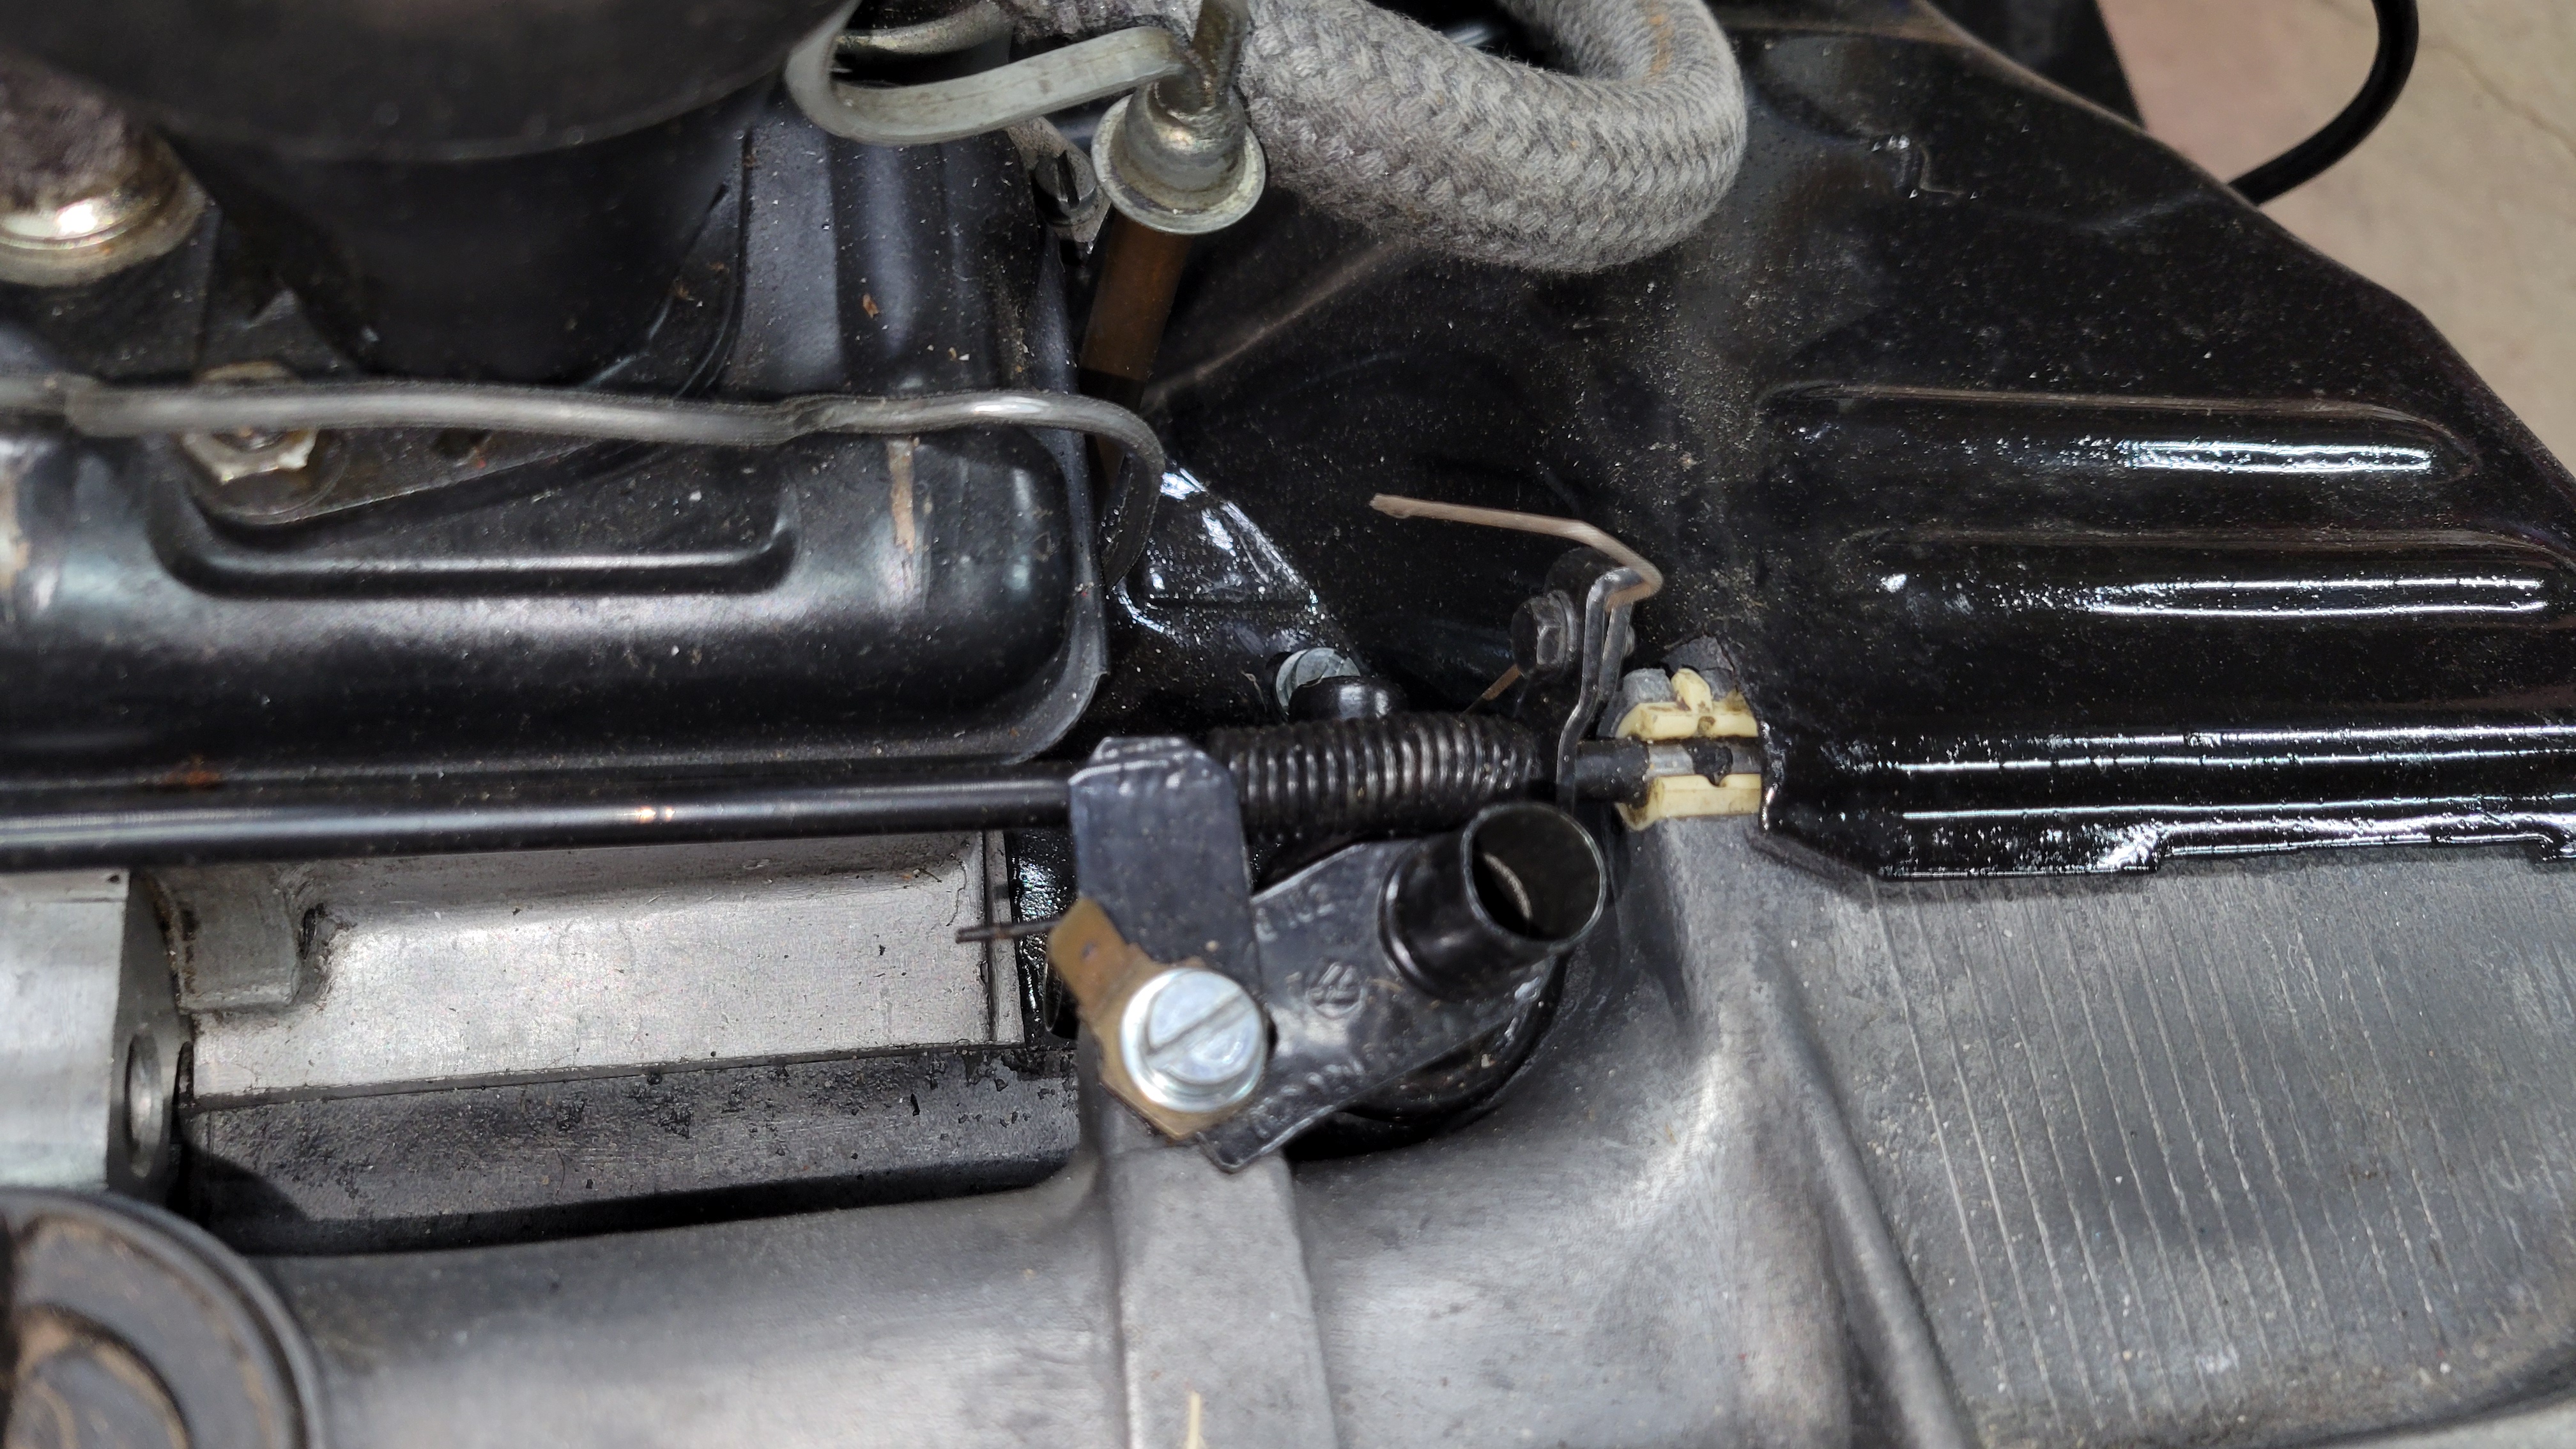
Another image of the flaps
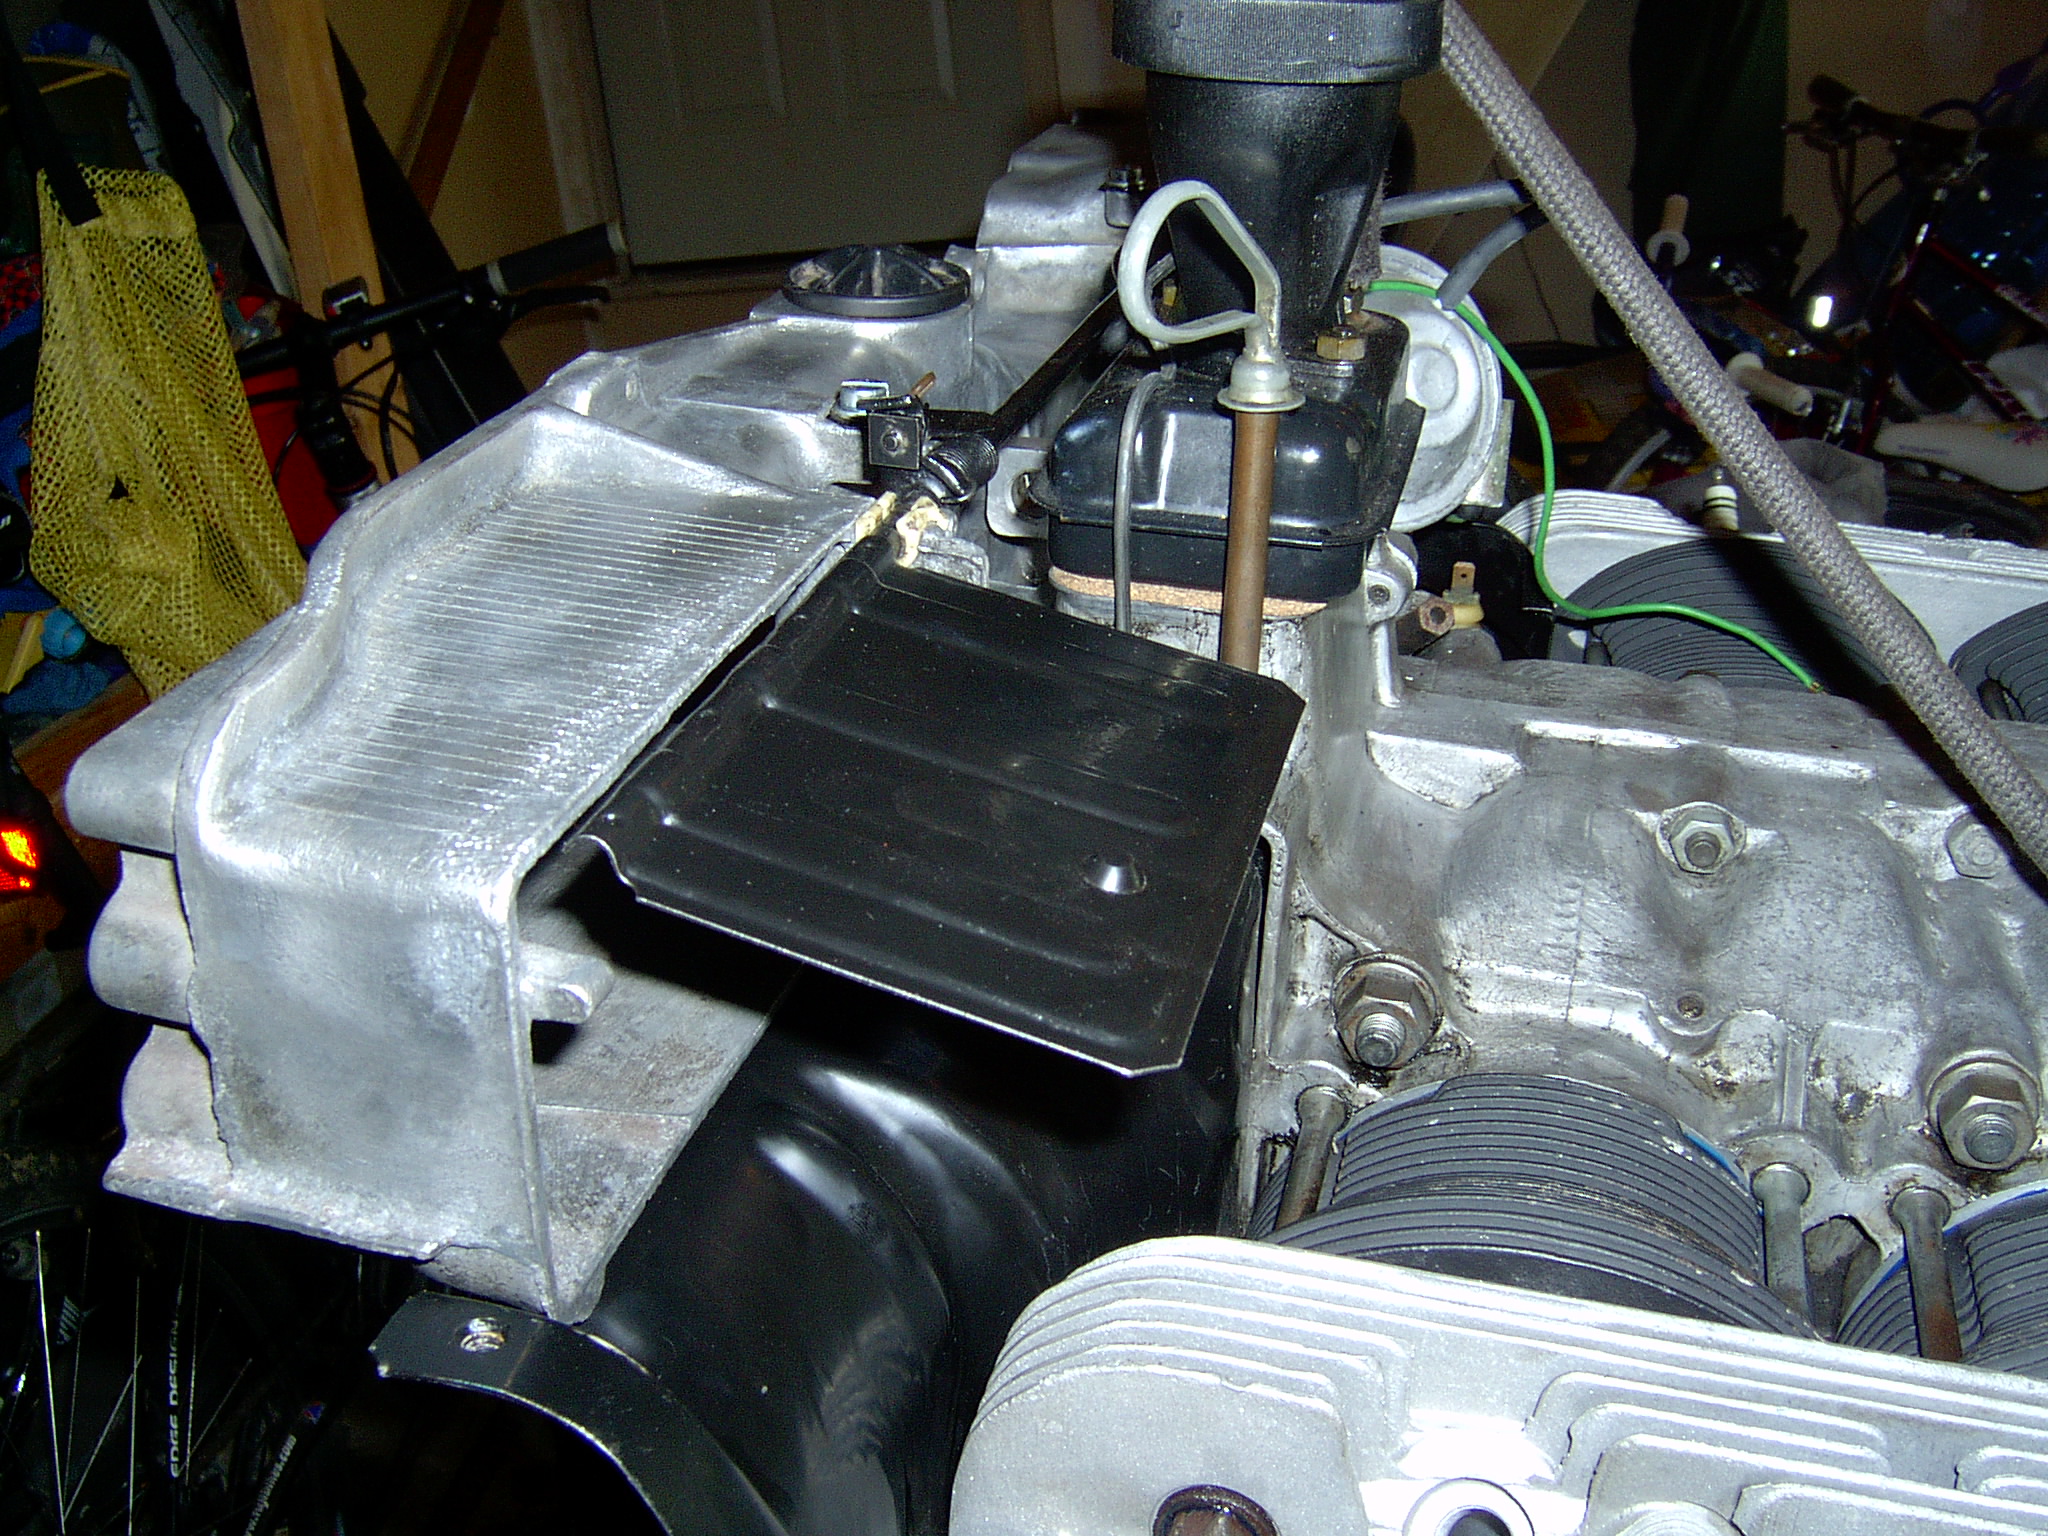
Flaps rod repainted too, but that ground wire spade is now gone and there is no need for that:
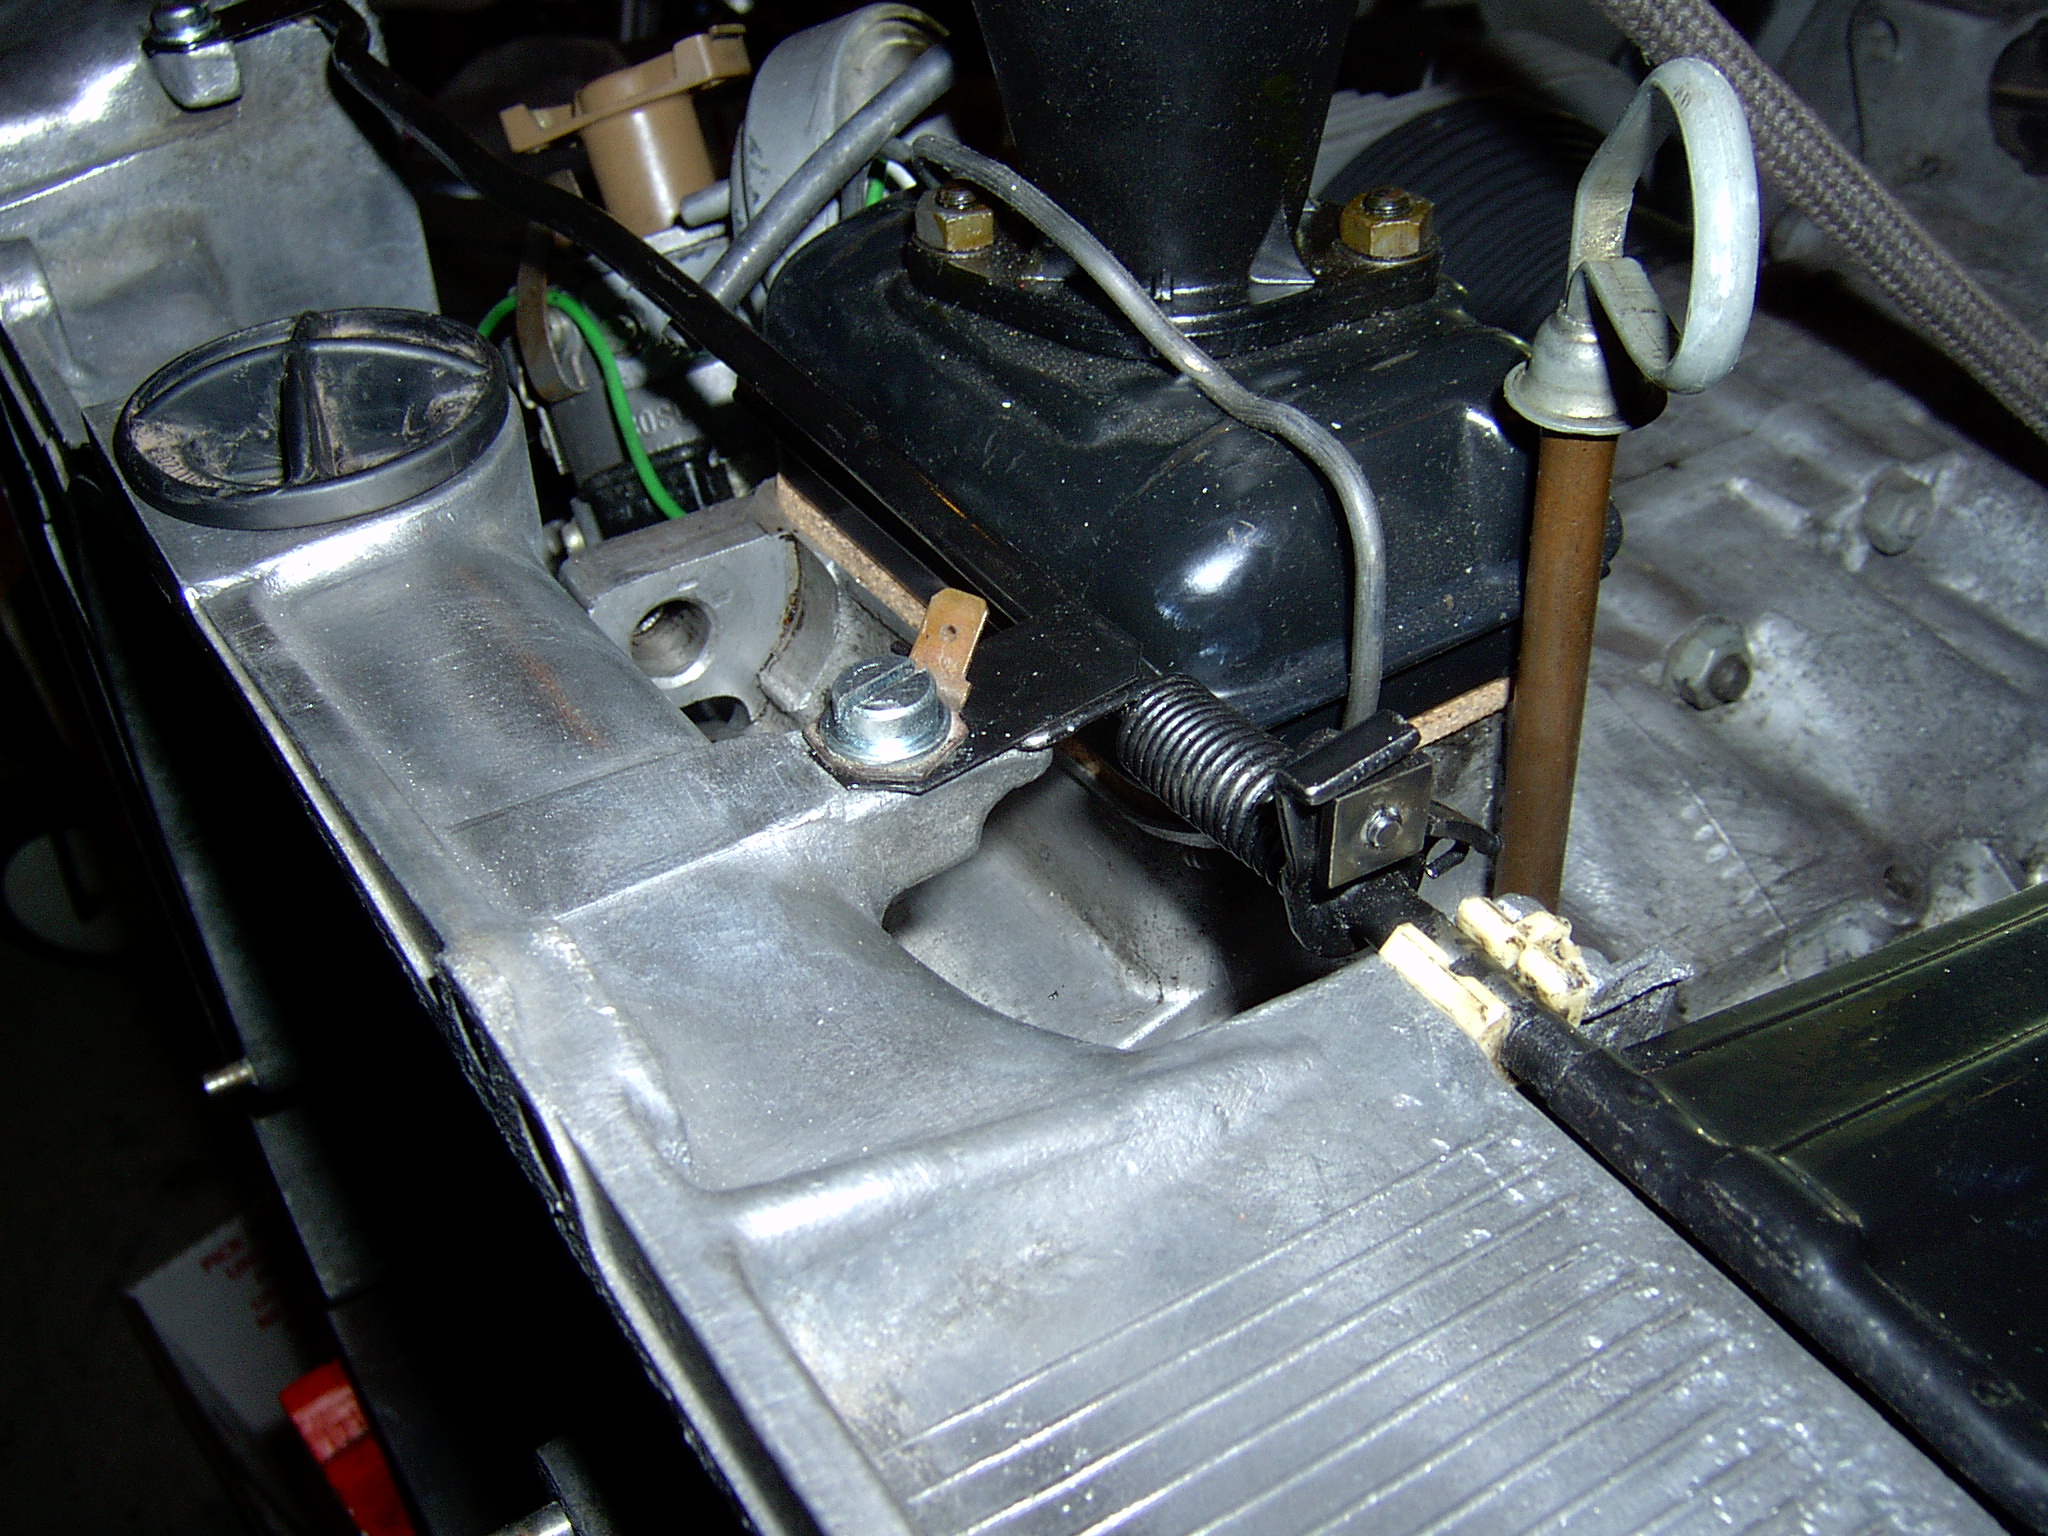
Passenger / Oil Cooler side:
Cleaned-up flaps look nicer.
Distributor is pre-rebuild:
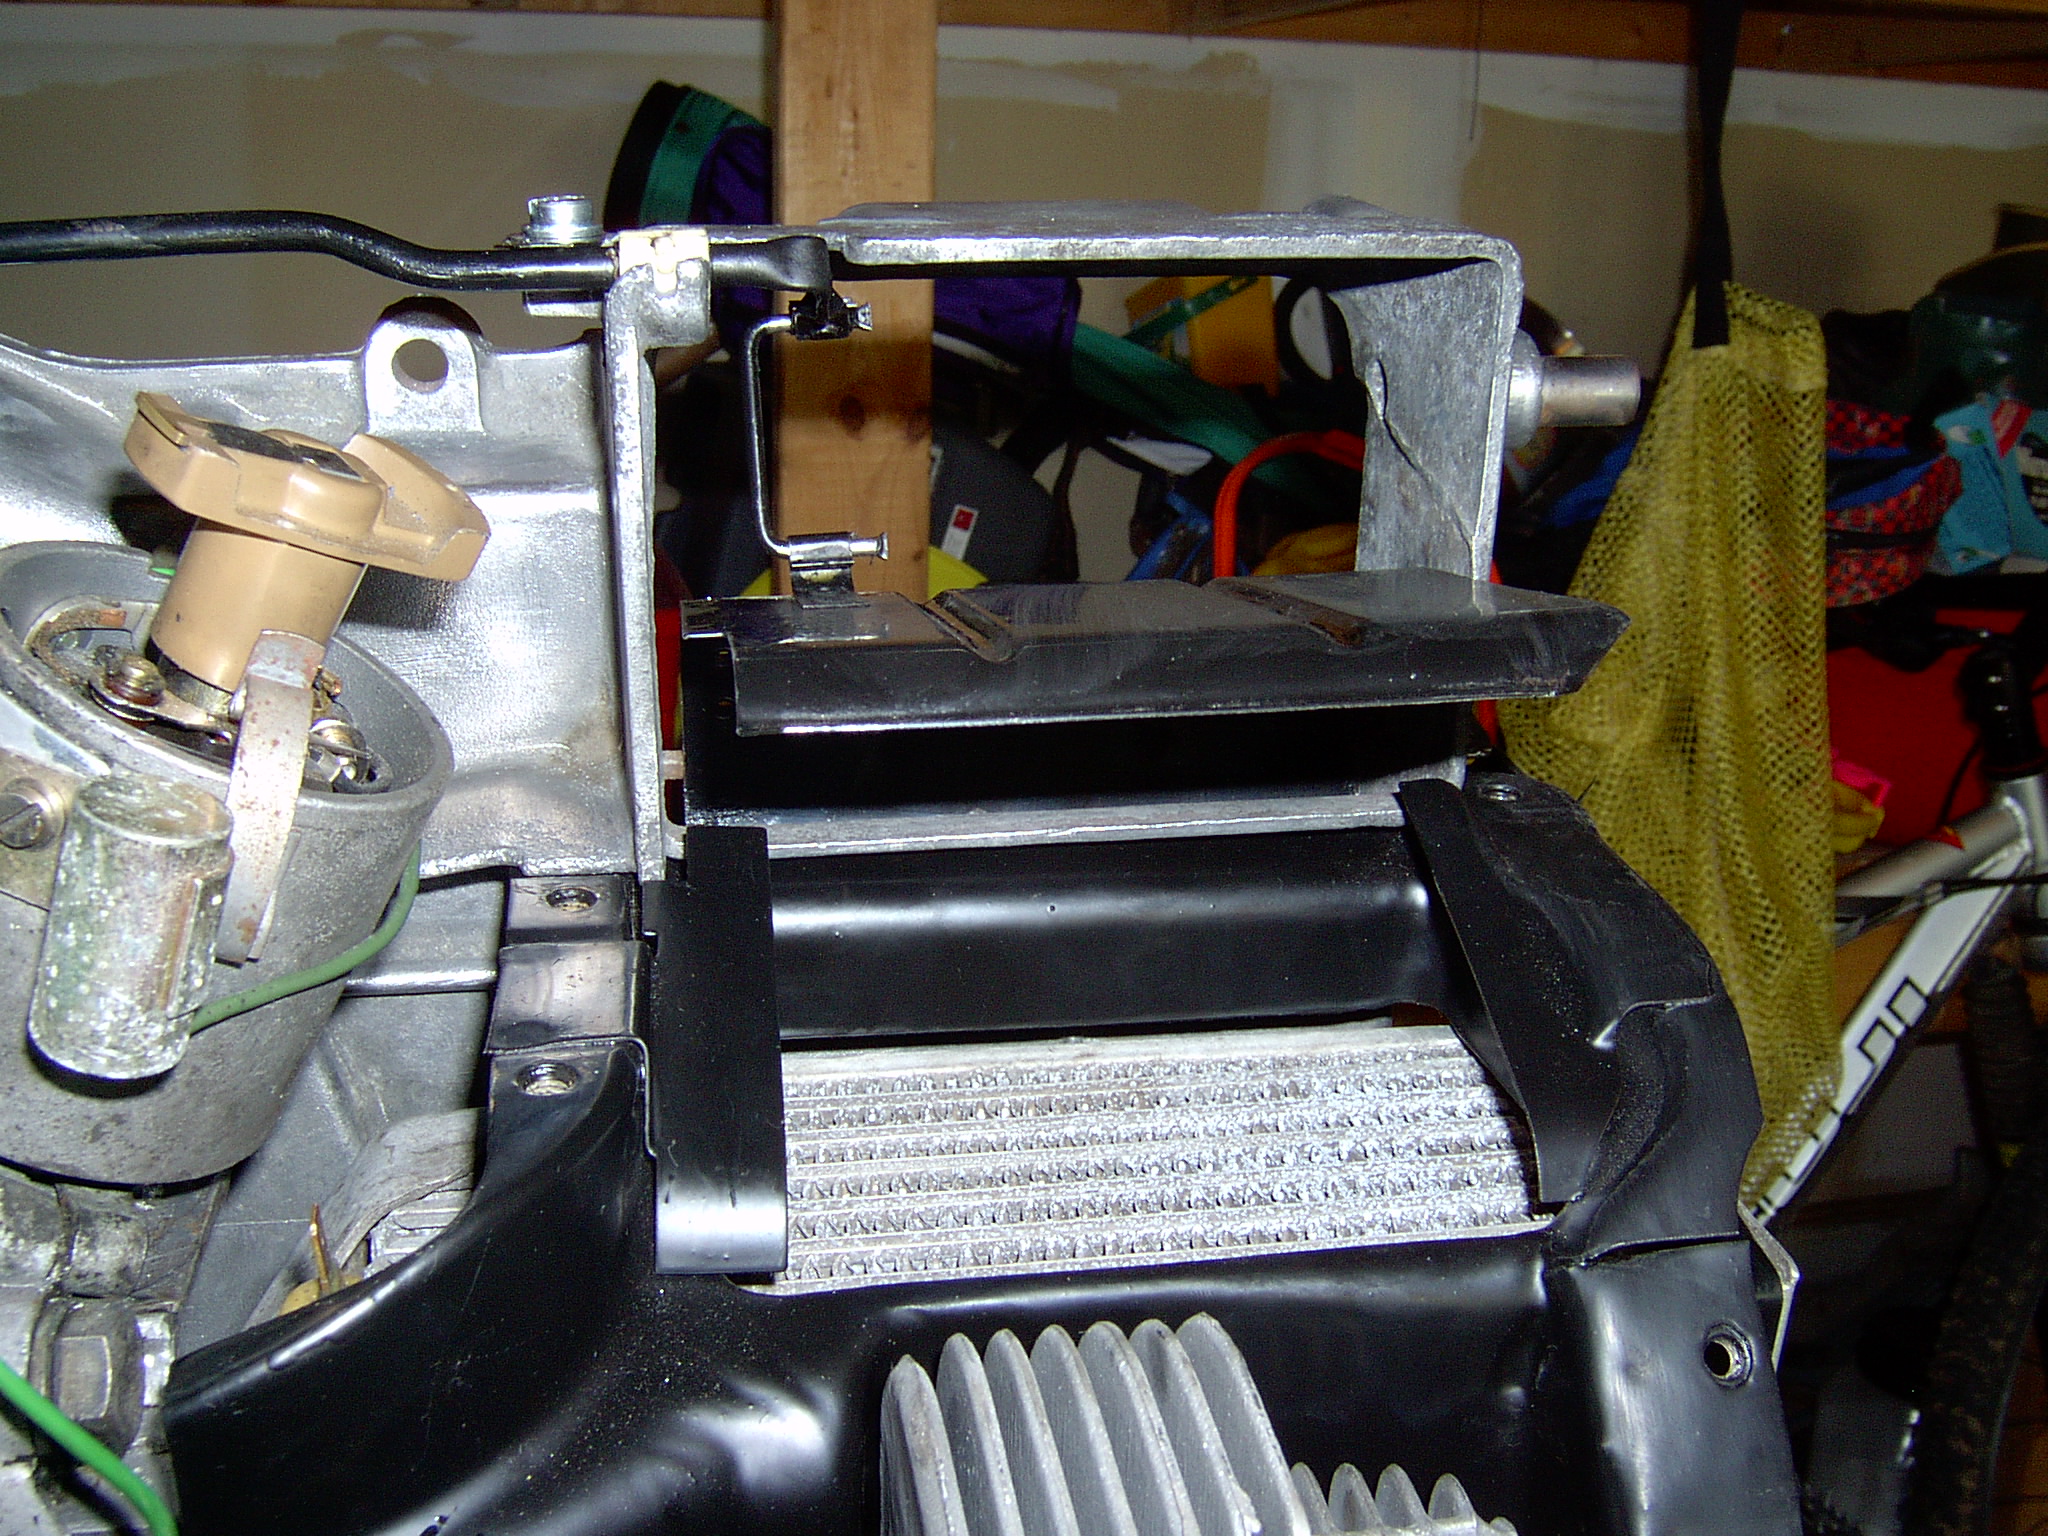
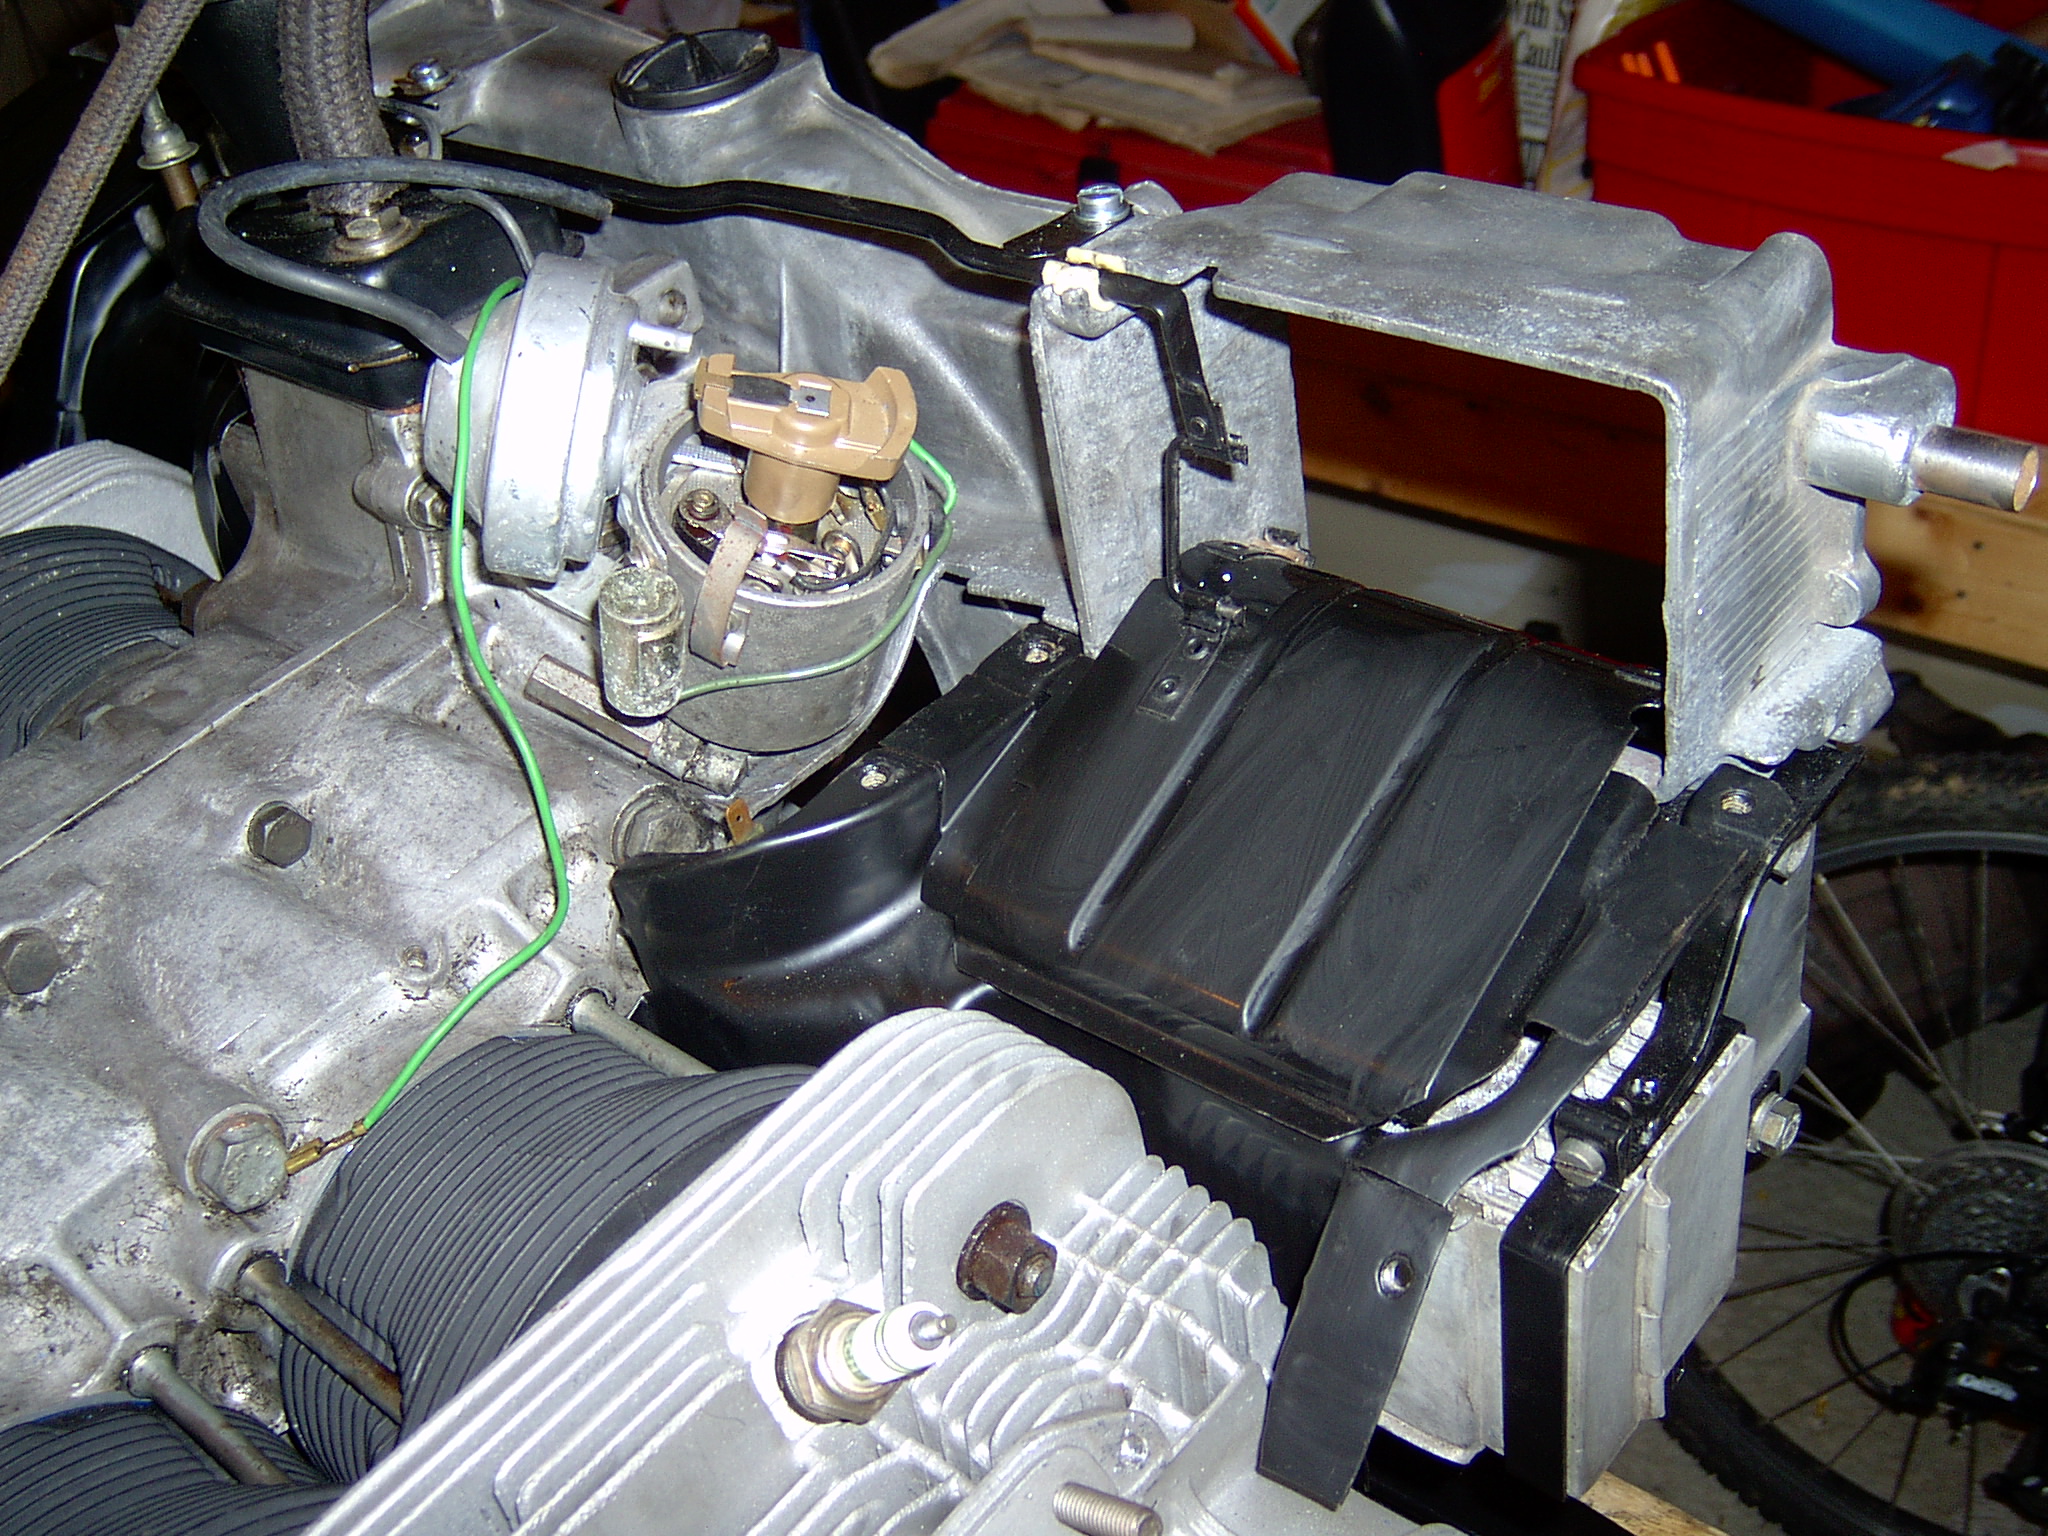
This is what it looked like before cleaning up the magnesium housing and flaps, etc.
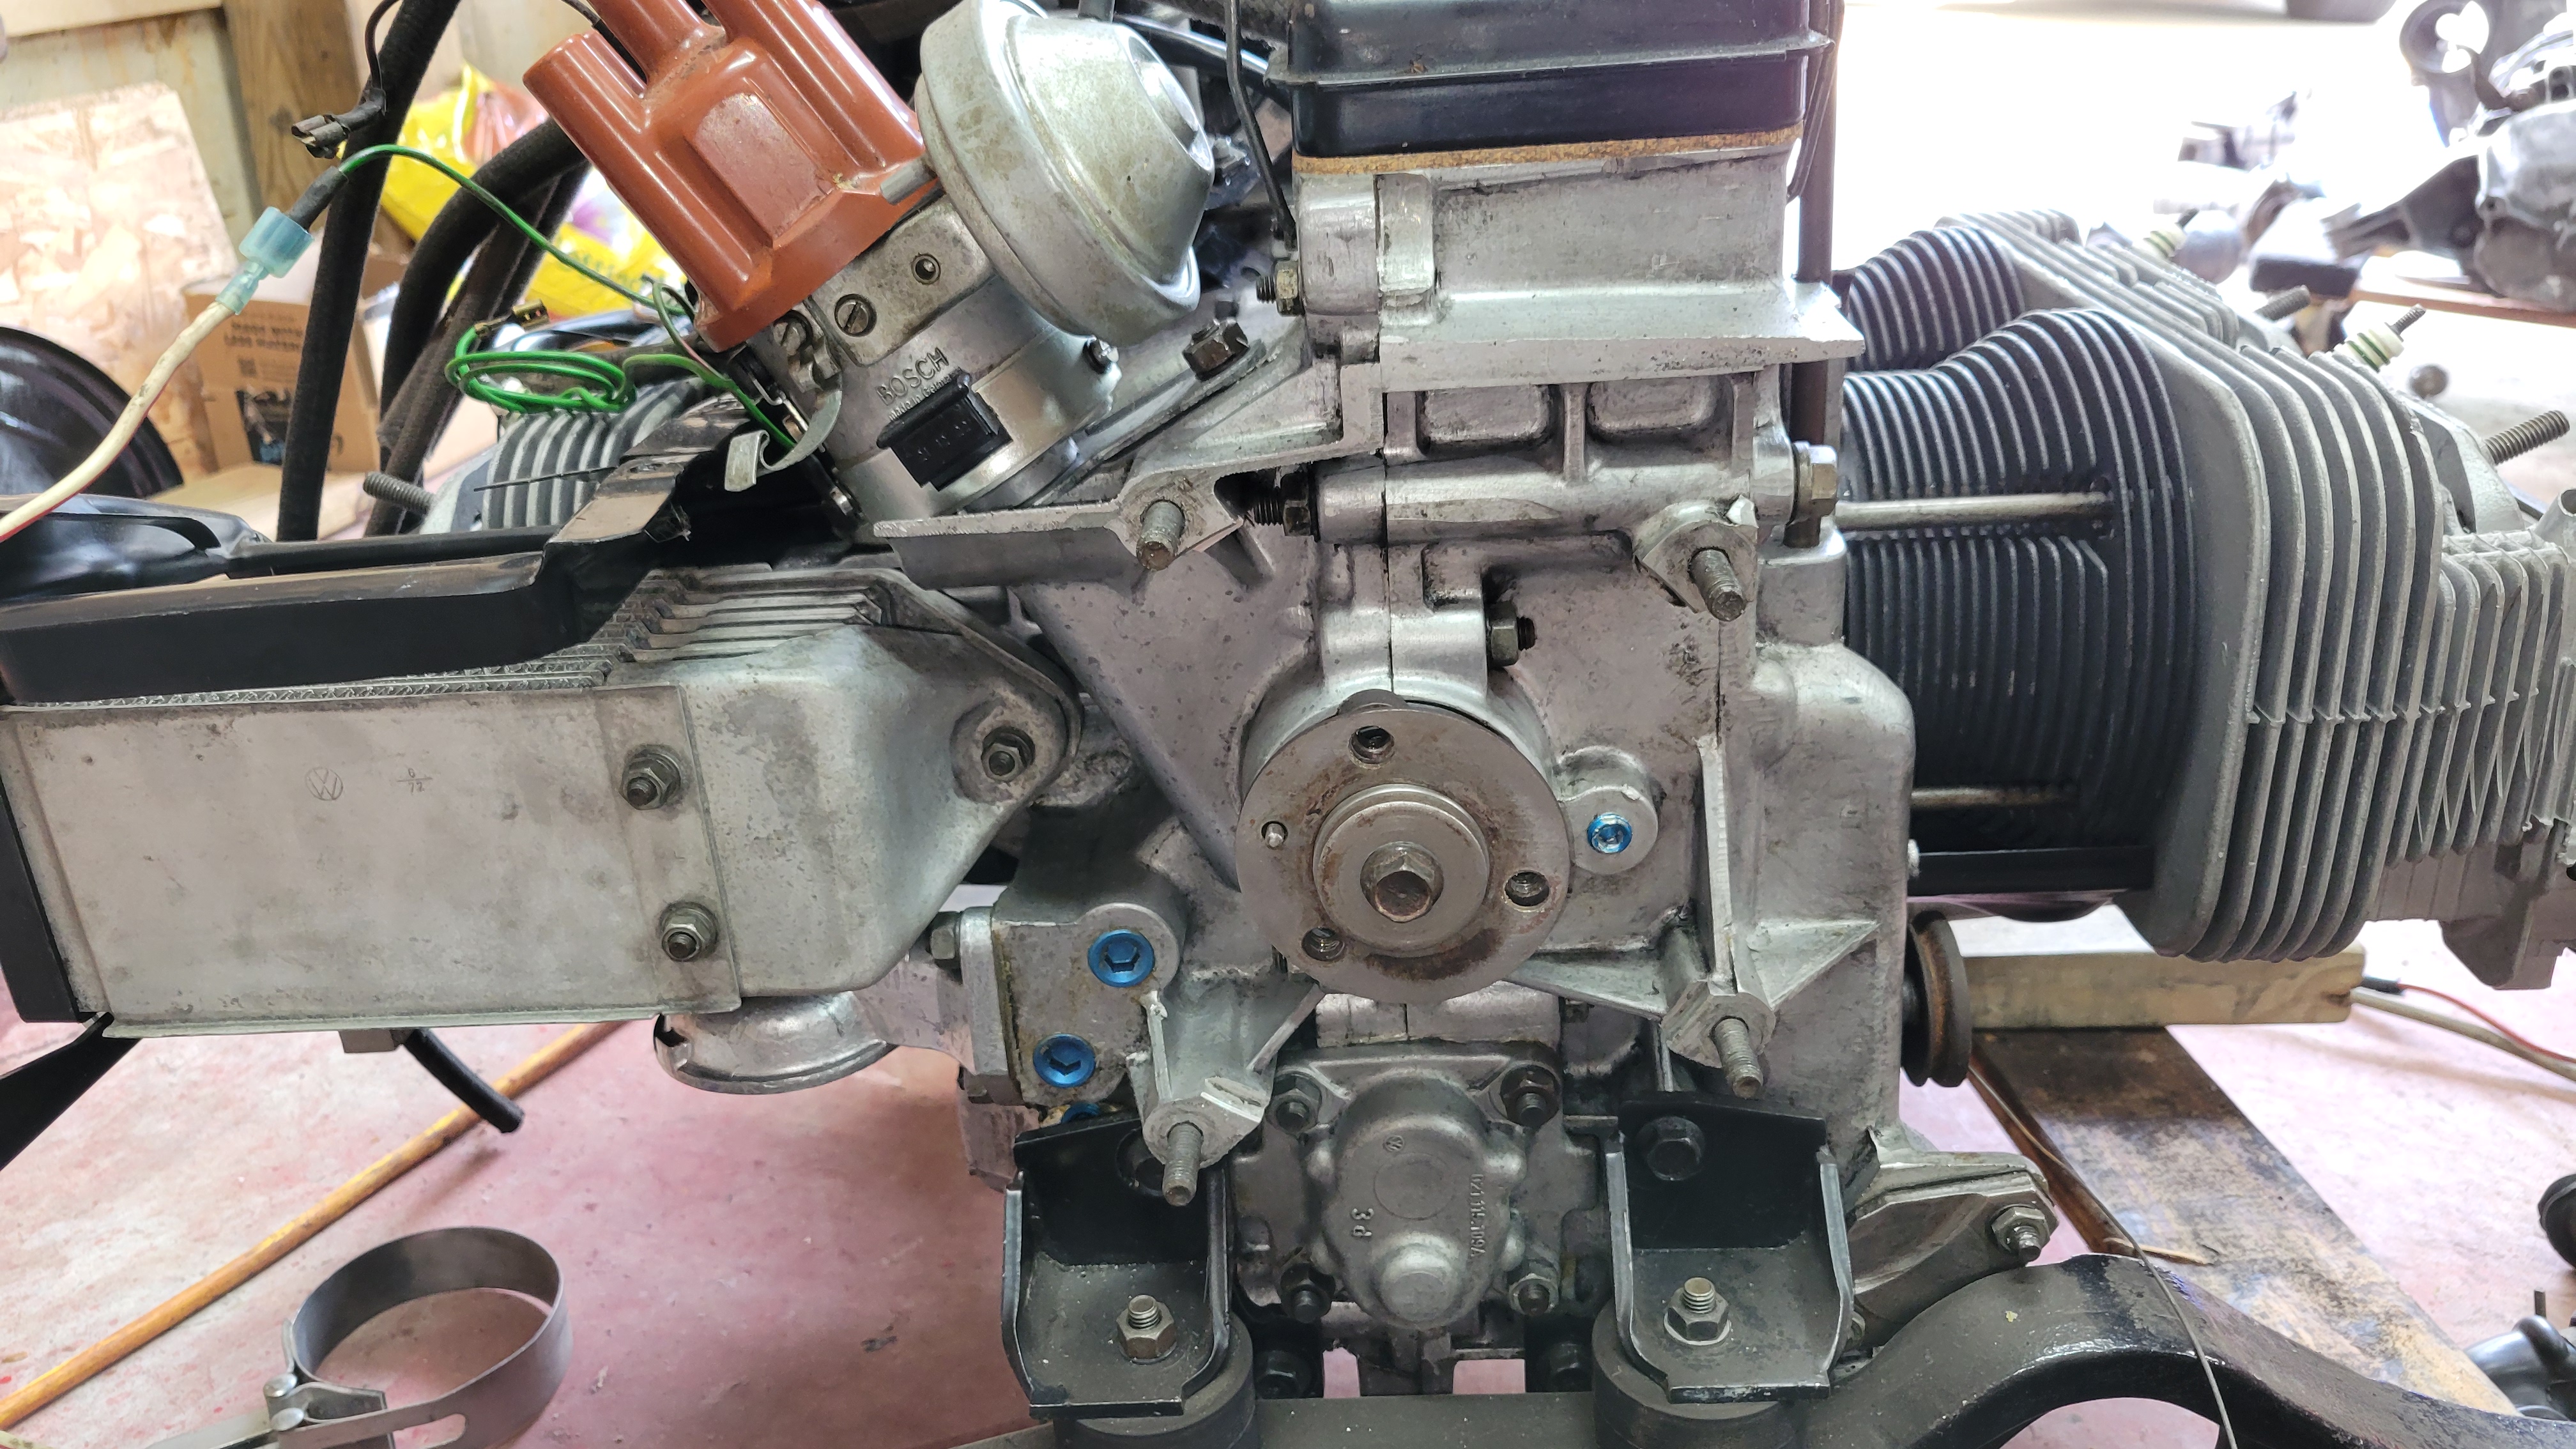
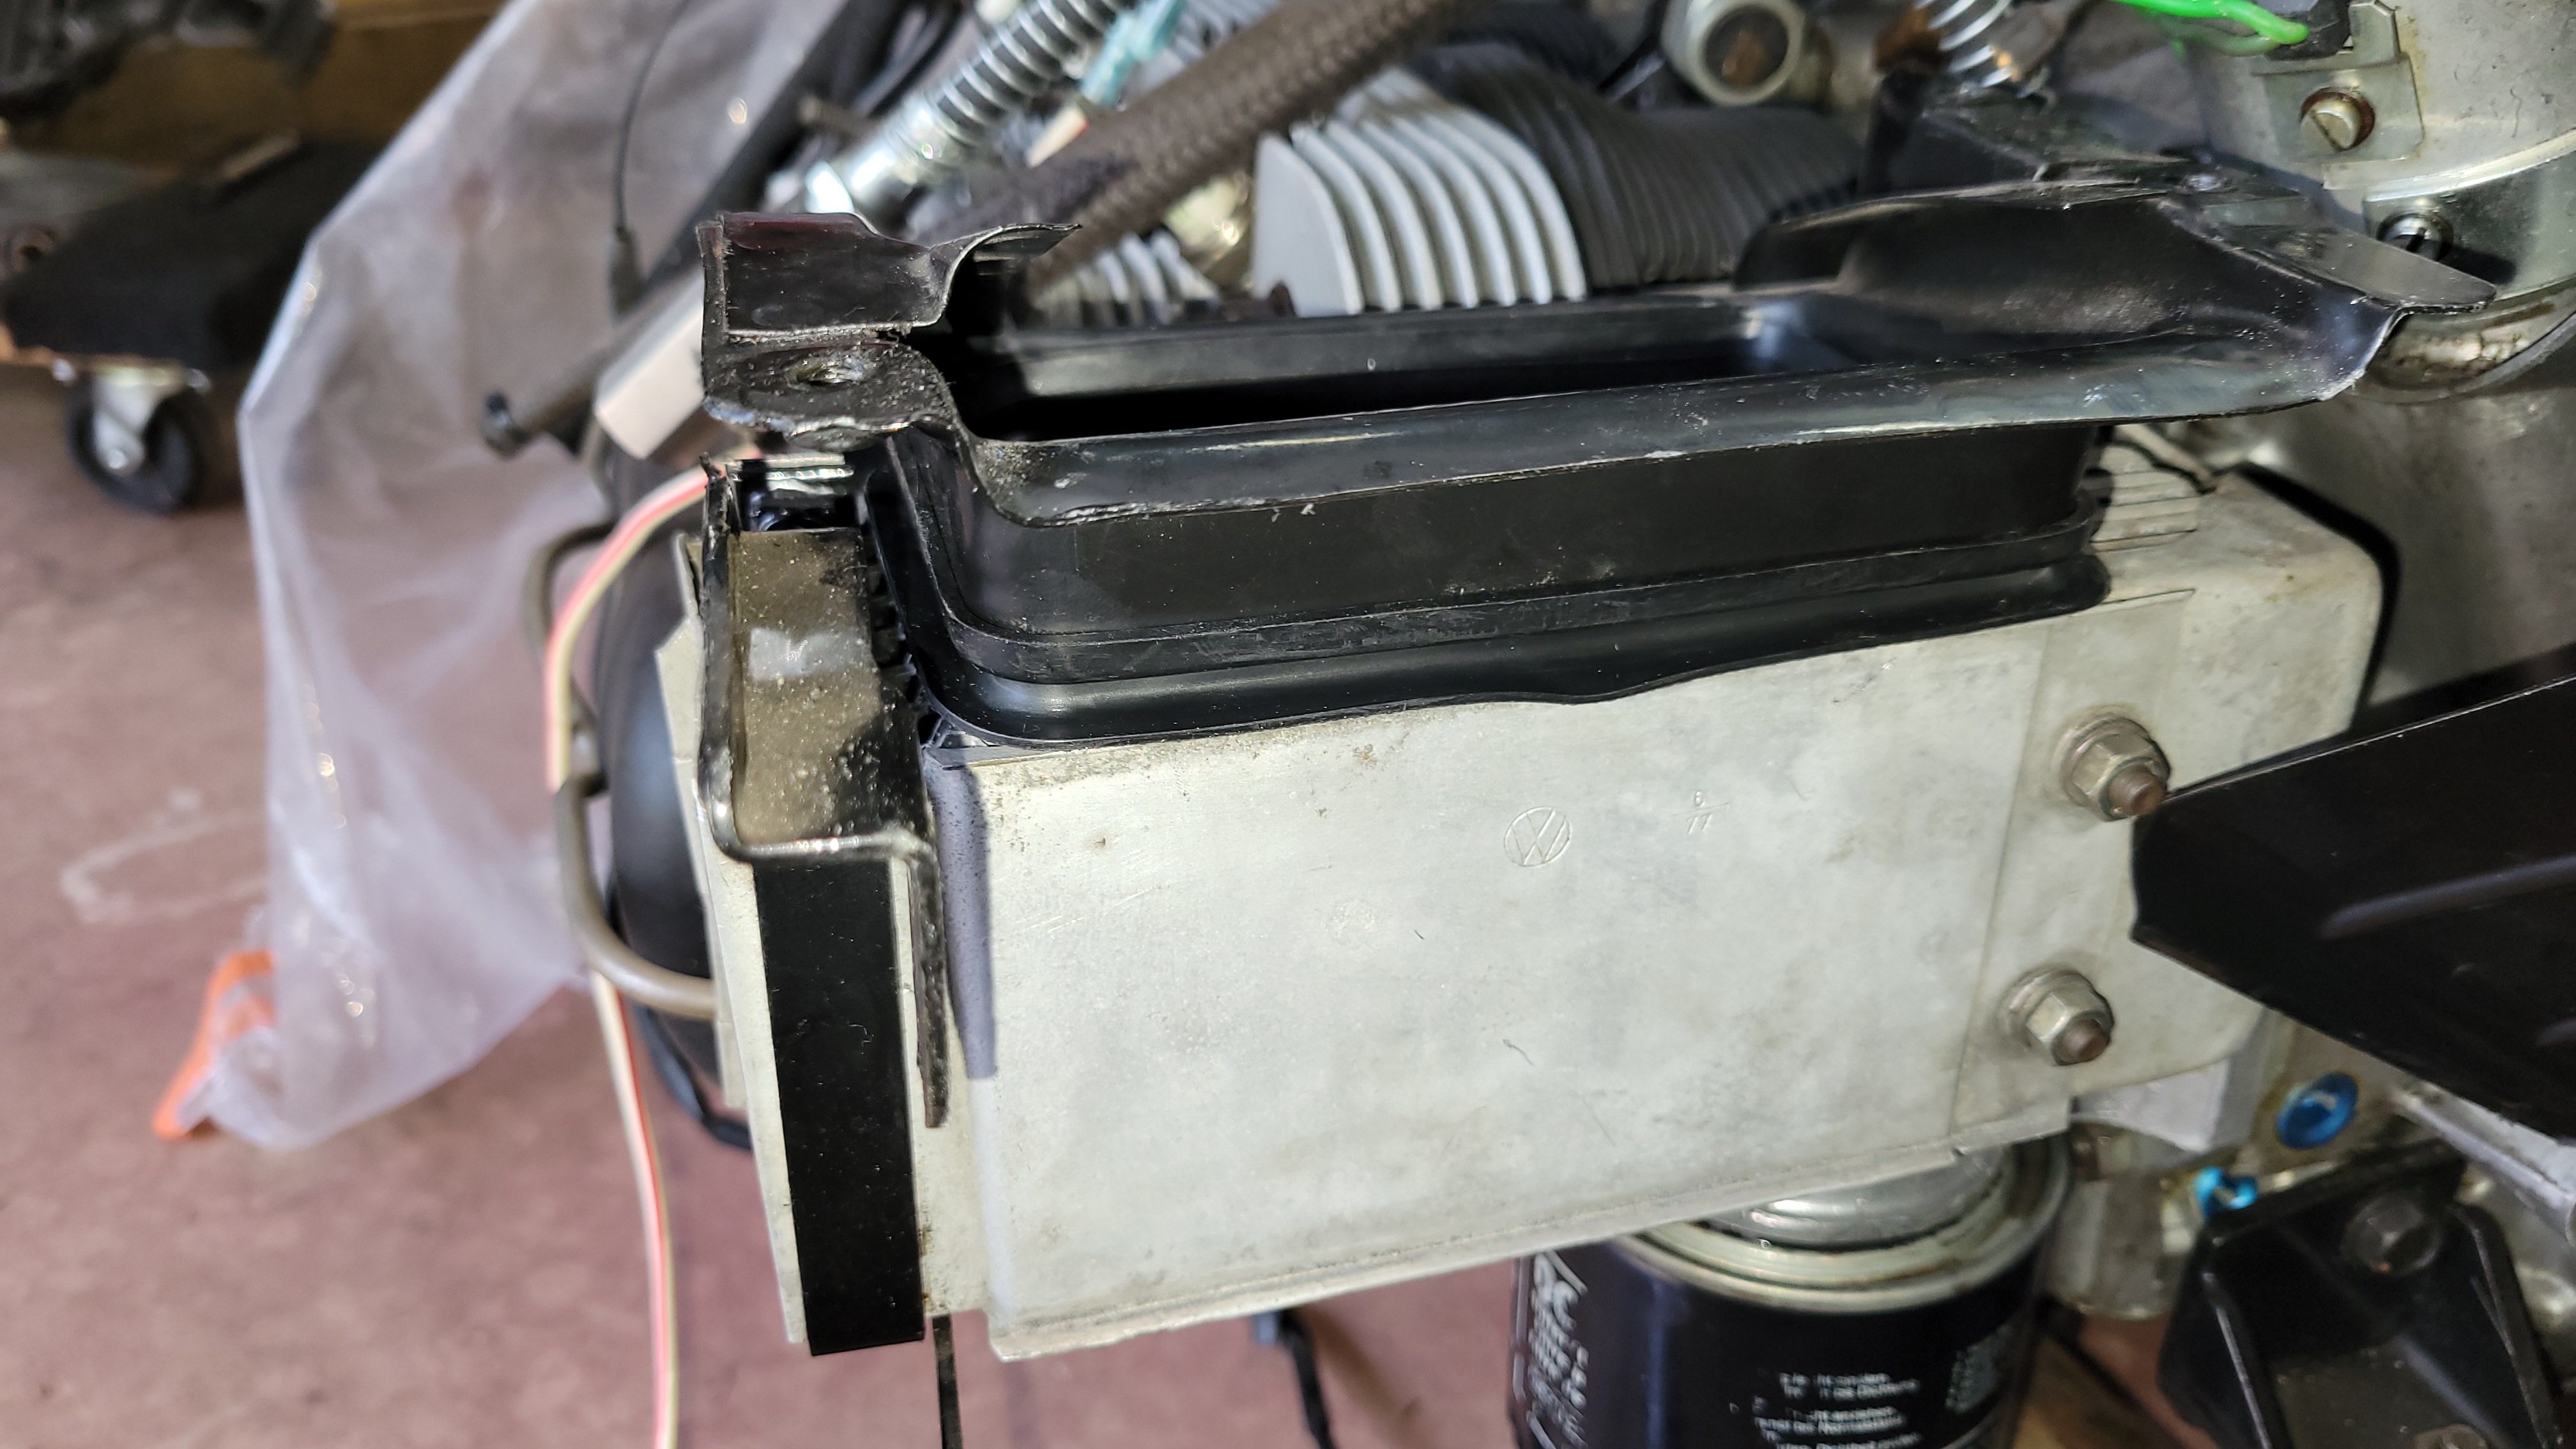
The left of the engine shows the oil cooler. The bracket on top of it gets a rubber gasket that hooks into the edges of that metal. It will slide on assembly. I used some 3M trim gasket material (it sets fast) and that held it for me. Note that the oil cooler washers are wave (spring) washers. New seals through the motor, new gaskets, etc.
Note the rubber gasket under the black metal bracket so that the blowing air goes through the oil cooler.
More of the tin view before the good paint job.
Another view before the repaint of the tin.