Joe's 914 Project
NOTES: On the 75' car, the trunk pan has bumps for the shock absorbers that hold the 5mph bumpers. But the Restoration Design trunk panels DO NOT have those bumps. That means you must fab those bumps yourself or back-date the bumpers. BUT... Without those bumps, the floor pan replacement is now in a different position than the earlier 73-74 cars and the bottom bumper hole used in the pre-75-76 cars will NOT be in the trunk, it will be in the cavity that is formed to hold the shock mounts under the car. The original 75-76 trunk pan would work and allow the bolts to be in the trunk, but if you replace the floor pan with the only option available, then you have some work to do to get holes for those lower bolts.
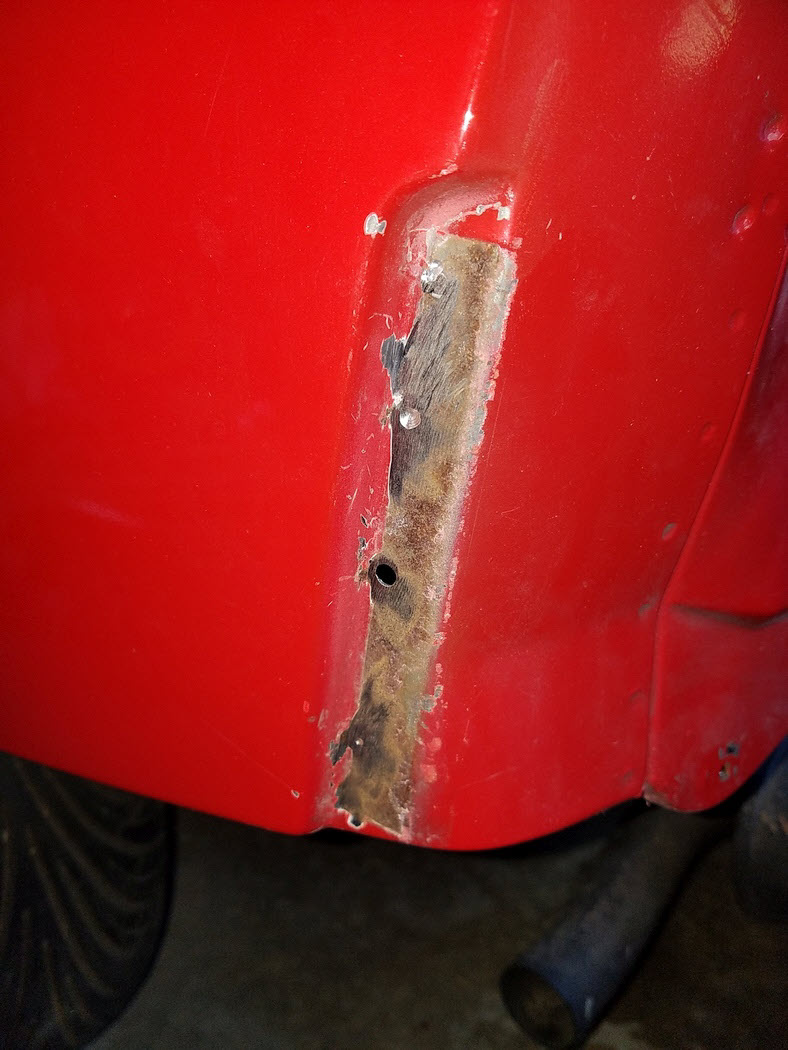
This is the 74' front left showing no side gripper for the bumper. This is what the 75' will need to look like once the bracket is removed.
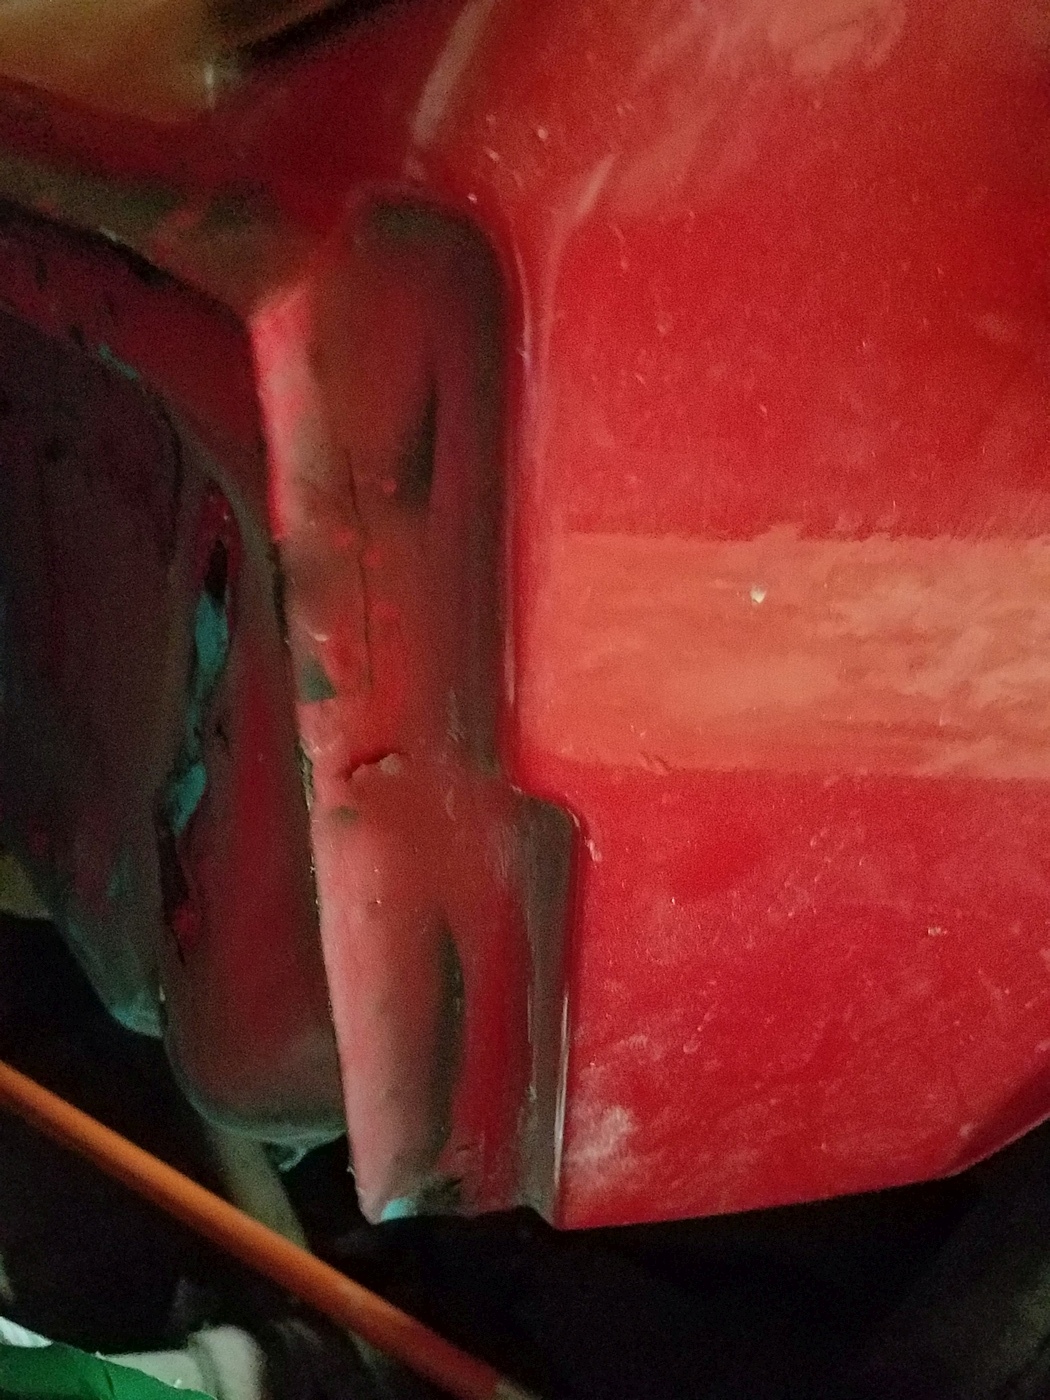
The 74' does not have the rain channel. The spot welds will need to be drilled-out on the left and right to make it look similar to this on the outside of the headlight wells. Notice that the headlight well does not have an edge for the front trunk rubber seal ad to the left of the image, the rubber seal channel has no front edge.
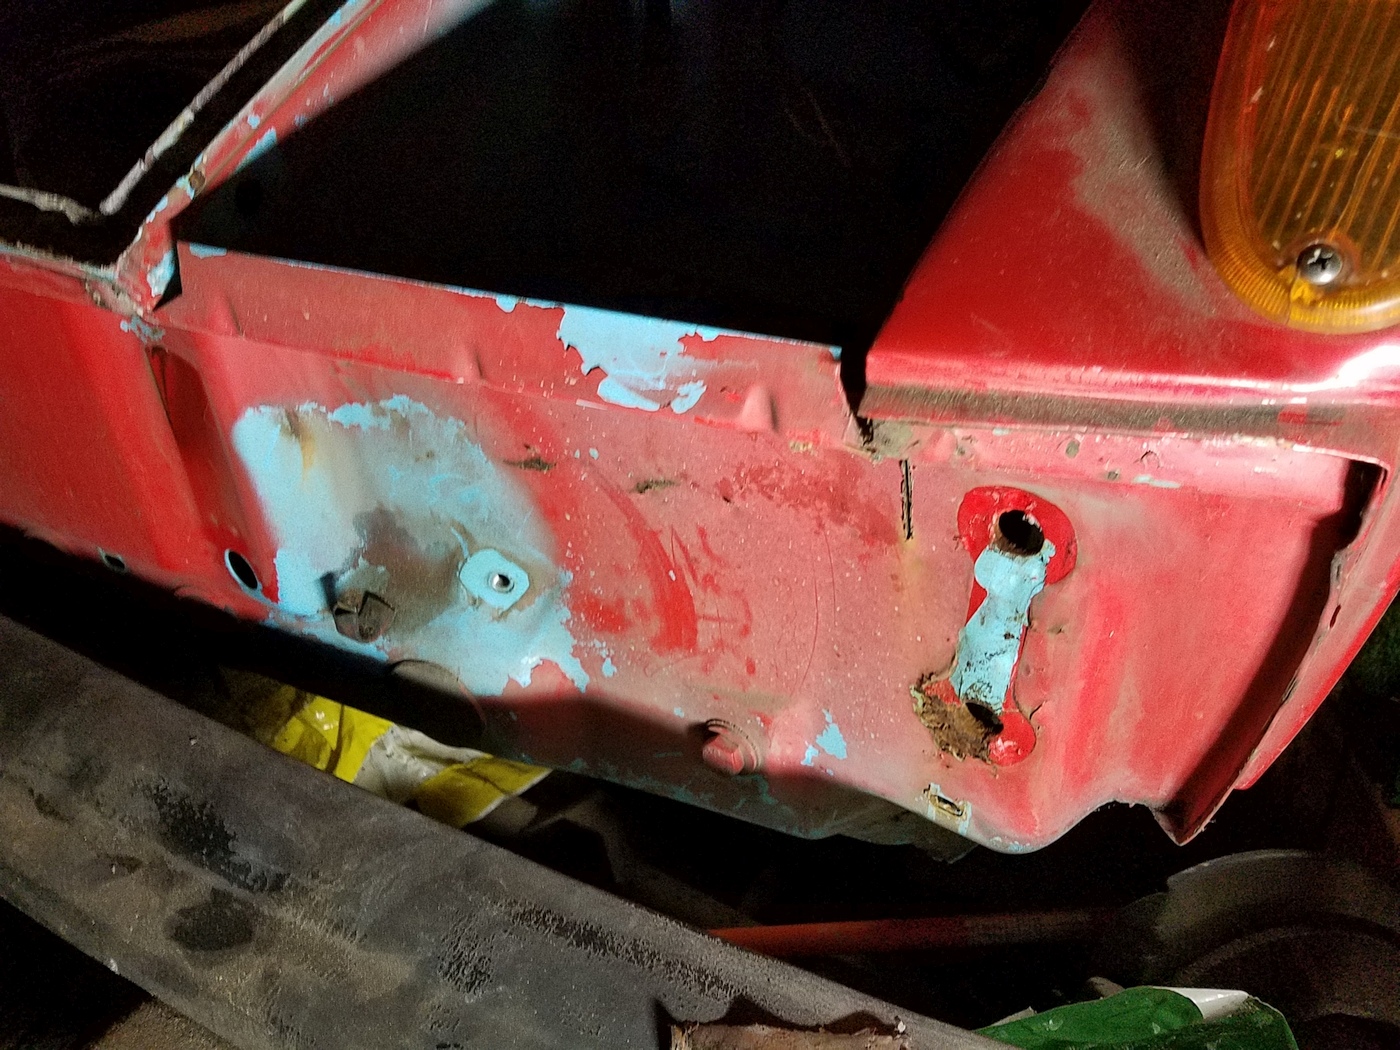
This is the front-center edge of the 74' rubber seal without the front lip that the 75' has.
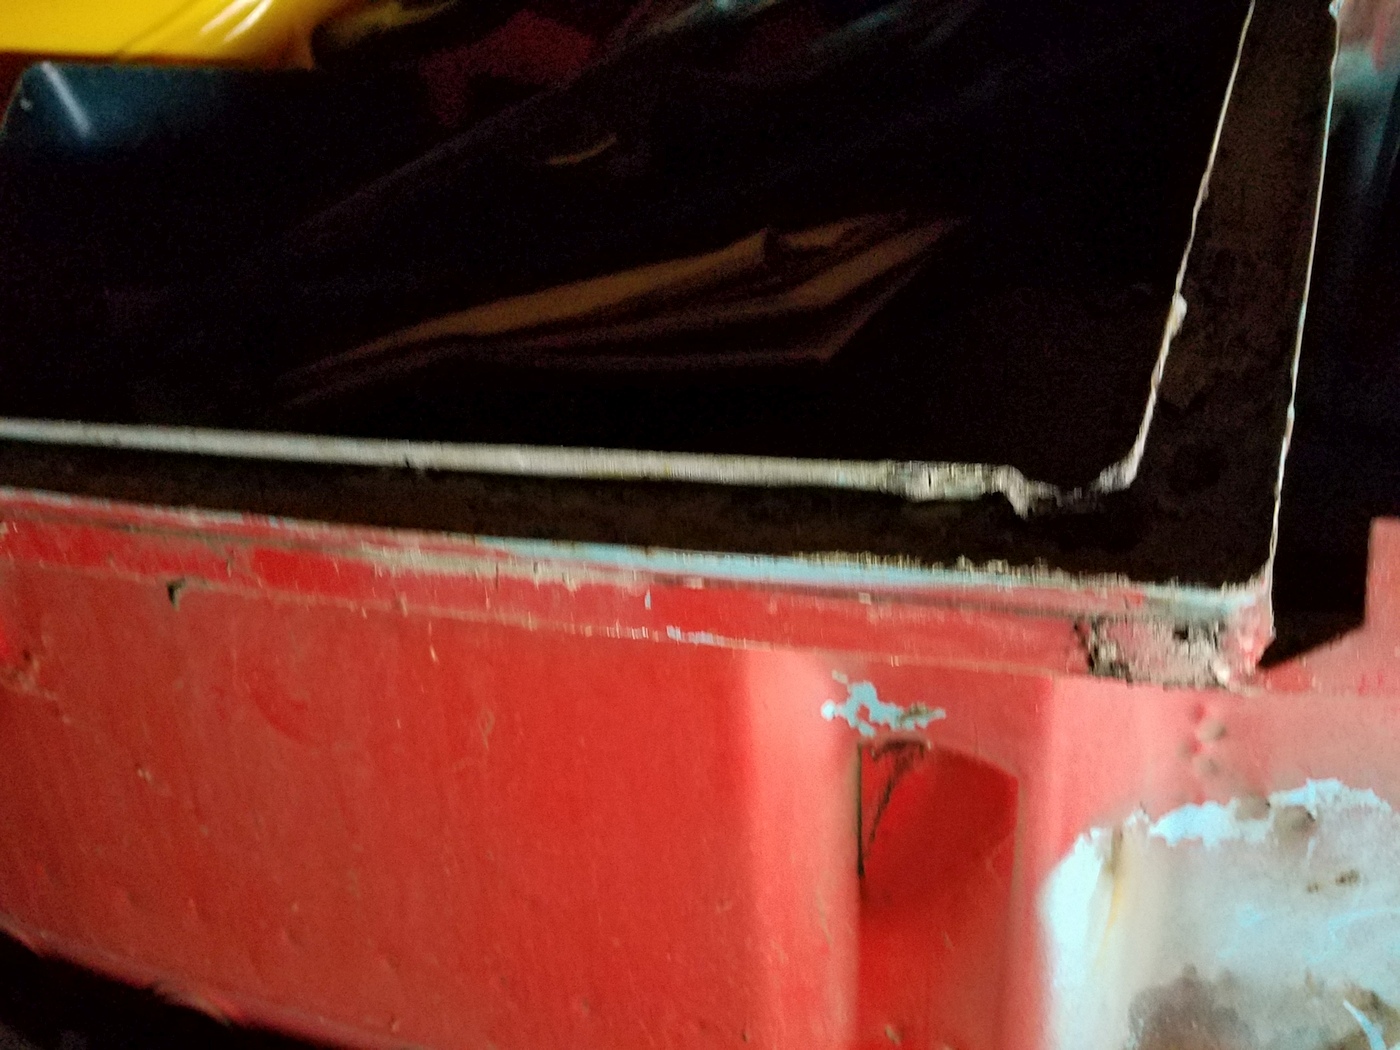
This is the front-left corner without the bracket for the 5mph bumper that the 75' has.
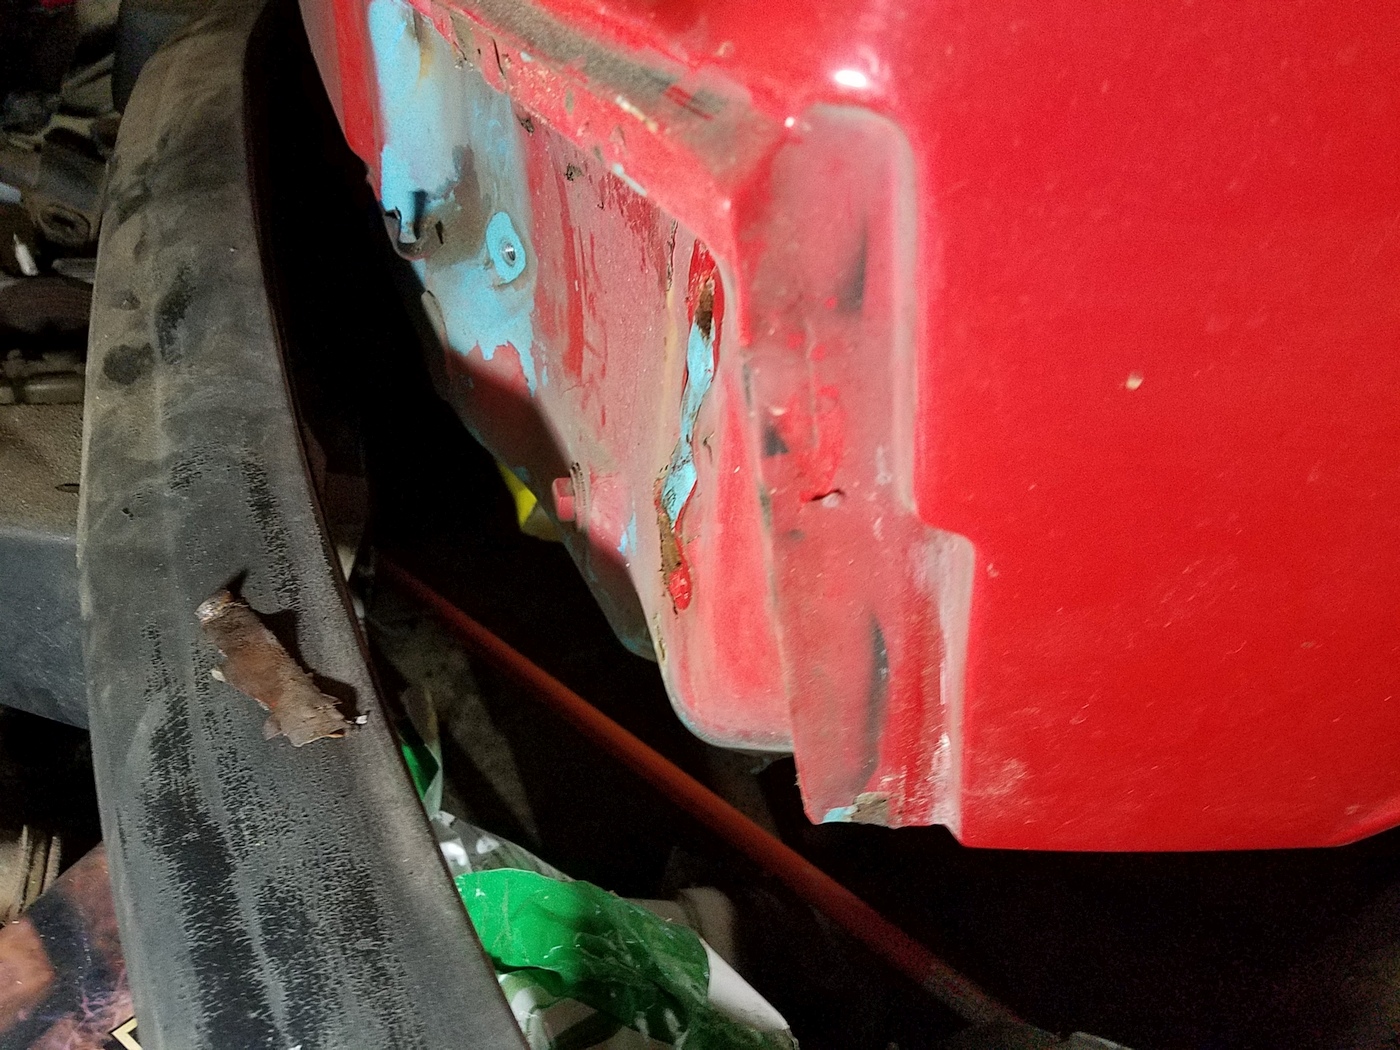
The back bumper driver's side is shown here for the 75 with the bracket in place. The spot welds need to e removed and this bracket removed, bodywork filler, etc. so that it mirrors the 74 bumpers.
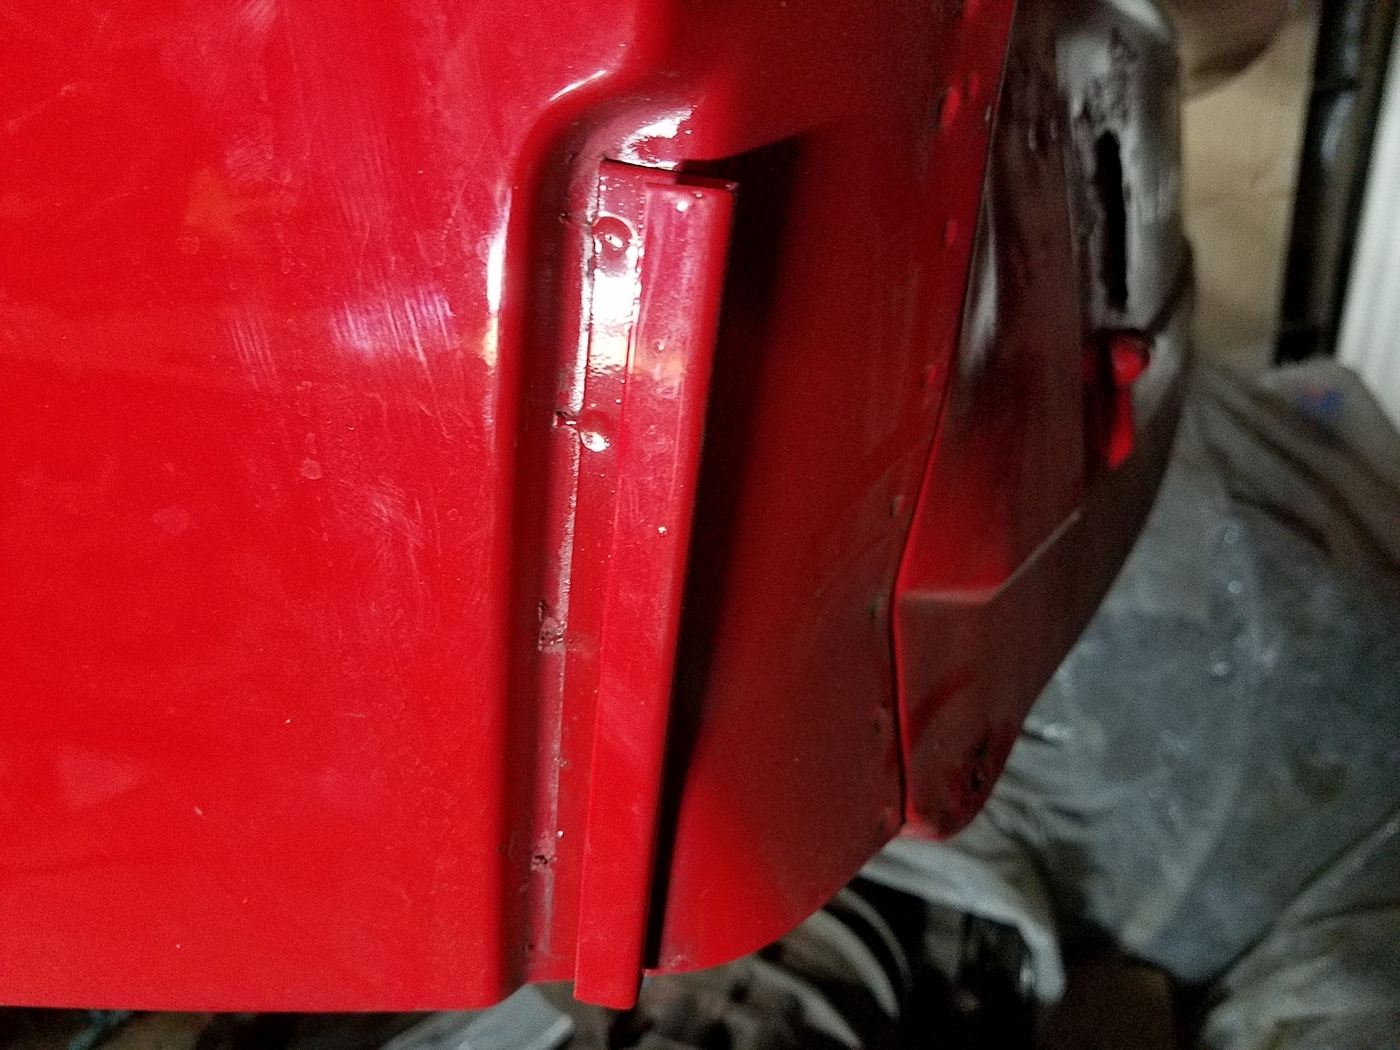
The front bumper driver's side is shown here for the 75 with the bracket in place. The spot welds need to e removed and this bracket removed, bodywork filler, etc. so that it mirrors the 74 bumpers.
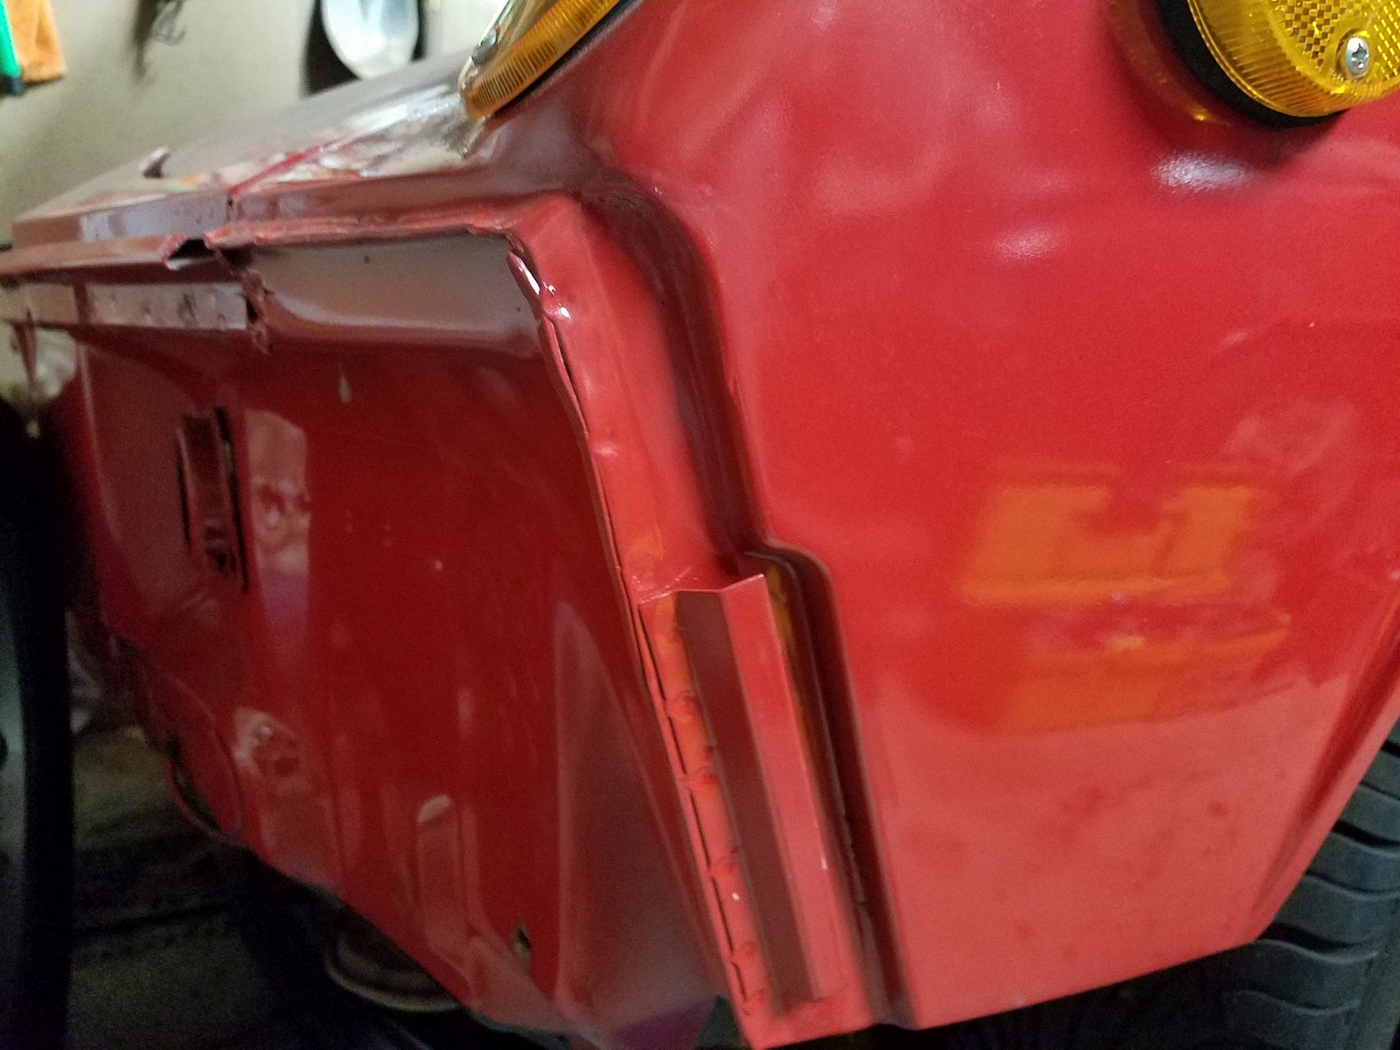
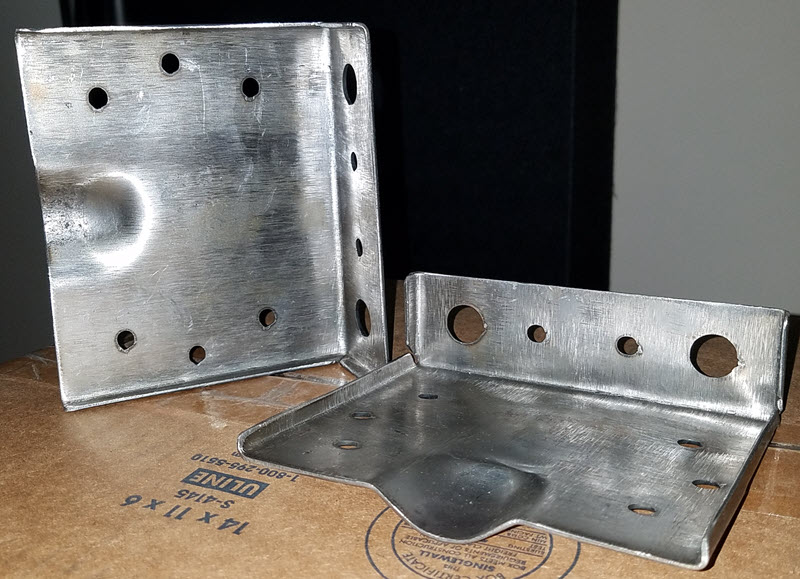
Inside of the driver's side front fender well you can see the 74' as a bumper reinforcing bracket. I ordered a set of these brackets from Tangerine Racing (next image below).
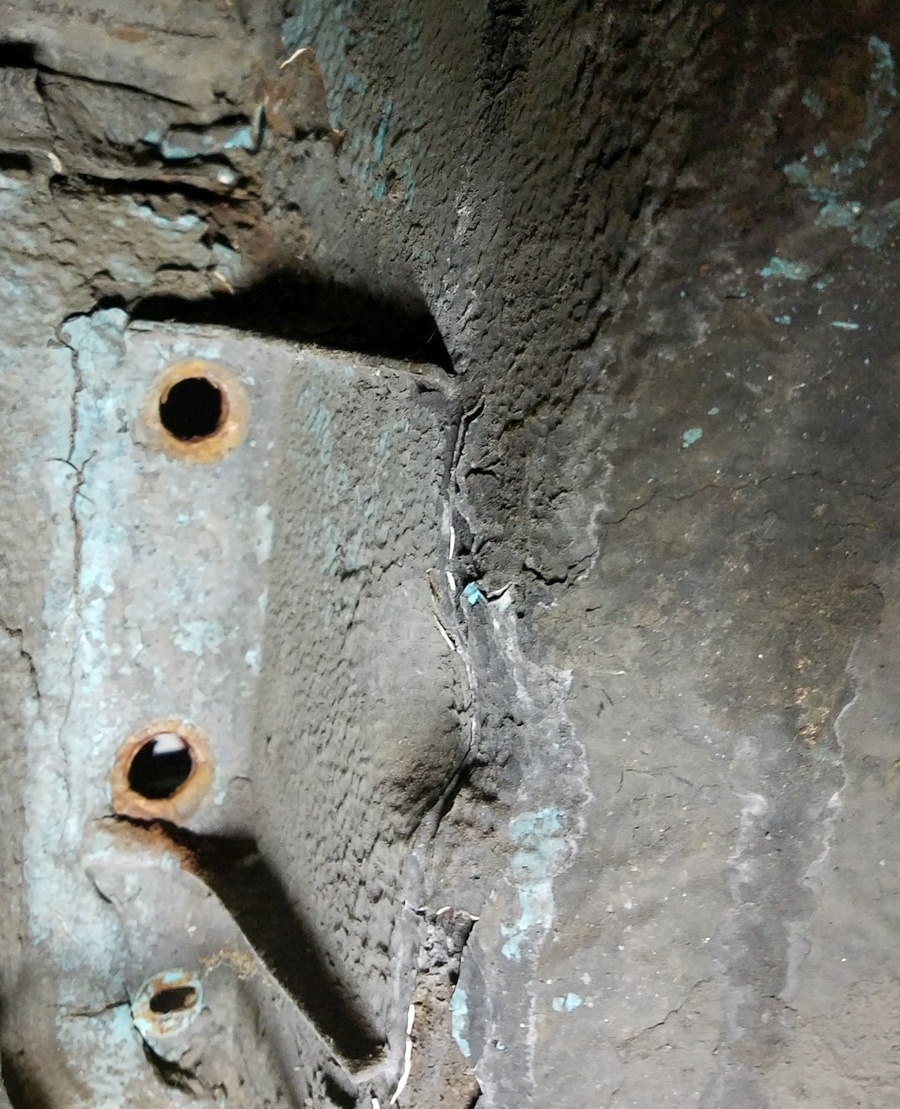
Tangerine Racing reproduction plates to the rescue...
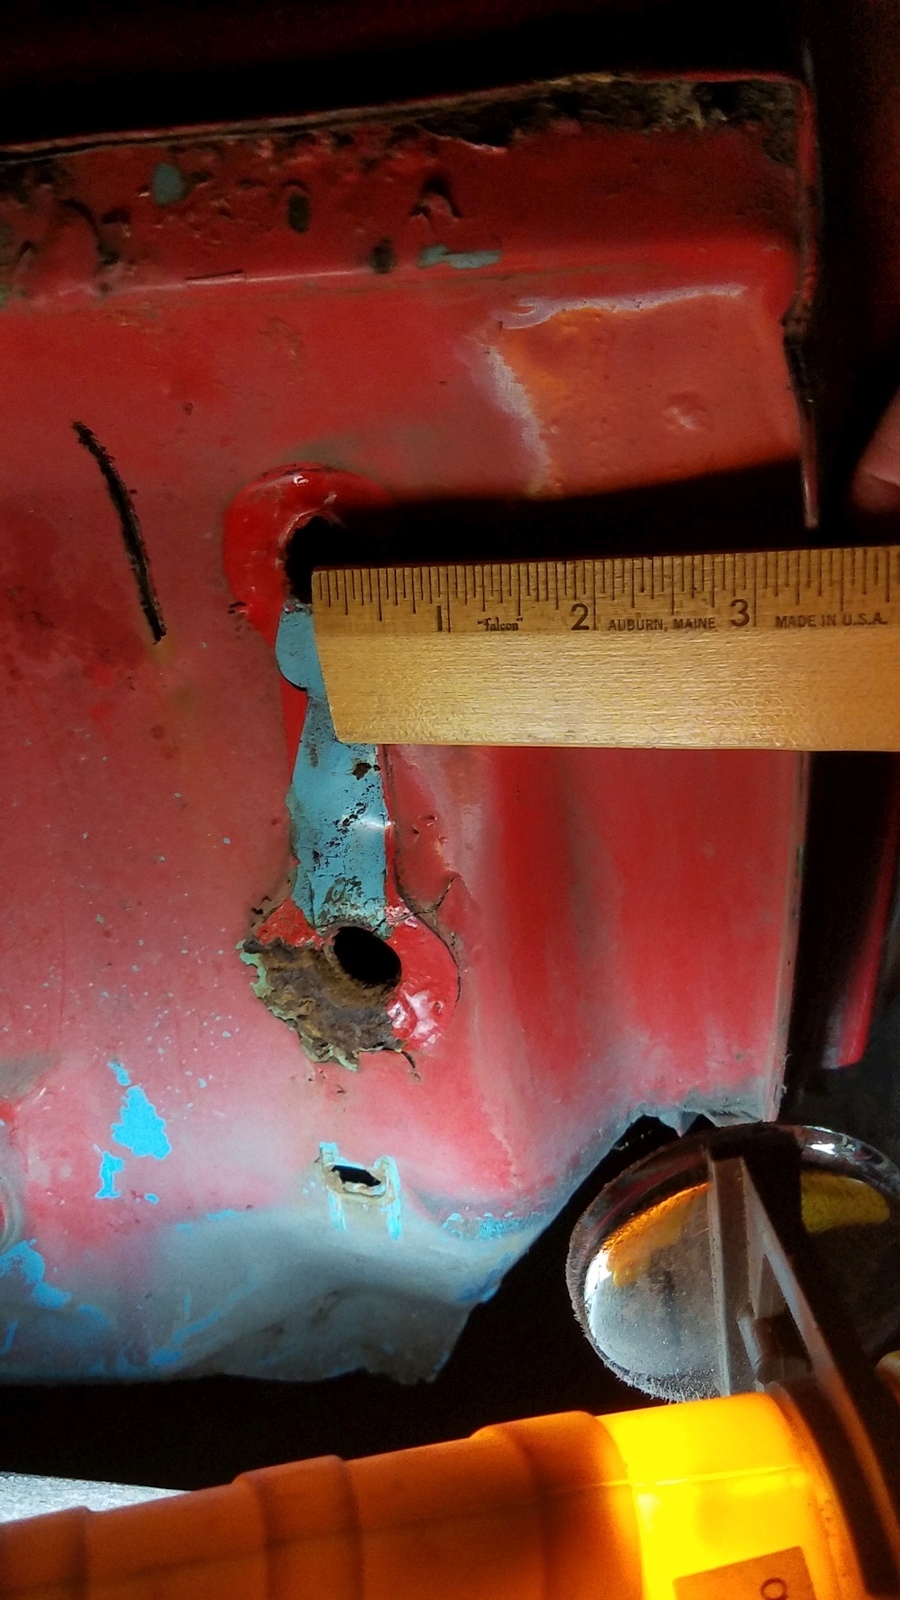
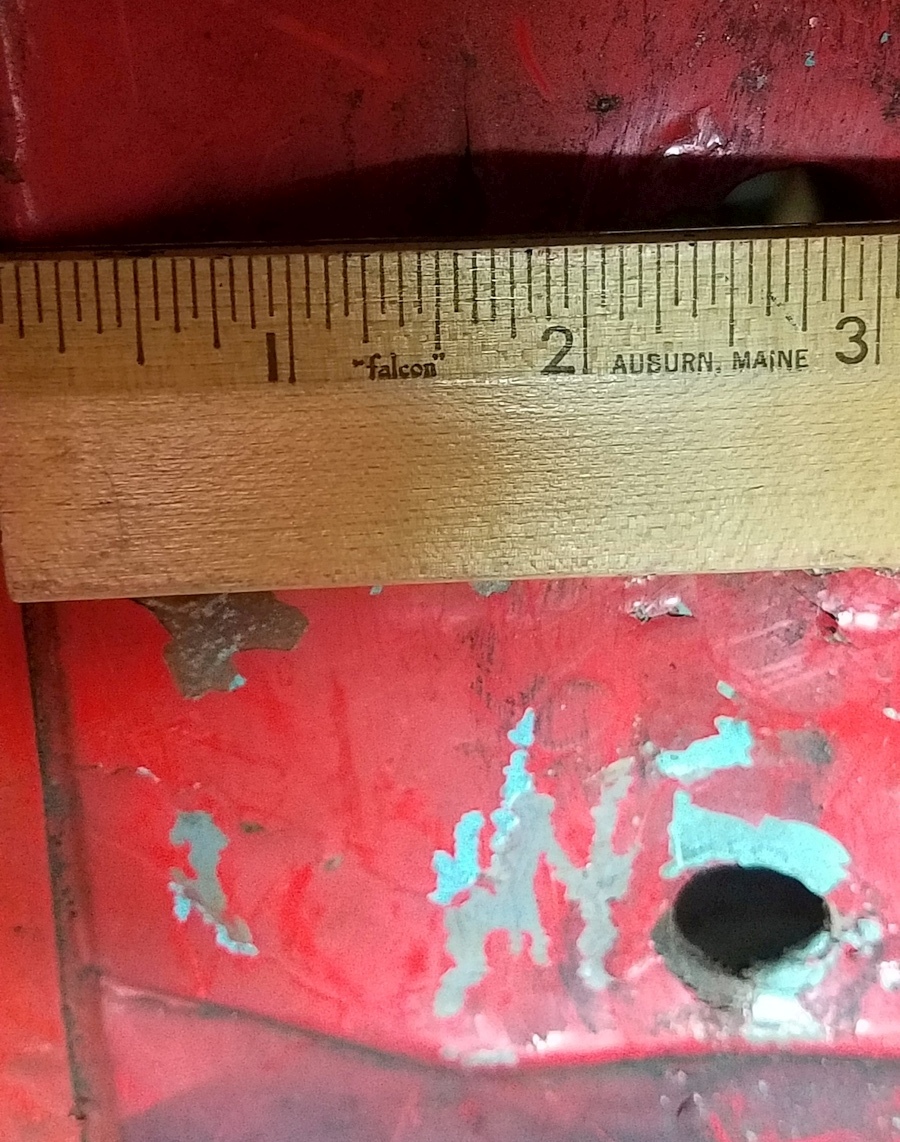
Front Bumper holes will align with internal bracket. Position is 3 1/4" from inside of the outer lip of the fender. That old 74' rust hole for the bumper makes me want to make sure the dog-bones seal up well. Perhaps some black silicone on install? It will never-ever be seen and I doubt it will get much neglect, rain or abuse once this is back on the road.
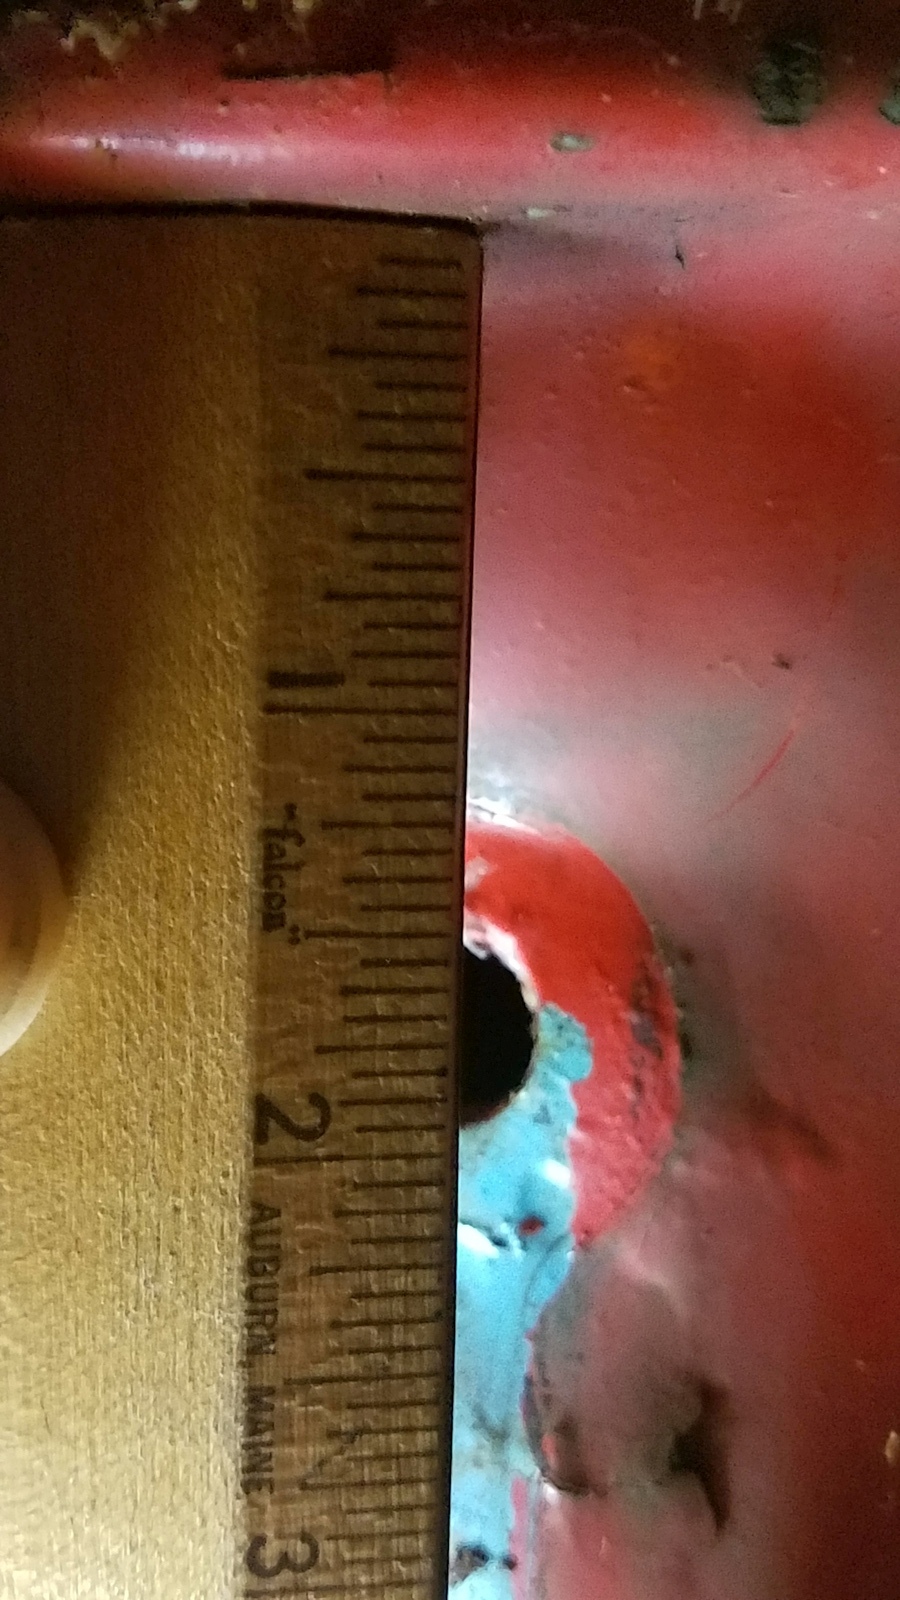
Front bumper mount is 1/3/4" from top edge of front as measured near outer edge. Use dog-bones to make holes and make sure left and right side are the same to keep bumper level.
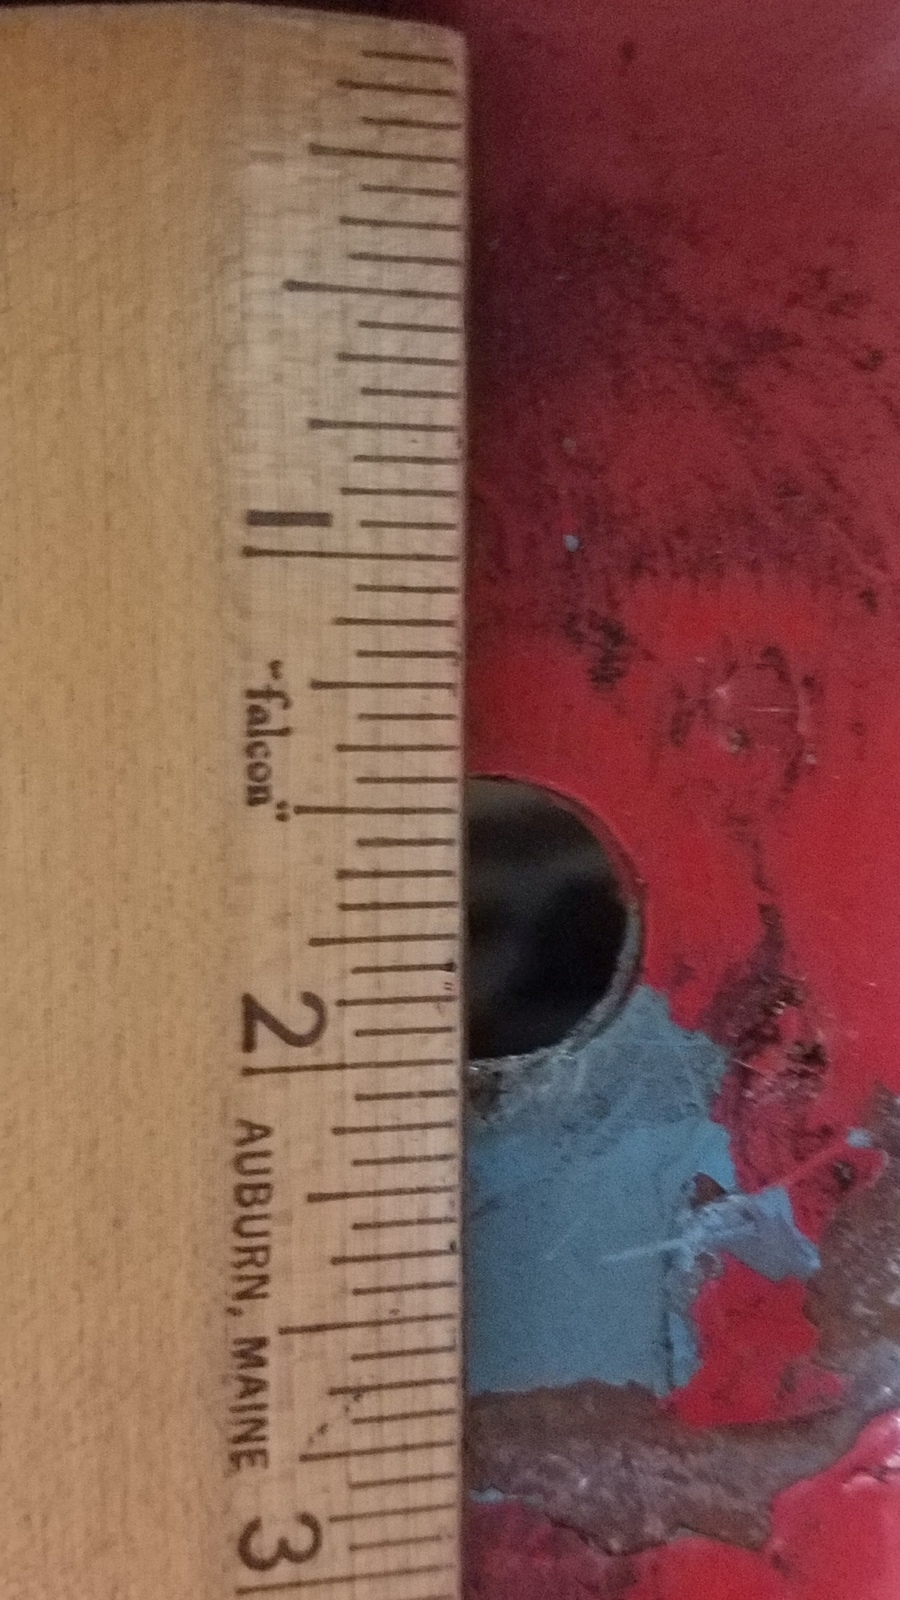
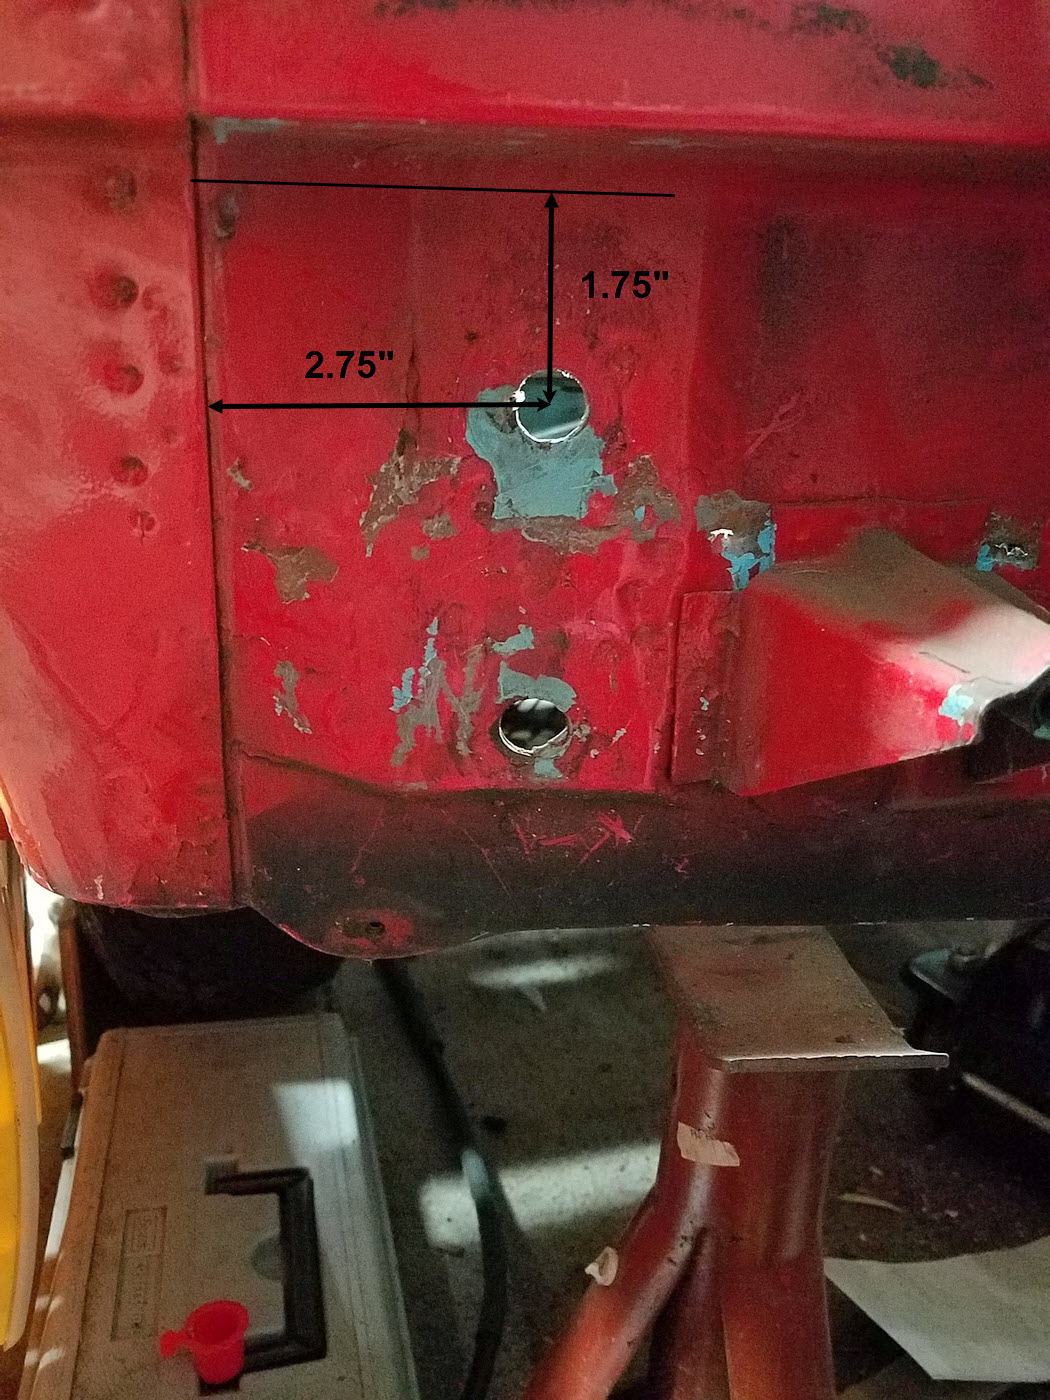
Rear bumper top hole is 1 3/4" from top edge (near trunk). Bottom hole is about 2 1/2" from bottom edge. Use dog-bones as hole spacing guide. Match left and right top holes to be level.
Rear bumper holes are about 2 3/4" from left seam.
The 74' has the rear driver's side tie-down sticking out, this has another reinforcement on the inside (under the trunk floor) to carry the load.
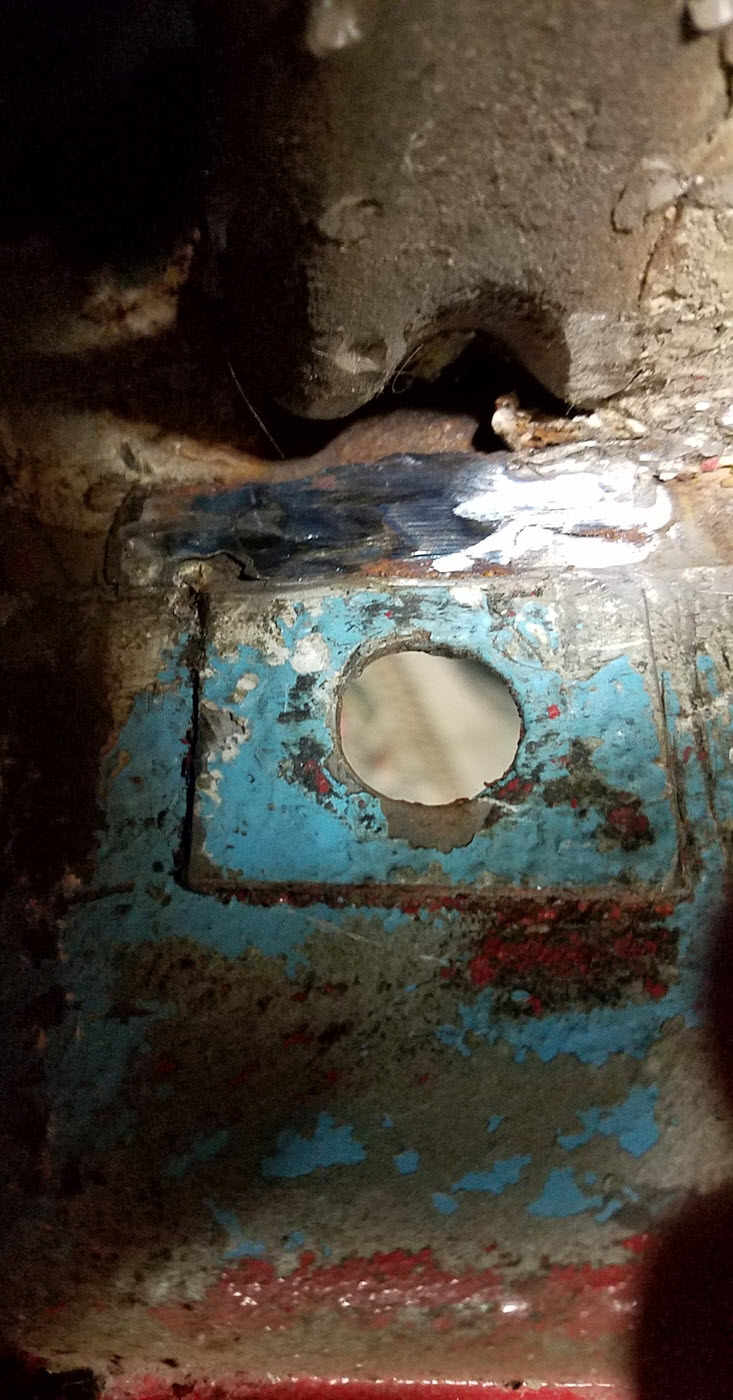
This is the 74' with the reinforcement showing in the trunk for the bumper bolts (two of these per side). Just a small rectangular piece for each bolt on the inside of the trunk. The 75' does not have this (yet).
Pics of the destruction to get this done:
Front Passenger side middle
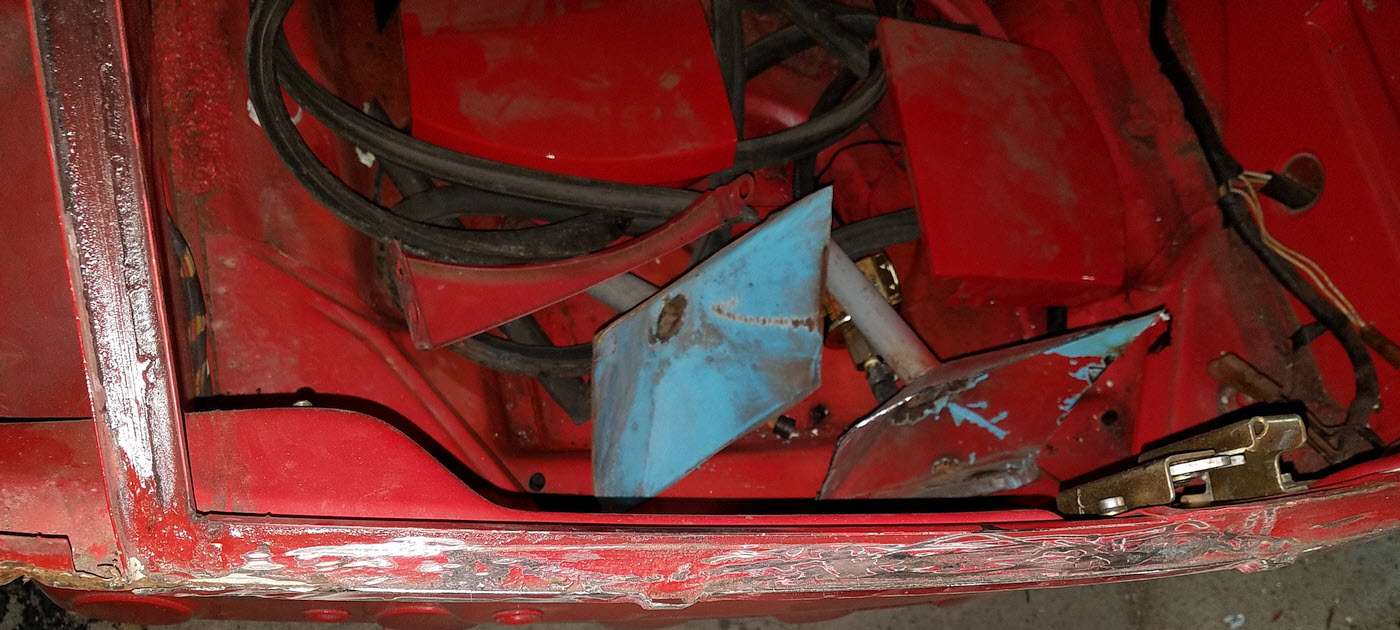
Front Driver's Side Middle:
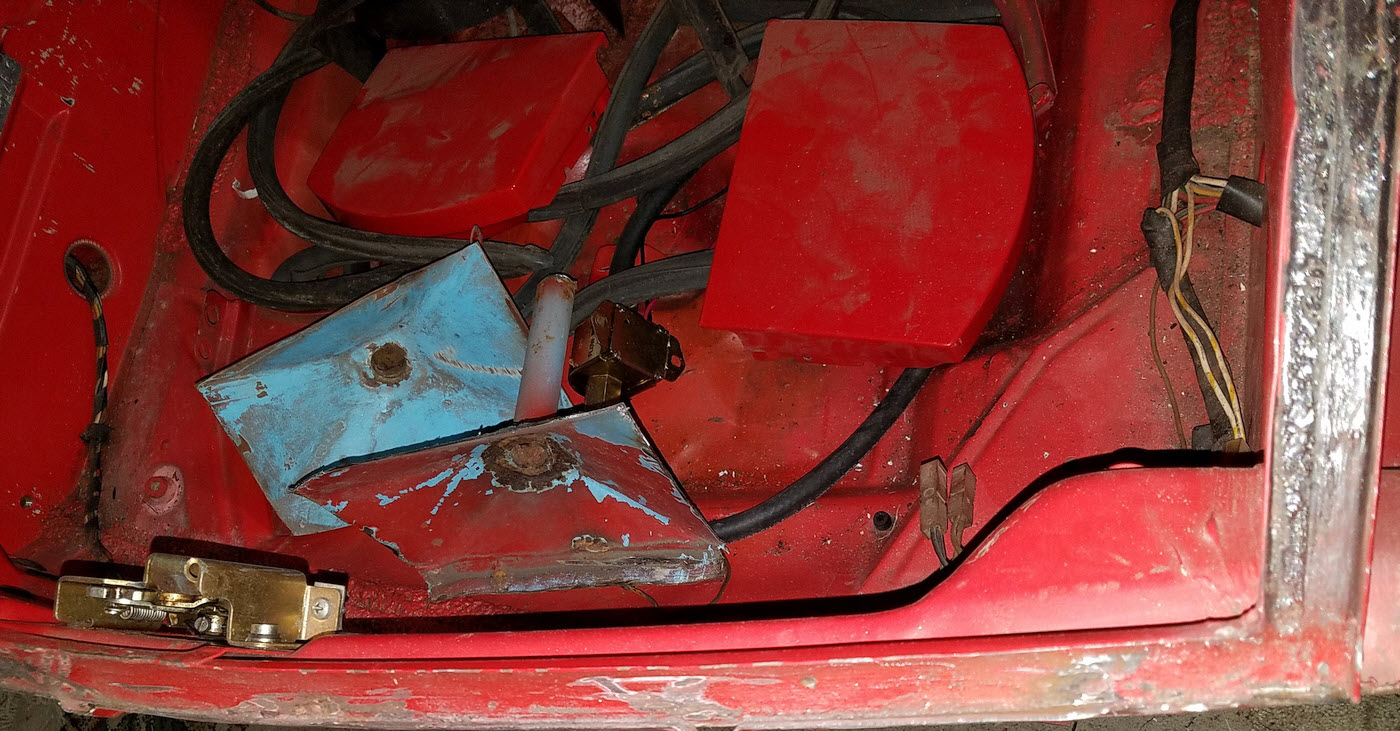
Front Passenger Side Headlight area:
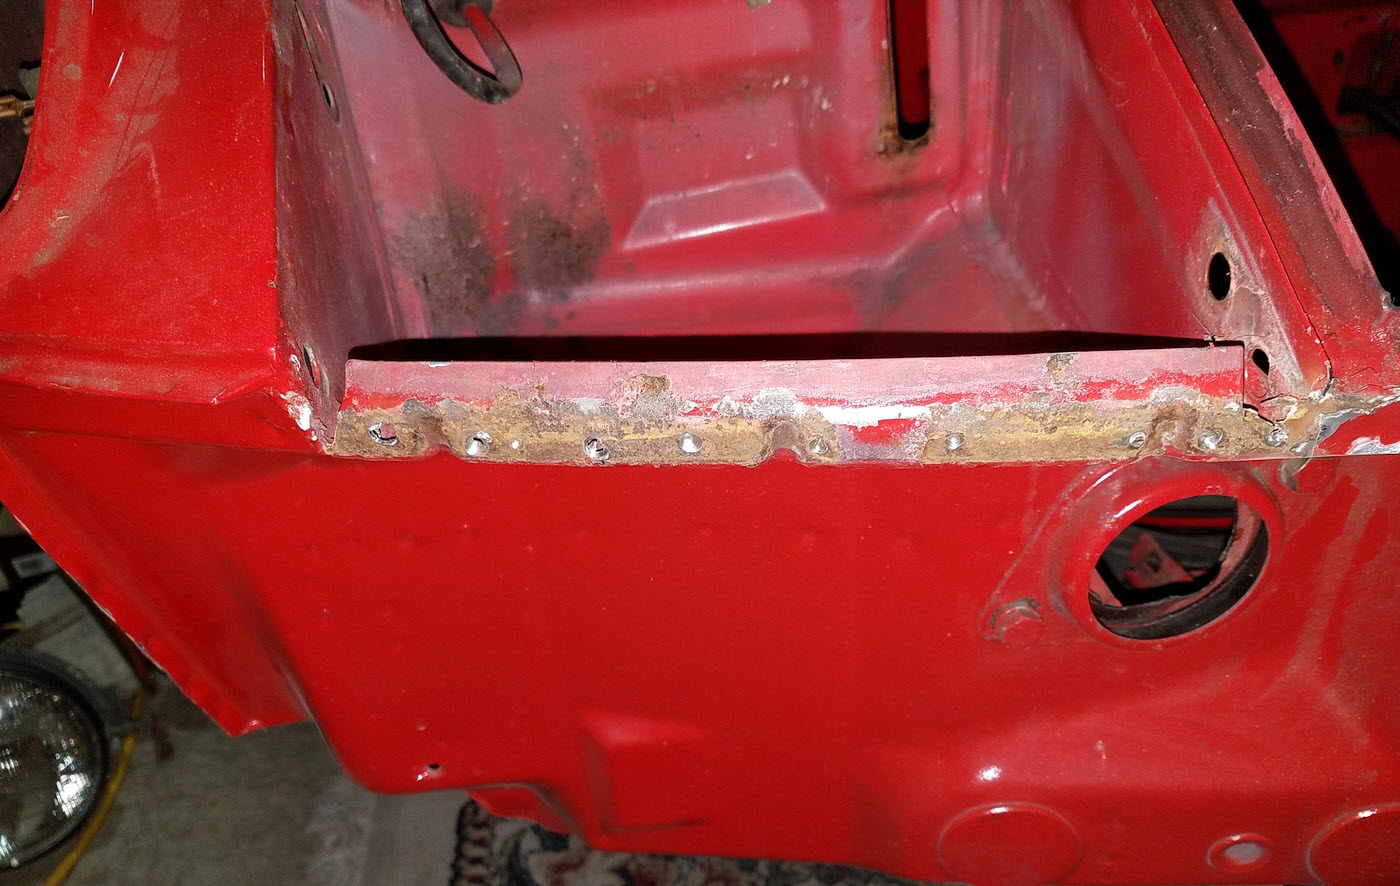
Front Driver's Side Headlight area:
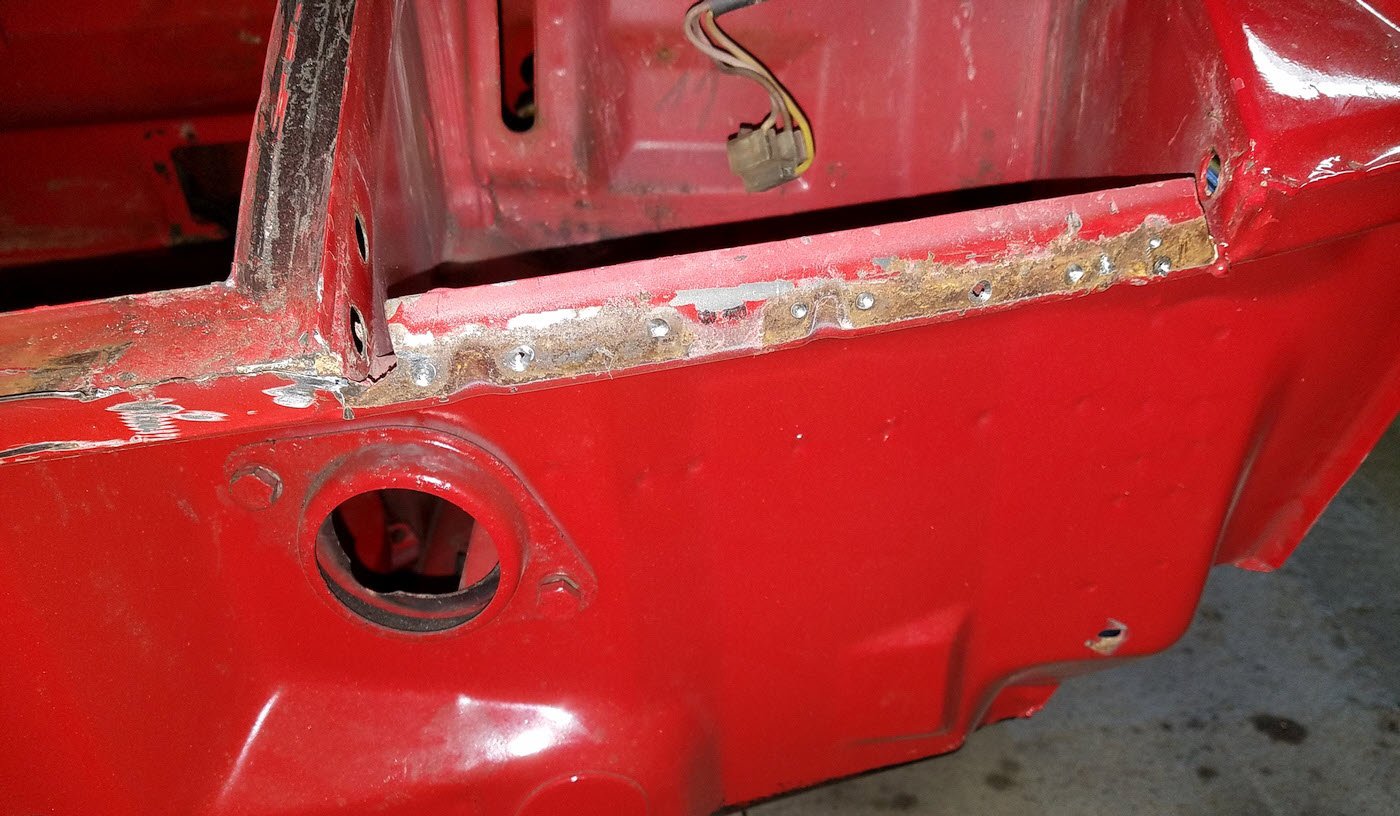
Front Passenger side bracket delete:
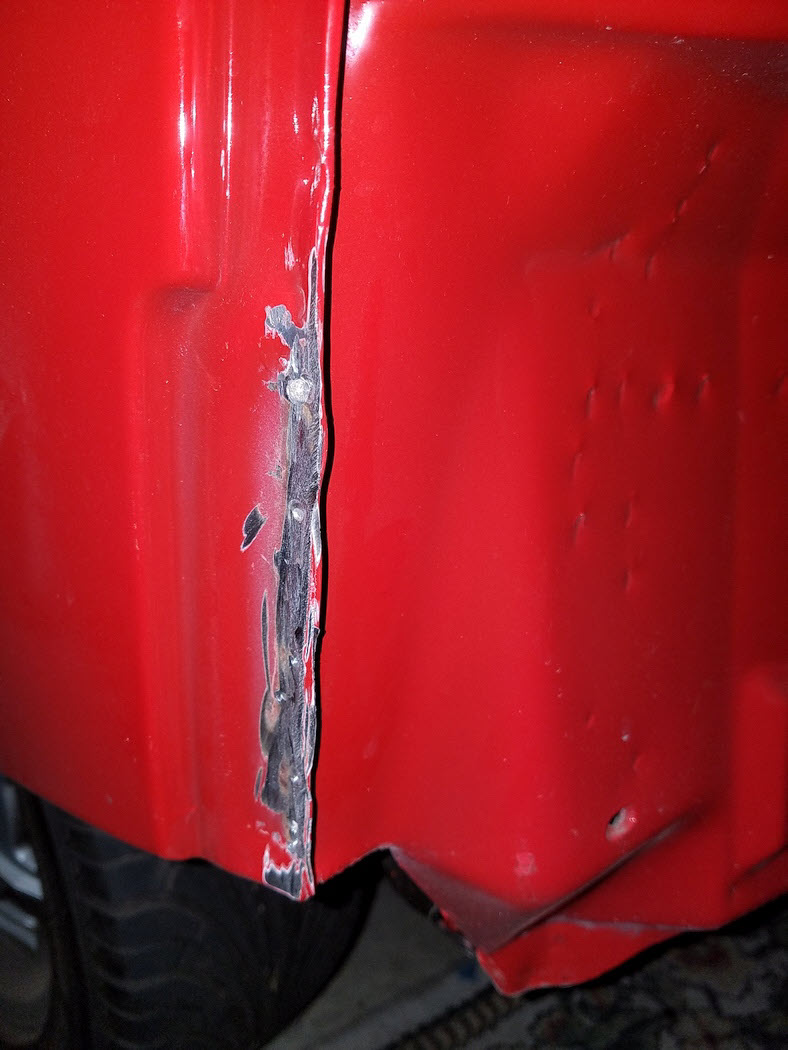
Front Driver's side bracket delete:
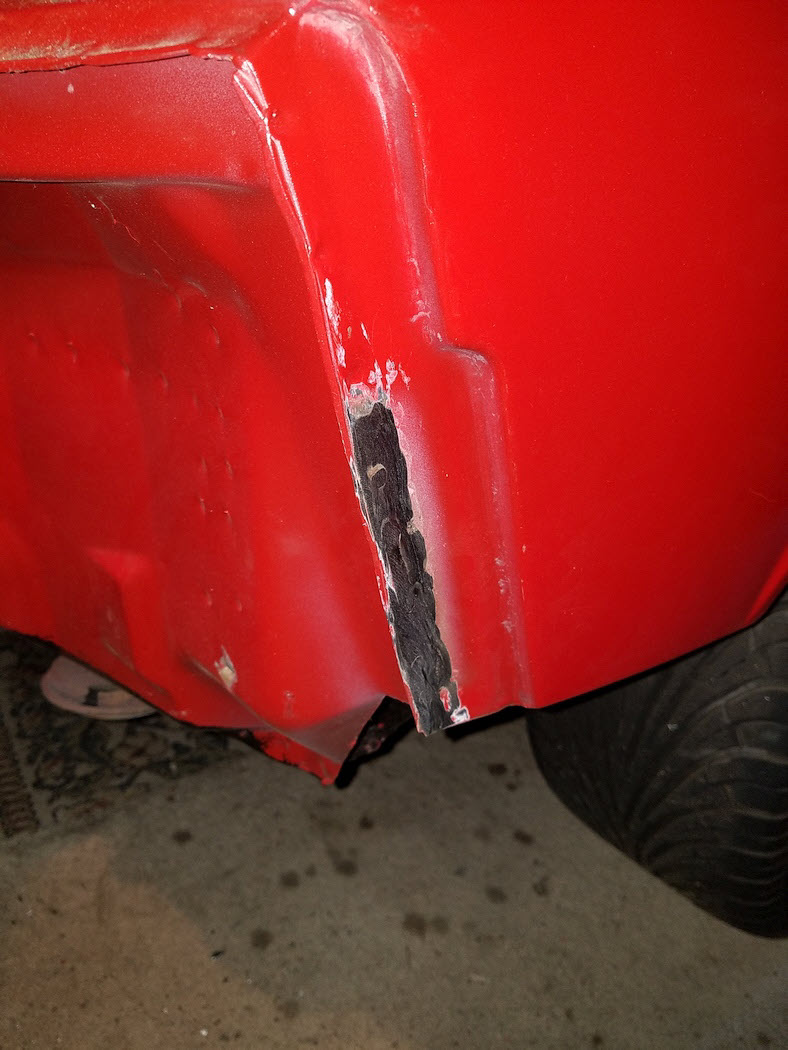
Rear Passenger side bracket delete:
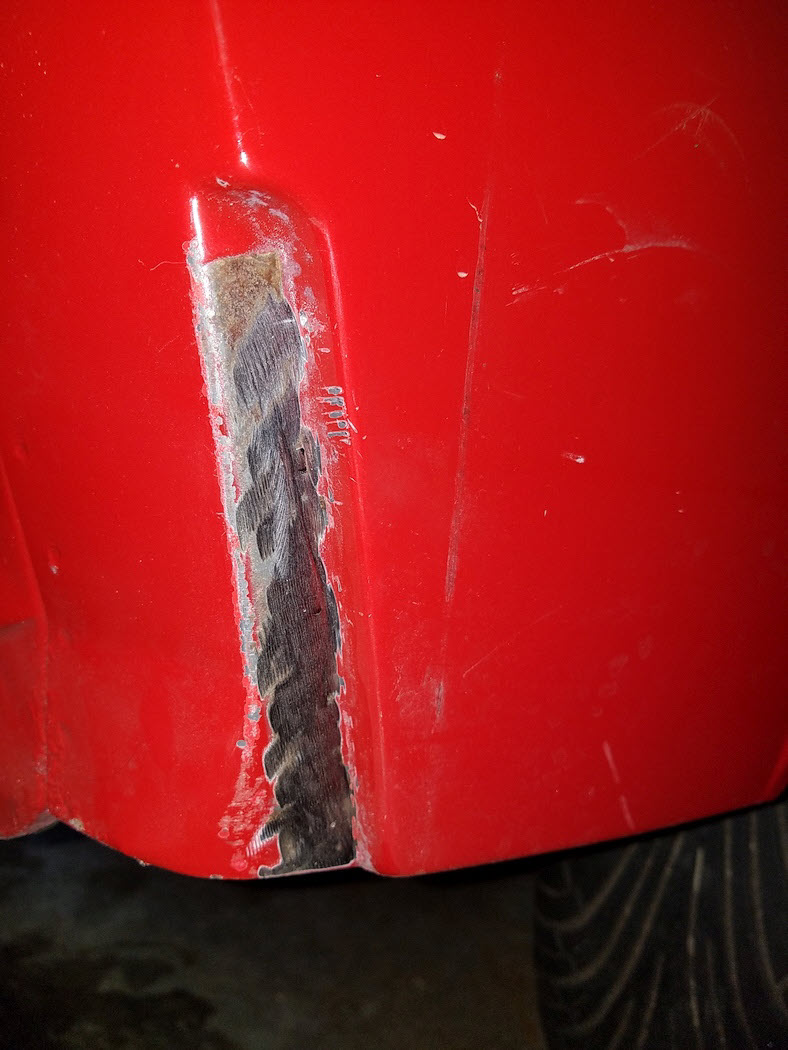
Front Driver's side bracket delete (I did weld-up that hole):